Introduction
Welcome to our guide on how to remove a GPU from the motherboard. The graphics processing unit (GPU) is a vital component of any computer, responsible for rendering images, videos, and other visual elements. There may come a time when you need to remove the GPU from your motherboard, whether it’s for an upgrade, troubleshooting, or any other reason.
In this article, we will provide you with a step-by-step guide on safely removing a GPU from the motherboard. We will also discuss the precautions you need to take before starting the process and the tools required for a smooth removal. Additionally, we will address common issues that may arise during the GPU removal process and provide troubleshooting tips.
Removing a GPU requires careful handling and attention to detail to avoid damaging the delicate components. By following the instructions provided in this guide, you will be able to safely remove the GPU from your motherboard without any unnecessary complications. So, let’s get started!
Reasons to Remove the GPU from the Motherboard
There are several reasons why you might need to remove the GPU from your motherboard. Let’s explore some common scenarios where removing the GPU becomes necessary:
- Upgrading the GPU: One of the most common reasons to remove a GPU is to upgrade to a more powerful or advanced model. As technology evolves, newer GPUs offer improved performance and features, making them desirable for gamers, video editors, and other users who require high-end graphics capabilities.
- Troubleshooting Graphics Issues: If you’re experiencing graphical glitches, driver conflicts, or performance problems, removing and reseating the GPU can sometimes help resolve these issues. It allows you to check for loose connections and clean the contacts, ensuring a more stable and reliable graphics experience.
- Motherboard Maintenance or Repair: In some cases, you may need to remove the GPU to access other components on the motherboard for maintenance or repair purposes. This could include replacing the CPU, installing additional RAM, or fixing any faulty connectors.
- Selling or Repurposing the GPU: If you’re planning to sell your GPU or use it in another system, you’ll need to remove it from the current motherboard. This ensures it is ready for installation in the new system without any complications or conflicts.
It’s important to note that removing the GPU should be done with caution and proper knowledge. Always consult the manufacturer’s instructions or seek professional assistance if you’re unsure about the process.
Now that we understand the reasons behind removing a GPU from the motherboard, let’s move on to the precautions you should take before starting the removal process.
Precautions Before Removing the GPU
Before you proceed with removing the GPU from the motherboard, it is important to take a few precautionary steps to ensure a smooth and safe removal process:
- Power Down and Unplug: Make sure your computer is completely powered down and unplugged from the electrical outlet. This will prevent any electrical accidents and protect the components from damage.
- Ground Yourself: Static electricity can damage sensitive electronic components, so it’s crucial to ground yourself before handling any computer parts. Use an anti-static wristband or touch a grounded metal surface to discharge any static buildup.
- Refer to the User Manual: Every computer and GPU will have specific instructions and guidelines for removing the GPU. Refer to the user manual or online resources provided by the manufacturer for accurate and detailed information.
- Take Photos or Make Notes: Before removing the GPU, take photos or make notes of the current configuration. This will help you reconnect everything correctly later on. Pay attention to any cables or connectors that need to be detached and reattached.
- Clear a Safe Workspace: Remove any potential hazards and ensure you have a clear and stable workspace to work on. This will minimize the risk of accidental damage to the GPU or other components.
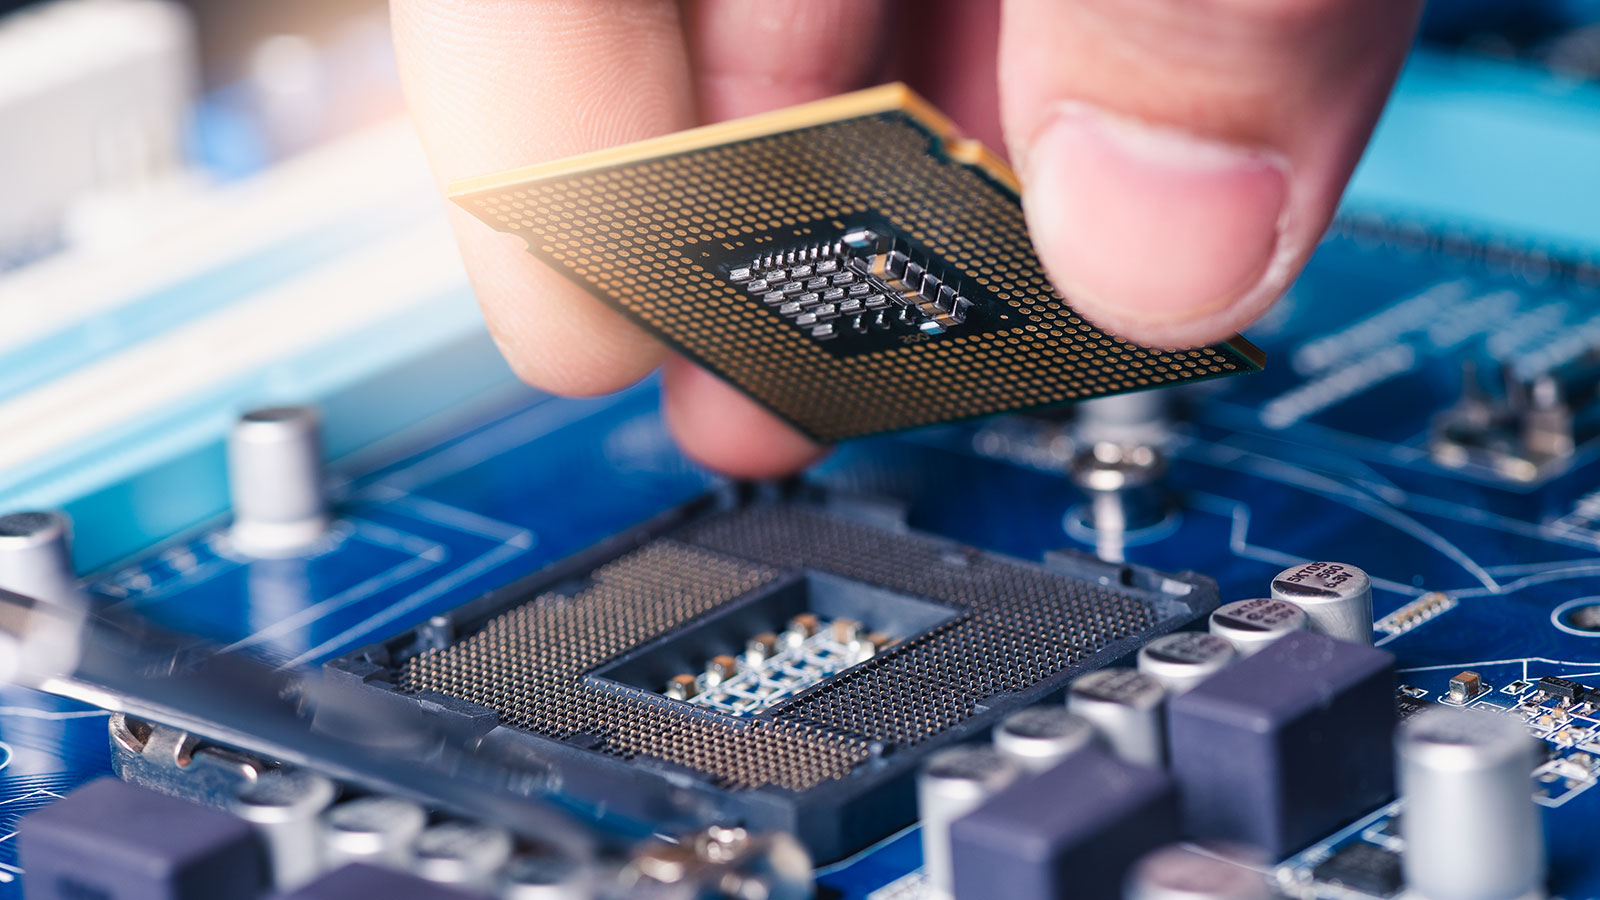
- Handle with Care: GPUs are fragile, so handle them with extreme care. Avoid applying excessive force or bending the PCB (Printed Circuit Board). Hold the GPU by its edges and avoid touching any of the gold contact points.
By following these precautions, you can minimize the risk of damage to your GPU and motherboard during the removal process. Now, let’s move on to the tools required for removing the GPU.
Tools Required to Remove the GPU
When removing a GPU from the motherboard, you will need a few essential tools to ensure a successful removal process. Here are the tools you will need:
- Screwdriver: Depending on the type of GPU and its mounting mechanism, you may need a Phillips screwdriver or a Torx screwdriver. Check the user manual or visually inspect the GPU to determine the correct type.
- Anti-Static Wristband: An anti-static wristband is used to prevent the buildup and discharge of static electricity, which can damage sensitive electronic components. It is highly recommended to use one during the removal process.
- Cleaning Supplies: It’s always a good idea to have some cleaning supplies on hand. Isopropyl alcohol and lint-free cloths can be used to clean the GPU contacts or remove any dust or debris that may have accumulated on the GPU or motherboard.
- Compressed Air Canister: Compressed air canisters are useful for blowing away dust and debris from hard-to-reach areas, such as the PCIe slot or the GPU heatsink. This helps maintain optimal cooling performance and prevents overheating.
- Thermal Paste and Applicator: If you plan to remove the GPU heatsink for cleaning or reapplication of thermal paste, you will need high-quality thermal paste and an applicator. Thermal paste helps to ensure proper heat transfer between the GPU and the heatsink.
- Static-Free Work Surface: Find a static-free work surface to place the GPU during the removal process. This can be an anti-static mat or even the original GPU packaging foam. Avoid working on surfaces that generate static, such as carpets or clothing.
Having these tools readily available will help you perform the GPU removal process with ease and prevent any unnecessary complications. Make sure to gather all the necessary tools before starting the removal process. Next, we will provide you with a step-by-step guide on removing the GPU from the motherboard.
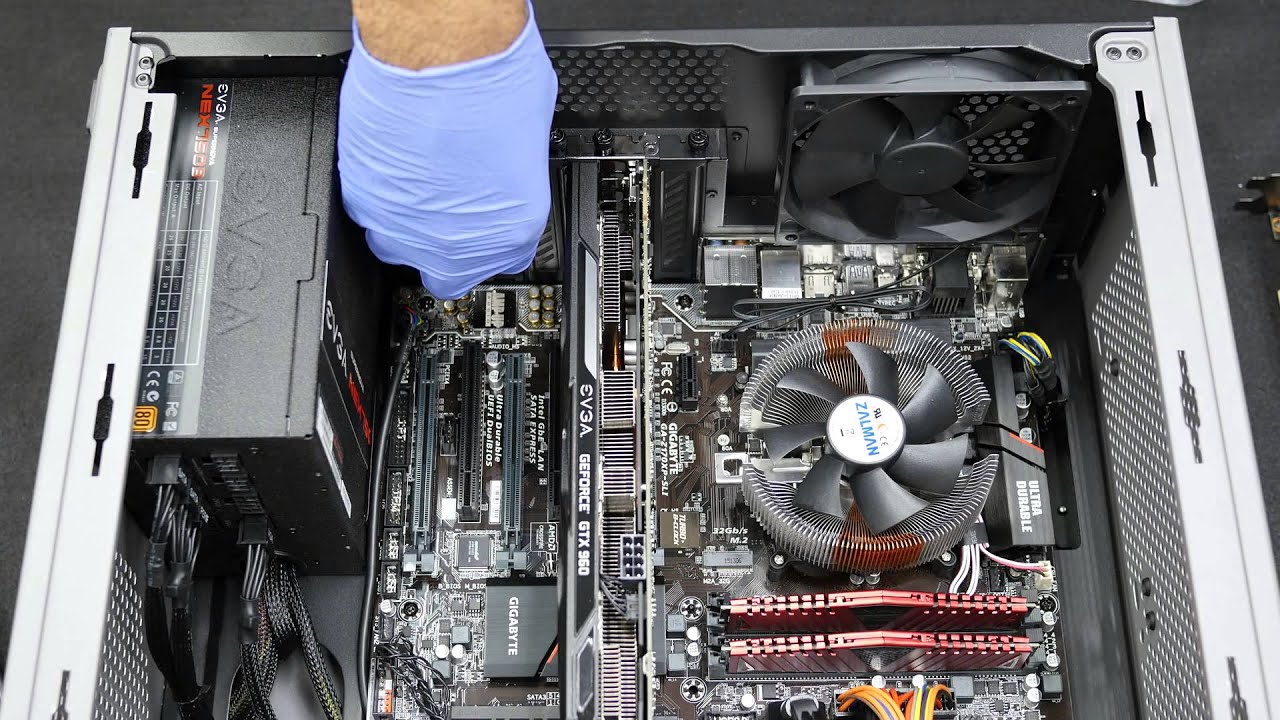
Step-by-Step Guide on Removing the GPU from the Motherboard
Follow these step-by-step instructions to safely remove the GPU from the motherboard:
- Power down your computer: Ensure that your computer is completely powered off and unplugged from the power source. This will prevent any potential electrical accidents.
- Open your computer case: Remove the side panel of your computer case to gain access to the internal components. Refer to your computer’s manual or manufacturer’s instructions for guidance, as the process may vary depending on the case model.
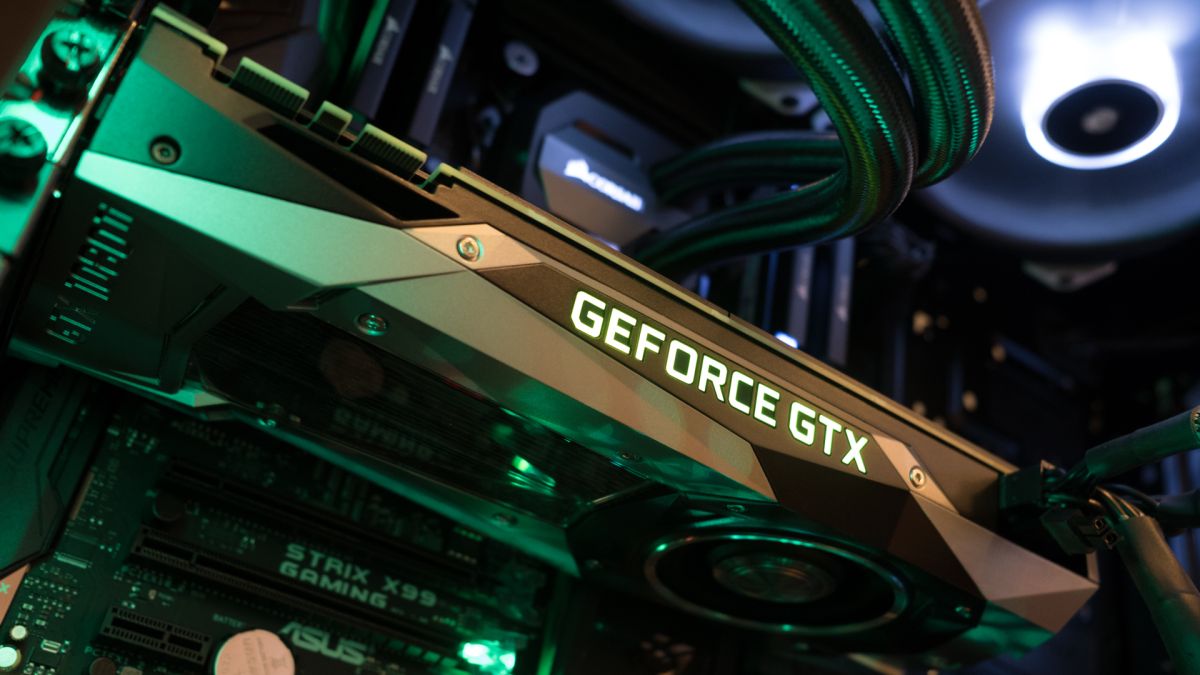
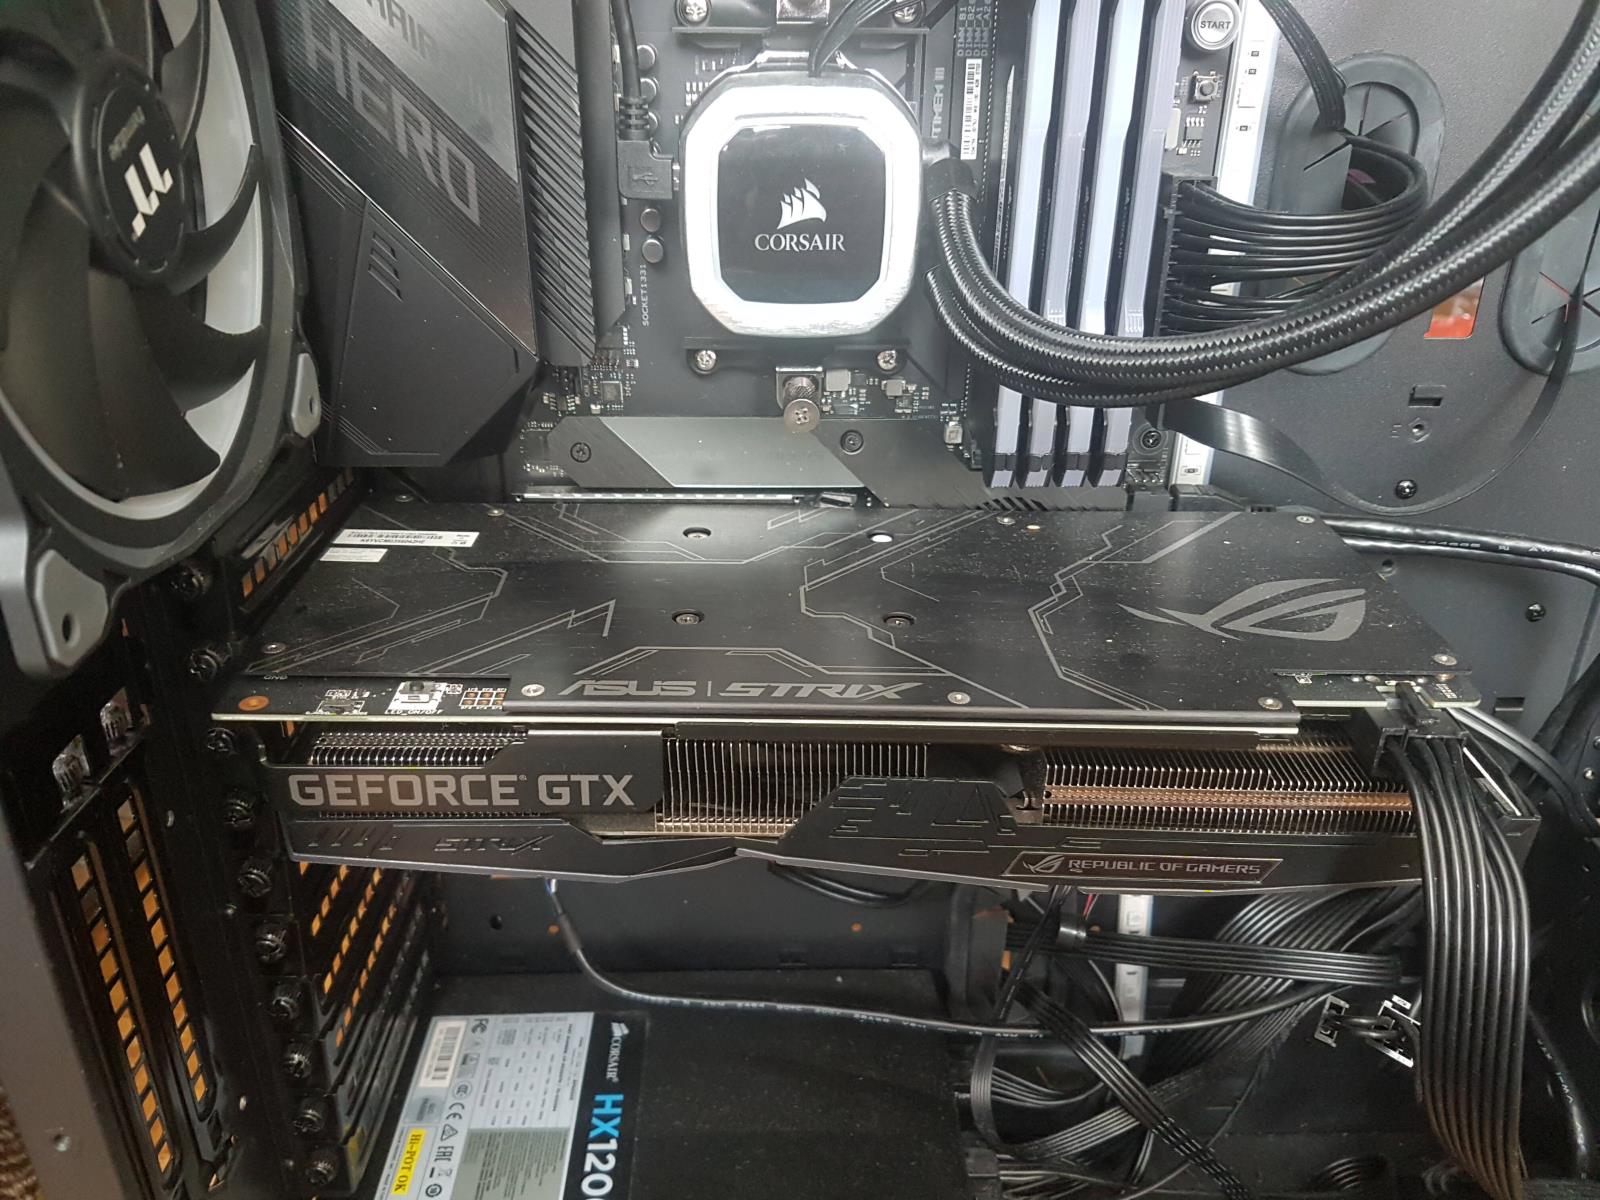
- Locate the GPU: Identify the GPU and locate the PCIe slot it is connected to on the motherboard. The GPU is typically situated in the topmost PCIe x16 slot.
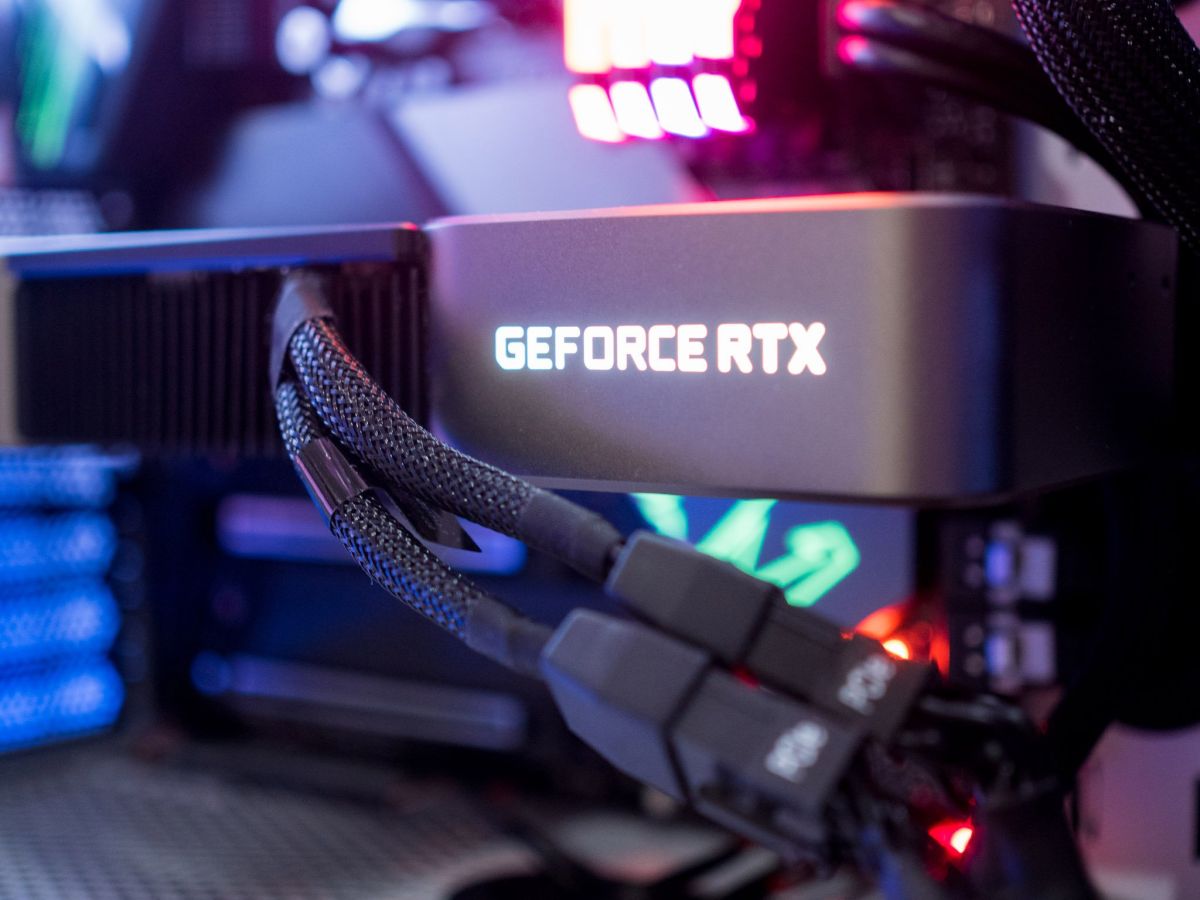
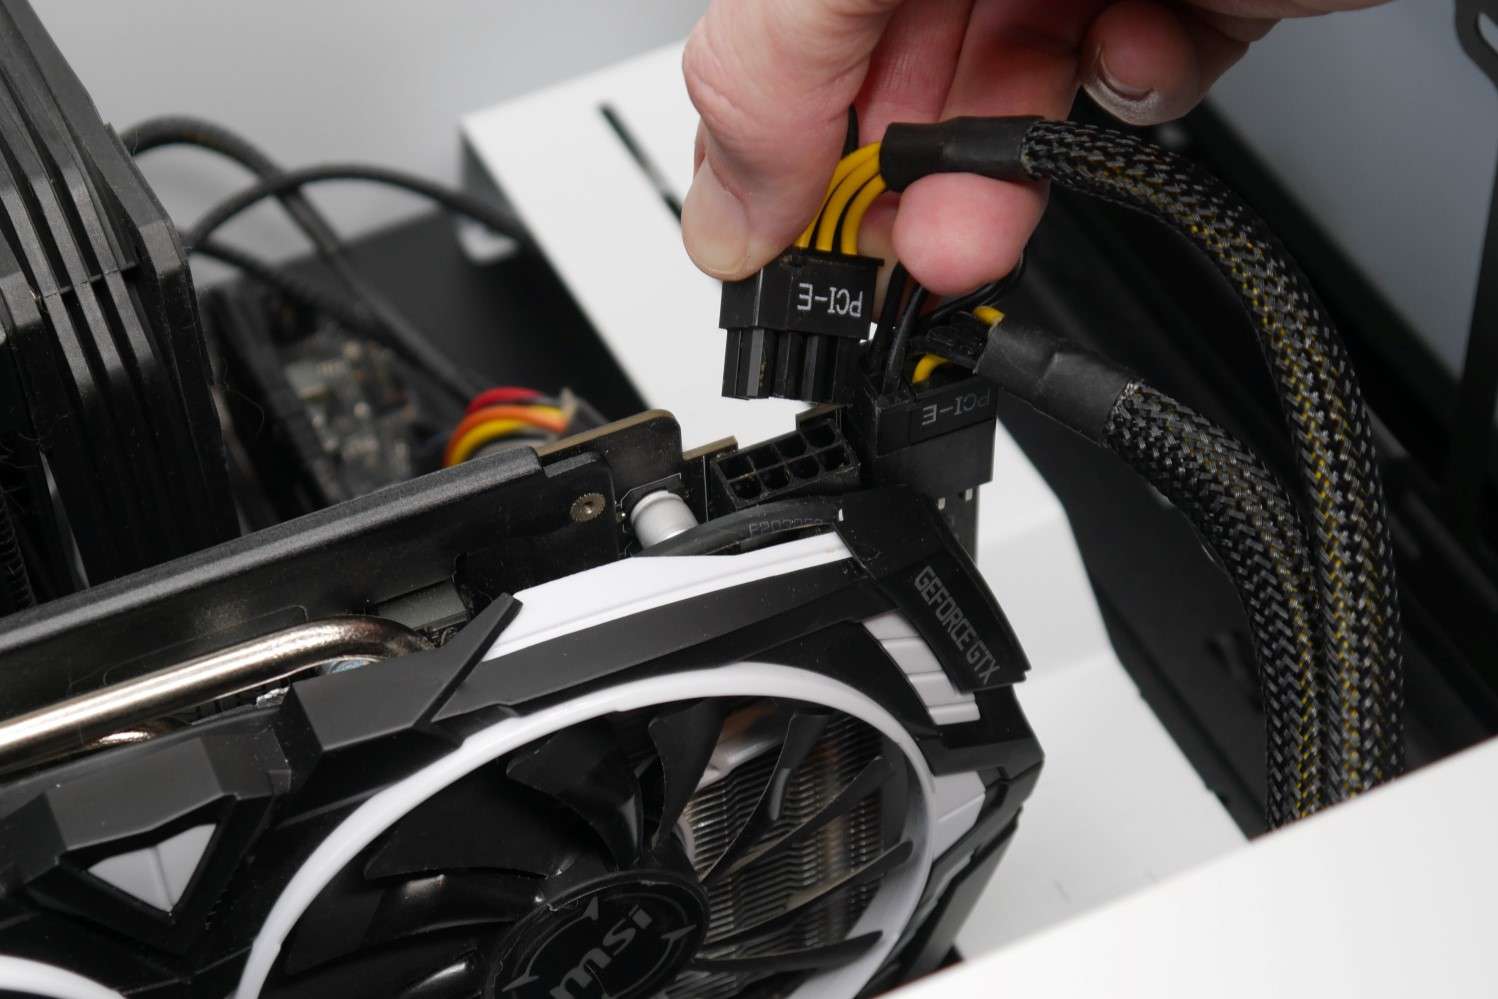
- Disconnect power connections: If your GPU requires additional power connections, such as PCIe power cables, disconnect them from both the GPU and the power supply unit (PSU). Push down on the plastic clip or lock tab before gently pulling the cable out.
- Remove the GPU mounting screws: Depending on the GPU model, there may be one or more screws securing the GPU to the case or the PCIe slot. Use the appropriate screwdriver to remove these screws, carefully place them aside, and set them aside in a safe place for reinstallation later.
- Release the PCIe slot lock: On the motherboard, locate the PCIe slot lock tab that secures the GPU in place. Gently push down or pull back the tab to release the GPU from the slot. Be mindful of any resistance, and do not force the GPU out.
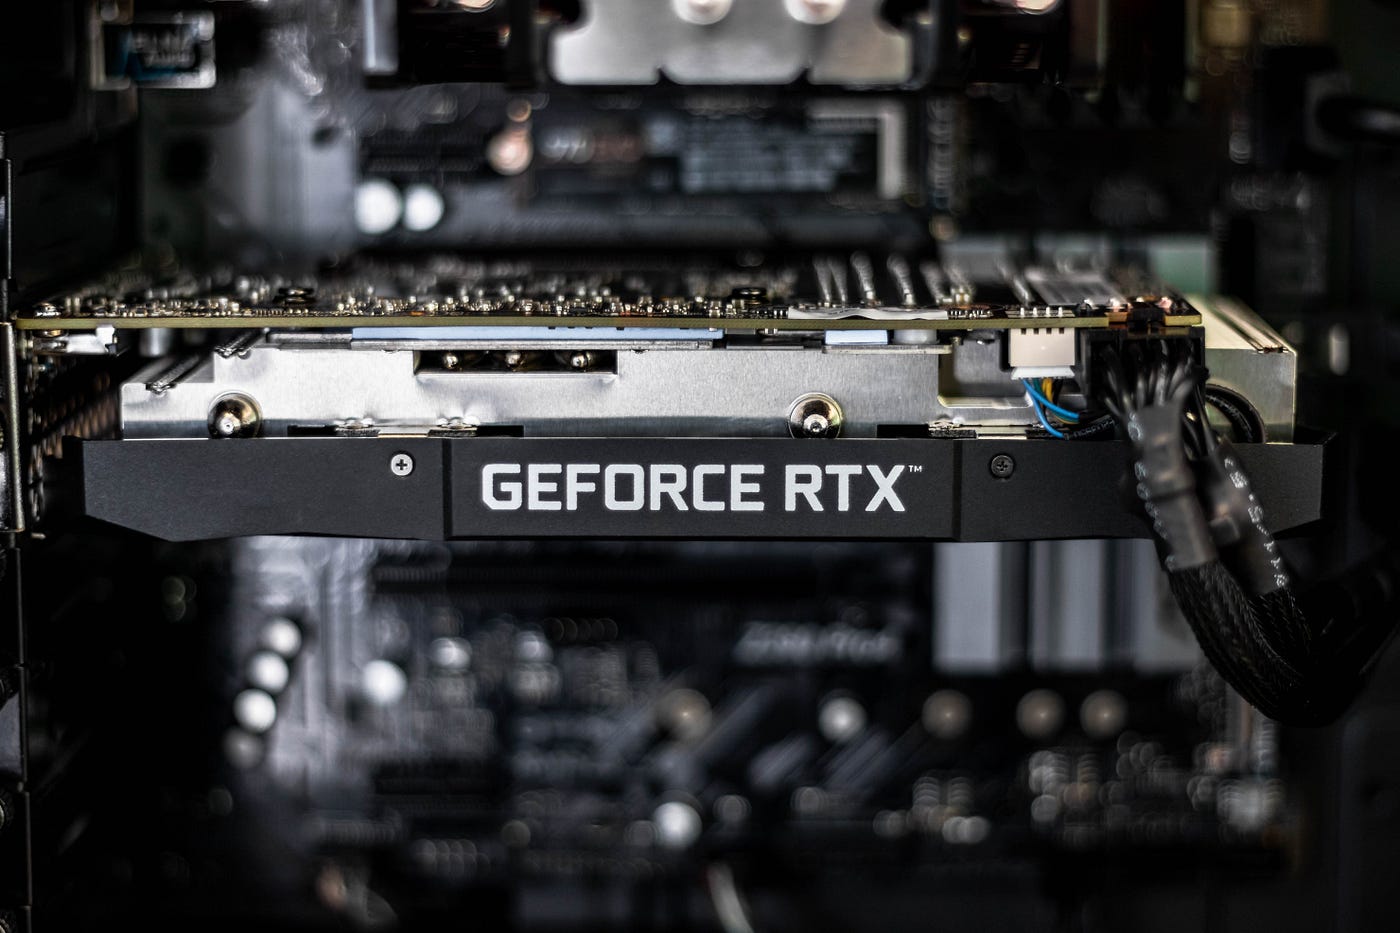
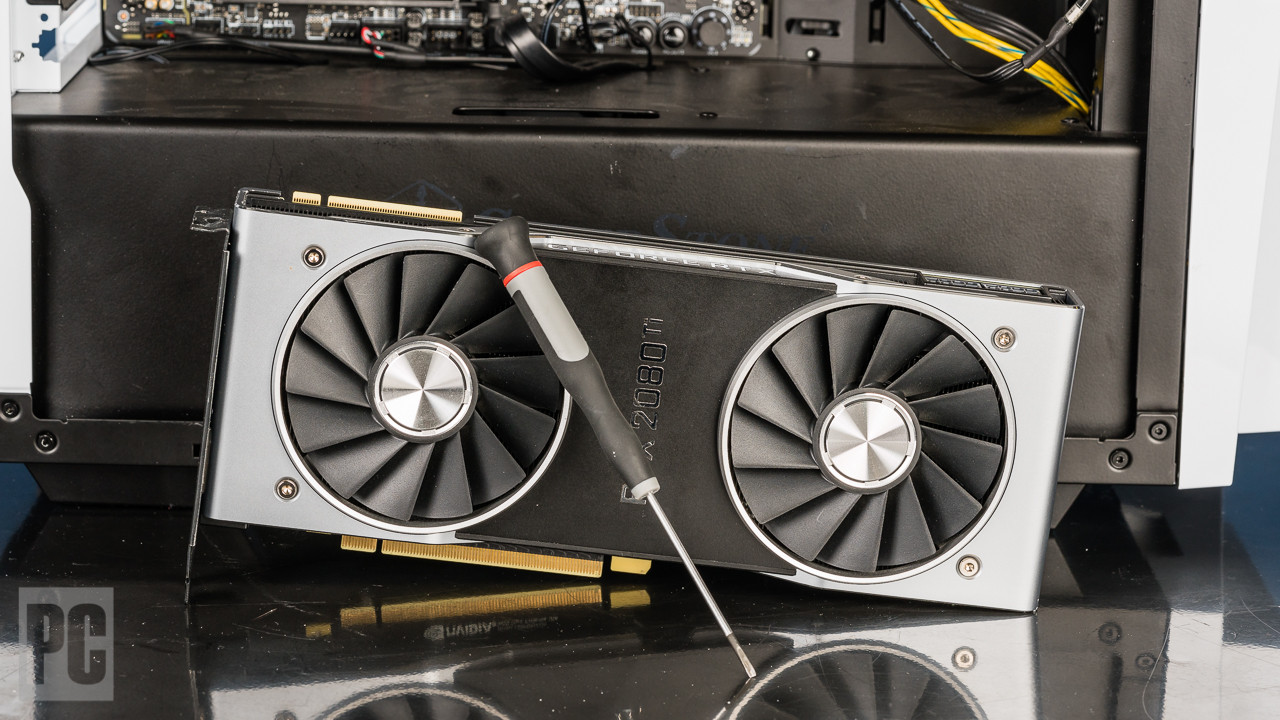
- Remove the GPU: Grasp the GPU by its edges and carefully pull it straight out of the PCIe slot. Take care not to touch the gold contacts on the GPU or the PCIe slot. Place the GPU on the static-free work surface.
- Store the GPU safely: If you plan to reinstall the GPU or repurpose it, store it in an anti-static bag or wrap it in an anti-static material to protect it from static electricity while it is not in use.
Remember, it’s essential to follow these steps precisely and handle the GPU with care to prevent damage. Take your time and double-check that all necessary connections and screws have been properly removed before attempting to remove the GPU.
Now that you’ve successfully removed the GPU, let’s move on to the next section, where we discuss troubleshooting common issues that may arise during the GPU removal process.
Troubleshooting Common Issues During GPU Removal
While removing a GPU from the motherboard is a relatively straightforward process, there are some common issues that may arise. Here are a few troubleshooting tips to help you overcome these challenges:
- Stuck GPU: If the GPU is not easily coming out of the PCIe slot, double-check that you have released the PCIe slot lock tab completely. Apply gentle, even pressure while pulling the GPU straight out of the slot. Avoid twisting or bending the GPU as this can cause damage.
- Stubborn Screws: If the GPU mounting screws are difficult to remove, ensure that you are using the correct screwdriver size and applying steady, controlled force. If screws are stripped or stuck, you can try using a rubber band between the screw head and the screwdriver for better grip.
- Residual Thermal Paste: If you plan to clean the GPU or replace the thermal paste, you may encounter stubborn residual thermal paste on the GPU or heatsink. Use isopropyl alcohol and a lint-free cloth or cotton swab to gently remove the old thermal paste. Ensure that you clean both the GPU and the heatsink thoroughly before applying new thermal paste.
- Loose Connections: After removing the GPU, check for any loose connections or cables that may have been unintentionally disconnected or damaged during the removal process. Reattach any disconnected cables securely before proceeding further.
- Compatibility Issues: If you plan to install a new GPU, ensure that it is compatible with your motherboard and power supply. Check the manufacturer’s specifications and requirements for the GPU to ensure a smooth installation process.
If you encounter any other specific issues or difficulties during the GPU removal, consult the GPU manufacturer’s documentation, online forums, or seek assistance from a professional. It’s important to exercise caution and take your time to avoid damage to your components.
With the troubleshooting tips in mind, you should be able to overcome any common issues that may arise during the GPU removal process. Once you have successfully removed the GPU, you can proceed with your intended purpose, whether it be upgrading, troubleshooting, or repurposing.
Now that you have learned how to troubleshoot common issues, let’s conclude this guide.
Conclusion
Removing a GPU from the motherboard is a task that may be necessary for various reasons, such as upgrading, troubleshooting, or maintenance. By following the step-by-step guide provided in this article and taking the necessary precautions, you can safely remove the GPU without causing damage to your components.
We covered the reasons why you might need to remove the GPU, including upgrading to a more advanced model, troubleshooting graphics issues, motherboard maintenance or repair, and preparing the GPU for sale or repurposing. It’s essential to have a clear understanding of why you need to remove the GPU to proceed with the process confidently.
Before beginning the removal process, we discussed the precautions you should take, such as powering down the computer, grounding yourself, referring to user manuals, documenting the current configuration, and creating a safe workspace. These precautions are vital for protecting both yourself and the components from damage.
Additionally, we outlined the tools required for removing the GPU, including a screwdriver, anti-static wristband, cleaning supplies, compressed air canister, thermal paste, and a static-free work surface. Having these tools readily available ensures a smoother removal process.
The step-by-step guide provided detailed instructions on how to remove the GPU from the motherboard, emphasizing the importance of handling the GPU with care and following the correct removal procedure. Furthermore, we discussed troubleshooting common issues that may occur during the GPU removal, such as a stuck GPU, stubborn screws, residual thermal paste, loose connections, and compatibility issues.
By following these guidelines and employing troubleshooting techniques, you can overcome challenges and successfully remove the GPU from the motherboard. Remember to store the GPU safely and take note of the current configuration if you plan to reinstall or repurpose it.
We hope this guide has been helpful in providing you with the necessary information and guidance to remove a GPU from the motherboard. Always consult the manufacturer’s instructions or seek professional assistance if you are unsure about any steps or encounter any difficulties during the process.
Now that you have the knowledge and confidence, you can proceed with removing the GPU when needed, whether it’s for upgrading your system, resolving graphics issues, or performing maintenance tasks. Good luck with your GPU removal journey!