Introduction
When it comes to building a powerful computer, understanding the different components and how they work together is essential. Two crucial components that play a significant role in a computer’s performance are the Graphics Processing Unit (GPU) and the Motherboard. The GPU is responsible for handling graphics-intensive tasks, while the motherboard acts as the central hub that connects all the components of a computer system.
In this article, we will explore the relationship between the GPU and the motherboard, particularly focusing on where the GPU goes on the motherboard. We will discuss the purpose of the GPU, the function of the motherboard, and how the two are interconnected.
Whether you are a gaming enthusiast, a content creator, or simply interested in the technical aspects of computers, understanding where the GPU goes on the motherboard is essential for optimizing your machine’s performance. By the end of this article, you will have a clear understanding of how to install a GPU on the motherboard and the factors to consider during the installation process.
What is a GPU?
A Graphics Processing Unit (GPU) is a specialized electronic circuit that is designed to handle and accelerate the rendering of images, animations, and videos on a computer. Unlike the Central Processing Unit (CPU), which is responsible for general-purpose tasks, the GPU is specifically optimized for performing complex mathematical and geometric calculations required for rendering graphics.
The GPU is an essential component in modern computers, especially for tasks that require intense visual processing, such as gaming, video editing, 3D modeling, and scientific simulations. It excels at parallel processing, allowing it to handle multiple data streams simultaneously and deliver fast and efficient performance. Additionally, GPUs are equipped with dedicated memory known as Video RAM (VRAM), which further enhances their ability to handle large amounts of visual data.
Over the years, GPUs have become more powerful and sophisticated, with advancements in technology and manufacturing processes. They now incorporate hundreds or even thousands of processing cores to handle complex computational tasks in parallel. This parallel processing capability makes them highly efficient in performing tasks that involve rendering and manipulating visual elements in real-time.
In recent times, GPUs have also found applications beyond traditional graphics processing. They are increasingly used in artificial intelligence and machine learning tasks, where they excel at training and running deep neural networks due to their high computational power and ability to process large datasets quickly.
GPUs are typically connected to the motherboard through a dedicated expansion slot, known as a PCI Express (PCIe) slot. This connection allows the GPU to communicate with the CPU and other components on the motherboard efficiently. The GPU communicates with the CPU by sending and receiving data through the PCIe bus, ensuring synchronized operations and seamless data transfer between the two components.
What is a Motherboard?
The motherboard is the primary circuit board in a computer system that serves as the foundation for connecting and integrating all the essential components. It acts as a central hub, providing communication channels and power distribution to ensure the smooth operation of various hardware components.
The motherboard contains several key components, including the CPU socket, memory slots, expansion slots, connectors for storage devices, and ports for input/output devices. These components collectively facilitate the interaction between the CPU, RAM, GPU, storage devices, and other peripherals.
One of the most critical functions of the motherboard is to provide a pathway for data exchange between all the components in the system. It achieves this by utilizing buses, which are electrical pathways or channels that enable data transfer between different hardware components. The motherboard typically contains several buses, including the front side bus (FSB) or system bus, which connects the CPU to the memory and other components. Additionally, expansion slots, such as PCIe slots, allow for the installation of graphics cards, sound cards, and other peripherals.
Furthermore, the motherboard houses the BIOS (Basic Input/Output System) firmware, which is responsible for initializing and configuring the computer’s hardware during the boot-up process. The BIOS also provides a user interface for accessing and modifying system settings, such as the CPU clock speed, memory timings, and boot order.
Additionally, the motherboard provides the necessary power connections to the various components within the system. It distributes power from the power supply unit (PSU) to the CPU, GPU, memory, and other devices through specialized connectors.
In summary, the motherboard is the central nervous system of a computer system, providing connectivity, communication, power distribution, and system configuration. It plays a vital role in ensuring the smooth and efficient operation of all the components, including the GPU, CPU, memory, and storage devices. Understanding the functionality and capabilities of the motherboard is crucial when building or upgrading a computer system.
The Purpose of a GPU
The primary purpose of a GPU (Graphics Processing Unit) is to handle graphics-intensive tasks, such as rendering images, videos, and animations, with exceptional speed and efficiency. While the CPU (Central Processing Unit) is responsible for general-purpose computing, the GPU specializes in parallel processing, making it specifically designed for graphics-related tasks.
One of the key functions of a GPU is to render 3D graphics in real-time. Whether it’s the lifelike landscapes in video games or complex visual effects in movies, the GPU’s powerful processing capabilities enable the creation of realistic and immersive experiences. By rapidly performing calculations on large amounts of data, the GPU can generate high-resolution images and fluid animations, delivering stunning visuals and smooth gameplay.
Besides gaming, GPUs also find application in other areas that involve graphics processing. Graphic designers and video editors rely on GPUs for tasks like image and video manipulation, color grading, and 3D rendering. The parallel processing power of GPUs significantly speeds up these tasks, allowing professionals to work more efficiently and meet tight deadlines.
In recent years, GPUs have gained popularity in the field of artificial intelligence (AI) and machine learning (ML). Their parallel processing capabilities excel at handling the vast amount of data and complex calculations required for training deep neural networks. The GPU’s ability to perform numerous operations simultaneously enables faster model training and more accurate predictions, revolutionizing many industries.
Furthermore, GPUs play a vital role in cryptocurrency mining. With the rise of digital currencies, GPUs are extensively used to perform the complex mathematical calculations necessary for mining and verifying transactions. Their ability to handle massive amounts of data and perform repetitive computations makes them ideal for this task.
Overall, the purpose of a GPU is to accelerate graphics processing tasks, providing superior performance, visual quality, and computational power. Whether it’s for gaming, multimedia production, AI, or cryptocurrency mining, the GPU’s specialized architecture and parallel processing capabilities make it an indispensable component in modern computer systems.
The Connection between GPU and Motherboard
The GPU (Graphics Processing Unit) and the motherboard are interconnected components in a computer system, working together to facilitate graphics processing and overall system performance. The connection between the GPU and the motherboard is established through a dedicated expansion slot, usually a PCI Express (PCIe) slot.
The PCIe slot provides a high-speed data pathway for communication between the GPU and the rest of the computer system. This connection allows the GPU to send and receive data to and from the CPU, RAM, and other peripheral devices connected to the motherboard. The PCIe slot also provides direct access to the system’s memory, enabling the GPU to rapidly fetch and process data required for graphics rendering.
Modern GPUs utilize PCIe x16 slots, which offer significant bandwidth for efficient data transfer. The x16 designation indicates that the slot provides 16 lanes for data transmission, maximizing the GPU’s potential throughput. However, some motherboards may also feature PCIe x8 or x4 slots, which offer reduced bandwidth and may impact performance for high-end GPUs. It’s important to ensure that the motherboard and GPU are compatible in terms of slot configuration to optimize performance.
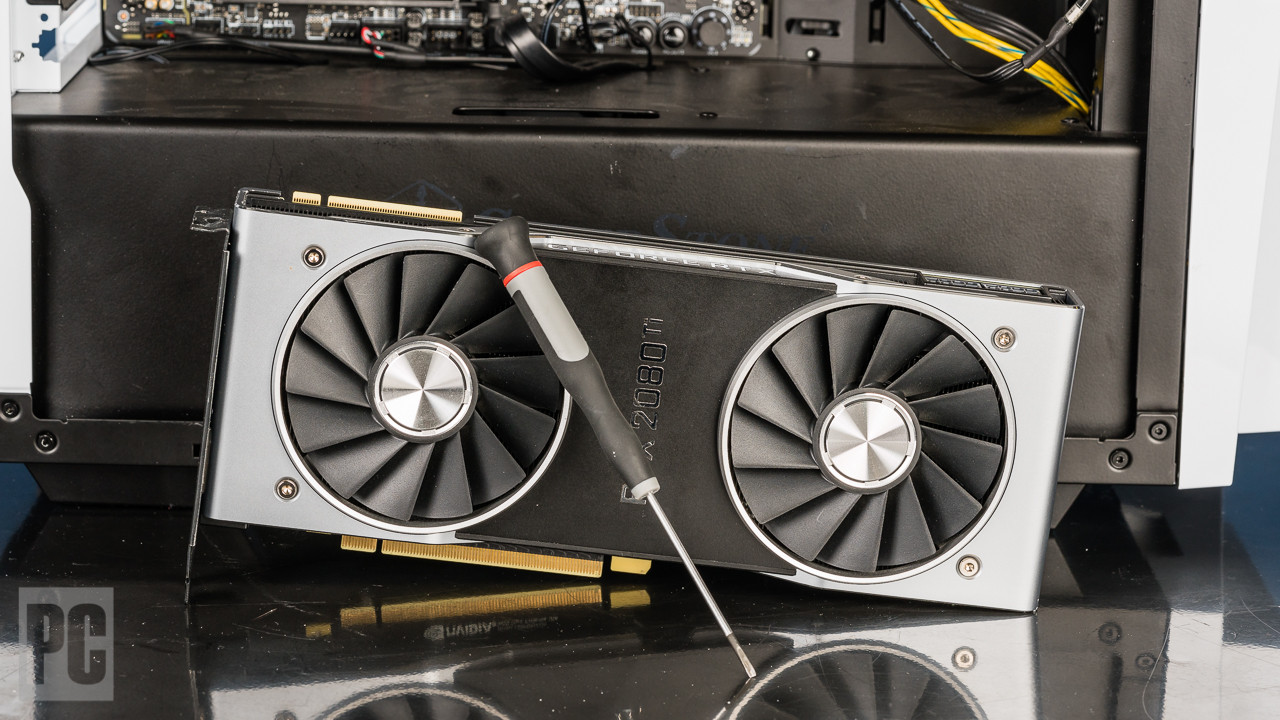
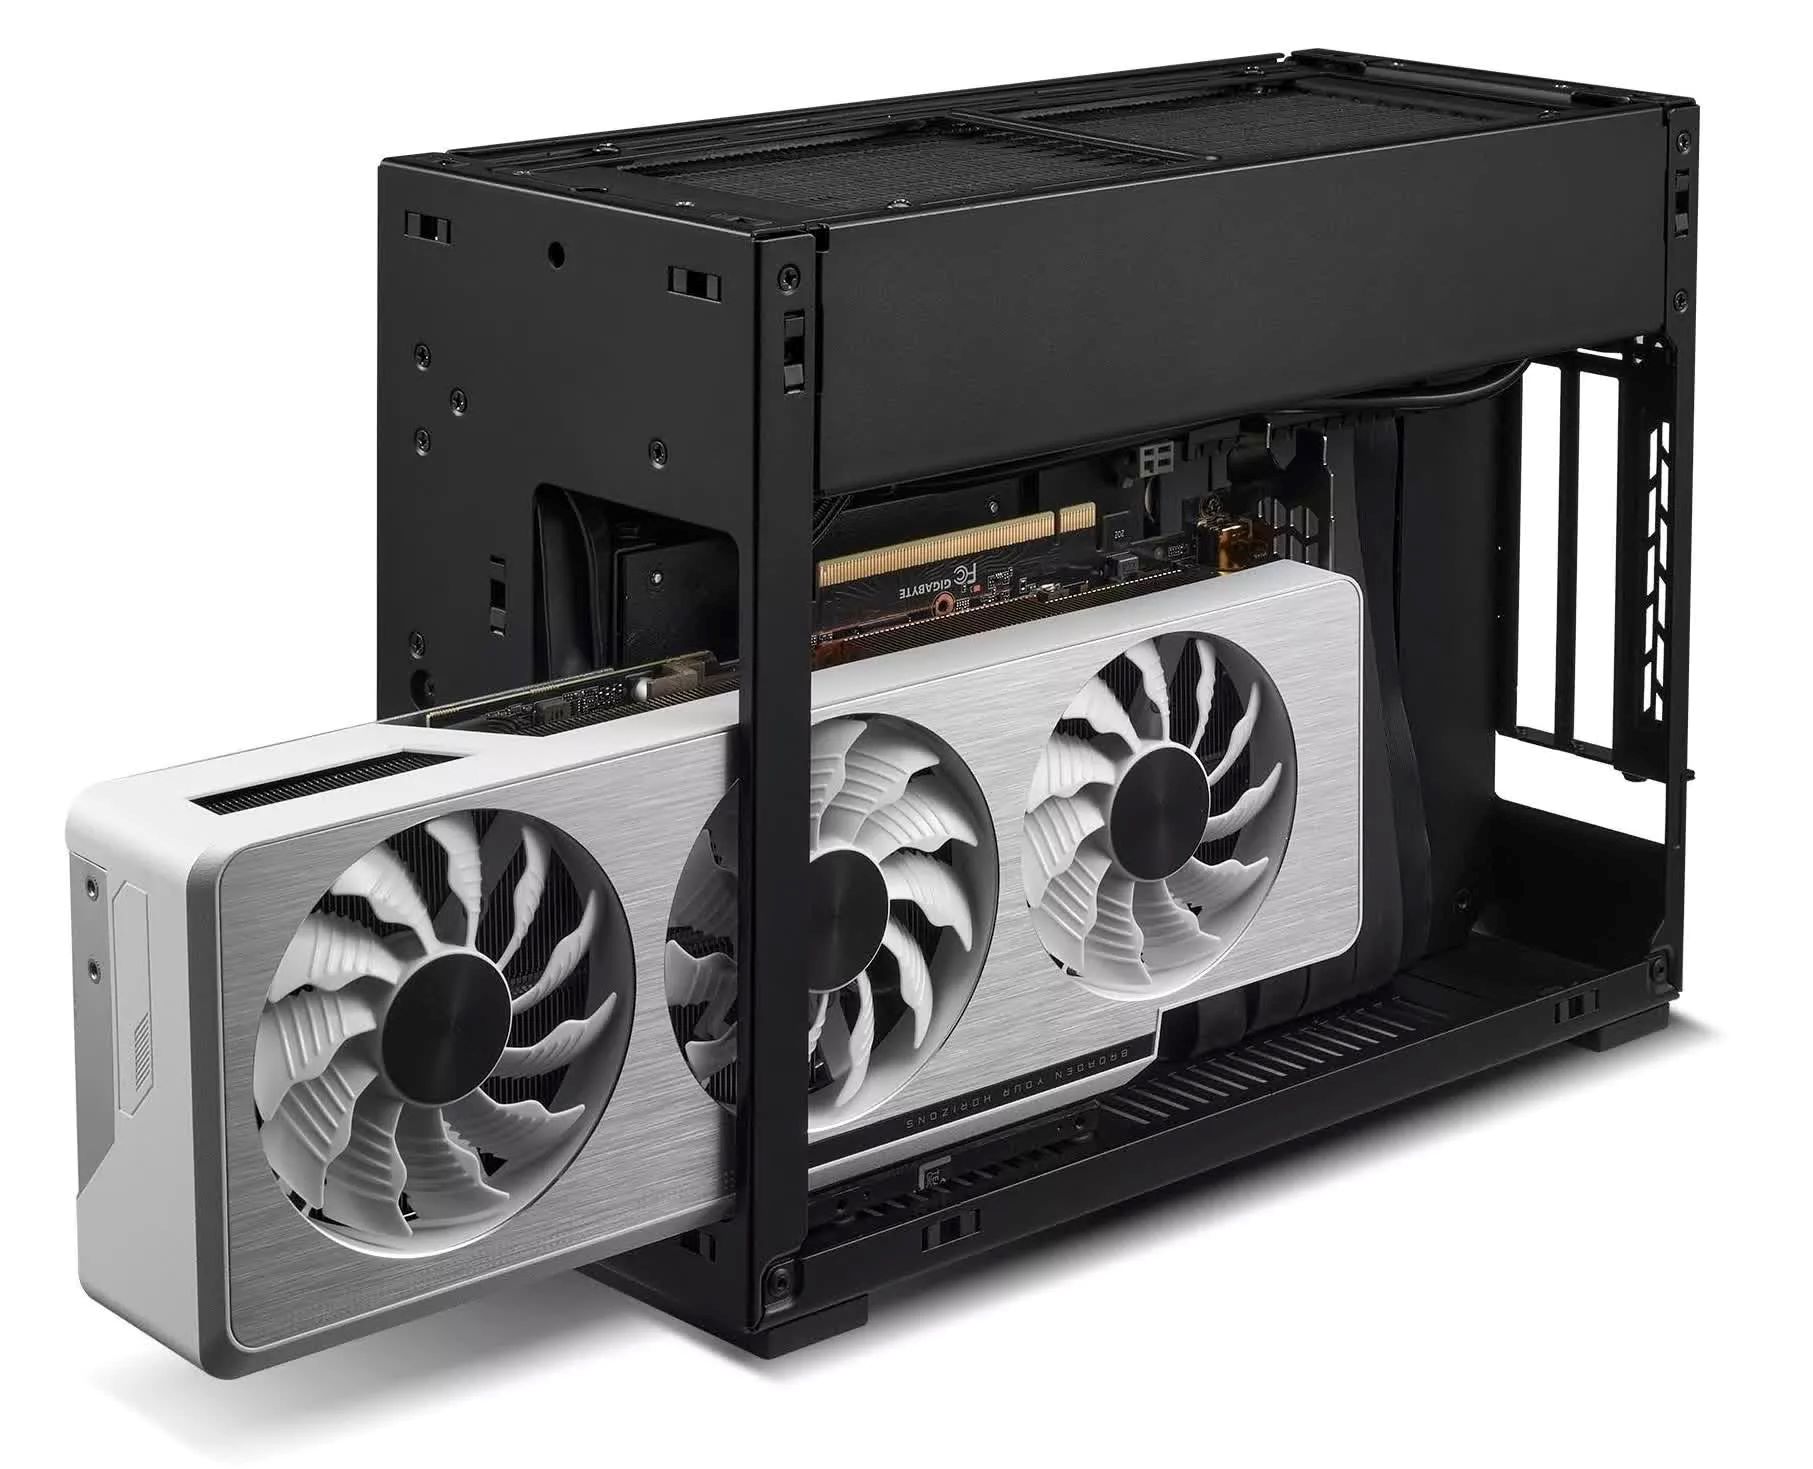
To establish the connection between the GPU and the motherboard, the GPU is physically inserted into the appropriate PCIe slot. This process typically involves aligning the graphics card with the slot and gently pushing it into place until it securely fits into the slot. It is crucial to ensure that the GPU is properly seated and aligned with the slot to avoid any connectivity issues or damage to the components.
Once the GPU is connected to the motherboard, the system BIOS recognizes the graphics card during the boot-up process. The BIOS configures the necessary settings and initializes the GPU for operation, ensuring proper communication between the GPU, CPU, and other components.
It’s worth noting that some high-end motherboards offer multiple PCIe slots, allowing for the installation of multiple graphics cards in a configuration known as SLI (NVIDIA) or CrossFire (AMD). This setup enables increased graphics processing power by combining the capabilities of multiple GPUs. However, enabling SLI or CrossFire requires specific motherboard and GPU compatibility and appropriate driver configuration.
In summary, the connection between the GPU and the motherboard is established through a dedicated PCIe slot. This connection enables high-speed data transfer and allows the GPU to communicate with the CPU, RAM, and other peripherals efficiently. Proper installation and alignment of the GPU in the PCIe slot are crucial to ensure a reliable and optimized connection between the two components, ultimately delivering superior graphics processing performance.
Placement of the GPU on the Motherboard
When it comes to installing a GPU (Graphics Processing Unit) on a motherboard, proper placement and alignment are crucial for optimal performance and stability. The GPU is physically inserted into a dedicated expansion slot on the motherboard, typically a PCI Express (PCIe) slot. Here, we will discuss the placement process and considerations for installing the GPU on the motherboard.
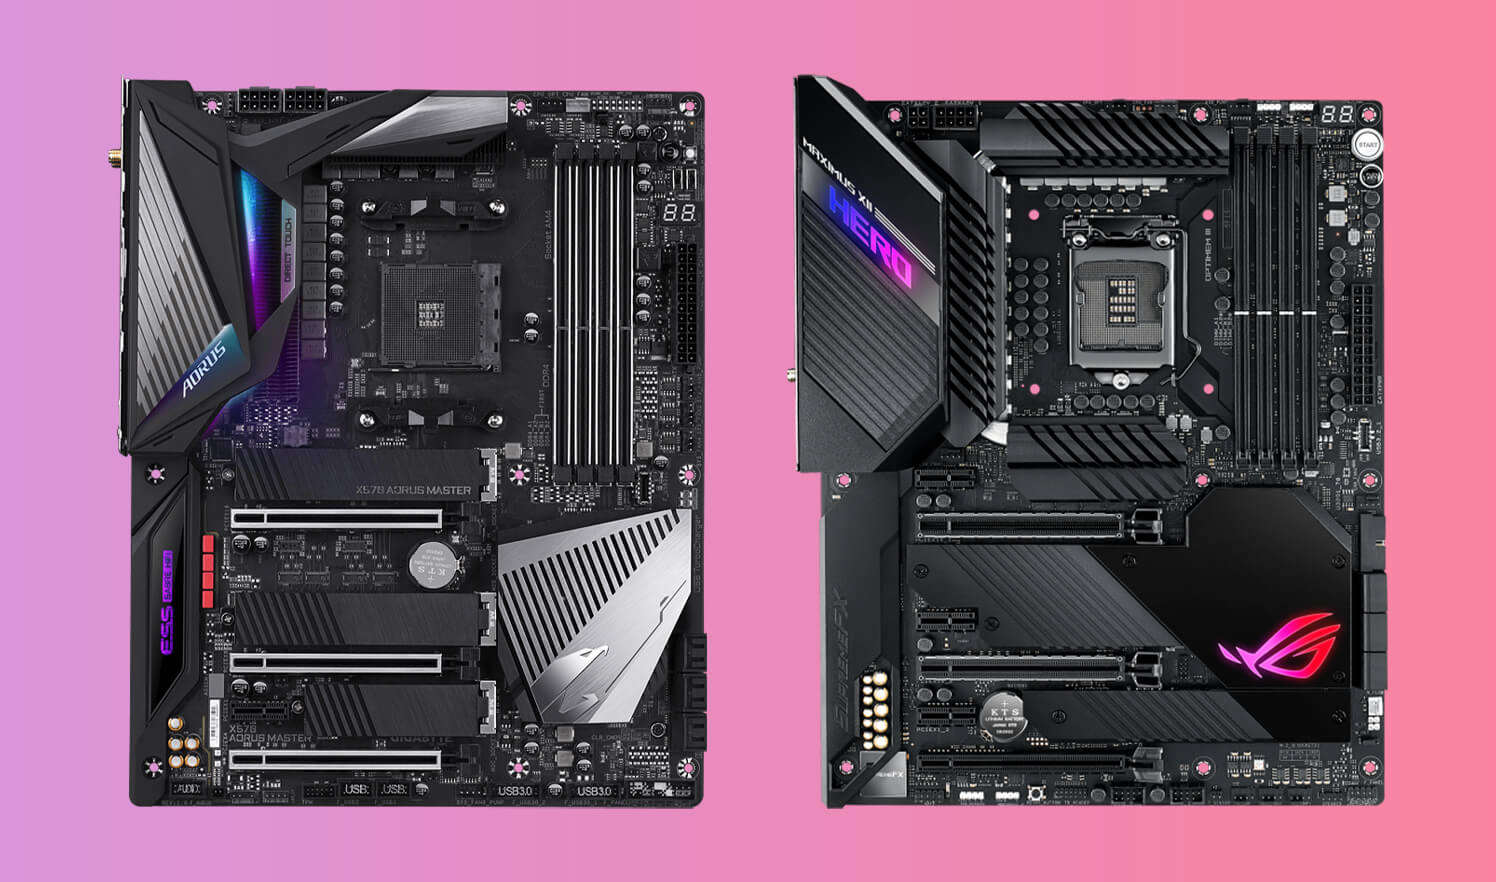
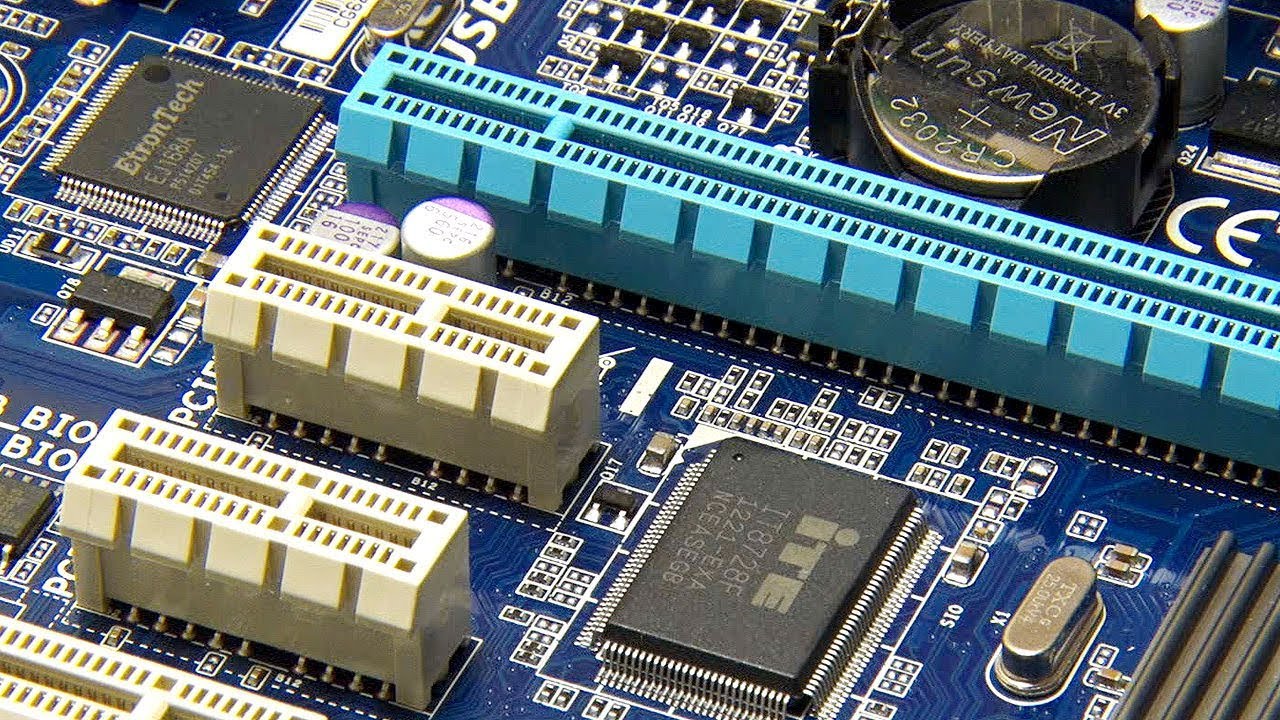
First, it’s important to locate the PCIe slot on the motherboard where the GPU will be inserted. PCIe slots are typically longer and situated close to the CPU socket. The specific slot for the GPU installation may vary depending on the motherboard’s layout and design. Refer to the motherboard’s documentation or markings on the motherboard itself to identify the correct slot.
Once the appropriate slot is identified, ensure that there is sufficient space in the computer case to accommodate the length of the GPU. High-end graphics cards can be quite sizable, so it’s important to verify that there is adequate clearance and no obstructions, such as cables or other components, that may interfere with the GPU’s placement.
To install the GPU, gently align the graphics card’s connector with the PCIe slot on the motherboard. The PCIe slot has a latch or retention clip on one end, which will secure the GPU in place. Align the connector with the slot and carefully insert the graphics card into the slot, applying even pressure until it is fully seated. Ensure that the graphics card is inserted straight and does not wobble or tilt.
Once the GPU is in place, push the retention clip or latch into position to secure the graphics card. The clip should audibly click into place, ensuring that the GPU is held securely. This latch is designed to prevent accidental removal or dislodging of the GPU.
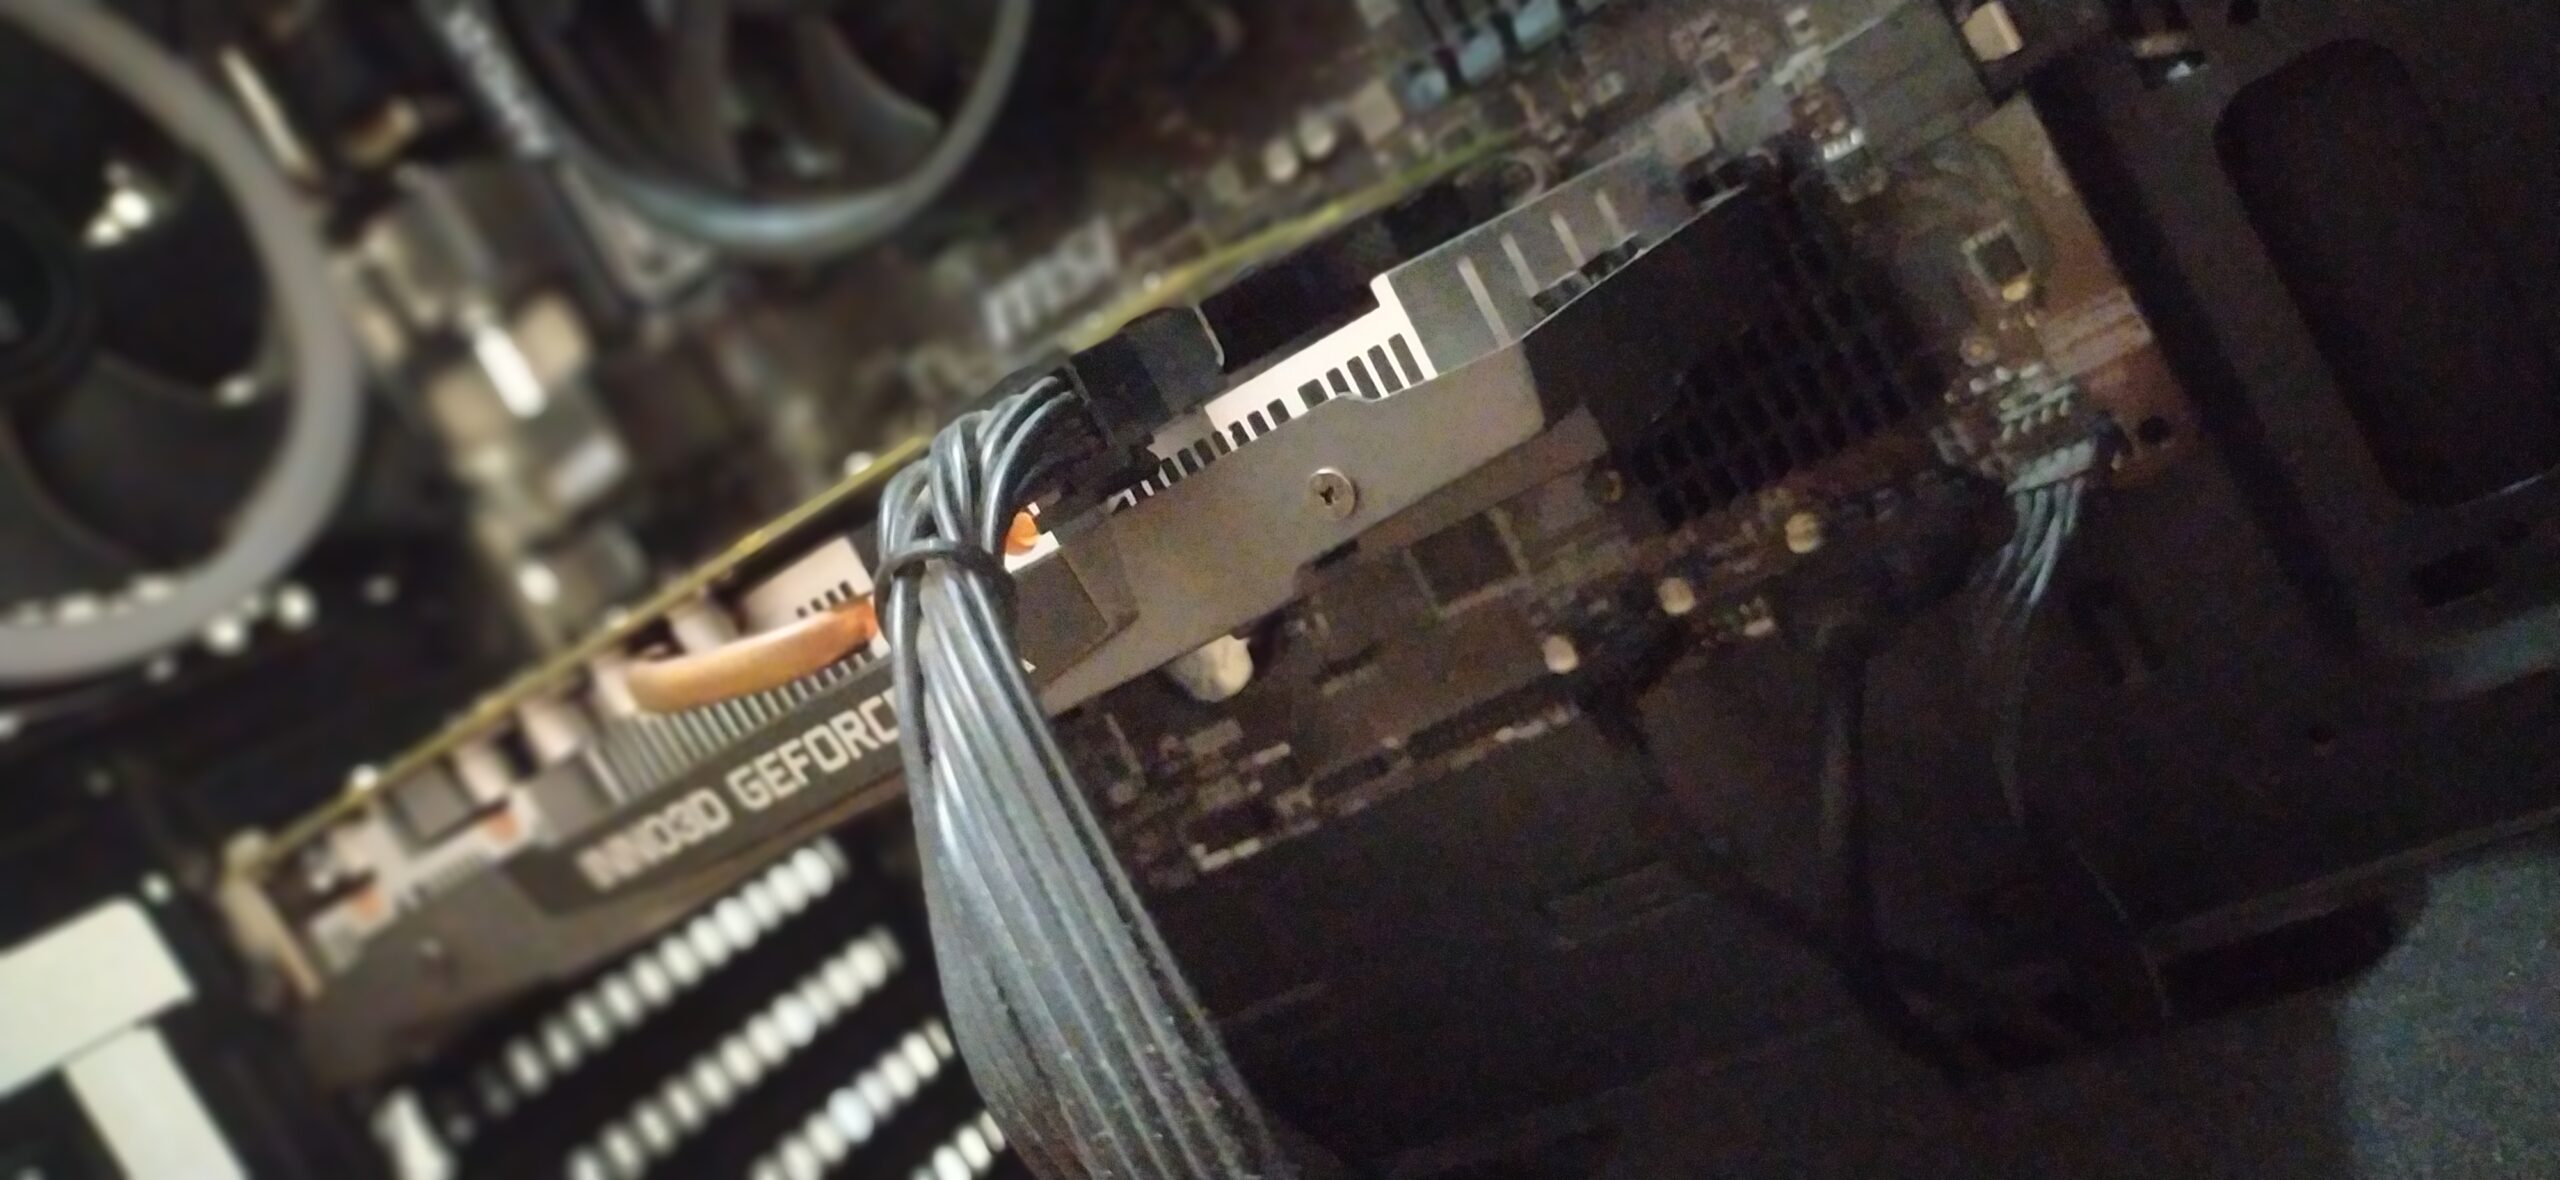
After inserting the GPU, double-check that all necessary power connectors are securely connected to the graphics card. High-performance GPUs often require additional power connections, typically in the form of PCIe power connectors. These connectors deliver the necessary power to the GPU for smooth operation. Ensure that the power connectors are firmly inserted, providing a stable power supply to the graphics card.
It’s important to note that some motherboards may have additional support brackets or reinforcement mechanisms to provide added stability to the GPU. These brackets or mechanisms help prevent sagging or flexing of the graphics card, particularly in larger or heavier models. If your motherboard includes such features, follow the manufacturer’s instructions to properly install and secure the GPU.
Finally, once the GPU is securely installed and all connections are in place, reassemble the computer case, ensuring that all cables, connectors, and components are properly arranged and secured. Power on the system and verify that the GPU is recognized by the system BIOS during the boot-up process.
In summary, the placement of the GPU on the motherboard involves aligning the graphics card with the appropriate PCIe slot, securing it in place with the retention clip, and ensuring all necessary power connectors are connected. Taking the necessary precautions and following the manufacturer’s instructions will ensure that the GPU is installed correctly, promoting optimal performance and stability.
Factors to Consider when Installing a GPU on the Motherboard
When installing a GPU (Graphics Processing Unit) on a motherboard, there are several important factors to consider to ensure successful installation and optimal performance. These considerations will help you choose a compatible GPU for your motherboard and ensure smooth operation without any compatibility or performance issues. Here are some key factors to keep in mind:
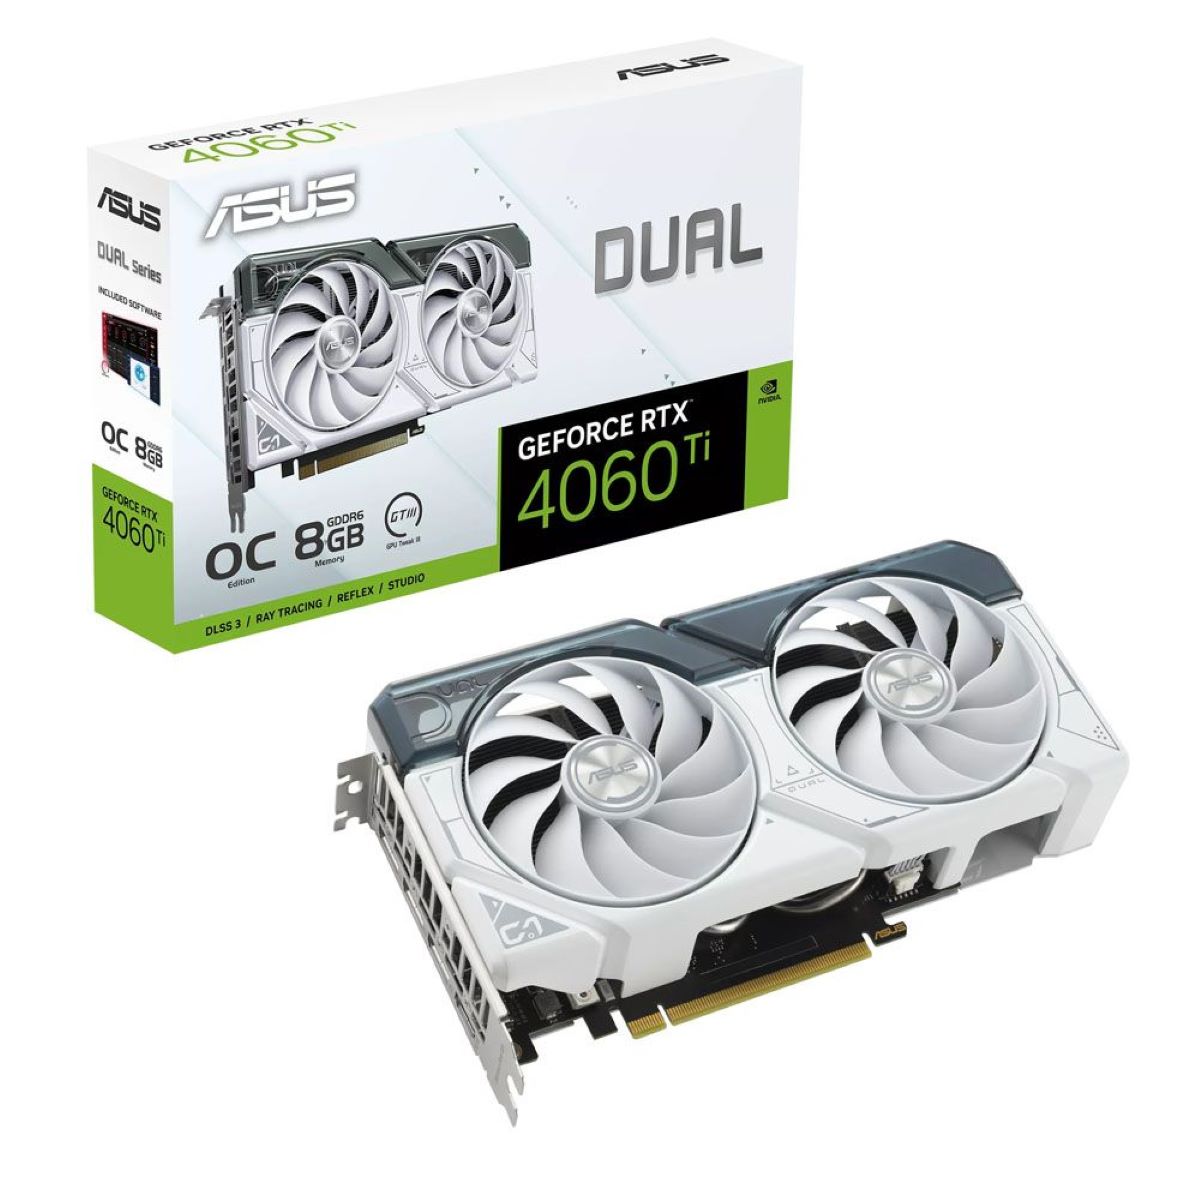
1. Compatibility: Make sure that the GPU you choose is compatible with your motherboard. Check the motherboard’s specifications and ensure it has the necessary PCIe slot to accommodate the GPU. Additionally, consider the power requirements and compatibility of the power supply unit (PSU) with the GPU.
2. PCIe Slot: Identify the appropriate PCIe slot on the motherboard for GPU installation. Determine the number of PCIe lanes available in the slot, as this can affect the GPU’s potential performance. For optimal performance, high-end GPUs usually require a PCIe x16 slot, which provides maximum bandwidth.
3. Physical Dimensions: Consider the physical dimensions of the GPU and ensure it fits within the computer case. Some graphics cards can be quite large, so make sure there is sufficient space and proper clearance to install the GPU without any obstructions.
4. Power Requirements: Verify the power requirements of the GPU and ensure your PSU can provide sufficient power. High-performance GPUs often require dedicated PCIe power connectors. Check that your PSU has the necessary connectors and wattage to support the GPU’s power demands.
5. Cooling and Airflow: GPUs generate significant heat during operation, so ensure that your computer case has adequate cooling and airflow. Check if the GPU has its own cooling system or requires additional cooling solutions such as case fans or liquid cooling.
6. Driver Compatibility: Before installing the GPU, ensure that you have the latest drivers available from the GPU manufacturer. These drivers are essential for optimal performance and compatibility with your operating system.
7. Upgrading Existing GPU: If you are upgrading your existing GPU, remove the old GPU’s drivers using proper uninstallation tools and clean the PCIe slot before installing the new GPU. This ensures a fresh start and avoids any conflicts with the new GPU.
8. System Requirements: Consider the overall system requirements of the GPU, especially if you are using the computer for gaming or resource-intensive tasks. Check the minimum system requirements for the GPU and ensure that your CPU, RAM, and other components meet or exceed these requirements for optimal performance.
By considering these factors when installing a GPU on the motherboard, you can ensure compatibility, optimize performance, and avoid any potential issues that may arise during the installation process.
Steps to Install a GPU on the Motherboard
Installing a GPU (Graphics Processing Unit) on a motherboard requires careful handling and following specific steps to ensure a successful installation. Here is a step-by-step guide on how to install a GPU on the motherboard:
1. Power off the computer: Before starting the installation process, shut down the computer and disconnect the power cord from the power supply unit (PSU). This prevents any potential electric shock and ensures safety during the installation process.
2. Remove the computer case side panel: Open the computer case by removing the side panel. This will provide access to the internal components, including the motherboard and expansion slots.
3. Identify the PCIe slot: Locate the appropriate PCIe slot on the motherboard where the GPU will be inserted. Refer to the motherboard’s documentation or markings on the motherboard to identify the correct slot.
4. Prepare the slot: If there is a protective cover or bracket on the PCIe slot, remove it carefully. Some motherboards may have retention clips or latches on the slot; ensure they are in the open position to allow for GPU insertion.
5. Align the GPU: Gently align the GPU’s connector with the PCIe slot on the motherboard. Ensure that the connectors are properly aligned and that the GPU is placed straight and not at an angle.
6. Insert the GPU: Once aligned, carefully insert the GPU into the PCIe slot. Apply even pressure on the GPU until it is fully seated in the slot. Do not force the GPU; it should insert smoothly if aligned correctly.
7. Secure the GPU: Once the GPU is inserted, push the retention clips or latches into place. These clips will lock the GPU securely in the PCIe slot. Ensure that the GPU is firmly seated and does not wobble or tilt.
8. Connect power to the GPU: If your GPU requires additional power, connect the appropriate PCIe power connectors from the PSU to the GPU. These connectors may vary depending on the GPU model, but they usually include 6-pin or 8-pin power connectors.
9. Reassemble the computer case: Close the computer case by reattaching the side panel. Ensure that all screws or fasteners are securely tightened but not overtightened. Properly route and manage cables to avoid any obstructing or touching the GPU.
10. Power on the computer: Once the GPU is installed and the case is reassembled, reconnect the power cord to the PSU and power on the computer. Check that the GPU is recognized by the system during the boot-up process.
11. Install GPU drivers: Download and install the latest GPU drivers from the manufacturer’s website. These drivers are essential for optimal performance and compatibility with the GPU.
By following these steps, you can successfully install a GPU on the motherboard. It is important to be cautious during the installation process to avoid damaging the components and to ensure a stable connection for optimal performance.
Troubleshooting GPU Installation on the Motherboard
While installing a GPU (Graphics Processing Unit) on a motherboard is typically a straightforward process, there may be instances where issues arise. Here are some common troubleshooting steps to address potential problems during GPU installation:
1. No display output: If you encounter no display output after installing the GPU, ensure that the monitor is connected to the correct port on the graphics card. Also, check that the monitor is turned on and functioning properly. Verify that all power connectors to the GPU are securely connected.
2. GPU not detected: If the GPU is not being recognized by the system, ensure that it is properly seated in the PCIe slot. Check that the retention clips or latches are engaged, holding the GPU securely. In some cases, updating the system BIOS to the latest version may resolve detection issues.
3. Incompatible GPU and motherboard: Verify that the GPU is compatible with the motherboard by checking the motherboard’s specifications and the GPU’s requirements. Check for any BIOS updates for the motherboard that may add support for newer GPUs.
4. Insufficient power supply: If the GPU requires additional power connectors, ensure that the power supply unit (PSU) has the necessary power connectors and wattage to support the GPU’s requirements. Upgrading to a higher wattage PSU may be necessary if power demands exceed the current PSU’s capabilities.
5. Driver issues: Make sure to install the latest GPU drivers from the manufacturer’s website. Outdated or incorrect drivers can cause performance issues or prevent the GPU from functioning correctly. Uninstall any previous GPU drivers before installing the new drivers to avoid conflicts.
6. Check connections and cables: Verify that all cables, connections, and power connectors are securely attached and properly seated. Loose connections or improperly connected cables can lead to display issues or instability.
7. Overheating and cooling issues: If the GPU is experiencing overheating or temperature-related issues, check that the cooling system and case airflow are adequate. Ensure that the GPU’s fans are running correctly, and the heat sinks are free from dust and debris. Installing additional case fans or upgrading to a more efficient cooling solution may be necessary.
8. Clear CMOS: If you have made changes in the system BIOS related to graphics and are experiencing issues, try resetting the CMOS (Complementary Metal-Oxide-Semiconductor) to default settings. Refer to the motherboard’s documentation for instructions on how to clear the CMOS.
If these troubleshooting steps do not resolve the issue, it may be necessary to consult the manufacturer’s support or seek assistance from a professional technician. They can provide further guidance and identify any hardware or compatibility issues that may be causing the problem.
Remember that troubleshooting can vary depending on the specific hardware configuration and software environment, so it’s essential to refer to the documentation provided by the GPU and motherboard manufacturers for accurate troubleshooting steps.
Conclusion
Installing a GPU (Graphics Processing Unit) on a motherboard is a critical step in building or upgrading a computer system. By understanding the purpose of a GPU and the role of the motherboard, you can ensure optimal performance and compatibility. Factors such as compatibility, physical dimensions, power requirements, cooling, and driver installation should be considered during the installation process.
Proper placement of the GPU on the motherboard involves aligning the GPU’s connector with the appropriate PCIe slot and securing it in place with the retention clips. Connecting the necessary power cables and ensuring proper cooling and airflow are also important for maintaining stability and performance.
In the event of any issues during the installation, troubleshooting steps can be taken to address common problems, such as no display output, GPU not being recognized, or driver conflicts. Performing these troubleshooting steps can help identify and resolve the cause of the problem.
When installing a GPU on a motherboard, it is important to follow manufacturer guidelines, consult the motherboard and GPU documentation, and seek professional assistance when needed. Building and maintaining a computer system requires attention to detail and knowledge of the components involved to achieve the best results.
By considering all these factors and following the steps outlined in this article, you can successfully install a GPU on a motherboard and optimize your computer’s graphics processing capabilities. Whether it’s for gaming, content creation, or other demanding tasks, a properly installed GPU can greatly enhance your overall computing experience.