Why Convert Ical to Google Calendar?
Google Calendar and iCal are two popular calendar applications used to manage schedules, appointments, and events. While iCal is the default calendar app for Apple devices, Google Calendar boasts a wide range of features, integration with other Google services, and cross-platform compatibility. Therefore, there are several compelling reasons to convert your iCal files to Google Calendar.
Firstly, Google Calendar offers seamless integration with other Google services such as Gmail, Google Docs, and Google Drive. This integration allows you to easily schedule meetings, set reminders, and attach relevant files or documents directly from your Google account. By converting your iCal events to Google Calendar, you can fully utilize these integrated features and enhance your productivity.
Another benefit of migrating from iCal to Google Calendar is the ability to share your calendar with others. Google Calendar allows you to create and manage multiple calendars, each with different visibility settings. You can choose to share specific calendars with colleagues, family members, or friends, enabling them to view and even edit events on your shared calendar. This collaboration feature is especially useful for coordinating team schedules or planning family events.
Furthermore, Google Calendar provides robust notification options to ensure you never miss an important event. You can set reminders for tasks, receive notifications via email or mobile push notifications, and even customize the timing and frequency of these alerts. By converting to Google Calendar, you can take advantage of these advanced notification features and stay organized and punctual.
In addition, Google Calendar offers seamless synchronization across multiple devices and platforms. Whether you’re using a smartphone, tablet, or computer, you can access and manage your calendar events from anywhere, at any time. This flexibility and accessibility make Google Calendar an ideal choice for individuals who need to sync their calendars across various devices or platforms.
Lastly, Google Calendar provides a user-friendly interface and intuitive navigation, making it easy to create, edit, and manage your events. With its clean design and straightforward functionalities, Google Calendar simplifies the process of organizing your schedule and ensures a smooth user experience.
In summary, converting from iCal to Google Calendar offers a range of advantages, including seamless integration with other Google services, easy sharing and collaboration, advanced notification options, cross-platform synchronization, and a user-friendly interface. By making the switch, you can take full advantage of Google Calendar’s features and enhance your productivity, organization, and efficiency.
Step 1: Export iCal File
If you’re ready to convert your iCal events to Google Calendar, the first step is to export your iCal file. Follow the simple instructions below to export your iCal file:
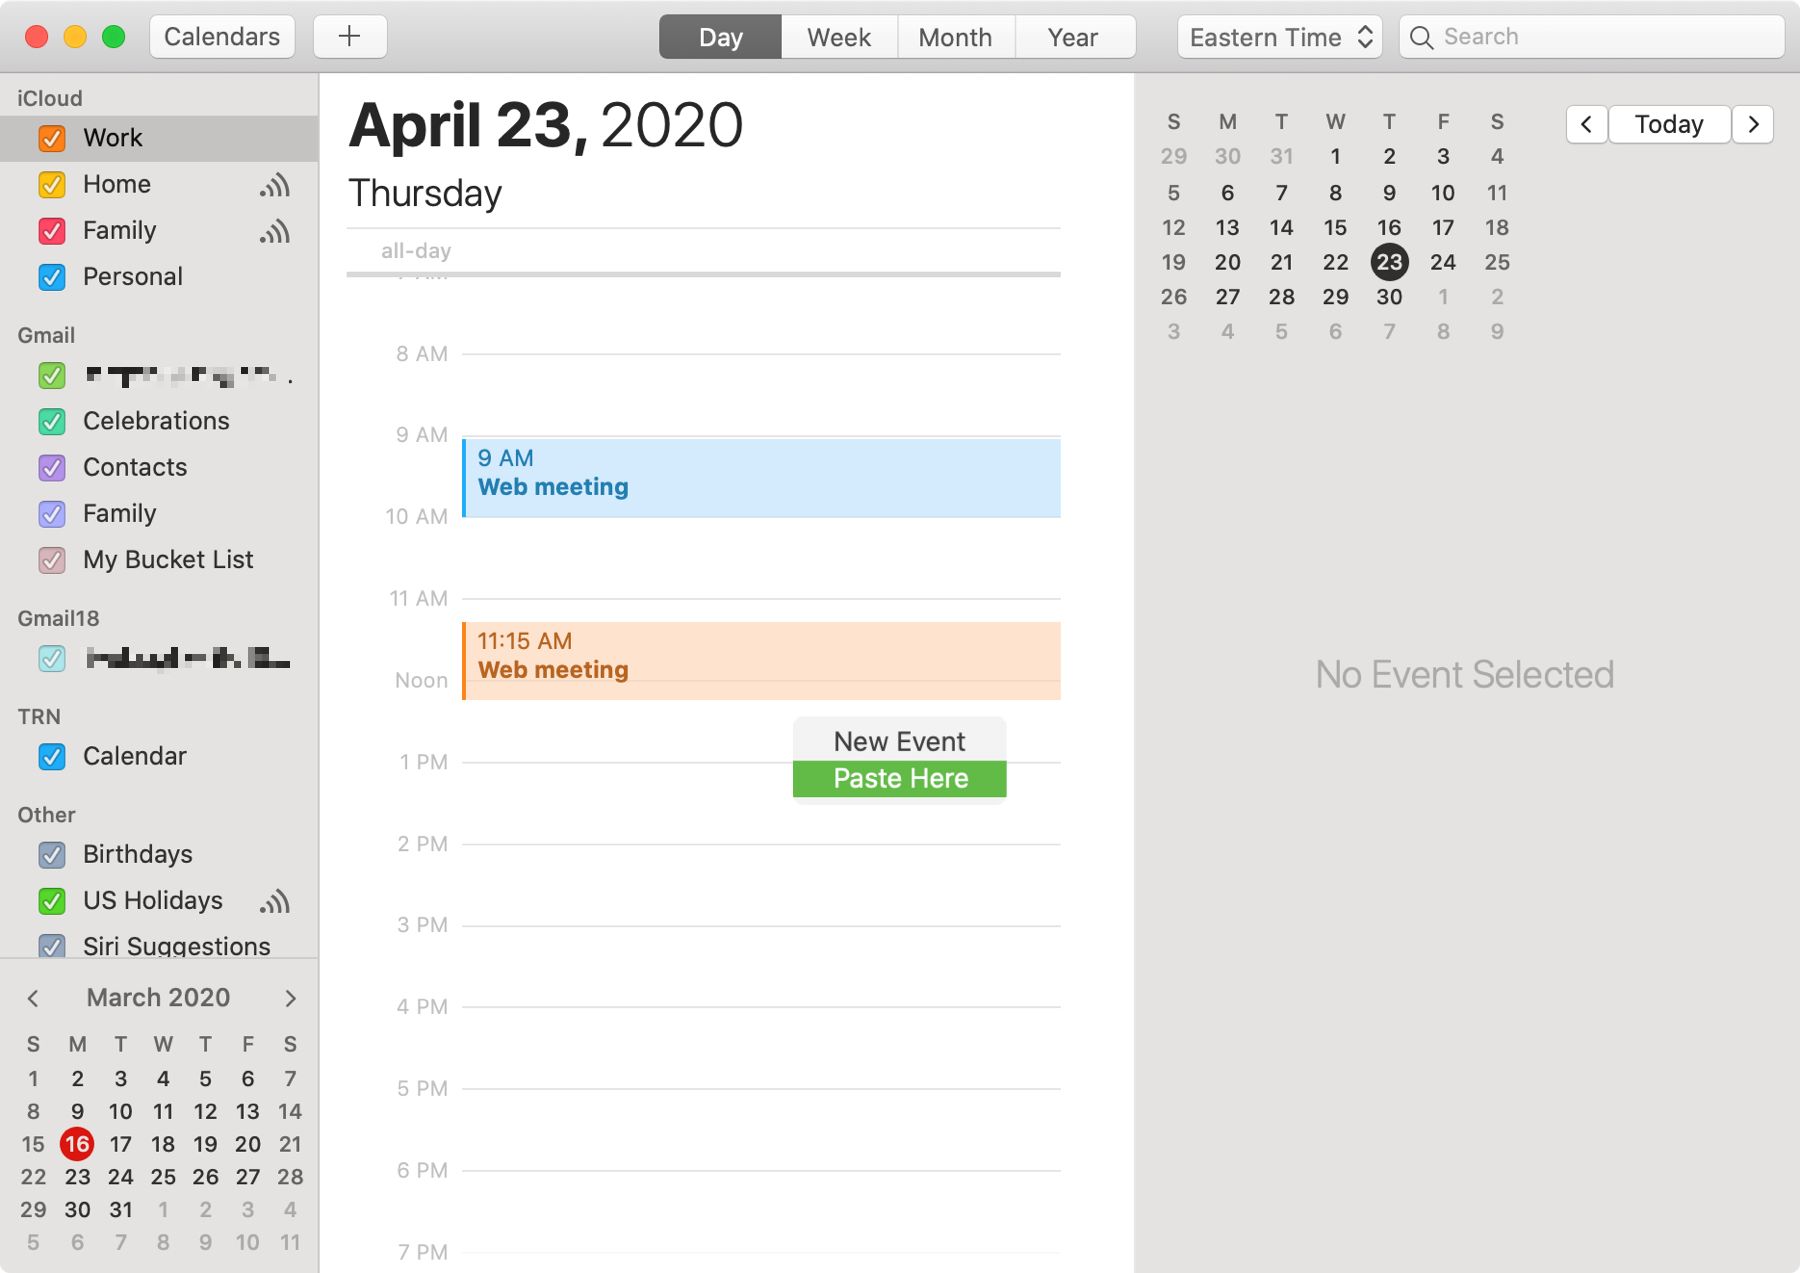
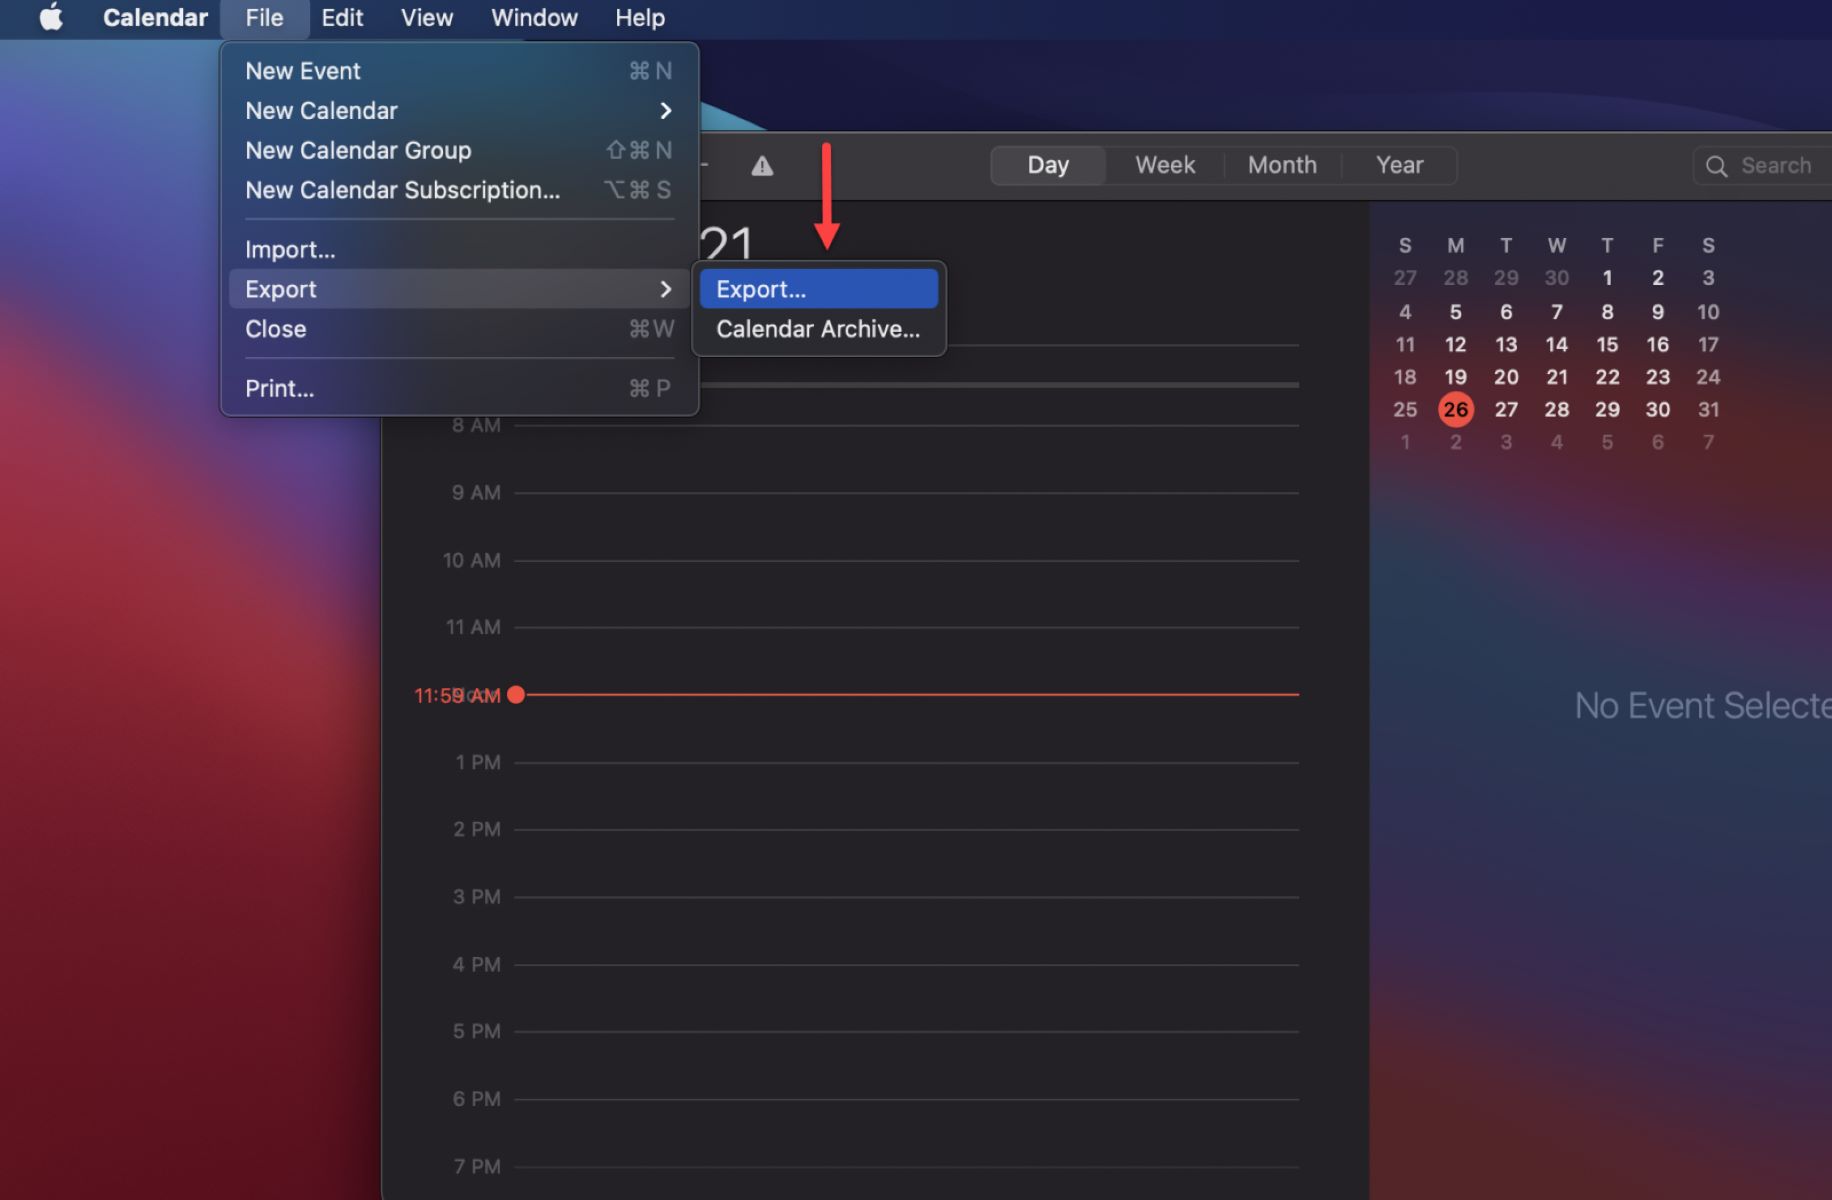
- Open the iCal application on your Apple device.
- In the iCal menu, click on “File” and then select “Export”.
- Choose a location on your computer where you want to save the exported iCal file. Give it a descriptive name, so you can easily identify it later.
- Next, select the calendar or calendars that you want to export. If you have multiple calendars, you can choose to export them individually or select the option to export all calendars.
- Click “Export” and wait for the iCal file to be saved to your chosen location.
Once you’ve exported your iCal file, you’re ready to proceed to the next step of converting it to Google Calendar.
It’s important to note that the process of exporting iCal files may vary slightly depending on the version of iCal and the operating system you’re using. However, the general steps outlined above should be applicable to most versions of iCal.
After completing this step, you have successfully exported your iCal file and are now ready to move on to the next step of the conversion process.
Step 2: Log in to Google Calendar
Before you can import your iCal file into Google Calendar, you need to log in to your Google account and access the Google Calendar web application. Follow the steps below to log in:
- Open your preferred web browser and visit https://calendar.google.com.
- Click on the “Sign In” button located at the top-right corner of the page.
- Enter your Google account email address and click “Next”.
- On the next screen, enter your Google account password and click “Next” to proceed.
If you have successfully entered your login credentials, you will be redirected to the Google Calendar homepage, where you can access your existing calendars or create new ones.
If you don’t have a Google account, you can quickly create one by clicking on the “Create account” option during the login process. Fill in the necessary information, complete the verification process, and then proceed to log in to Google Calendar with your newly created account.
It’s important to ensure that you log in to Google Calendar using the same Google account that you want to associate your imported iCal events with. This will ensure that the events are imported into the correct calendar.
Once you have successfully logged in to your Google Calendar account, you’re ready to move on to the next step of importing your iCal file.
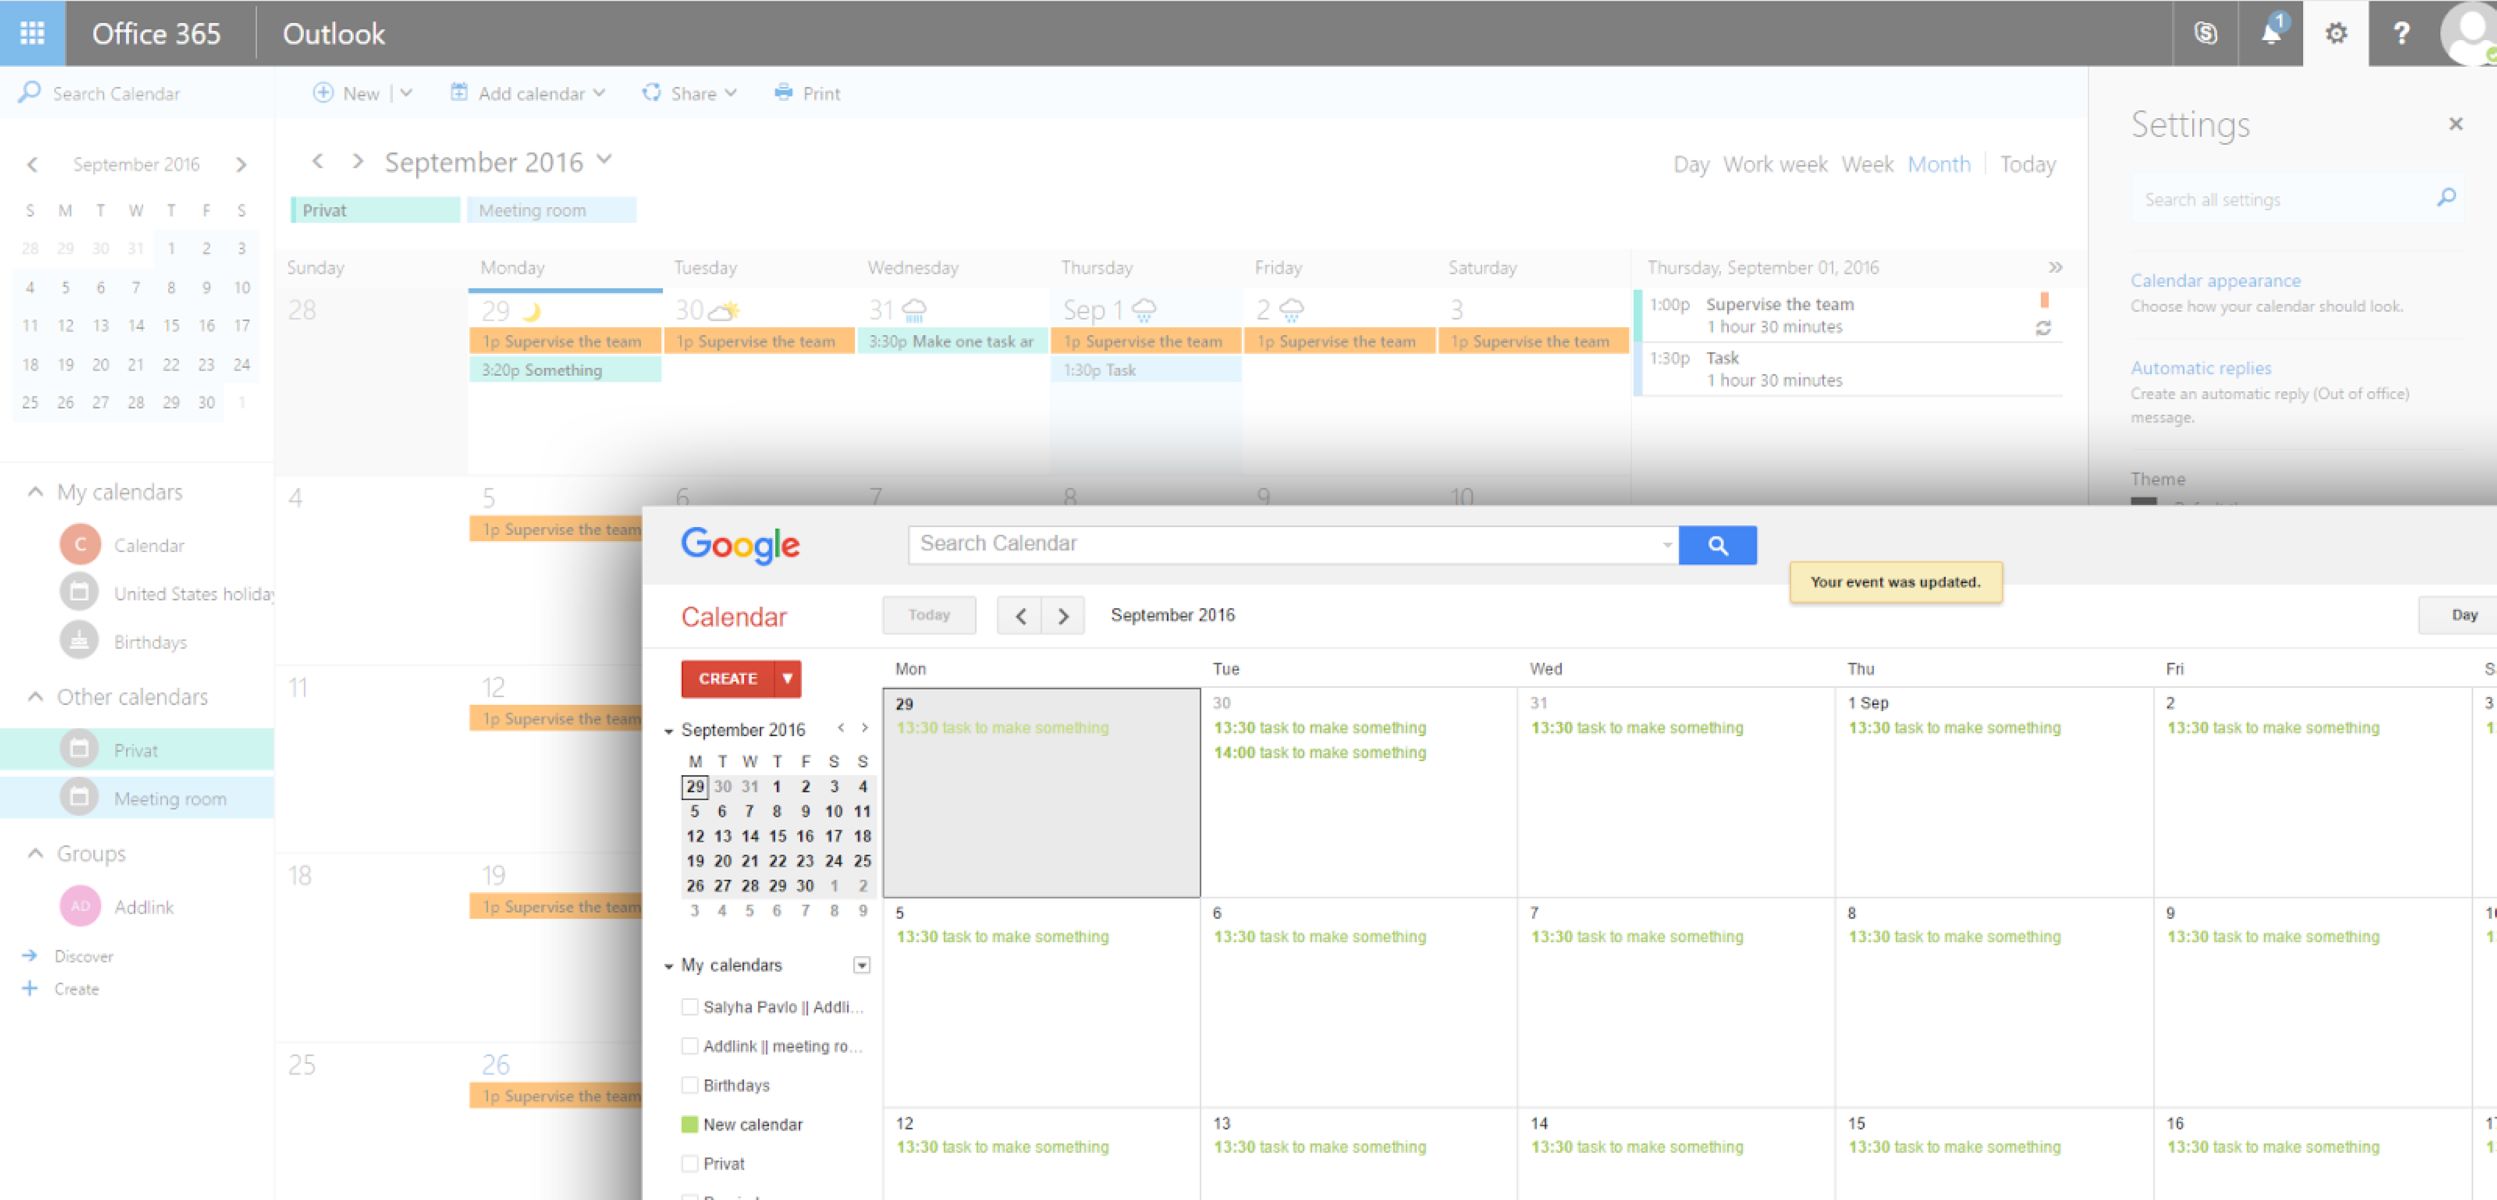
Step 3: Import iCal File to Google Calendar
Now that you have logged in to your Google Calendar account, you can proceed to import your iCal file. Follow the step-by-step instructions below:
- In the left sidebar of the Google Calendar interface, locate “Other calendars” and click on the “+” button next to it. Then select “Import”.
- A dialog box will appear. Click on the “Select file from your computer” button.
- Navigate to the location where you saved your exported iCal file in Step 1.
- Select the iCal file and click “Open” to begin the import process.
- You will be prompted to choose which Google Calendar you want to import the events into. Select the desired calendar from the drop-down menu.
- Click on the “Import” button to start importing the iCal file.
The import process may take a few moments, depending on the size of the iCal file and the number of events it contains. Once the import is complete, you will see a confirmation message.
It’s worth noting that the imported events may not appear immediately on your Google Calendar. Depending on the size of the iCal file and the sync settings of your Google Calendar, there may be a short delay before the events are fully imported and displayed. Be patient and allow some time for the events to synchronize.
Congratulations! You have successfully imported your iCal file into Google Calendar.
In the next step, you will learn how to review and customize the imported events to ensure they are accurate and organized on your Google Calendar.
Step 4: Review and Customize Imported Events
After importing your iCal file into Google Calendar, it’s important to review and customize the imported events to ensure they are accurate and organized according to your preferences. Follow these steps to review and make any necessary adjustments:
- Access your Google Calendar account and navigate to the calendar where you imported the iCal events.
- Scan through the calendar to locate the imported events. Check if the events are displaying correctly, including the date, time, title, and any associated details.
- If you notice any discrepancies or inaccuracies in the imported events, click on the event to open its details.
- Make any necessary changes or edits to the event. You can modify the event’s title, date, time, description, location, and other relevant details.
- Repeat this process for each imported event, ensuring that all the information is accurate and up-to-date.
- If needed, you can also arrange the imported events into different calendars or create new calendars to categorize specific types of events.
- Utilize Google Calendar’s features to customize the display of your events. You can color-code events, add reminders, set recurring patterns, and more.
By reviewing and customizing the imported events, you can ensure that your Google Calendar is organized and reflects your schedule accurately. Take the time to verify each event and make any necessary adjustments to ensure that your calendar remains up-to-date and reliable.
In the next step, you will learn how to sync your Google Calendar with other devices, so you can access and manage your events seamlessly across multiple platforms.
Step 5: Sync Google Calendar with Other Devices
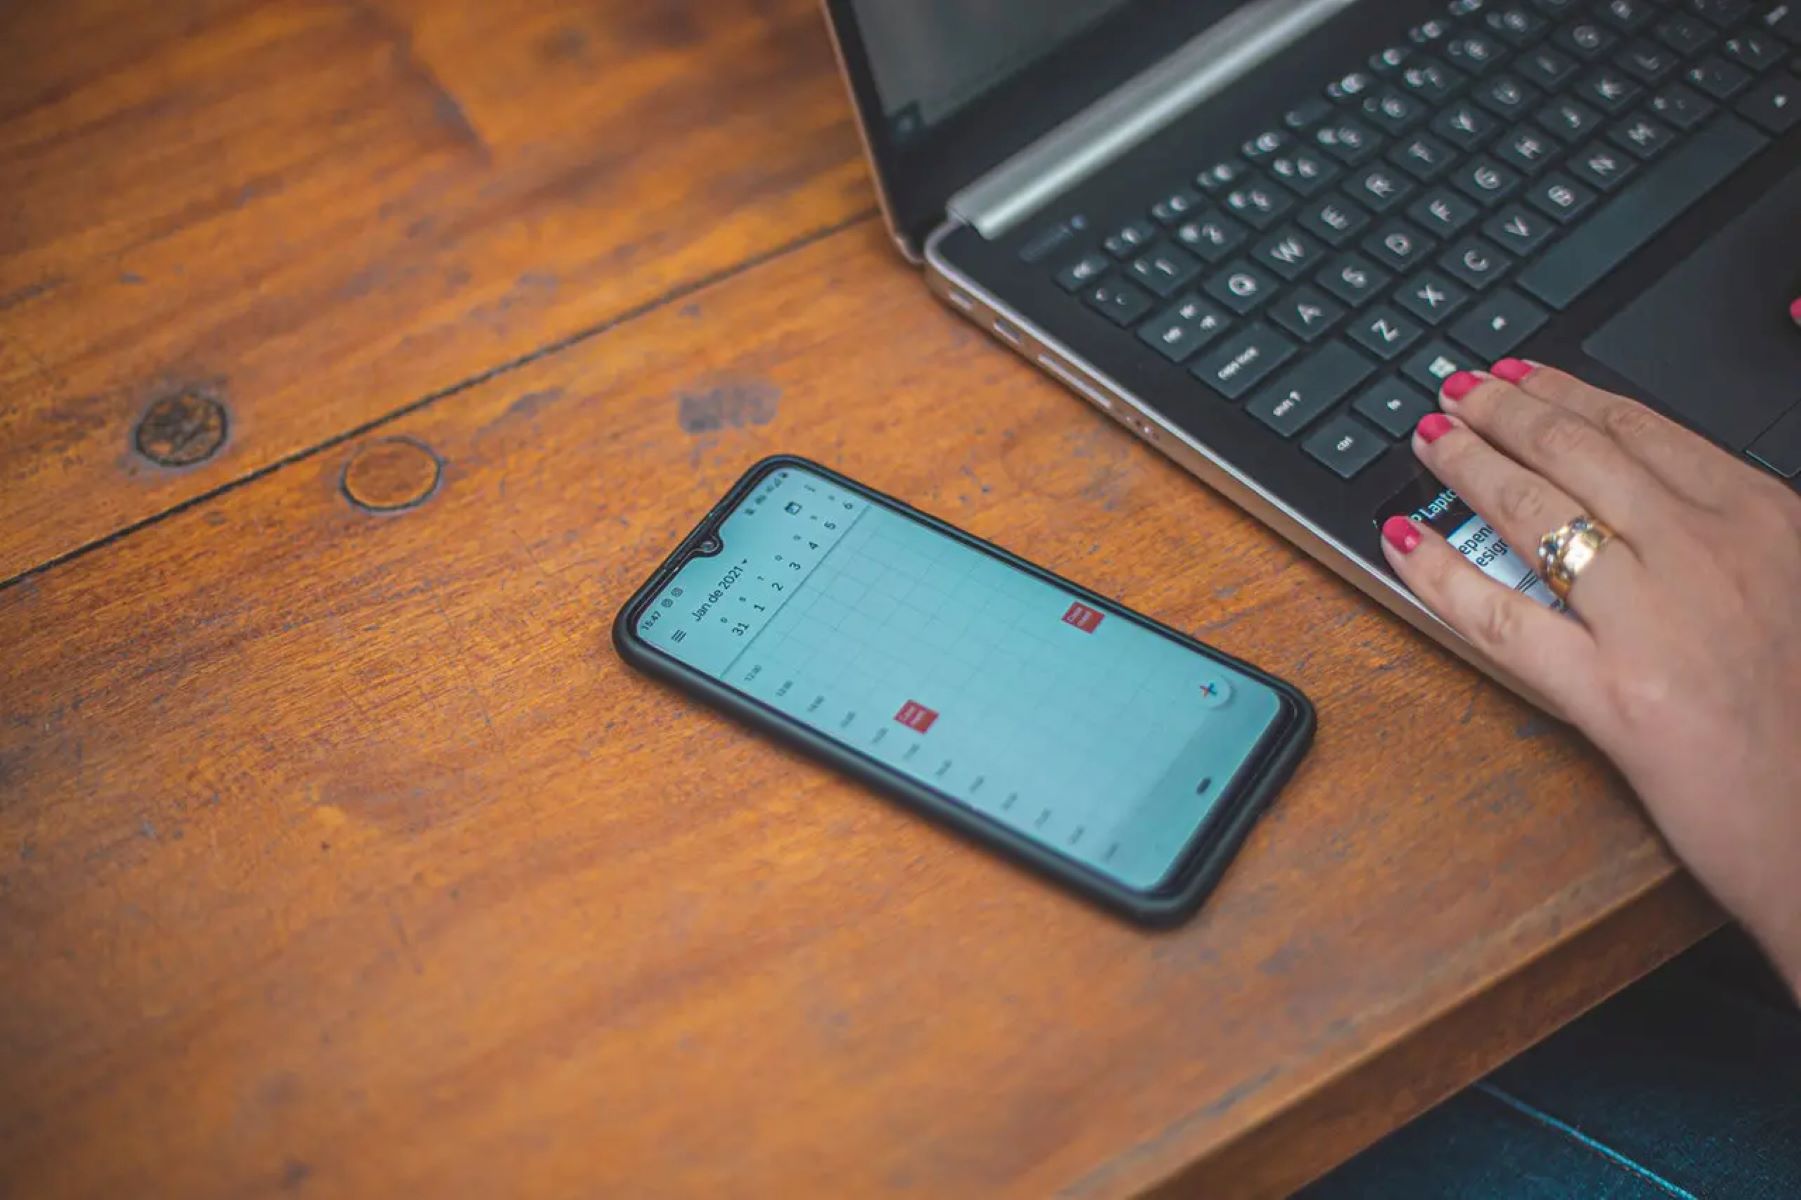
One of the advantages of using Google Calendar is the ability to sync your events across multiple devices. By syncing Google Calendar with your smartphones, tablets, or other devices, you can access and manage your events wherever you go. Follow these steps to sync Google Calendar with your other devices:
- On your device, open the settings or preferences menu and locate the “Accounts” or “Cloud and Accounts” section.
- Select “Add Account” and choose “Google” from the list of available account types.
- Enter your Google account email address and password.
- Once you have successfully signed in to your Google account, navigate to the “Accounts” or “Synchronization” settings.
- Enable synchronization for Google Calendar by selecting the option or toggle switch associated with it.
- Wait for your device to sync with your Google account and download your calendar events.
- Once the synchronization process is complete, open your device’s calendar app to view your Google Calendar events.
Repeat these steps for each device that you want to synchronize with Google Calendar. This will ensure that your events are consistently updated across all devices.
It’s important to note that the exact steps for syncing Google Calendar may vary depending on the device and operating system you are using. However, the general process typically involves adding your Google account and enabling synchronization for Google Calendar.
Syncing Google Calendar with your devices allows you to access your schedule, receive event notifications, and make changes to your events seamlessly. Whether you’re using your smartphone, tablet, or computer, you’ll always have your calendar at your fingertips.
Congratulations! You have successfully synced your Google Calendar with other devices.
Conclusion
Converting iCal to Google Calendar opens up a world of possibilities for managing your schedule, collaborating with others, and staying organized. By following the steps outlined in this guide, you can seamlessly transition from iCal to Google Calendar and take advantage of its powerful features.
Before converting, remember to export your iCal file and log in to your Google Calendar account. Then, import the iCal file into Google Calendar, review and customize the imported events, and sync Google Calendar with your other devices for uninterrupted access to your schedule.
With Google Calendar, you’ll experience the benefits of seamless integration with other Google services, such as Gmail and Google Drive. The ability to share calendars and collaborate with others enhances teamwork and family coordination. Advanced notification options ensure you never miss an important event, and the cross-platform synchronization allows you to access your schedule from anywhere, at any time.
As you explore Google Calendar, make use of its user-friendly interface to create, edit, and manage events effortlessly. Customize your calendar by color-coding events, setting reminders, and organizing events into different calendars based on their types or categories.
Converting iCal to Google Calendar empowers you to streamline your scheduling process and enhance productivity. With its wealth of features and seamless integration, Google Calendar is a versatile tool that can meet the needs of individuals, teams, and organizations.
Start enjoying the benefits of Google Calendar by making the switch today. Take control of your schedule, stay organized, and embrace the convenience and efficiency of this powerful calendar application.