Introduction
Welcome to our guide on how to merge iCal with Google Calendar. In today’s digital age, managing multiple calendars can be a challenge. But fear not, as we are here to help you streamline your schedule by integrating iCal, a popular calendar application on Apple devices, with Google Calendar, a versatile online calendar service.
Why go through the hassle of merging calendars, you may ask? Well, there are a few compelling reasons. By combining iCal with Google Calendar, you can enjoy the best of both worlds. You will have the convenience of accessing your iCal events on any device with an internet connection, and you can also take advantage of the collaborative features and integrations offered by Google Calendar. Plus, syncing your calendars will save you time and effort in manually updating events across different platforms.
In this step-by-step guide, we will walk you through the process of merging iCal with Google Calendar, ensuring a seamless transition and synchronization between the two platforms. By following these instructions, you will be able to effortlessly manage and view your iCal events alongside your Google Calendar appointments, keeping all your important dates in one place.
So, if you’re ready to simplify your scheduling and enjoy the benefits of a merged calendar experience, let’s get started on the journey of merging iCal with Google Calendar.
Why Merge iCal with Google Calendar?
Now, you may be wondering why it’s worth merging iCal with Google Calendar. After all, both applications offer their own unique features and benefits. However, by combining the two, you can unlock a host of advantages that will greatly enhance your scheduling and organization efforts.
Firstly, merging iCal with Google Calendar allows you to access your events and appointments from any device with internet access. Whether you’re using your smartphone, tablet, or computer, you can effortlessly view and manage your calendar without being tied to a specific device.
Furthermore, Google Calendar offers a range of collaborative features that can greatly benefit you, especially if you work with a team or regularly schedule meetings with others. By merging iCal with Google Calendar, you can easily share your availability with others, invite them to events, and even schedule meetings using the integrated Google Meet feature.
Another advantage of merging iCal with Google Calendar is the ability to take advantage of the vast integration options provided by Google. Google Calendar seamlessly integrates with a variety of other apps and services, such as Gmail, Google Drive, and Google Docs, to name just a few. This means that you can effortlessly attach documents, set reminders for tasks, and even receive email notifications directly within your calendar.
Additionally, Google Calendar provides smart features and intelligent suggestions to help optimize your time management. It can automatically detect and add relevant information to your events, such as location details, conference call dial-in numbers, and even weather updates. These features can save you time and ensure that you have all the information you need at your fingertips.
Lastly, merging iCal with Google Calendar provides a simplified and unified view of your schedule. Instead of toggling between different calendar apps or platforms, you can consolidate all your events and appointments into one comprehensive view. This eliminates the risk of double bookings and ensures that you never miss an important deadline or meeting.
Overall, merging iCal with Google Calendar offers increased accessibility, collaboration, integrations, and time-saving features. By combining these two powerful tools, you can revolutionize your scheduling efforts and enjoy a more streamlined and efficient calendar experience.
Step-by-Step Guide to Merge iCal with Google Calendar
Now that you understand the benefits of merging iCal with Google Calendar, let’s dive into the step-by-step process of making it happen. Follow these instructions carefully, and you’ll soon be enjoying a unified and synchronized calendar experience.
-
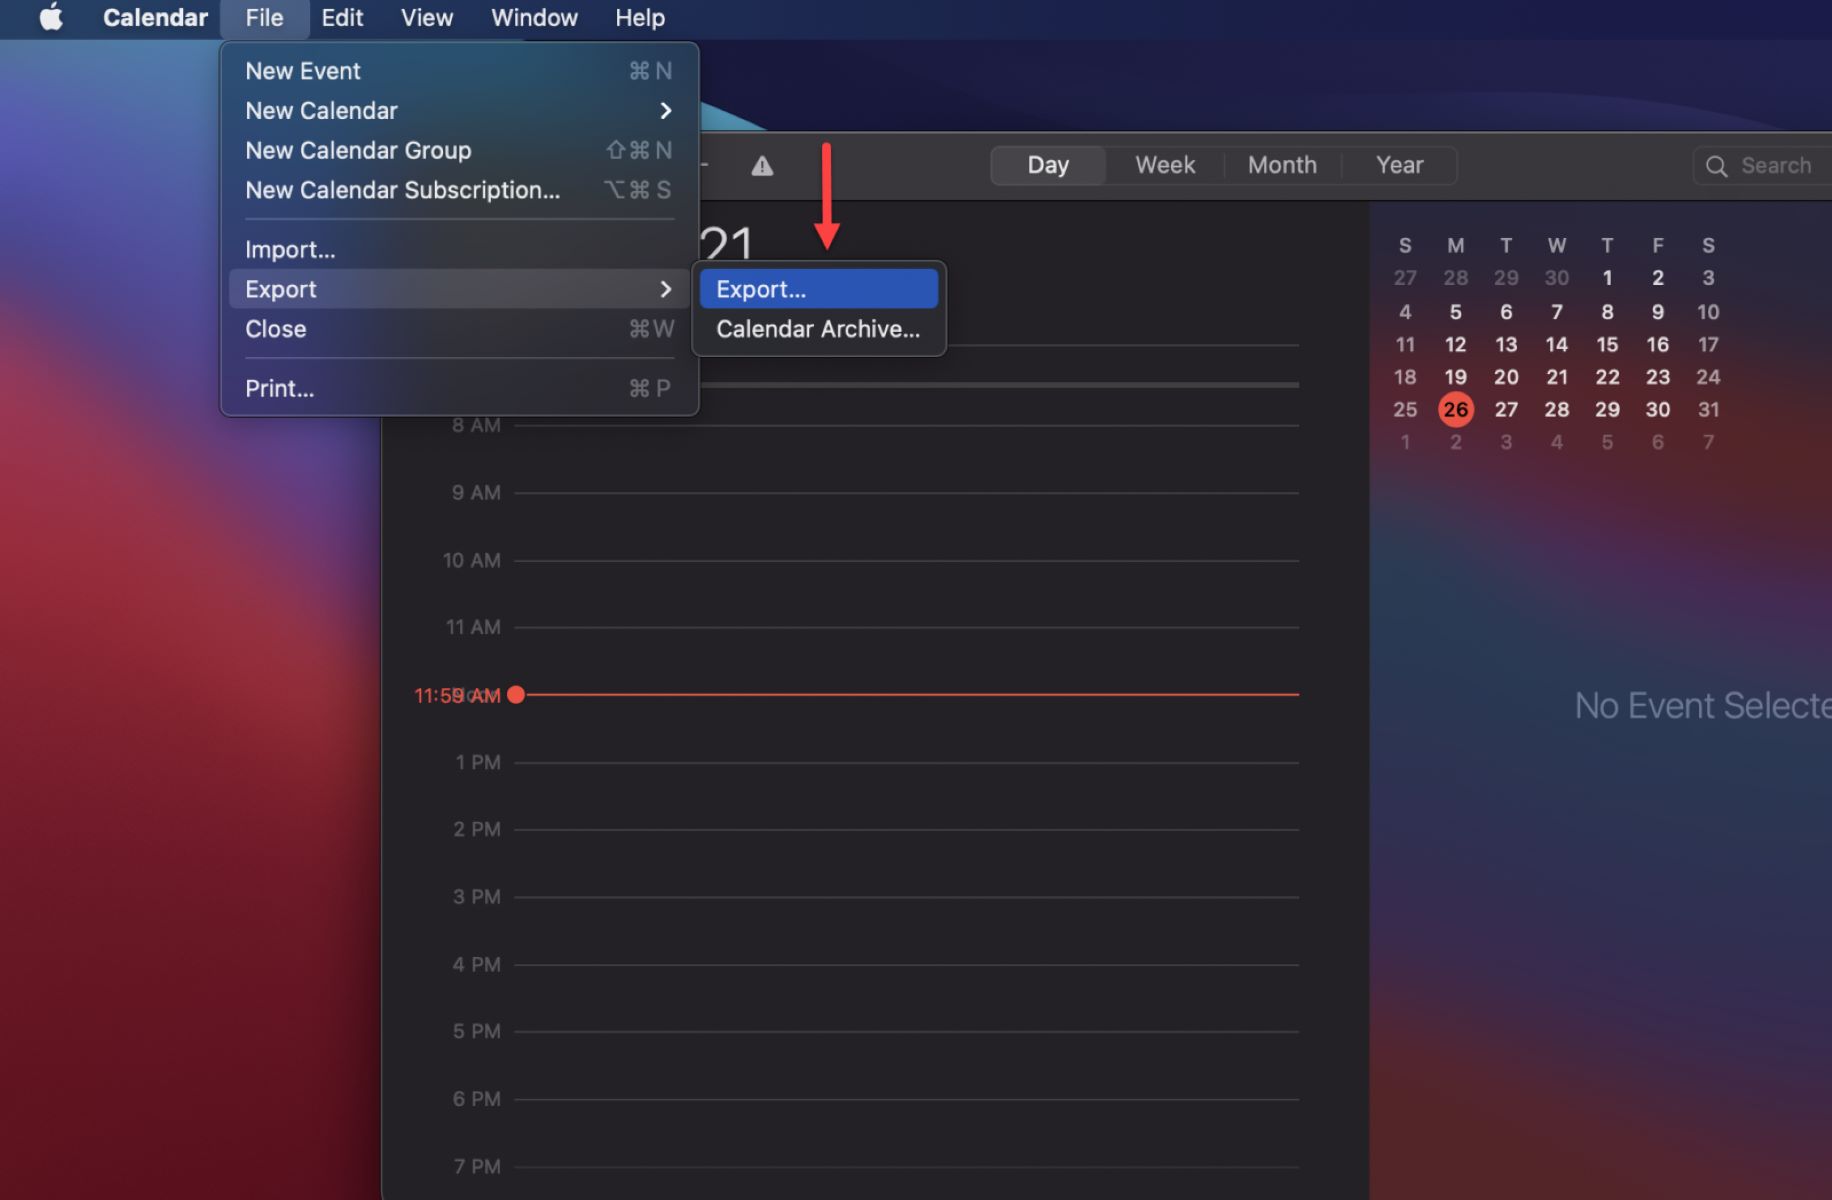
- Step 1: Export iCal from your Device
To begin, we need to export your iCal events from your device. Open the iCal application on your Apple device and navigate to the “File” menu. From there, select the “Export” option and choose a suitable location to save the exported file. Make sure to note the location of the file as we will need it in the next step.
-
- Step 2: Import iCal to Google Calendar
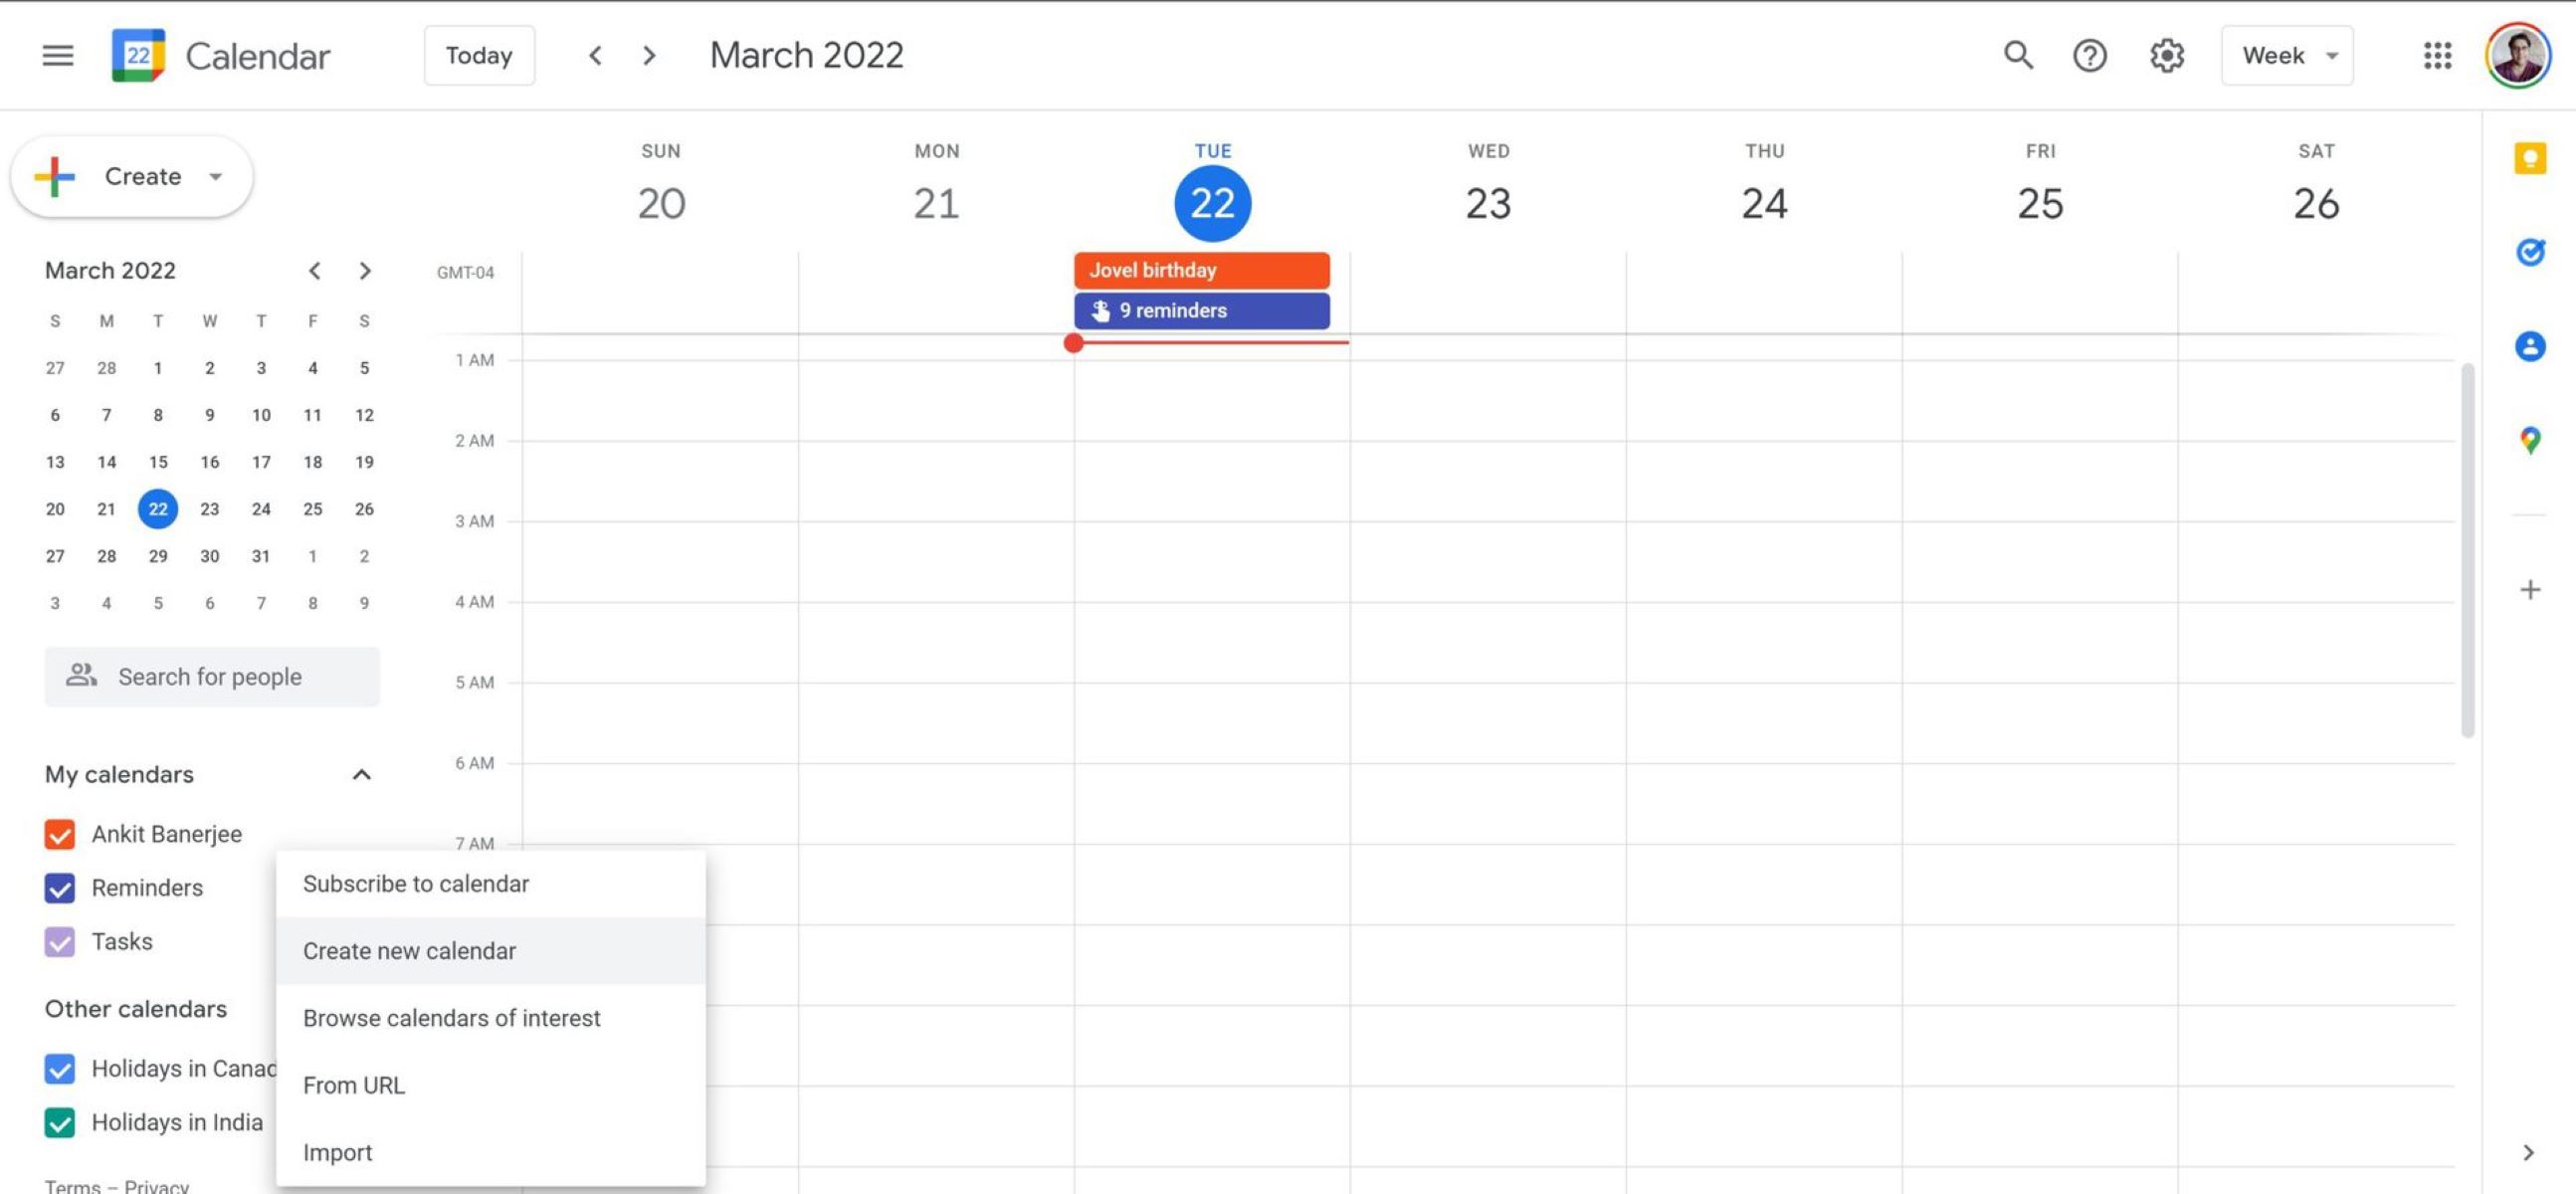
Now that we have the exported iCal file, it’s time to import it into Google Calendar. Open a web browser and navigate to the Google Calendar website. Sign in with your Google account, and once you’re in the calendar view, locate the gear icon in the top-right corner and click on it. From the dropdown menu, select “Settings.”
In the Settings menu, navigate to the “Import & Export” tab. Click on the “Select file from your computer” button and choose the exported iCal file that you saved in Step 1. Then, click on “Import” to initiate the import process. Google Calendar will automatically import the iCal events and add them to your calendar.
-
- Step 3: Configure Synchronization Settings
With the iCal events successfully imported into Google Calendar, it’s time to configure the synchronization settings. In the Google Calendar Settings menu, navigate to the “Calendars” tab. Locate the iCal calendar that you imported and click on the three dots icon next to it. From the dropdown menu, select “Settings and Sharing.”
In the following menu, you can configure various settings for the iCal calendar. Set the desired color, toggle notifications on or off, and adjust the visibility and sharing permissions according to your preferences. Once you’ve made the necessary changes, click on “Save” to save the settings.
-
- Step 4: Verify iCal Events in Google Calendar
Now it’s time to verify that the iCal events are displaying correctly in Google Calendar. Navigate back to the main calendar view and ensure that the iCal calendar is visible. You should see the imported events alongside your existing Google Calendar appointments.
Take a few moments to review the events and make sure that the details, such as dates, times, and locations, are accurate. If any discrepancies are found, you can edit the individual events by clicking on them and making the necessary adjustments.
And there you have it! Follow these steps, and you’ll successfully merge iCal with Google Calendar. Now you can enjoy the convenience of accessing and managing your iCal events within the Google Calendar platform.
Step 1: Export iCal from your Device
The first step in merging iCal with Google Calendar is to export your iCal events from your Apple device. This will create a file that we can later import into Google Calendar. Follow the instructions below to export your iCal:
- Open the iCal application on your Apple device. This could be your iPhone, iPad, or Mac computer.
- Once in iCal, navigate to the “File” menu located in the menu bar at the top of the screen.
- From the dropdown menu, select the “Export” option. This will prompt a dialog box to appear.
- Choose a suitable location to save the exported iCal file. You can save it to your device’s internal storage or an external storage device.
- Give the exported file a descriptive and recognizable name so that you can easily identify it later.
- Make sure to note the location where you saved the exported iCal file. We will need to access this file in the next step.
Once you have exported the iCal file, you are ready to move on to Step 2: Import iCal to Google Calendar. By exporting the iCal file, you have created a backup of your events that can now be seamlessly transferred to Google Calendar.
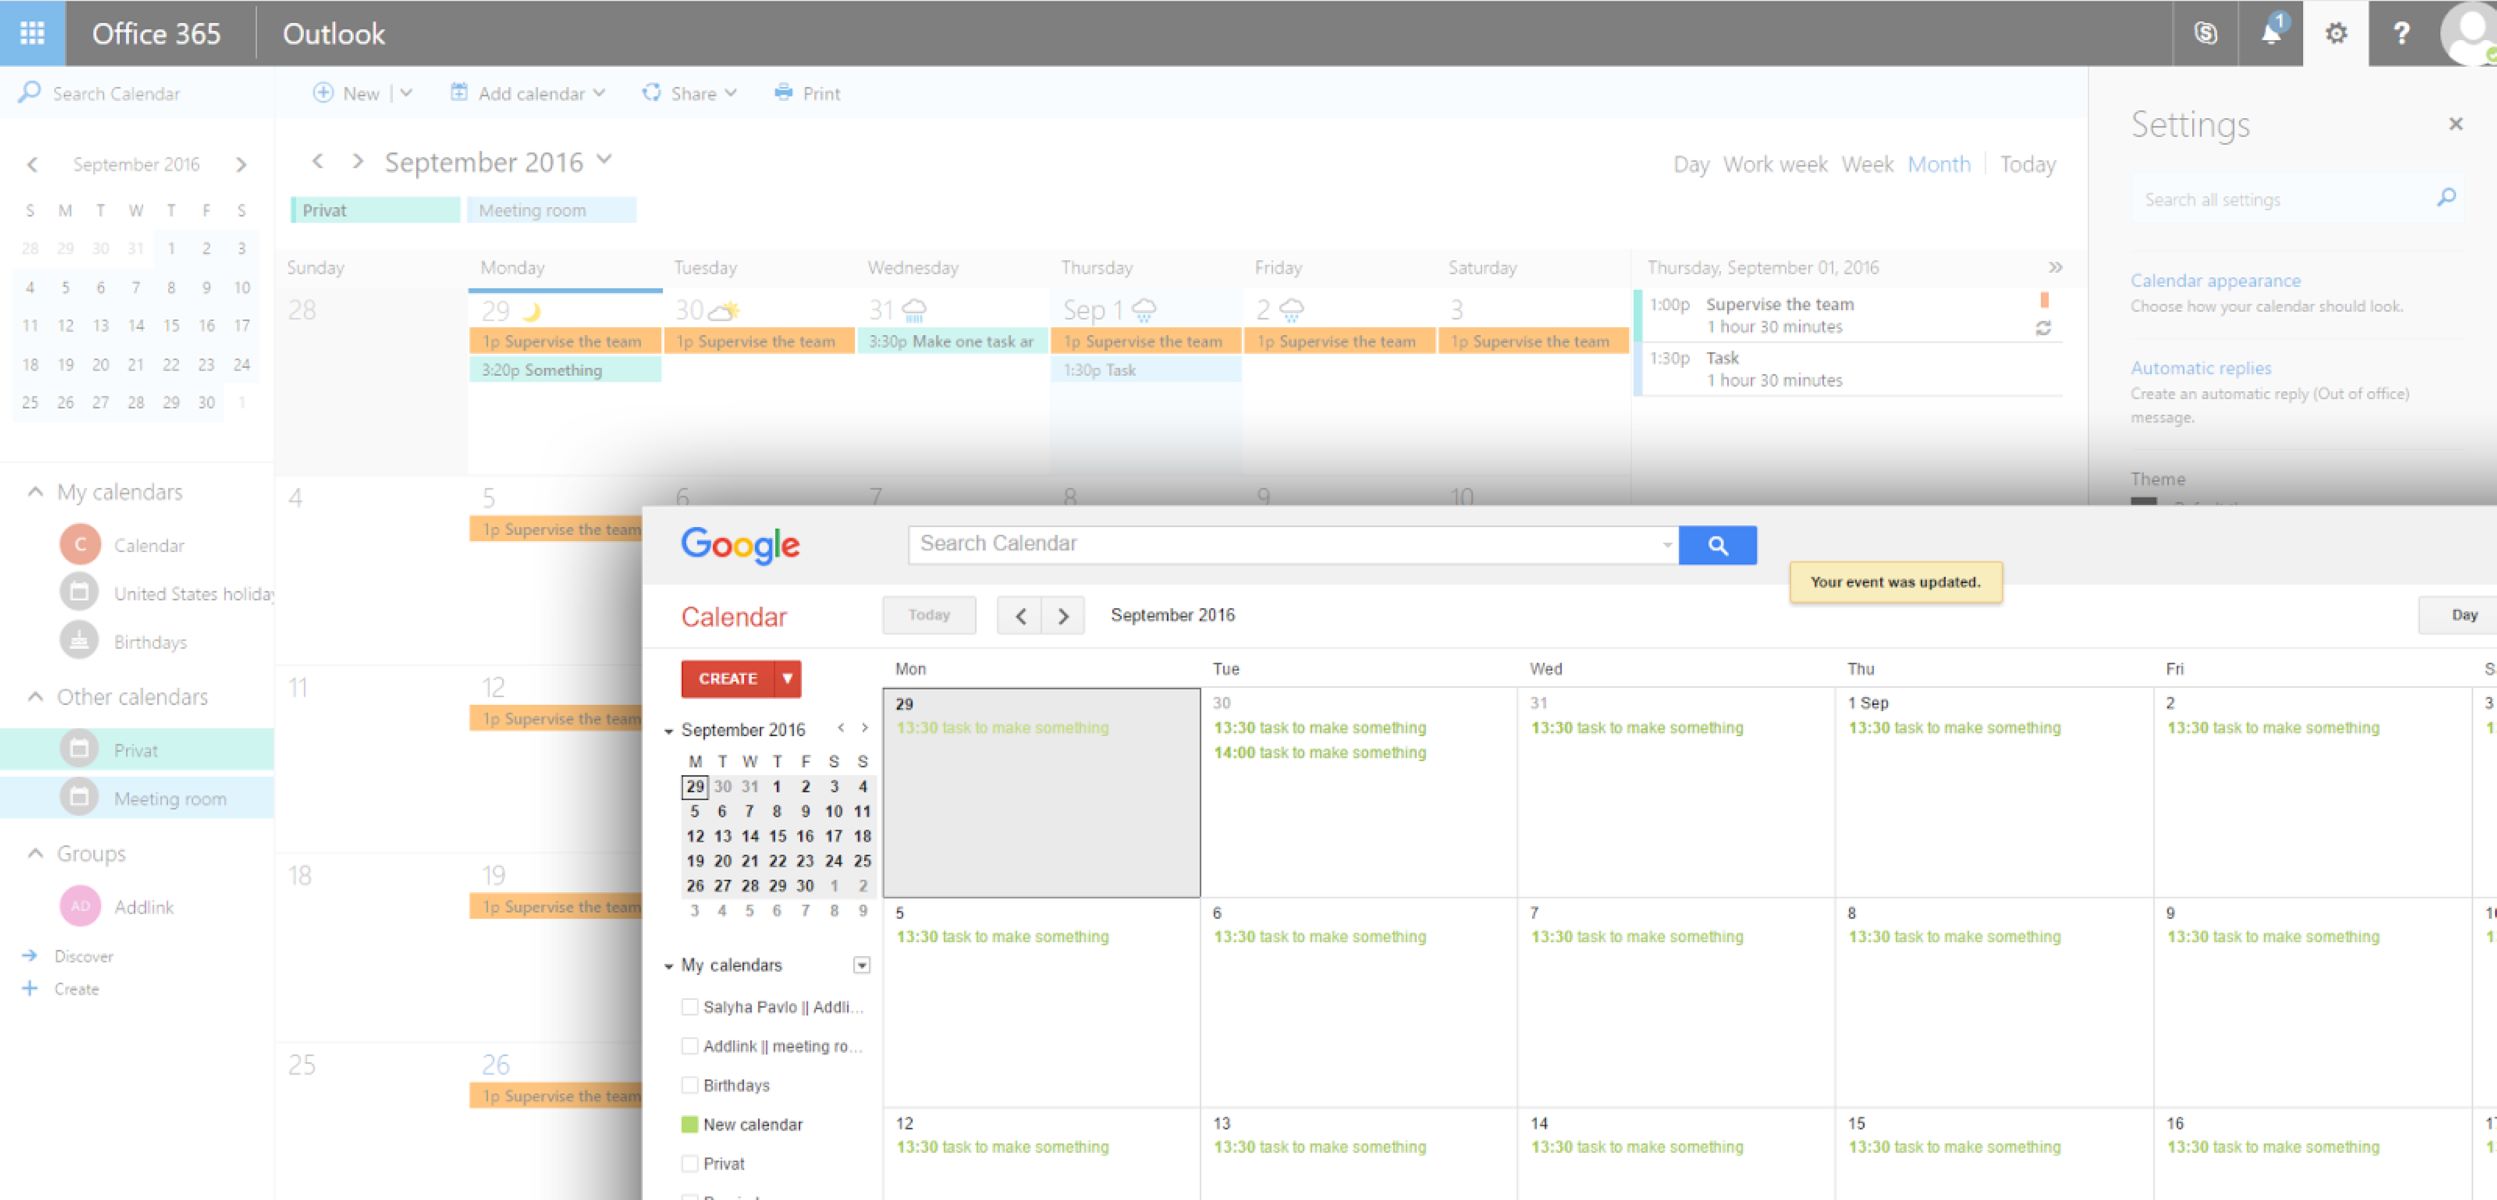
Step 2: Import iCal to Google Calendar
Now that you have exported your iCal file from your Apple device, it’s time to import it into Google Calendar. By following the steps below, you will be able to transfer your iCal events seamlessly to your Google Calendar:
- Open a web browser of your choice and navigate to the Google Calendar website.
- Sign in with your Google account. If you don’t have one, you can easily create a new account for free.
- Once you’re logged in and on the main Google Calendar page, locate the gear icon in the top-right corner. Click on the gear icon to access the settings menu.
- From the dropdown menu, select “Settings.” This will open the settings page for Google Calendar.
- In the settings menu, click on the “Import & Export” tab. This tab allows you to import and export calendar data.
- Under the “Import” section, click on the “Select file from your computer” button. This will prompt you to choose a file from your device.
- Locate the exported iCal file that you saved in Step 1. Select the file and click on “Open” to initiate the import process.
- Google Calendar will begin importing the iCal events from the file. This may take a few moments, depending on the size of your iCal file.
- Once the import is complete, Google Calendar will automatically add the iCal events to your calendar. You should now see your iCal events alongside your existing Google Calendar appointments.
Congratulations! You have successfully imported your iCal events into Google Calendar. Now all your important appointments and events are united in one convenient location. Proceed to the next step to configure synchronization settings for a seamless calendar experience.
Step 3: Configure Synchronization Settings
With your iCal events successfully imported into Google Calendar, it’s time to configure the synchronization settings to ensure a seamless and effective merging of your calendars. Follow the instructions below to fine-tune the settings according to your preferences:
- Within Google Calendar, navigate to the “Settings” menu by clicking on the gear icon located in the top-right corner of the screen.
- From the dropdown menu, select “Settings.” This will take you to the settings page for Google Calendar.
- In the settings menu, click on the “Calendars” tab. This tab allows you to manage your calendars and their associated settings.
- Locate the iCal calendar that you imported in Step 2. You can identify it by the name you gave it during the import process.
- Next to the iCal calendar, you’ll see a three-dots icon. Click on it to open a dropdown menu of options related to that calendar.
- From the dropdown menu, select “Settings and Sharing.” This will open a new page where you can customize the settings for the iCal calendar.
- In this menu, you can adjust various settings related to the iCal calendar. For example, you can set a different color for your iCal events to visually differentiate them from your Google Calendar events.
- You can also toggle the availability of email notifications for events within the iCal calendar.
- Additionally, you can manage the visibility and sharing permissions of the iCal calendar, allowing you to control who can view and access the events within it.
- Once you have made the necessary adjustments to the synchronization settings, be sure to click on the “Save” button to save your changes.
By configuring the synchronization settings, you can personalize the appearance and functionality of your iCal calendar within Google Calendar. Take a moment to explore the options and customize them to suit your preferences and workflow.
Now that you have successfully configured the synchronization settings, you can move on to the next step to verify that your iCal events are correctly displayed in Google Calendar.
Step 4: Verify iCal Events in Google Calendar
After importing and configuring the synchronization settings for your iCal events in Google Calendar, it’s important to verify that everything is displaying correctly. Follow the steps below to ensure that your iCal events are accurately reflected in Google Calendar:
- Return to the main calendar view in Google Calendar by clicking on the “Back to calendar” button or navigating to the calendar tab.
- Take a look at your calendar interface and locate the iCal calendar that you imported. It should be displayed alongside your other calendars.
- Ensure that the iCal calendar is checked or enabled to be visible on your calendar view. You can do this by clicking on the checkbox next to the calendar name in the sidebar.
- Once the iCal calendar is visible, scan through your calendar to review the imported events. Check that the dates, times, and other details of your iCal events appear accurately in Google Calendar.
- If you notice any discrepancies or errors, you can click on an individual event to make any necessary edits or adjustments.
- Take a few moments to compare your iCal events with your existing Google Calendar events. Ensure that they are all integrated seamlessly and displayed cohesively in a unified calendar view.
By verifying your iCal events in Google Calendar, you can ensure that the synchronization process was successful and that all your appointments and events are accurately reflected. This step provides peace of mind that your calendars are working together harmoniously.
If you encounter any issues during the verification process, double-check the synchronization settings and ensure that the iCal calendar is properly configured and enabled. If problems persist, refer to the troubleshooting section or consult Google Calendar’s support resources for further assistance.
Congratulations! You have successfully merged your iCal events with Google Calendar. Now you can enjoy the convenience of accessing and managing all your appointments and events in one centralized calendar.
Tips and Troubleshooting
While merging iCal with Google Calendar is generally a smooth process, there may be some situations where you encounter challenges or need additional guidance. Here are some tips and troubleshooting suggestions to help you along the way:
Double-check synchronization settings: If your iCal events are not appearing correctly in Google Calendar, ensure that you have configured the synchronization settings accurately. Verify that the iCal calendar is enabled and visible in the calendar view.
Check for import errors: When importing the iCal file into Google Calendar, pay attention to any error messages or warnings that appear. This can help identify any issues or conflicts that may have occurred during the import process.
Ensure compatible file format: Confirm that the iCal file you exported is in the correct file format (.ics) and is compatible with Google Calendar. If you encounter any format errors, try exporting the iCal file again from your Apple device.
Review time zone settings: It’s crucial to check the time zone settings in both iCal and Google Calendar, as differences can lead to discrepancies in event times. Make sure that the time zones are correctly configured to ensure accurate scheduling.
Re-sync calendars: If you make changes to events in iCal or Google Calendar after the initial merge, you may need to manually trigger a synchronization to update both calendars. Look for the sync option within the settings of the respective calendar application.
Backup your iCal events: Before merging your iCal with Google Calendar, it’s always a good practice to create a backup of your iCal events. This way, in case any issues arise during the merge process, you can restore your events from the backup to avoid data loss.
Explore additional integrations: While merging iCal with Google Calendar provides numerous benefits, consider exploring additional integrations with other apps or services to further enhance your productivity and efficiency. Google Calendar offers a wide range of integrations that you can explore based on your specific needs.
If you encounter persistent issues or need further assistance, consult the support resources provided by Apple and Google Calendar. They offer extensive documentation, forums, and customer support channels to help address any specific concerns you may have.
With these tips and troubleshooting suggestions, you can overcome any hurdles and ensure a successful integration of your iCal events with Google Calendar. Remember to stay patient and refer to the available resources for guidance along the way.
Conclusion
Congratulations on successfully merging iCal with Google Calendar! By following our step-by-step guide, you now have a unified calendar that combines the best features of iCal and Google Calendar. This integration allows for easier access, improved collaboration, and streamlined organization of your events and appointments.
By merging iCal with Google Calendar, you can enjoy the flexibility of accessing your events from any device with an internet connection. Additionally, Google Calendar brings a host of collaborative features, such as sharing availability with others and scheduling meetings using Google Meet.
Through our guide, you learned how to export your iCal events from your Apple device, import them into Google Calendar, configure synchronization settings, and verify that your events are displaying accurately. We also provided tips and troubleshooting suggestions to assist you should any issues arise during the merging process.
Remember to regularly synchronize your calendars to ensure that any changes made in either iCal or Google Calendar are reflected accurately. Take advantage of additional integrations offered by Google Calendar to further enhance your productivity.
With your calendars successfully merged, you now have a powerful tool to help you manage your schedule, collaborate with others, and stay organized. Enjoy the convenience and efficiency that comes from having all your events in one unified calendar.
Thank you for following our guide, and we hope that merging iCal with Google Calendar improves your scheduling and organization experience. Don’t hesitate to reach out to support resources if you need further assistance or have any questions. Happy calendaring!