Introduction
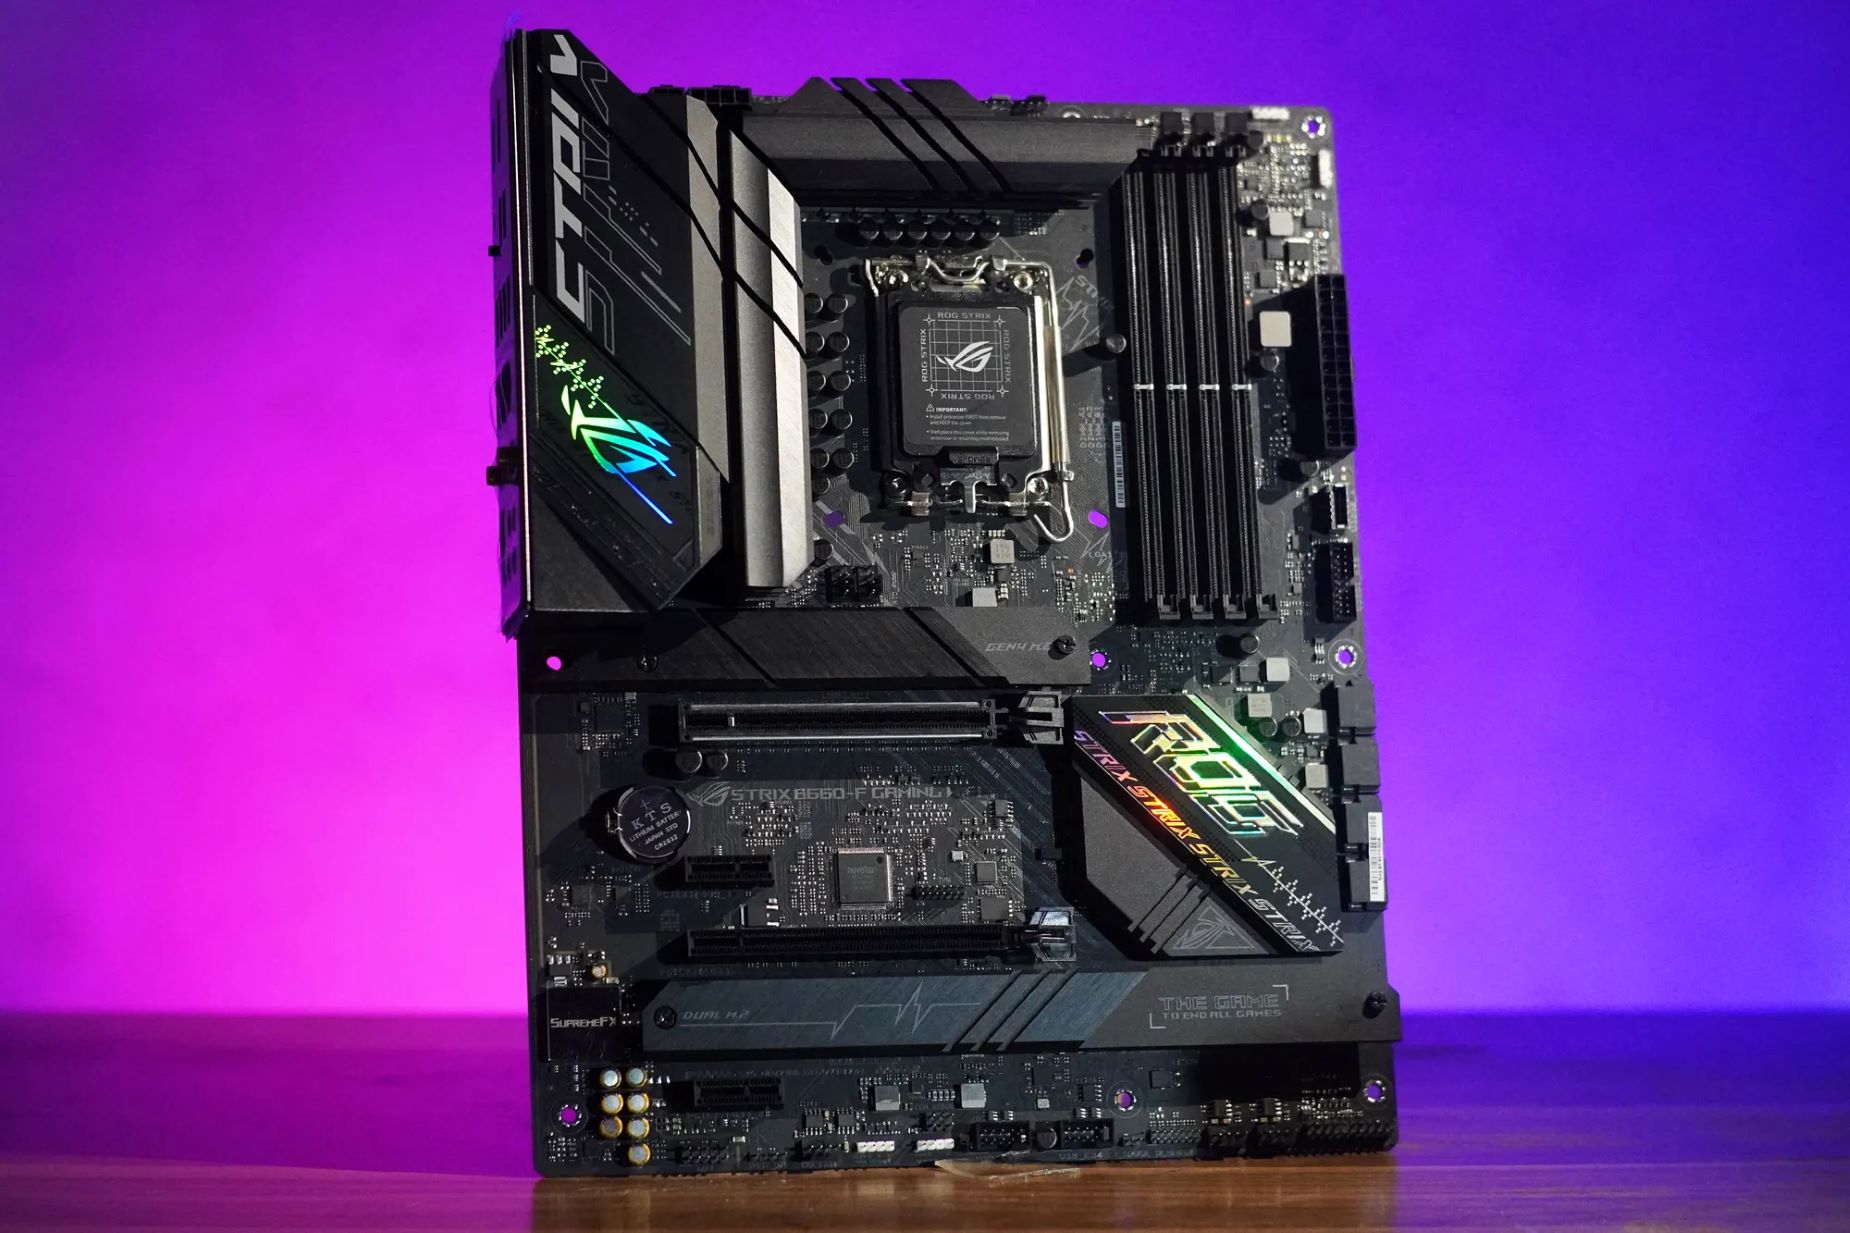
When it comes to knowing the details of your computer’s hardware, one crucial component to identify is the motherboard. The motherboard is essentially the backbone of your computer, connecting various hardware components and providing the necessary communication between them. Whether you are looking to upgrade your computer or troubleshoot a specific issue, knowing the motherboard model can be immensely helpful.
For Windows 10 users, there are several methods available to determine the exact motherboard model installed on your system. In this article, we will explore four different methods that can help you quickly and easily identify your motherboard.
By following these methods, you will be able to access information about your motherboard, such as the manufacturer, model number, BIOS version, and more. This knowledge can be beneficial for a range of purposes, including finding compatible hardware upgrades or resolving driver-related issues.
Whether you are a tech enthusiast, a DIY computer builder, or simply curious about the inner workings of your computer, the following methods will guide you on how to efficiently find out what motherboard you have in Windows 10. Let’s dive in!
Method 1: System Information Tool
One of the easiest ways to determine your motherboard model in Windows 10 is by using the built-in System Information tool. This tool provides detailed information about your computer’s hardware, including the motherboard.
To access the System Information tool:
- Press the Windows key + R on your keyboard to open the Run dialog box.
- Type “msinfo32” (without the quotation marks) and press Enter.
Once the System Information window opens, you will see an overview of your system’s details. Look for the “System Manufacturer” and “System Model” fields to find information about your motherboard. The “System Manufacturer” field represents the manufacturer of your motherboard, while the “System Model” field indicates the specific model.
Additionally, you can find more detailed information about your motherboard by expanding the “Components” section in the System Information window. Click on the “+” icon next to “Components” to reveal a list of hardware categories. Double-click on “Motherboard” to view specifics such as the model number, BIOS version, and more.
This method provides a quick and convenient way to find out your motherboard model without the need to install any additional software or open up your computer’s case. It is a reliable option for most users and should fulfill your needs in identifying the motherboard.
Method 2: Command Prompt
If you prefer a text-based method to find out your motherboard model in Windows 10, using the Command Prompt is an effective option. This method allows you to retrieve the motherboard information using a few simple commands.
To use the Command Prompt method:
- Open the Command Prompt by pressing the Windows key + R, typing “cmd” (without the quotation marks), and hitting Enter.
- In the Command Prompt window, type the following command:
wmic baseboard get product,Manufacturer,version - Press Enter to execute the command.
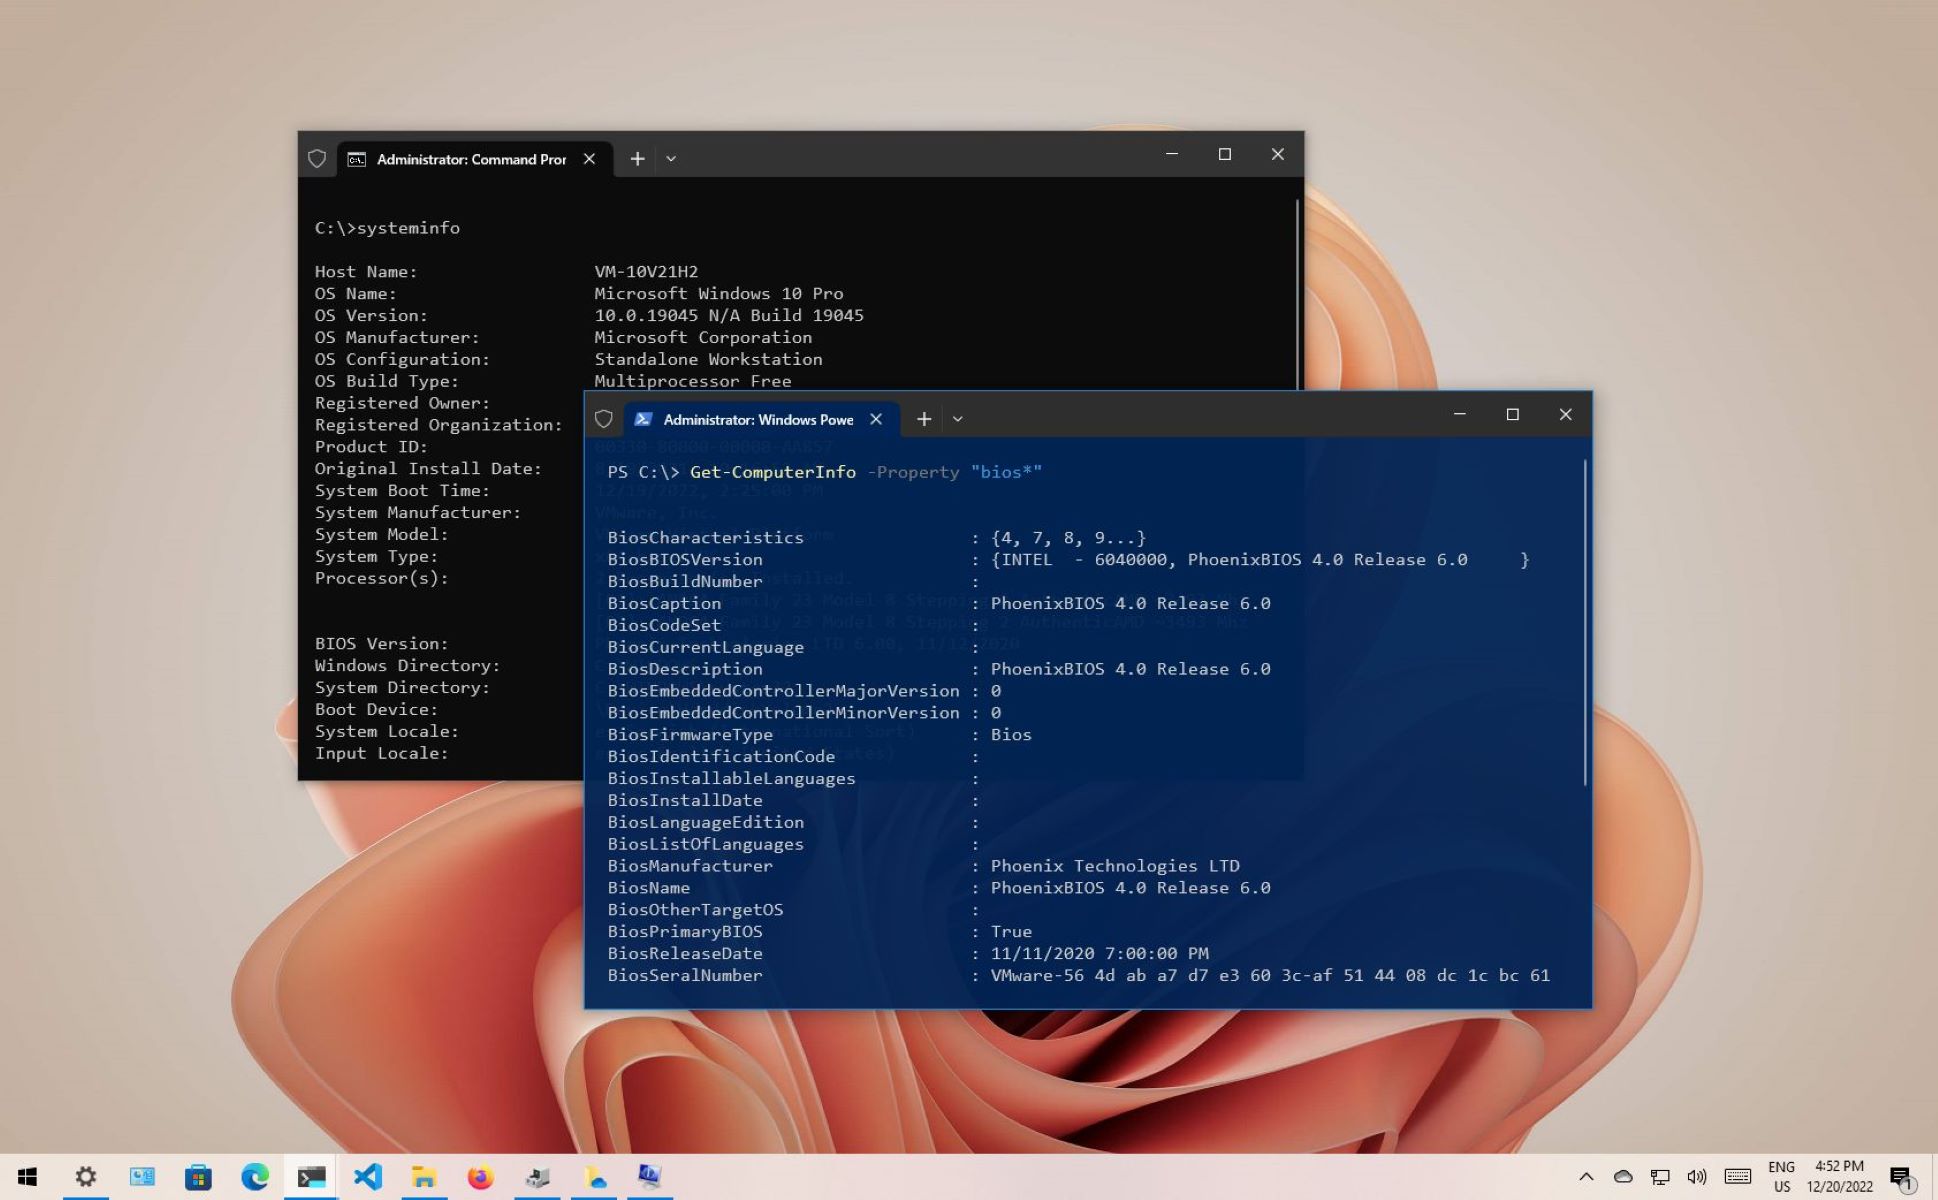
Afterward, you will see the Manufacturer, Product, and Version details of your motherboard displayed in the Command Prompt window. The “Manufacturer” field represents the motherboard manufacturer, the “Product” field indicates the model, and the “Version” field displays the BIOS version.
This method provides a straightforward and efficient way to obtain your motherboard model information without relying on any external tools or software. It is particularly useful for users who prefer the command-line interface and have a basic understanding of using the Command Prompt.
By following this method, you can quickly retrieve the necessary details about your motherboard to assist with troubleshooting, driver updates, or hardware upgrades.
Method 3: Device Manager
Another handy method to identify your motherboard model in Windows 10 is by utilizing the Device Manager. The Device Manager provides a comprehensive list of all the hardware devices connected to your computer, including the motherboard.
Follow these steps to find out your motherboard model using Device Manager:
- Right-click on the Start button and select “Device Manager” from the context menu that appears.
- In the Device Manager window, locate and click on the “System devices” category to expand it.
- Look for an entry named “System Firmware” or “BIOS” and double-click on it.
A new window will open with information related to your system firmware or BIOS. Here, you can find details such as the Manufacturer and Version.
Note that the information displayed in the Device Manager may vary depending on your computer’s configuration and the version of Windows 10 you are using. However, the “System Firmware” or “BIOS” category should provide you with the necessary information to identify your motherboard model.
Using the Device Manager method is a convenient way to quickly access information about your motherboard without the need for additional software. It provides a more visual approach compared to other methods, allowing you to easily navigate through the device categories to find the desired information.
This method is particularly useful for users who are already familiar with the Device Manager interface and prefer a graphical representation of their system hardware.
Method 4: Third-Party Software
If you prefer a more user-friendly and comprehensive approach to identifying your motherboard model in Windows 10, you can turn to third-party software specifically designed for this purpose. There are several reliable and popular software options available that can provide detailed information about your computer’s hardware, including the motherboard.
Here are a few examples of third-party software that can help you find out your motherboard model:
- CPU-Z: CPU-Z is a widely-used utility that provides detailed information about your computer’s hardware components. It displays comprehensive details about the processor, memory, motherboard, and more. Simply download and install CPU-Z from the official website, run the program, and navigate to the “Mainboard” tab to find information about your motherboard model.
- Speccy: Speccy is another popular software that offers system information and hardware analysis. It provides detailed reports on various aspects of your computer, including the motherboard. After installing Speccy, launch the program and navigate to the “Motherboard” section to find the motherboard model, manufacturer, and other relevant details.
- Belarc Advisor: Belarc Advisor is a system analysis tool that generates a comprehensive report containing information about your computer’s hardware and software. It provides detailed information about your motherboard, including the model and manufacturer. Download and install Belarc Advisor, run the program, and access the generated report to find the motherboard details.
These third-party software options generally offer more detailed information compared to the methods mentioned earlier. They are particularly useful for users who require a comprehensive overview of their system components or for those who are troubleshooting hardware issues or planning hardware upgrades.
Keep in mind that using third-party software might involve downloading and installing additional programs on your computer. Ensure that you download software from trusted sources, and exercise caution while installing to avoid any potentially unwanted programs or adware.
Using third-party software provides a streamlined and user-friendly way to identify your motherboard model, giving you more detailed information and potentially assisting you in making informed decisions related to your computer hardware.
Conclusion
Discovering the motherboard model of your Windows 10 computer is essential for various purposes, such as hardware upgrades, driver updates, or troubleshooting. In this article, we explored four different methods to help you easily identify your motherboard model.
We began by discussing the System Information tool, a built-in feature of Windows 10 that provides comprehensive hardware details. Next, we explored the Command Prompt method, which allows you to retrieve motherboard information through simple commands. Then, we covered the Device Manager method, which provides a visual interface to locate your motherboard details. Lastly, we discussed the option of using third-party software, such as CPU-Z, Speccy, or Belarc Advisor, to obtain more detailed information about your motherboard.
Each method presented has its own advantages, catering to different levels of technical expertise and personal preferences. Whether you prefer a built-in tool, command-line interface, graphical interface, or third-party software, you now have the knowledge to identify your motherboard model in Windows 10.
Remember, knowing your motherboard model can be immensely helpful in various scenarios, from ensuring compatibility with hardware upgrades to resolving compatibility issues or updating drivers specific to your motherboard.
So, the next time you need to find out what motherboard you have in Windows 10, refer back to this article and choose the method that suits you best. By doing so, you will have the necessary information at your fingertips to make informed decisions and optimize your computing experience.