Introduction
Welcome to this step-by-step guide on how to change a customer to a vendor in QuickBooks. As your business grows and evolves, you may find the need to convert a customer to a vendor in your accounting software. This can happen when a customer starts providing goods or services to your business, becoming a trusted supplier or contractor. QuickBooks provides a simple and efficient way to make this transition, ensuring that you maintain accurate records and streamline your accounting processes.
In this guide, we will walk you through the necessary steps to successfully change a customer to a vendor in QuickBooks. From opening the software to updating the customer details and saving the changes, we will cover each step in detail, ensuring that you have a clear understanding of the process.
By converting a customer to a vendor, you can consolidate your contacts and financial information, making it easier to manage and track your transactions. This will help you maintain accurate records and save time when it comes to invoicing, payments, and reporting.
Whether you have just started using QuickBooks or have been using it for some time, this guide will provide you with the knowledge and confidence to convert a customer to a vendor seamlessly. Let’s dive in and get started on this important task that will streamline your accounting processes and improve your overall efficiency.
Step 1: Open QuickBooks
The first step in changing a customer to a vendor in QuickBooks is to open the software on your computer. Locate the QuickBooks application icon on your desktop or in your list of installed programs and double-click on it to launch the program. QuickBooks will now load and present you with the main dashboard.
If you don’t have QuickBooks installed on your computer, you will need to download and install it from the official QuickBooks website. Follow the instructions provided to complete the installation process. Once the installation is complete, you can proceed with opening the software.
QuickBooks may prompt you to sign in with your account credentials before accessing the main dashboard. If you have a QuickBooks account, enter your email address and password in the appropriate fields and click on the “Sign In” button. If you don’t have an account, you have the option to create a new one by clicking on the “Create Account” link.
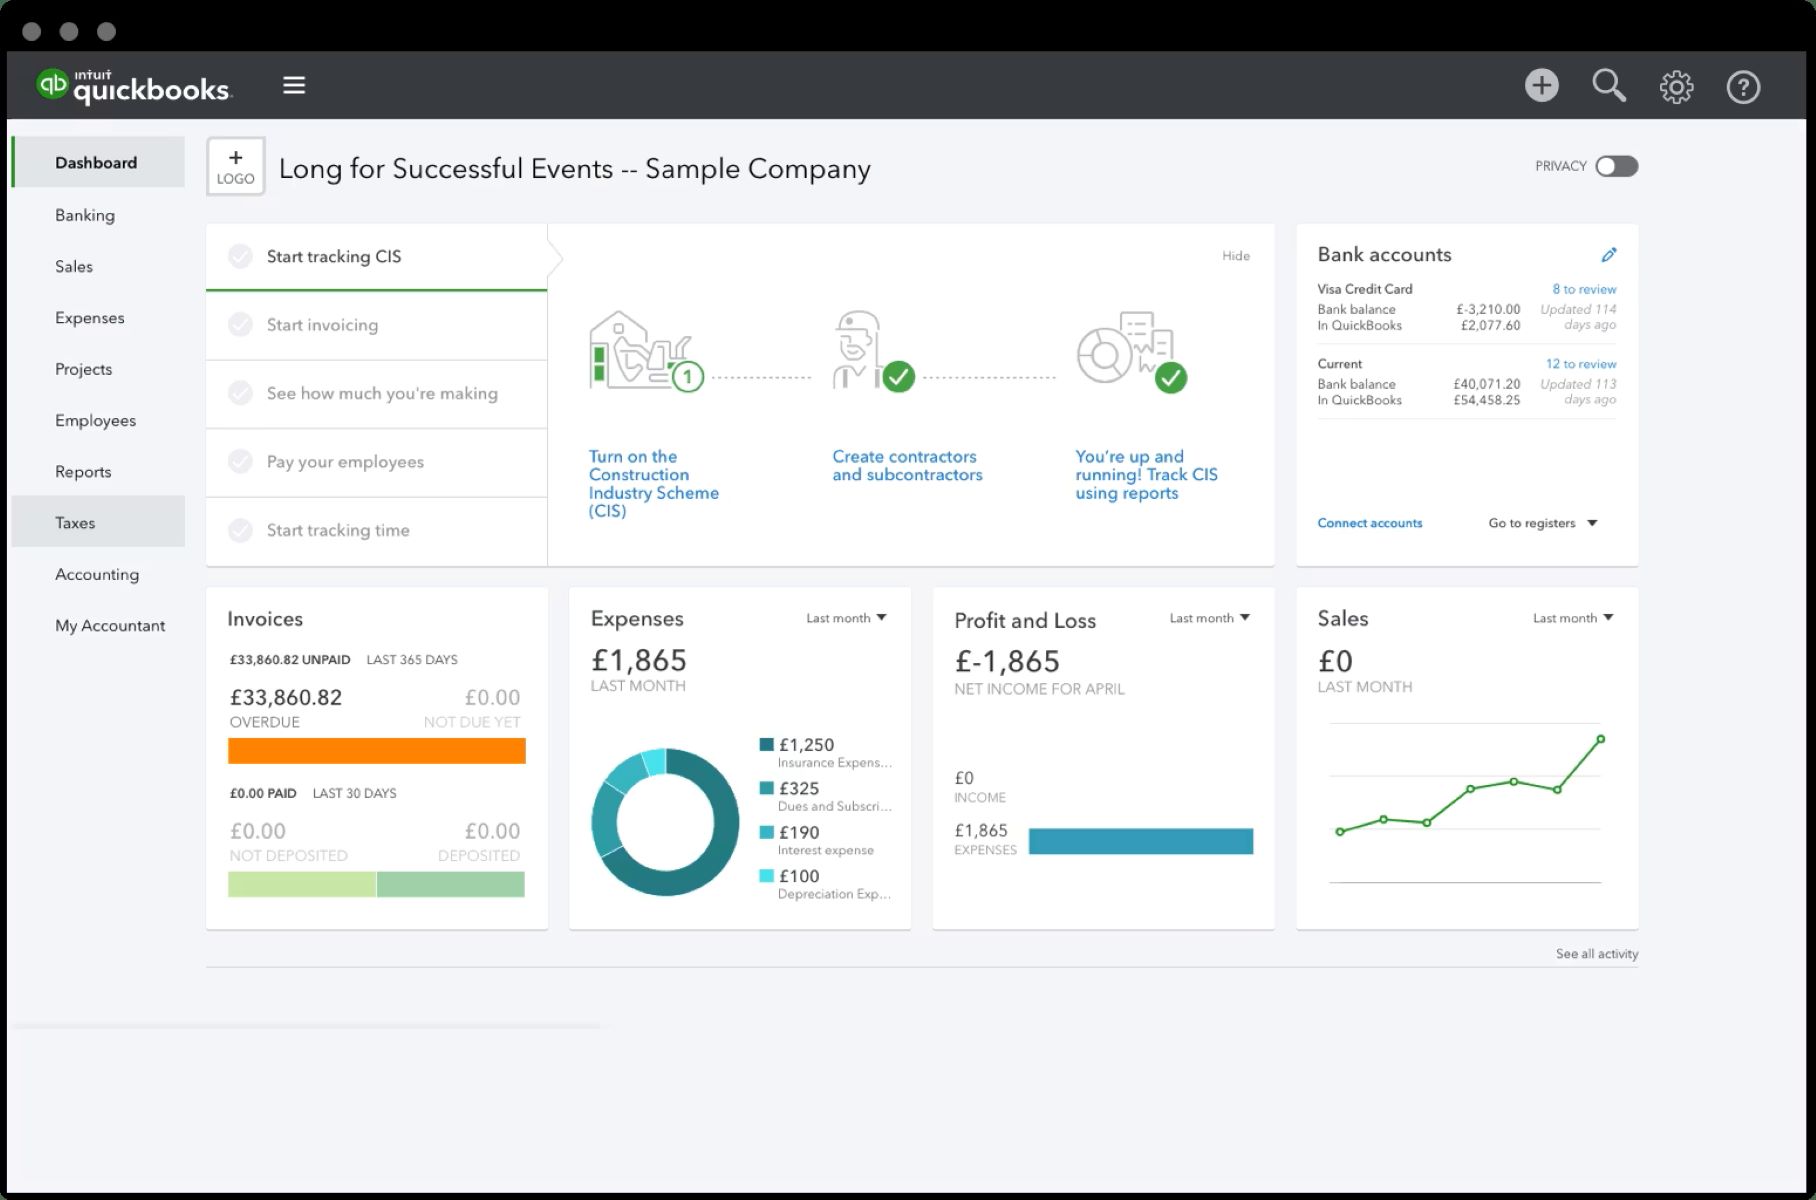
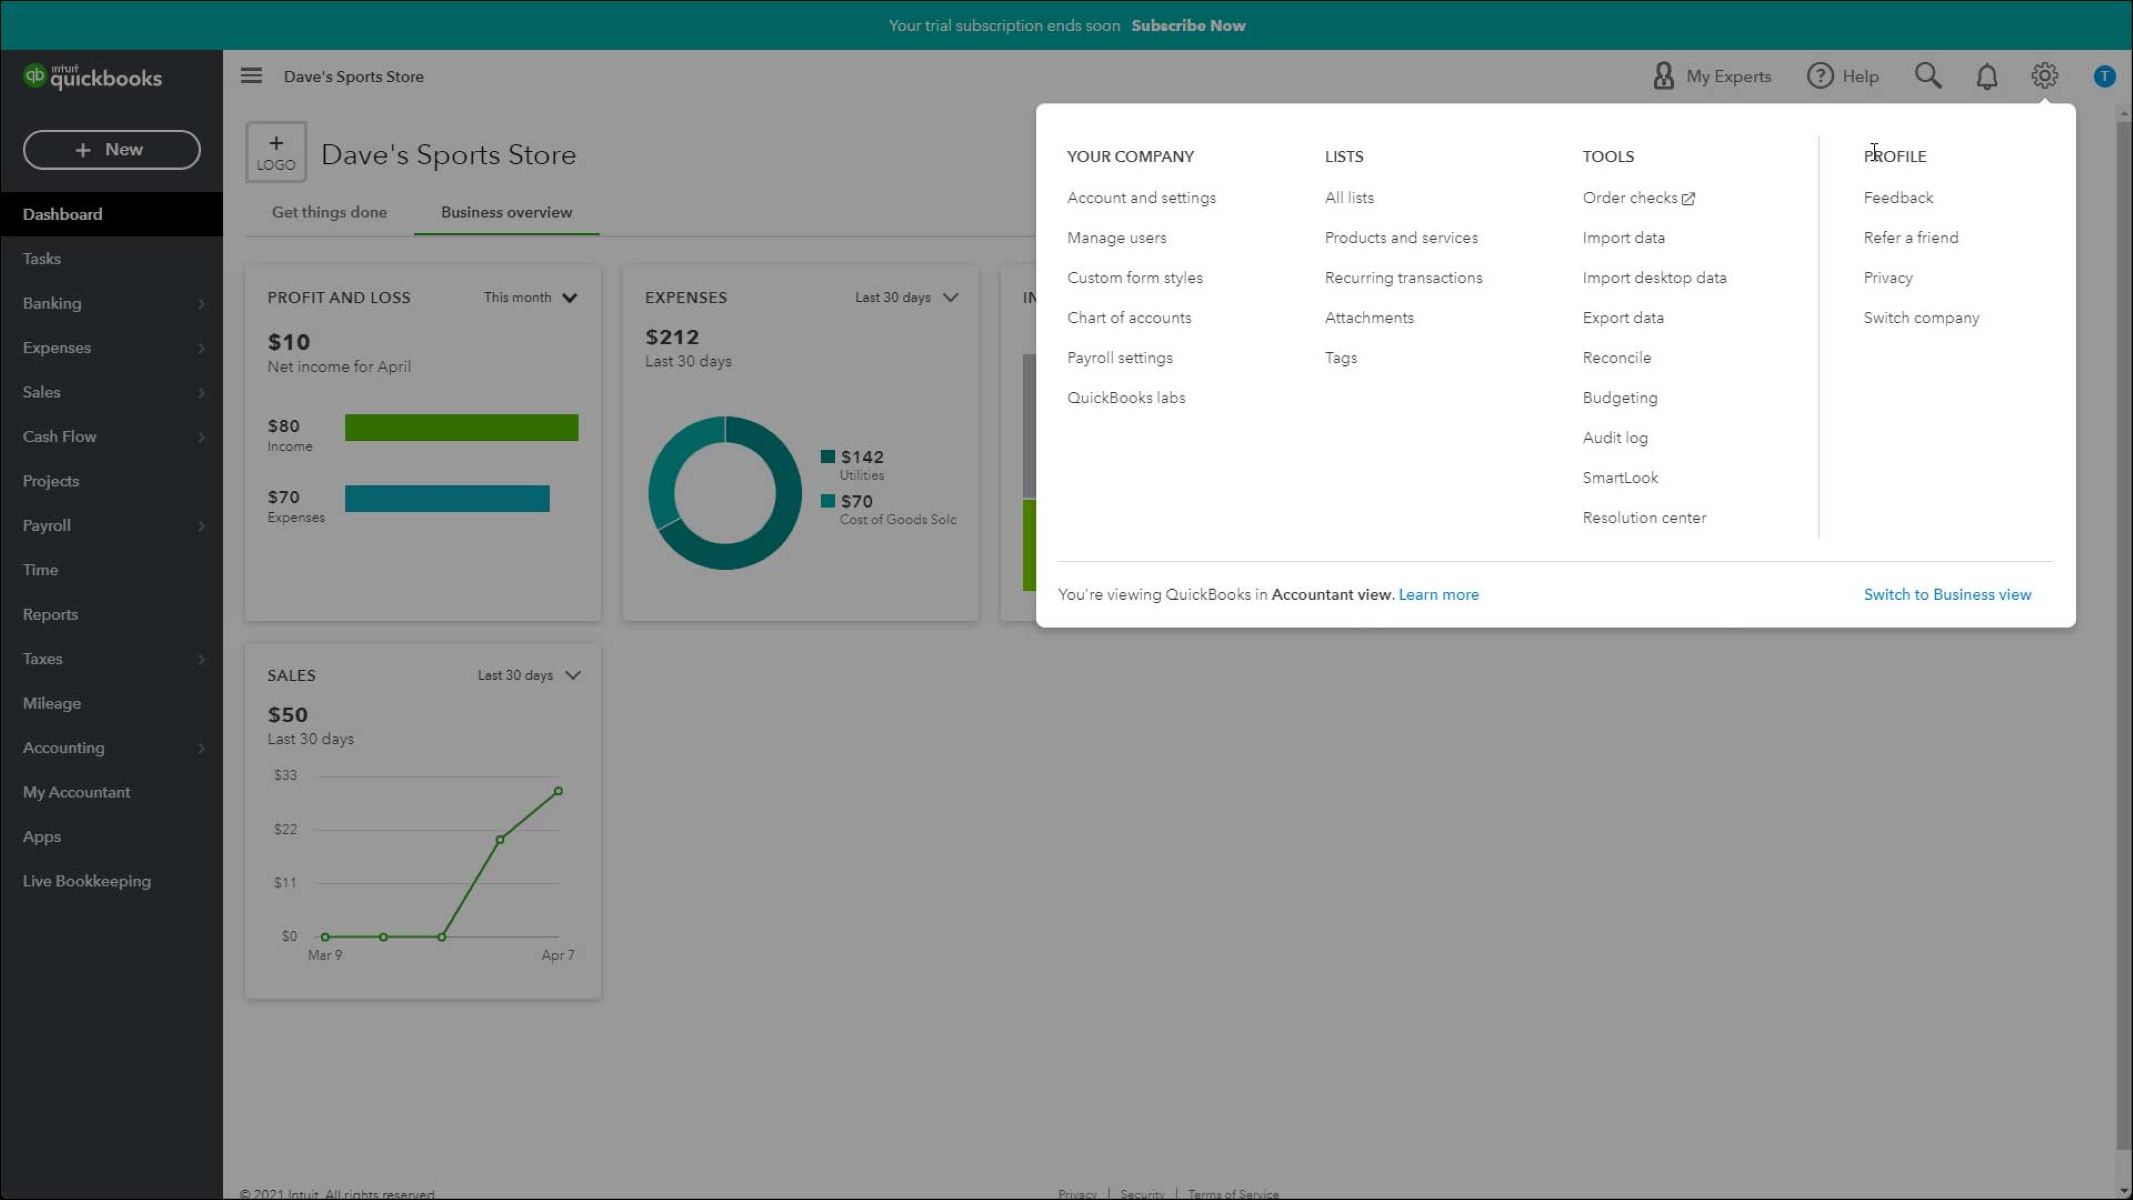
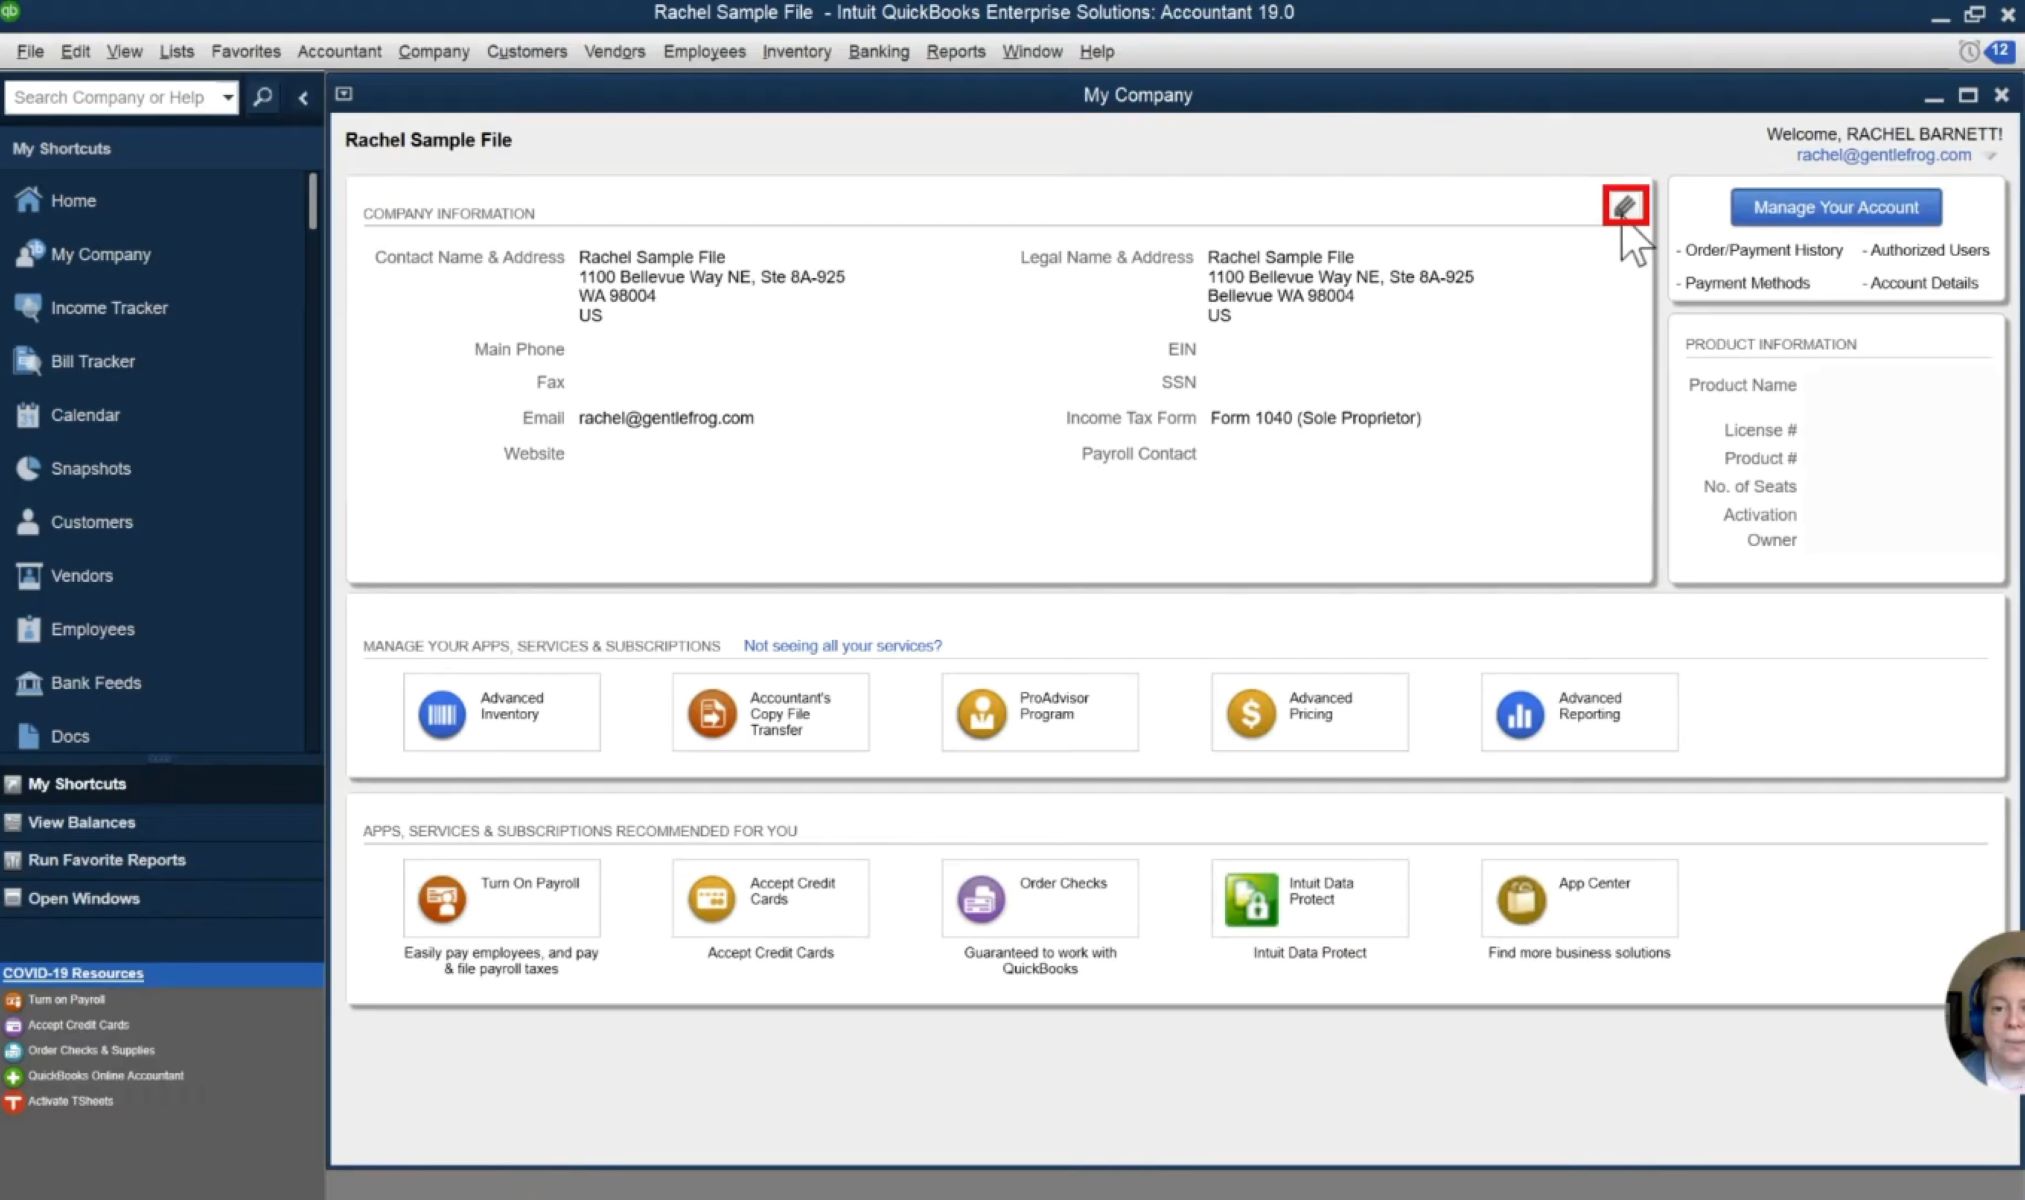
Once signed in, QuickBooks will load the main dashboard, which is the central hub for accessing all the features and functions of the software. From the dashboard, you can navigate to different menus to perform various tasks, such as managing customers, vendors, and financial transactions.
With QuickBooks open and ready to go, you’re now set to proceed with the next steps of converting a customer to a vendor. In the following steps, we will guide you through the process of selecting the customer, editing the customer details, and changing the customer type to vendor, so let’s move on to step 2.
Step 2: Navigate to Customers Menu
Once you have opened QuickBooks and are on the main dashboard, the next step is to navigate to the Customers menu. The Customers menu is where you can manage your customer-related information, including creating, editing, and deleting customer records.
To access the Customers menu, look for the navigation panel on the left side of the QuickBooks window. Here, you will find a list of different menus and options available in QuickBooks. Locate and click on the “Customers” option from the list. This will open up the Customers menu, displaying various customer-related functions and features.
Within the Customers menu, you will see different options such as “Customer Center,” “Create Invoices,” “Receive Payments,” and more. These options allow you to perform specific tasks related to managing your customers. For this particular process of converting a customer to a vendor, we will primarily be working in the Customer Center.
Click on the “Customer Center” option within the Customers menu to open the Customer Center window. The Customer Center window is where you can view, edit, and manage all your customer records. Here, you can browse through your existing customer list and search for the customer you want to convert to a vendor.
The Customer Center window is organized into different sections, such as “Customers & Jobs,” “Transactions,” and “Settings.” The Customers & Jobs section will display a list of all your customers, along with any associated jobs or sub-customers. Look for the customer you want to convert and select it by clicking on their name.
By navigating to the Customers menu and accessing the Customer Center, you are now ready to proceed with selecting the customer you wish to convert and editing their details. In the following steps, we will guide you through this process, so let’s move on to step 3.
Step 3: Select the Customer to Convert
After opening the Customer Center in QuickBooks, the next step is to select the specific customer that you want to convert to a vendor. This customer could be someone who has started providing goods or services to your business and is now functioning as a vendor or supplier.
In the Customer Center window, you will see a list of customers and their associated jobs or sub-customers. Scroll through the list or use the search bar to locate the customer you want to convert. Once you have found the customer, click on their name to select them.
By selecting the customer, QuickBooks will display their details in a separate window, allowing you to make changes to their information. You will also have the opportunity to change their customer type to vendor, which is essential for accurately categorizing them within your accounting records.
Before moving on to editing the customer details, take a moment to review the information displayed for the selected customer. Ensure that it corresponds to the correct customer you want to convert. Double-check their name, contact information, and any other relevant details.
If you have any doubts or concerns about the customer you have selected, you can double-check their previous transactions, statements, or any other relevant documents to verify their involvement as a vendor in your business operations.
By selecting the customer you want to convert, you have now completed the critical step of identifying the individual or company that will be transitioned from a customer to a vendor. In the next step, we will guide you through the process of editing the customer details, including changing their customer type to vendor. So, let’s move on to step 4.
Step 4: Edit Customer Details
Once you have selected the customer you want to convert in QuickBooks, the next step is to edit their details. Editing the customer details will allow you to make changes to their information and update their record to reflect their new status as a vendor.
In the customer details window, you will see various fields where you can update the customer’s information. These fields might include their name, address, contact information, payment terms, and more. Review each field and make any necessary changes to ensure accuracy.
Pay close attention to the customer’s name and make sure it reflects their new status as a vendor. You may update it if needed to align with their business name or remove any personal identifiers. This will ensure consistency in your records and avoid confusion in the future.
Other important details to consider updating include the customer’s address, phone number, and email. Verify that the information is current and accurate for their vendor role. If any changes are required, update the fields accordingly to reflect the vendor’s correct contact information.
Additionally, you may need to modify the payment terms or other financial information for the vendor. This can include updating the payment method, setting specific credit limits, or adjusting any purchase order requirements. Make the necessary adjustments based on your business’s agreement or arrangement with the vendor.
It’s essential to ensure that all the details you update during this step are in line with the vendor’s specific requirements and your business relationship with them. Taking the time to review and accurately modify the customer details will help maintain accurate and organized records of your vendor transactions.
After reviewing and editing the customer’s details, you’re now ready to move on to the next critical step: changing the customer type to a vendor. In the following step, we will guide you through this process so that you can accurately categorize the customer within your accounting system. Let’s continue to step 5.
Step 5: Change Customer Type to Vendor
After editing the customer’s details in QuickBooks, the next step is to change their customer type to vendor. By changing the customer type, you are officially categorizing them as a vendor within your accounting system, reflecting their new business relationship with your company.
In the customer details window, locate the customer type field or a similar option that allows you to specify the customer’s type. Click on this field to open the dropdown menu or selection options.
In the dropdown menu, you will typically find a list of predefined customer types, including options such as “Customer,” “Vendor,” “Employee,” and more. Select the “Vendor” option to change the customer’s type to reflect their new role.
By changing the customer type to vendor, QuickBooks will now recognize this contact as a vendor in your records. This will enable you to easily differentiate between customers and vendors when generating reports, managing transactions, and analyzing financial data.
It’s important to note that changing the customer type to vendor will not affect any past transactions or historical data associated with this contact. The change only reflects the categorization of future transactions and interactions with them as a vendor.
Once you have selected the “Vendor” option, QuickBooks will update the customer’s type and adjust their profile accordingly. You may notice that some fields or options in the customer details window have now changed or become more vendor-focused.
Now that you have successfully changed the customer type to vendor, you can proceed to the next step, where we will guide you through updating the vendor details. This will ensure that their information aligns with their vendor role and facilitates smoother accounting processes. Let’s move on to step 6.
Step 6: Update Vendor Details
After changing the customer type to vendor in QuickBooks, the next step is to update and ensure the accuracy of the vendor details. Modifying the vendor details will help maintain organized and up-to-date records of your vendor transactions and communications.
In the customer details window, you will now see that some fields and options have changed or become more vendor-specific. Review each field and make any necessary updates to reflect the vendor’s accurate information.
Start by verifying the vendor’s name displayed in the vendor details window. Ensure that it corresponds to their business name or any other relevant identification. If needed, modify the name to align with their specific information.
Next, review and update the vendor’s contact information, including their address, phone number, and email. Confirm that the information is current and accurate for their vendor role. If any changes are required, make the updates within the appropriate fields.
Additionally, you may need to specify other vendor-specific details, such as tax identification numbers, payment terms, preferred payment methods, and any additional contact persons or departments within the vendor’s organization. Fill in or update these fields accordingly to reflect the vendor’s specific requirements.
Take the time to accurately enter and update the vendor details as this information will be essential for future vendor-related transactions, such as sending purchase orders, making payments, and managing vendor accounts.
Validating the vendor’s details before saving the changes will help maintain accurate and organized records of your vendor interactions, ensuring smooth communication and accounting processes.
Once you have reviewed and updated the vendor details, you are now ready to proceed to the final step of the process: saving the changes and finalizing the conversion. In the next step, we will guide you through this final step to ensure that all your modifications are securely and accurately recorded. Let’s move on to step 7.
Step 7: Save Changes
After making the necessary updates to the vendor details in QuickBooks, the final step is to save the changes. Saving the changes will ensure that all the modifications you have made to the customer’s information and vendor details are securely recorded in your accounting system.
Before saving the changes, take a moment to review all the updates you have made to the customer’s details and vendor information. Verify that everything is accurate and correctly reflects the vendor’s new status within your records.
Once you are confident that everything is in order, click on the “Save” or “Save Changes” button. QuickBooks will process the changes and update the customer’s record accordingly.
After saving the changes, you can navigate back to the main dashboard or any other relevant sections in QuickBooks. You will now see the vendor’s name and information updated to reflect their new role as a vendor.
It’s essential to remember that saving the changes does not impact any past transactions or historical data associated with this vendor or customer. The modifications only affect future transactions and interactions.
By saving the changes, you have successfully converted a customer to a vendor in QuickBooks, streamlining your accounting processes and ensuring accurate record-keeping of your vendor relationships.
Now that you have completed the conversion process, you are ready to manage the vendor’s transactions, invoice them for their services or products, and track their payments accordingly.
Remember to regularly update and maintain the vendor details in QuickBooks as their business relationship with your company evolves or if any changes occur in their information.
Congratulations! You have successfully completed the process of changing a customer to a vendor in QuickBooks. By following these steps, you can efficiently manage your customer and vendor information within your accounting software.
With accurate and organized records, you will be able to streamline your financial processes, improve efficiency, and make informed business decisions. Enjoy the benefits of effective vendor management in QuickBooks!
Conclusion
Converting a customer to a vendor in QuickBooks is a straightforward process that allows you to streamline your accounting processes and maintain accurate records. By following the step-by-step guide outlined in this article, you can successfully transition a customer to a vendor, ensuring that their information is updated and categorized appropriately.
From opening QuickBooks to navigating the Customers menu, selecting the customer to convert, editing their details, changing their customer type to vendor, updating the vendor details, and finally saving the changes, each step plays a crucial role in ensuring a smooth and accurate conversion process.
By converting a customer to a vendor, you can consolidate your contacts and financial information, making it easier to manage and track your transactions. This allows for improved efficiency when it comes to invoicing, payments, and reporting. It also helps you maintain accurate records and ensures that your accounting information reflects the changing dynamics of your business relationships.
Remember to regularly review and update your vendor details within QuickBooks as your vendor relationships evolve or if any changes occur in their information. Accurate and up-to-date records will help you maintain strong communication with your vendors and ensure a smooth and efficient financial operation.
QuickBooks provides a user-friendly interface and intuitive options to manage your customers and vendors. By leveraging its features effectively, you can maximize the potential of your accounting software and enhance your overall financial management.
We hope that this step-by-step guide has provided you with the necessary knowledge and confidence to successfully change a customer to a vendor in QuickBooks. By implementing these steps, you can optimize your accounting processes, improve efficiency, and stay organized in your vendor management.
Now that you have a clear understanding of the process, it’s time to put it into action and benefit from the streamlined vendor management capabilities of QuickBooks. Start converting your customers to vendors today and experience the advantages of a well-maintained and accurate accounting system in your business.


