Introduction
Managing bills and ensuring timely payments is crucial for any business. Quickbooks Online is a powerful accounting software that can simplify and streamline your bill payment process. Whether you have recurring monthly bills or one-time expenses, Quickbooks Online provides a seamless platform for organizing, tracking, and paying your bills efficiently.
In this article, we will guide you through the step-by-step process of paying bills in Quickbooks Online. From setting up bill payments to recording and reviewing payment history, you’ll have a complete understanding of how to use Quickbooks Online effectively for managing your bills.
Quickbooks Online offers several features and functionalities to make your bill payment process hassle-free. You can easily create, track, and manage bills, allocate payments to specific invoices, and even schedule automatic payments for recurring expenses. Additionally, the software allows you to review your payment history, ensuring accuracy and transparency in your financial records.
Whether you are a small business owner, freelancer, or self-employed professional, using Quickbooks Online to manage your bills can save you time and effort. By automating your bill payment process, you can focus on growing your business and ensure that your suppliers and vendors are paid on time.
Step 1: Setting up bill payments in Quickbooks Online
Before you can start paying bills in Quickbooks Online, you need to set up bill payment functionality. Here’s how you can do it:
- Access your Quickbooks Online account: Log in to your Quickbooks Online account using your credentials. Once logged in, navigate to the dashboard.
- Set up your bank account: To make bill payments, you need to link your bank account with Quickbooks Online. Go to the “Banking” tab and select “Add Account.” Follow the on-screen instructions to connect your bank account securely.
- Set up vendors: Next, you need to set up your vendors in Quickbooks Online. Go to the “Expenses” tab and select “Vendors.” Click on the “New Vendor” button and enter the necessary details for each vendor, such as name, contact information, and payment terms.
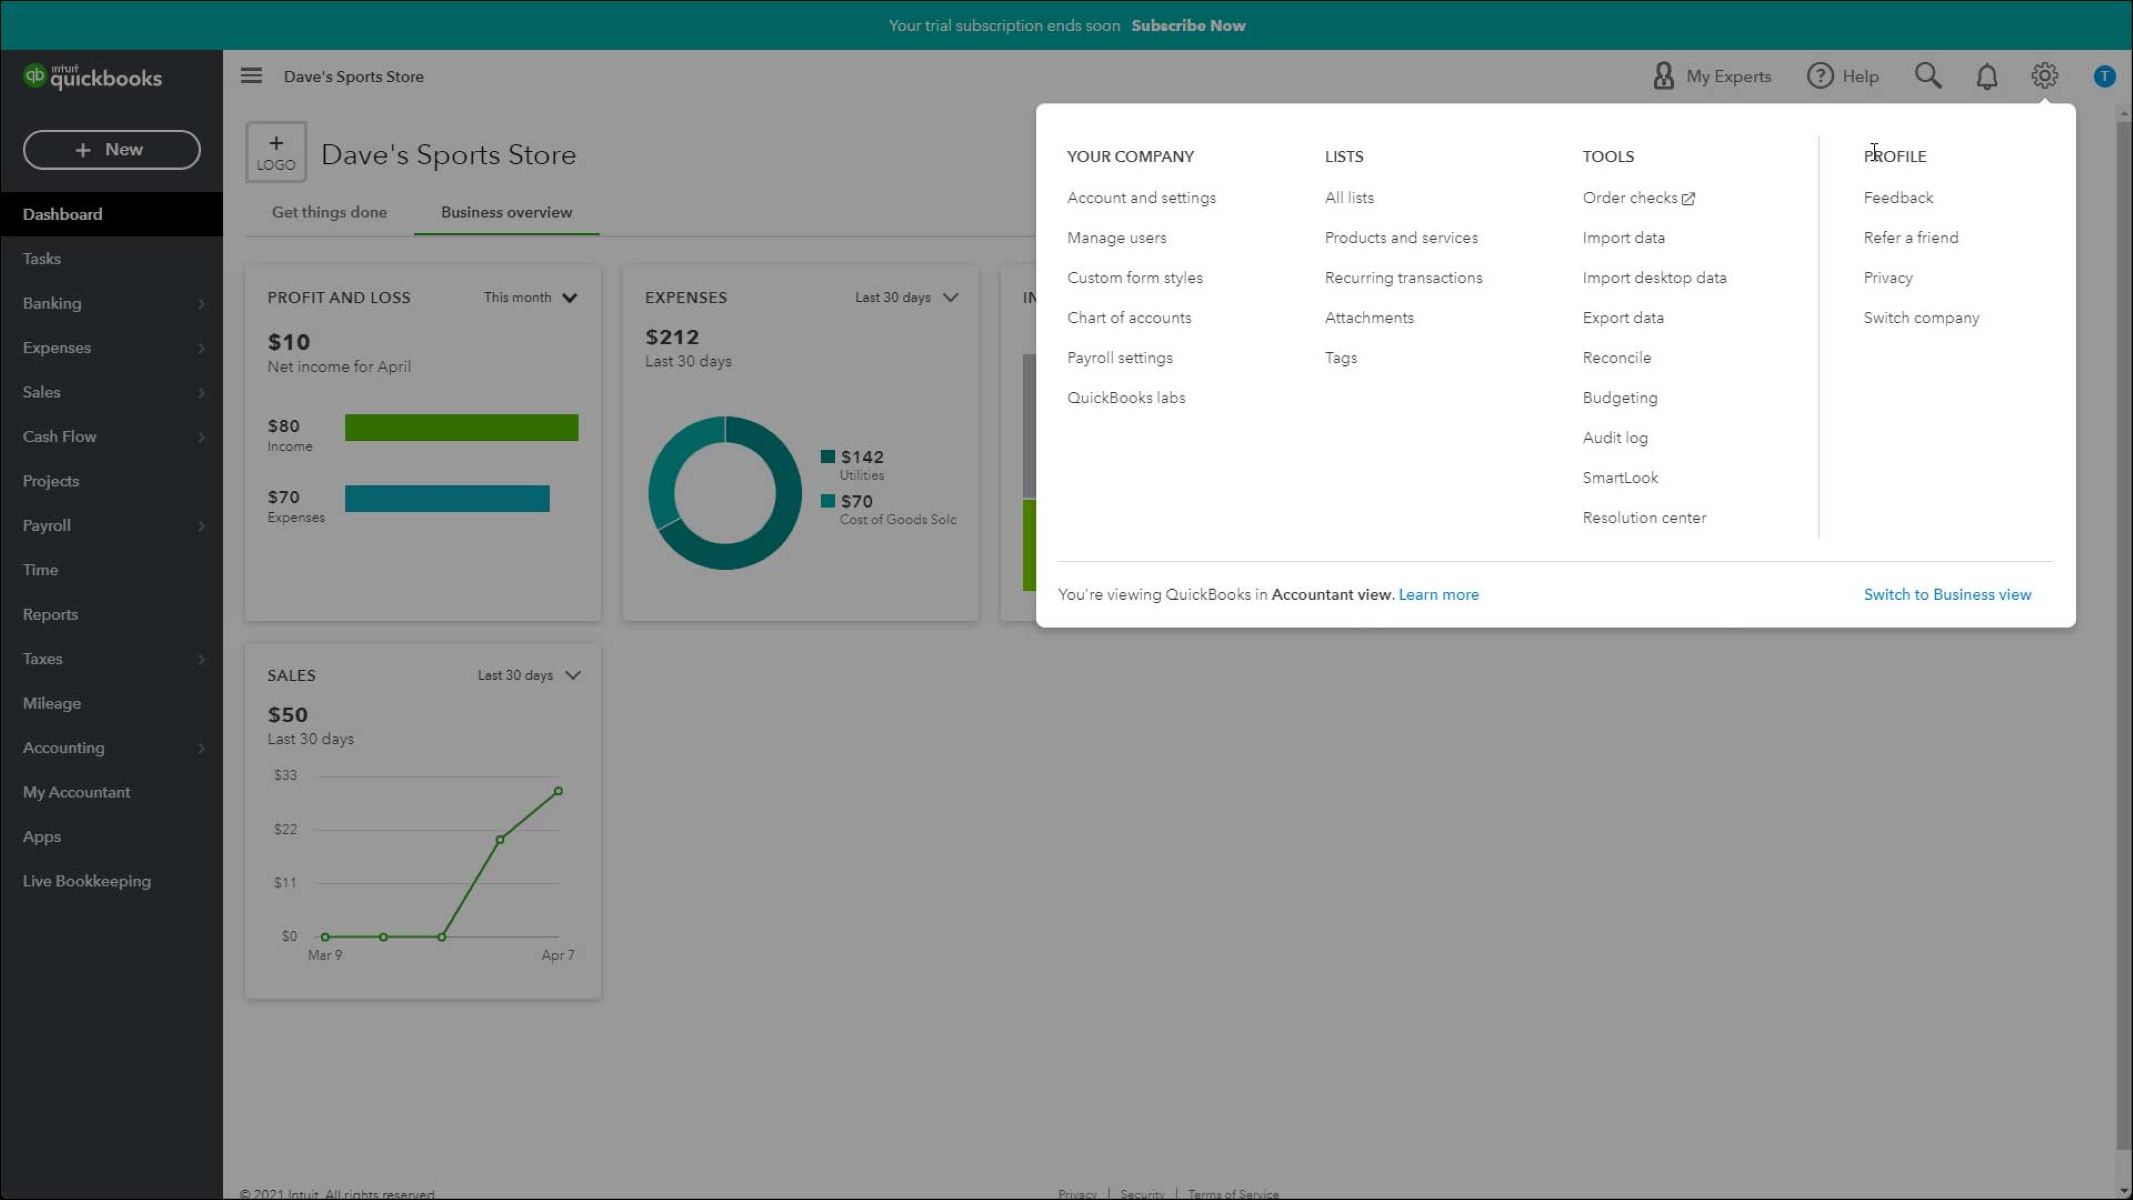
- Enable bill payment feature: To enable bill payment functionality, go to the “Settings” menu and select “Account and Settings.” Navigate to the “Expenses” tab and click on “Bills and Expenses.” Under the “Payment” section, check the box that says “Make payments.” Save the settings.
- Set up payment methods: Quickbooks Online allows you to choose different payment methods for your bills, such as check, bank transfer, or credit card. Go to the “Settings” menu and select “Account and Settings.” Navigate to the “Payments” tab and click on “Payment methods.” Add the desired payment methods and save the changes.
Once you have completed these steps, you will have successfully set up bill payment functionality in Quickbooks Online. You are now ready to create bills and start paying them efficiently using the software’s robust features.
Step 2: Creating a bill in Quickbooks Online
Creating bills in QuickBooks Online is a simple process that allows you to accurately record and track your expenses. Follow these steps:
- Access the vendor section: Log in to your QuickBooks Online account and navigate to the “Expenses” tab. Click on “Vendors” to access the vendor section.
- Select the vendor: From the list of vendors, choose the one for whom you want to create the bill. If the vendor is not listed, you can add them by clicking on the “New Vendor” button.
- Fill in the bill details: In the “Bill” section, enter the necessary information, such as the billing date, due date, and bill amount. You can also add any additional details or notes in the provided space.
- Add expense line items: Scroll down to the “Expense” section and click on “Add a line” to add individual expense items. Enter the description, quantity, rate, and any applicable taxes or discounts for each line item. Repeat this step for each expense item on the bill.
- Allocate expenses to accounts: For each expense item, assign the appropriate account category from the drop-down menu. This step ensures that the expenses are correctly categorized in your financial records.
- Attach supporting documents: If you have any receipts, invoices, or other supporting documents, you can attach them to the bill for reference and record-keeping purposes. QuickBooks Online allows you to upload and store attachments directly within the system.
- Save the bill: Once you have entered all the bill details, reviewed the information for accuracy, and attached any necessary documents, click on the “Save” button to create the bill in QuickBooks Online.
By following these steps, you can easily create bills in QuickBooks Online, ensuring that all your expenses are accurately recorded and easily accessible for future reference.
Step 3: Allocating payments to bills in Quickbooks Online
Once you have created bills in QuickBooks Online, the next step is to allocate payments to those bills. This ensures that your accounts accurately reflect the payments made. Follow these steps:
- Access the vendor section: Log in to your QuickBooks Online account and navigate to the “Expenses” tab. Click on “Vendors” to access the vendor section.
- Select the vendor: From the list of vendors, choose the one for whom you want to allocate payments. Click on the vendor’s name to view the list of unpaid bills.
- Select the bill to allocate payment: Identify the bill for which you want to allocate the payment. Click on the bill to open it.
- Enter the payment details: In the bill payment window, enter the payment details, including the payment method, check number (if applicable), payment date, and payment amount.
- Allocate the payment: In the “Apply Bill Payment” section, select the bill or bills you want to allocate the payment to. If the payment amount does not fully cover the bill, you can allocate a partial payment. QuickBooks Online will automatically update the remaining balance.
- Review and save: Double-check the payment details and allocation to ensure accuracy. Once you are satisfied, click on the “Save” button to allocate the payment to the bill.
By following these steps, you can easily allocate payments to bills in QuickBooks Online, ensuring that your financial records accurately reflect the payments made and the outstanding balances of your bills.
Step 4: Paying bills in QuickBooks Online
Paying bills in QuickBooks Online allows you to settle your outstanding expenses efficiently. Follow these steps to make payments:
- Access the vendor section: Log in to your QuickBooks Online account and navigate to the “Expenses” tab. Click on “Vendors” to access the vendor section.
- Select the vendor: Choose the vendor for whom you want to make a payment. Click on the vendor’s name to view the list of unpaid bills.
- Select bills to pay: Select the bills you want to pay. You can choose multiple bills or make a partial payment for each bill.
- Choose the payment method: Select the payment method you prefer, such as a bank transfer, credit card payment, or check. QuickBooks Online allows you to link your bank account or credit card for convenient payment processing.
- Review payment details: Double-check the payment details, including the payment amount and allocation. Ensure that the information is accurate before proceeding to the next step.
- Approve and confirm payment: Once you are satisfied with the payment details, click on the “Pay” button to approve and confirm the payment. QuickBooks Online will process the payment using the selected payment method.
- Record the payment: After the payment is made, QuickBooks Online will automatically update the bill status and mark it as “Paid.” The payment will also be recorded in your financial records for future reference.
By following these steps, you can easily pay your bills in QuickBooks Online, ensuring that your outstanding expenses are settled accurately and efficiently.
Step 5: Recording bill payments in QuickBooks Online
Recording bill payments in QuickBooks Online ensures that your financial records are up-to-date and accurate. Follow these steps to record your bill payments:
- Access the vendor section: Log in to your QuickBooks Online account and navigate to the “Expenses” tab. Click on “Vendors” to access the vendor section.
- Select the vendor: Choose the vendor for whom you have made a payment. Click on the vendor’s name to view the list of bills associated with them.
- Verify the bill payment: Locate the bill you have paid, and ensure that the payment has been recorded correctly. The bill status should be marked as “Paid.”
- Review payment details: Double-check the payment details, including the payment method, payment date, and payment amount. Make sure that all information is accurate.
- Record the bill payment: In the bill payment window, click on the “Record Payment” button. Enter the payment details, including the payment method, check number (if applicable), and payment date.
- Allocate the payment: In the “Apply Bill Payment” section, select the bill or bills to which you want to allocate the payment. QuickBooks Online will automatically update the remaining balances accordingly.
- Review and save: Double-check all the payment details and allocation to ensure accuracy. Once you are satisfied, click on the “Save” button to record the bill payment.
By following these steps, you can easily record your bill payments in QuickBooks Online. This will help you maintain accurate financial records and keep track of your expenses.
Step 6: Reviewing bill payment history in QuickBooks Online
Reviewing your bill payment history in QuickBooks Online allows you to track and analyze your payment activities. Here’s how you can do it:
- Access the Reports section: Log in to your QuickBooks Online account and navigate to the “Reports” tab. Click on “All Reports” to access the reports section.
- Select the Payment History report: In the reports section, locate and select the “Payment History” report. This report provides a comprehensive overview of your bill payments, including payment dates, amounts, and payment methods.
- Customize the report: Customize the report by selecting the desired date range and other filters as per your requirements. You can also choose to include additional details, such as vendor information or payment type.
- View and analyze the report: Once you have customized the report, click on the “Run Report” button to generate it. Review the report to gain insights into your bill payment history. You can easily identify trends, track payment patterns, and identify any discrepancies.
- Export or print the report: If needed, you can export the report to PDF or Excel format, or print a hard copy for your records or for sharing with your accountant or financial advisor.
- Save and schedule the report: QuickBooks Online allows you to save the report for future reference. You can also schedule the report to be generated and sent to your email at regular intervals.
By following these steps, you can easily review your bill payment history in QuickBooks Online. This provides you with valuable insights into your payment activities, helping you make informed financial decisions and ensuring transparency in your records.
Conclusion
Managing and paying bills is a crucial aspect of running a business, and QuickBooks Online provides a user-friendly platform to streamline this process. In this article, we have covered the step-by-step process of paying bills in QuickBooks Online, from setting up bill payments to recording and reviewing payment history.
By following these steps, you can effectively manage your bills and ensure timely payments. The software allows you to create bills, allocate payments, and record payment details accurately. With features like linking your bank account, choosing payment methods, and attaching supporting documents, QuickBooks Online offers convenience and efficiency in managing your expenses.
Additionally, the ability to review your bill payment history through the Payment History report enables you to track and analyze your payment activities. This provides valuable insights for financial planning, identifying trends, and maintaining accurate financial records for tax and auditing purposes.
Using QuickBooks Online to pay your bills also helps you maintain good relationships with your vendors and suppliers by ensuring timely payments. Furthermore, automating the bill payment process allows you to focus on other aspects of your business, saving you time and effort.
In conclusion, QuickBooks Online is a powerful tool that simplifies the bill payment process, improves accuracy in financial records, and provides valuable insights into your payment activities. By mastering the steps outlined in this article, you can effectively manage your bills and ensure a smooth cash flow for your business.


