Introduction
Welcome to this guide on how to create a 1099 in QuickBooks! If you’re a small business owner or a freelancer who has hired independent contractors, you may need to issue Form 1099 to report certain payments made to these individuals. QuickBooks provides a user-friendly platform to help you generate and distribute 1099 forms effortlessly.
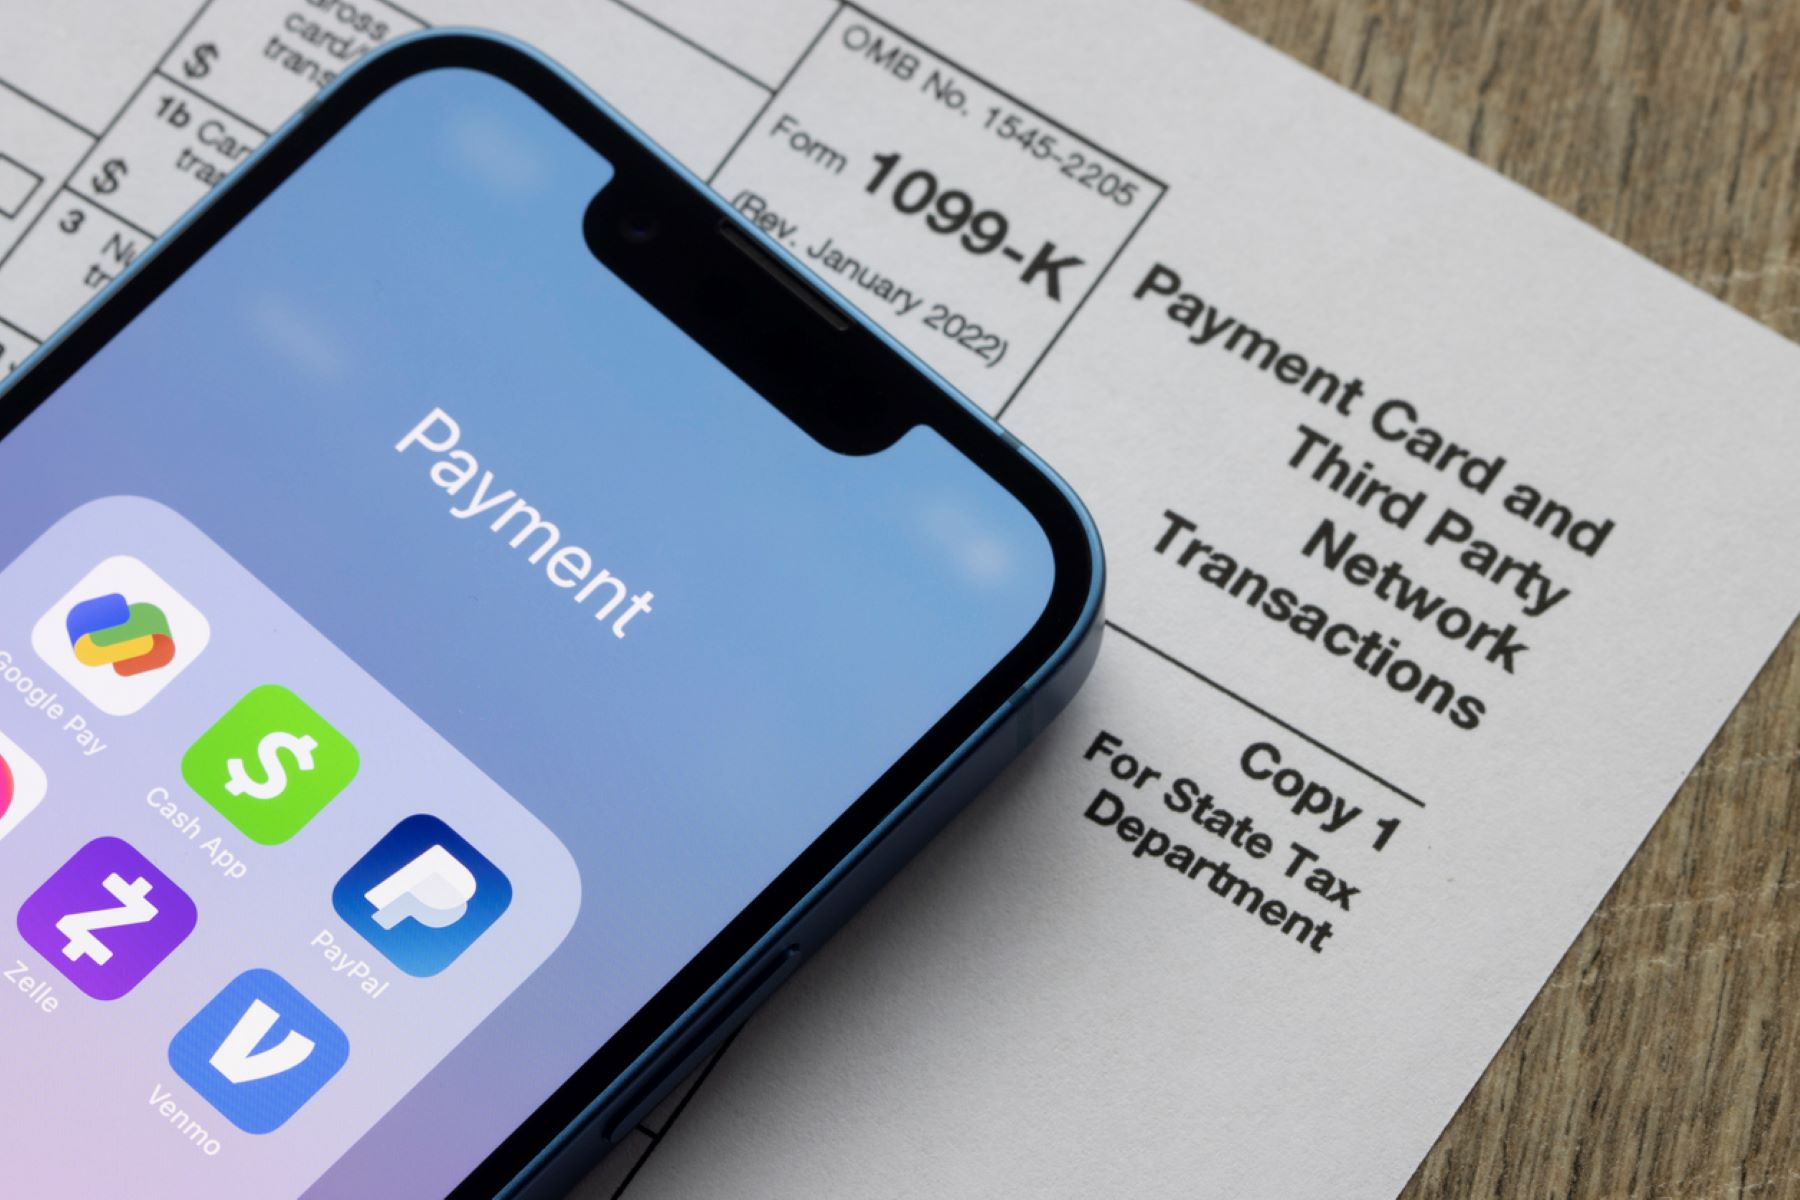
Form 1099 is a crucial document that reflects payments made to non-employees, such as freelancers, subcontractors, or vendors. It reports various types of income, including rent, royalties, and miscellaneous income, to the Internal Revenue Service (IRS). By issuing 1099 forms, businesses fulfill their obligations for tax reporting and ensure compliance with IRS regulations.
In this comprehensive guide, we will walk you through the step-by-step process of creating a 1099 using QuickBooks. From setting up vendors to preparing and distributing 1099 forms, we’ll cover everything you need to know to streamline this important task.
By following the instructions provided in this guide, you’ll be able to accurately track payments, categorize expenses, and generate 1099 forms effortlessly. Plus, with the convenience and efficiency of QuickBooks, you can save time and avoid potential errors associated with manual paperwork.
So, let’s dive in and learn how to create a 1099 in QuickBooks, ensuring compliance with tax regulations and simplifying your year-end reporting process.
Overview of Form 1099
Before we jump into the process of creating a 1099 in QuickBooks, let’s take a moment to understand what Form 1099 is and why it’s important.
Form 1099 is an IRS tax form used to report various types of income received by individuals or businesses other than salaries, wages, and tips. It is typically issued to independent contractors, freelancers, vendors, and other non-employees who have received payments of $600 or more during the tax year.
The purpose of Form 1099 is to provide accurate information about payments made to these individuals, allowing the IRS to ensure accurate reporting of income on their tax returns. Failure to issue 1099 forms when required can result in penalties and may trigger an audit by the IRS.
There are several types of 1099 forms, each designated for reporting specific categories of income. Some common types include:
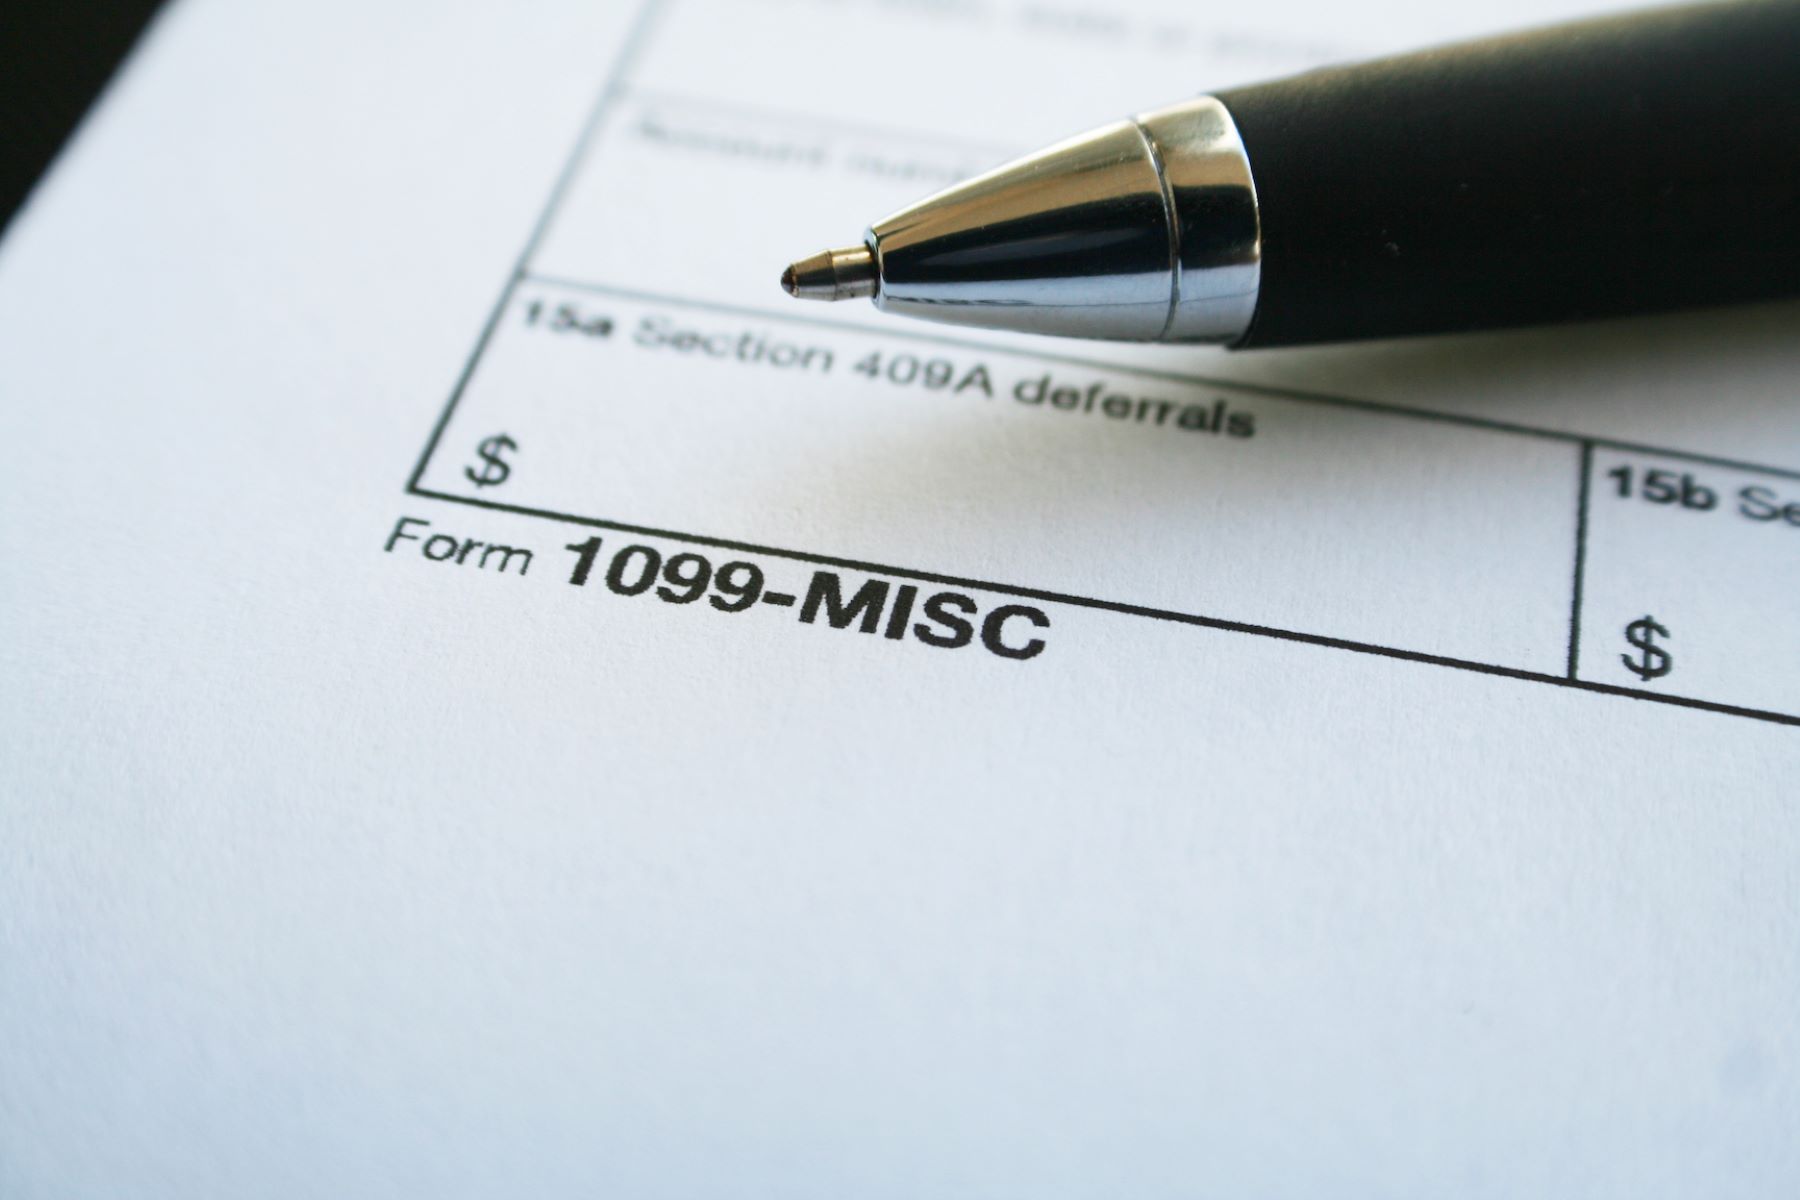
- Form 1099-MISC: Used to report miscellaneous income, such as payments to independent contractors, rents, and royalties.
- Form 1099-INT: Used to report interest income.
- Form 1099-DIV: Used to report dividends and distributions from investments.
- Form 1099-B: Used to report sales of stocks, bonds, or mutual funds.
Now that we have a basic understanding of Form 1099 and its significance, let’s explore how to create a 1099 in QuickBooks.
Step 1: Set Up Vendors
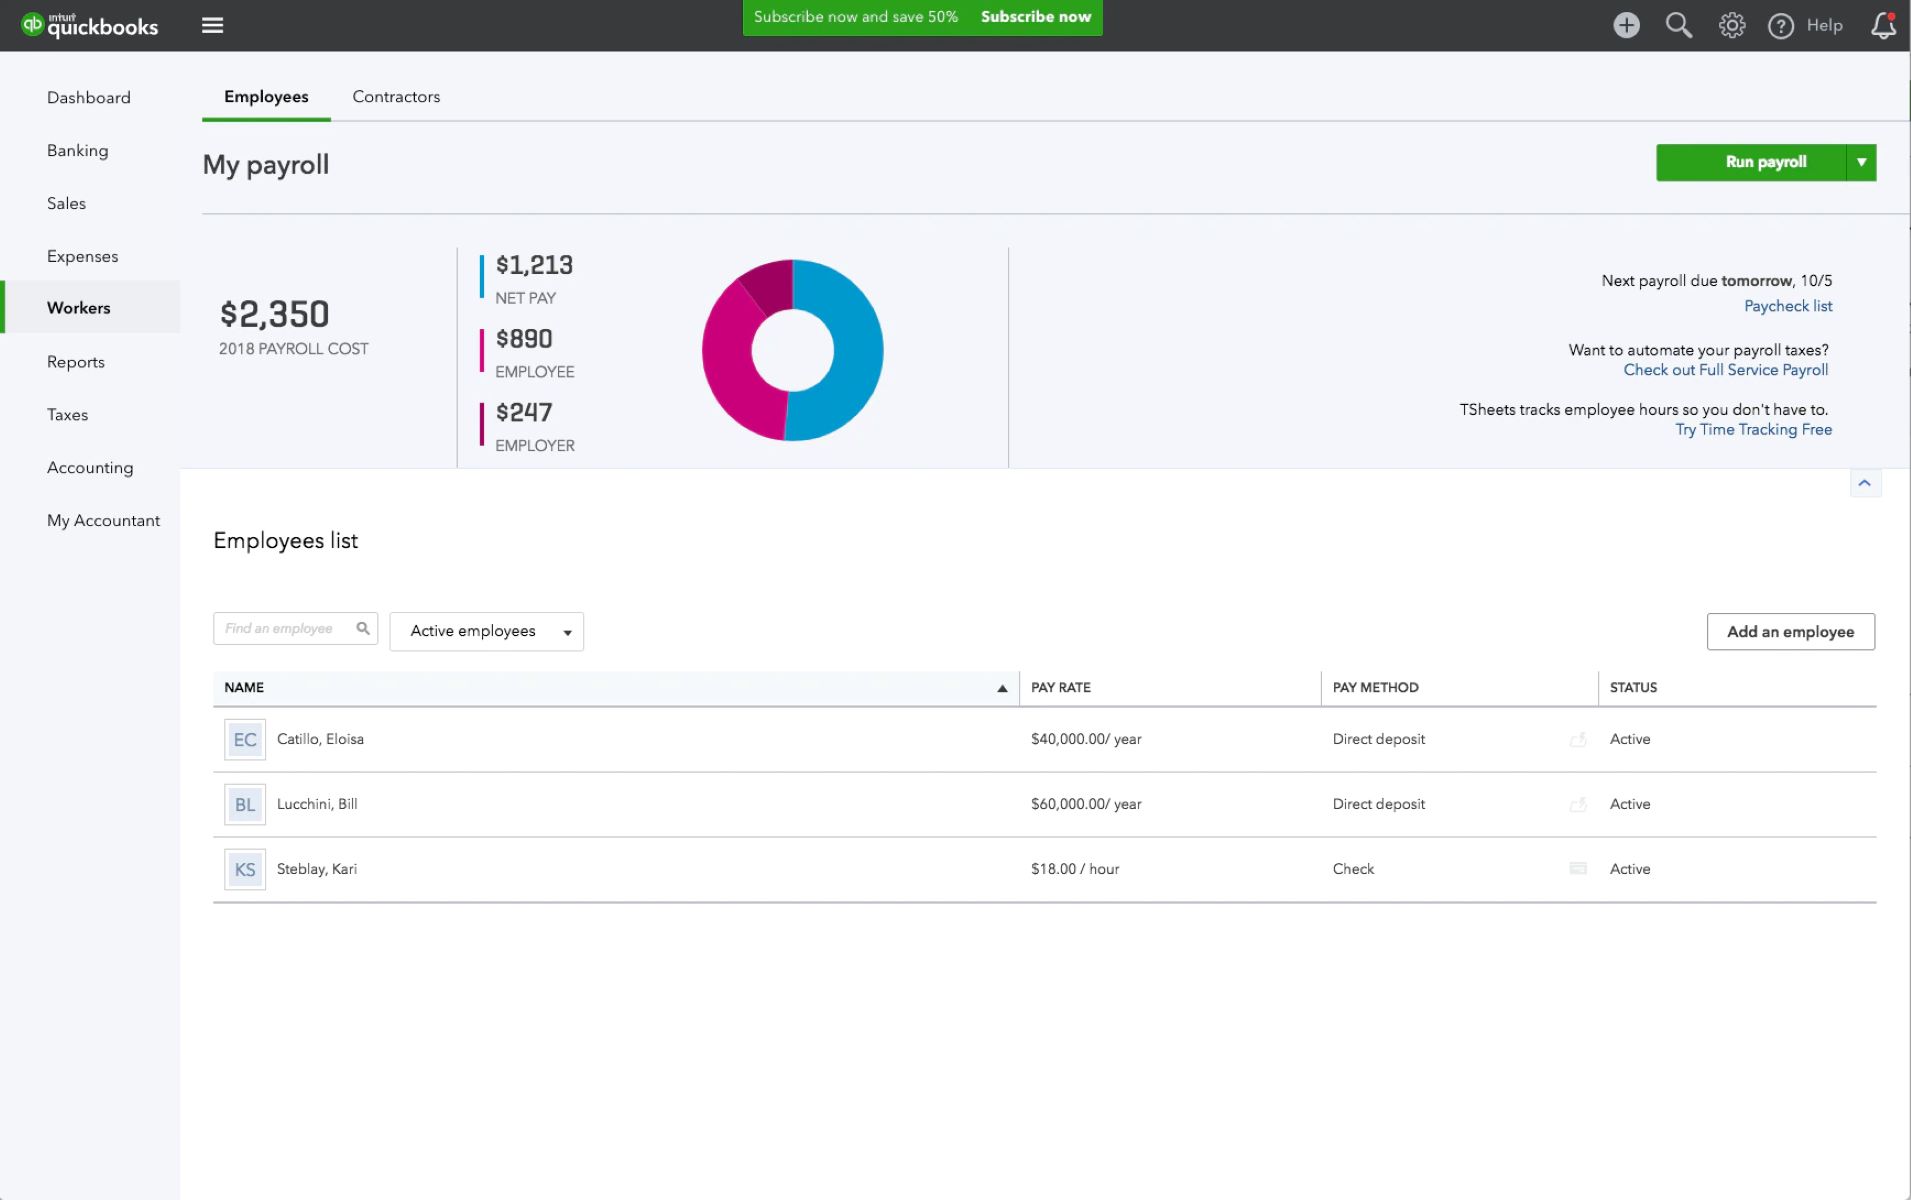
Before you can begin generating 1099 forms in QuickBooks, you need to ensure that your vendor information is correctly set up in the system. In this step, we’ll walk you through the process of setting up vendors in QuickBooks.
1. Access the Vendor Center: Open QuickBooks and navigate to the Vendor Center. You can find this by clicking on the “Vendors” tab in the main menu.
2. Create a New Vendor: To set up a new vendor, click on the “New Vendor” button and enter the necessary details, such as the vendor’s name, address, and contact information.
3. Provide Tax Information: In order to generate accurate 1099 forms, it’s important to enter each vendor’s tax identification number (TIN) or Social Security number (SSN) in the appropriate fields. QuickBooks will use this information to populate the necessary fields on the 1099 forms.
4. Set Vendor Eligibility for 1099: Select the option that indicates if the vendor is eligible for 1099 reporting. You can do this by checking the box labeled “Track payments for 1099” in the vendor’s profile. This ensures that QuickBooks tracks payments made to the vendor for 1099 reporting purposes.
5. Save and Repeat: Once you have entered all the required information, click “Save” to add the vendor to your Vendor Center. Repeat this process for all vendors who are eligible for 1099 reporting.
By properly setting up your vendors and providing accurate tax information, you lay the foundation for generating accurate and compliant 1099 forms in QuickBooks.
Now that your vendors are set up in QuickBooks, let’s move on to the next step: enabling 1099 tracking.
Step 2: Enable 1099 Tracking
Once you have set up your vendors in QuickBooks, the next step is to enable 1099 tracking. Enabling this feature ensures that QuickBooks accurately tracks payments made to vendors and generates the necessary information for 1099 reporting.
Follow these steps to enable 1099 tracking:
1. Navigate to the Preferences: From the main menu in QuickBooks, click on “Edit” and select “Preferences” from the drop-down menu. Alternatively, you can press Ctrl+K on your keyboard to access the Preferences.
2. Select Tax: In the left-hand navigation panel of the Preferences window, select “Tax”.
3. Enable 1099 Tracking: Under the “Company Preferences” tab, check the box next to “Yes, I file 1099-MISC forms” to enable 1099 tracking.
4. Configure Additional Options: Once you enable 1099 tracking, you can further configure options such as choosing the accounts to include in 1099 tracking and setting the threshold for generating 1099 forms. Review these options to ensure they align with your business requirements.
5. Save and Close: After configuring the necessary settings, click “OK” to save the changes and close the Preferences window.
By enabling 1099 tracking, you ensure that QuickBooks keeps a record of all payments made to vendors who are eligible for 1099 reporting. This feature streamlines the process of generating 1099 forms and helps you stay organized and compliant.
Now that you have enabled 1099 tracking, let’s move on to the next step: reviewing vendor information.
Step 3: Review Vendor Information
After setting up vendors and enabling 1099 tracking in QuickBooks, it’s important to review the vendor information to ensure accuracy and completeness. This step is crucial in generating correct and compliant 1099 forms. Let’s dive into how you can review vendor information in QuickBooks.
1. Access the Vendor Center: From the main menu, click on the “Vendors” tab to open the Vendor Center.
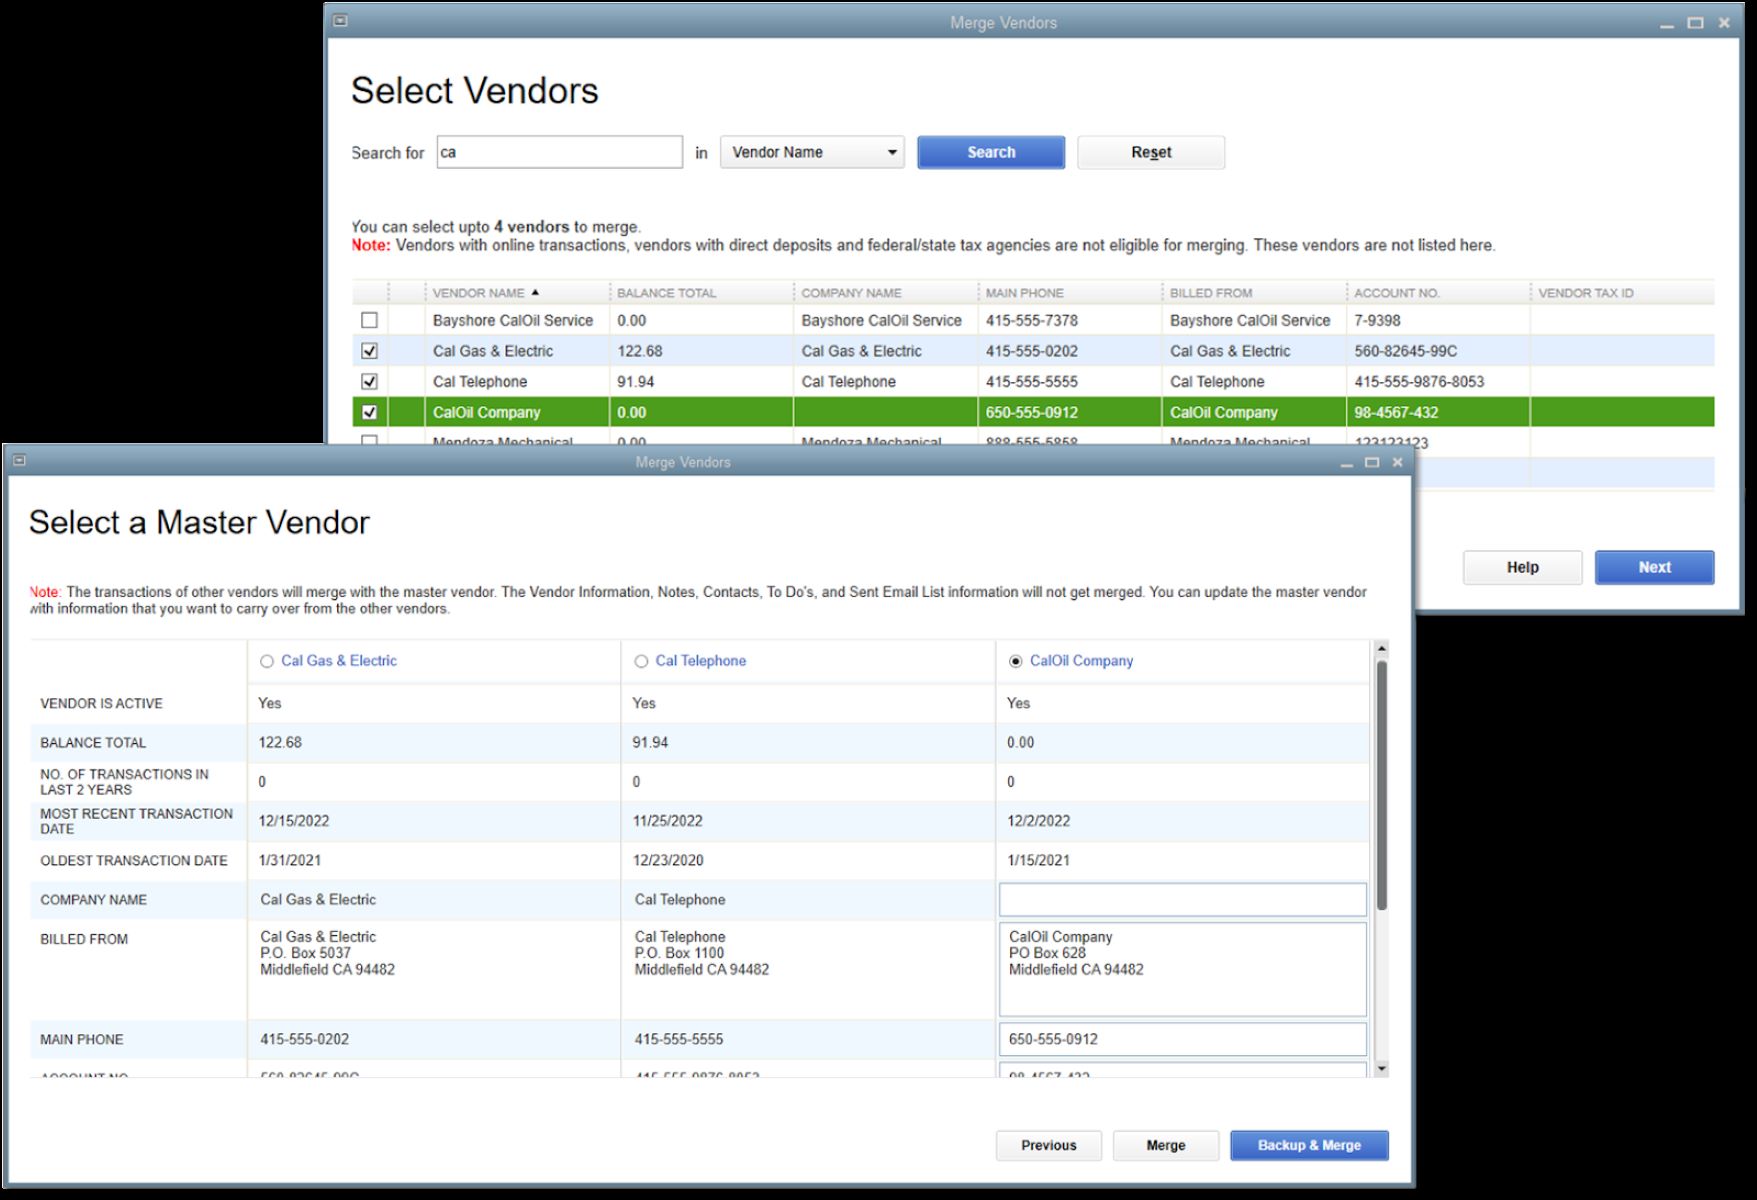
2. Review Vendor List: In the Vendor Center, you will see a list of all the vendors you have set up. Take some time to review the list and ensure that all the relevant vendors are included.
3. Confirm Eligibility for 1099: Verify that the vendors who should receive a 1099 form are marked as eligible for 1099 reporting. You can do this by checking the box next to “Track payments for 1099” in each vendor’s profile.
4. Verify Tax Identification Numbers: Double-check that you have accurately entered the tax identification numbers (TINs) or Social Security numbers (SSNs) for each vendor who is eligible for 1099 reporting. This information is essential for accurate reporting on the 1099 forms.
5. Review Payment Details: Ensure that all payments made to each vendor are properly categorized. QuickBooks automatically tracks payments based on the categories you assign. Review the payment details for accuracy and make any necessary adjustments.
6. Edit Vendor Information: If you spot any errors or missing information in the vendor profiles, you can edit the information by opening the vendor’s profile and making the necessary changes.
By reviewing and confirming the accuracy of vendor information in QuickBooks, you lay the groundwork for generating correct and compliant 1099 forms. It’s important to take the time to review and update vendor information regularly to ensure ongoing accuracy.
Now that you have reviewed the vendor information, let’s move on to the next step: ensuring payments are properly categorized.
Step 4: Ensure Payments are Properly Categorized
As you prepare to generate 1099 forms in QuickBooks, it’s essential to ensure that all payments made to vendors are properly categorized. Accurate categorization of payments helps ensure that the correct amounts are reported on the 1099 forms. Let’s explore how you can review and adjust the categorization of payments in QuickBooks.
1. Access the Expenses Tab: In QuickBooks, navigate to the Expenses tab in the main menu.
2. Review Payment Categories: Take some time to review the payment categories assigned to each payment made to vendors. QuickBooks automatically categorizes payments based on the accounts set up in your chart of accounts.
3. Adjust Payment Categories: If you notice any payments that are miscategorized or need to be re-categorized, you can make adjustments. Simply click on the payment you want to edit, select the appropriate category from the drop-down menu, and save the changes.
4. Split Payments if Necessary: In some cases, a payment may need to be split among different categories if it relates to various types of income or expenses. Click on the payment, select “Split” from the options, and allocate the payment amount to the relevant categories.
5. Review Previous Payments: It’s a good practice to review past payments made to vendors to ensure they are correctly categorized as well. Use the search options in QuickBooks to locate and review historical payment data.
6. Make Adjustments: If you identify any prior payments that need adjustment, you can edit the payment details and update the category assignments accordingly.
By reviewing and adjusting the categorization of payments in QuickBooks, you ensure that the amounts reported on the 1099 forms accurately reflect the different income categories. This step helps you maintain compliance with IRS regulations and avoid errors in reporting.
Now that you have verified the categorization of payments, let’s move on to the next step: reviewing and adjusting 1099 amounts.
Step 5: Review and Adjust 1099 Amounts
After ensuring that payments to vendors are properly categorized in QuickBooks, the next step is to review and adjust the 1099 amounts. The amounts reported on the 1099 forms should accurately reflect the total payments made to each vendor throughout the tax year. Let’s explore how you can review and adjust the 1099 amounts in QuickBooks.
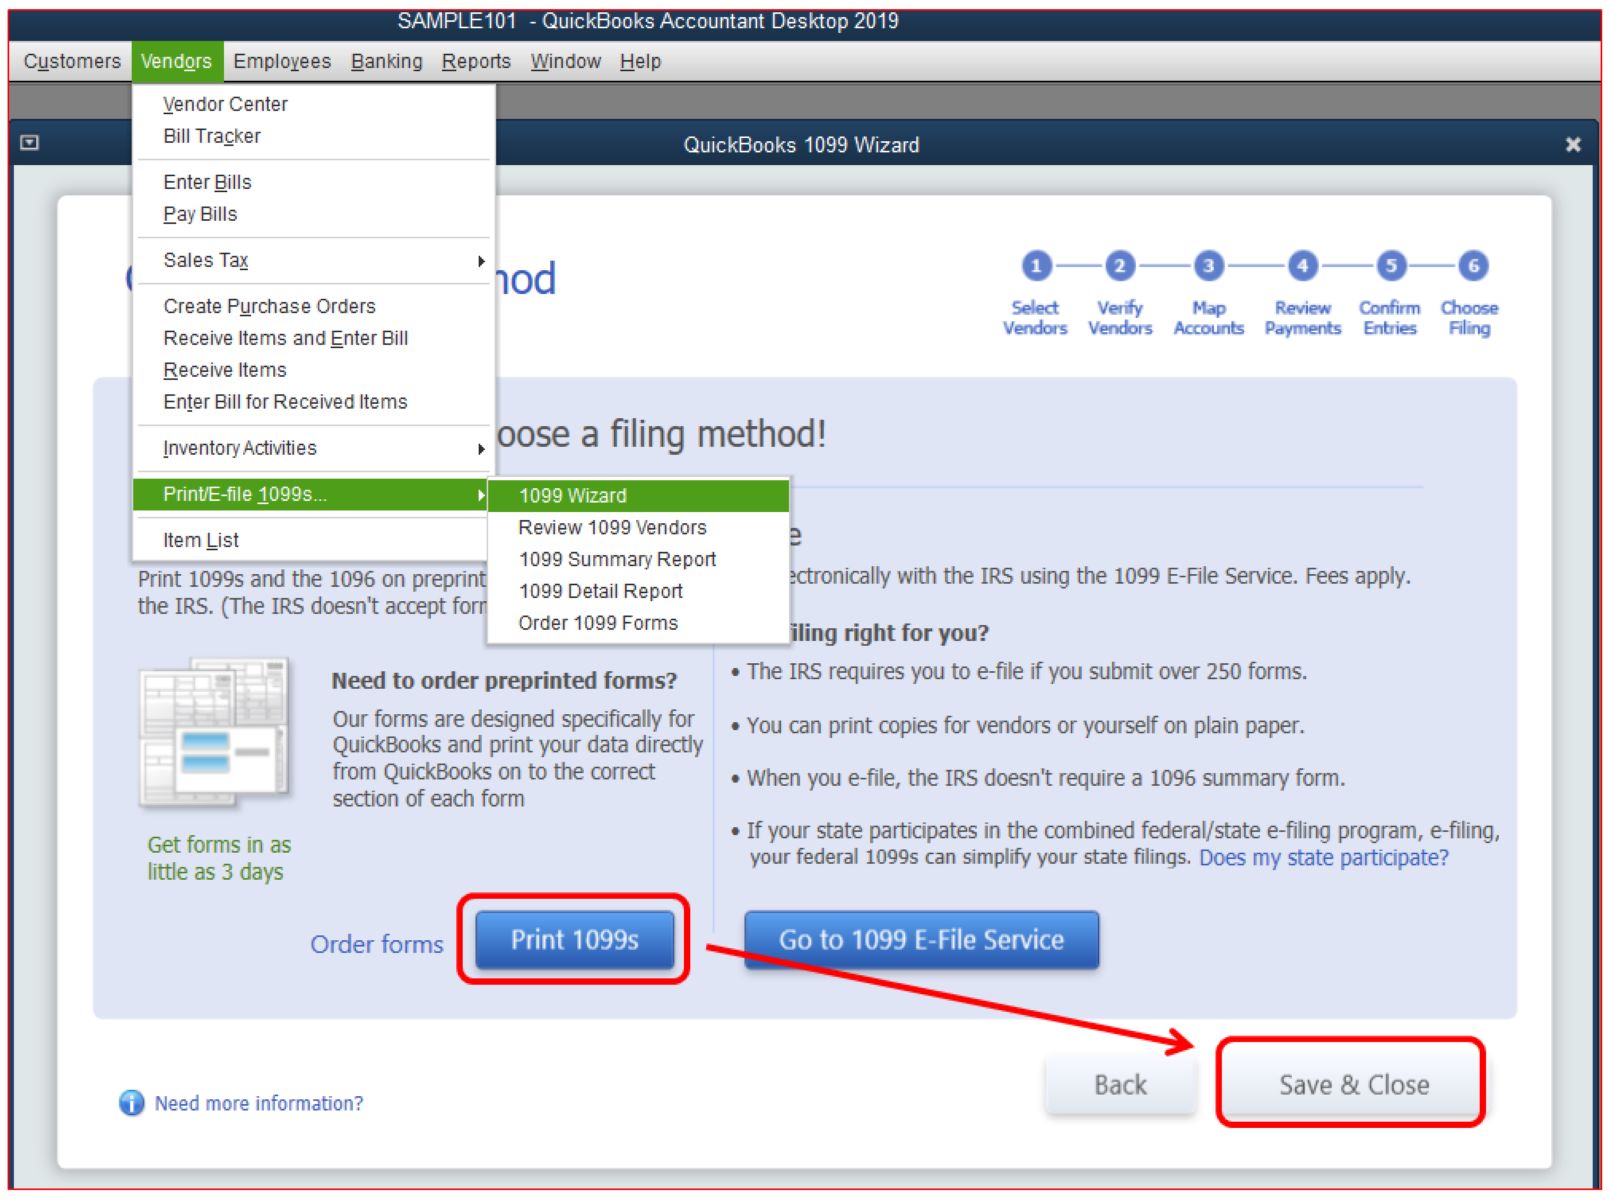
1. Access the 1099 Wizard: In QuickBooks, go to the Vendors menu and select “Print/E-file 1099s”. This will launch the 1099 Wizard.
2. Review Vendor Totals: In the 1099 Wizard, you will see a summary of payments made to each vendor. Carefully review the totals to ensure they align with the payments you have recorded in QuickBooks.
3. Check for Errors or Omissions: Look for any discrepancies, errors, or omissions in the payment totals. If you notice any issues, you can go back to the vendor payment records in QuickBooks and make necessary adjustments.
4. Edit Vendor Payment Details: To adjust the 1099 amounts, click on the vendor’s total payment amount in the 1099 Wizard. This will take you to the vendor’s payment details page in QuickBooks. Update the payment amounts as needed, save the changes, and return to the 1099 Wizard.
5. Confirm Accuracy: Once you have reviewed and adjusted the payment amounts, confirm that the totals displayed in the 1099 Wizard match the corrected amounts in QuickBooks.
6. Save and Continue: After verifying the accuracy of the 1099 amounts, save your changes in the 1099 Wizard and proceed to the next step for preparing and printing the 1099 forms.
By carefully reviewing and adjusting the 1099 amounts in QuickBooks, you ensure that the totals accurately reflect the payments made to each vendor throughout the tax year. This attention to detail helps you maintain accurate and compliant reporting.
Now that you have reviewed and adjusted the 1099 amounts, let’s move on to the next step: preparing and printing the 1099 forms.
Step 6: Prepare and Print 1099 Forms
After reviewing and adjusting the 1099 amounts in QuickBooks, you are ready to prepare and print the 1099 forms. QuickBooks simplifies this process by providing built-in tools that generate the necessary information and formats for the forms. Let’s explore how to prepare and print 1099 forms in QuickBooks.
1. Access the 1099 Wizard: From the Vendors menu, select “Print/E-file 1099s” to launch the 1099 Wizard in QuickBooks.
2. Verify Vendor Information: In the 1099 Wizard, review the vendor information displayed. Ensure that the vendor names, addresses, and tax identification numbers (TINs) or Social Security numbers (SSNs) are accurate.
3. Select and Confirm Forms: Choose the appropriate 1099 form for each vendor based on the type of income reported. Confirm the selection and ensure that the correct form type is assigned to each vendor.
4. Enter Additional Information: Provide any additional information requested in the 1099 Wizard, such as state tax withheld or other relevant details based on your specific reporting requirements.
5. Review Form Totals: Check the form totals displayed in the 1099 Wizard to ensure they match the adjusted payment amounts you reviewed in the previous steps.
6. Preview and Print: Preview the 1099 forms to ensure the information is accurate and properly formatted. Once you are satisfied, select the option to print the forms. QuickBooks will generate the forms with the vendor and payment details you have entered.
7. Distribute the Forms: After printing the 1099 forms, distribute them to the respective vendors. Generally, you are required to provide copies to the vendors by January 31st of the following year. Additionally, submit the appropriate copies to the IRS.
By following these steps, you can easily prepare and print 1099 forms in QuickBooks. The built-in tools and automated processes help simplify the task, saving time and ensuring accurate and compliant reporting.
Now that you have prepared and printed the 1099 forms, let’s move on to the final step: distributing the forms to vendors.
Step 7: Distribute 1099 Forms to Vendors
After preparing and printing 1099 forms in QuickBooks, the final step is to distribute the forms to the respective vendors. Providing vendors with accurate and timely copies of their 1099 forms ensures compliance with IRS requirements and maintains good business relationships. Let’s explore how you can distribute 1099 forms to vendors.
1. Gather the Forms: Collect all the printed 1099 forms that have been generated in QuickBooks. Ensure that each form is complete and accurate.
2. Prepare Envelopes: Obtain envelopes that are appropriate for mailing the 1099 forms. Make sure to include the appropriate return address and sufficient postage.
3. Create a Cover Letter (Optional): If desired, you can include a cover letter with the 1099 forms. The cover letter can provide a brief explanation of the purpose of the form and any additional instructions or clarifications for the vendor.
4. Insert Forms into Envelopes: Place each vendor’s 1099 form along with any accompanying documents, such as a cover letter or additional information, into the respective envelopes. Double-check that each envelope contains the correct form for the specific vendor.
5. Label and Seal Envelopes: Clearly label each envelope with the vendor’s name and address. Seal the envelopes securely to ensure that the contents are protected during mailing.
6. Mail the Forms: Take the prepared and sealed envelopes to the post office or arrange for a courier service to mail them to the vendors. Make sure to track the mailing or obtain proof of delivery, if necessary.
7. Retain Copies for Records: Keep a copy of each 1099 form and any accompanying documents for your records. These documents will serve as proof of compliance and can be referred to if any questions or issues arise in the future.
By distributing the 1099 forms to vendors in a timely and organized manner, you demonstrate professionalism and fulfill your legal obligations. Timely distribution also allows vendors to accurately report their income on their tax returns.
With this final step completed, you have successfully gone through the process of creating, reviewing, adjusting, and distributing 1099 forms to vendors using QuickBooks.
Conclusion
Congratulations! You have successfully learned how to create a 1099 in QuickBooks. Generating accurate and compliant 1099 forms is crucial for small business owners and freelancers who need to report payments made to independent contractors, vendors, and other non-employees.
Throughout this guide, we have covered the step-by-step process of creating a 1099 in QuickBooks, starting from setting up vendors to distributing the forms. By following the outlined steps, you can streamline the process, save time, and ensure accurate reporting.
Remember, accurate vendor information, proper categorization of payments, and careful review and adjustment of 1099 amounts are essential for generating correct and compliant forms. QuickBooks offers a user-friendly interface and built-in tools to facilitate these tasks.
Furthermore, distributing the 1099 forms to vendors in a timely and organized manner demonstrates professionalism and ensures that they have the necessary information to accurately report their income on their tax returns.
We hope that this guide has provided you with the knowledge and confidence to create 1099 forms in QuickBooks with ease. By efficiently managing your tax reporting obligations, you can focus on growing your business and maintaining strong relationships with your vendors.
Thank you for following along with this guide, and best of luck in your business ventures!