Introduction
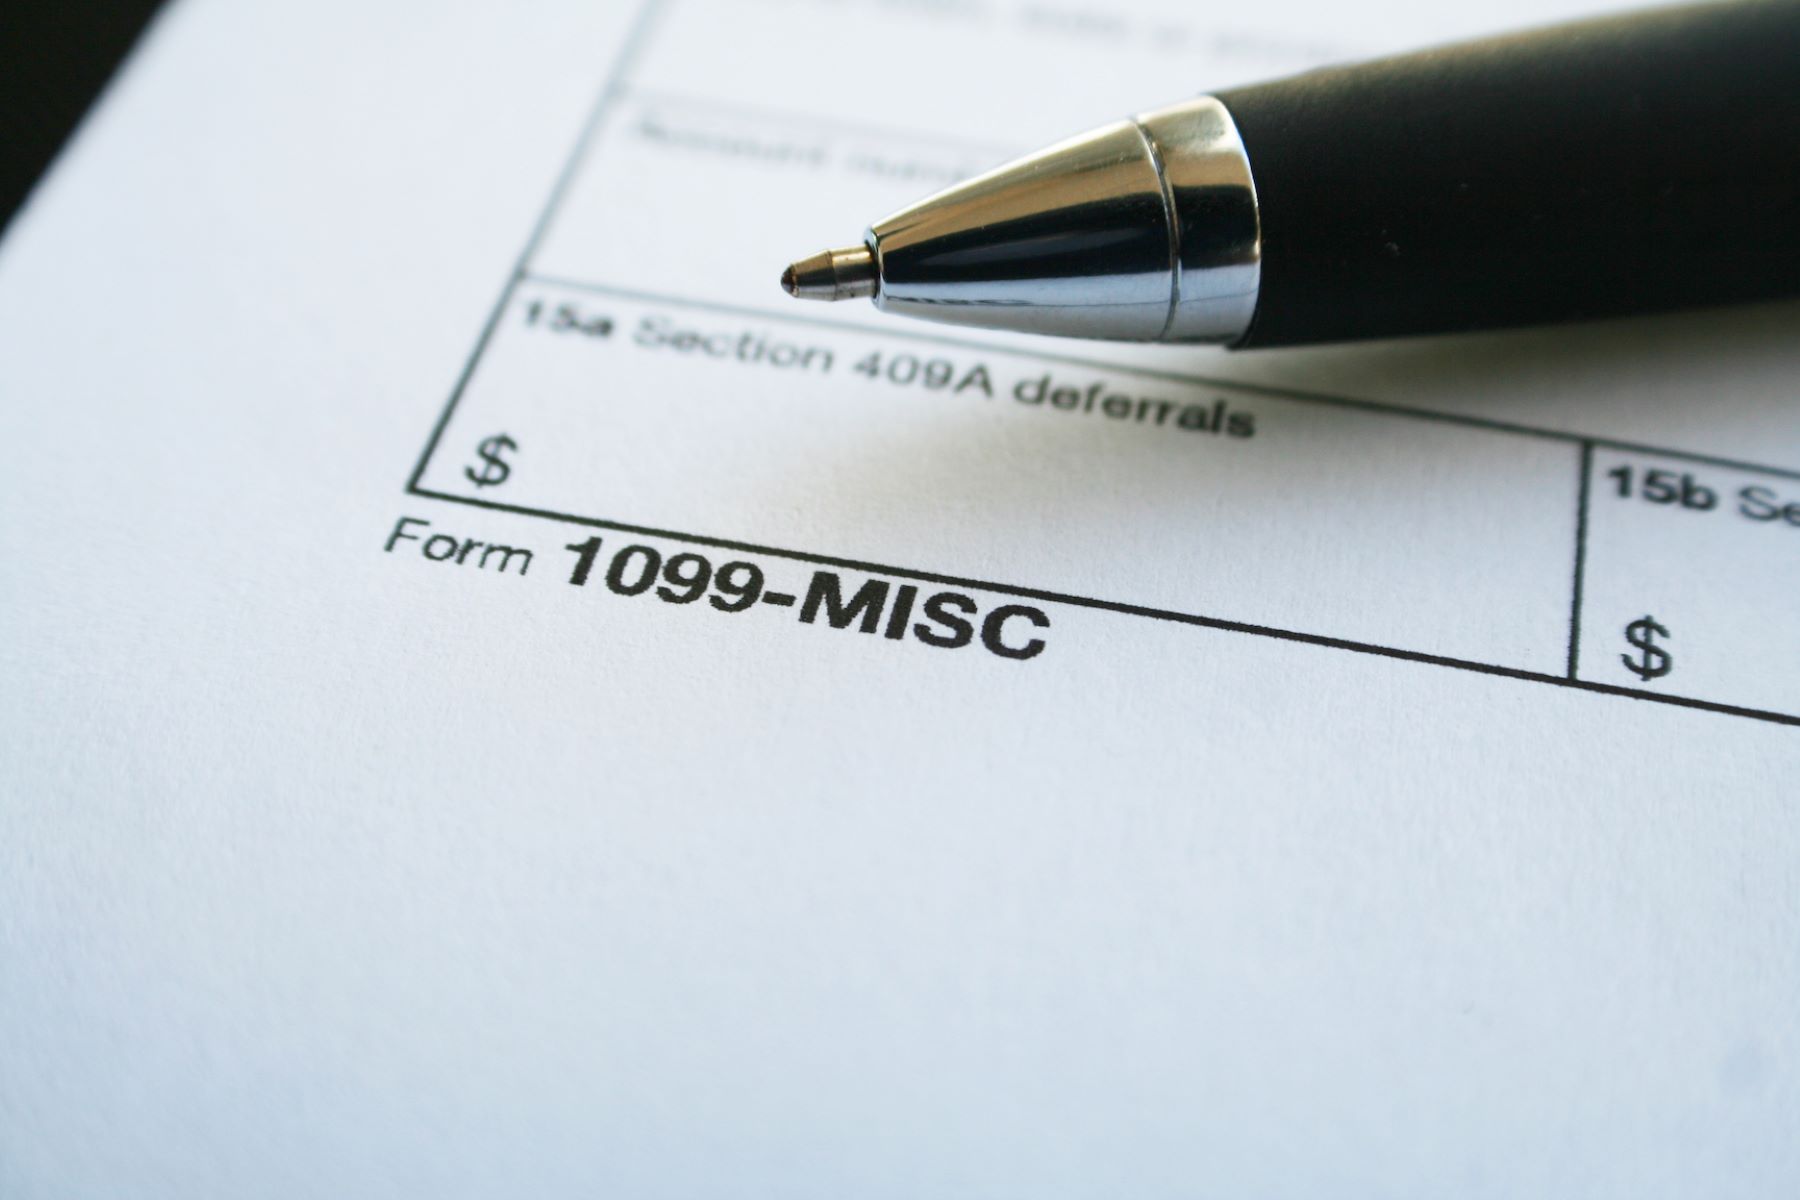
Welcome to this guide on how to print 1099 forms in QuickBooks Online. As a small business owner or accountant, you know how important it is to accurately report payments made to independent contractors and vendors. The IRS requires businesses to issue 1099 forms to individuals and entities who received $600 or more in payments in a calendar year.
Fortunately, QuickBooks Online makes it easy to generate and print 1099 forms without hassle. With just a few simple steps, you can ensure compliance with IRS regulations and keep your financial records in order. In this guide, we will walk you through the process of setting up 1099 in QuickBooks Online, verifying vendor information, generating 1099 forms, reviewing and editing them if necessary, and finally, printing the forms.
By following this guide, you will gain the knowledge and confidence to efficiently manage your 1099 forms in QuickBooks Online. Let’s dive in!
Step 1: Set up 1099 in QuickBooks Online
The first step to printing 1099 forms in QuickBooks Online is to set up the 1099 feature. QuickBooks Online provides a simple and straightforward process for enabling the 1099 functionality. Here’s how:
- Log in to your QuickBooks Online account and navigate to the “Settings” menu by clicking on the gear icon in the top-right corner.
- Select “Account and Settings” from the drop-down menu.
- Click on the “Expenses” tab on the left-hand side.
- Scroll down to the “1099-MISC” section and click on the “Edit” button.
- Depending on your business needs, you may need to provide additional information such as your business address, tax ID number, and tax year end. Fill in the necessary fields and click on “Next” to proceed.
- Review the 1099 setup summary to ensure that all information is accurate. Once you’re satisfied, click on “Save and Close” to enable the 1099 feature.
Once you have successfully set up the 1099 feature in QuickBooks Online, you are ready to proceed to the next step: verifying and updating vendor information.
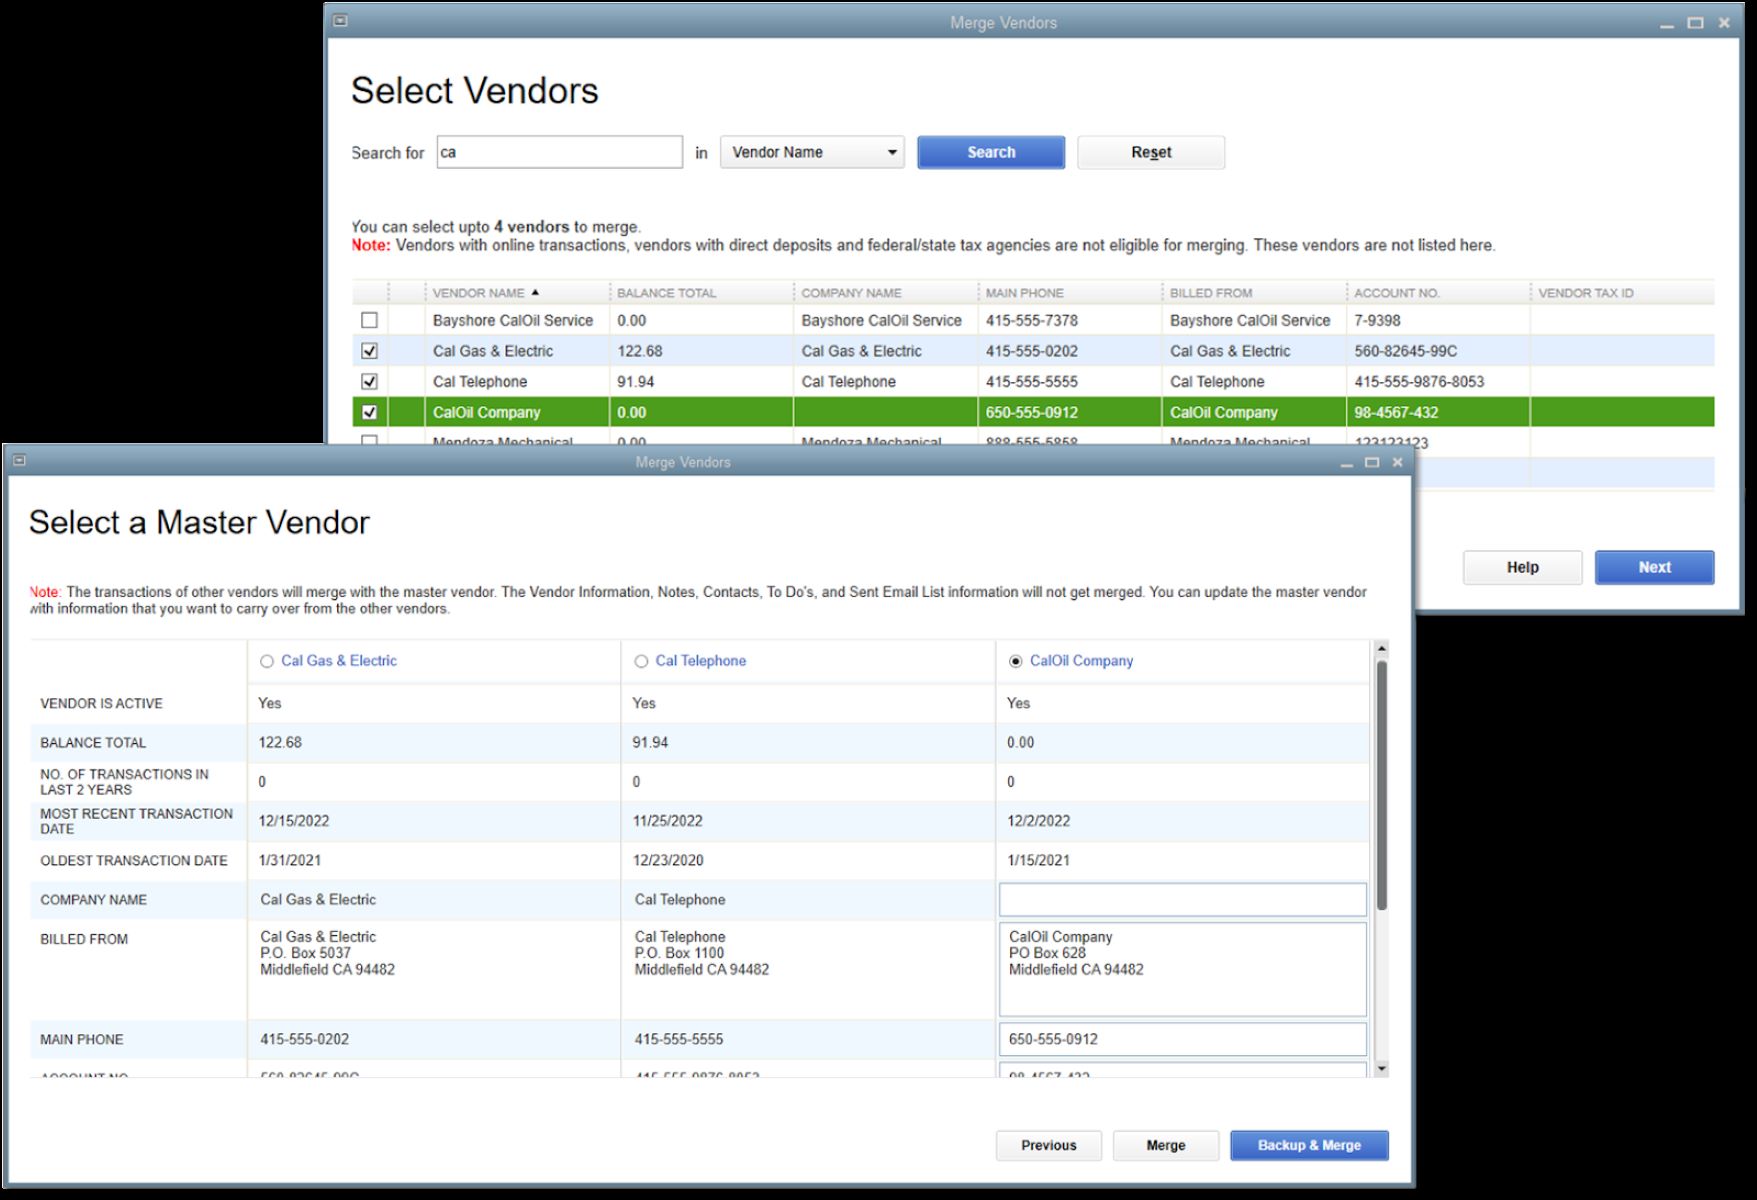
Step 2: Verify Vendor Information
Before generating 1099 forms in QuickBooks Online, it is crucial to review and verify the vendor information to ensure its accuracy. Here’s how you can do it:
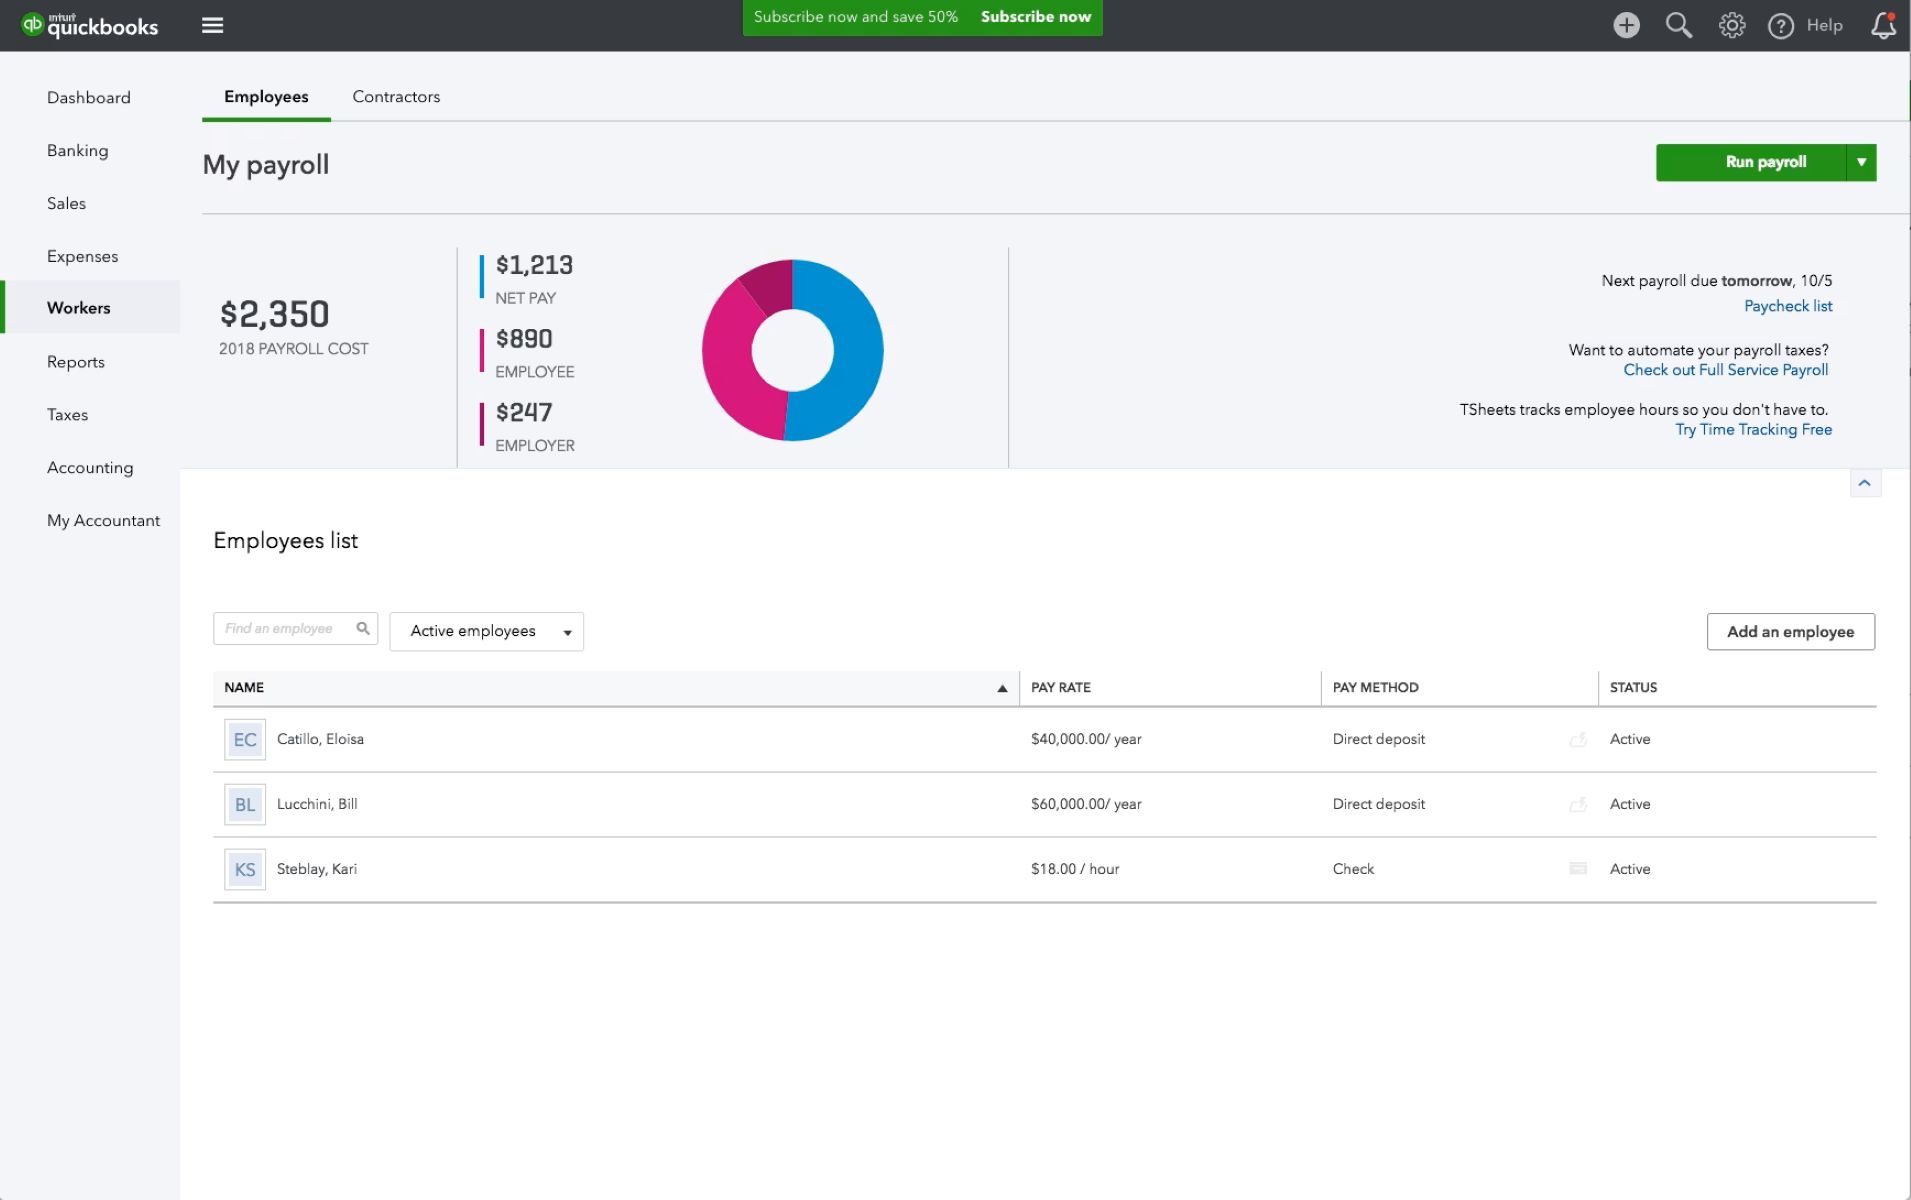
- Go to the “Expenses” tab on the left-hand side of your QuickBooks Online account.
- Click on the “Vendors” menu.
- Review the list of vendors and identify those who qualify for 1099 reporting based on the payments made to them throughout the tax year.
- Click on each vendor’s name to open their profile and verify that their contact information, tax ID, and address are up to date. Make any necessary updates or additions.
- Confirm the vendor’s 1099 eligibility by checking the “Track payments for 1099” box. If a vendor does not qualify for 1099 reporting, leave the box unchecked.
- Save the changes and repeat this process for all vendors.
Ensuring the accuracy of vendor information is vital for generating correct 1099 forms. Regularly reviewing and updating vendor profiles in QuickBooks Online will help you maintain the integrity of your financial records.
Now that you have verified the vendor information, let’s move on to the next step: generating 1099 forms.
Step 3: Generate 1099 Forms
Once you have set up the 1099 feature and verified vendor information in QuickBooks Online, you are ready to generate 1099 forms. QuickBooks Online provides an intuitive process for generating these forms. Let’s walk through it:
- Navigate to the “Expenses” tab on the left-hand side of your QuickBooks Online account.
- Click on the “Vendors” menu.
- Select the “Prepare 1099s” button.
- Review the list of vendors eligible for 1099 reporting and make any necessary adjustments or updates to the amounts.
- Click on “Continue to review” to proceed.
- Verify the amounts and totals shown on the “Review 1099s” page. Take note of any discrepancies and make adjustments if needed.
- Once you are satisfied with the information, click on “Finish preparing 1099s.”
- QuickBooks Online will prompt you to review the vendor information and ensure its accuracy. Make any necessary updates and click on “Next.”
- Confirm the e-file and delivery options for your 1099 forms. You can choose to e-file them with the IRS or print and mail them manually.
- Click on “Review” to finalize the process.
After following these steps, QuickBooks Online will generate the 1099 forms for you based on the vendor information and payment data you have entered. You can then proceed to the next step: reviewing and editing the forms if necessary.
Step 4: Review and Edit 1099 Forms
Once you have generated the 1099 forms in QuickBooks Online, it is essential to review them carefully to ensure accuracy and compliance with IRS requirements. This step allows you to make any necessary edits or corrections before finalizing the forms. Here’s how to review and edit the 1099 forms:
- Navigate to the “Expenses” tab on the left-hand side of your QuickBooks Online account.
- Click on the “Vendors” menu.
- Select the “Prepare 1099s” button.
- On the “Review 1099s” page, carefully examine each form to verify that the vendor’s information, payment amounts, and other relevant details are correct.
- If you identify any errors or discrepancies, click on the vendor’s name to edit their 1099 form.
- Make the necessary changes, such as updating the vendor’s address, tax ID, or payment amounts.
- Review the edited form to ensure accuracy.
- Repeat this process for any other forms that require editing.
By thoroughly reviewing and editing the 1099 forms, you can avoid potential mistakes or inaccuracies that could lead to issues during tax filing. Take your time to carefully review each form to guarantee their correctness.
After reviewing and editing the forms, you’re now ready for the final step: printing the 1099 forms.
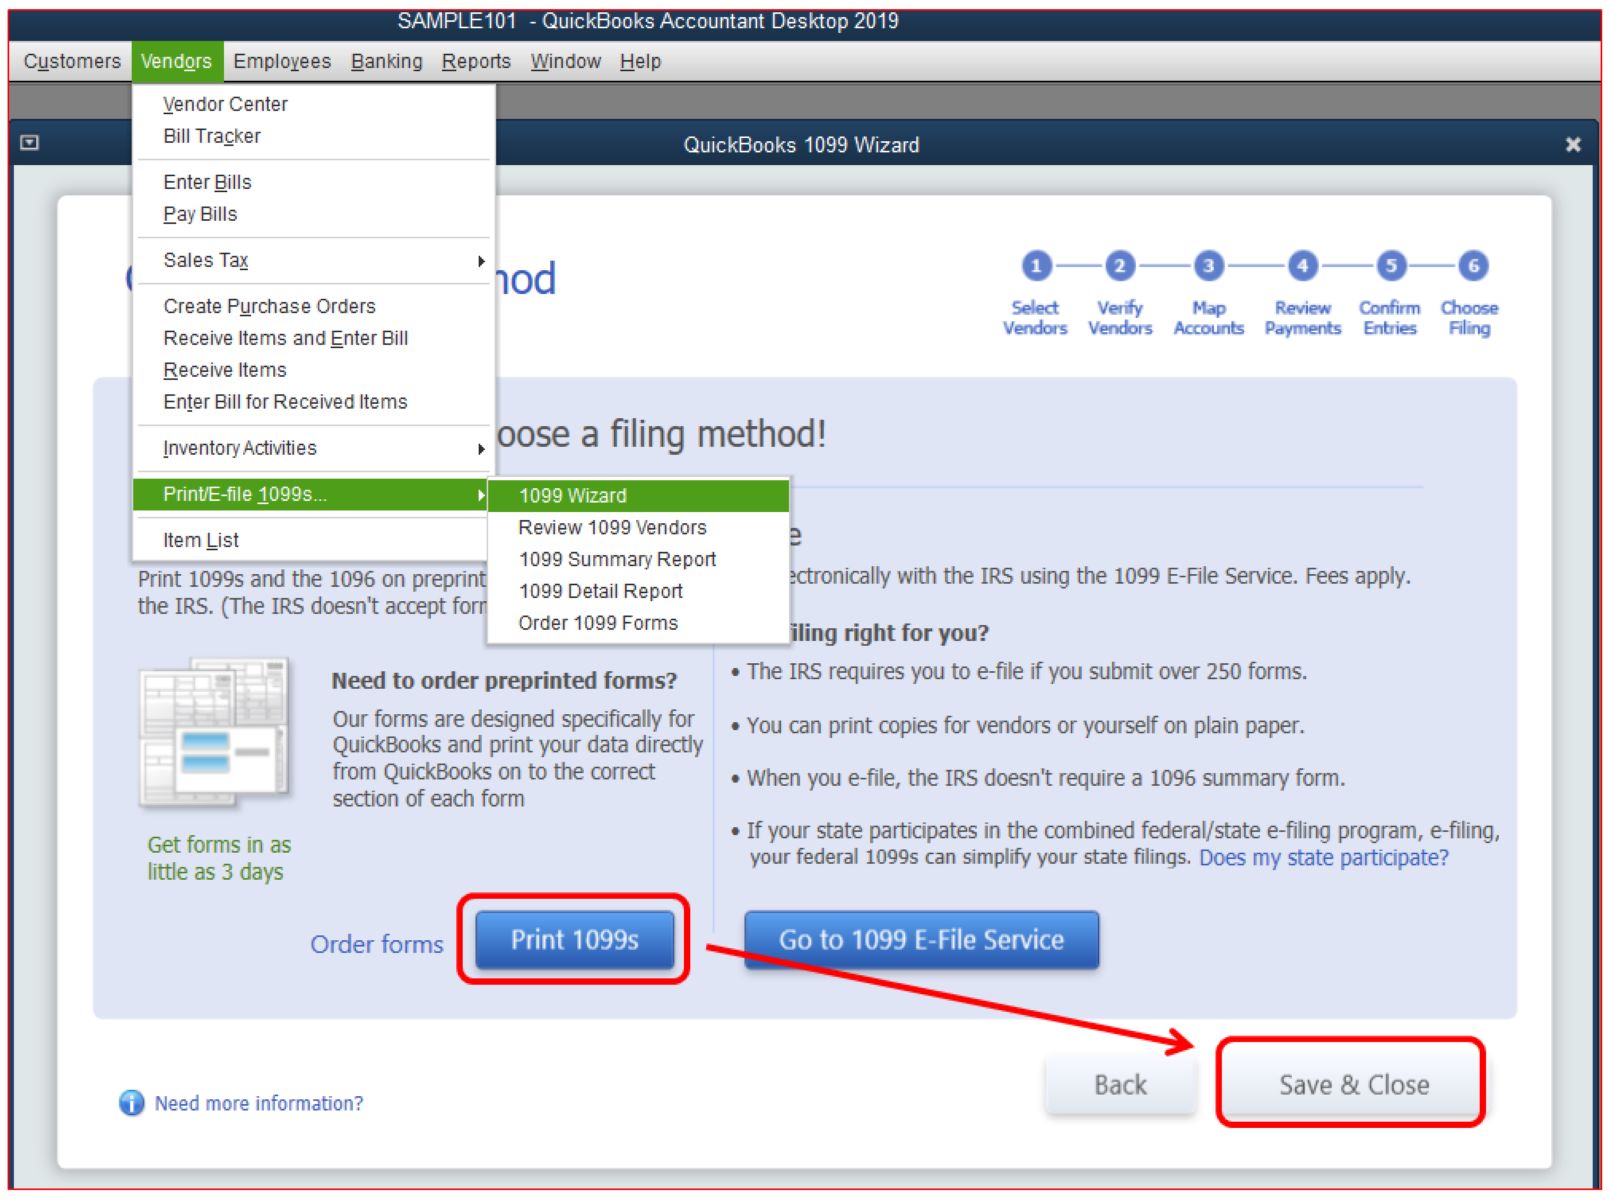
Step 5: Print 1099 Forms
After reviewing and editing the 1099 forms in QuickBooks Online, it’s time to print them so you can distribute them to your vendors and submit them to the IRS. QuickBooks Online makes it easy to print the forms directly from the platform. Follow these steps to print your 1099 forms:
- Navigate to the “Expenses” tab on the left-hand side of your QuickBooks Online account.
- Click on the “Vendors” menu.
- Select the “Prepare 1099s” button.
- On the “Review 1099s” page, confirm that all the forms are accurate and ready to be printed.
- Click on the “Print and Mail” button.
- Choose the desired printing option, such as printing on pre-printed forms or printing on blank paper.
- Follow the instructions provided by QuickBooks Online to ensure proper alignment and printing of the 1099 forms.
- After printing the forms, verify that all the information is legible and aligned correctly.
- Separate the forms and distribute them to the respective vendors.
- Keep a copy of each 1099 form for your records.
Printing the 1099 forms allows you to comply with IRS regulations and provide accurate documentation to your vendors. Remember to retain copies of the forms for your own records and submit the necessary forms to the IRS by the corresponding deadline.
Congratulations! You have successfully completed all the necessary steps to print 1099 forms in QuickBooks Online. By following this guide, you have ensured accurate reporting and maintained compliance with IRS requirements.
Conclusion
Managing 1099 forms in QuickBooks Online doesn’t have to be a daunting task. With the step-by-step process outlined in this guide, you can easily set up the 1099 feature, verify vendor information, generate the forms, review and edit them if necessary, and finally print them.
Accurate reporting and compliance with IRS regulations are crucial for every small business owner or accountant. QuickBooks Online simplifies the process by providing a user-friendly interface and intuitive features. By utilizing the platform’s capabilities, you can streamline your 1099 form management and ensure the integrity of your financial records.
Remember, it is essential to regularly review and update vendor information to maintain accuracy. This practice not only facilitates the generation of correct 1099 forms but also enhances the overall efficiency of your accounting processes.
By following the steps outlined in this guide, you can confidently generate and print 1099 forms in QuickBooks Online. Make sure to consult the IRS guidelines for specific requirements and deadlines related to 1099 reporting for your business.
With your 1099 forms accurately generated and printed, you can now distribute them to vendors and submit them to the IRS as required. By staying organized and diligent in your record-keeping, you will have peace of mind knowing that you have fulfilled your reporting obligations.
Thank you for using this guide to learn how to print 1099 forms in QuickBooks Online. Stay proactive in managing your financial records, and best of luck in all your accounting endeavors!