Introduction
Have you recently switched to an iPhone and want to start messaging your friends and family using iMessage? Adding contacts to iMessage is a simple process that allows you to easily connect with your loved ones. In this article, we will guide you through the steps to add contacts on iMessage, so you can start enjoying seamless communication with your contacts.
iMessage is a messaging platform exclusive to Apple devices, allowing users to send text messages, photos, videos, and more to other Apple users. It utilizes Apple’s internet-based messaging service and offers seamless integration between all Apple devices, including iPhone, iPad, and Mac. By adding contacts on iMessage, you can enjoy outstanding features such as end-to-end encryption, read receipts, and the ability to send messages over Wi-Fi or using mobile data. Whether you want to chat with a friend, share updates with family, or collaborate with colleagues, iMessage provides a convenient and feature-rich messaging experience.
Adding contacts on iMessage is a straightforward process that can be completed in just a few simple steps. By following our guide below, you’ll be able to quickly add contacts to iMessage and start messaging in no time! So, let’s get started and bring your contacts into the world of iMessage.
Step 1: Open Contacts App
To add a contact on iMessage, the first step is to open the Contacts app on your iPhone. The Contacts app is a built-in application that stores all of your saved contacts in one place, making it easy to manage and reach out to them. You can find the Contacts app on your home screen, typically represented by a gray silhouette of a person’s head.
Once you locate the Contacts app icon, tap on it to open the application. This will take you to the main screen of the app, where you can access all of your contacts and perform various actions, such as adding, editing, or deleting contacts.
If you prefer, you can also access the Contacts app by swiping down from the middle of your home screen and typing “Contacts” in the search bar at the top of the screen. The app should appear in the search results, and you can tap on it to open it directly.
It’s worth noting that if you have recently upgraded to iOS 15 or later, the Contacts app has been redesigned and is now known as the “Contacts” tab within the Phone app. So, instead of looking for a separate Contacts app icon, you can open the Phone app and navigate to the Contacts tab at the bottom of the screen to proceed with the next steps.
Now that you have successfully opened the Contacts app, you are ready to move on to the next step in adding a contact on iMessage. Let’s continue our journey and discover how to search for the desired contact in the following step.
Step 2: Search for Contact
After opening the Contacts app, you’ll need to search for the contact you want to add to iMessage. This step allows you to easily find and select the contact from your existing list of saved contacts.
At the top of the Contacts app screen, you will see a search bar. Tap on the search bar and begin typing the name or phone number of the contact you want to add. As you type, the contacts below will automatically start filtering based on the entered information, making it easier to find the desired contact.
If the contact you’re looking for is already saved in your contacts, it should appear in the search results as you type. You can then tap on the contact to select it. However, if the contact is not saved in your contacts, you can proceed to the next step to add it manually.
In addition to searching by name or phone number, you can also search for contacts based on other criteria such as email address, organization, or nickname. This flexibility allows you to quickly find the contact you need, even if you don’t have all the specific details.
If you have a large number of contacts or are having trouble locating a specific contact, you can use the scroll bar on the right side of the screen to navigate through your list of contacts more efficiently. Simply drag your finger up or down on the scroll bar to quickly jump to a specific section of your contacts.
Once you have successfully located the contact you want to add, you’re ready to move on to the next step and add the contact to your iMessage. Let’s continue on this exciting journey and discover how to add the selected contact in the following step.
Step 3: Add Contact
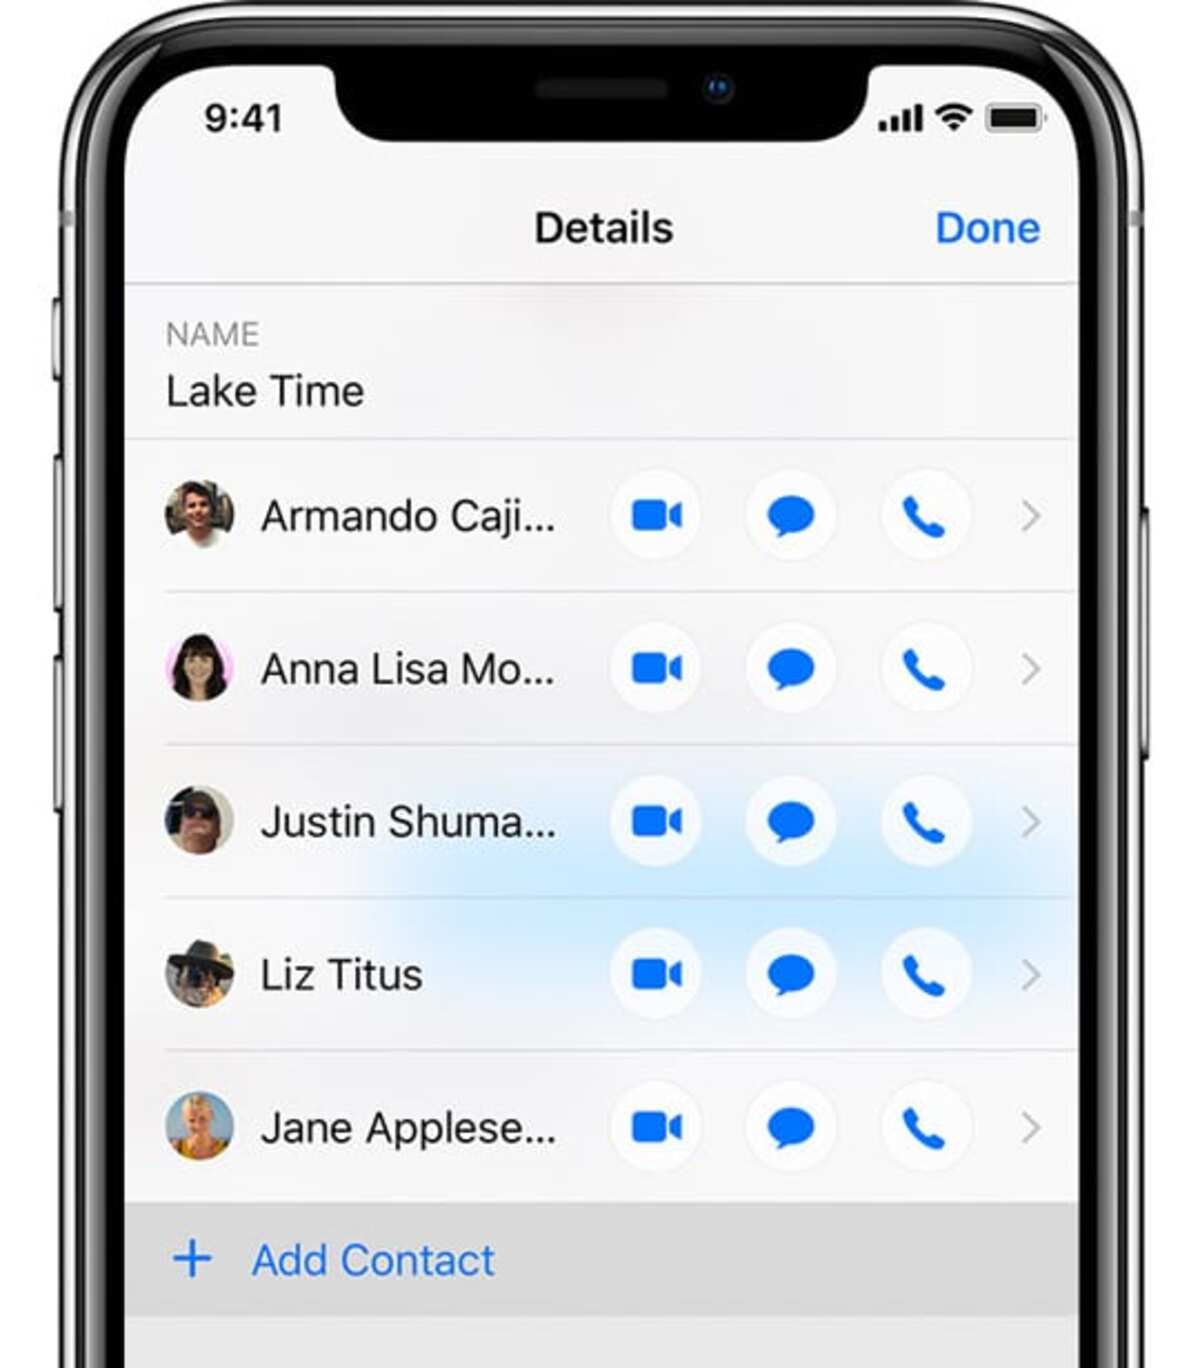
After finding the desired contact in the Contacts app, you’re now ready to add it to your iMessage. Adding a contact to iMessage ensures that you can easily communicate with that person using Apple’s messaging platform.
To add the contact to iMessage, tap on the contact’s name or profile icon to open their contact details. On this screen, you will see various options and information about the contact, such as their phone number, email address, and any additional details you may have saved.
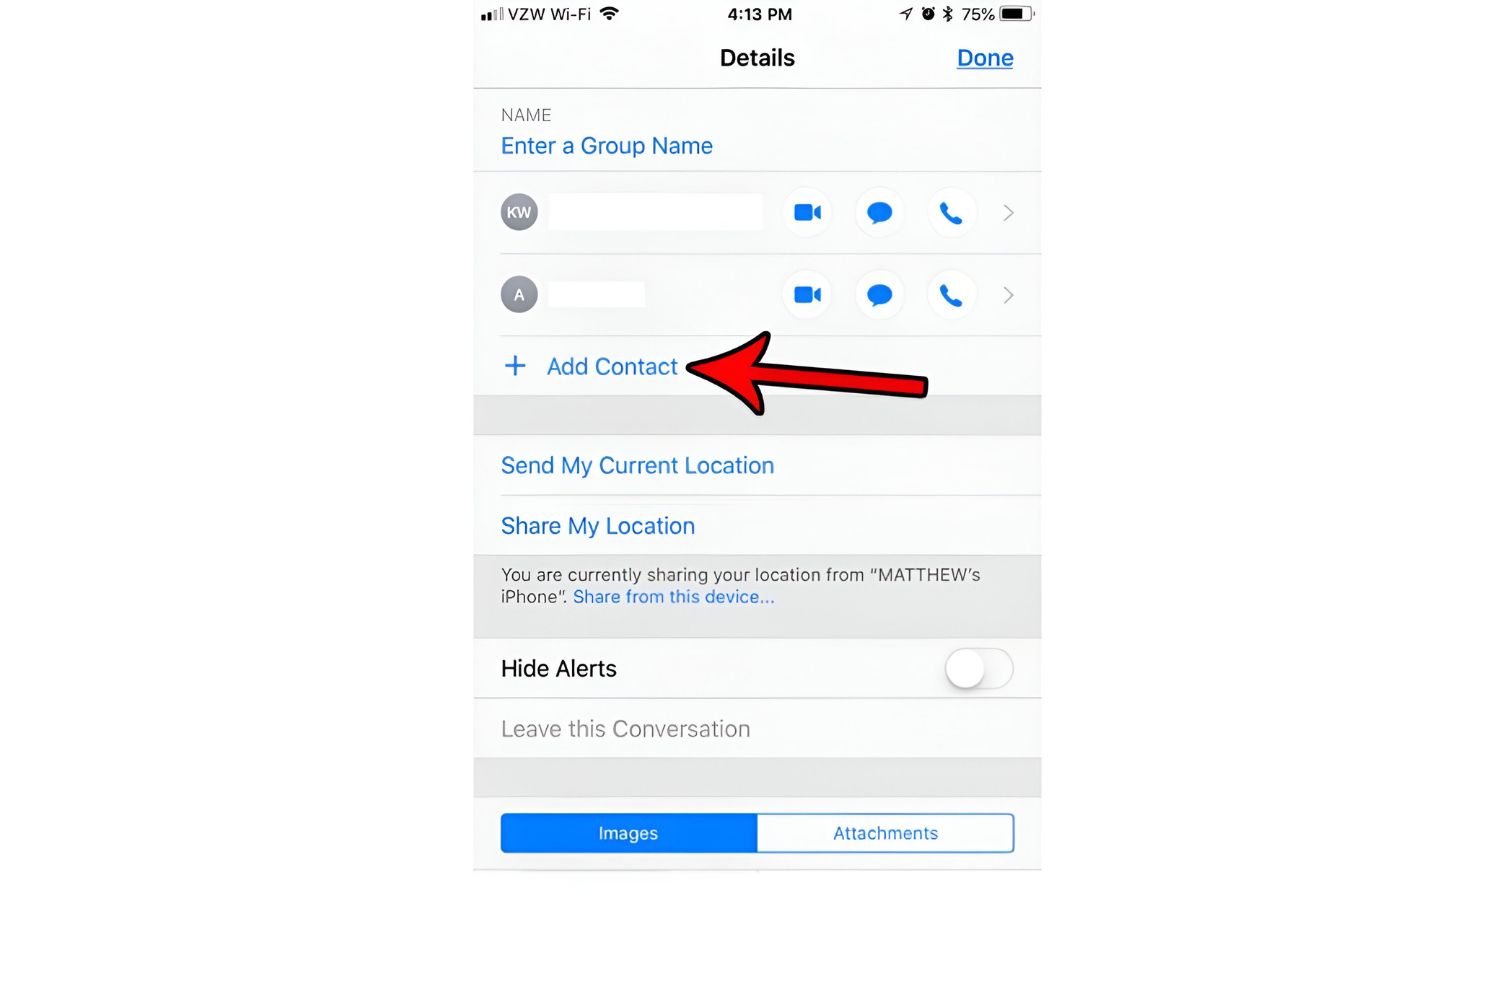
Scroll down to the bottom of the contact details screen, where you’ll find the option to “Add to Contact” or “Add to Existing Contact.” Tap on this option to proceed with adding the contact to your iMessage.
If the contact you selected is not already saved in your contacts, you will be prompted to enter additional information, such as their name, phone number, and email address, to create a new contact. Fill in the necessary details accurately and tap on “Done” or “Save” to save the contact to your Contacts app and add it to iMessage.
In case you want to add the contact to an existing contact entry, you can select the option to “Add to Existing Contact” and choose the contact you want to merge the new information with. This is particularly useful if you have multiple entries for the same person and want to consolidate the information in a single contact entry for easier management.
Once you have successfully added the contact to your iMessage, you can now enjoy seamless communication with them through Apple’s messaging platform. The contact will appear in your iMessage contacts list, making it easy to send messages, photos, videos, and more.
Congratulations! You have completed the third step of adding a contact to your iMessage. Now, let’s move on to the next step, where you’ll learn how to wait for the contact to appear on iMessage and ensure that your communication is set up smoothly.
Step 4: Wait for Contact to Appear on iMessage
After adding a contact to your iMessage, you may need to wait for a short period for the contact to appear in your iMessage contacts list. This step ensures that the contact is synced and available for communication through iMessage.
In most cases, the contact should automatically appear in your iMessage contacts list after a few moments. However, if the contact doesn’t appear immediately, there are a few steps you can take to speed up the process and ensure its visibility in iMessage.
First, make sure that your device is connected to the internet, either through Wi-Fi or mobile data. A stable internet connection is necessary for your contacts to sync across devices and platforms.
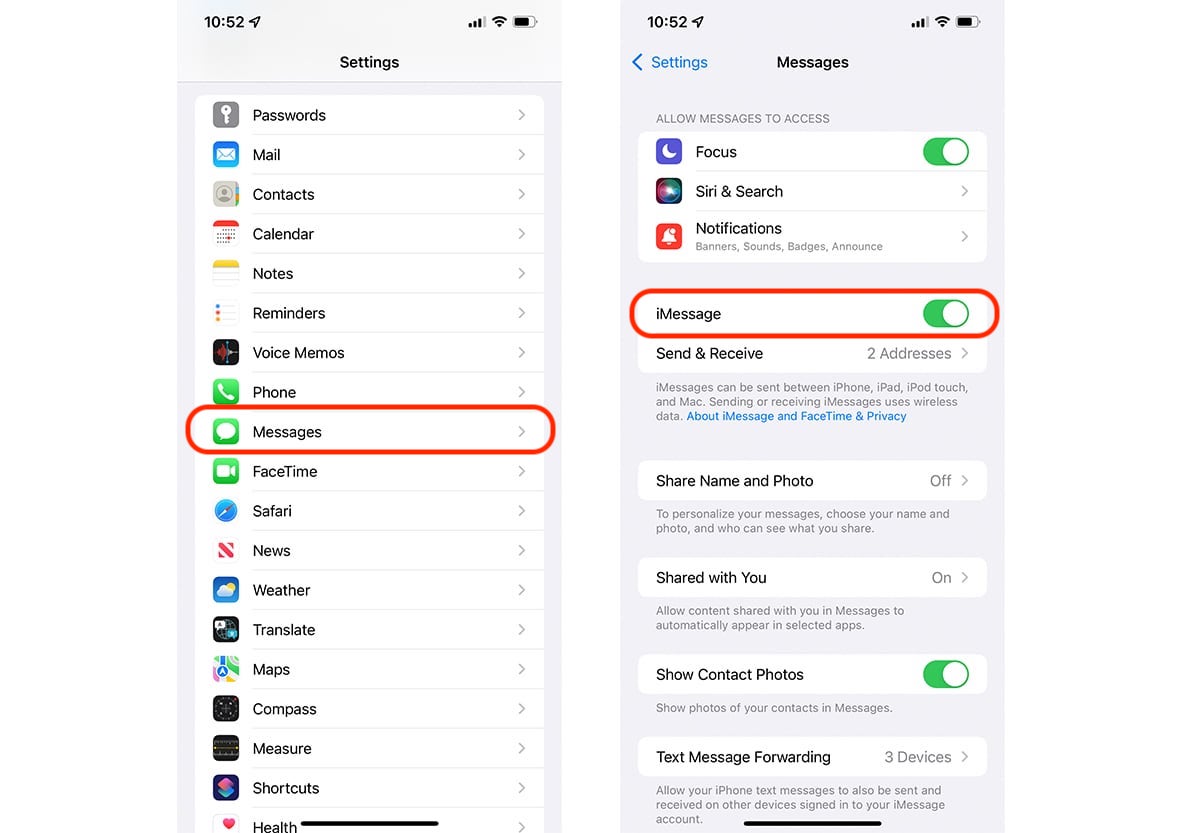
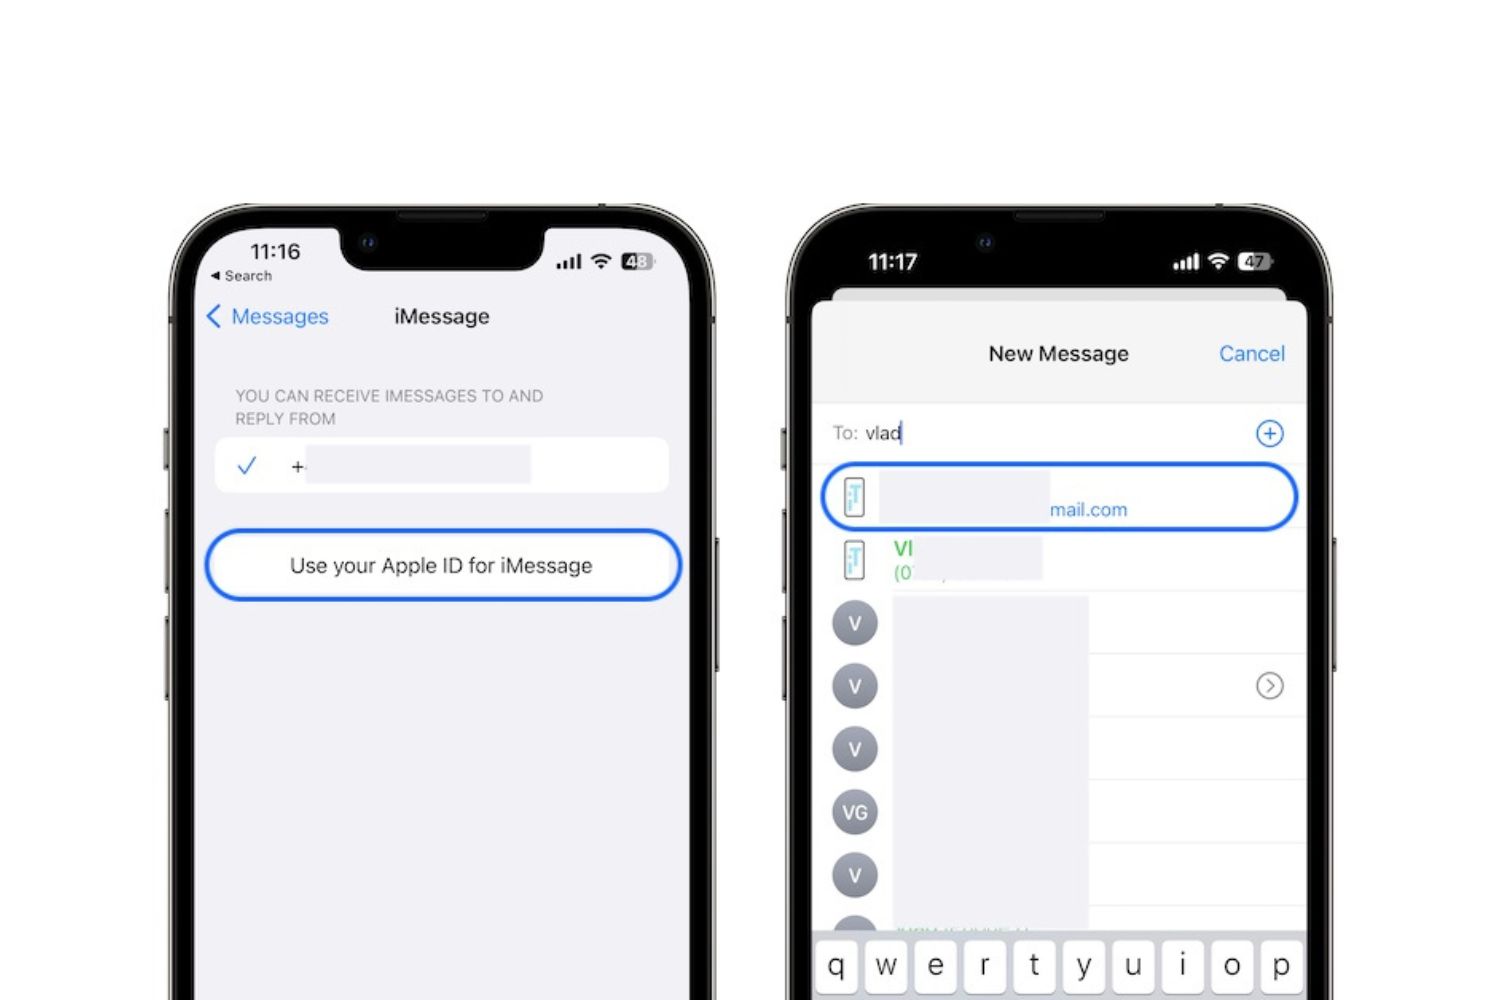
Next, ensure that you have enabled the iMessage feature on your iPhone. To do this, go to the Settings app on your device, scroll down and tap on “Messages,” then toggle the switch next to “iMessage” to enable it. This will ensure that your contacts are synced and available for messaging through iMessage.
You can also try refreshing your iMessage contacts list by force-closing the iMessage app and reopening it. To force-close the app, double-click the home button (or swipe up from the bottom of the screen on newer iPhones without the home button) to bring up the app switcher, then swipe left or right to find the iMessage app, and swipe it up or off the screen to close it. Afterward, reopen the iMessage app, and your newly added contact should be visible in the contacts list.
If the contact still doesn’t appear after trying the above steps, you may need to give it a little more time. Sometimes, the syncing process can take a bit longer, especially if you have a large number of contacts or if there are network or server issues. Be patient, and the contact should eventually appear in your iMessage contacts list.
Once the contact has successfully appeared in your iMessage contacts, you can now start messaging them and enjoy the benefits of iMessage, such as end-to-end encryption, read receipts, and the ability to send rich media content.
You have completed the fourth step of adding a contact to iMessage. Now, let’s move on to the final step and explore how to start messaging your newly added contact.
Step 5: Start Messaging
Congratulations! You have successfully added the contact to iMessage, and now it’s time to start messaging them. With iMessage, you can enjoy seamless and feature-rich communication with your contacts, including text messages, photos, videos, and more.
To begin messaging your newly added contact, open the iMessage app on your iPhone. The iMessage app is represented by a blue speech bubble icon and is usually located on your home screen or in your app drawer.
Once the iMessage app is open, you will see your contacts listed, including the contact you just added. Locate the contact in the list and tap on their name to start a conversation.
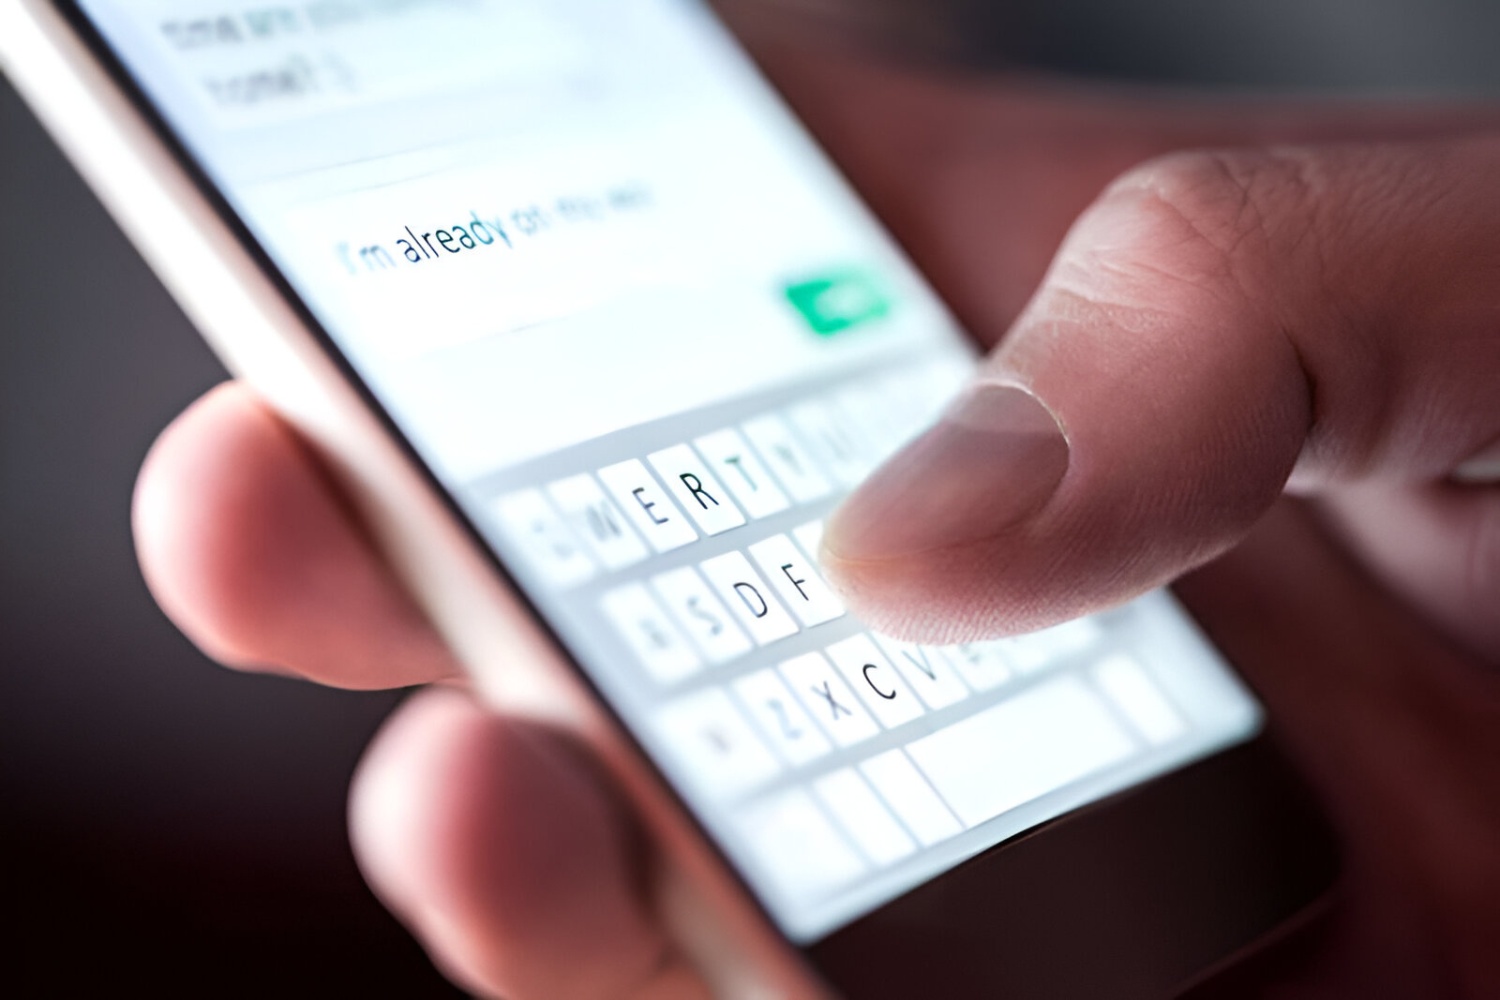
In the conversation window, you’ll find a text input field at the bottom, where you can type your message. Simply tap on the field and start typing your message using the on-screen keyboard.
iMessage offers several additional features to enhance your messaging experience. For example, you can add emojis, stickers, and GIFs to your messages by tapping on the App Store icon next to the text input field. This allows you to express yourself in fun and creative ways.
Furthermore, you can send photos and videos from your device’s camera roll by tapping on the camera icon to the left of the text input field. This enables you to share memorable moments with your contacts.
Once you have composed your message, tap the send button (usually represented by an arrow or paper plane icon) to deliver it to your contact. Your message will be sent over iMessage, and you’ll be able to see when it is delivered and read by your contact (if they have read receipts enabled).
Remember, iMessage uses internet connectivity to send and receive messages. If you and your contact are both connected to the internet, your messages will be sent and received instantly. However, if either of you has a poor or unstable internet connection, there may be delays in message delivery.
Now that you know how to start messaging on iMessage, you can engage in seamless and interactive conversations with your contacts. Enjoy the convenience and features of iMessage, and stay connected with your loved ones or colleagues.
You have completed all the steps of adding a contact and starting a conversation on iMessage. We hope this guide was helpful in getting you started with iMessage. Happy messaging!