Introduction
Welcome to the world of iMessage on iPhone 13! If you recently got your hands on the latest iPhone model and are eager to experience the seamless messaging platform that Apple offers, you’re in the right place. iMessage is a powerful messaging service exclusive to Apple devices, allowing users to send texts, photos, videos, and even play games with their friends and family.
Whether you’re a long-time iPhone user or just joined the Apple ecosystem, setting up iMessage on your iPhone 13 is a simple and straightforward process. In this guide, we will walk you through the steps to enable iMessage and ensure that you can enjoy all the features and benefits it has to offer.
Before we dive into the specific instructions, it’s important to note that iMessage requires a stable internet connection, either through Wi-Fi or cellular data. Also, make sure you have an active Apple ID, as it is necessary to sign in and use iMessage.
Now, without further ado, let’s explore how to enable iMessage on your new iPhone 13 and start enjoying the convenience and versatility of this messaging platform.
Checking iMessage Compatibility
Before proceeding with the setup process, it’s important to ensure that your iPhone 13 is compatible with iMessage. Fortunately, all iPhone models, including the latest ones, come pre-installed with iMessage. However, there are a few factors to consider to ensure a seamless experience.
Firstly, make sure your iPhone is running on the latest version of iOS. iMessage compatibility is closely tied to the iOS version, so updating your software is vital. To check if you’re on the latest iOS version, go to Settings on your iPhone’s home screen, then tap General, and finally, tap Software Update. If an update is available, follow the on-screen instructions to download and install it.
Secondly, ensure that you have an active Apple ID. iMessage requires you to sign in with your Apple ID to send and receive messages. If you don’t have an Apple ID yet, you can easily create one by going to the “Settings” app, tapping your name at the top, and selecting “Sign in to your iPhone.” Follow the prompts to create your Apple ID, or sign in if you already have one.
Lastly, check your internet connection. iMessage works seamlessly over Wi-Fi and cellular data. Make sure you have a stable and reliable internet connection to fully enjoy the features of iMessage, such as sending photos, videos, and other multimedia content.
By ensuring that your iPhone is compatible with iMessage, you can proceed with confidence to the next steps of setting up this powerful messaging platform on your iPhone 13.
Updating iOS
Before enabling iMessage on your iPhone 13, it’s crucial to ensure that your device is running on the latest iOS version. Apple regularly releases updates to improve performance, fix bugs, and introduce new features. Updating your iOS guarantees that you have the most stable and efficient software to support iMessage and other applications on your device.
To check if there are any available updates, follow these simple steps:
- Open the “Settings” app on your iPhone 13 home screen.
- Scroll down and tap on “General”.
- Select “Software Update”.
If an update is available, you will see a message indicating its availability. Tap “Download and Install” to begin the update process. Make sure your device is connected to Wi-Fi and has sufficient battery life or is connected to a power source to complete the update smoothly.
It’s important to note that iPhone updates can be quite large, so it’s advisable to be connected to Wi-Fi to avoid using excessive cellular data. Additionally, the update process may take some time, depending on factors such as the size of the update and the internet speed.
Once the update is complete, your iPhone will restart, and you’ll be running the latest version of iOS. This ensures that you have the latest features and security enhancements, providing you with the best experience when using iMessage and other apps on your iPhone 13.
Now that your iPhone 13 is updated to the latest iOS version, you’re one step closer to enabling iMessage and enjoying its seamless messaging capabilities!
Enabling iMessage
Now that you have ensured compatibility and updated your iPhone 13 to the latest version of iOS, it’s time to enable iMessage and start using this feature-rich messaging platform. Follow these steps to enable iMessage:
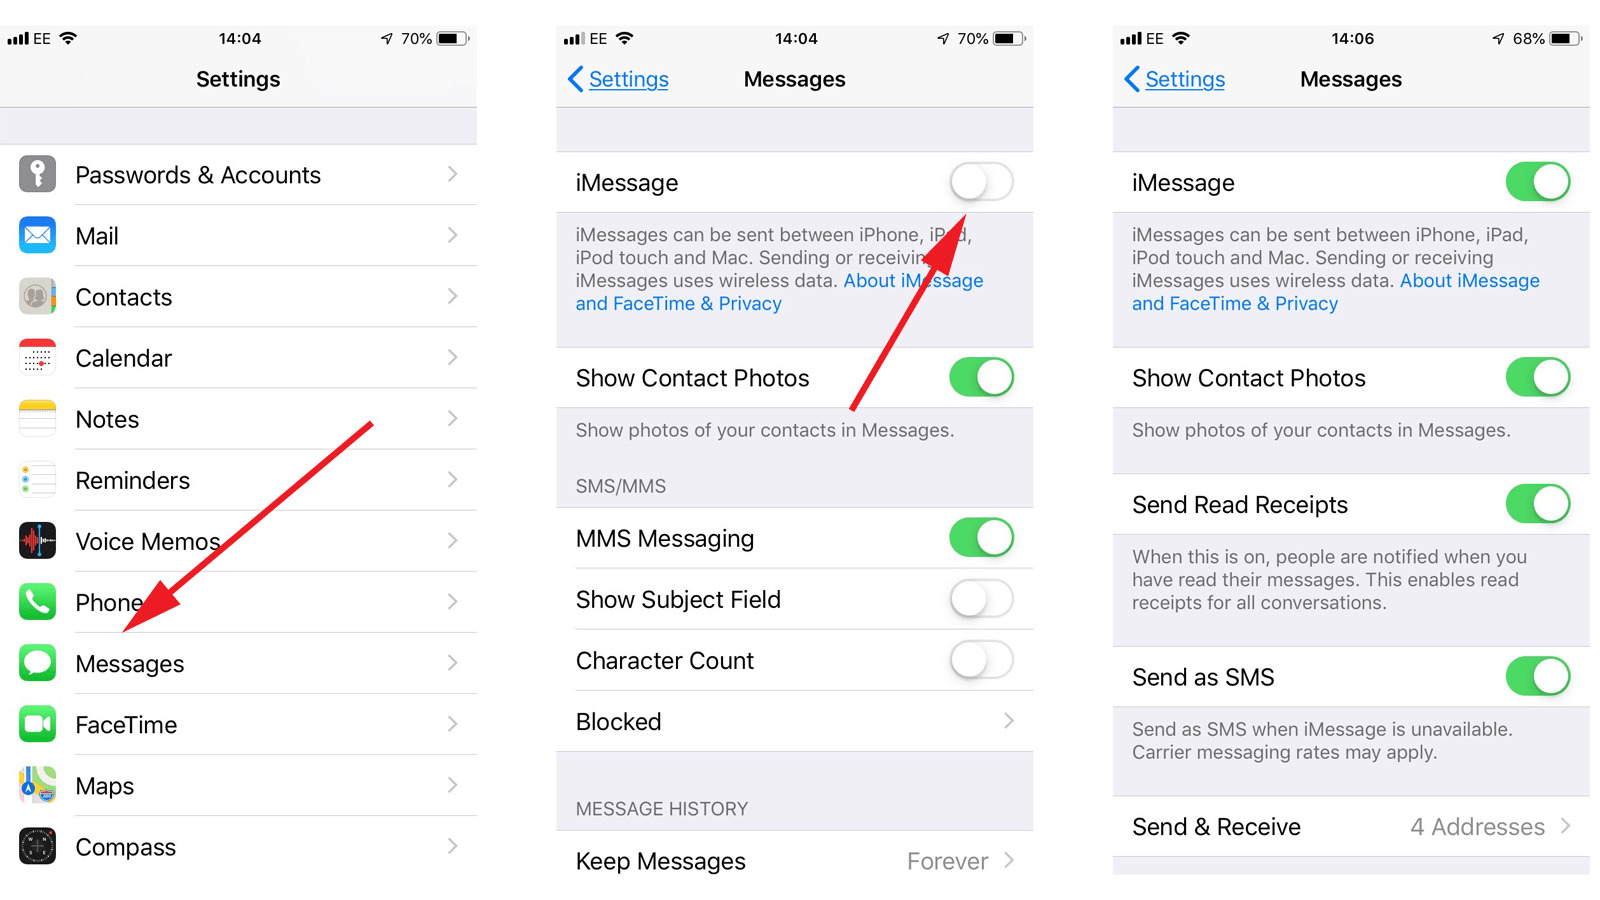
- Open the “Settings” app on your iPhone 13 home screen.
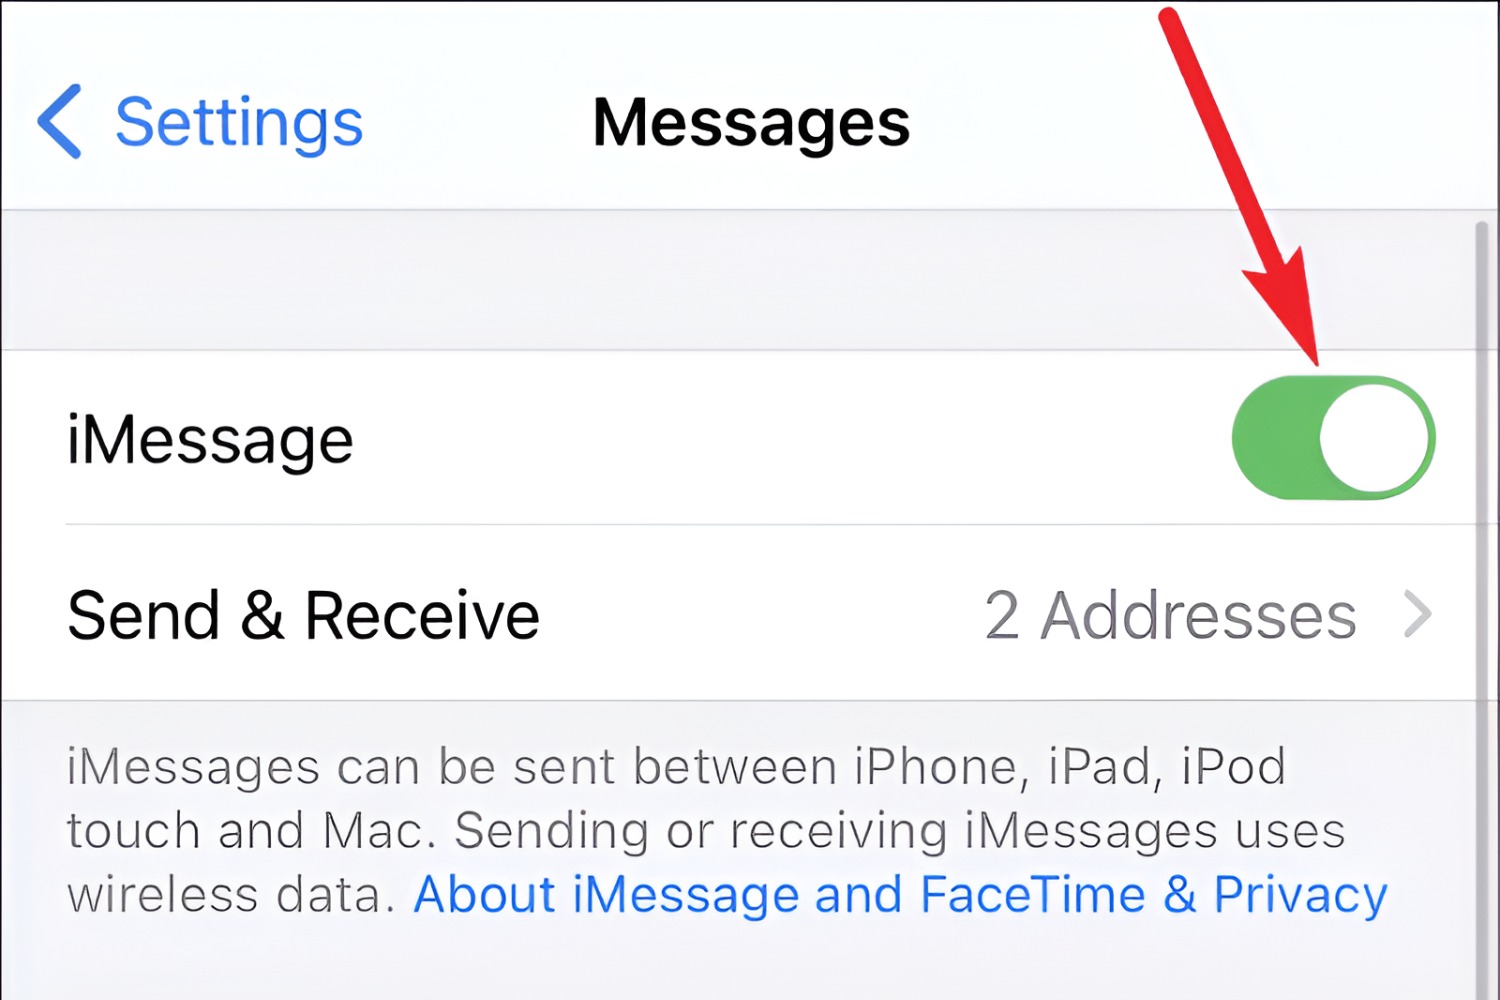
- Scroll down and tap on “Messages”.
- Toggle the switch next to “iMessage” to turn it on. When the switch turns green, iMessage is enabled and ready to use.
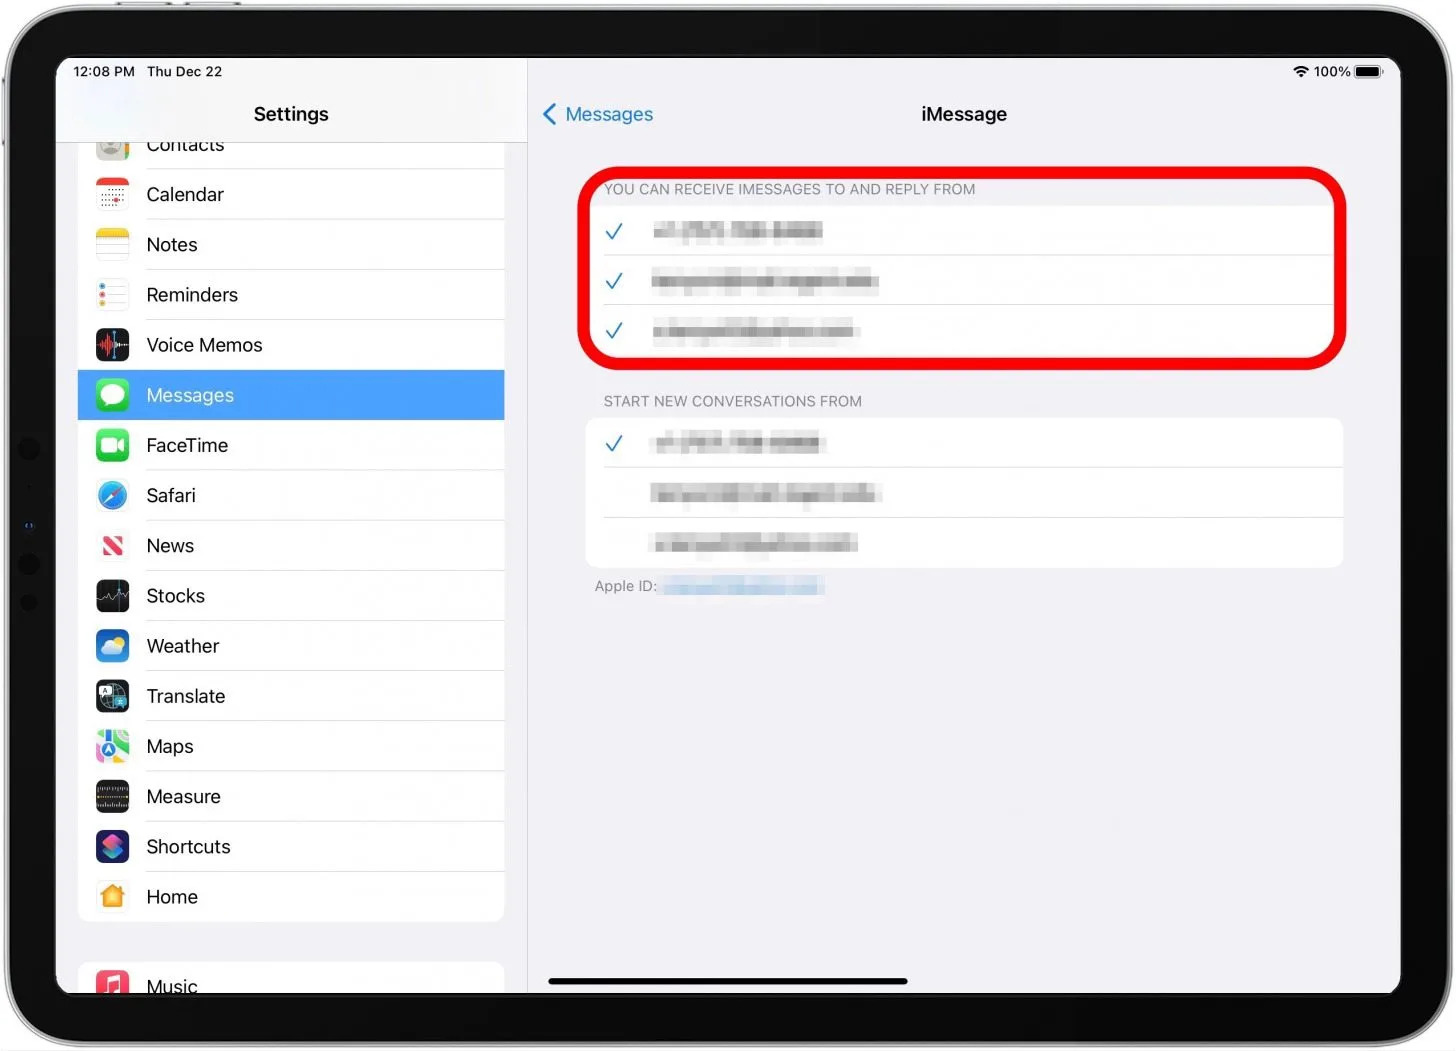
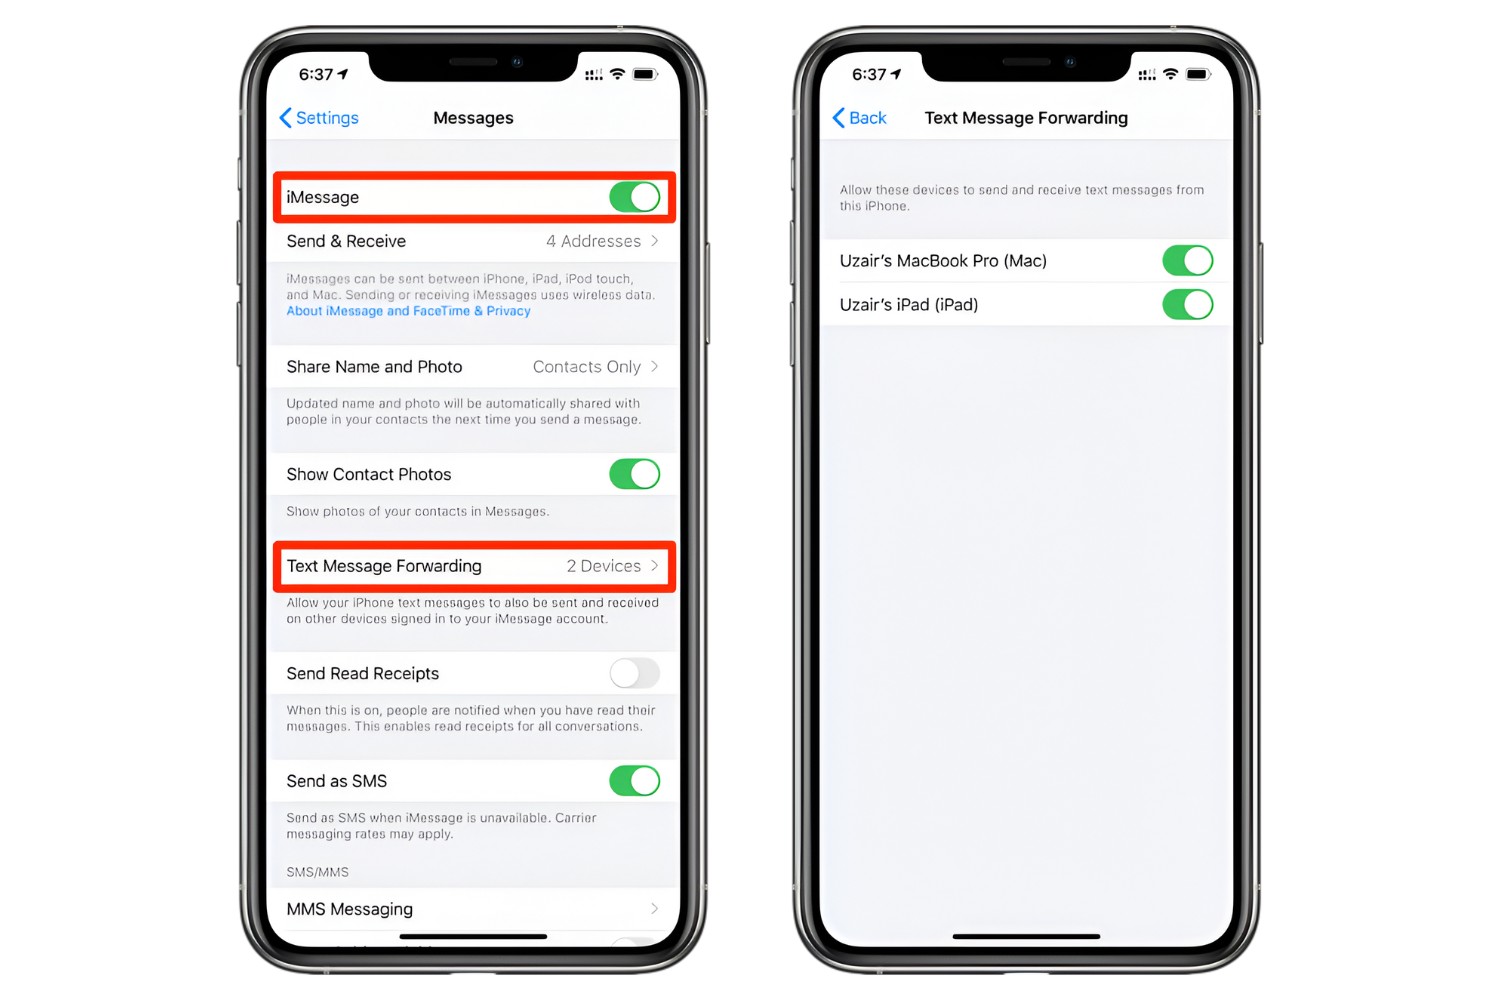
- Optionally, you can customize your iMessage settings by selecting “Send & Receive”. Here, you can add additional email addresses or phone numbers to ensure that you can be reached on multiple devices.
- Under “Send & Receive”, you can also choose which contact details to use for starting new conversations and setting a default “Caller ID” for outbound messages.
With iMessage enabled, you can now enjoy the full range of features and benefits it offers. iMessage allows you to send and receive not only text messages but also photos, videos, and other multimedia content seamlessly. You can also personalize your conversations with various stickers, emojis, and even use special effects to make your messages more expressive and fun.
Another fantastic feature of iMessage is its integration with iCloud. With iCloud, your conversations sync across your Apple devices, ensuring that you can seamlessly continue your conversations on your iPhone, iPad, or Mac. This synchronized experience makes staying connected with your friends and family hassle-free, regardless of the device you are using.
Now that you have successfully enabled iMessage on your iPhone 13 and customized your preferences, you’re ready to explore and make the most of this powerful messaging platform.
Troubleshooting Common Issues
While enabling iMessage on your iPhone 13 is usually a straightforward process, occasionally, you may encounter some common issues. Here are a few troubleshooting steps to help resolve these issues:
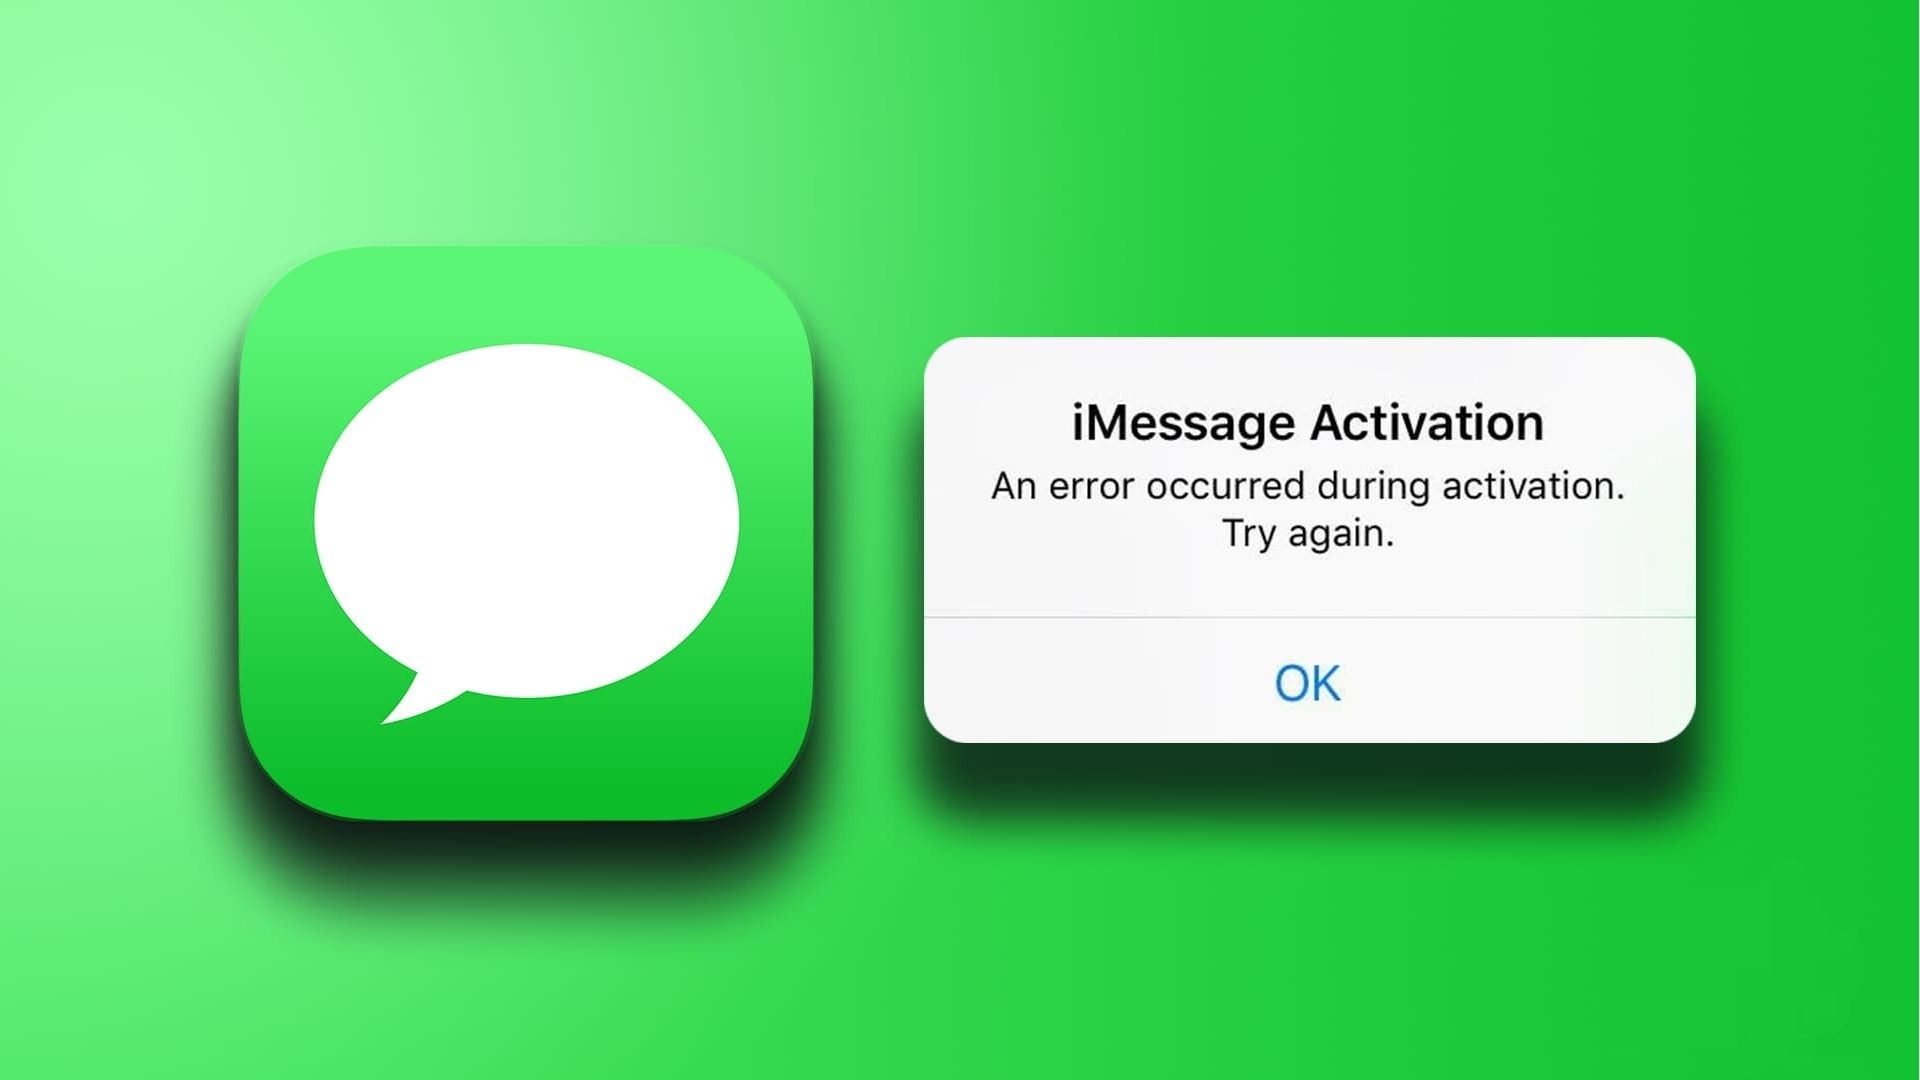
1. Activation Error: If you receive an activation error when enabling iMessage, ensure that you have a stable internet connection and an active Apple ID. Try signing out of your Apple ID and signing back in, then attempt to enable iMessage again.
2. Messages Not Sending: If you experience issues sending messages through iMessage, verify that your Wi-Fi or cellular data connection is working properly. Additionally, check if you have sufficient signal strength. Restarting your iPhone or toggling iMessage off and on might also help resolve the issue.
3. Not Receiving Messages: If you have enabled iMessage but are not receiving messages, check if the sender’s device has a stable internet connection and is correctly sending messages through iMessage. Ensure that you have enabled the correct email address or phone number under the “Send & Receive” settings in the Messages app.
4. Contact Verification: In some cases, you may encounter issues with contact verification when using iMessage. If this occurs, make sure that the contact you are trying to communicate with has enabled iMessage on their device and is using a registered Apple ID. You may need to remove the contact and re-add it to your iMessage contacts.
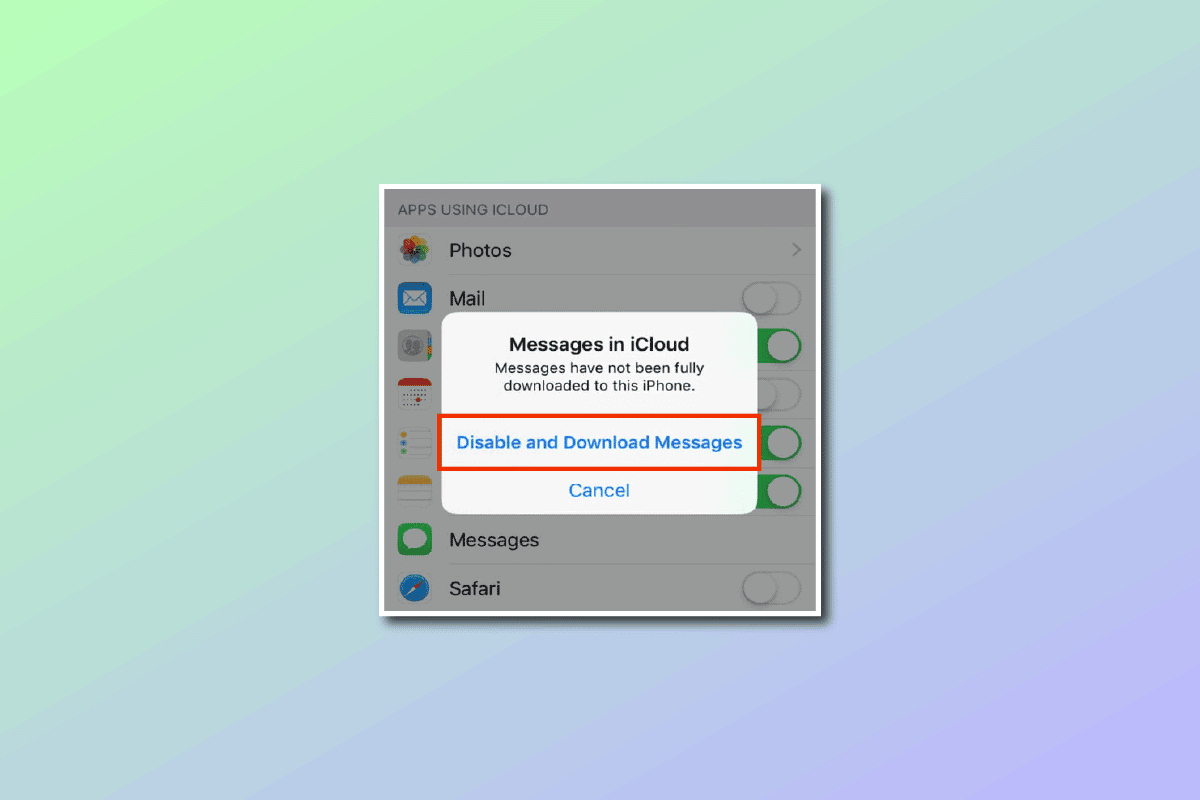
5. iCloud Syncing Problems: If your iMessage conversations are not syncing across your Apple devices, ensure that you are signed in with the same Apple ID on all devices and have enabled iCloud syncing for Messages. Open the “Settings” app, tap your name at the top, select “iCloud,” and toggle “Messages” to enable syncing.
If you have tried these troubleshooting steps and are still experiencing issues with iMessage on your iPhone 13, you may need to contact Apple Support or visit an Apple Store for further assistance. They will be able to diagnose the problem and provide a solution tailored to your specific situation.
By addressing these common issues, you can ensure that iMessage functions smoothly and enjoy the seamless messaging experience that it offers.
Conclusion
Congratulations! You have successfully enabled iMessage on your iPhone 13 and are now ready to enjoy the benefits of this powerful messaging platform. With iMessage, you can seamlessly send and receive text messages, photos, videos, and other multimedia content with your friends and family.
We began by ensuring that your iPhone 13 is compatible with iMessage, checking for iOS compatibility and an active Apple ID. Then, we discussed the importance of updating your iOS to the latest version to ensure optimal performance.
Next, we walked through the steps to enable iMessage, allowing you to completely customize your messaging experience. From adding multiple email addresses and phone numbers to choosing default Caller ID settings, you now have full control over your iMessage settings.
In the event you encounter any issues, we provided troubleshooting tips to help you address common problems, such as activation errors, messages not sending or receiving, contact verification issues, and iCloud syncing problems.
Remember, iMessage not only offers seamless messaging across Apple devices but also provides the ability to personalize conversations with stickers, emojis, and special effects. Take advantage of these features to enhance your messaging experience and stay connected in a fun and interactive way.
If you encounter any persistent issues with iMessage, don’t hesitate to reach out to Apple Support for further assistance. They have the expertise to guide you through specific troubleshooting steps tailored to your situation.
Now that you’re equipped with the knowledge to enable and troubleshoot iMessage on your iPhone 13, it’s time to start enjoying this powerful messaging platform. Connect with your loved ones, express yourself creatively, and make the most of the convenient features that iMessage has to offer.
Happy messaging!