Introduction
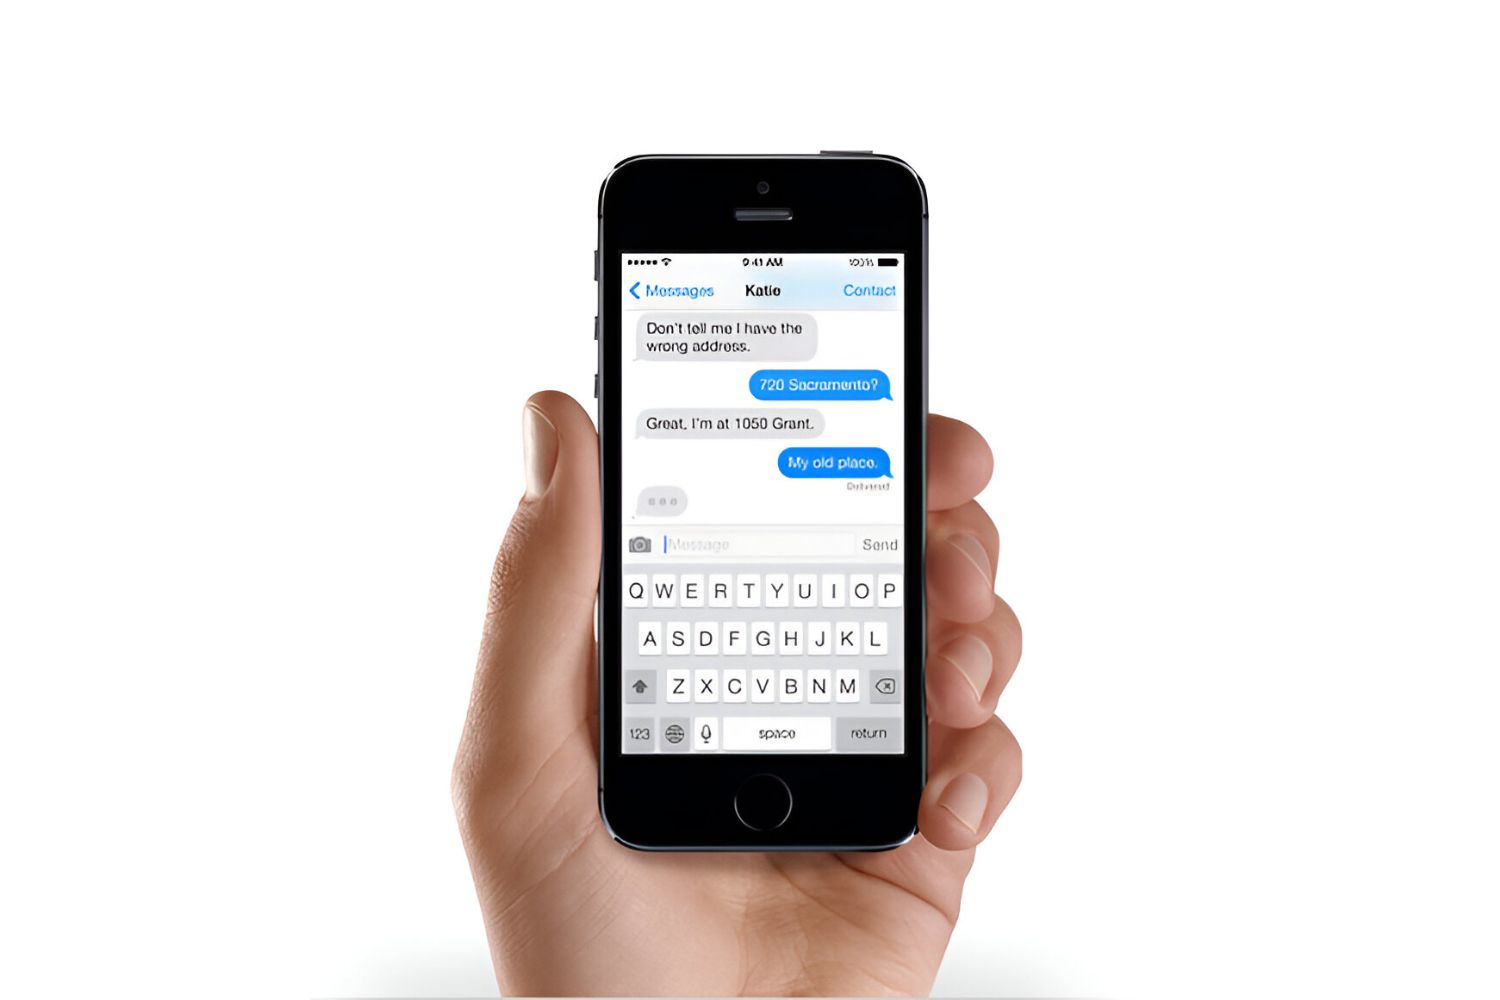
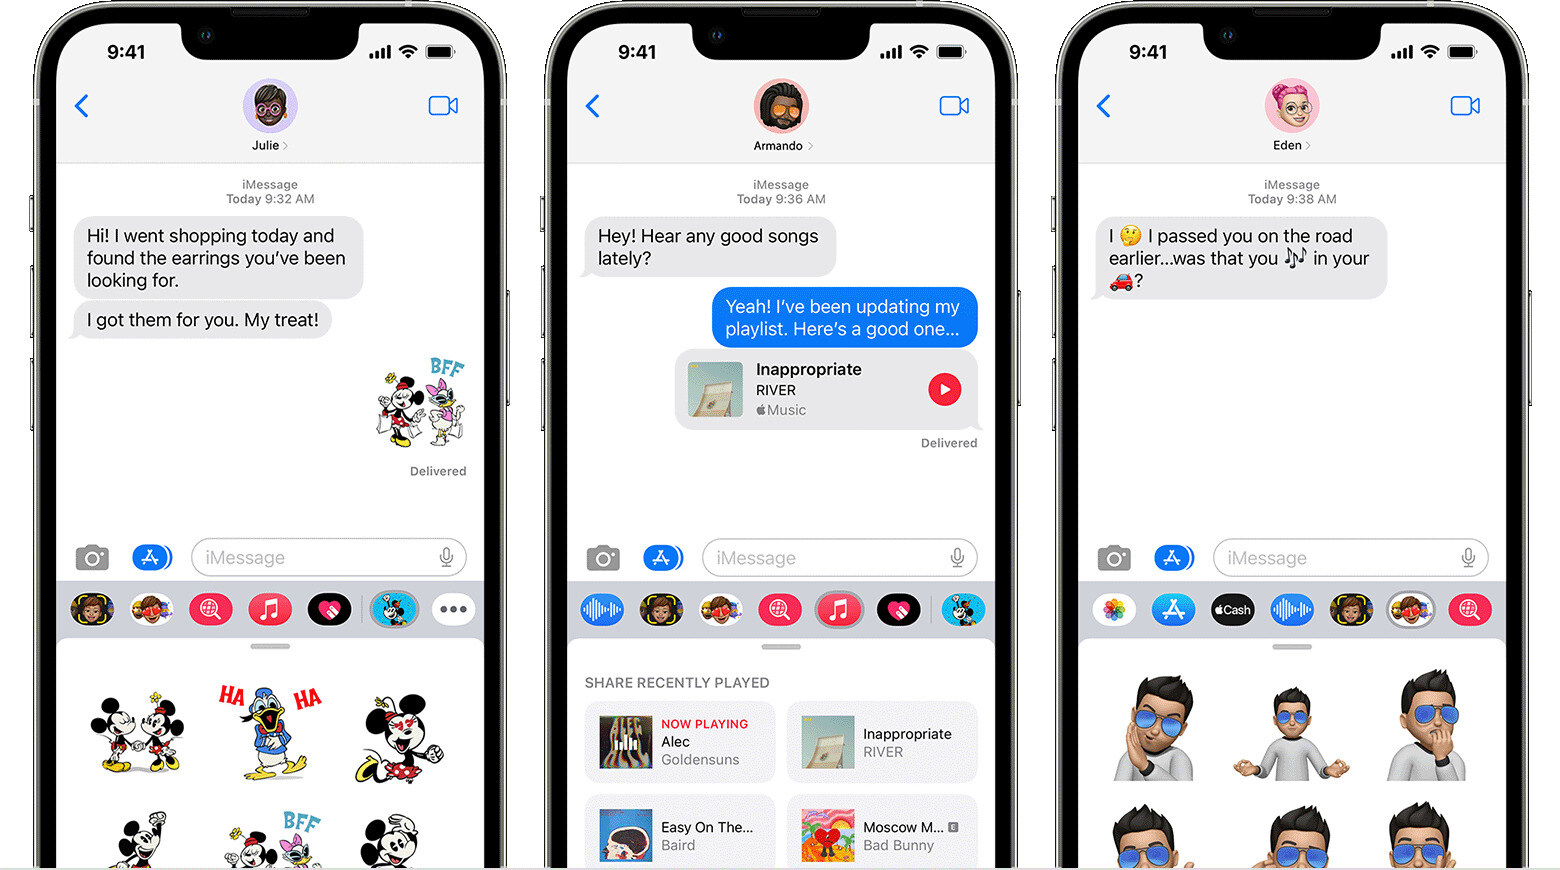
Welcome to our step-by-step guide on how to register your phone number with iMessage. iMessage is Apple’s built-in messaging platform that allows you to send text messages, photos, videos, and more to other Apple users. By registering your phone number with iMessage, you can enjoy seamless communication with your friends and family who use Apple devices.
Registering your phone number with iMessage is a simple process that can be done directly from your iPhone. Once you’ve completed the steps outlined in this guide, you’ll be able to send and receive messages using your phone number alongside your Apple ID.
In this article, we’ll walk you through the step-by-step process of registering your phone number with iMessage. Whether you’re new to Apple devices or simply need a refresher, our guide will provide you with clear instructions and helpful tips to make the registration process a breeze.
Before we dive into the details, make sure you have updated your iPhone to the latest iOS version. Having the latest software ensures that you have access to all the features and security enhancements that Apple has to offer. Once your iPhone is up-to-date, you’re ready to begin the registration process.
Step 1: Update to the Latest iOS Version
Before you can register your phone number with iMessage, it’s important to ensure that your iPhone is running on the latest version of iOS. Apple regularly releases updates to improve performance, add new features, and address security vulnerabilities. Follow the steps below to update your iPhone:
- Connect your iPhone to a stable Wi-Fi network.
- Open the Settings app on your iPhone. You can find the Settings app icon on your home screen.
- Scroll down and tap on “General.”
- In the General settings menu, select “Software Update.”
- Your iPhone will then check for available updates. If a software update is available, tap on “Download and Install.”
- Enter your passcode, if prompted, and agree to the Terms and Conditions.
- Wait for the download to complete. The installation process will begin automatically.
- Once the installation is finished, your iPhone will restart.
It’s crucial to keep your iPhone updated to the latest iOS version, as this ensures compatibility with iMessage and provides the best user experience. Updating your iPhone only takes a few minutes, and it’s well worth the effort to access the latest features and security patches.
Now that your iPhone is running on the latest iOS version, you’re ready to proceed to the next step of registering your phone number with iMessage. Continue reading to learn how to open the Settings app and enable iMessage.
Step 2: Open the Settings App
The next step in registering your phone number with iMessage is to open the Settings app on your iPhone. The Settings app is where you can customize various settings and preferences for your device. Follow these simple steps to open the Settings app:
- Locate the Settings app icon on your iPhone’s home screen. It resembles a gray gear icon and is typically found on the first page of apps.
- Tap on the Settings app icon to launch it. The app will open, displaying a list of different settings options.
Once you have successfully opened the Settings app, you’re ready to proceed to the next step and enable iMessage. Continue reading to learn how to navigate to the Messages settings.
It’s worth noting that the Settings app may have a search bar at the top. If you’re having trouble finding the Messages settings, you can use the search bar to quickly locate it. Simply tap on the search bar and type “Messages,” then select the appropriate result.
Now that you’re in the Settings app, let’s move on to the next step and enable iMessage so that you can start using your phone number to send and receive messages.
Step 3: Tap on “Messages”
After opening the Settings app, the next step is to navigate to the Messages settings. This is where you can enable iMessage and manage various messaging preferences. Follow the steps below to find the Messages settings:
- Scroll down the list of settings options until you find “Messages.” Tap on it to enter the Messages settings.
Alternatively, if you used the search bar in the Settings app, you can simply tap on the “Messages” result that appears in the search results.
By tapping on “Messages,” you will be taken to a dedicated settings page where you can configure all aspects of your messaging experience. This includes enabling iMessage, customizing message settings, and managing third-party messaging apps.
In the Messages settings, you’ll have access to a range of options, such as:
- Enabling or disabling iMessage
- Setting up message forwarding to other Apple devices
- Customizing your iMessage profile
- Managing how multimedia messages (MMS) are handled
- Configuring message notifications
Take some time to explore the various settings available within the Messages settings page. It’s a great way to personalize your messaging experience and make it work best for you.
Now that you’re in the Messages settings, you’re one step closer to registering your phone number with iMessage. In the next step, we will guide you through the process of enabling iMessage on your iPhone.
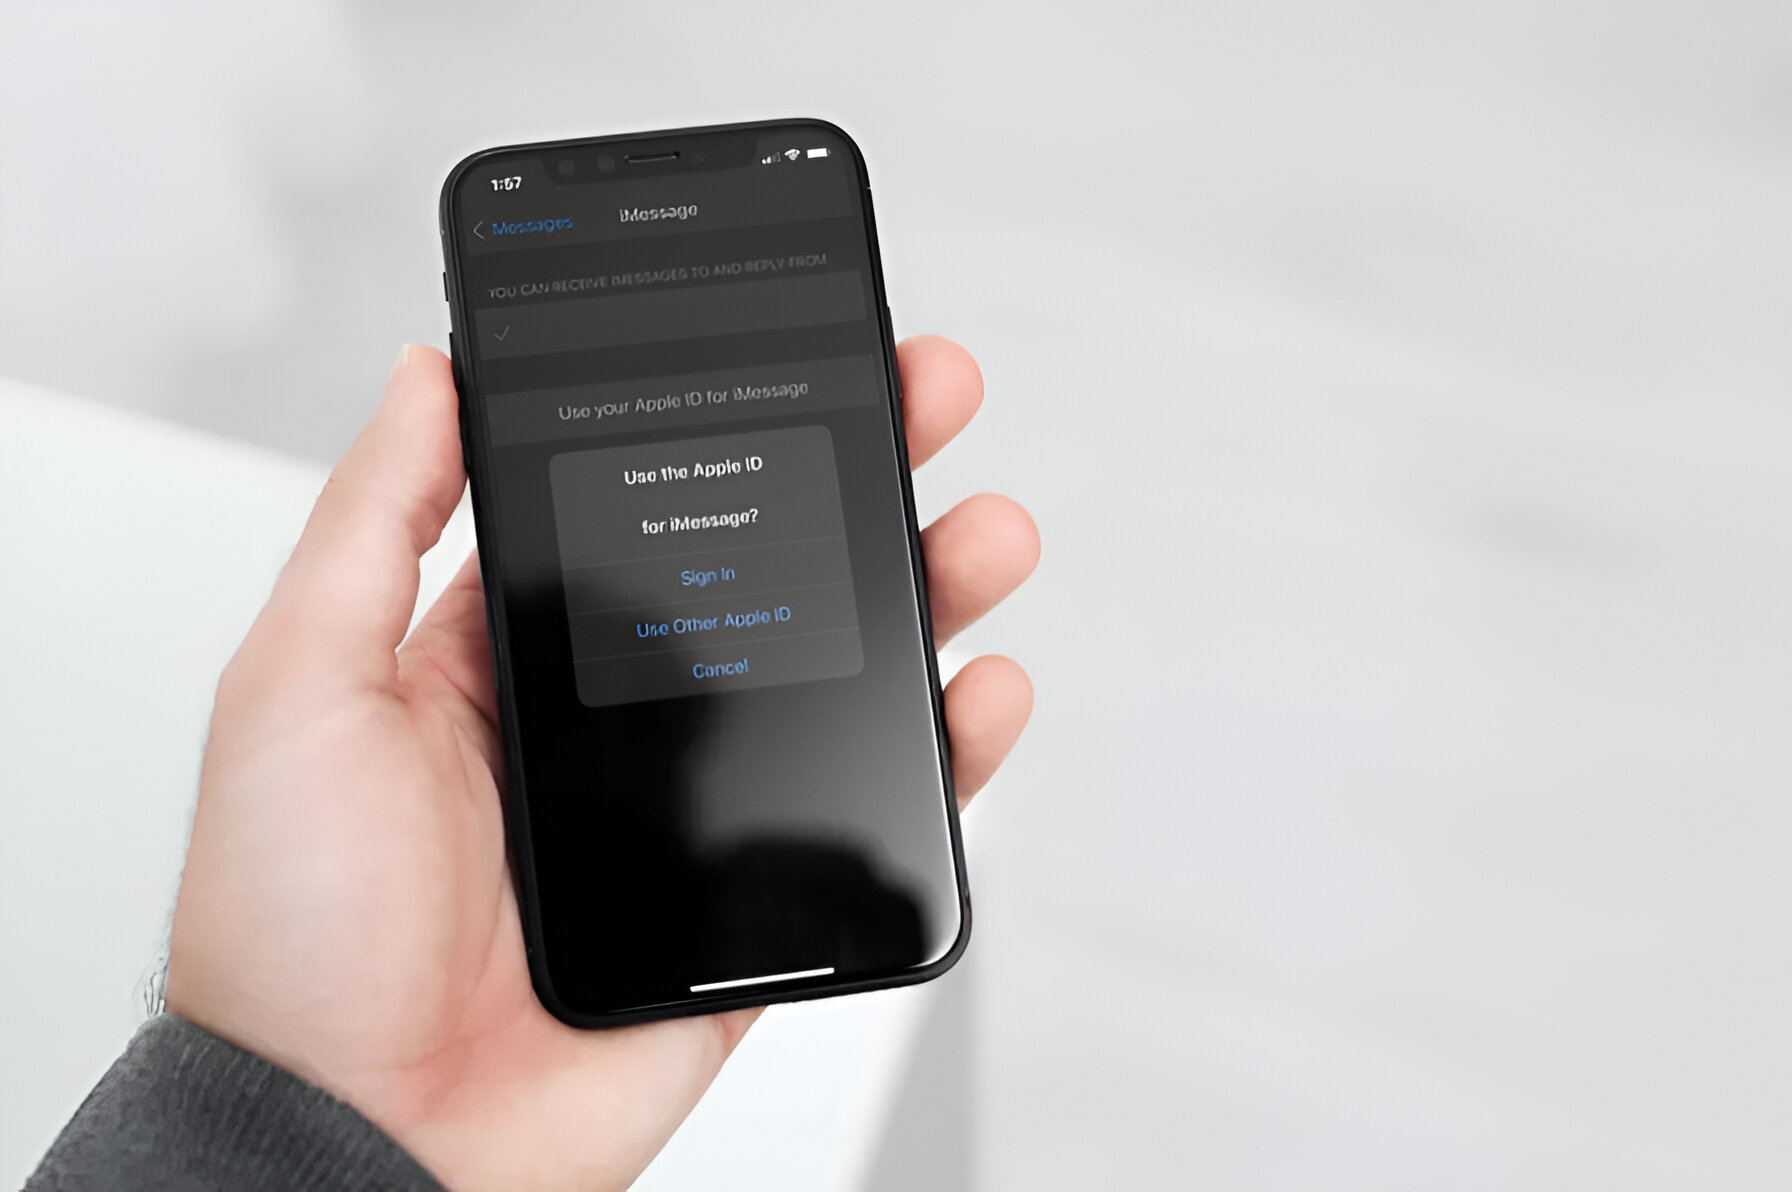
Step 4: Enable iMessage
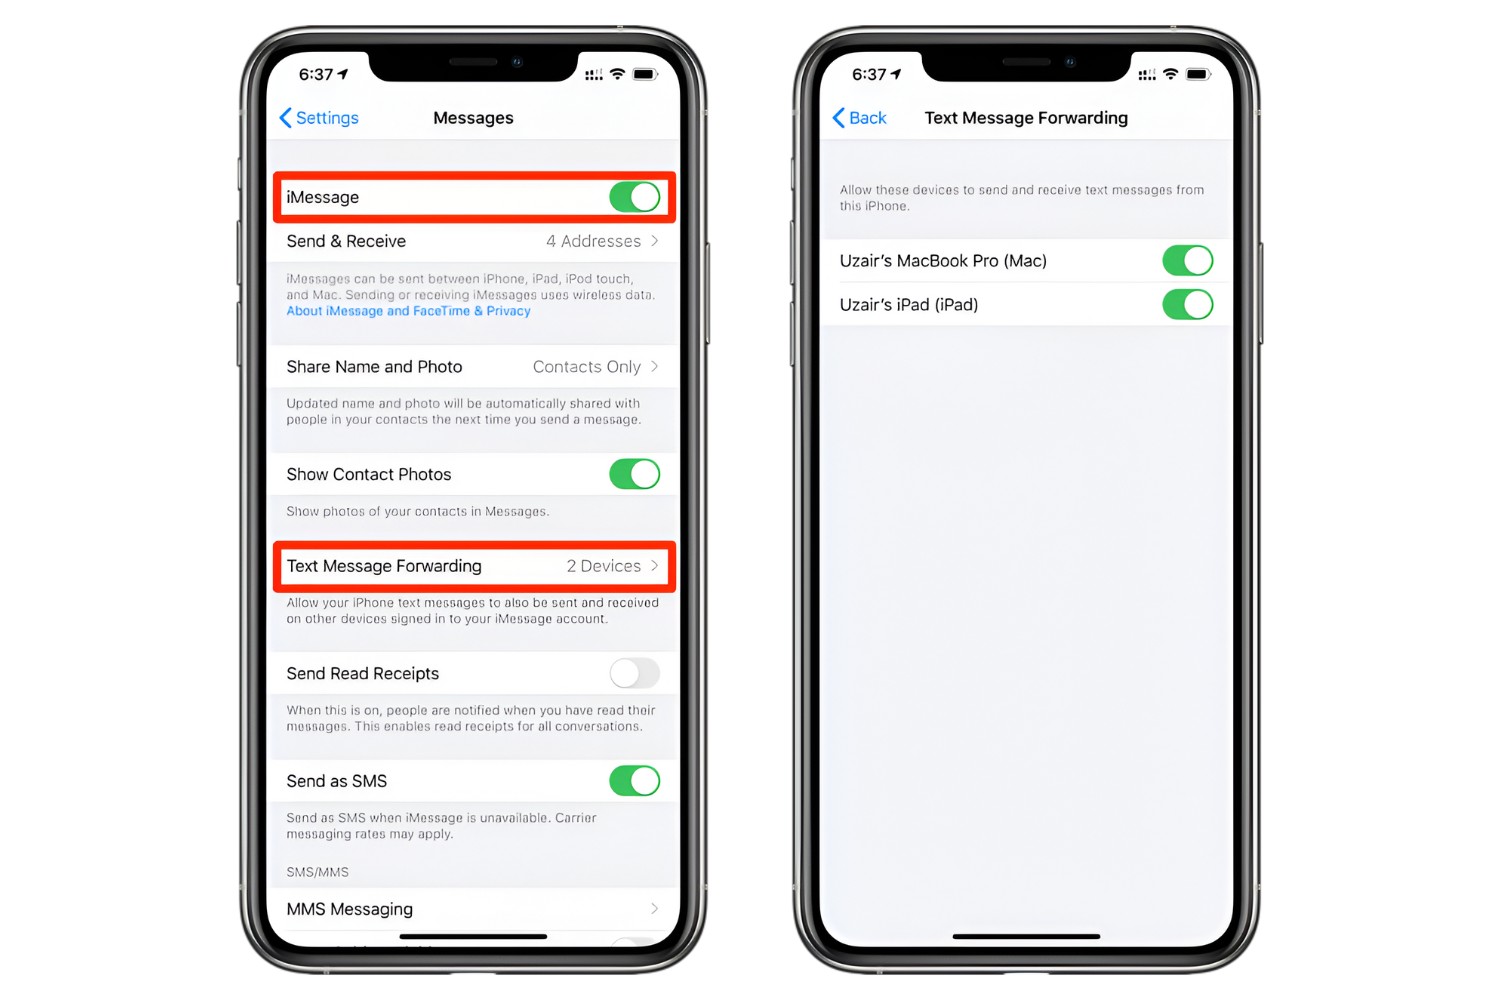
Once you’re in the Messages settings, the next step is to enable iMessage. Enabling iMessage will allow you to send and receive messages using your phone number and Apple ID. Follow the steps below to enable iMessage on your iPhone:
- Within the Messages settings page, locate the toggle switch next to “iMessage.”
- Tap on the toggle switch to enable iMessage. The switch will turn green, indicating that iMessage is now enabled.
Enabling iMessage is an essential step in registering your phone number with iMessage. It ensures that your messages are sent and received using Apple’s messaging platform, providing a seamless and integrated messaging experience with other Apple users.
Once you have enabled iMessage, you’ll notice additional options and settings become available within the Messages settings page. These options allow you to further customize your iMessage experience, such as choosing how you want to be reached and deciding which email addresses associated with your Apple ID to use for messages.
Now that you have successfully enabled iMessage, let’s move on to the next step where you will be prompted to enter your phone number.
Step 5: Tap on “Send & Receive”
After enabling iMessage, the next step is to tap on the “Send & Receive” option within the Messages settings. This is where you can manage the phone numbers and email addresses associated with your iMessage account. Follow the steps below to access the “Send & Receive” settings:
- Within the Messages settings, scroll down until you find the “Send & Receive” option. Tap on it to enter the settings.
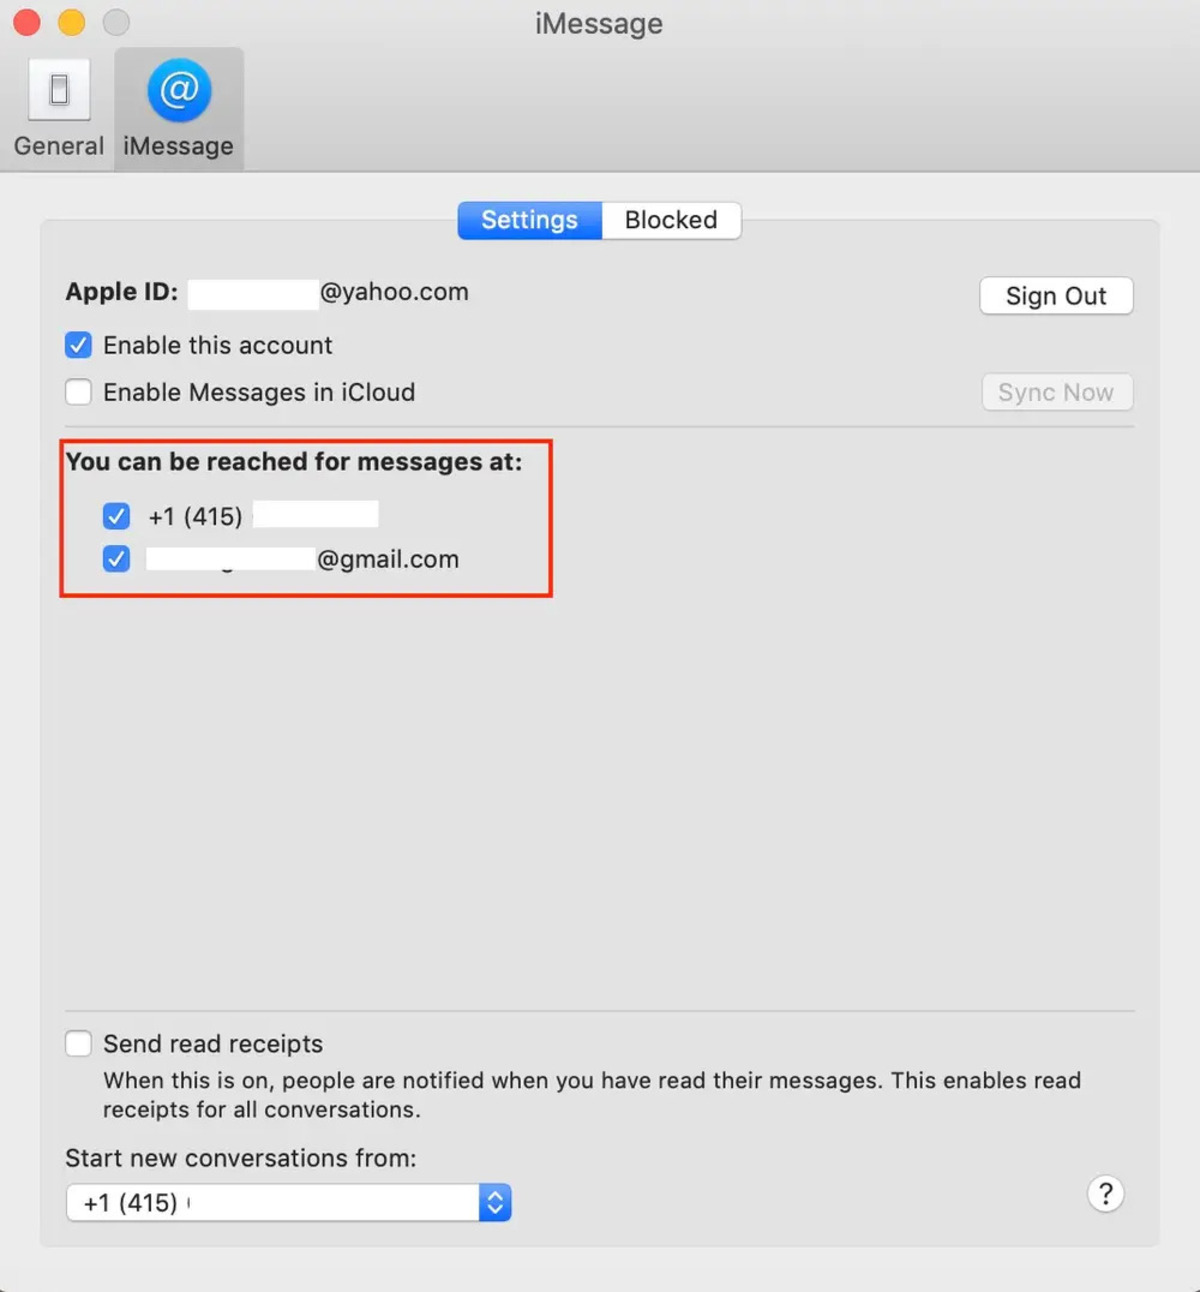
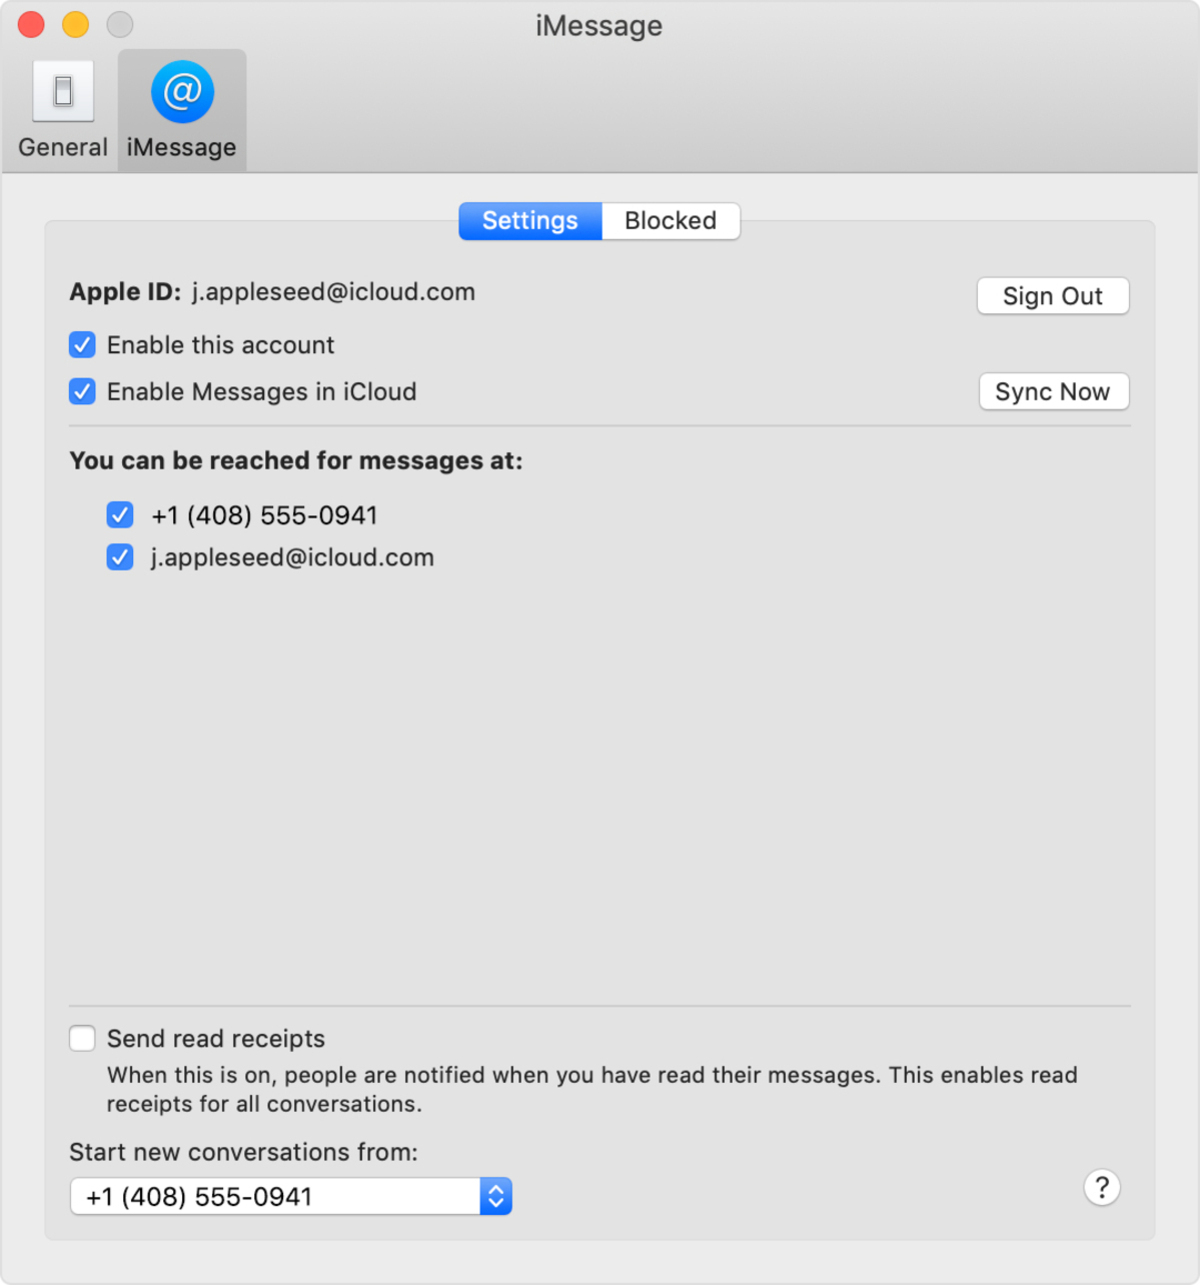
The “Send & Receive” settings allow you to specify which phone numbers and email addresses you want to use to send and receive messages with iMessage. It also allows you to add or remove additional email addresses from your iMessage account.
Upon entering the “Send & Receive” settings, you will see a list of phone numbers and email addresses associated with your Apple ID. Your phone number will be listed at the top, followed by any additional contact details you have linked to your iMessage account.
If your phone number is not already listed, you can add it manually by tapping on the “Add Another Email” option or the “+” button, depending on your device and iOS version. Follow the on-screen prompts to enter your phone number.
In addition to adding phone numbers, you can also manage the email addresses associated with your iMessage account. This allows you to receive messages sent to your email addresses on your iPhone.
It’s worth noting that you can have multiple phone numbers and email addresses linked to your iMessage account. When someone sends you a message using your phone number or one of your email addresses, it will be delivered to all your devices linked to iMessage.
Now that you have accessed the “Send & Receive” settings, you’re ready to add your phone number to your iMessage account. Continue reading to learn how to verify your phone number in the next step.
Step 6: Add Your Phone Number
Now that you are in the “Send & Receive” settings, it’s time to add your phone number to your iMessage account. Adding your phone number ensures that you can send and receive messages using your primary contact information. Follow the instructions below to add your phone number:
- Within the “Send & Receive” settings, tap on the “Add Another Email” or the “+” button, depending on your device and iOS version.
- A dialog box will appear with the option to add a phone number. Tap on the “Phone Number” option.
- Enter your phone number using the on-screen keypad.
- After entering your phone number, tap on “Next” or “Continue” to proceed.
- You will receive a verification code via SMS to the phone number you entered. Enter the verification code in the provided field.
- Tap on “Verify” or “Done” to complete the verification process.
Adding your phone number to your iMessage account is an essential step in registering your phone number with iMessage. It ensures that your primary contact information is associated with your iMessage account, allowing you to easily send and receive messages using your phone number.
Once you have added and verified your phone number, it will be listed in the “Send & Receive” settings along with any other phone numbers or email addresses linked to your iMessage account. You can also choose which contact details you want to use as your default “Start New Conversations From” option.
With your phone number successfully added to your iMessage account, you’re now ready to move on to the final step of the registration process and verify your phone number.
Step 7: Verify Your Phone Number
After adding your phone number in the previous step, the final step in registering your phone number with iMessage is to verify it. Verifying your phone number ensures that you are the rightful owner of the number and adds an extra layer of security to your iMessage account. Follow the instructions below to verify your phone number:
- Within the “Send & Receive” settings, locate your phone number listed under the “You Can Be Reached By iMessage At” section.
- Tap on your phone number to access the verification process.
- You will receive a pop-up message asking if you want to “Send” or “Cancel” the verification.
- Tap on “Send” to send a verification code to your phone number.
- Check your Messages app for a new message. It should contain the verification code sent by Apple.
- Enter the verification code into the provided field in the “Send & Receive” settings.
- Tap on “Verify” to complete the verification process.
Verifying your phone number is an important step to ensure the security and accuracy of your iMessage account. It confirms that you have access to the phone number you have added to your iMessage account and prevents unauthorized access to your account.
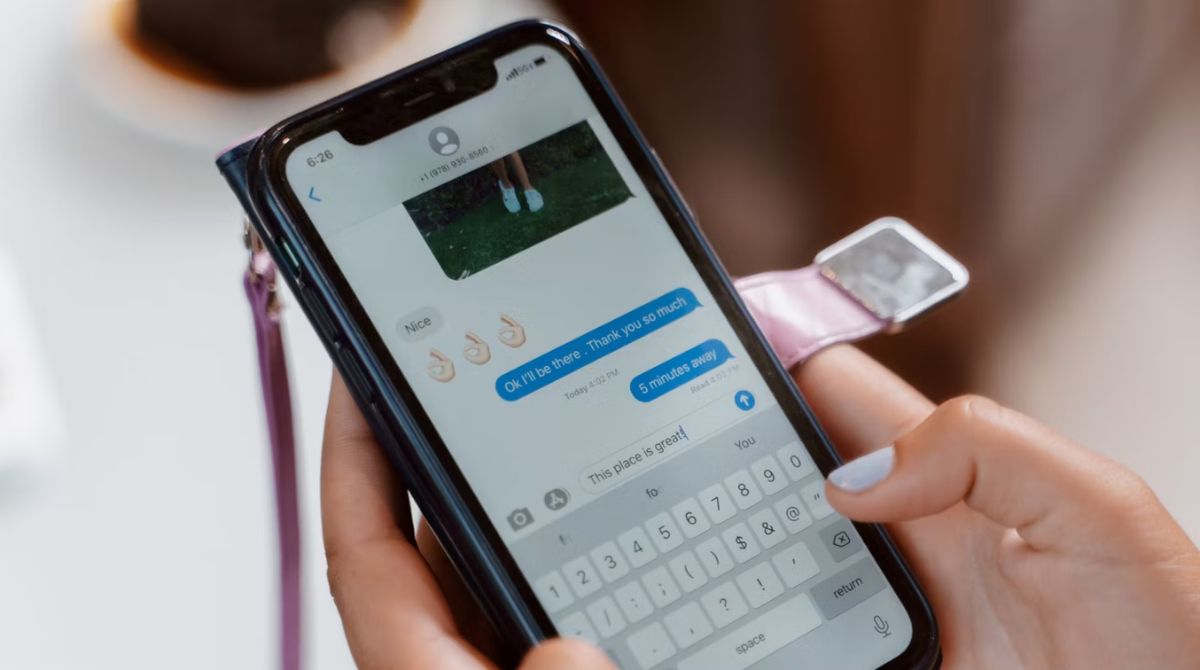
Once your phone number is verified, you can start using it to send and receive messages through iMessage. Your phone number will be displayed as the sender or recipient of messages sent to or from your iPhone. This allows your contacts to identify and reach out to you using your phone number.
Congratulations! You have successfully registered your phone number with iMessage and completed the verification process. Now you can enjoy seamless communication and enhanced messaging features with other Apple users.
Conclusion
Congratulations! You have now successfully registered your phone number with iMessage. By following the step-by-step guide outlined in this article, you have enabled iMessage, added your phone number, and verified it, allowing for seamless messaging using your Apple devices.
iMessage offers a wide range of features, including the ability to send text messages, photos, videos, and more to other Apple users. With your phone number registered, you can now enjoy all the benefits of iMessage, making it easier than ever to stay connected with friends, family, and colleagues.
Remember, it’s important to keep your iPhone updated to the latest iOS version to ensure compatibility with iMessage and access to the latest features and security enhancements. Regularly checking for software updates is a good habit to maintain the optimal functioning of your device.
Now that you have registered your phone number with iMessage, explore the various settings within the Messages app to further personalize your messaging experience. Customize your profile, manage notifications, and explore additional features available to enhance your communication.
We hope this guide has been helpful to you in registering your phone number with iMessage. If you have any further questions or need assistance, feel free to consult official Apple support resources or reach out to their customer service team for additional guidance.
Enjoy your enhanced messaging experience with iMessage and happy texting!