Introduction
Are you looking for a fun and interactive way to engage with your friends and family through iMessage? Look no further – making a poll in iMessage is the perfect solution! With just a few simple steps, you can create and share a poll to gather opinions and make decisions together.
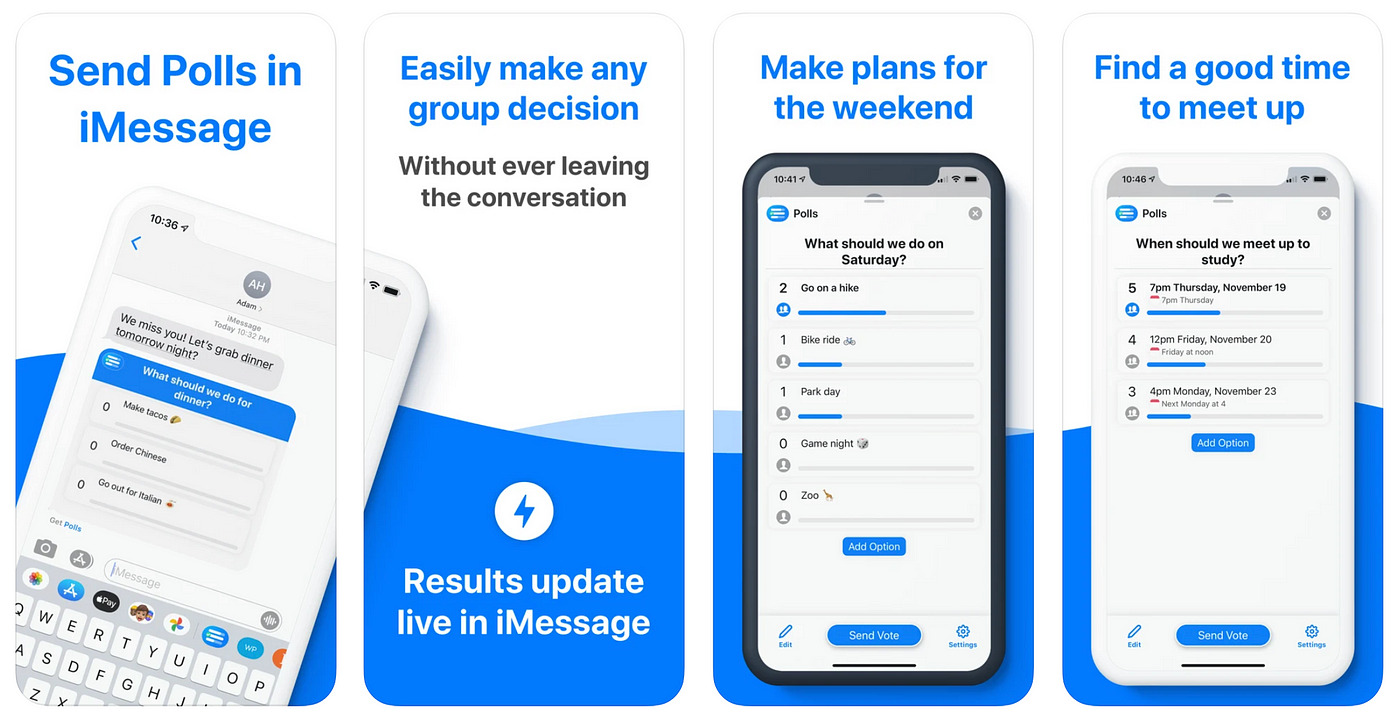
The ability to create polls within iMessage is made possible through the use of third-party apps. These apps offer a wide range of features and customizable options, allowing you to create polls tailored to your specific needs. Whether you want to gather feedback on potential vacation destinations, decide on a restaurant for dinner, or simply ask your friends about their favorite movie, creating a poll in iMessage is a quick and easy way to get the answers you’re looking for.
In this guide, we will walk you through the step-by-step process of creating a poll in iMessage. You don’t need to be tech-savvy or have any programming knowledge – all you need is an iPhone or iPad and the iMessage app installed. Let’s get started!
Step 1: Open iMessage
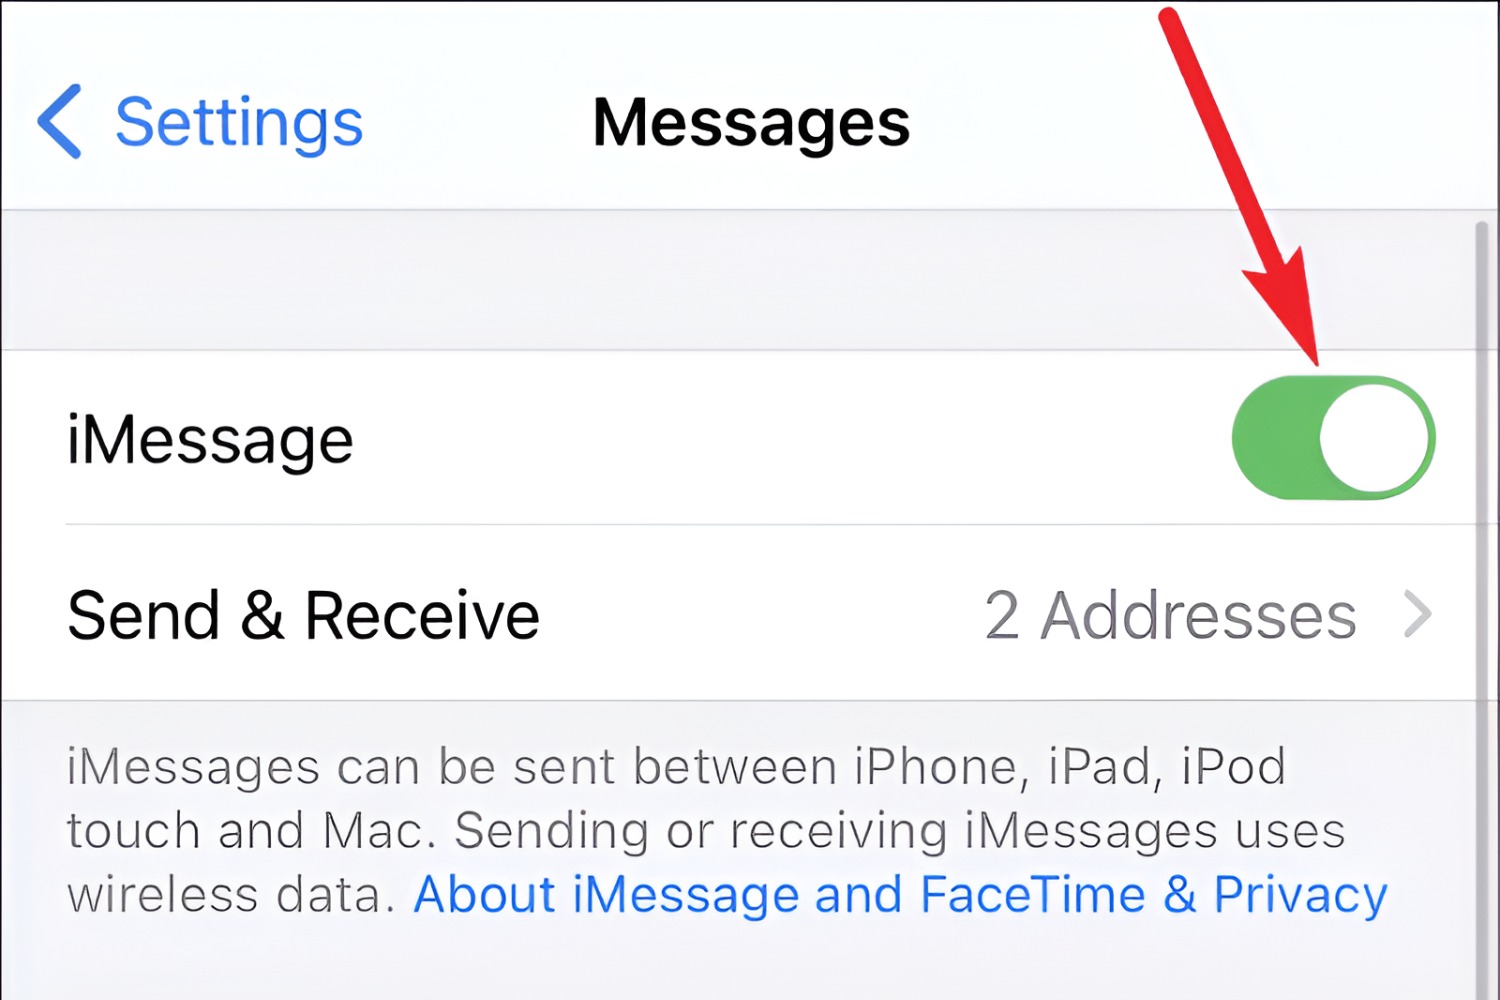
The first step in creating a poll in iMessage is to open the iMessage app on your iPhone or iPad. iMessage comes pre-installed on all Apple devices, so you should be able to find the app easily on your home screen or in your app library. Simply tap on the iMessage icon to open the app.
iMessage is a versatile messaging app that allows you to not only send and receive text messages, but also share photos, videos, and even play games with your contacts. By integrating third-party apps, you can add even more functionality to iMessage, including the ability to create and share polls.
Once you have opened iMessage, you will be greeted with your list of conversations. This is where you can see all your previous chats and have quick access to your contacts. To proceed with creating a poll, you will need to select the contact or group chat that you want to send the poll to. Simply tap on the desired conversation to enter the chat screen.
By opening iMessage and selecting the appropriate conversation, you are now ready to move on to the next step: installing a third-party app that will allow you to create and send polls. In the following steps, we will guide you through this process and help you unleash the power of polls within iMessage.
Step 2: Select the contact
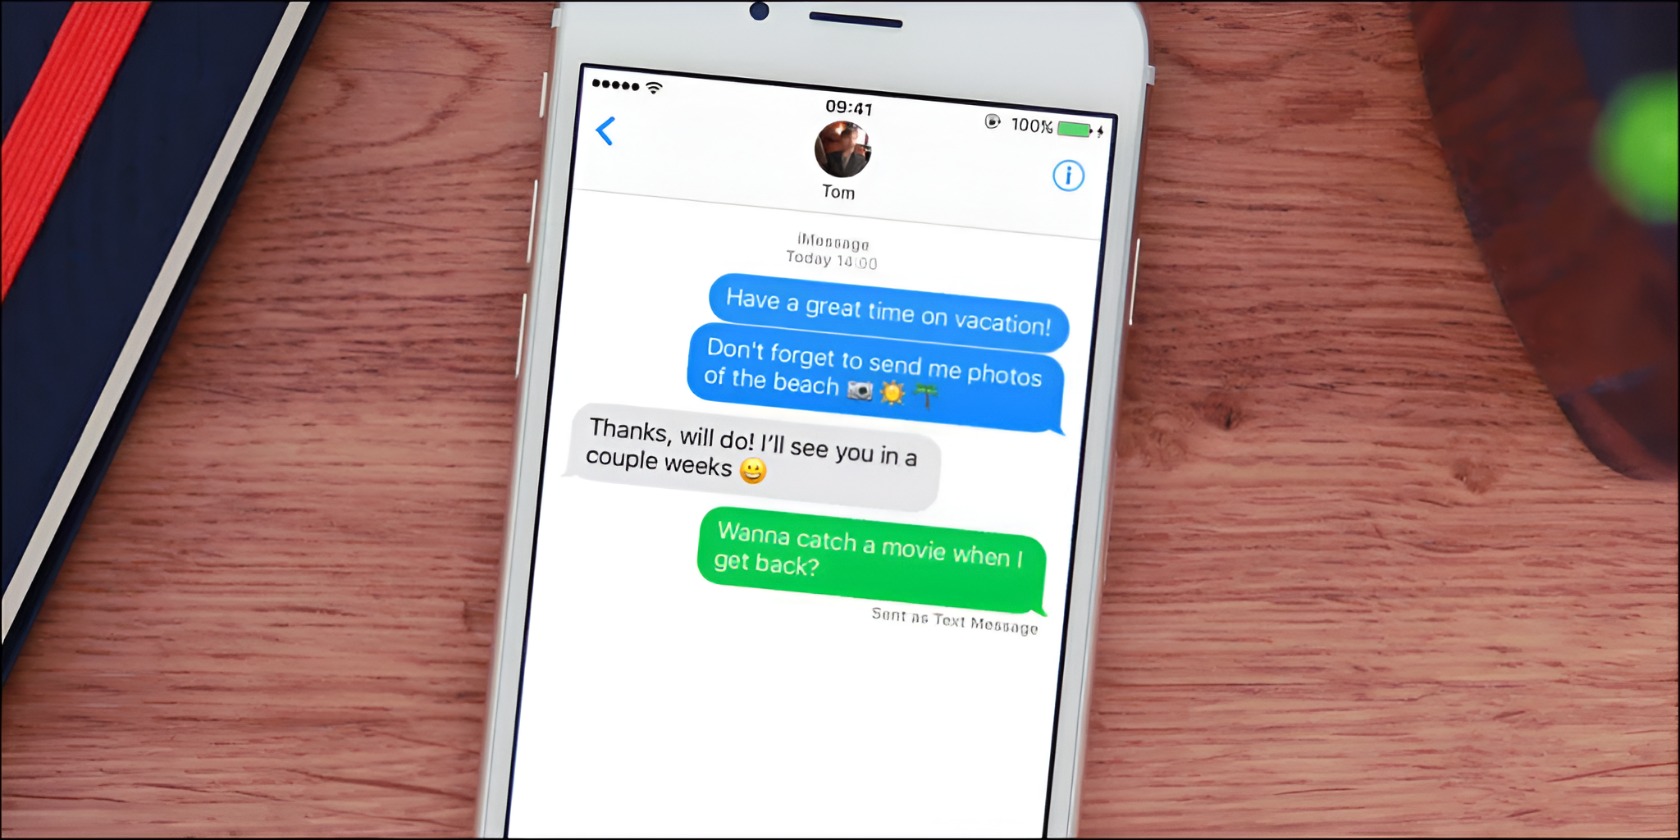
Now that you have opened iMessage, it’s time to select the contact or group chat to which you want to send the poll. This could be a single person, a group of friends, or even a family member. Whatever the case may be, make sure you choose the appropriate conversation before proceeding to the next steps.
In the list of conversations, scroll through and locate the person or group chat you want to engage with. You can identify contacts by their names or profile pictures displayed in the conversation list. If you have trouble finding the contact you’re looking for, you can use the search bar at the top of the screen to quickly search for a specific contact.
Once you have located the contact or group chat, simply tap on it to enter the chat screen. This is where you can send and receive messages to and from the selected contact(s). Take a moment to ensure that you have selected the correct contact and are ready to proceed with creating and sending your poll.
It’s important to choose the right contact or group chat because once you create and send a poll, it will be visible to all participants in the conversation. Therefore, be mindful of who you select to ensure that the poll reaches the intended recipients and gathers the feedback you’re seeking.
With the contact or group chat selected, you are now one step closer to creating and sharing your poll in iMessage. The next step is to install a third-party app that will provide you with the necessary tools and features to create a poll. Follow along with the subsequent steps to learn how to install the app and unlock the potential of polls in your conversations.
Step 3: Tap on the “App Store” icon
Once you have selected the contact or group chat, it’s time to tap on the “App Store” icon within iMessage. This will allow you to access and browse through the wide variety of third-party apps available for integration with iMessage.
The “App Store” icon is usually located next to the text input field in the iMessage interface. It is represented by the letter “A” inside a blue circle. Simply tap on this icon to open the App Store within iMessage.
When you tap on the “App Store” icon, you will be taken to a dedicated section where you can find and install apps specifically designed for use within iMessage. These apps, often referred to as iMessage apps or stickers, can enhance your messaging experience by offering additional features and functionalities.
Once inside the App Store, you will be presented with a range of app categories and featured selections. To continue with the process of creating a poll, you will want to search for and install an app that specializes in polls.
In the next step, we will guide you through the process of finding and installing the “Polls” app, a popular choice for creating and sharing polls within iMessage. This app will provide you with the necessary tools and options to craft your own custom polls in a quick and efficient manner.
With the “App Store” icon tapped, get ready to explore the world of iMessage apps and find the perfect one for your polling needs. Let’s move on to the next step and discover how to search for and install the “Polls” app.
Step 4: Search for the “Polls” app
Now that you’re in the App Store within iMessage, it’s time to search for the “Polls” app. This app will provide you with the necessary tools and features to create and share polls seamlessly within your conversations.
In the search bar at the top of the App Store interface, type in “Polls” and hit enter. The search results will display a list of apps related to polls. Look for the “Polls” app in the search results and tap on it to access the app’s page.
Before installing the “Polls” app, take a moment to review its features, ratings, and user reviews. This will help you get a better understanding of the app’s capabilities and determine if it aligns with your needs for creating polls in iMessage.
When considering which app to choose, keep in mind factors such as the app’s user interface, customization options, and ease of use. You want an app that is intuitive and provides a seamless experience for both creating and participating in polls.
Once you have decided to proceed with the “Polls” app, tap on the “Install” button. This will initiate the installation process, and the app will be downloaded and installed onto your device. Depending on your internet connection speed, this process may take a few seconds or a couple of minutes.
After the app has been successfully installed, you will see a notification confirming the installation. The “Polls” app will now be available for use within iMessage, allowing you to create and send polls to your contacts.
Now that you have successfully found and installed the “Polls” app, let’s move on to the next step to learn how to open and set up the app so you can start creating your first poll in iMessage.
Step 5: Install the “Polls” app
Now that you have searched for the “Polls” app in the App Store within iMessage, it’s time to install the app onto your device. Installing the “Polls” app will enable you to create and share polls seamlessly within your iMessage conversations.
To install the “Polls” app, simply tap on the “Install” button located on the app’s page in the search results. Once you tap on “Install,” the app will begin to download and install onto your device. The installation process may take a few moments, depending on the speed of your internet connection.
While the “Polls” app is being installed, you may see a progress bar indicating the download status. Be patient and wait for the installation to complete. Once the installation is finished, you will receive a notification confirming the successful installation of the “Polls” app.
With the “Polls” app installed, you can now access its features directly within iMessage. The app provides a user-friendly interface that allows you to create customized polls and share them with your contacts effortlessly.
Before moving on to the next step, it’s a good idea to familiarize yourself with the features and options offered by the “Polls” app. Take a moment to explore its interface, including any settings or customization options that may be available.
Now that you have successfully installed the “Polls” app, you are ready to move on to the next step, where we will guide you through opening the app and creating your first poll in iMessage.
Step 6: Open the “Polls” app
Now that you have installed the “Polls” app, it’s time to open it and start creating your first poll in iMessage. Opening the app will give you access to its features and allow you to customize your poll according to your preferences.
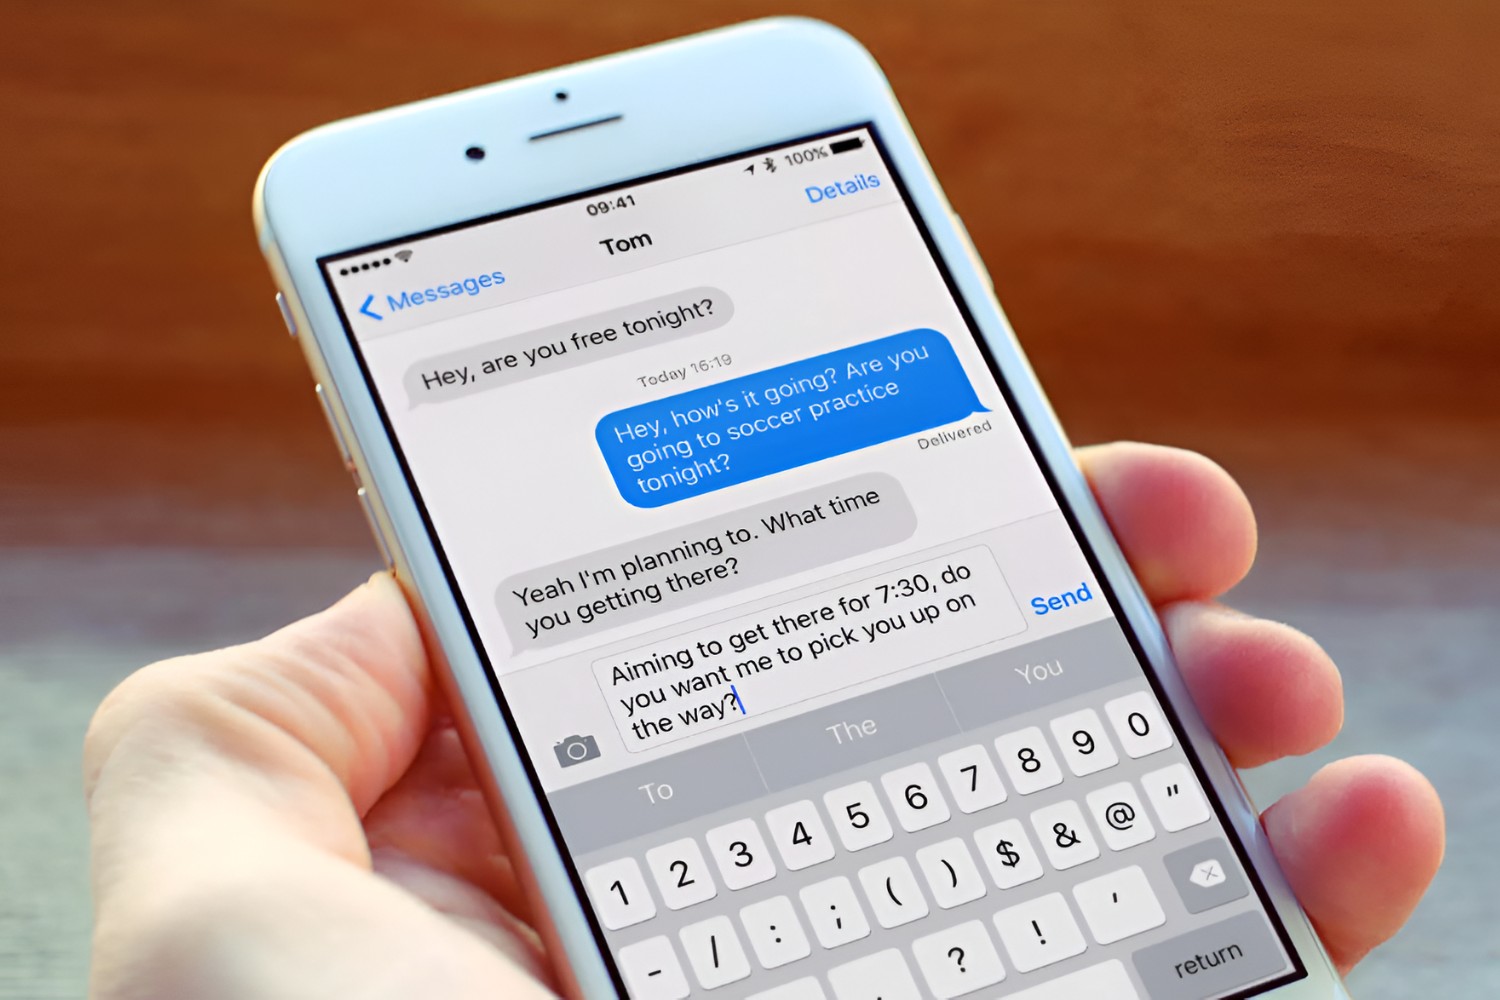
To open the “Polls” app, return to the iMessage interface and open the chat screen with the contact or group chat you selected earlier. Once you’re in the chat screen, you will notice a row of icons just below the text input field.
Look for the “App Drawer” icon, represented by a small square with a few dots inside. Tap on this icon to open the App Drawer, which contains all the installed iMessage apps, including the “Polls” app.
Scroll through the App Drawer until you find the “Polls” app. It might be helpful to look for the app’s icon or name. Once you locate the “Polls” app, simply tap on it to open it and access its features.
Upon opening the “Polls” app, you will be greeted with a user-friendly interface that provides various options for creating and customizing your poll. Take some time to familiarize yourself with the app’s layout and available tools.
The “Polls” app typically offers features such as creating multiple-choice questions, customizing the poll options, and setting a duration for the poll. You may also have the option to add images or attach files to your poll, depending on the capabilities of the app.
With the “Polls” app open and ready to be used, you are now one step closer to creating and sharing your poll in iMessage. In the next steps, we will guide you through the process of creating a new poll, entering your poll question, and adding options to it. Let’s continue with the next step and start crafting your poll!
Step 7: Create a new poll
With the “Polls” app open in iMessage, it’s time to create a new poll and start gathering opinions from your contacts. Creating a poll is a simple and straightforward process that allows you to ask a question and present multiple options for response.
To create a new poll, look for the option within the “Polls” app interface to start a new poll. This may be represented by a “+” icon or a “New Poll” button. Tap on this option to initiate the creation of your poll.
Once you click on the option to create a new poll, a blank template will appear. This is where you can enter your poll question and begin adding options for response.
Start by entering your poll question in the designated area. This is the question that will be presented to your contacts, and they will choose from the provided options. Make sure your poll question is clear and concise, allowing your contacts to easily understand and respond to it.
After entering your poll question, you can begin adding options for response. These options will appear as selectable choices for your contacts. Depending on the “Polls” app you are using, you may have the option to add multiple choice options, binary (yes/no) options, or even more customized options.
Add the options one by one, providing clear and distinct choices for your contacts to select from. Consider the nature of the poll and the type of feedback you are seeking when coming up with the response options.
Once you have added all the options, take a moment to review the poll preview. Ensure that your poll question and options are accurately displayed, and make any necessary adjustments before proceeding further.
With your poll question and options ready, you are now one step closer to sharing your poll with your contacts. In the upcoming steps, we will guide you through customizing your poll and sending it to the selected contact or group chat. Let’s move on to the next step and make your poll stand out!
Step 8: Enter your poll question
Now that you have created a new poll using the “Polls” app, it’s time to enter your poll question. The poll question is the query that you want to ask your contacts, and their responses will help you gather valuable insights and opinions.
When you see the blank template after initiating the creation of a new poll, you will notice a designated area where you can enter your poll question. This is the space where you can craft a concise and clear question that will prompt your contacts to provide their input.
Take a moment to carefully consider what you want to ask and how you want to frame your question. Make sure that your question is specific and easy for your contacts to understand. It’s important to provide enough context so that they can provide relevant responses.
Here are a few tips for creating an effective poll question:
- Keep it simple: Use clear and straightforward language to make your question easy to understand.
- Be specific: Make sure your question is precise and focused on the topic you want feedback on.
- Avoid bias: Try to frame your question in a neutral way that does not steer your contacts towards a particular answer.
- Consider multiple choice or open-ended: Decide whether you want to provide predefined response options or allow your contacts to freely respond.
Once you have carefully crafted your poll question, enter it in the designated area of the “Polls” app interface. Take a moment to review your question and ensure that it accurately reflects what you want to ask.
Remember, a well-crafted poll question will encourage active participation and provide you with valuable insights. So, invest some time in creating a question that generates meaningful responses from your contacts.
With your poll question entered, you are now ready to proceed to the next step, where we will guide you through adding options to your poll. Let’s move forward and make your poll comprehensive!
Step 9: Add options to the poll
Now that you have entered your poll question using the “Polls” app, it’s time to add options for your contacts to choose from. These options will provide the potential responses that participants can select based on their preferences or opinions.
To add options to your poll, navigate to the appropriate section within the “Polls” app interface. This section may be labeled as “Options” or “Response Choices.” Tap on this section to access the area where you can input the different options.
Consider the nature of your poll question and the type of feedback you are seeking as you add options. Ensure that the options provided are relevant, distinct, and cover a range of possibilities that your contacts may want to express.
Depending on the “Polls” app you are using, you may have the option to choose between predefined or custom responses. Predefined responses are set options that you provide, while custom responses allow participants to enter their own answers.
If you choose to use predefined responses, enter each option one by one in the designated areas provided. Make sure each option is concise and clearly identifies a different choice for participants to select.
On the other hand, if you opt for custom responses, participants will have the freedom to enter their own answers instead of selecting from predefined options. This can be useful if you want to gather unique responses or allow for more open-ended feedback.
Take a moment to review the options you have added, ensuring that they represent meaningful choices for participants. Consider if any adjustments need to be made, such as reordering or rephrasing the options to enhance clarity or relevance.
Once you are satisfied with the options you have added, you are now ready to proceed with customizing your poll in the next steps. This will allow you to add any additional details or settings to make your poll even more engaging for your contacts. Let’s move on and make your poll truly unique!
Step 10: Customize the poll
After adding options to your poll using the “Polls” app, you have the option to further customize the poll to enhance its appearance and engagement. Customizing the poll allows you to add additional details, settings, or visuals that can make your poll stand out and capture the attention of your contacts.
Depending on the features provided by the “Polls” app you are using, there may be several customization options available. Let’s explore some common customization options:
- Poll Duration: Determine how long you want your poll to be active. You can set a specific duration after which the poll will automatically close, or you may have the option to keep the poll open indefinitely.
- Add Images: Some apps allow you to add images to your poll, which can make it visually appealing and provide additional context. Consider adding relevant images that will enhance the understanding and engagement of your contacts.
- Change Colors or Themes: Personalize your poll by changing the colors or themes. This can help align the poll with your brand or make it visually appealing. Look for options to modify the color scheme or select from a range of preset themes.
- Notifications: Determine whether you want to receive notifications when someone responds to your poll. This can help you stay updated on the results and enable you to engage with participants during the polling period.
- Privacy Settings: Explore the privacy settings available within the “Polls” app to ensure that your poll is accessible only to the intended contacts or participants. You may have options to limit the visibility of the poll or restrict it to specific group chats.
Take the time to explore the customization options available within the “Polls” app you are using. Every app may have different features and settings, so familiarize yourself with the available tools and make the necessary adjustments to craft a poll that suits your needs.
Remember, customization can help make your poll more engaging, visually appealing, and effective in capturing the attention of your contacts. Once you have customized your poll to your satisfaction, it’s time to proceed to the final step: sending the poll to your chosen contact or group chat.
Step 11: Send the poll to your contact
After customizing your poll using the “Polls” app, it’s time to share it with your chosen contact or group chat. Sending the poll will allow your contacts to participate and provide their responses, giving you valuable insights and feedback.
To send the poll, make sure you are on the chat screen with the intended contact or group chat within iMessage. Locate the text input field and then tap on the “Polls” app icon in the app drawer below.
Once you tap on the “Polls” app icon, the interface of the “Polls” app will open within iMessage. You will now see the poll you have created, along with the different options and customization you have applied.
Take a moment to review the poll and ensure that everything is well-prepared for sharing. Double-check the poll question, options, and any additional details you have included. This will help ensure a smooth and successful poll experience for your contacts.
When you are ready to send the poll, simply tap on the “Send” button or the icon representing sending, such as an arrow pointing upwards. This will send the poll to the selected contact or group chat, making it visible for participants to respond.
Once the poll is sent, your contacts will receive it in the chat. They can then interact with the poll by selecting their preferred option or entering their response, depending on the type of poll you have created.
As participants respond to the poll, you may be able to monitor the results and see how the responses are developing. Some “Polls” apps provide real-time tracking, allowing you to observe the progress and engage in discussions around the poll with your contacts.
Congratulations! You have successfully created and sent a poll to your contact or group chat. Now, sit back and wait for the responses to come in. Feel free to share the poll with others and encourage them to participate for a more comprehensive and engaging experience.
Remember, polls are a great way to gather opinions, make decisions, and have fun conversations within iMessage. Experiment with different poll topics and formats to unleash the full potential of polls and create memorable interactions with your contacts.
Conclusion
Creating a poll in iMessage provides a fun and interactive way to engage with your contacts and gather their opinions. With the help of the “Polls” app, you can easily create and share polls in just a few simple steps. Whether you want to make a group decision, gather feedback, or simply spark interesting conversations, polls in iMessage offer a convenient platform to do so.
In this guide, we walked through the step-by-step process of creating a poll in iMessage. From opening iMessage to installing the “Polls” app, entering your poll question, adding options, customizing the poll, and sending it to your contacts – you learned how to make the most out of this feature.
Remember, when creating polls, it’s important to craft clear and concise questions that prompt meaningful responses. Think about the options you provide and ensure they cover a range of possibilities. Customization options offered by the “Polls” app allow you to personalize your poll, making it visually appealing and engaging for your contacts.
Now that you have the knowledge and tools to create polls in iMessage, go ahead and explore the endless possibilities. Engage your friends, family, and colleagues in exciting conversations, gather insights, and make decisions with ease.
Embrace the power of polls in iMessage and enjoy the interactive and collaborative experience it offers. Keep experimenting with different topics and formats to keep your conversations lively and interesting. Whether you need to plan an event, seek feedback, or simply have some fun, polls in iMessage are here to make your interactions more dynamic and engaging.
So, open up iMessage, install the “Polls” app, and start creating your first poll today. Happy polling!