Why Send as iMessage?
iMessage is a versatile messaging service available exclusively for Apple devices. By sending a message through iMessage, you can take advantage of a range of additional features that are not available when sending a regular text message. With iMessage, you can enjoy benefits such as:
- Free Messaging: iMessage uses an internet connection to send messages, eliminating the need for traditional SMS charges. This can save you money, especially if you frequently communicate with friends and family.
- High-Quality Media Sharing: With iMessage, you can easily send photos, videos, audio clips, and other media files to your contacts. The service preserves the original quality of the media, ensuring a seamless and enjoyable sharing experience.
- Group Messaging: iMessage allows you to create group chats, making it convenient to communicate with multiple people at once. You can add or remove participants, name the group, and even customize settings such as enabling or disabling notifications for the conversation.
- Read Receipts: When you send a message through iMessage, you can see if the recipient has read your message. This feature provides you with peace of mind, knowing whether your message has been received and acknowledged by the intended recipient.
- Enhanced Privacy and Security: iMessage uses end-to-end encryption, ensuring that your messages are secure and protected from interception by unauthorized individuals. This means that your private conversations remain private, adding an extra layer of security to your communication.
- Fun and Expressive Features: iMessage offers a wide range of fun and expressive features, such as Animojis, Memojis, stickers, GIFs, and digital touch. These features allow you to add a personal and creative touch to your messages, making them more engaging and enjoyable.
Overall, sending messages as iMessages provides a more engaging and dynamic messaging experience. Whether you want to send photos, create group chats, or take advantage of the wide range of expressive features, iMessage offers a versatile platform for your communication needs.
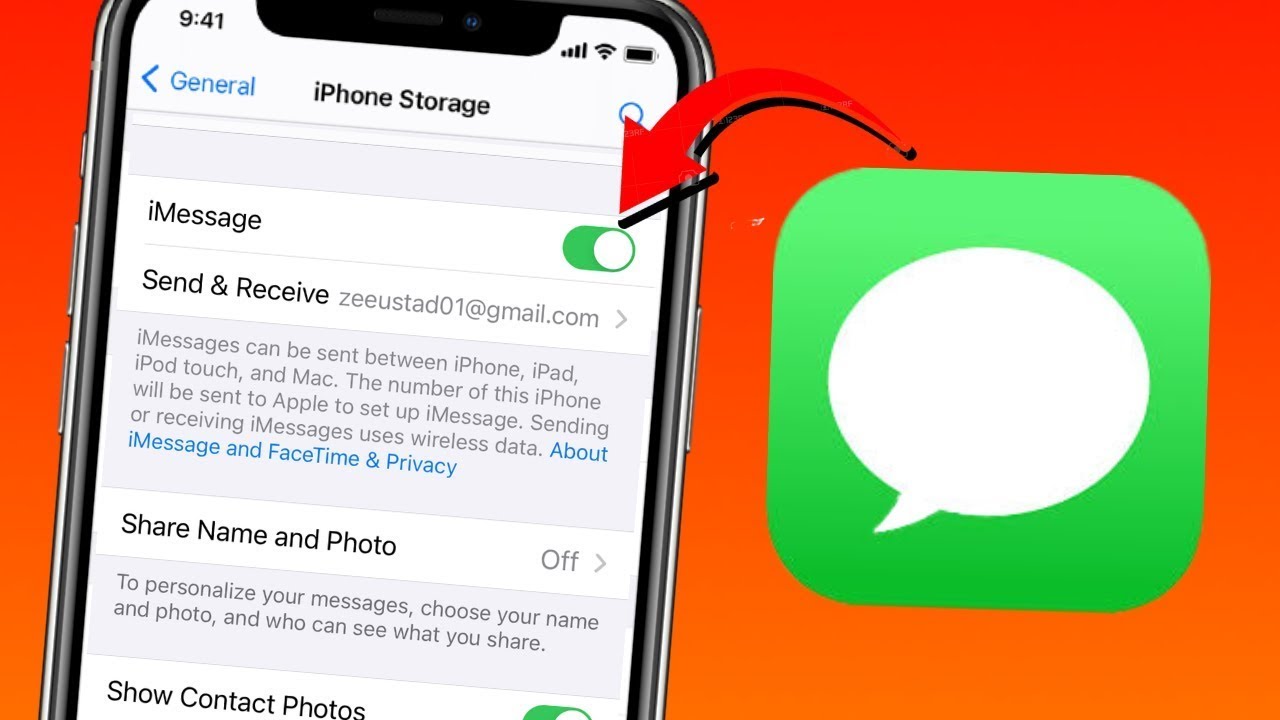
Step 1: Check if iMessage is Enabled
Before you can start sending messages as iMessages, you need to ensure that iMessage is enabled on your Apple device. Follow these steps to check if iMessage is enabled:
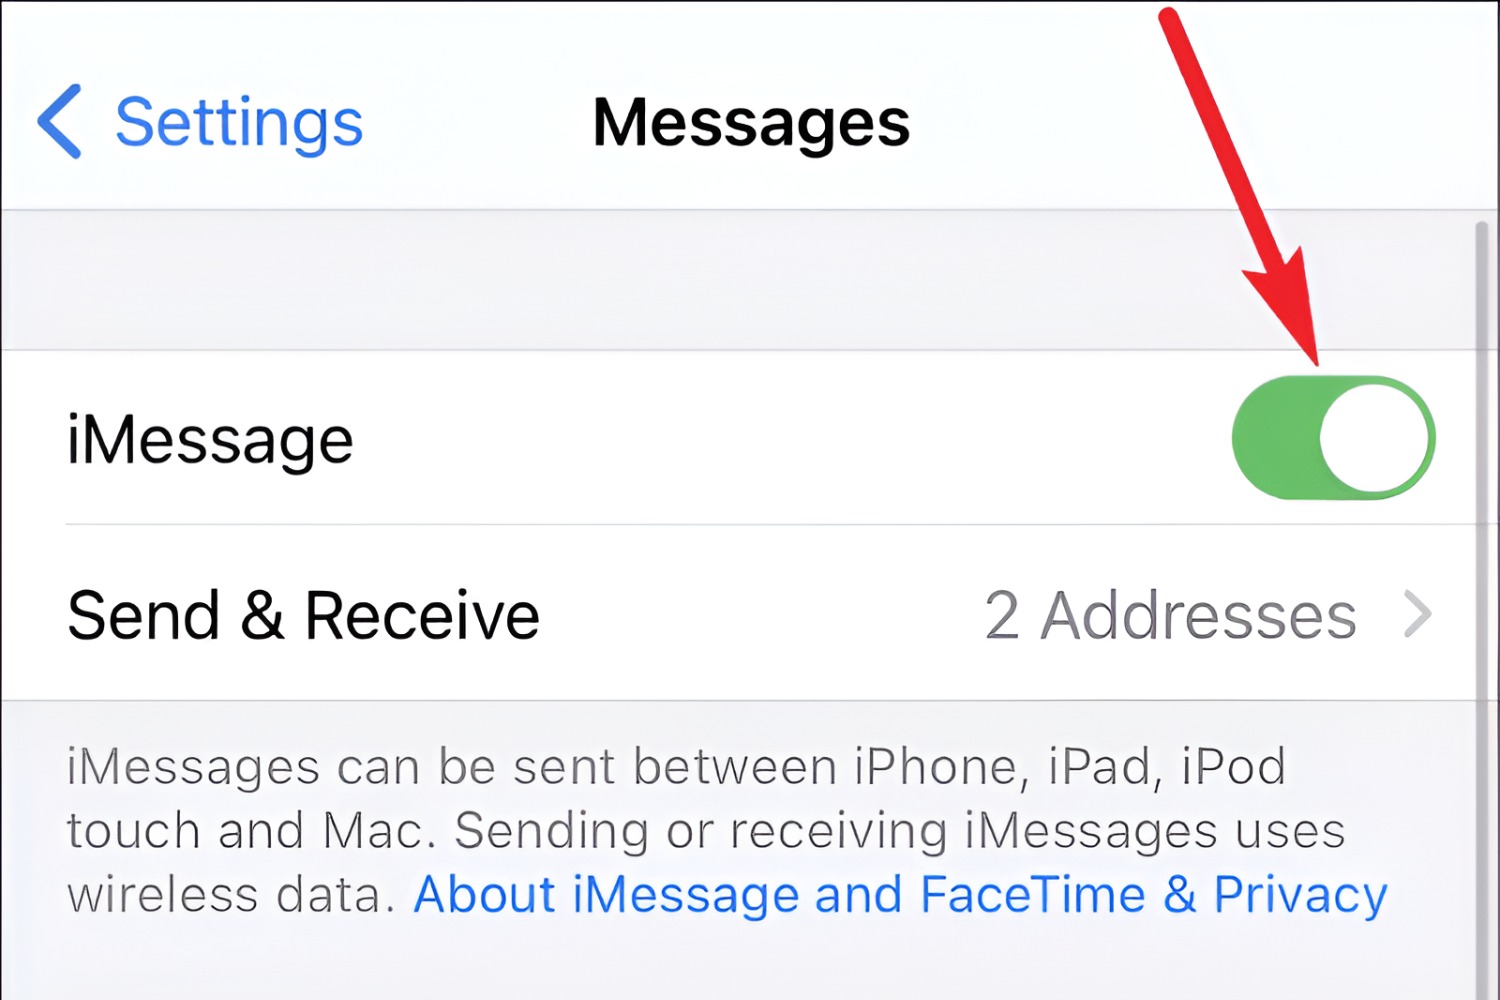
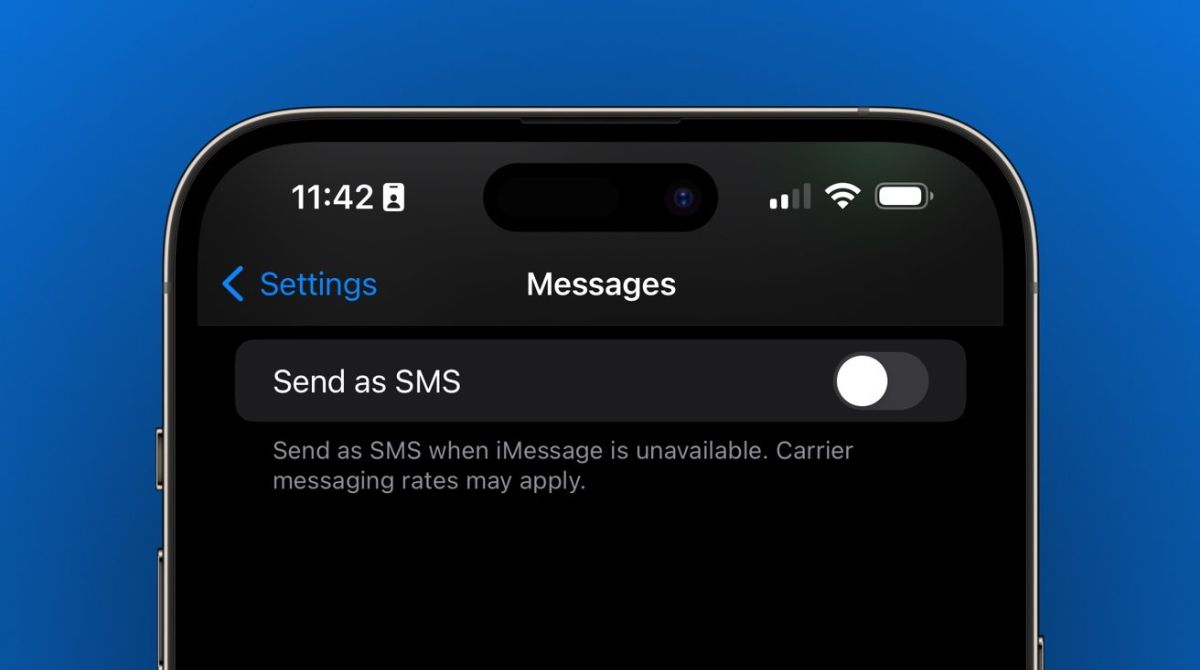
- Open the “Settings” app on your device. The app icon resembles a gear.
- Scroll down and tap on “Messages”.
- On the Messages settings page, look for the “iMessage” toggle. If the toggle is green and switched to the right, iMessage is already enabled on your device.
- If the iMessage toggle is turned off, tap on it to enable iMessage. The toggle will turn green when enabled.
Once iMessage is enabled, you are ready to start sending messages using this feature. In the following steps, we will guide you on how to compose a new message and send it as an iMessage.
If iMessage is already enabled on your device, you can skip Step 1 and proceed to Step 2.
It’s important to note that iMessage requires an active internet connection, either through Wi-Fi or cellular data. Make sure you have a stable internet connection to ensure a seamless iMessage experience.
Step 2: Open Messages App
The next step in sending a message as an iMessage is to open the Messages app on your Apple device. Follow these simple steps:
- Locate the Messages app on your device. The app icon typically resembles a speech bubble with three dots inside.
- Tap on the Messages app icon to launch it.
- Once the Messages app is open, you will see a list of your recent conversations or contacts on the main screen. This is where you can view your existing messages and start new conversations.
- If you prefer to start a new conversation, you can either tap on the compose new message icon, usually represented by a pencil and paper, or swipe left to reveal the “New Message” button.
- You are now ready to compose a new message and send it as an iMessage to your desired contact.
Opening the Messages app is the crucial step that allows you to access your messages and initiate new conversations. With the app open, you can proceed to the next step of composing a new message.
Remember, the Messages app is the primary platform for sending both regular text messages and iMessages on your Apple device. It provides a user-friendly interface where you can manage your messages and engage in seamless communication with your contacts.
Step 3: Compose a New Message
Once you have opened the Messages app, composing a new message to send as an iMessage is a straightforward process. Follow the steps below:
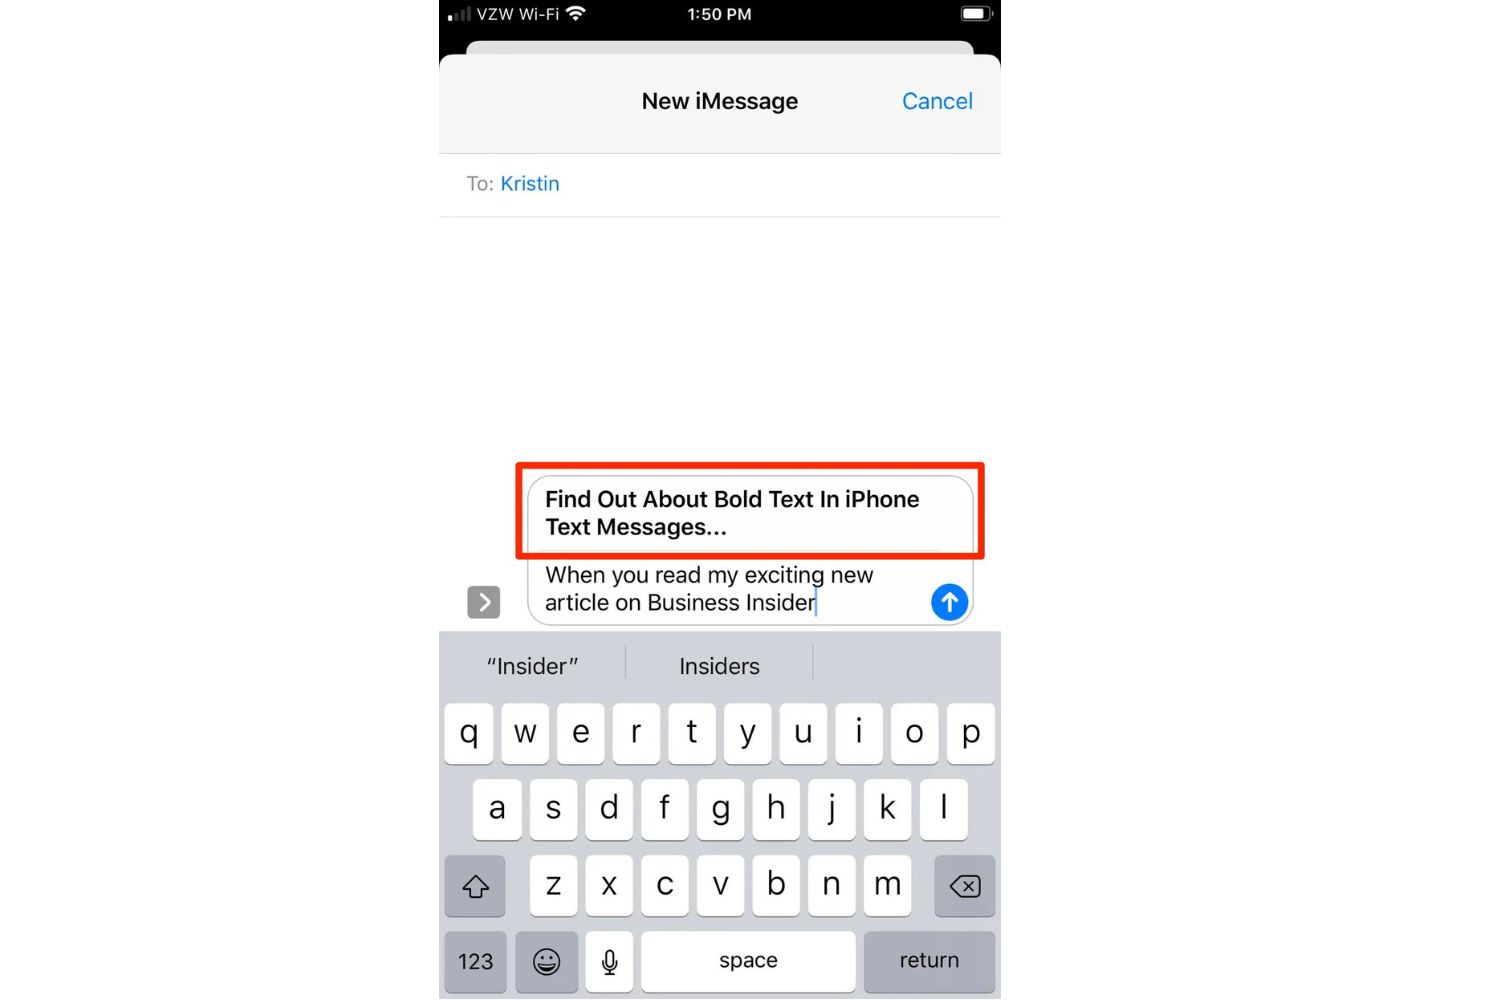
- In the Messages app, tap on the “New Message” button. It is usually represented by a compose new message icon, such as a pencil and paper.
- A blank message composition screen will appear. At the top, you will see a search bar where you can start typing the name or phone number of the contact you want to message.
- Tap the contact’s name or number when it appears in the search results to select them as the recipient of your message.
- If you want to include multiple recipients, tap the “+” icon next to the first recipient’s name and continue adding more contacts.
- Once you have selected the recipient(s), you can start typing your message in the text input field at the bottom of the screen. The keyboard will automatically appear when you tap on the text field.
- Take advantage of the various options available while composing your message. You can use the “+” icon next to the text input field to access features like adding photos, videos, emojis, and more.
- After composing your message, review it to ensure it conveys your intended message effectively and accurately.
- When you are ready to send the message as an iMessage, tap the send button (usually represented by an arrow pointing upwards). Your message will now be sent as an iMessage to the selected recipient(s).
Composing a new message provides you with a blank canvas to communicate with your contacts. You can personalize your messages with text, multimedia, and various other options available within the Messages app.
Remember, by following these steps, you can easily compose and send messages as iMessages to enhance your communication experience.
Step 4: Select the Contact
After you have composed a new message in the Messages app, the next step is to select the contact or contacts you want to send your message to. Follow these simple steps:
- In the recipient field of the new message composition screen, start typing the name or phone number of the contact you wish to message. As you type, the Messages app will display matching contacts below the field.
- Tap on the name or number of the contact when it appears in the search results. The selected contact will now be added as the recipient of your message.
- If you want to include multiple recipients, repeat the previous step for each additional contact you want to add. Alternatively, you can tap the “+” icon next to the first recipient’s name and continue adding more contacts.
- As you select contacts, their names or numbers will appear in the recipient field, separated by commas or semicolons depending on your device.
- Make sure to review the selected contacts before proceeding to the next step. This ensures that your message is being sent to the intended recipients.
Selecting the contact is crucial as it determines who will receive your message. Whether you are messaging a single contact or a group of individuals, the Messages app allows you to easily select and add the desired recipients to your message.
By following these steps, you can ensure that your message reaches the intended contacts and facilitates effective communication through iMessage.
Step 5: Send as iMessage
Once you have composed your message and selected the contact(s) in the Messages app, it’s time to send your message as an iMessage. Follow these final steps:
- Review your message to ensure it accurately conveys your intended message. Double-check for any spelling mistakes or typos.
- When you are satisfied with your message, tap the send button. The send button is usually represented by an arrow pointing upwards and can be found near the text input field.
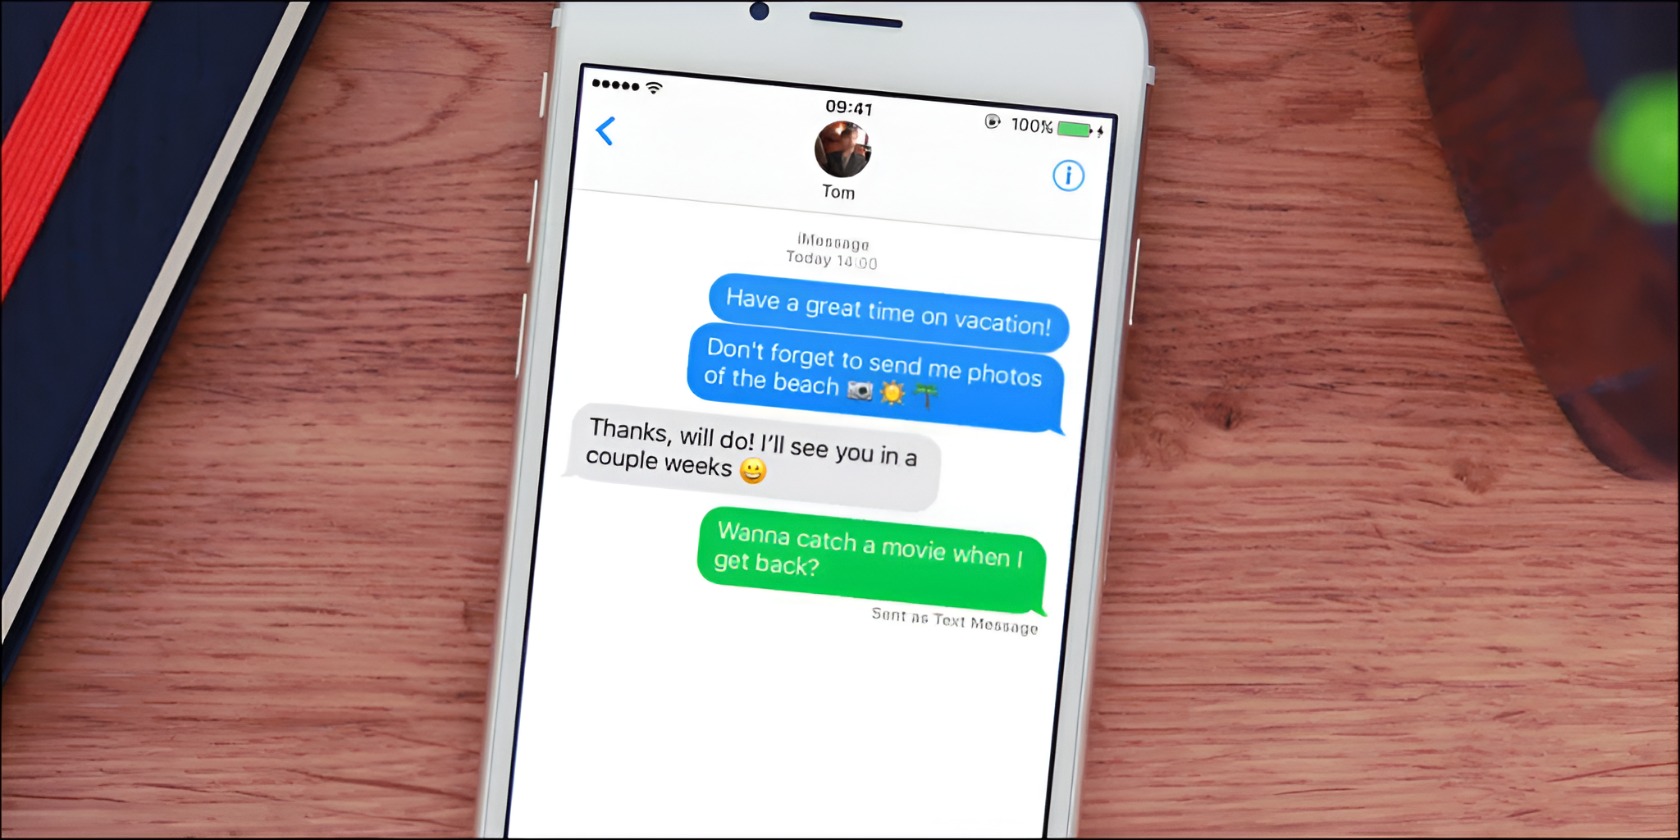
- After tapping the send button, your message will be sent as an iMessage to the selected contact(s).
- Wait for the message to be delivered to the recipient’s device. You will see a delivered indicator, typically a gray checkmark, once the message has successfully reached the recipient’s device.
- If the recipient is using an Apple device with iMessage enabled, the message will be delivered and displayed as an iMessage in their Messages app.
- If the recipient is not using an Apple device or does not have iMessage enabled, the message will be sent as a regular text message (SMS) instead.
By following these steps, you can easily send your message as an iMessage to recipients who have iMessage enabled on their Apple devices. Enjoy the benefits of iMessage, such as free messaging, high-quality media sharing, group messaging, read receipts, enhanced privacy, and fun features.
Remember, to send and receive iMessages, both you and the recipient need to have iMessage enabled on your Apple devices and be connected to an active internet connection.