Introduction
Have you ever accidentally sent an iMessage and desperately wished there was a way to stop it from being delivered? You’re not alone. We’ve all been in situations where we’ve hit the send button a little too quickly or sent a message to the wrong person, and the panic sets in. But fear not, because we’re here to help you solve this dilemma.
In this article, we’ll guide you through the steps to stop iMessage from sending on various Apple devices. Whether you’re using an iPhone, Mac, iPad, or even an Apple Watch, we’ve got you covered. By following these simple instructions, you’ll be able to prevent those embarrassing or regretful messages from reaching their intended recipients.
From temporarily disabling iMessage on your iPhone to turning it off for good on iCloud, we’ll show you how to regain control over your messages. Just keep in mind that once a message has been sent, you can’t retrieve it directly. However, by stopping iMessage before it’s delivered, you can save yourself from potential embarrassment or misunderstandings.
So, without further ado, let’s jump right into the steps to stop iMessage from sending on your Apple devices. Whether you’re looking to prevent a message from being delivered to an individual or a group chat, we’ve got the solutions you need.
Step 1: Turn off iMessage on iPhone
If you want to stop an iMessage from being sent on your iPhone, follow these simple steps:
- Open the Settings app on your iPhone.
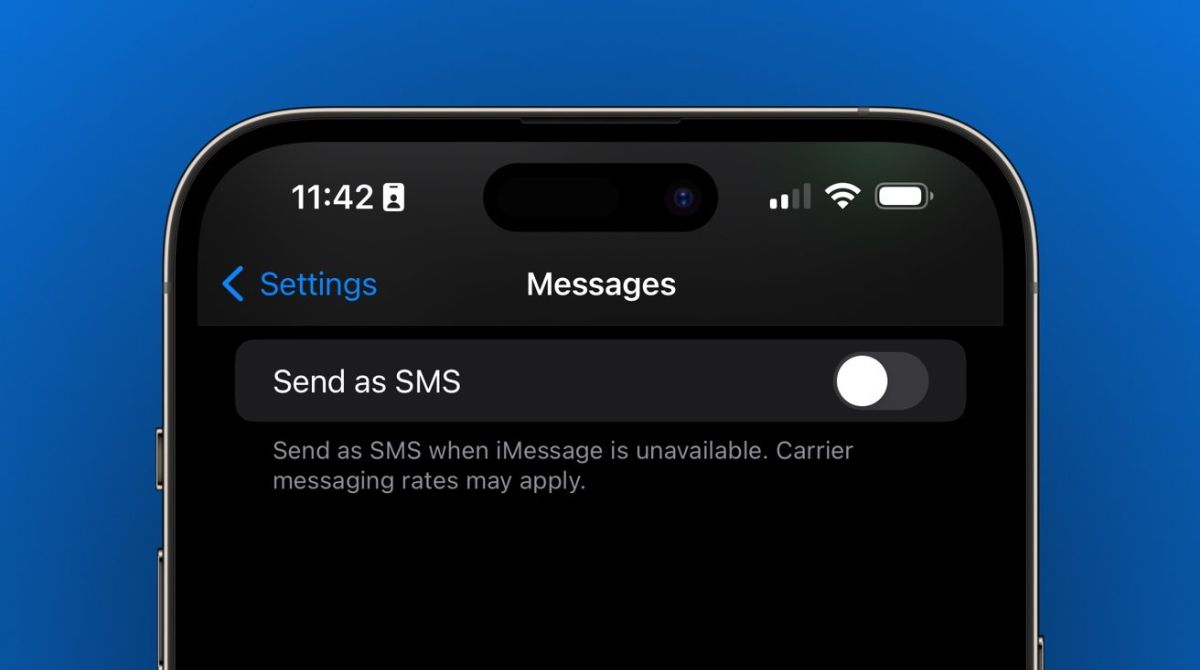
- Scroll down and tap on “Messages”.
- Toggle off the switch next to “iMessage”.
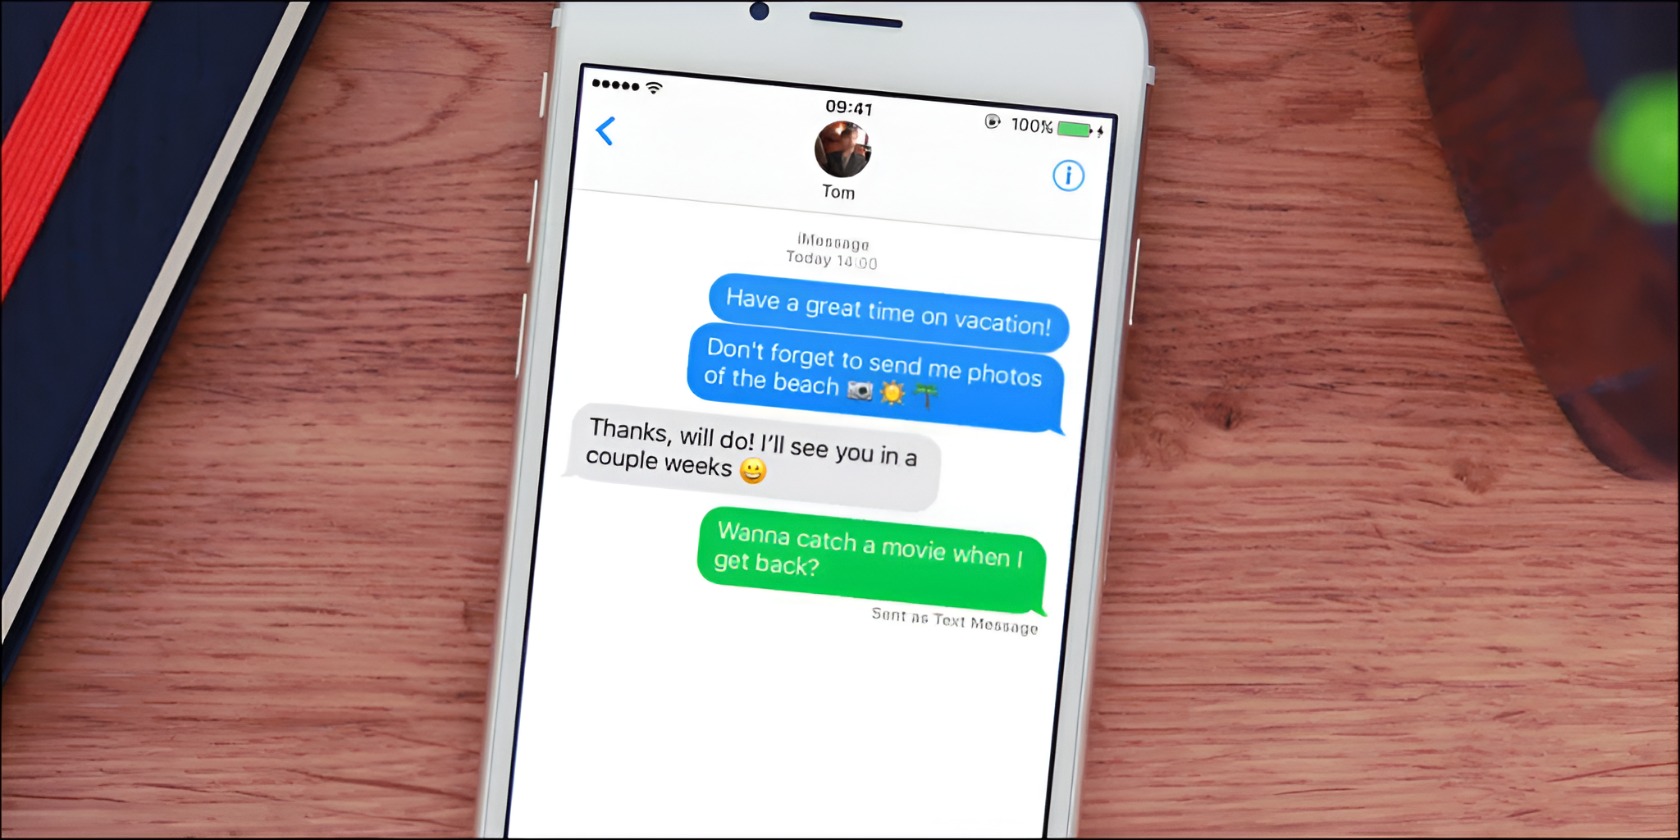
By turning off iMessage on your iPhone, you will prevent any messages from being sent as iMessages and they will be sent as regular text messages instead. This means that the message will be delivered directly to the recipient’s phone number rather than their Apple ID. Keep in mind that if the message has already been sent as an iMessage, turning off iMessage will not undo its delivery. However, any subsequent messages sent after turning off iMessage will be sent as regular SMS texts.
Once you’ve turned off iMessage, you can breathe a sigh of relief knowing that future messages will not be sent as iMessages by default. However, if you wish to re-enable iMessage at any time, simply follow the same steps and toggle the switch next to “iMessage” back on.
Now that you’ve successfully turned off iMessage on your iPhone, let’s move on to the next step: disabling iMessage on your Mac.
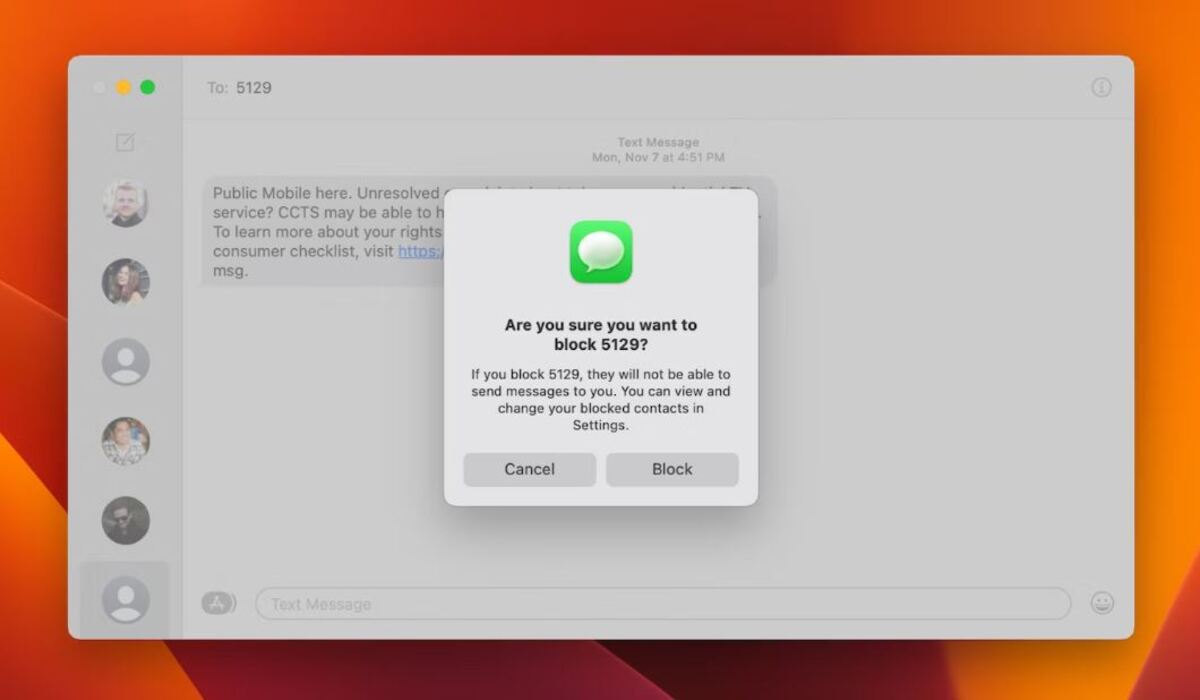
Step 2: Disable iMessage on Mac
If you want to prevent iMessages from being sent on your Mac, you can follow these steps:
- Open the Messages app on your Mac.
- In the menu bar at the top of the screen, click on “Messages” and select “Preferences”.
- Go to the “Accounts” tab.
- Select your iMessage account from the sidebar.
- Uncheck the box next to “Enable this account”.
By disabling iMessage on your Mac, you ensure that any messages you send from your computer will not be sent as iMessages but instead as regular text messages. This is useful if you want to avoid sending an iMessage accidentally or if you want to ensure that your messages can be received even on non-Apple devices.
Keep in mind that disabling iMessage on your Mac does not affect your iPhone or other Apple devices. Each device has its own settings for iMessage, so you need to disable it separately on each device if you want to completely stop iMessage from being sent.
If you wish to re-enable iMessage on your Mac at any time, simply follow the same steps and check the box next to “Enable this account” in the Messages preferences.
With iMessage disabled on your Mac, let’s move on to the next step: deactivating iMessage on your iPad.
Step 3: Deactivate iMessage on iPad
If you own an iPad and want to prevent iMessages from being sent on it, follow these steps:
- Open the Settings app on your iPad.
- Scroll down and tap on “Messages”.
- Toggle off the switch next to “iMessage”.
By deactivating iMessage on your iPad, you will ensure that any messages you send from your device will be sent as regular text messages instead of iMessages. This is particularly useful if you’re using a cellular-enabled iPad and want to avoid potential charges for sending iMessages over cellular data.
Just like with your iPhone and Mac, disabling iMessage on your iPad is done separately and doesn’t affect the settings on other devices. You have full control over whether you want to use iMessage on each individual device.
If you decide to re-enable iMessage on your iPad, you can simply follow the same steps and toggle the switch next to “iMessage” back on.
Now that you’ve deactivated iMessage on your iPad, let’s move on to the next step: disabling iMessage on your Apple Watch.
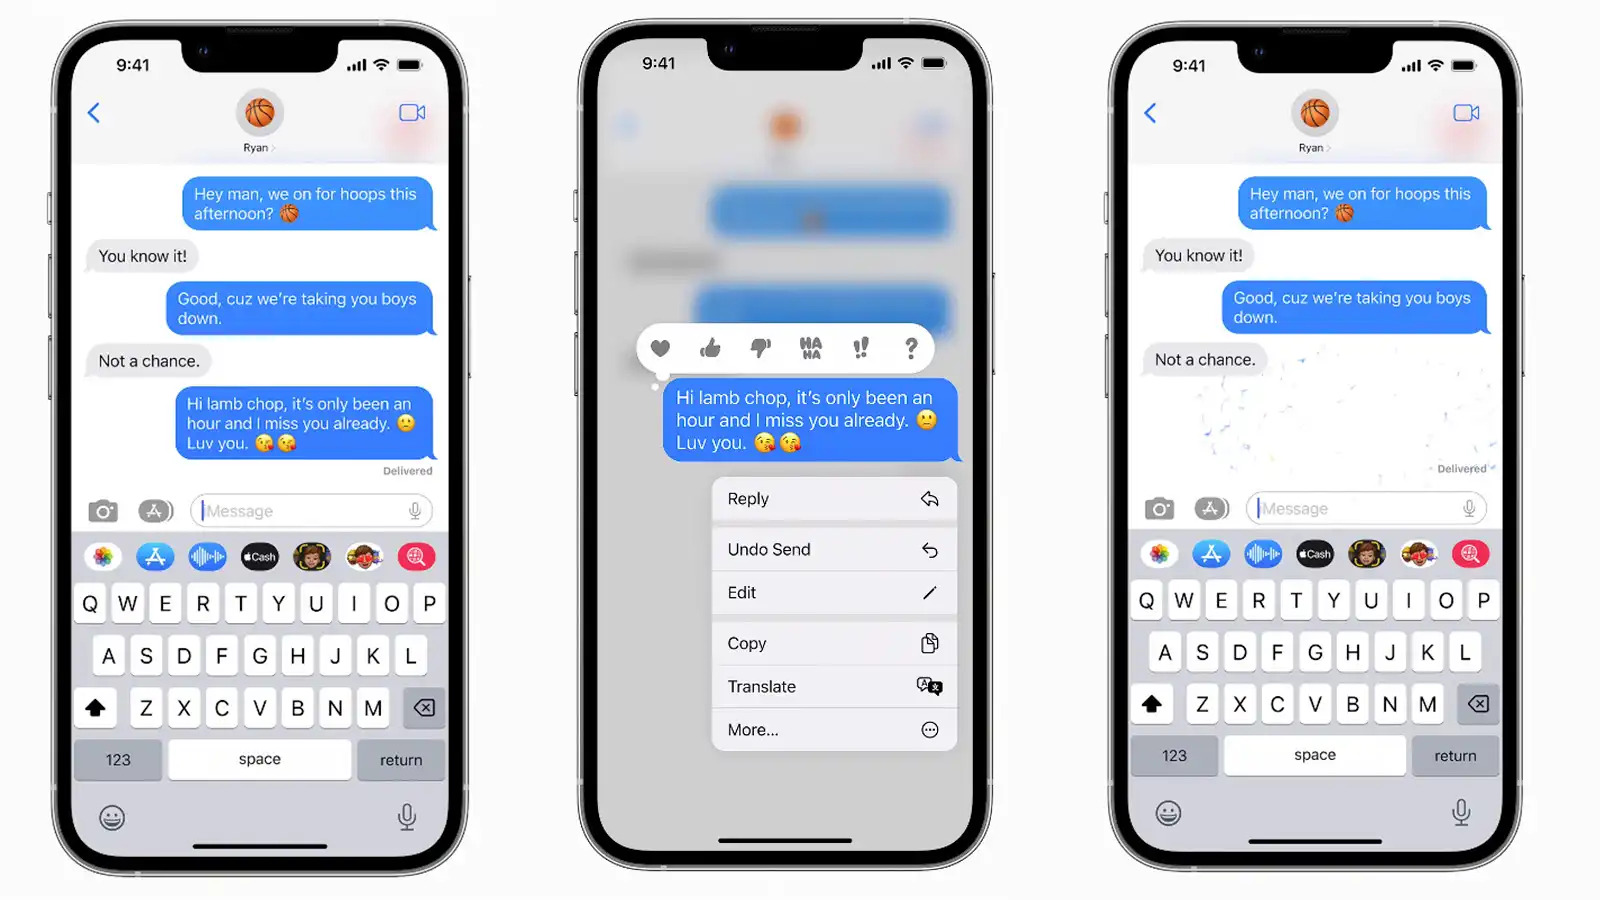
Step 4: Disable iMessage on Apple Watch
If you have an Apple Watch and want to prevent iMessages from being sent through it, you can follow these steps:
- On your Apple Watch, open the Messages app.
- Press firmly on the screen to bring up the options menu.
- Tap on “Change to Regular Message”.
By changing the message type to regular message on your Apple Watch, you ensure that any messages you send will be sent as regular text messages instead of iMessages. This can be useful if you want to avoid sending iMessages from your watch or if you want to ensure that your messages can be received on non-Apple devices.
It’s important to note that disabling iMessage on your Apple Watch does not affect the settings on other Apple devices. Each device has its own iMessage settings, so you need to disable it separately on each device if you want to completely stop iMessage from being sent.
If you ever want to switch back to using iMessage on your Apple Watch, simply follow the same steps and tap on “Change to iMessage” in the Messages app.
With iMessage disabled on your Apple Watch, let’s move on to the final step: turning off iMessage on iCloud.
Step 5: Turn off iMessage on iCloud
If you want to stop iMessages from being sent through iCloud, follow these steps:
- On your iPhone or iPad, open the Settings app.
- Tap on your Apple ID at the top of the screen.
- Scroll down and select “iCloud”.
- Scroll down again and toggle off the switch next to “Messages”.
By turning off iMessage on iCloud, you ensure that any messages sent through iCloud will be sent as regular text messages instead of iMessages. This setting is particularly useful if you have enabled the “Text Message Forwarding” feature to receive and send messages from your iPhone or iPad on other non-Apple devices.
Disabling iMessage on iCloud is a global setting that affects all devices connected to your iCloud account. This means that if you turn off iMessage on iCloud, it will apply to all your Apple devices linked to the same iCloud account, including your iPhone, iPad, Mac, and Apple Watch.
If you decide to re-enable iMessage on iCloud, simply follow the same steps and toggle the switch next to “Messages” back on in your iCloud settings.
With iMessage turned off on iCloud, you have successfully taken the necessary steps to stop iMessage from being sent on your various Apple devices.
Conclusion
Preventing iMessage from sending on your Apple devices can save you from potential embarrassment or regret. By following the steps outlined in this guide, you now have the knowledge to disable iMessage on your iPhone, Mac, iPad, Apple Watch, and even through iCloud.
Remember, turning off iMessage on one device does not affect the settings on other devices. Each device has its own independent iMessage settings, allowing you to have full control over how and when your messages are sent.
Whether you want to avoid accidentally sending an iMessage, ensure your messages can be received on non-Apple devices, or prevent incurring charges for using iMessage over cellular data, these steps have got you covered.
Next time you find yourself in a situation where you want to stop an iMessage from being sent, refer back to this guide and follow the appropriate steps for the specific device you’re using.
With your newfound knowledge, you can communicate confidently knowing that you have the power to control how your messages are delivered. So go ahead and enjoy hassle-free messaging on your Apple devices!