Introduction
Welcome to this step-by-step guide on how to drop a pin on iMessage. Sending a specific location or marking a point on a map can be extremely helpful when you want to share your current whereabouts or direct someone to a particular place. Whether you are planning a meetup with friends, arranging a business meeting, or simply providing directions, dropping a pin on iMessage can save you time and effort.
iMessage, the default messaging app on Apple devices, offers a quick and convenient way to send and receive text messages, photos, videos, and more. With the ability to drop a pin on iMessage, you can easily share your current location or pinpoint a specific place on the map to ensure accurate communication.
In this tutorial, we will walk you through the simple steps to drop a pin on iMessage. Whether you are using an iPhone or iPad, the process remains the same. So, let’s get started and learn how to share locations with precision using iMessage.
Step 1: Open iMessage
To begin, locate and open the iMessage app on your Apple device. The iMessage app comes preinstalled on all iPhones, iPads, and iPod Touches, making it easily accessible.
To access iMessage, simply tap on the Messages app on your device’s home screen. The Messages icon typically features a green speech bubble with a white background. Once you tap on the icon, the iMessage app will open, and you’ll be ready to start a new conversation or continue an existing one.
iMessage provides a seamless and intuitive messaging experience, allowing you to send text messages, photos, videos, audio messages, and more. It also offers advanced features such as read receipts, end-to-end encryption, and the ability to send messages over Wi-Fi or cellular data. Now that you have iMessage open, let’s move on to the next step and learn how to start a new conversation.
Step 2: Start a new conversation
Once you have iMessage open, the next step is to start a new conversation. This will allow you to send a message to the recipient and eventually drop a pin on the location you want to share.
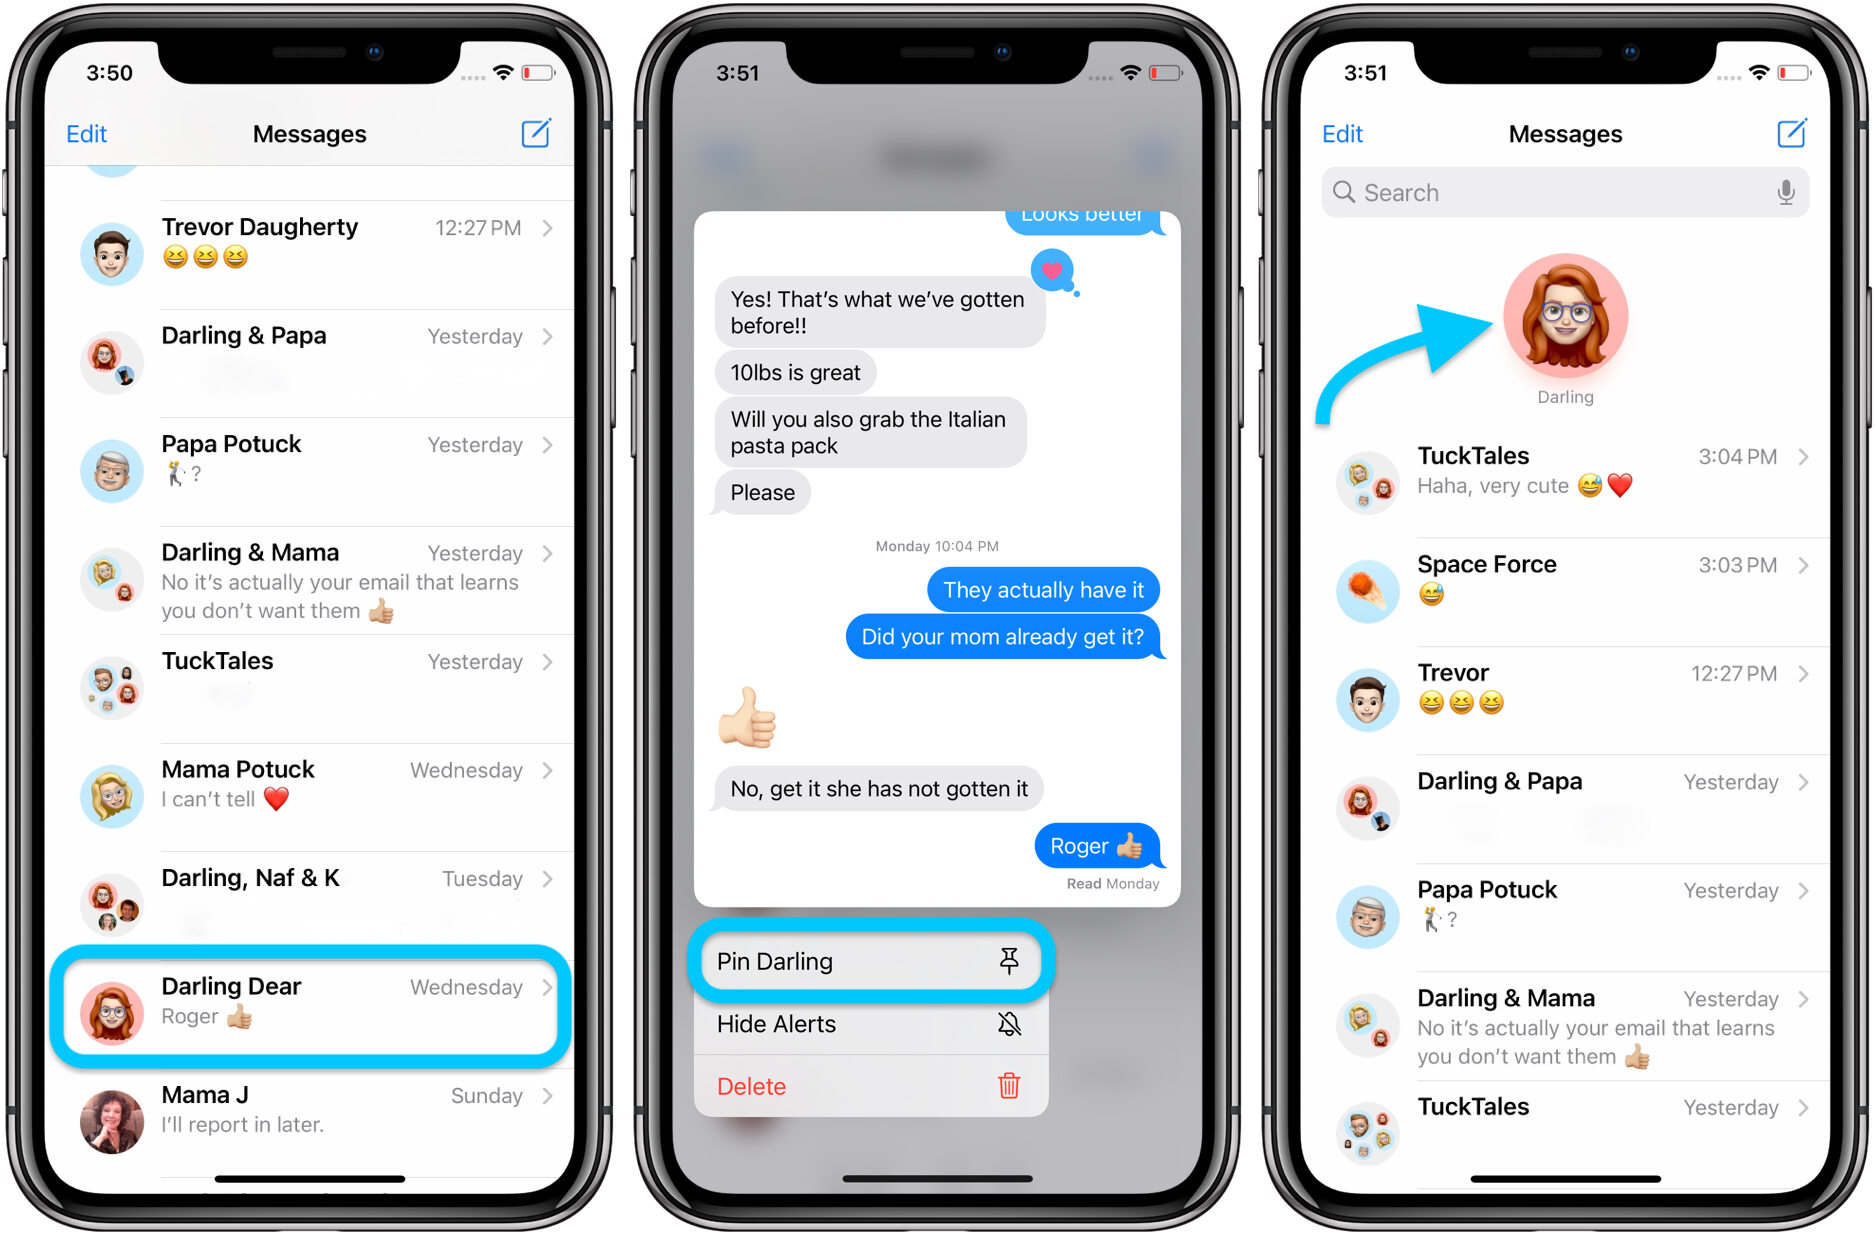
To start a new conversation, look for the “Compose” or “New Message” button, typically located in the top right or bottom right corner of the iMessage app. The button is usually represented by a square icon with a pencil or a message bubble icon.
Tap on this button to open a new conversation window. You will be presented with a blank message field where you can enter the recipient’s name or phone number.
If you have an existing conversation with the recipient and want to drop a pin in that particular chat, you can simply open that conversation instead of starting a new one. Look for the recipient’s name in your list of conversations and tap on it to open the chat window.
Now that you have started a new conversation or opened an existing one, we can proceed to the next step and learn how to enter the recipient’s name.
Step 3: Enter the recipient’s name
After starting a new conversation or opening an existing one in iMessage, you will need to enter the recipient’s name to proceed with dropping a pin on iMessage.
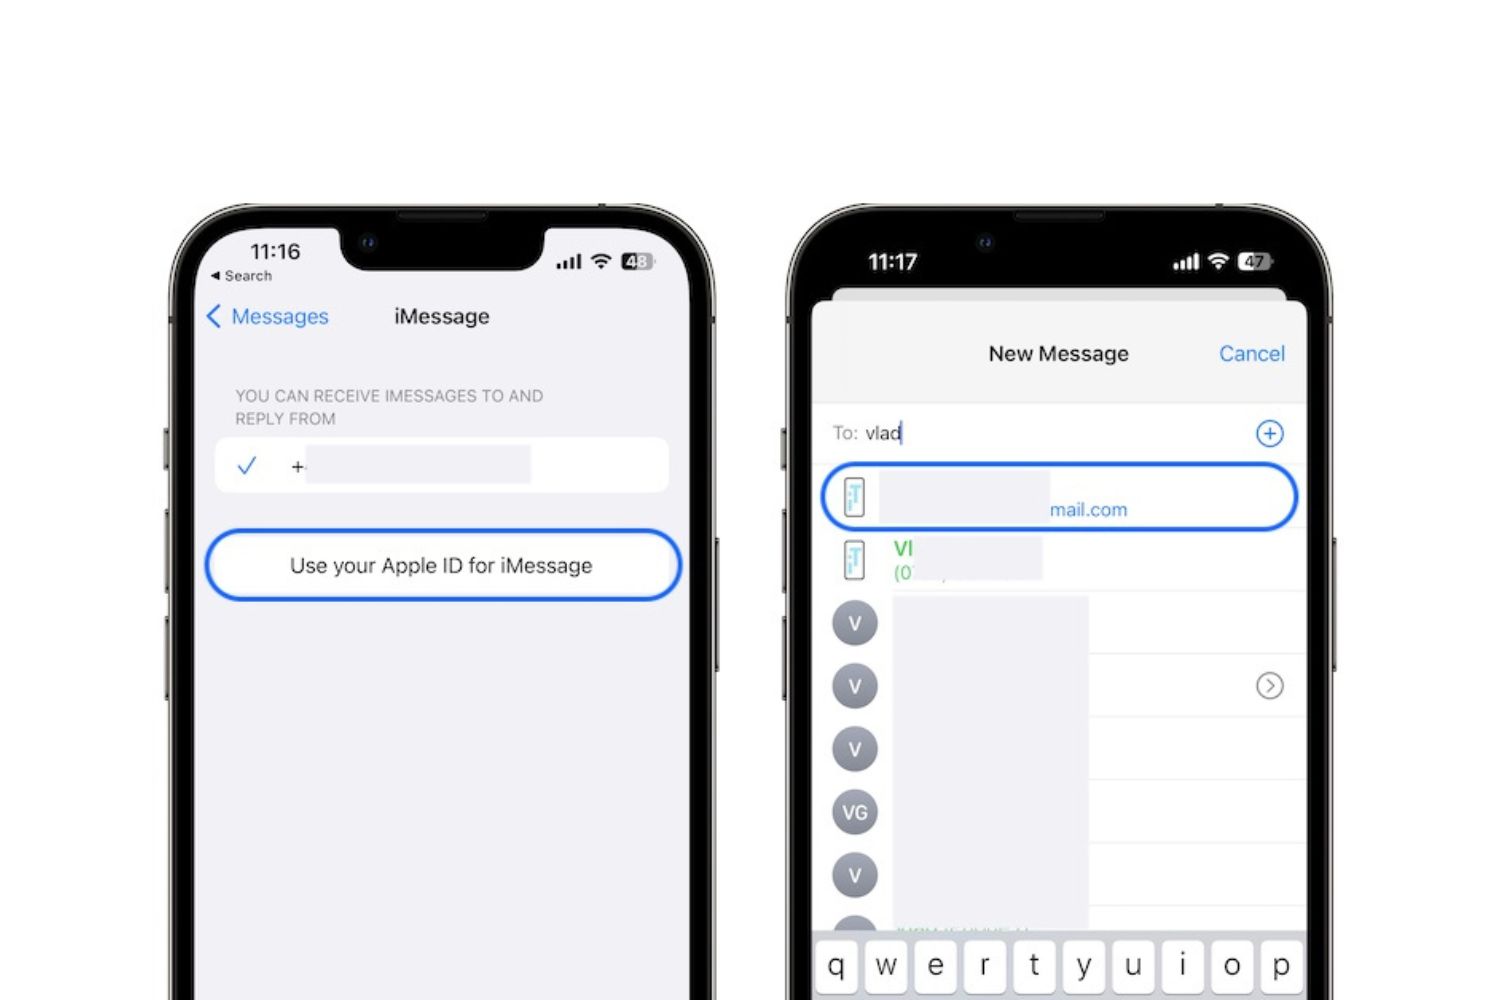
To enter the recipient’s name, locate the text field at the top of the conversation window. The text field may be labeled as “To” or “Recipients” and will typically have a blinking cursor within it.
Tap on the text field to activate the keyboard and begin entering the recipient’s name. As you type, iMessage will automatically suggest contacts from your device’s contact list based on the characters you have entered.
If the recipient’s name appears in the suggestions, you can simply tap on it to select the contact. Alternatively, you can continue typing the full name if it doesn’t show up in the suggestions.
In addition to entering the recipient’s name, iMessage also offers the option to send messages to multiple recipients. To add more contacts to the conversation, simply tap on the “+” (plus) icon located beside the recipient’s name field. This will allow you to select additional contacts from your contact list.
Once you have entered the recipient’s name or names, you are ready to proceed to the next step and learn how to access the location options in iMessage.
Step 4: Tap on the “i” icon
After entering the recipient’s name in the iMessage conversation, the next step is to tap on the “i” icon to access additional options and settings for the conversation.
The “i” icon, which stands for information, is typically located in the top right corner of the conversation window. It is represented by a small circular icon with a lowercase “i” inside.
To access the information and options for the conversation, simply tap on the “i” icon. This will open a new window or pane with various details and settings related to the conversation.
Depending on your device and version of iOS, the information and options available in this window may vary. However, for the purpose of dropping a pin on iMessage, the relevant options will be present regardless of the specific layout or appearance.
In addition to accessing the location options, the information window provides other useful features such as contact details, attachments, shared media, and more. It serves as a hub for managing and customizing your iMessage conversations.
Now that you have tapped on the “i” icon and accessed the information window, we can proceed to the next step and learn how to select the option to send your current location in iMessage.
Step 5: Select “Send My Current Location”
Once you have opened the information window in iMessage by tapping on the “i” icon, the next step is to select the option to send your current location.
Scroll through the options and settings available in the information window until you find the “Send My Current Location” button or option. This option allows you to quickly share your current location with the recipient.
Tapping on the “Send My Current Location” button will automatically send a message containing your current location information to the recipient. This is a convenient way to let someone know where you are without having to manually search or share a specific location.
It’s important to note that in order for this feature to work, you will need to have location services enabled on your device. Location services use GPS, Wi-Fi, and cellular data to determine your current location accurately. If you haven’t enabled location services, you will be prompted to do so before being able to send your current location.
Once you have selected the “Send My Current Location” option, iMessage will package your location information into a message and automatically send it to the recipient. This allows them to view your location on a map and get directions if needed.
Now that you have successfully selected the option to send your current location, we can move on to the next step and learn how to send a specific location by dropping a pin.
Step 6: Choose “Send a Location”
After sending your current location in iMessage, the next step is to choose the option to send a specific location by dropping a pin.
To do this, return to the iMessage conversation window and locate the compose message field at the bottom of the screen. This is where you can enter text or perform various actions, including sending a specific location.
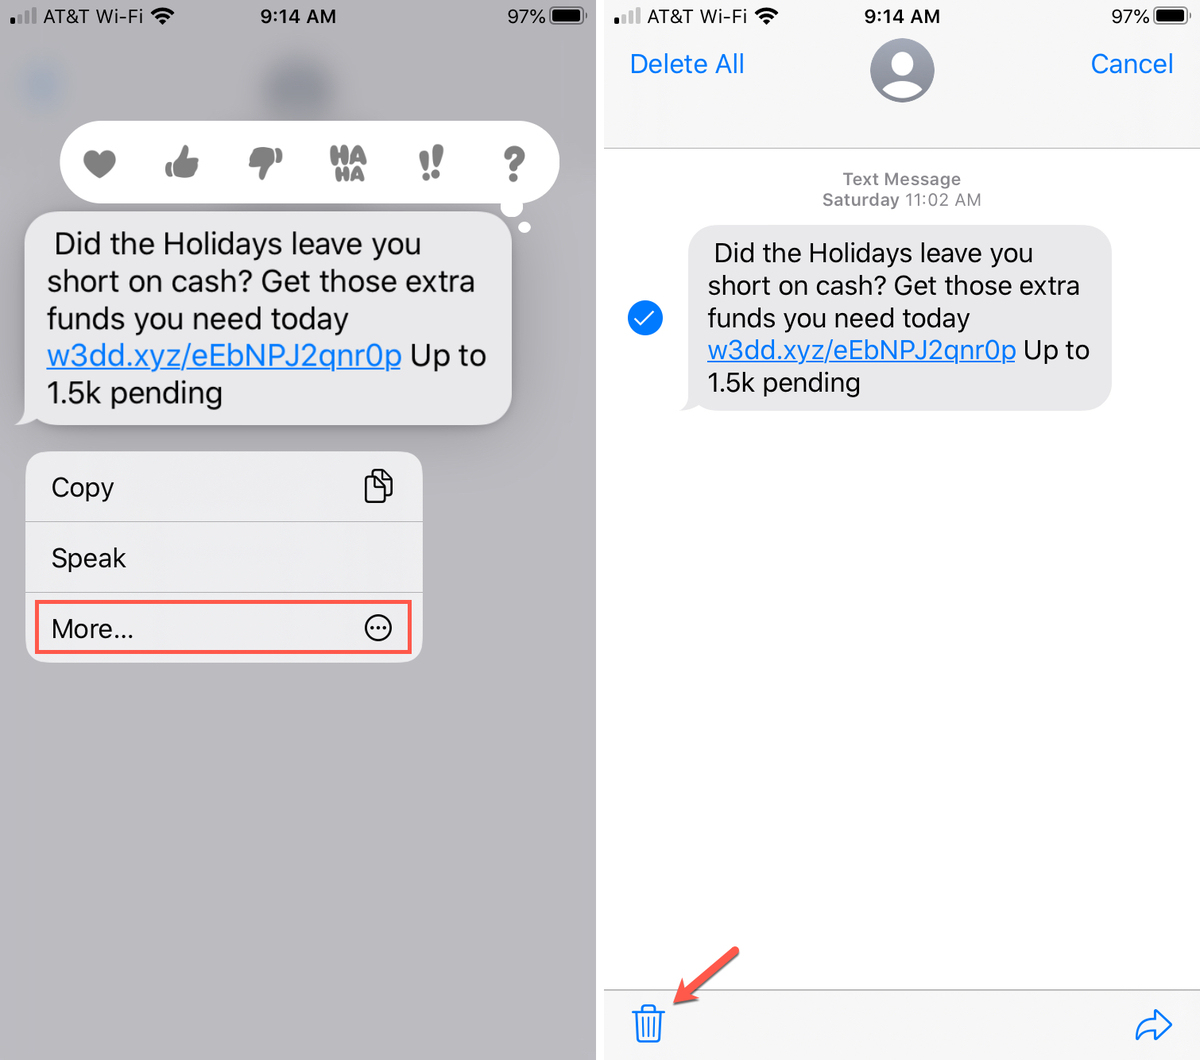
Tap on the compose message field to activate the keyboard and bring up the text input options. Look for the “More” button, represented by a small “+” icon or three dots, usually located to the left or right of the text input field.
Once you have located the “More” button, tap on it to reveal a list of additional options and actions available in iMessage. Scroll through the options until you find “Send a Location.”
Selecting the “Send a Location” option will open a map interface within the iMessage app, where you can search for a specific location or manually drop a pin on the map.
Now that you have chosen the option to send a location, we can proceed to the next step and learn how to search for a specific location in iMessage.
Step 7: Search for a specific location
Once you have accessed the map interface in iMessage by selecting the “Send a Location” option, the next step is to search for a specific location that you want to drop a pin on.
To search for a specific location, look for the search bar or search icon on the map interface. This is usually located at the top of the screen and is represented by a magnifying glass icon or the word “Search”.
Tap on the search bar or icon to activate the search functionality. This will bring up the keyboard and allow you to enter the name, address, or other details of the location you want to find.
Begin typing your desired location in the search bar. As you type, iMessage will provide suggestions and auto-complete options based on your input.
Once you see the correct location in the search results, tap on it to select it as the specific location that you want to drop a pin on, or continue typing if you need to refine your search further.
iMessage will then display the selected location on the map interface, allowing you to double-check that it is the correct place. You can zoom in or zoom out on the map to get a better view and make sure you have chosen the right location.
Now that you have successfully searched for a specific location, we can move on to the next step and learn how to drop a pin on the desired location.
Step 8: Drop a pin on the desired location
After searching for a specific location in iMessage, the next step is to drop a pin on the desired location. This will mark the exact point on the map that you want to share with the recipient.
To drop a pin, ensure that the selected location is displayed on the map interface in iMessage. You can adjust the zoom level or move the map around if needed to precisely position the pin.
Once the location is correctly positioned on the map, tap and hold on the screen at the desired location. After a brief moment, a pin icon will appear at the spot where you tapped and held.
The pin represents the exact location that you want to share with the recipient. It helps them identify the specific point on the map and navigate to it, if necessary.
You can also drag the pin to a different location if you need to make any adjustments. Simply tap and hold the pin, and then drag it to the desired spot on the map.
As you move the pin, the address or name of the location will update accordingly. This ensures that the accurate information is shared with the recipient.
Now that you have successfully dropped a pin on the desired location, we can proceed to the final step and learn how to confirm and send the pinned location.
Step 9: Confirm and send the pinned location
After dropping a pin on the desired location in iMessage, the final step is to confirm the pinned location and send it to the recipient. This ensures that they receive the precise location that you intend to share with them.
To confirm the pinned location, review the information displayed on the map interface. Check that the pin is accurately positioned on the desired location and that the address or name associated with the pin is correct.
If you need to make any adjustments, such as moving the pin or selecting a different location, you can do so by tapping and holding the pin and dragging it to the desired spot on the map.
Once you are satisfied with the pinned location, it’s time to send it to the recipient. To do this, simply tap on the send button or arrow icon in the message field. This will package the pinned location into a message and send it to the recipient.
The recipient will then receive the message containing the pinned location. They can view the location on a map, interact with it, and even get directions if needed.
It’s worth noting that the recipient must have a device capable of receiving and displaying maps to view the pinned location accurately. If their device does not support maps, they may see the address or name associated with the location instead.
Congratulations! You have successfully confirmed and sent the pinned location to the recipient in iMessage. They will now have access to the precise location you shared, making it easier for them to navigate or meet you at the designated spot.
Conclusion
Congratulations! You have now learned how to drop a pin on iMessage and share specific locations with ease. Whether you want to meet up with friends, guide someone to a particular place, or simply share your current whereabouts, iMessage provides a convenient way to communicate using maps and location services.
In this step-by-step guide, we covered the entire process from opening iMessage to confirming and sending the pinned location. By following these steps, you can ensure accurate and precise communication with your contacts.
Remember, dropping a pin on iMessage allows you to share either your current location or a specific location that you searched for. You can also adjust the pin’s position and customize the message before sending it to the recipient.
iMessage’s map functionality offers a variety of uses, from arranging meetups to providing directions or simply conveying the beauty of a particular location. Take advantage of this feature in your everyday conversations to enhance communication and make sharing locations easier than ever.
Now that you have mastered the art of dropping a pin on iMessage, start exploring the possibilities and enjoy the convenience of sharing locations effortlessly. Happy pinning!