Introduction
Welcome to the world of seamless messaging across your Apple devices! With iMessage, you can now effortlessly send and receive messages on your Mac, iPhone, iPad, and even Apple Watch. This article will guide you through the process of reacting to iMessages on your Mac, unlocking the full potential of this powerful communication tool.
iMessage is Apple’s instant messaging service that allows you to send messages, photos, videos, and more to your contacts who also have Apple devices. With the integration of iMessage on your Mac, you can conveniently respond to messages without needing to switch between devices. Whether you’re at your desk, in a meeting, or simply prefer typing on a larger keyboard, reacting to iMessages on your Mac provides a seamless and efficient messaging experience.
In this article, we’ll take you through the steps of setting up iMessage on your Mac, receiving and sending iMessages, and customizing the iMessage experience to suit your preferences. So, let’s dive in and discover the world of iMessage on Mac!
Step 1: Set up iMessage on your Mac
Before you can start reacting to iMessages on your Mac, you’ll need to ensure that iMessage is set up and synced with your Apple ID. Follow these steps to get started:
- Open the “Messages” app on your Mac. You can find it in the Applications folder or by using Spotlight search.
- If you’re not already signed in, click on “Messages” in the menu bar, then select “Preferences.” Go to the “Accounts” tab and sign in with your Apple ID. If you don’t have an Apple ID, click on the “Create Apple ID” button to create one.
- Once you’re signed in, make sure the “Enable this account” checkbox is selected.
- Next, you have the option to add your phone number to receive and send iMessages on your Mac. Click on the “Start new conversations from” dropdown menu and select your phone number.
- If you want to sync your iMessage conversations across your Apple devices, make sure the “Enable Messages in iCloud” option is checked. This will keep your messages up to date and accessible on all your devices.
- Finally, click on the “Accounts” tab and check the boxes next to the email addresses or phone numbers you want to associate with your iMessage account. This will allow others to reach you using these contact details.
Once you’ve completed these steps, your iMessage account will be set up and ready to use on your Mac. You’ll now be able to receive and send messages using the Messages app.
Now that you’ve successfully set up iMessage on your Mac, it’s time to move on to the next step: receiving iMessages on your Mac.
Step 2: Receiving iMessages on your Mac
Now that iMessage is set up on your Mac, you can start receiving iMessages directly on your computer. Here’s how:
- Make sure your Mac is connected to the internet. iMessages are sent and received through an internet connection, so ensure you’re connected to Wi-Fi or have a stable Ethernet connection.
- When you receive a new iMessage, a notification will appear on your Mac’s desktop. You’ll see a preview of the message, and you can click on it to open the Messages app and read the full conversation.
- If you don’t see the notifications, make sure they are enabled. Go to the Apple menu, select “System Preferences,” then click on “Notifications.” Scroll down and find “Messages” in the list. Make sure the “Allow Notifications” checkbox is selected.
- To view all your iMessage conversations, open the Messages app on your Mac. You’ll see a list of your contacts on the left side of the app, and the selected conversation on the right side.
- Click on any conversation to view previous messages and continue the conversation. You can also use the search bar at the top of the app to quickly find specific messages or contacts.
- If you receive an iMessage with attachments such as photos, videos, or documents, you can view and download them directly in the Messages app. Just click on the attachment to open it.
- If you prefer to receive iMessages silently or want to temporarily disable notifications, you can enable “Do Not Disturb” mode. Click on the Messages menu in the menu bar, then select “Do Not Disturb.” You’ll still receive iMessages but without any notifications popping up on your screen.
With these steps, you’re now set to receive iMessages on your Mac. It’s time to move on to the next step: sending iMessages from your Mac.
Step 3: Sending iMessages on your Mac
With iMessage set up on your Mac and the ability to receive messages seamlessly, it’s time to explore how to send iMessages directly from your computer. Here’s how:
- Open the Messages app on your Mac.
- Click on the “New Message” button in the top left corner of the app, represented by a square icon with a pencil inside it.
- A new message window will appear. Begin typing the name, email address, or phone number of the contact you want to message in the “To:” field. The Messages app will automatically suggest contacts from your Apple ID contacts and your Mac’s Address Book.
- Once you’ve selected the recipient, start composing your message in the text box at the bottom of the window. You can type your message using your Mac’s keyboard, and the text will automatically appear in the conversation thread.
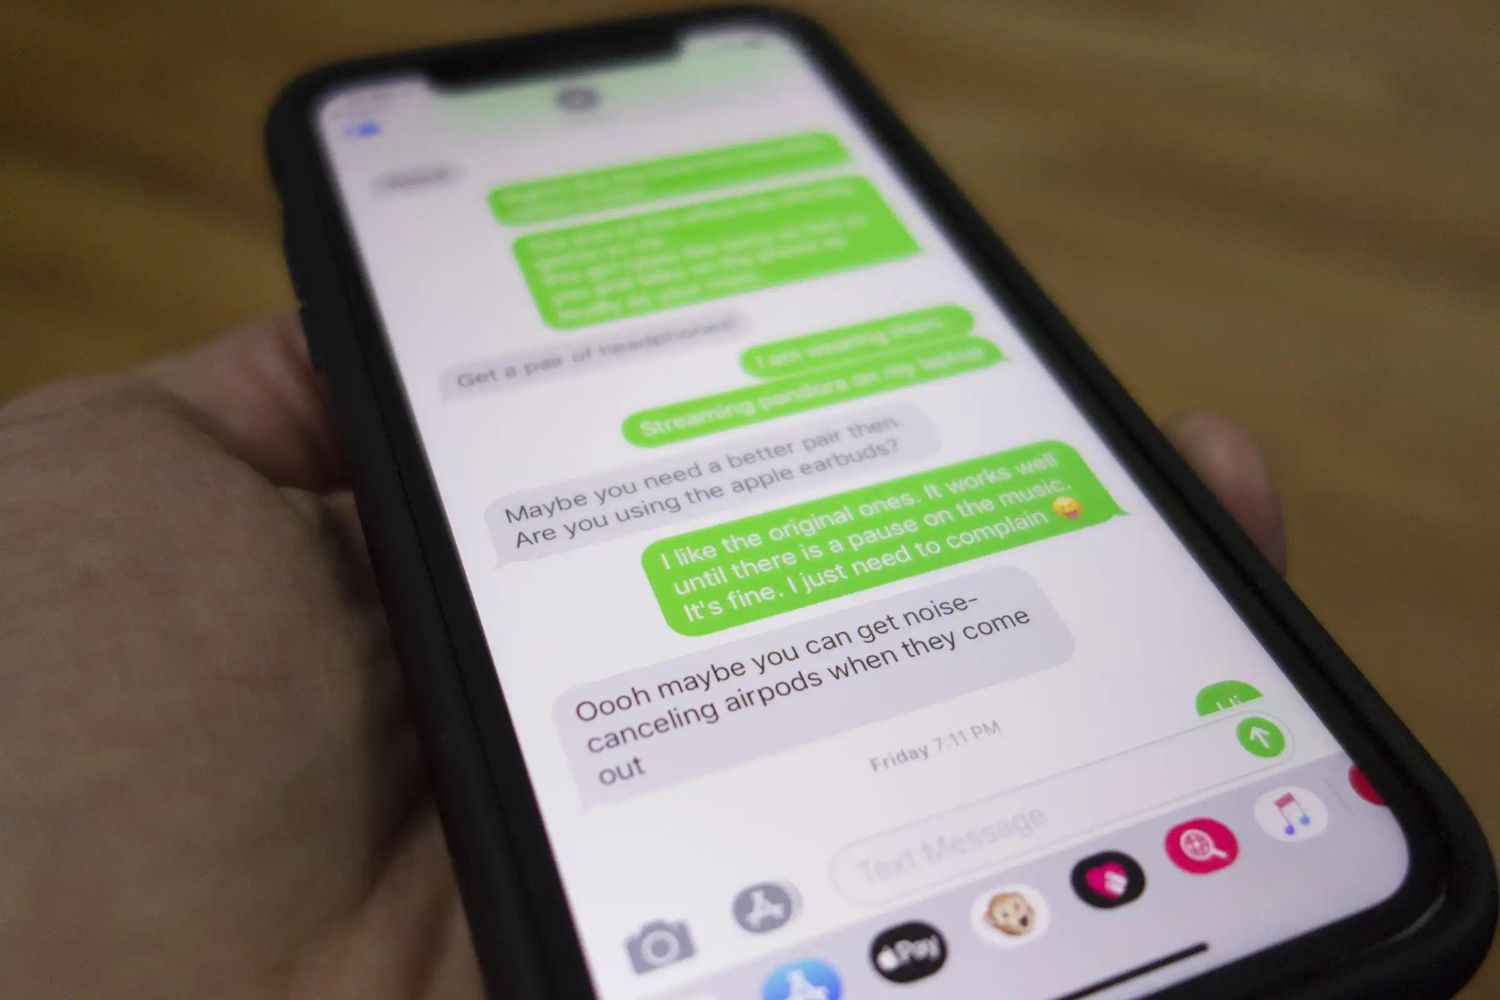
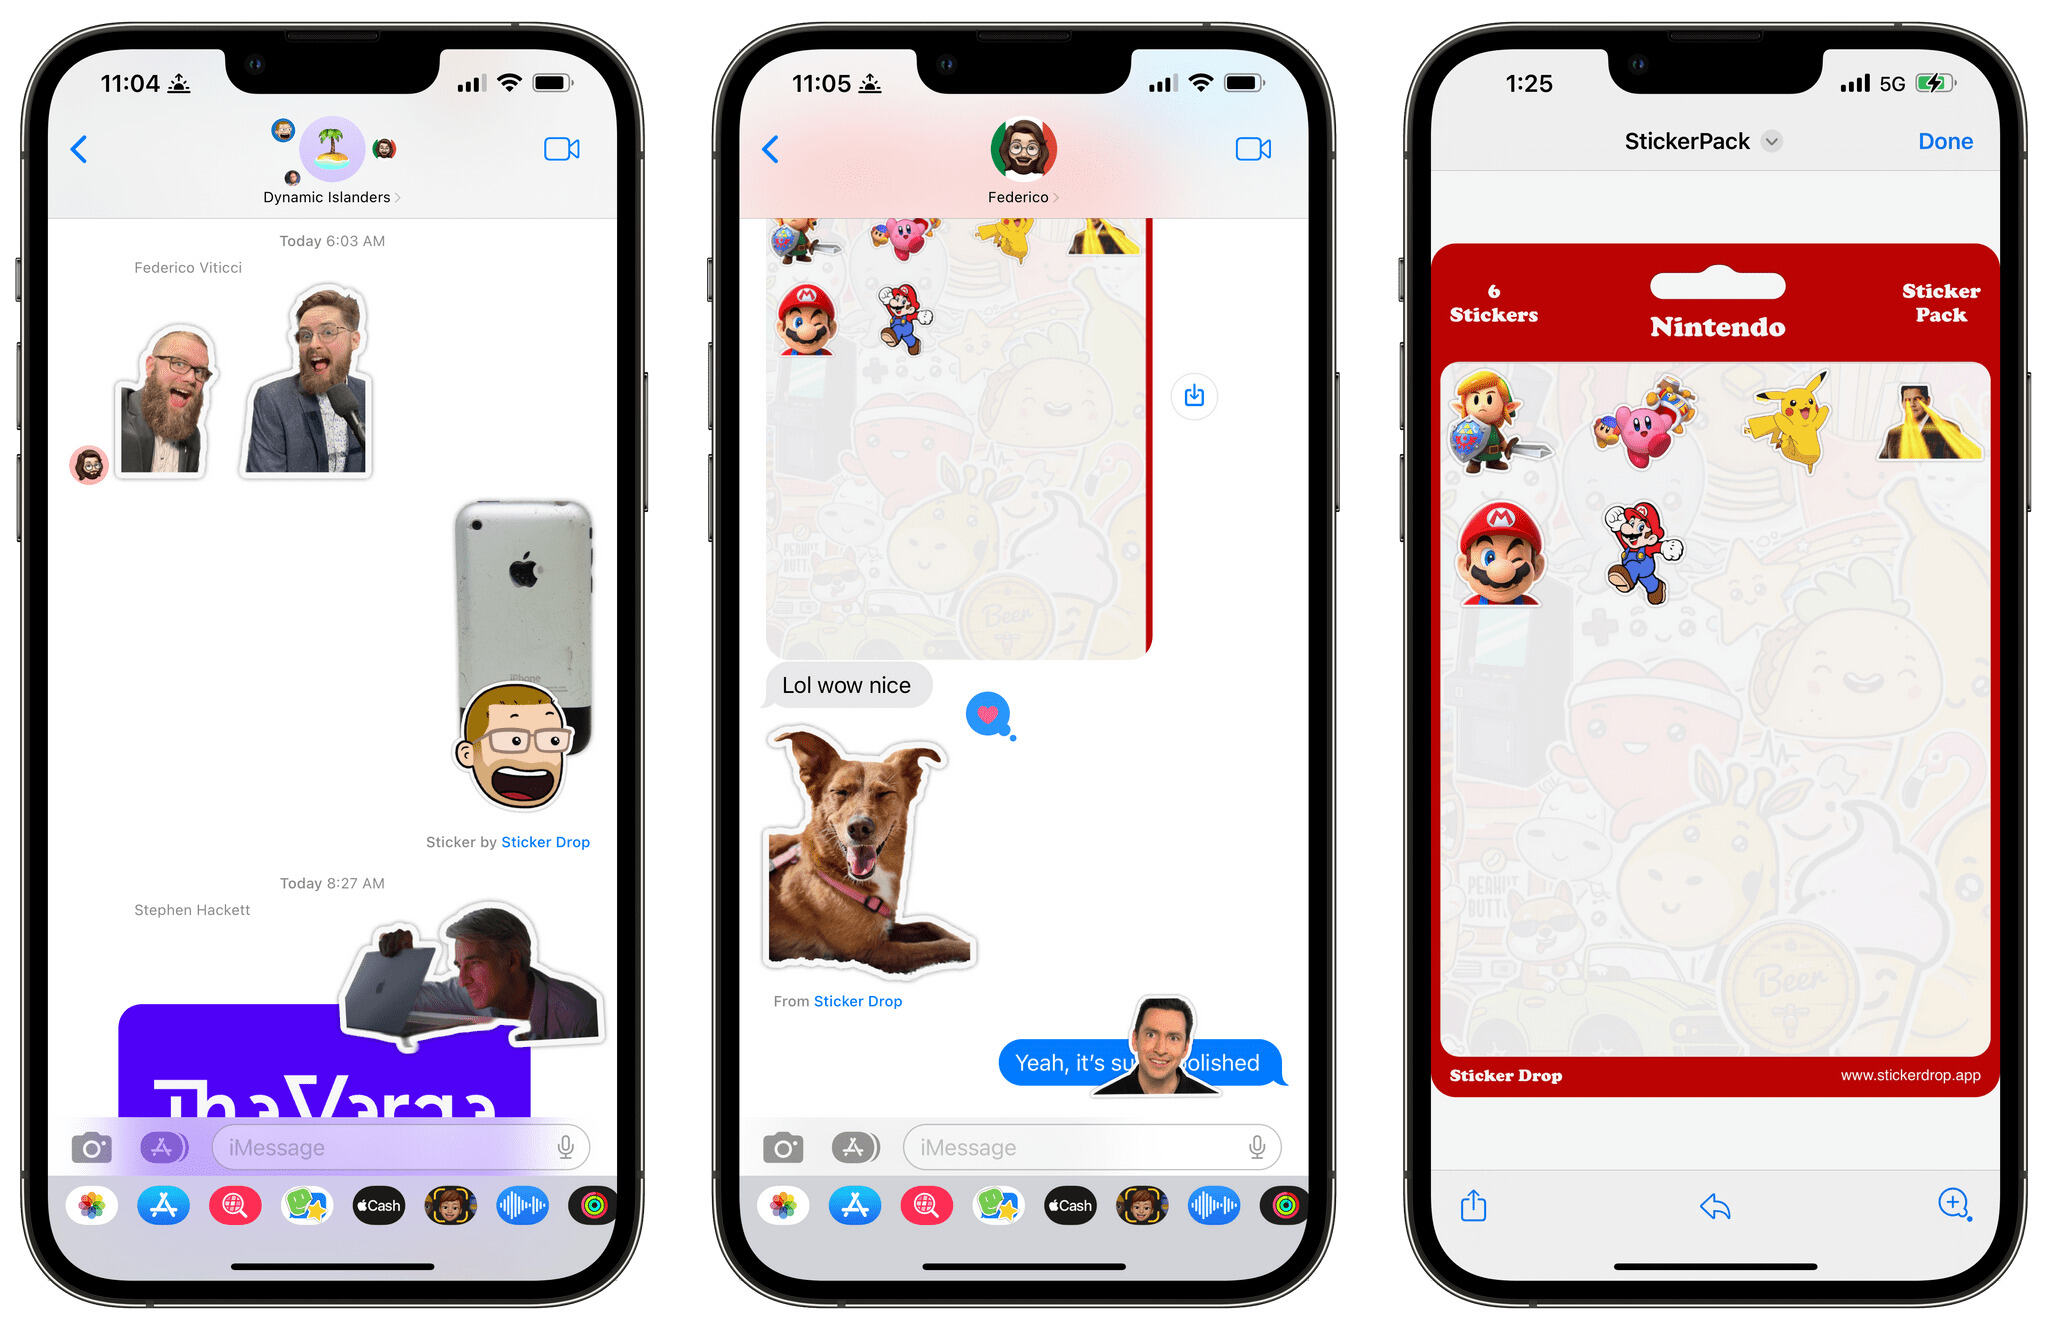
- If you want to add emoticons or emojis to your message, click on the smiley face icon next to the text box. A menu with various emoticons, emojis, and stickers will appear. Click on the one you want to add, and it will be inserted into your message.
- If you want to add attachments such as photos, videos, or documents, click on the paperclip icon next to the text box. You can then browse and select files from your Mac to attach to the message.
- Once you’ve composed your message and added any desired attachments, click on the send button, represented by a small blue arrow to the right of the text box. Your message will be sent to the recipient.
- The message you sent will appear in the conversation thread, and you can continue the conversation by sending more messages.
Now you’re all set to send iMessages directly from your Mac. It’s a quick and convenient way to stay connected with your contacts without having to reach for your iPhone or iPad. But that’s not all; there are additional ways to enhance and customize your iMessage experience on your Mac, which we’ll discuss in the next step.
Step 4: Customizing the iMessage experience on your Mac
Personalization is key, and iMessage offers a range of customization options to tailor your messaging experience on your Mac. Let’s explore some ways you can make iMessage feel truly yours:
- To change the look of your conversations, you can choose from various bubble and screen effects. Simply click on the “i” button in the top-right corner of the conversation window and select “Screen” to access effects like “Echo,” “Spotlight,” and more. You can also select “Message” to change the appearance of message bubbles.
- If you want to add a personal touch to your messages, you can use Digital Touch. Click on the heart with two fingers icon in the bottom-right corner of the conversation window to access this feature. Digital Touch allows you to draw sketches, send heartbeat animations, and even create your own custom stickers.
- If you frequently communicate with a select group of people, you can create a group chat on iMessage. To do this, click on the “New Message” button, enter multiple recipients in the “To:” field, and start composing your message. All replies to that message will be visible to everyone in the group chat.
- To keep your conversations organized, you can pin important conversations to the top of your Messages app. Simply right-click on a conversation in the sidebar and select “Pin.” The pinned conversation will remain at the top of your sidebar, making it easy to access whenever you need.
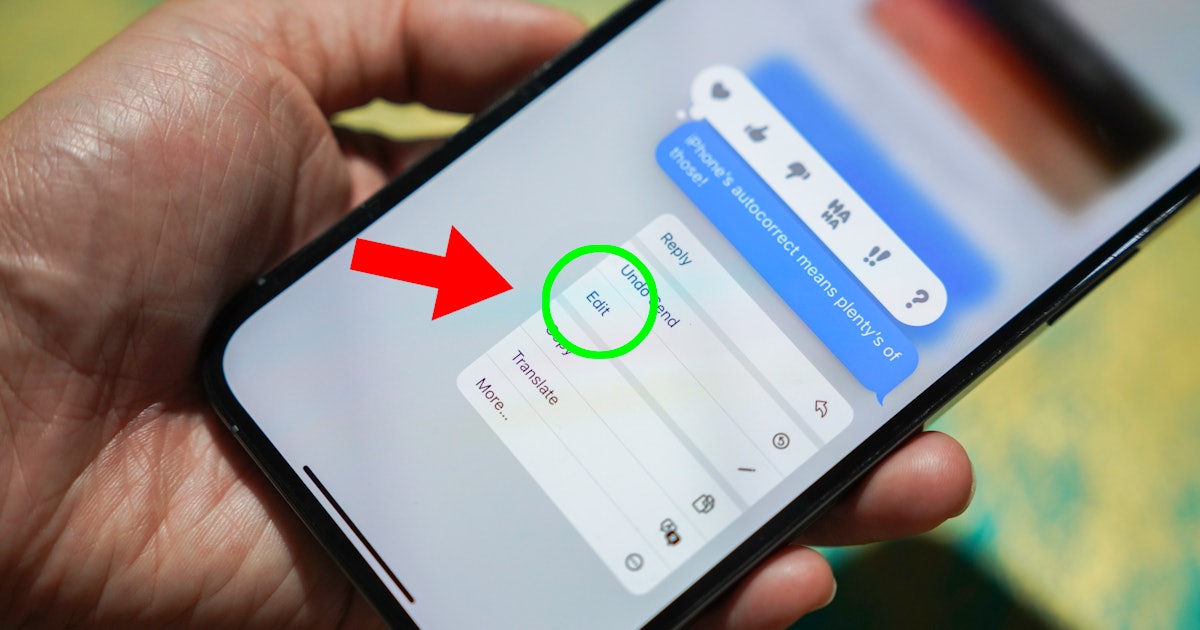
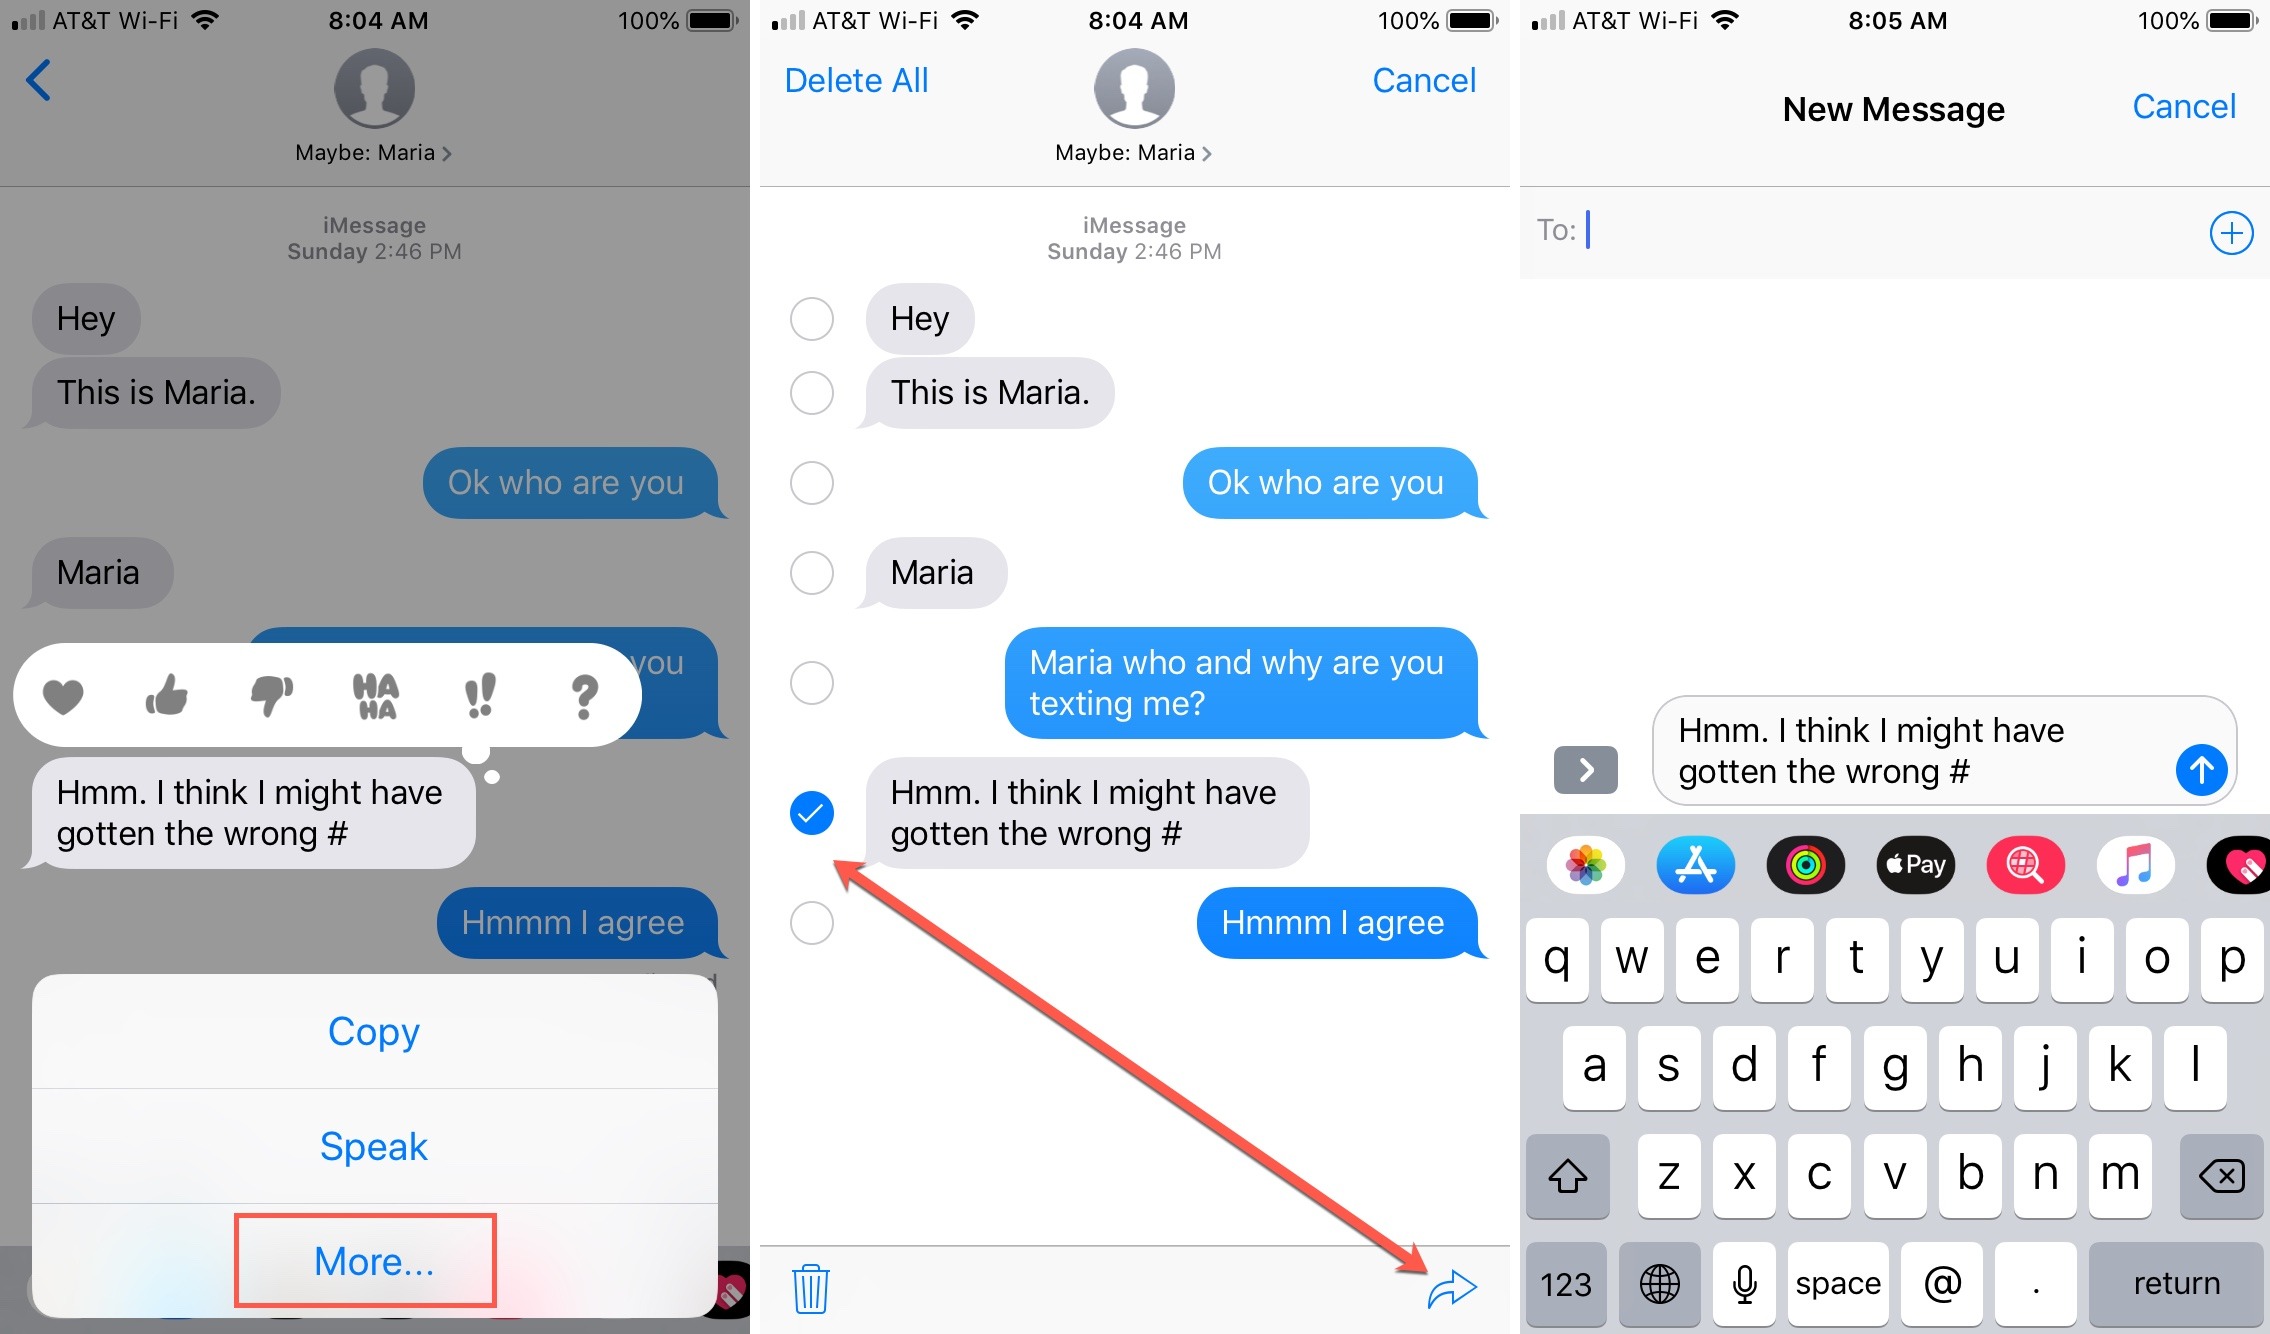
- If you want to quickly reply to a message without opening the full conversation, you can use inline replies. Right-click on a specific message in the conversation and select “Reply” to reply directly to that message. This feature is especially handy when you want to respond to a specific point in a chat.
- To further enhance your messaging experience, you can customize the default settings for iMessage on your Mac. Go to the Messages menu in the menu bar, select “Preferences,” and navigate through the different tabs to adjust settings such as notifications, text size, and message history.
By customizing the iMessage experience on your Mac, you can make your conversations more expressive, organized, and tailored to your preferences. Explore these options to make iMessage truly yours.
Now that you’ve learned how to set up iMessage, receive and send messages, and customize your experience on your Mac, you’re ready to dive into the world of seamless communication with iMessage!
Conclusion
Congratulations! You have now mastered the art of reacting to iMessages on your Mac. By setting up iMessage on your computer, you can seamlessly receive and send messages, ensuring you stay connected and never miss a beat. Whether you’re using a larger keyboard, prefer the convenience of your Mac, or simply want to sync your conversations across all your Apple devices, iMessage on Mac offers a versatile and efficient messaging experience.
In this guide, we covered the essential steps to set up iMessage on your Mac, receive and send iMessages, and customize your messaging experience. From personalizing the look of your conversations to utilizing dynamic features like Digital Touch, you now have the tools to make your iMessage interactions more enjoyable and tailored to your preferences.
Remember, with iMessage, you can not only send text messages but also share photos, videos, documents, and even communicate with groups. Take advantage of the features, such as pinning important conversations, using inline replies, and adjusting the settings, to make your iMessage usage even more efficient and organized.
So, what are you waiting for? Start exploring the world of iMessage on your Mac and enjoy the seamless messaging experience it offers. Stay connected with your friends, family, and colleagues like never before, all from the convenience of your Mac computer.
Thank you for joining us on this journey to discover how to react to iMessages on Mac. We hope this guide has been helpful in unlocking the full potential of iMessage on your computer. Happy messaging!