Introduction
Welcome to our guide on how to add a tablet to your AT&T account! With the ever-increasing popularity of tablets, many people are looking to expand the functionality of their mobile plans by connecting their tablets to their existing AT&T accounts.
Adding a tablet to your AT&T account allows you to harness the power of the internet on a larger screen, making it convenient for browsing, streaming content, and even getting work done on the go. Whether you’re a student, a professional, or simply a tech enthusiast, having a tablet on your AT&T account can greatly enhance your mobile experience.
However, adding a tablet to an existing account may seem like a daunting task for some. That’s why we’ve put together this comprehensive guide to help you navigate through the process smoothly. In the following sections, we will walk you through the necessary steps to successfully add a tablet to your AT&T account.
We will start by checking the compatibility of your tablet with the AT&T network, as not all devices work with their system. Next, we will assist you in selecting the right tablet that meets your needs and budget. After that, we will guide you through purchasing a data plan tailored to your usage requirements.
Once you have your tablet and data plan sorted out, we will show you how to insert the SIM card properly. Then comes the essential step of activating your tablet on your AT&T account, ensuring seamless connectivity. We will also provide tips on setting up data usage alerts to manage your data consumption effectively.
Lastly, we will address common troubleshooting issues that you might encounter during the process and offer solutions to overcome them. By the end of this guide, you will have all the knowledge and confidence to add a tablet to your AT&T account with ease.
So, let’s dive in and start adding that tablet to your AT&T account!
Step 1: Check Compatibility
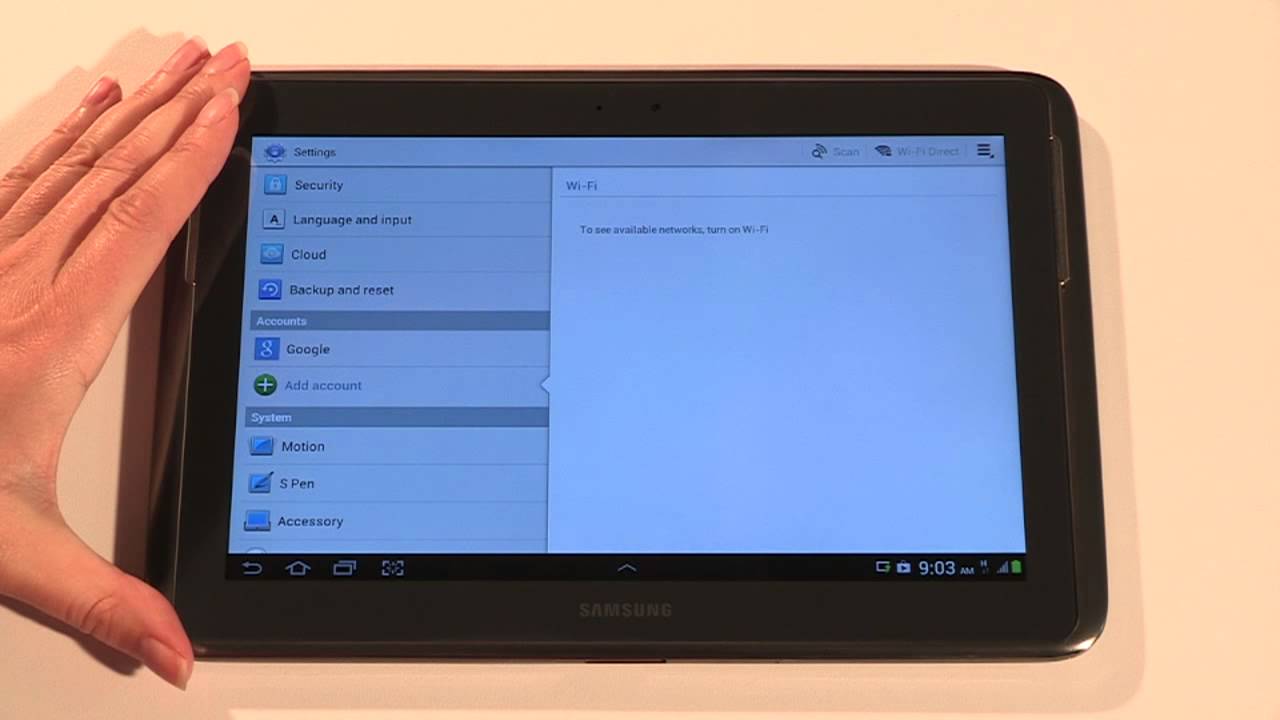
Before adding a tablet to your AT&T account, it’s important to ensure that your device is compatible with their network. Not all tablets are compatible with AT&T, so it’s crucial to make sure that yours will work before proceeding with the process.
The first thing you need to check is if your tablet supports GSM or CDMA technology. AT&T operates on the GSM network, so your tablet must be GSM-compatible. Most modern tablets are GSM-enabled, but it’s always a good idea to double-check the specifications of your device.
Next, you need to confirm that your tablet is unlocked. Sometimes, tablets are locked to a specific carrier, which means they can only be used with that carrier’s SIM card. To add your tablet to your AT&T account, it needs to be unlocked, allowing you to use any carrier’s SIM card.
If you’re unsure whether your tablet is unlocked, you can contact your device manufacturer or the carrier you purchased it from to get clarification. They will be able to provide you with the necessary information and guide you on how to unlock your device if needed.
Another important consideration is the frequency bands that your tablet supports. AT&T utilizes different frequency bands for their network, and you need to ensure that your tablet is compatible with those bands. Most tablets today support the necessary LTE bands for AT&T, but it’s still wise to verify this information to avoid any connectivity issues.
To check the compatibility of your tablet, you can visit AT&T’s website and use their online tools or contact their customer service. They will be able to provide you with a definitive answer and guide you through the process if any further action is required.
By taking the time to check the compatibility of your tablet with AT&T’s network, you can avoid any potential compatibility issues and ensure a smooth and hassle-free process when adding your tablet to your AT&T account.
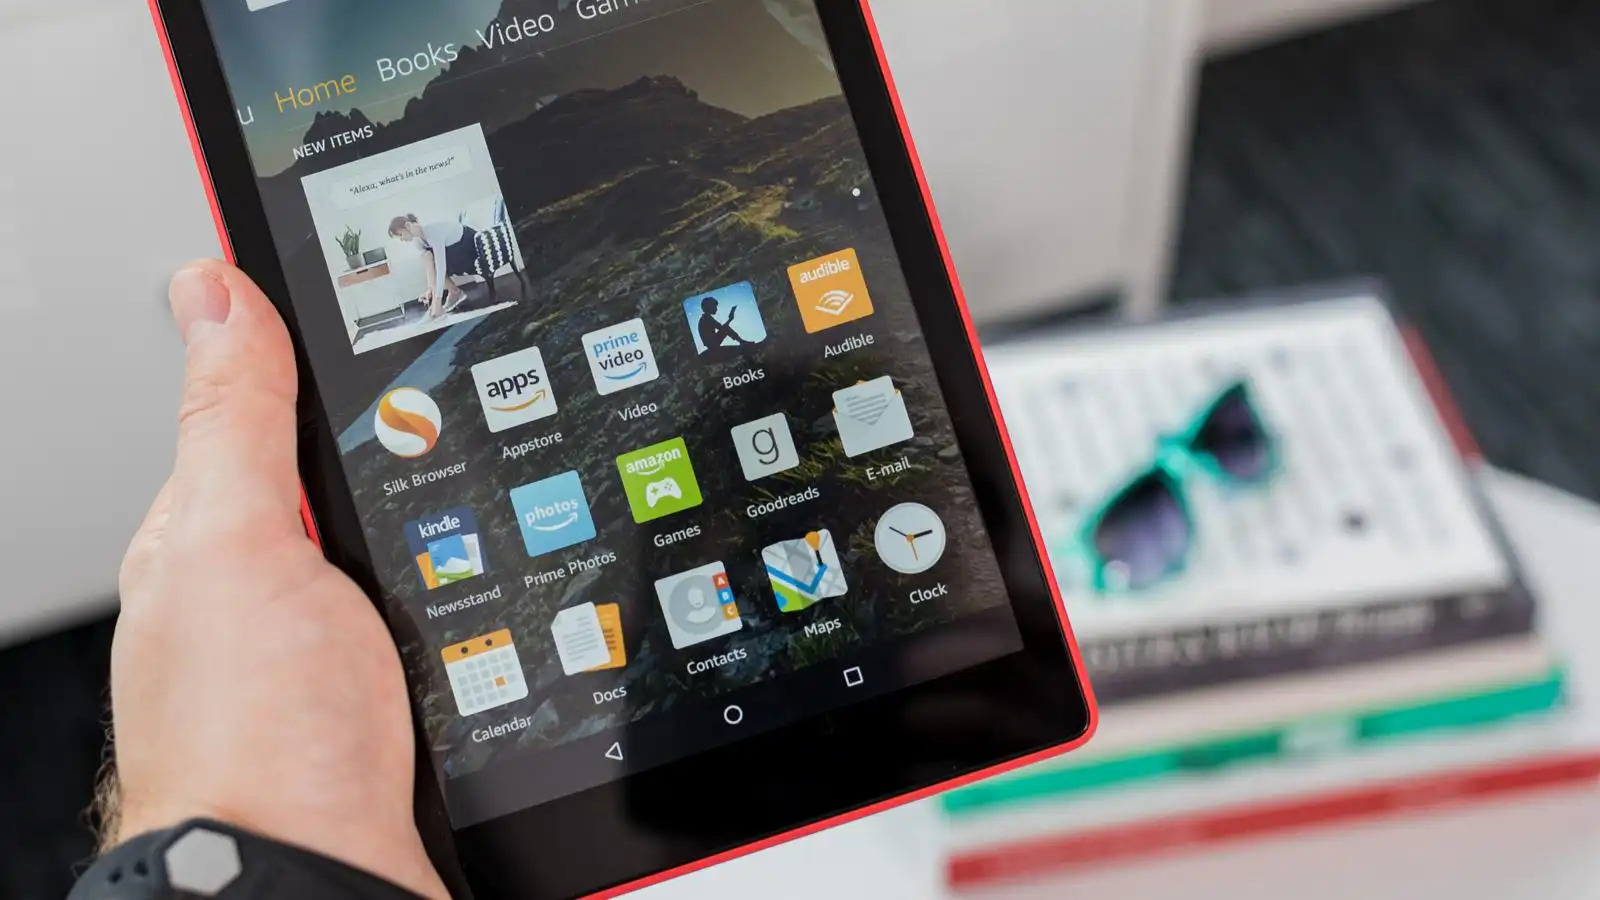
Step 2: Choose a Tablet
Once you have confirmed that your tablet is compatible with AT&T, the next step is to choose the right tablet that fits your needs and preferences. With a wide range of options available in the market, it’s important to consider several factors before making your decision.
The first consideration is the operating system (OS) of the tablet. The three most common OS options are Android, iOS, and Windows. Each has its own advantages and features, so think about which OS aligns with your preferences and familiarity.
Next, think about the screen size and display quality that you desire. Tablets come in various sizes, ranging from small and compact to large and immersive. Consider how you plan to use the tablet and choose the screen size accordingly. Additionally, look for a high-resolution display that offers vibrant colors and crisp visuals for an optimal viewing experience.
The processing power and memory capacity of the tablet are crucial factors to consider as well. If you plan to use your tablet for resource-intensive tasks such as gaming or video editing, opt for a tablet with a powerful processor and ample RAM. Additionally, consider the storage capacity to ensure you have enough space for apps, media files, and documents.
Battery life is another important aspect to look into. A tablet with long battery life will allow you to use it for extended periods without constantly needing to recharge. Check the estimated battery life provided by the manufacturer and read reviews from users to get a realistic understanding of how long the tablet can last on a single charge.
Connectivity options are also worth considering. Most tablets offer Wi-Fi connectivity, but if you need internet access on-the-go, look for one that supports cellular connectivity, allowing you to add it to your AT&T account for seamless connectivity wherever you are.
Lastly, take into account your budget. Tablets come in a range of price points, so determine how much you’re willing to spend and look for options within that range. Consider the features and specifications offered by different tablets within your budget to make an informed decision.
Take your time to research, read reviews, and compare different tablets to find the one that best suits your requirements and preferences. Once you’ve selected the perfect tablet, you’re ready to move on to the next step of adding it to your AT&T account.
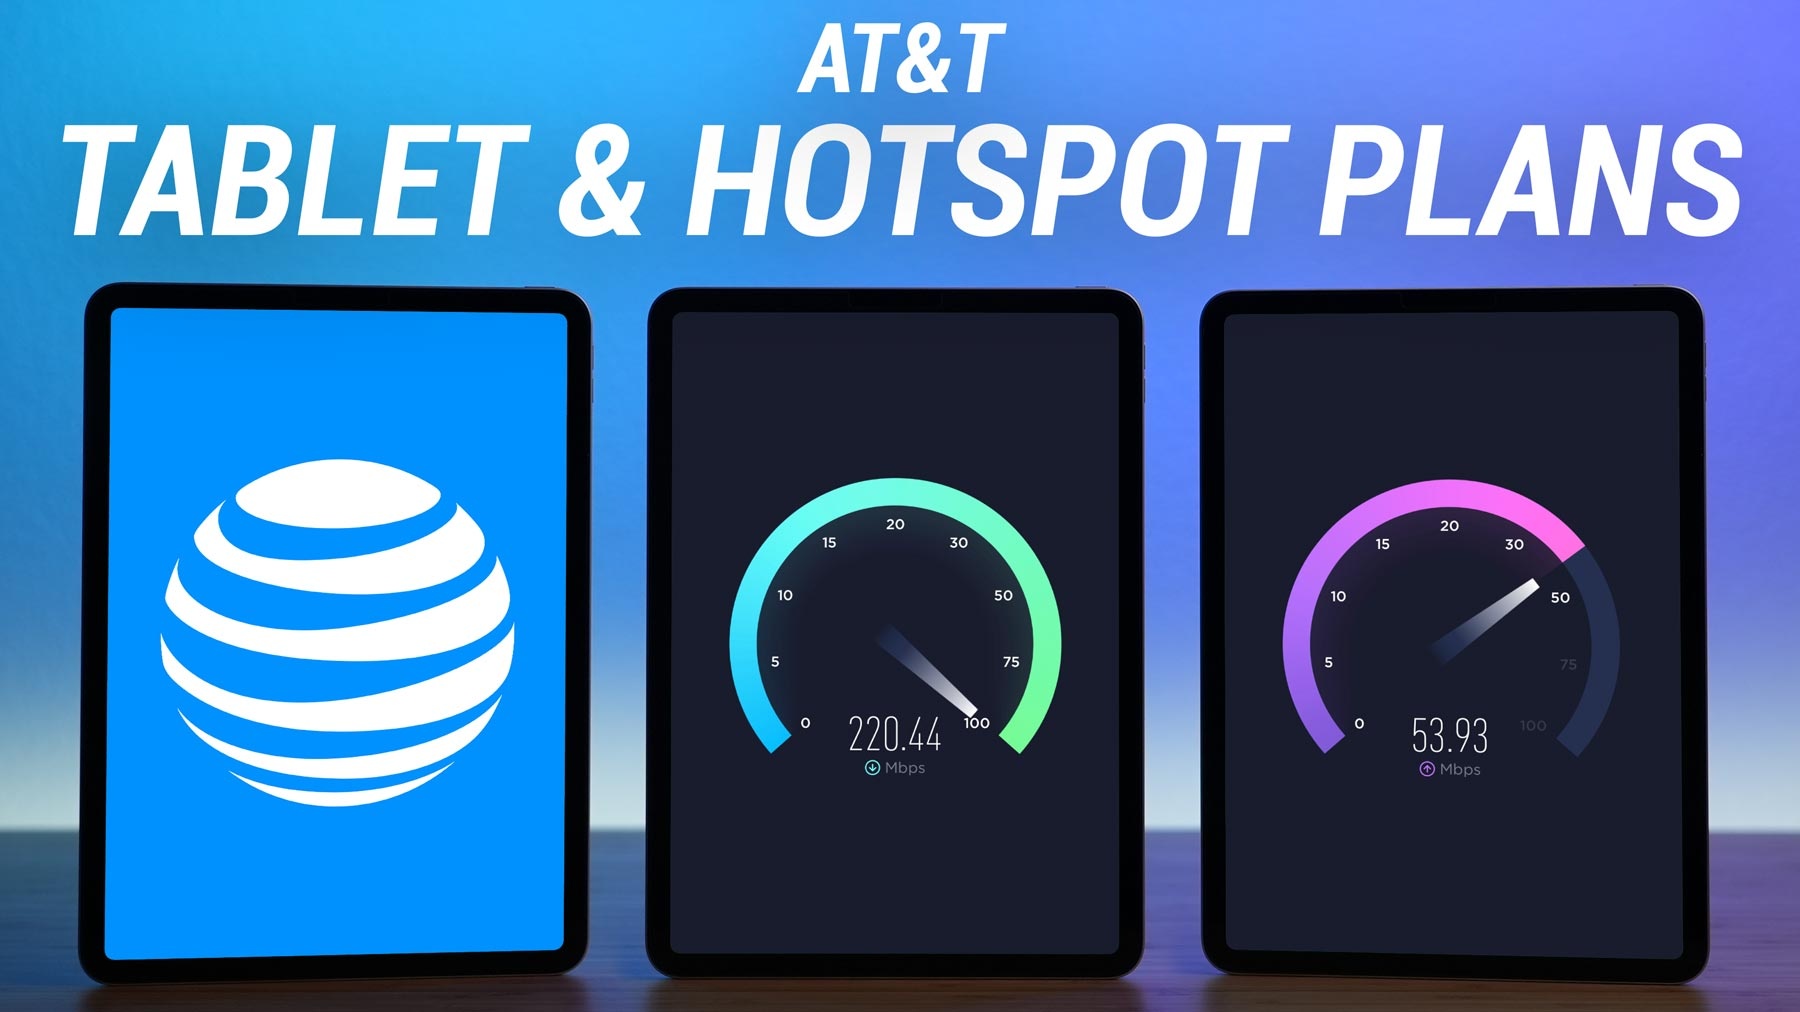
Step 3: Purchase a Data Plan
Now that you’ve chosen the perfect tablet, it’s time to purchase a data plan that will allow you to connect to the internet and enjoy all the features and functionality of your device. AT&T offers a range of data plans to suit different usage needs and budgets, so you can find one that works best for you.
The first step is to visit the AT&T website or contact their customer service to explore the available data plan options. Consider your data usage habits and estimate the amount of data you will need each month. If you primarily use your tablet for casual web browsing and social media, a smaller data plan may be sufficient. However, if you stream videos, download large files, or use your tablet for work-related tasks, you may need a larger data plan with higher bandwidth.
Take into account any existing data plans you may have with AT&T, such as a smartphone plan or a family plan. In some cases, you may be able to add a tablet to your existing plan for an additional fee. This can be more cost-effective compared to getting a separate data plan for your tablet.
Consider the billing cycle of the data plan as well. AT&T typically offers monthly data plans, but they may also have options for longer contract periods if you prefer a more extended commitment. It’s important to understand the terms and conditions, including contract duration, early termination fees, and any limitations associated with the data plan.
Once you have a clear idea of the data plan that suits your needs, proceed with the purchase. You can follow the instructions provided on the AT&T website to sign up for the data plan online, or you can visit an AT&T store or call their customer service to complete the transaction.
During the purchase process, you may be asked for specific information, such as your AT&T account details, the IMEI or SIM card number of the tablet, and your personal information for billing purposes. Make sure to provide accurate information to ensure a smooth activation process.
After successfully purchasing the data plan, you will receive confirmation and details about your plan, including any activation steps that may be required. Keep this information handy as you proceed to the next step of connecting your tablet to your AT&T account.
By purchasing an appropriate data plan, you can ensure that your tablet is fully connected and ready to access the internet and all the services offered by AT&T.
Step 4: Insert SIM Card
With your data plan in place, the next step is to insert the SIM card into your tablet. The SIM card is a small, portable chip that stores your subscriber information, including your phone number and network access credentials. This is what allows your tablet to connect to the cellular network and access mobile data.
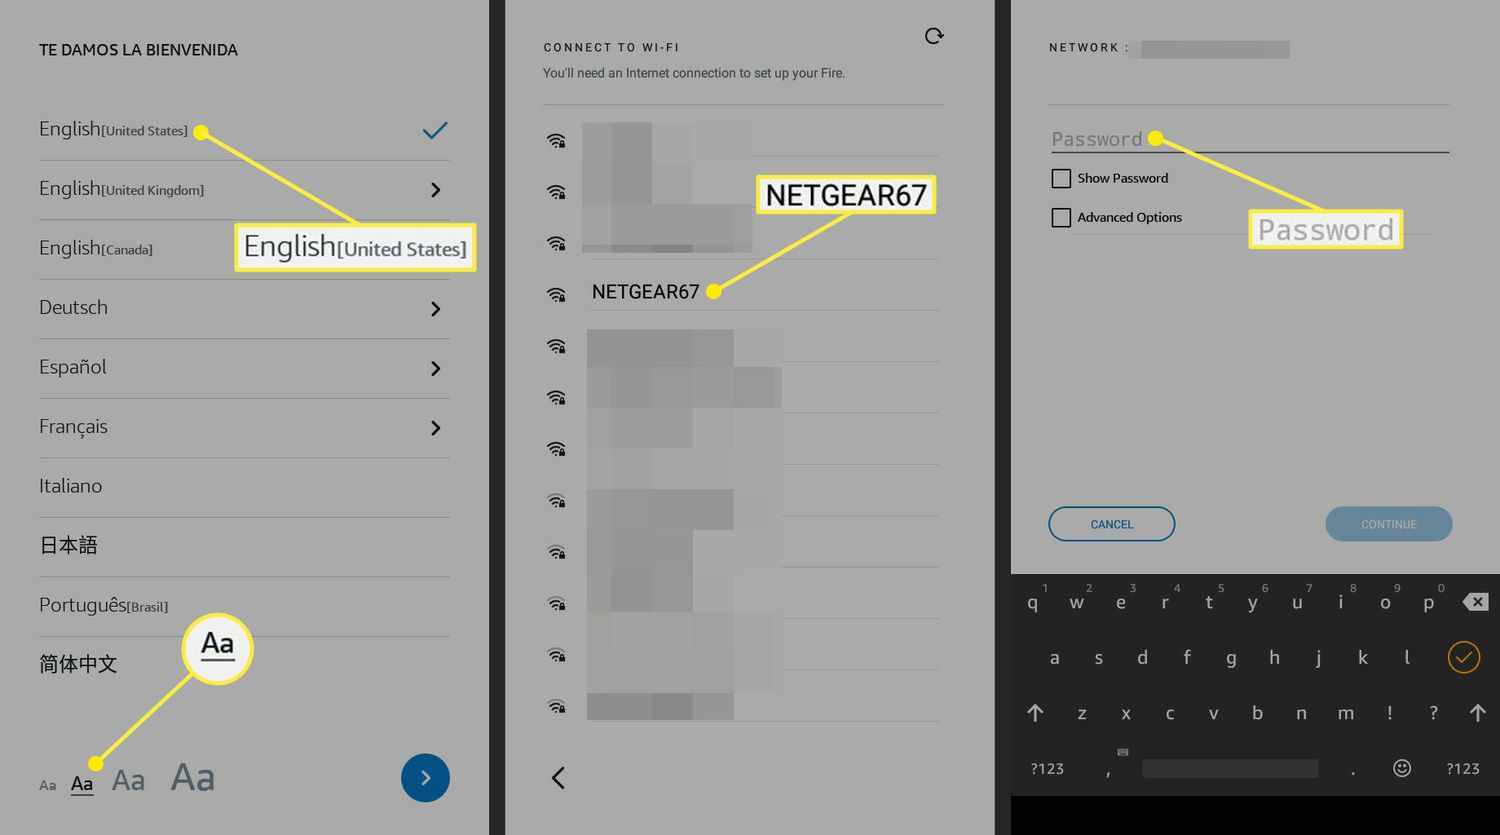
The first thing you need to do is locate the SIM card slot on your tablet. The location of the slot can vary depending on the tablet model. It is usually located on the side or at the back of the device. Refer to the tablet’s user manual or manufacturer’s website if you’re having trouble finding it.
Once you have located the SIM card slot, you will need a SIM card removal tool or a small paperclip to open it. Insert the tool into the small pinhole next to the SIM card slot and push gently until the tray pops out. Carefully remove the tray and set it aside.
Take your AT&T SIM card and ensure it is the correct size for your tablet’s SIM card slot. AT&T SIM cards come in various sizes, including standard, micro, and nano. If your tablet requires a different size than the one you have, you can contact AT&T to obtain a SIM card adapter or get a replacement SIM card.
Place the AT&T SIM card onto the SIM card tray, aligning the notches or grooves. Carefully insert the tray back into the tablet, ensuring a secure fit. Gently push the tray until it clicks back into place.
Now that the SIM card is inserted, you can power on your tablet. It may take a few moments for the tablet to recognize the new SIM card and establish a connection with the AT&T network. Once the connection is established, you should see signal bars or an indication of network connectivity on your tablet’s screen.
If you encounter any issues during the SIM card insertion process or notice that the tablet is not recognizing the SIM card, double-check that the SIM card is correctly inserted and contacts are not damaged. If the problem persists, contact AT&T customer service for further assistance.
Inserting the SIM card is an essential step in connecting your tablet to your AT&T account. Once the SIM card is in place, you are one step closer to enjoying a seamless and connected mobile experience on your tablet.
Step 5: Activate Tablet on AT&T Account
With the SIM card inserted, it’s time to activate your tablet on your AT&T account. Activating your tablet ensures that it is recognized as a valid device and allows you to access all the services and features provided by AT&T.
The first option for activating your tablet is to do it online through the AT&T website. Log in to your AT&T account using your credentials and navigate to the device activation page. Follow the prompts and provide the necessary information, such as your tablet’s IMEI or SIM card number, to activate your device.
If you prefer a more interactive experience, you can visit an AT&T store or contact their customer service to activate your tablet. Visit a store near you and speak with a representative who will guide you through the activation process. Alternatively, you can call AT&T customer service and provide the necessary information over the phone.
During the activation process, you may be asked to provide additional details, such as your AT&T account information, the phone number associated with your account, or the IMEI or SIM card number of your tablet. Make sure to have this information ready for a smoother activation process.
Once the activation is complete, you should receive confirmation that your tablet is now active on your AT&T account. This confirmation may be sent via email, text message, or displayed on the screen. Take note of any important information provided, such as your tablet’s phone number or any additional steps you need to take for full functionality.
After activation, you can start using your tablet on the AT&T network. Ensure that your tablet has a good cellular signal by checking the signal bars or indicator on the screen. You can now browse the internet, stream videos, send emails, and use any other apps or features of your tablet that require network connectivity.
If you encounter any issues with the activation or notice that your tablet is not connecting to the network, try restarting your device. If the problem persists, contact AT&T customer service for further assistance. They will be able to troubleshoot the issue and ensure that your tablet is properly connected to your AT&T account.
By activating your tablet on your AT&T account, you have successfully integrated it into your mobile service and can now enjoy all the benefits of being connected on the AT&T network.
Step 6: Set Up Data Usage Alert
After activating your tablet on your AT&T account and utilizing its data services, it’s essential to monitor and manage your data usage effectively. Setting up a data usage alert helps you stay informed about your data consumption and prevents unexpected overages or disruptions to your service.
AT&T provides the option to set up data usage alerts through their online portal or mobile app. Log in to your AT&T account and navigate to the data usage section. Here, you can customize your data usage alerts based on your needs and preferences.
Consider setting up text or email alerts when you reach a certain percentage of your monthly data limit. This will notify you when you are approaching your data limit and can help you adjust your usage or upgrade your data plan if needed.
In addition to setting up alerts based on data limits, you can also enable alerts for specific activities that consume a significant amount of data. This can include streaming videos, downloading large files, or using data-intensive apps. By receiving alerts for these specific activities, you can regulate your data usage and make informed decisions.
It’s important to note that data usage alerts are not always real-time and may have a slight delay. Therefore, it’s advisable to keep track of your usage and be mindful of your data consumption between the alerts.
Regularly monitoring your data usage and staying aware of your limits can save you from unexpected billing surprises and help you make adjustments to your usage as necessary. By taking advantage of the data usage alert feature provided by AT&T, you can have greater control over your data usage and avoid exceeding your plan’s limits.
If you have any questions or need assistance with setting up data usage alerts, you can reach out to AT&T customer service for guidance. They will be able to provide you with further information and address any concerns you may have.
By proactively setting up data usage alerts, you can manage your data consumption effectively and ensure a seamless experience with your tablet on your AT&T account.
Step 7: Troubleshooting Common Issues
While adding a tablet to your AT&T account usually goes smoothly, there may be occasional hiccups or common issues that you may encounter. In this step, we will cover some of the common problems and provide troubleshooting steps to resolve them.
1. No Network Connection: If you notice that your tablet is not connecting to the AT&T network, check that the SIM card is inserted correctly and that the device is activated on your account. Restart your tablet and ensure that the correct APN settings are configured. If the problem persists, contact AT&T customer service for further assistance.
2. Slow Internet Speed: If you experience slow internet speed on your tablet, first check for network signal strength by looking at the signal bars on your device. If the signal is weak, move to a location with better coverage. You can also try restarting your tablet or resetting your network settings to improve the connection speed.
3. Billing Issues: If you encounter billing issues or discrepancies after adding a tablet to your AT&T account, reach out to AT&T customer service immediately. They can help resolve any billing concerns, such as incorrect charges or payments not reflecting on your account.
4. Device Compatibility: If you experience issues with the compatibility of your tablet with the AT&T network, double-check that your tablet meets the required specifications and is unlocked. If necessary, contact AT&T customer service for further assistance or consider using a different tablet that is compatible with their network.
5. Data Usage Concerns: If you consistently exceed your data limit or have concerns about your data usage, review your data usage patterns and consider upgrading your data plan if needed. You can also set up data usage alerts as mentioned in Step 6 to stay informed about your usage and avoid unexpected overages.
Remember, if you face any technical issues or need guidance specific to your tablet and AT&T account, don’t hesitate to contact AT&T customer service. Their dedicated team is equipped to address any concerns and provide solutions tailored to your situation.
By troubleshooting common issues that may arise during the process of adding a tablet to your AT&T account, you can ensure a smooth and hassle-free experience with your tablet on the AT&T network.
Conclusion
Adding a tablet to your AT&T account can greatly enhance your mobile experience by providing a larger screen for browsing, streaming, and accessing various apps and services. By following the steps outlined in this guide, you can successfully add a tablet to your AT&T account and enjoy the convenience and connectivity it offers.
Starting with the initial step of checking compatibility, ensure that your tablet supports the AT&T network and is unlocked. Then, choose a tablet that suits your needs in terms of operating system, screen size, processing power, and budget.
Purchasing a data plan that aligns with your usage requirements is the next crucial step. Consider the amount of data you need, billing cycle, and any existing plans you have with AT&T to find the most suitable option.
After purchasing a data plan, insert the SIM card correctly into your tablet, ensuring proper connectivity to the AT&T network. Following this, activate your tablet on your AT&T account either online, in-store, or with customer service assistance.
To manage your usage effectively, set up data usage alerts to stay informed about your consumption and avoid unexpected overages. Keep track of your data usage and make adjustments when necessary.
If you encounter any issues during the process or face common problems such as network connection or billing concerns, do not hesitate to reach out to AT&T customer service for guidance and resolution.
By successfully adding a tablet to your AT&T account and troubleshooting any potential issues, you can maximize the potential of your tablet’s capabilities along with the services offered by AT&T.
Now that you have the knowledge and confidence, it’s time to embark on the journey of enriching your mobile experience with a tablet on your AT&T account. Stay connected, productive, and entertained wherever you go!