Introduction
Inserting a SIM card into a tablet is a fundamental step in enabling cellular connectivity and ensuring that you can make calls, send messages, and access the internet while on the go. Whether you're setting up a new tablet or switching to a different network, knowing how to properly insert a SIM card is essential for seamless communication and connectivity.
In this comprehensive guide, we will walk you through the step-by-step process of inserting a SIM card into your tablet. By following these instructions, you'll be able to successfully install a SIM card and harness the full potential of your tablet's mobile capabilities.
Ensuring that the tablet is powered off before inserting the SIM card is crucial to prevent any potential damage to the device or the card itself. Once the SIM card is securely in place, you can power on the tablet and verify the connectivity, allowing you to stay connected wherever you are.
Now, let's delve into the detailed steps of inserting a SIM card into your tablet, empowering you to make the most of your device's mobile functionality.
Step 1: Check the Tablet's SIM Card Slot
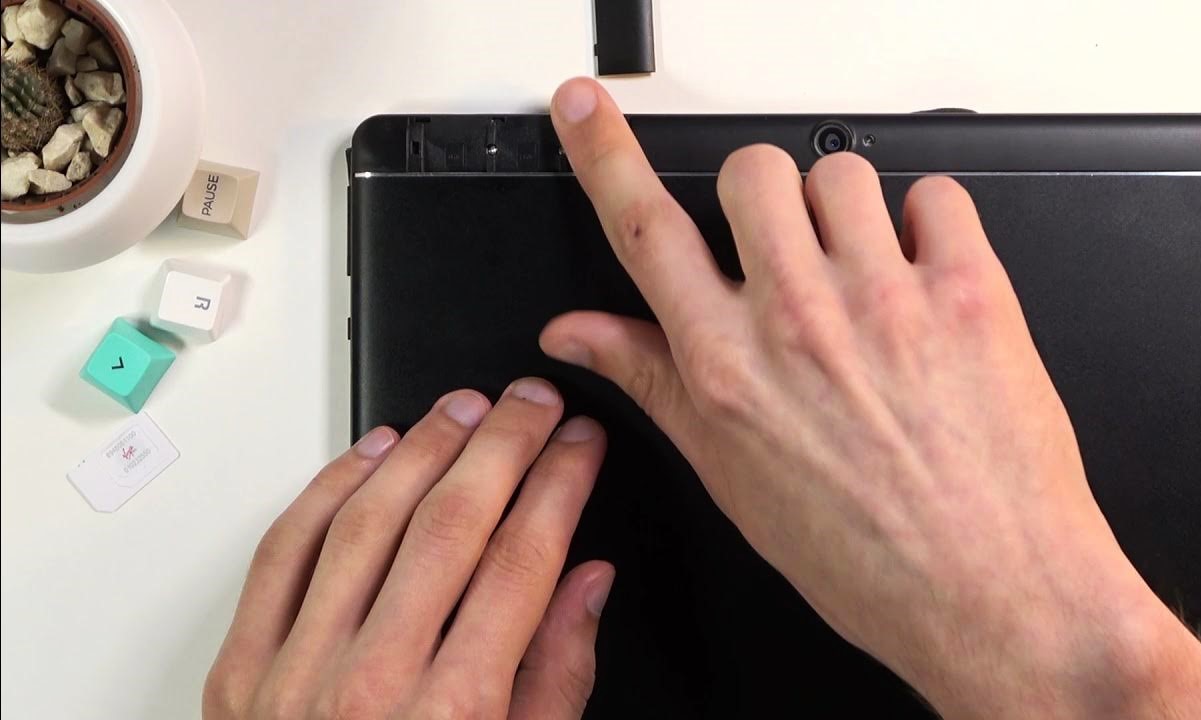
Before inserting a SIM card into your tablet, it's essential to locate the SIM card slot. The location of the slot may vary depending on the tablet model, but it is commonly found on the side of the device. Some tablets have a small tray that requires an ejector tool to open, while others have a simple slot with a removable cover.
To identify the SIM card slot on your tablet, carefully inspect the sides of the device for a small opening or a compartment with a SIM card icon. If you're unable to locate the slot, referring to the tablet's user manual can provide specific guidance on where to find it.
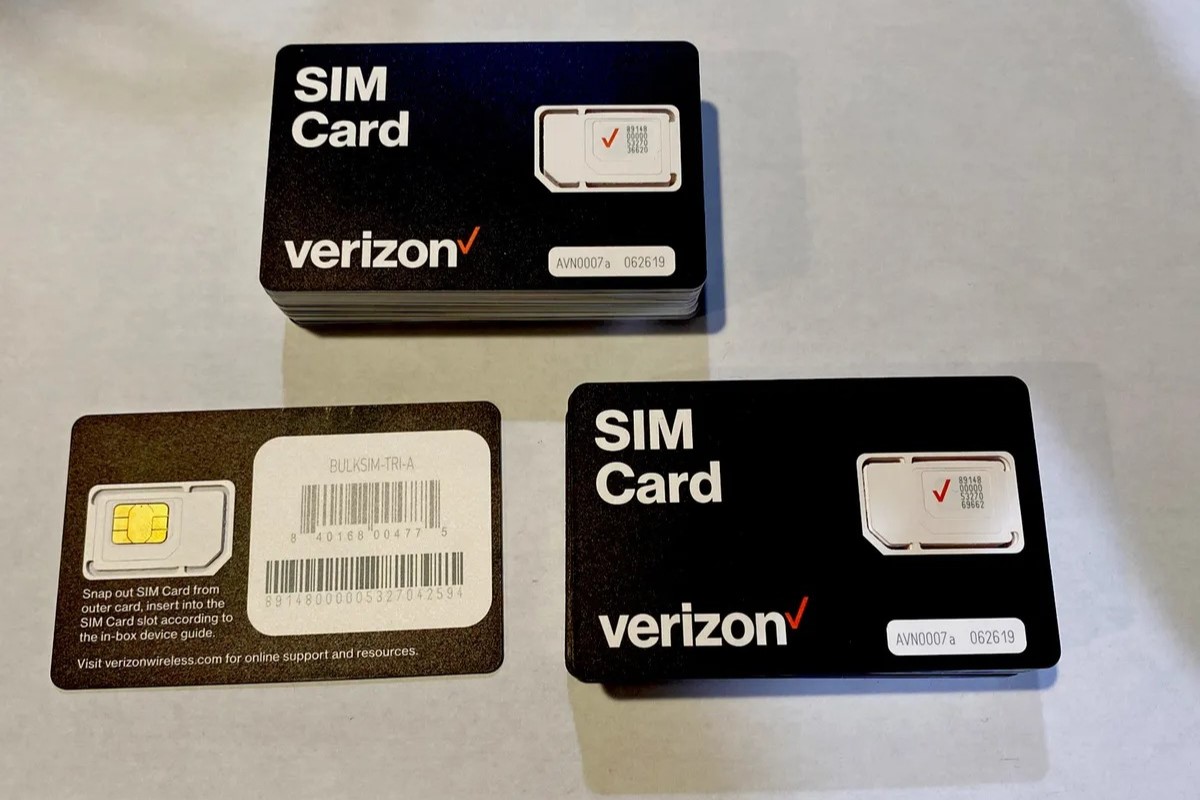
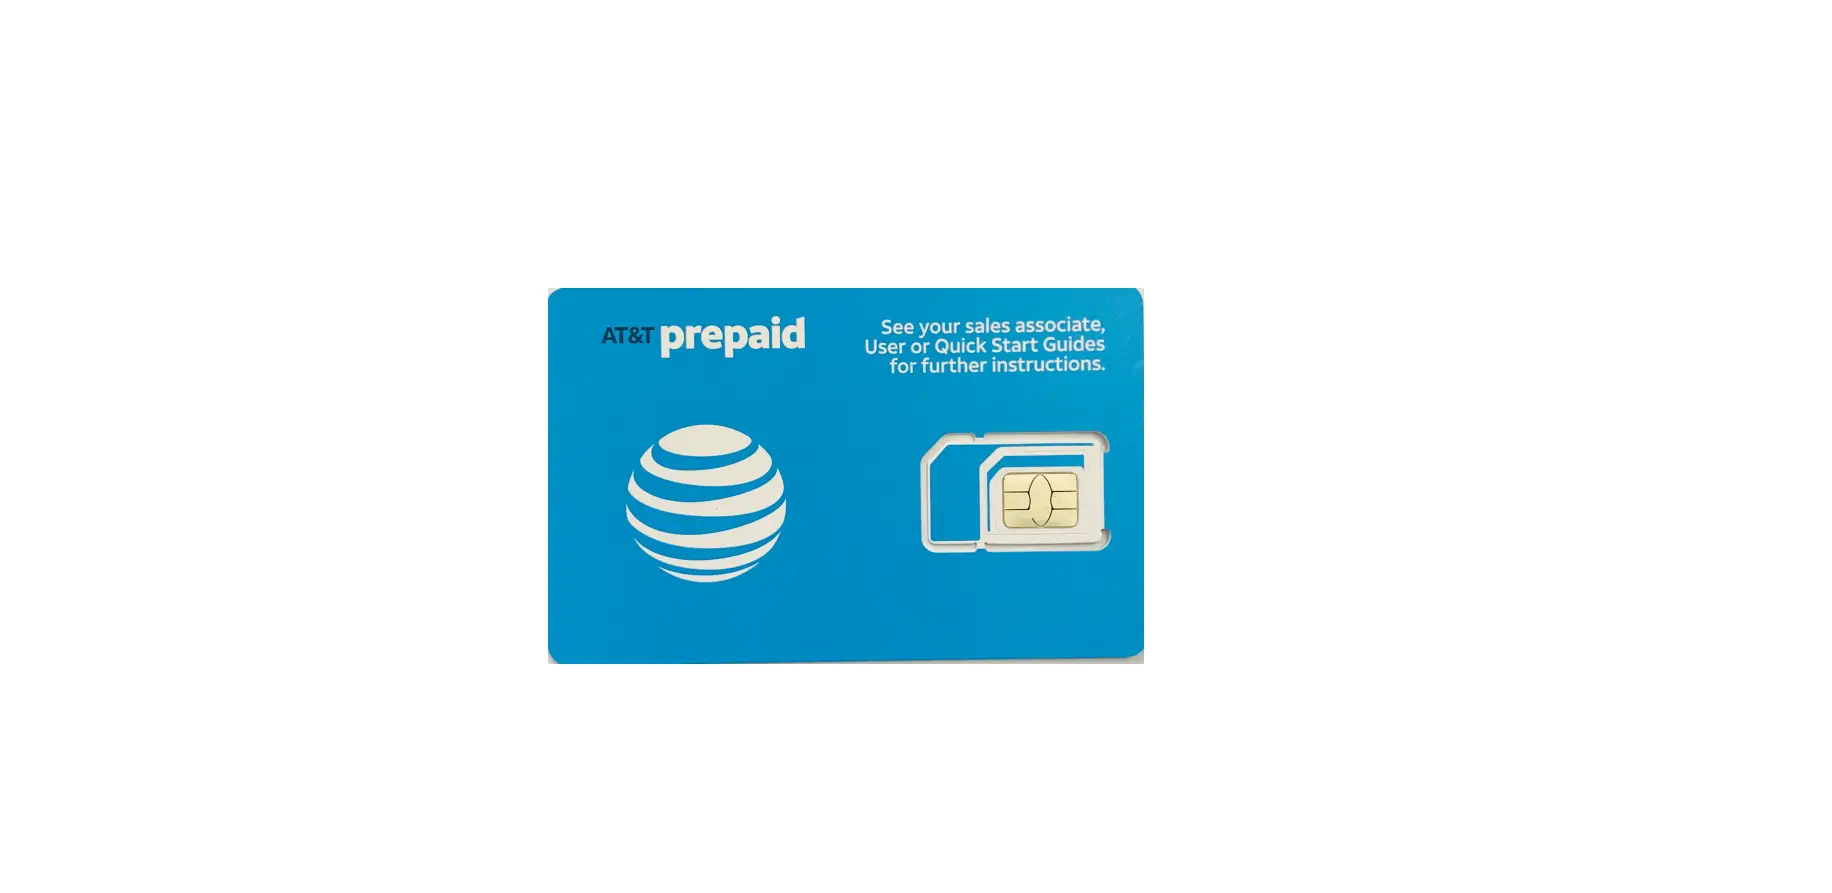
Additionally, it's important to determine the type of SIM card required for your tablet. Most tablets utilize a nano-SIM card, which is the smallest and most commonly used SIM card size. However, some older models may require a micro-SIM card. Ensuring that you have the correct SIM card size for your tablet is crucial to a successful installation.
Once you've located the SIM card slot and confirmed the required SIM card size, you're ready to proceed with the next steps of inserting the SIM card into your tablet. This initial verification ensures that you are well-prepared to seamlessly integrate the SIM card with your tablet, setting the stage for uninterrupted mobile connectivity and communication.
By taking the time to check the tablet's SIM card slot and understand the specific requirements, you can approach the subsequent steps with confidence, knowing that you have laid the groundwork for a smooth and successful SIM card installation.
Step 2: Turn Off the Tablet
Turning off the tablet is a crucial preliminary step before inserting the SIM card. By powering down the device, you minimize the risk of causing any damage to the tablet or the SIM card during the installation process. This simple yet essential precaution ensures a smooth and safe SIM card insertion.
To power off your tablet, locate the power button, typically positioned along the edges or the top of the device. Press and hold the power button until the on-screen prompt appears, allowing you to shut down the tablet. Depending on the model, you may need to confirm the shutdown by tapping an on-screen option.
Once the tablet is powered off, it's advisable to wait for a few moments to ensure that the device has completely shut down. This brief pause allows any residual processes to conclude, ensuring that the tablet is fully inactive before proceeding with the SIM card installation.
By turning off the tablet before inserting the SIM card, you mitigate the risk of potential electrical interference or disruption. This precautionary measure safeguards the tablet's internal components and the SIM card from any unexpected voltage fluctuations, thereby preserving the integrity of both the device and the SIM card.
Moreover, powering off the tablet creates a conducive environment for handling the SIM card. With the device inactive, you can confidently proceed with the next steps of the installation process, knowing that you've taken the necessary precautions to safeguard the tablet and facilitate a seamless SIM card insertion.
In summary, turning off the tablet is a critical preparatory step that sets the stage for a successful SIM card installation. By powering down the device and allowing it to fully shut off, you create a safe and conducive environment for integrating the SIM card with the tablet, ensuring a smooth and trouble-free installation process.
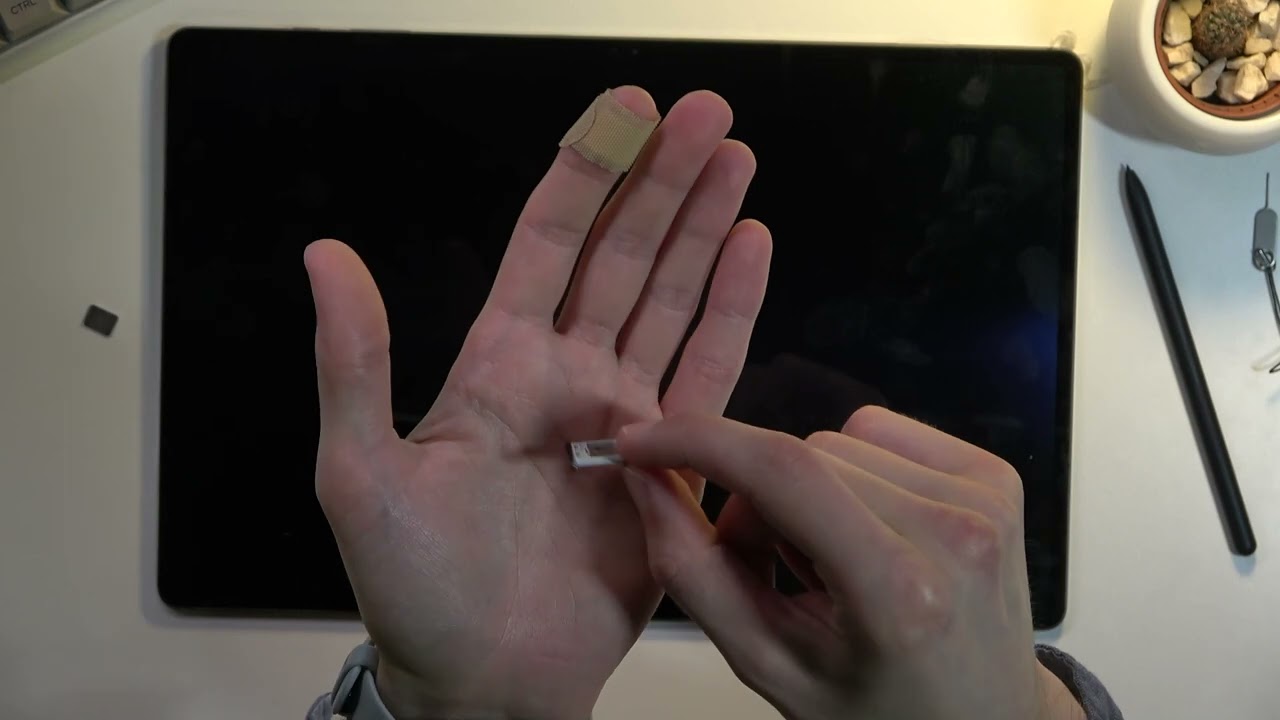
Step 3: Insert the SIM Card
With the tablet powered off and the SIM card slot identified, you are now ready to proceed with the crucial step of inserting the SIM card. This process requires precision and care to ensure that the SIM card is securely placed within the tablet, facilitating seamless connectivity and communication capabilities.
-
Prepare the SIM Card: Before inserting the SIM card, it's essential to ensure that the card is properly oriented. Most SIM cards have a chamfered corner or a subtle cutout that aligns with the SIM card slot, allowing for a smooth insertion. Take a moment to examine the SIM card and identify the chamfered corner, which will guide you in positioning the card correctly.
-
Open the SIM Card Slot: If your tablet features a SIM card tray, use the provided ejector tool or a small paperclip to gently press into the pinhole adjacent to the SIM card slot. This action will release the tray, allowing you to carefully pull it out from the tablet. For tablets with a removable cover over the SIM card slot, gently pry open the cover using your fingertips or a small tool, exposing the slot for the SIM card.
-
Position the SIM Card: With the SIM card slot accessible, position the SIM card with the chamfered corner aligned with the corresponding corner of the slot. Carefully place the SIM card into the slot, ensuring a snug fit without applying excessive force. The SIM card should slide in smoothly, guided by the chamfered corner, until it is fully seated within the slot.
-
Secure the SIM Card: Once the SIM card is inserted, gently push the SIM card tray back into the tablet or replace the cover, depending on the design of the SIM card slot. Ensure that the tray or cover is securely fastened, preventing any accidental dislodgment of the SIM card. For tablets with a removable cover, press down lightly to ensure that the cover snaps into place, safeguarding the SIM card within the slot.
-
Verify the Installation: After inserting the SIM card, take a moment to visually confirm that the card is properly positioned within the slot. Check for any protrusions or misalignments, ensuring that the SIM card sits flush within the slot. This visual inspection provides reassurance that the SIM card has been successfully installed, setting the stage for the subsequent activation and connectivity verification.
By meticulously following these steps, you can confidently insert the SIM card into your tablet, paving the way for seamless mobile connectivity and communication capabilities. With the SIM card securely in place, you are poised to power on the tablet and embark on the final steps to verify connectivity, enabling you to harness the full potential of your tablet's mobile functionality.
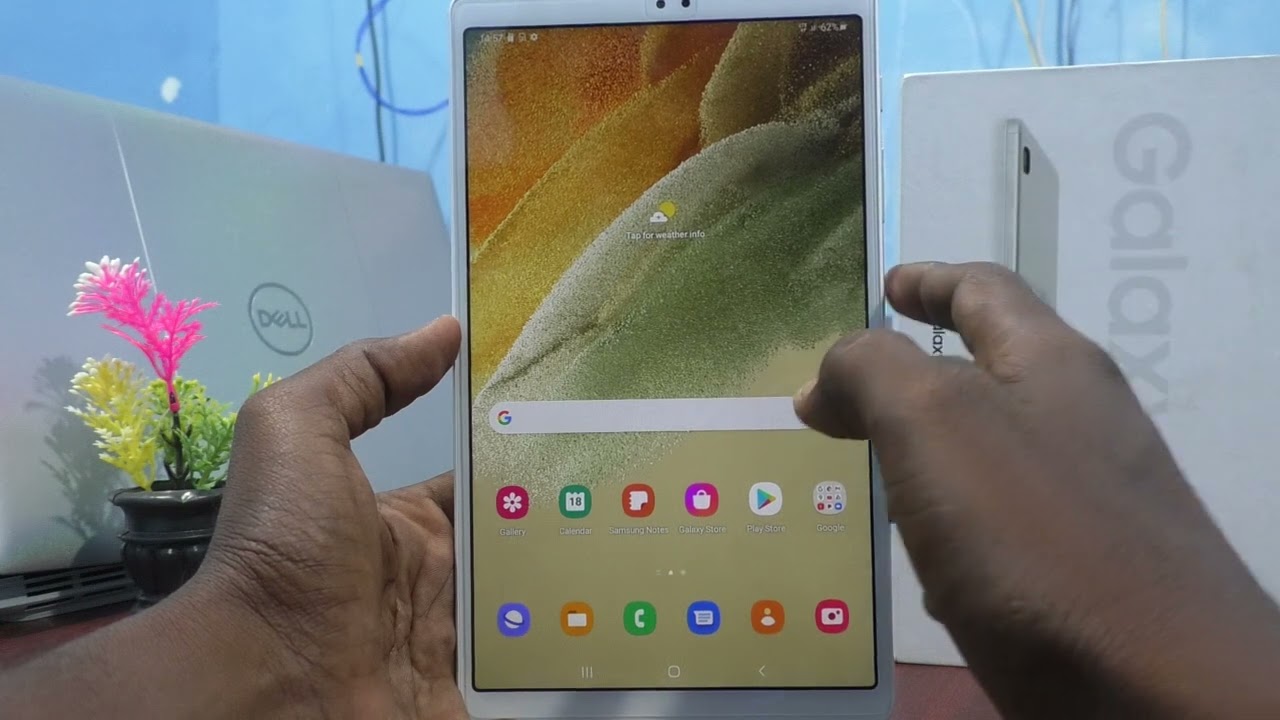
Step 4: Turn On the Tablet and Check for Connectivity
After successfully inserting the SIM card into your tablet, the next pivotal step is to power on the device and verify the connectivity. By turning on the tablet and checking for connectivity, you can ensure that the SIM card is recognized, and the tablet is ready to leverage cellular capabilities for calls, messages, and internet access.
To power on your tablet, locate the power button and press it for a few seconds until the device initiates the startup sequence. Depending on the model, you may see the tablet's logo or a loading screen as it boots up. Once the tablet is powered on, navigate to the settings menu to access the network or connectivity settings.
In the network settings, locate the option to manage SIM cards or mobile networks. This section allows you to view the status of the inserted SIM card, including signal strength and network connectivity. If the SIM card is recognized, you should see relevant details such as the network operator's name and the signal bars indicating the strength of the cellular signal.
After confirming that the SIM card is recognized, proceed to test the connectivity by placing a test call or sending a text message. Initiating a call or composing a message allows you to verify that the tablet can successfully utilize the cellular network for voice and text communication. Additionally, you can open a web browser and attempt to access a website to confirm that the tablet can seamlessly connect to the internet using the cellular data network.
It's essential to ensure that the tablet maintains a stable and reliable connection to the cellular network. By monitoring the signal strength and conducting practical tests such as making calls, sending messages, and browsing the web, you can ascertain that the tablet's connectivity is fully functional.
In the event that the tablet does not recognize the SIM card or encounters connectivity issues, it's advisable to recheck the SIM card installation and verify that it is securely positioned within the slot. Additionally, you may need to restart the tablet or reseat the SIM card to prompt the device to recognize the card and establish connectivity.
By meticulously turning on the tablet and checking for connectivity, you can confirm that the SIM card is seamlessly integrated, enabling the tablet to harness the full potential of cellular connectivity. This final step ensures that the tablet is ready for uninterrupted communication and internet access, empowering you to stay connected and productive on the go.
Conclusion
In conclusion, successfully inserting a SIM card into your tablet is a pivotal process that unlocks the full potential of the device's mobile capabilities. By meticulously following the step-by-step guide outlined in this comprehensive article, you have empowered yourself to seamlessly integrate a SIM card with your tablet, paving the way for uninterrupted communication and connectivity.
By first identifying the tablet's SIM card slot and understanding the specific requirements, you laid the groundwork for a smooth and successful SIM card installation. This initial verification ensured that you were well-prepared to proceed with confidence, knowing that you had taken the necessary steps to set the stage for a seamless integration process.
Turning off the tablet before inserting the SIM card was a critical preparatory step that safeguarded the device and the SIM card from potential damage. By powering down the tablet, you created a safe and conducive environment for handling the SIM card, minimizing the risk of electrical interference and disruption.
The meticulous process of inserting the SIM card, including preparing the card, opening the SIM card slot, positioning the card, and verifying the installation, ensured that the SIM card was securely placed within the tablet. This precision and care guaranteed that the tablet was ready to leverage cellular connectivity for calls, messages, and internet access.
Finally, by turning on the tablet and checking for connectivity, you verified that the SIM card was recognized, and the tablet was fully equipped to harness the benefits of cellular connectivity. This pivotal step allowed you to confirm that the tablet maintained a stable and reliable connection to the cellular network, enabling seamless communication and internet access on the go.
In essence, the successful integration of a SIM card with your tablet positions you to stay connected and productive, regardless of your location. Whether you rely on the tablet for work, communication, or entertainment, the ability to leverage cellular connectivity enhances the versatility and utility of the device, empowering you to make the most of its mobile capabilities.
By mastering the process of inserting a SIM card into your tablet, you have unlocked a world of possibilities, ensuring that your tablet is fully equipped to keep you connected and engaged in today's dynamic and interconnected digital landscape.