Introduction
Are you frustrated with having to switch between your tablet and smartphone to make phone calls? The good news is that many tablets now come with built-in calling capabilities, allowing you to make and receive phone calls directly from your device. If you’re wondering how to make a phone call from your tablet, you’ve come to the right place!
In this article, we will guide you through the step-by-step process of making phone calls from your tablet. Whether you have an Android tablet or an iPad, we’ve got you covered. By the end of this guide, you’ll be able to conveniently use your tablet as a phone, eliminating the need to carry multiple devices.
Before we dive into the steps, it’s important to note that not all tablets have calling capabilities. So, the first thing you need to do is check if your tablet supports making phone calls. If it does, you’ll be able to follow the rest of the steps to set up the calling function. If not, don’t worry, we’ll also cover alternative methods that allow you to make calls using your tablet.
So, let’s explore how you can transform your tablet into a phone and enjoy the convenience of making and receiving calls all from one device.
Step 1: Check if your tablet has calling capabilities
Before getting started, you’ll need to determine if your tablet has the necessary hardware and software to make phone calls. Not all tablets have this feature, so it’s important to check beforehand.
To check if your tablet supports making phone calls, follow these steps:
- Look for a cellular network icon or SIM card slot on your tablet – Tablets with calling capabilities usually have a slot for a SIM card, similar to what you would find on a smartphone. Some tablets may also display a cellular network icon in the status bar, indicating that it can connect to a mobile network.
- Go to the settings menu – Navigate to the settings menu on your tablet. This can usually be found in the app drawer or by swiping down from the top of the screen and tapping the gear-shaped icon.
- Look for the “About Tablet” or “About Device” option – Once in the settings menu, scroll down and look for an option labeled “About Tablet” or “About Device.” Tap on it to access detailed information about your tablet.
- Check for phone-related specifications – In the “About Tablet” or “About Device” section, look for information related to cellular connectivity or phone capabilities. This may be listed as “Mobile Network,” “Cellular Network,” or “Phone Information.” If you see these options, it’s a good indication that your tablet can make phone calls.
If you’re unable to find any of these indicators or options, it’s likely that your tablet does not have calling capabilities. In such cases, you can still make calls using alternative methods, which we’ll cover later in this guide.
Now that you’ve determined whether your tablet supports phone calls, you’re ready to move on to the next step of setting up a phone app.
Step 2: Set up a phone app
Once you have confirmed that your tablet has calling capabilities, it’s time to set up a phone app that will allow you to make and receive calls. Most tablets come with a default phone app, but if your tablet doesn’t have one, you can easily download one from the app store.
Follow these steps to set up a phone app on your tablet:
- Open the app store – Go to the app store on your tablet. For Android tablets, you can access the Google Play Store, while iPad users can find the App Store.
- Search for a phone app – In the app store, search for “phone app” or “dialer app.” You’ll find a variety of options to choose from. Some popular phone apps for Android tablets include Google Phone, Truecaller, and Skype. For iPad users, apps like Skype, WhatsApp, or Google Voice can be used.
- Read reviews and select an app – Before downloading a phone app, take a moment to read user reviews and ratings. This will help you choose a reliable and user-friendly app that suits your needs.
- Download and install the app – Once you’ve made your selection, tap on the “Download” or “Install” button to download and install the phone app on your tablet.
- Open the phone app – After the installation is complete, locate the phone app on your tablet and open it.
Once you’ve set up the phone app, you’ll be able to make and receive calls using your tablet’s calling capabilities. Remember to grant the necessary permissions, such as access to your contacts and microphone, so that the phone app can function properly.
Now that you have a phone app installed on your tablet, you’re ready to move on to the next step of activating cellular data or connecting to Wi-Fi.
Step 3: Activate cellular data or connect to Wi-Fi
To use your tablet for making phone calls, you’ll need to ensure that you have a stable internet connection. This can be achieved by activating cellular data or connecting to a Wi-Fi network. Let’s explore how to do that:
- Activate cellular data – If your tablet has a SIM card slot and you have an active SIM card with a data plan, you can enable cellular data. Open the settings menu on your tablet and look for the “Network & Internet” or “Connections” option. Tap on it and toggle the “Mobile data” or “Cellular data” switch to enable data connectivity. Remember, you will need a data plan from your mobile service provider to use cellular data.
- Connect to Wi-Fi – If you don’t have a data plan or prefer using Wi-Fi, you can connect your tablet to a Wi-Fi network. Open the settings menu and look for the “Wi-Fi” option. Tap on it to scan for available Wi-Fi networks. Select a network from the list and enter the password if required. Once connected, your tablet will have internet access.
Having an active internet connection is essential for making and receiving calls through your tablet. Whether you choose cellular data or Wi-Fi, ensure that you have a stable and reliable connection to avoid call drops or disruptions.
Now that you’ve activated cellular data or connected to Wi-Fi, you’re ready to move on to the next step of inserting a SIM card, if necessary.
Step 4: Insert a SIM card (if needed)
If your tablet uses a SIM card for cellular connectivity, you’ll need to insert a valid SIM card to make phone calls. Not all tablets require a SIM card, so skip this step if your tablet operates solely on Wi-Fi or doesn’t have a SIM card slot.
To insert a SIM card into your tablet, follow these steps:
- Ensure your tablet is powered off – Before inserting or removing a SIM card, it’s important to turn off your tablet to avoid any potential damage.
- Locate the SIM card slot – Look for a small tray or slot on the side or back of your tablet. This is where the SIM card will be inserted. Some tablets may require a SIM card removal tool (a small pin or paperclip) to access the SIM card slot.
- Insert the SIM card – Carefully insert the SIM card into the slot with the gold contacts facing down. Push gently until the card is secure and the slot closes properly.
- Power on your tablet – Once the SIM card is inserted, power on your tablet and wait for it to detect the SIM card.
If your tablet has multiple SIM card slots, ensure that you insert the SIM card into the correct slot designated for cellular connectivity.
It’s important to note that the process of inserting a SIM card may vary depending on your tablet model. If you’re unsure or need additional assistance, refer to the user manual provided with your tablet or consult the manufacturer’s website for specific instructions.
Now that you’ve inserted a SIM card, if required, you’re one step closer to using your tablet as a phone. In the next step, we’ll discuss how to make a phone call using the phone app.
Step 5: Make a phone call using the phone app
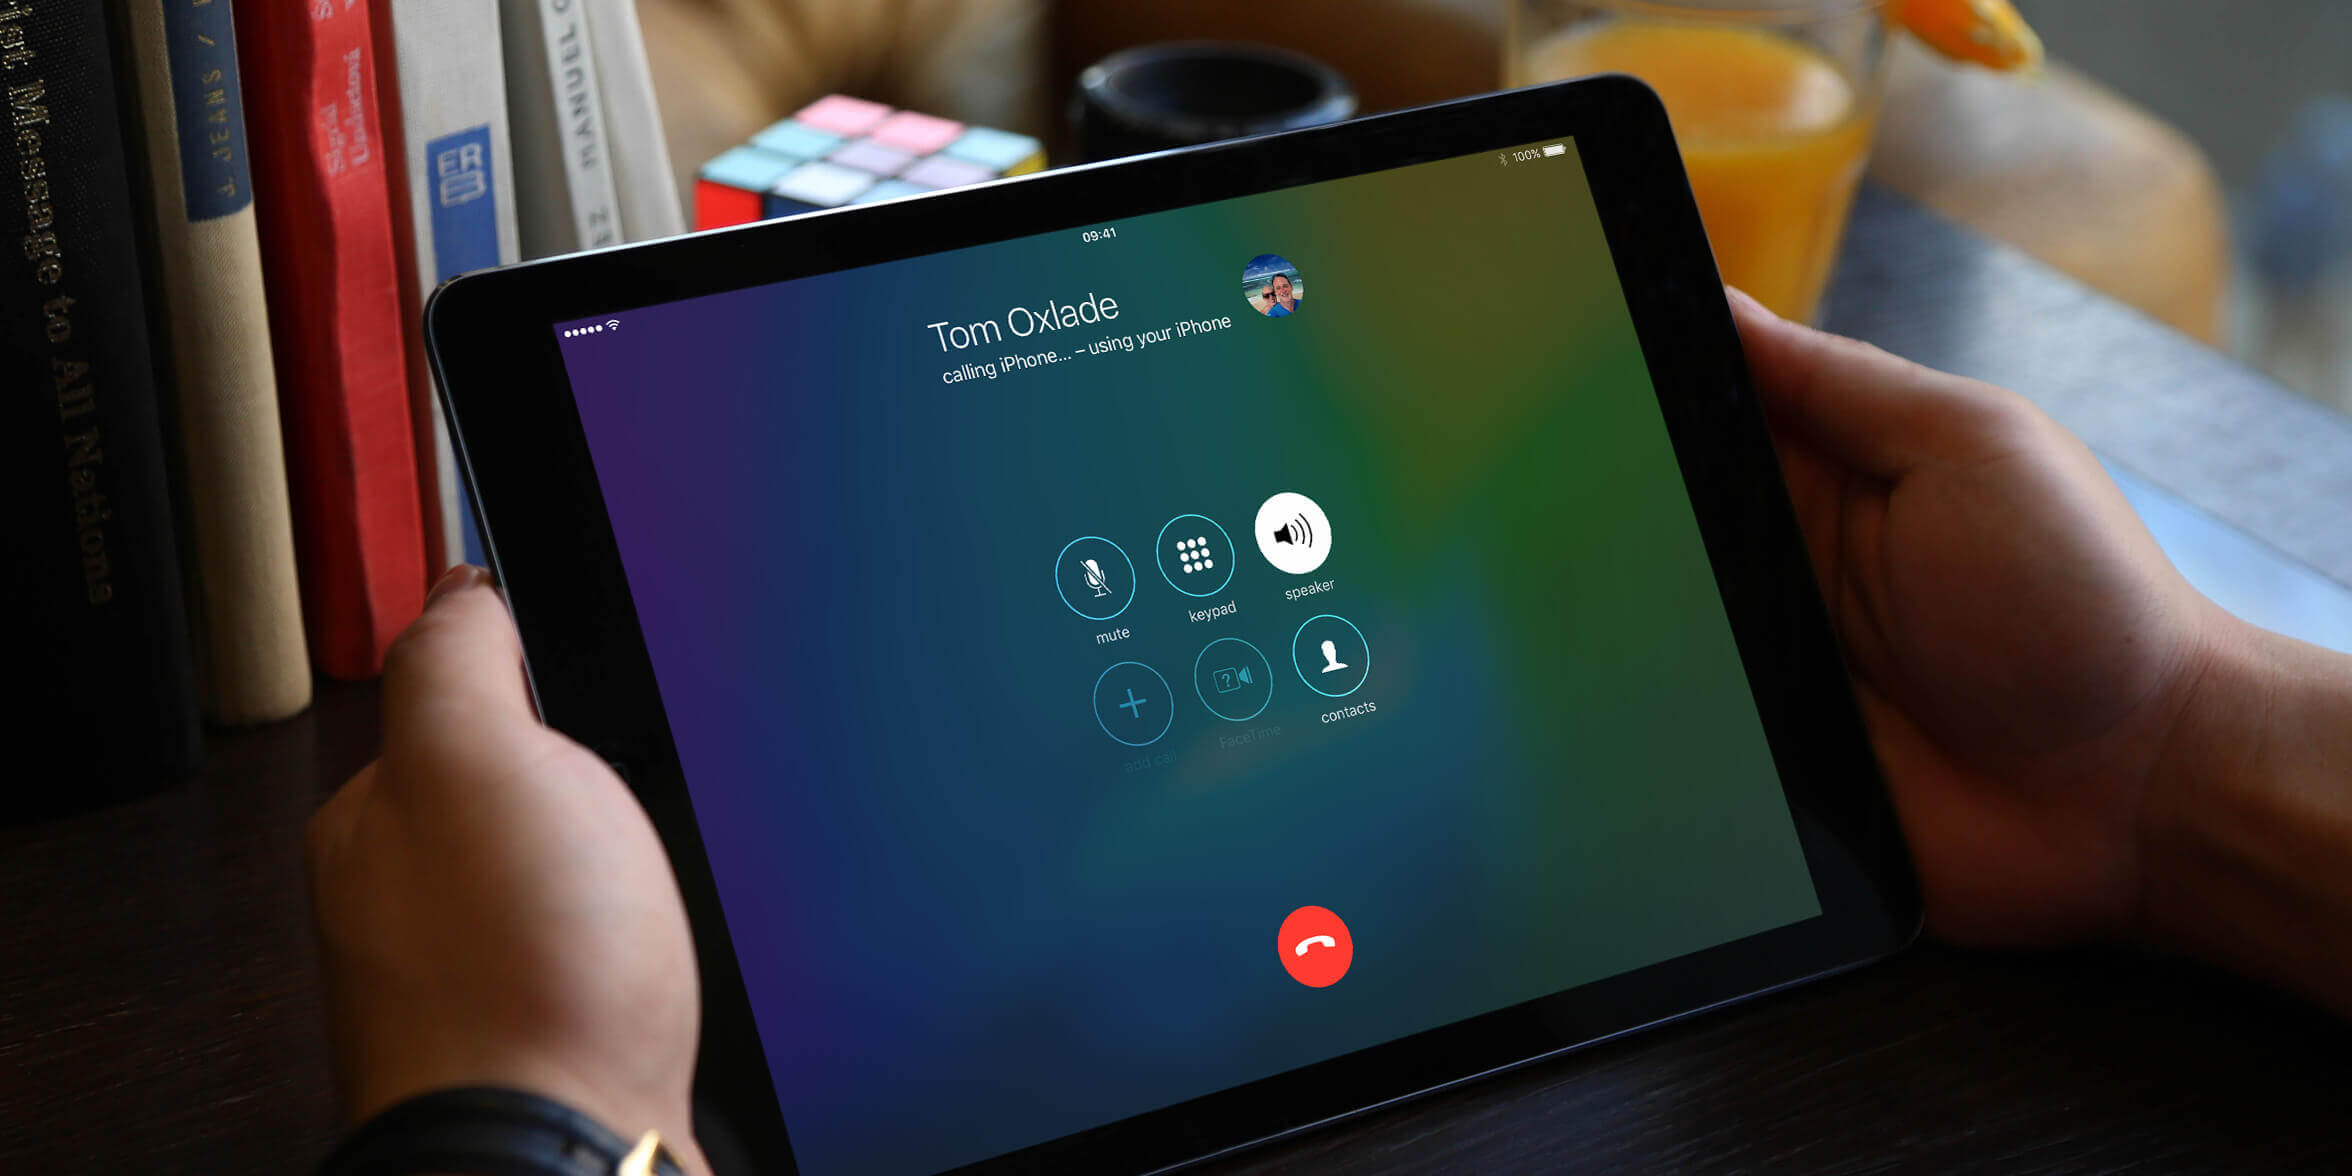
Now that you have set up the phone app and ensured you have an active internet connection, it’s time to make your first phone call using your tablet. Follow these simple steps:
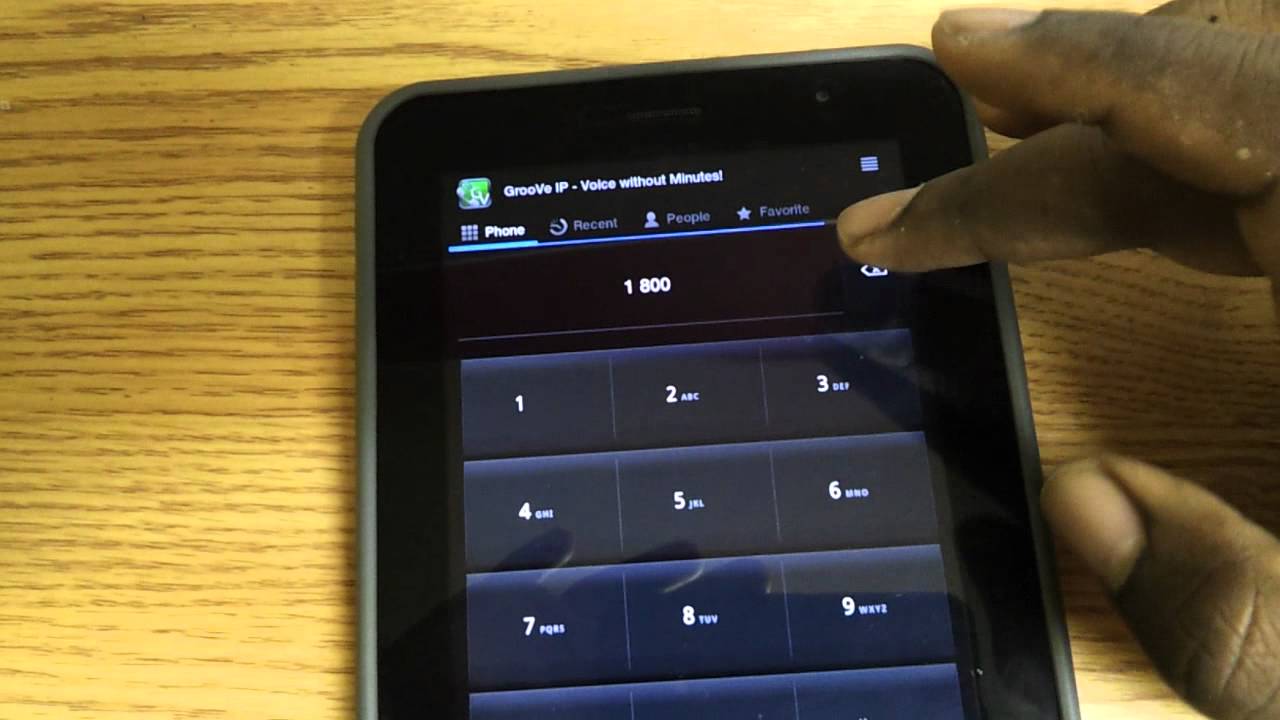
- Open the phone app – Locate the phone app on your tablet and open it. The app icon may resemble a traditional phone or have a distinct dialer interface.
- Enter the phone number – Using the on-screen keypad, enter the phone number you wish to call. Make sure to include the country code if calling an international number.
- Tap the call button – Look for the call button, typically represented by a phone receiver icon, and tap it. This will initiate the call.
- Wait for the call to connect – The phone app will attempt to connect the call. You will hear ringing tones while it establishes a connection with the recipient.
- Communicate during the call – Once the call is connected, you can speak with the recipient using the tablet’s built-in microphone. Hold the tablet close to your mouth for better audio quality.
- End the call – To end the call, simply tap the “End Call” button, usually represented by a red phone receiver icon. The call will be disconnected.
It’s important to familiarize yourself with the phone app’s interface and features. Many phone apps offer additional capabilities such as call logs, voicemail access, and conference call options. Explore the app’s settings to customize features and adjust audio settings to suit your preferences.
Now that you know how to make a phone call using the phone app on your tablet, you can easily reach out to friends, family, and colleagues without switching devices.
In the next step, we’ll discuss how to adjust call settings to optimize your calling experience.
Step 6: Adjust call settings
To enhance your calling experience on your tablet, it’s important to familiarize yourself with the call settings available in your phone app. These settings allow you to customize various aspects of your calls. Here are some common call settings that you may find:
- Call forwarding: This feature enables you to forward incoming calls to a different number. Useful when you want to redirect calls to another device or phone number.
- Call recording: Some phone apps offer the ability to record calls. This can be useful for capturing important conversations or taking notes during business calls.
- Caller ID: You can choose to display your phone number or hide it when making calls. Adjust this setting based on your preference and the situation.
- Do Not Disturb: With this setting enabled, you won’t receive any incoming calls or notifications. It’s useful when you need uninterrupted time or are in a meeting.
- Volume and audio settings: Adjust the call volume, speakerphone volume, and ringtone volume to ensure clear sound during calls. You can also choose to use a Bluetooth headset or earphones for better audio quality.
- Call waiting: If you receive a call while already on a call, the call waiting feature alerts you and allows you to switch between or merge the calls.
To access and adjust these call settings:
- Open the phone app on your tablet.
- Look for the settings icon – it is usually represented by three dots, a gear, or an overflow menu icon.
- Tap on the settings icon to access the settings menu.
- Explore the various options and adjust settings according to your preference.
The availability and layout of call settings may vary depending on the phone app you are using. Take some time to go through the settings menu to familiarize yourself with the options and customize them to suit your needs.
By adjusting the call settings on your tablet, you can optimize your calling experience and tailor it to your personal preferences.
In the next step, we’ll discuss how installing a messaging app can provide you with additional features and communication options.
Step 7: Install a messaging app for additional features
In addition to making phone calls, you can further enhance your communication capabilities on your tablet by installing a messaging app. Messaging apps offer a range of features that allow you to send text messages, make video calls, share media, and more. Here’s how you can install and use a messaging app:
- Open the app store on your tablet.
- Search for messaging apps – Look for popular messaging apps such as WhatsApp, Facebook Messenger, or Telegram. These apps are available for both Android and iOS tablets.
- Read reviews and select an app – Take a moment to read user reviews and ratings to choose a messaging app that suits your needs and has positive feedback.
- Download and install the app – Once you’ve made your selection, tap on the “Download” or “Install” button to download and install the messaging app on your tablet.
- Sign in or create an account – Launch the messaging app and sign in using your existing account or create a new one. You may need a valid phone number or email address to register.
- Explore the app features – Once you’re logged in, familiarize yourself with the various features the messaging app provides. You can send messages, make video calls, create group chats, share photos and videos, and more.
- Add contacts and start communicating – Begin by adding contacts to your messaging app. You can import contacts from your tablet’s address book or manually add them using their phone numbers or usernames, depending on the app.
Messaging apps offer a convenient way to stay connected with friends, family, and colleagues. You can use these apps to send instant messages, make voice and video calls, share files, and even join group conversations.
Remember to adjust the app’s notification settings to receive alerts for new messages or calls. You can also customize other in-app settings, such as privacy options and media download preferences, to suit your preferences.
By installing a messaging app on your tablet, you can expand your communication capabilities beyond phone calls and enjoy a more comprehensive and versatile communication experience.
Now that you have learned how to install a messaging app and explored its features, you’re ready to communicate using your tablet in a variety of ways.
Conclusion
Congratulations! You have now learned how to make phone calls from your tablet. By following the step-by-step guide, you can conveniently use your tablet as a phone, eliminating the need to switch between multiple devices.
We started by checking if your tablet has calling capabilities and setting up a phone app. Then, we activated cellular data or connected to Wi-Fi to ensure a stable internet connection. For tablets with SIM card slots, we covered the process of inserting a SIM card.
You also learned how to make phone calls using the phone app, adjusting call settings to optimize your experience and installing a messaging app for additional features. Now, you can not only make calls but also send messages, share media, and make video calls using your tablet.
Remember to explore the various features and settings of your tablet’s phone and messaging apps to customize them according to your preferences. Whether you’re using an Android tablet or an iPad, you now have the knowledge to fully utilize your tablet’s calling capabilities.
Enjoy the convenience of making and receiving calls, staying connected with your contacts, and embracing a seamless communication experience on your tablet!