Introduction
Welcome to the world of Android tablets, where their versatility knows no bounds. Did you know that it’s possible to use your Android tablet as a phone? That’s right, you can make calls, send text messages, and even use mobile data, just like you would with a traditional smartphone. Whether you’re looking to consolidate devices or simply enjoy the convenience of having everything in one device, turning your Android tablet into a phone is easier than you might think.
In this guide, we’ll walk you through the steps to transform your Android tablet into a fully functional phone. From checking for cellular connectivity and setting up a SIM card to making calls, sending text messages, and managing contacts, we’ve got you covered. We’ll also provide troubleshooting tips to help you navigate any challenges you may encounter along the way.
Before we dive into the details, it’s important to note that not all Android tablets may support cellular connectivity. Some tablets are only equipped with Wi-Fi capabilities, which means they cannot be used as a phone. To ensure that your tablet is eligible for this transformation, the first step is to check for cellular compatibility. If your tablet has cellular capabilities, let’s get started on turning it into a phone!
Step 1: Check for Cellular Connectivity
The first thing you need to do is determine if your Android tablet has cellular connectivity. This means that the tablet is equipped with the necessary hardware to support a SIM card and connect to a mobile network.
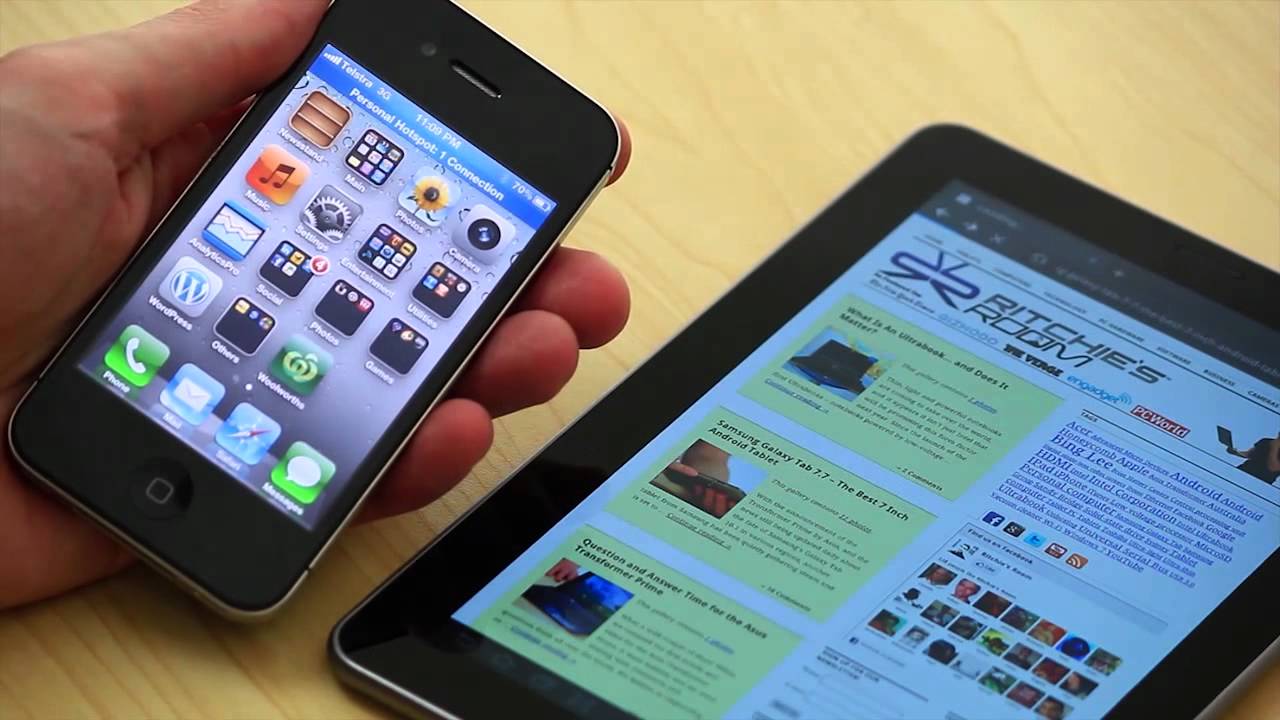
To check for cellular connectivity, you can start by looking for a SIM card slot on your tablet. This slot is usually located on the side or back of the device and is designed for inserting a SIM card, which is essential for cellular communication. If you don’t see a SIM card slot, it means that your tablet does not support cellular connectivity and unfortunately, you won’t be able to use it as a phone.
If your tablet does have a SIM card slot, the next step is to check if it is unlocked or locked to a specific network. An unlocked tablet can be used with any carrier, while a locked tablet is tied to a specific network and may require you to use their services. You can contact your tablet’s manufacturer or your mobile carrier to verify if your tablet is unlocked or locked.
In addition to the hardware, you also need to ensure that your tablet’s software supports cellular features. Check the settings on your tablet and look for options related to mobile networks, cellular data, and SIM card settings. If you find these options, it’s a good indication that your tablet supports cellular connectivity.
Lastly, you can visit your tablet manufacturer’s website or consult the device’s user manual for more information on its cellular capabilities. They may provide detailed specifications or a list of compatible networks that you can use with your tablet.
Once you have confirmed that your tablet has cellular connectivity, you’re one step closer to using it as a phone. In the next step, we’ll guide you through the process of setting up a SIM card on your Android tablet.
Step 2: Set up a SIM card
To use your Android tablet as a phone, you’ll need to set up a SIM card. A SIM card is a small, removable card that stores your subscriber information and allows your tablet to connect to a cellular network. Here’s how to set up a SIM card on your Android tablet:
1. Purchase a compatible SIM card: Contact your mobile carrier to obtain a SIM card that is compatible with your tablet’s network type (such as GSM or CDMA) and size (such as nano or micro).
2. Power off your tablet: Before inserting or removing a SIM card, it’s important to turn off your tablet to prevent any damage to the card or the device.
3. Locate the SIM card slot: Refer to your tablet’s user manual or manufacturer’s website to find the location of the SIM card slot. It is usually located on the side or back of the device.
4. Insert the SIM card: Carefully insert the SIM card into the slot, ensuring that the gold contacts on the card are facing downward and aligning with the corresponding contacts in the slot.
5. Secure the SIM card: Gently push the SIM card until it clicks or locks into place. Some tablets may have a removable tray that needs to be pushed back in.
6. Power on your tablet: After inserting the SIM card, power on your tablet and follow any on-screen instructions related to activating the SIM card.
7. Verify SIM card recognition: Go to your tablet’s settings and navigate to the SIM card or mobile network settings. Here, you should see information about the SIM card, such as the network name, signal strength, and phone number assigned to it.
Setting up a SIM card on your tablet is an important step in using it as a phone. Once your SIM card is inserted and recognized, you can proceed to the next step to activate the cellular service on your tablet.
Step 3: Insert the SIM card
Now that you have obtained a compatible SIM card and powered off your Android tablet, it’s time to insert the SIM card into the designated slot. Follow these simple steps to insert the SIM card correctly:
1. Locate the SIM card slot: Refer to your tablet’s user manual or manufacturer’s website to find the specific location of the SIM card slot. It is typically situated on the side or back of the device.
2. Eject the SIM card tray: Most tablets have a SIM card tray that can be ejected using a SIM card removal tool or a small paperclip. Insert the tool into the small hole present on the side of the tablet and gently press until the tray pops out.
3. Place the SIM card on the tray: Carefully place the SIM card onto the designated area of the tray. Ensure that the gold contacts on the SIM card align with the corresponding contacts on the tray.
4. Insert the tray back into the tablet: Align the tray with the slot and gently insert it back into the tablet. Make sure the tray is securely in place and flush with the device.
5. Power on your tablet: After inserting the SIM card, power on your tablet to initiate the setup process. Follow any on-screen instructions to complete the initialization.
6. Verify SIM card recognition: Once your tablet has powered on, navigate to the “Settings” menu and access the SIM card or mobile network settings. Here, you should see information about the SIM card, such as the network name, signal strength, and phone number assigned to it.
It’s essential to handle the SIM card with care while inserting it into the tablet. Avoid bending or damaging the card and ensure that it is securely placed in the tray. A properly inserted SIM card will enable your tablet to establish a connection with the cellular network, allowing it to function as a phone and utilize various cellular features.
Now that the SIM card is successfully inserted into your tablet, it’s time to move on to the next step: activating the cellular service to make calls and send messages using your Android tablet.
Step 4: Activate the cellular service
With your SIM card inserted into your Android tablet, the next step is to activate the cellular service. Activating the service ensures that your tablet can connect to the mobile network and enables you to make calls, send text messages, and use mobile data. Here’s how to activate the cellular service on your tablet:
1. Contact your mobile carrier: Reach out to your mobile carrier to activate the cellular service on your tablet. They will guide you through the process and provide you with the necessary information, such as the activation code or PIN.
2. Provide your SIM card information: During the activation process, the carrier may require you to provide details about your SIM card, including the SIM card number, ICCID (Integrated Circuit Card ID), and any other information specific to your carrier.
3. Follow the carrier’s instructions: Your mobile carrier will provide step-by-step instructions on how to activate the service. This may involve dialing a specific number or following prompts on your tablet’s screen.
4. Restart your tablet: After successfully activating the cellular service, it is advisable to restart your tablet to ensure that all changes take effect properly.
5. Test the cellular service: Make a test call or send a text message to verify that the cellular service is working correctly on your tablet. If everything is functioning as expected, you can proceed to the next step of setting up a calling app on your device.
It’s important to note that the process of activating the cellular service may vary depending on your mobile carrier and the specific procedures they have in place. Some carriers allow you to activate the service online or through their mobile app, while others may require you to contact their customer support team.
If you encounter any issues during the activation process, reach out to your mobile carrier for assistance. They will be able to troubleshoot any problems and provide you with the necessary support to ensure a seamless activation experience.
Once the cellular service is activated on your tablet, you’re one step closer to using your Android tablet as a phone. In the next steps, we’ll guide you through setting up a calling app, making phone calls, sending text messages, using mobile data, and managing your contacts and call history.
Step 5: Set up a calling app
To fully utilize the phone functionality on your Android tablet, you’ll need a calling app. This app allows you to make and receive calls over the internet using your tablet’s cellular or Wi-Fi connection. Here’s how to set up a calling app on your tablet:
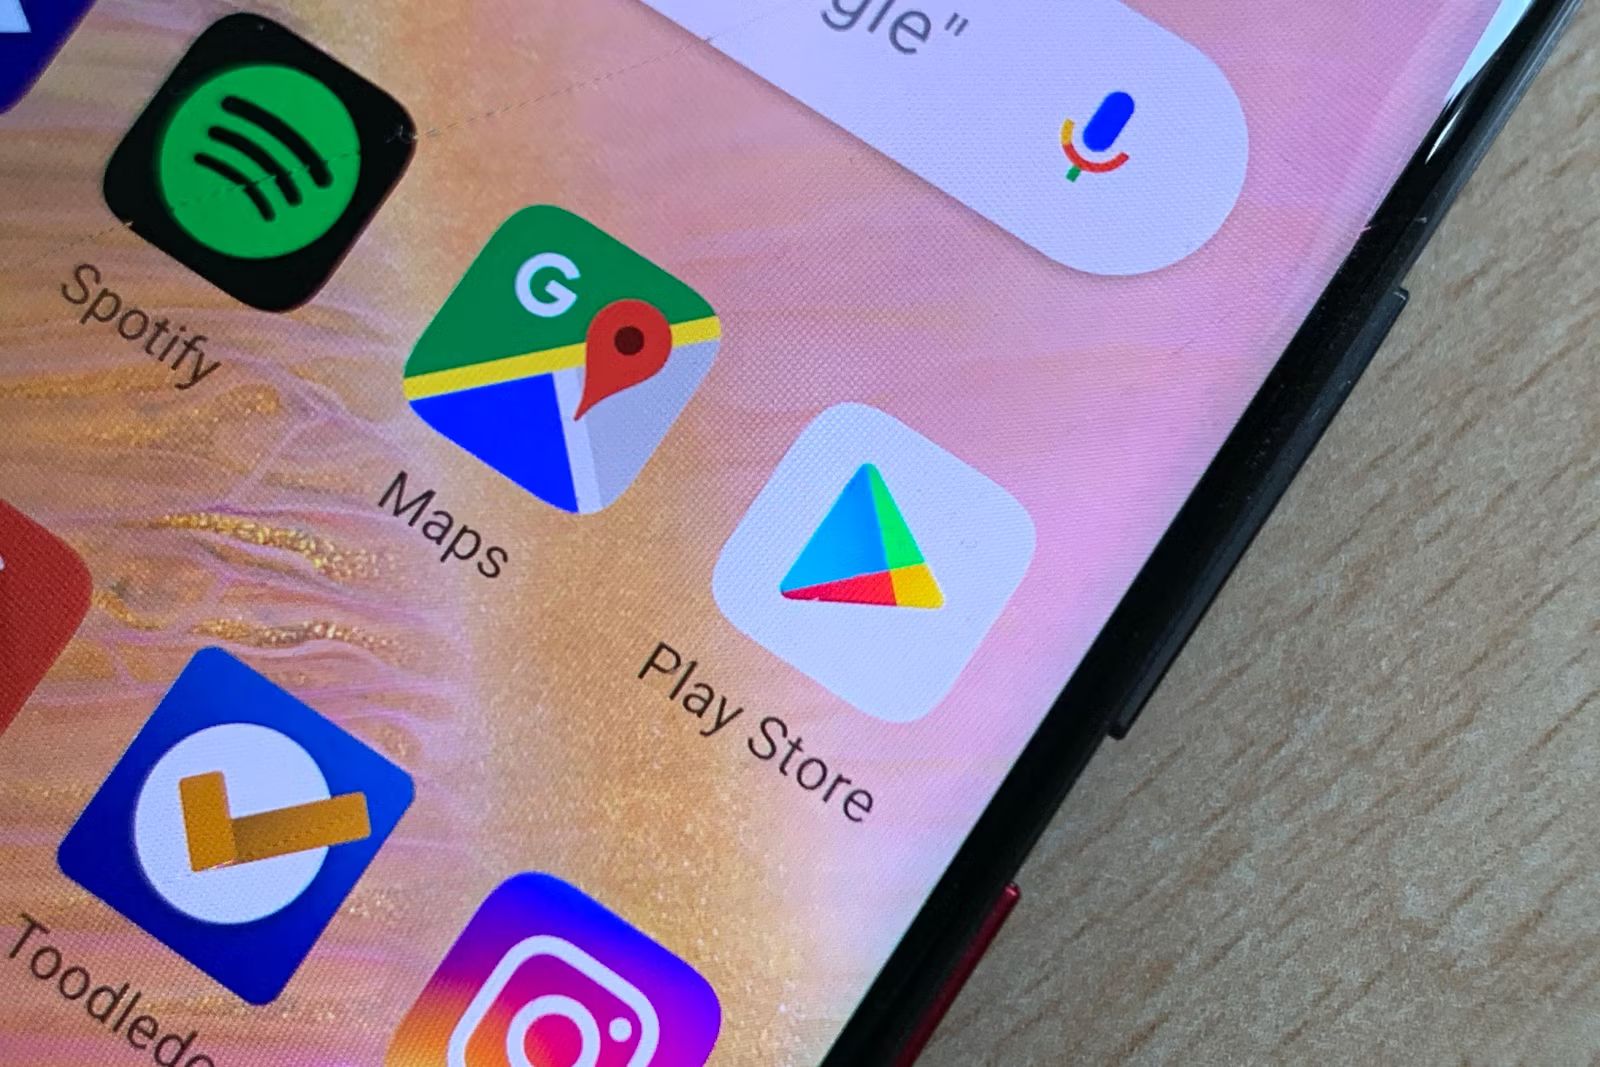
1. Open the Google Play Store: On your tablet, locate and open the Google Play Store app. This is where you can download and install apps on your Android device.
2. Search for a calling app: In the search bar at the top of the Play Store, type in keywords like “calling app,” “VOIP app,” or the name of a specific calling app you want to use, such as Skype or Google Voice.
3. Choose a calling app: Browse through the search results and select a calling app that suits your needs. Pay attention to the app’s features, user reviews, and ratings to make an informed decision.
4. Install the calling app: Tap on the selected app, then click the “Install” button to download and install the app onto your tablet. Wait for the installation process to complete.
5. Open the calling app: Once the app is installed, locate the app icon on your tablet’s home screen or app drawer, and tap on it to open the calling app.
6. Sign in or create an account: Depending on the app, you may need to sign in with your existing account or create a new account. Follow the on-screen prompts to set up your account.
7. Grant app permissions: When prompted, give the calling app the necessary permissions to access features like your microphone, contacts, and call history. This allows the app to operate smoothly and provide enhanced functionality.
8. Configure app settings: Explore the settings of the calling app to customize it according to your preferences. This may include options such as setting up your phone number, enabling additional features, or adjusting audio settings.
After completing these steps, you have successfully set up a calling app on your Android tablet. Now you can start making and receiving calls using the app’s interface. Some calling apps also allow you to send text messages, access voicemail, and perform other phone-related tasks.
Remember to ensure a stable internet connection, either through cellular data or Wi-Fi, to optimize the calling app’s performance and avoid any disruptions during your calls.
In the next step, we’ll guide you through the process of making phone calls using your newly set up calling app on your Android tablet.
Step 6: Make phone calls
Now that you have set up a calling app on your Android tablet, you can start making phone calls right from your device. Here’s how to make phone calls using your new calling app:
1. Open the calling app: Locate the calling app’s icon on your tablet’s home screen or app drawer, and tap on it to open the app.
2. Sign in, if necessary: If you haven’t already signed in to the calling app, you may need to enter your credentials or use any authentication methods required to access your account.
3. Dial a phone number: Once you are signed in, you will typically see a dialer interface within the calling app. Enter the phone number you wish to call using the on-screen keypad. Remember to include the necessary country or area codes.
4. Select the contact from your address book: If you have saved contacts in your tablet’s address book or within the calling app itself, you can choose a contact and initiate the call by tapping on their name.
5. Make the call: After entering the phone number or selecting a contact, tap the “Call” button or a similar icon within the app to initiate the call. The calling app will use your tablet’s internet connection to establish the call.
6. Adjust settings during the call: While on a call, the calling app usually provides options to mute the microphone, switch to speakerphone mode, or enable other features like call recording or video calling. Explore the app’s interface to access these functions if needed.
7. End the call: To end the call, simply tap the “End Call” button or a similar icon within the calling app’s interface. This will disconnect the call.
The calling app’s interface may vary based on the app you choose, but the general process of making calls remains similar. Some calling apps also offer additional features like call forwarding, call waiting, or voicemail access.
It’s important to note that making calls using a calling app requires a stable internet connection, either through cellular data or Wi-Fi. Ensure that you have a reliable internet connection to avoid any disruptions during your calls.
Now that you know how to make phone calls using your calling app, you can communicate with your contacts seamlessly using your Android tablet. In the next step, we’ll guide you through sending text messages from your tablet.
Step 7: Send text messages
Sending text messages is an essential part of staying connected, and with your Android tablet acting as a phone, you can send SMS or text messages using your calling app. Follow these steps to send text messages from your tablet:
1. Open the calling app: Locate the calling app’s icon on your tablet’s home screen or app drawer, and tap on it to open the app.
2. Sign in, if required: If you haven’t already signed in to the calling app, enter your credentials or use any authentication methods necessary to access your account.
3. Access the messaging feature: Within the calling app, look for the messaging feature or tab. This is where you will find options to compose and send text messages.
4. Compose a new message: Tap on the “New Message” or “Compose” button to begin writing a new text message. Choose the recipient by typing their phone number or selecting a contact from your address book, if available.
5. Type your message: Use the on-screen keyboard to enter the content of your text message. Keep in mind that SMS messages often have a character limit, usually around 160 characters. If your message exceeds this limit, it may be sent as multiple SMS messages or converted to a multimedia message (MMS) depending on the app and your carrier’s settings.
6. Add media or attachments (if necessary): Depending on the capabilities of your calling app, you may be able to attach images, videos, or other files to your text message. Explore the app’s interface to find options for including media or attachments, if desired.
7. Send the message: After composing your text message, tap the “Send” button or a similar icon within the calling app to send the message. The app will use your tablet’s internet connection to send the text message.
8. View your conversation history: Within the messaging feature of the calling app, you can also access your conversation history with contacts. This allows you to refer back to previous text messages and continue ongoing conversations.
Sending text messages using your Android tablet is a convenient way to stay in touch with others, especially if you prefer typing out your messages on a larger screen. Remember to ensure a stable internet connection, either through cellular data or Wi-Fi, to successfully send and receive text messages.
In the next step, we’ll cover using mobile data on your tablet, which allows you to access the internet and use various online services while on the go.
Step 8: Use mobile data
Mobile data allows you to access the internet and use various online services on your Android tablet, even when you’re not connected to a Wi-Fi network. Here’s how to use mobile data on your tablet:
1. Ensure mobile data is enabled: To use mobile data, make sure that it is enabled on your tablet. You can find this option in the settings of your device. Navigate to the “Network & internet” or “Connections” settings and look for the option to enable mobile data. Toggle the switch to turn it on if it’s not already enabled.
2. Monitor data usage: It’s essential to keep track of your mobile data usage to avoid exceeding your plan’s limits or incurring additional charges. Most Android tablets have a built-in data usage tracker in the settings. Set up data usage alerts or limits to help you manage your usage effectively.
3. Control app data usage: Some apps consume a significant amount of data, which can quickly eat into your mobile data allowance. To control app data usage, go to the “Data usage” or “App settings” in your tablet’s settings menu. Here, you can restrict background data for specific apps, set data limits for each app, or choose to use data-saving modes.
4. Be mindful of data-intensive activities: Certain online activities, such as streaming videos, downloading large files, or video conferencing, consume a substantial amount of data. Use these data-intensive services sparingly or consider connecting to a Wi-Fi network when engaging in these activities.
5. Set up a mobile hotspot (optional): If you need to share your mobile data connection with other devices, you can set up a mobile hotspot on your tablet. This allows other devices to connect to your tablet’s mobile data network for internet access. You can find the hotspot settings in the “Mobile hotspot” or “Tethering” section of your tablet’s settings.
Using mobile data on your Android tablet ensures that you have a reliable internet connection even when you’re away from Wi-Fi networks. It enables you to browse the web, access email, use social media, and enjoy various online services on the go.
Remember that excessive data usage can lead to high costs or deplete your data allowance quickly. Be mindful of your data usage and try to connect to Wi-Fi networks whenever possible to conserve your mobile data.
In the next step, we’ll guide you through managing your contacts and call history on your Android tablet, allowing you to stay organized and easily access essential information.
Step 9: Manage contacts and call history
Managing your contacts and call history on your Android tablet is important for staying organized and easily accessing essential information. Here’s how to manage your contacts and call history:
1. Access the contacts app: On your Android tablet, locate the contacts app. It is typically represented by an icon that looks like a small silhouette or a person’s head and shoulders. Tap on the app’s icon to open it.
2. Add contacts: To add a new contact, tap on the “Add” or “New Contact” button within the contacts app. Enter the contact’s name, phone number, email address, and any other relevant details. You can also import contacts from other sources, such as your Google account, SIM card, or cloud storage services.
3. Edit and update contacts: To modify existing contacts, locate the contact you wish to edit within the contacts app. Tap on the contact’s name to access their details, and then tap on the “Edit” or “Update” button. Make the necessary changes, such as updating their phone number or adding additional information.
4. Delete contacts: If you no longer need a contact, select the contact within the contacts app and tap on the “Delete” or “Remove” button. Confirm the deletion when prompted.
5. View call history: Open the calling app on your tablet and navigate to the call history or recent calls section. Here, you can view a list of incoming, outgoing, and missed calls. The call history usually includes details such as the contact’s name or phone number, the date and time of the call, and the duration of the call.
6. Filter and sort call history: Some calling apps allow you to filter or sort your call history based on specific criteria, such as missed calls, incoming calls, outgoing calls, or calls within a certain time period. Utilize these options to conveniently access the information you need.
7. Clear call history: If you want to clear your call history, look for the option within the calling app’s settings or call history section. Keep in mind that clearing the call history will remove all records of your past calls.
Managing your contacts and call history helps you keep track of important connections and easily access relevant information when needed. It ensures that you can quickly find and reach out to the people you communicate with frequently.
In the next step, we’ll provide some troubleshooting tips to help you navigate any issues you may encounter while using your Android tablet as a phone.
Step 10: Troubleshooting tips
Using your Android tablet as a phone can be a seamless experience, but you may encounter some issues along the way. Here are some troubleshooting tips to help you resolve common problems:
1. No cellular signal: If you’re not getting a cellular signal on your tablet, check your location to ensure you’re in an area with network coverage. You may also want to restart your tablet or try removing and reinserting the SIM card to establish a connection. If the issue persists, contact your mobile carrier for assistance.
2. Call quality issues: If you experience poor call quality or dropped calls, try moving to an area with a stronger signal or switch to a different calling app. Poor call quality can also be caused by network congestion or a problem with your internet connection. If the issue persists, contact your mobile carrier for further troubleshooting.
3. Unable to send or receive text messages: If you’re having trouble sending or receiving text messages, check your internet connection and ensure that mobile data is enabled on your tablet. Restarting the device or clearing the cache and data of the messaging app may also help resolve the issue. If the problem persists, reach out to your mobile carrier for assistance.
4. App not working properly: If the calling app or any other app related to phone functionality is not working as expected, try updating the app to the latest version from the Google Play Store. If that doesn’t resolve the issue, clear the app’s cache and data, or uninstall and reinstall the app.
5. Battery drains quickly: Using your tablet as a phone can be more power-intensive, causing your battery to drain faster. To improve battery life, reduce the screen brightness, close unused apps running in the background, and limit data-intensive activities when on cellular data. You can also enable the power-saving mode or consider carrying a portable charger for extended usage.
6. Call forwarding issues: If you have set up call forwarding to redirect calls from your phone to your tablet, but it’s not working, double-check the call forwarding settings on your phone and ensure that it’s properly configured. If needed, contact your mobile carrier for assistance in setting up call forwarding correctly.
If none of these troubleshooting tips resolve your issue, it’s recommended to consult the user manual provided with your tablet or reach out to the tablet’s manufacturer or mobile carrier for further assistance. They can provide guided support or additional troubleshooting steps tailored to your specific device.
By following these troubleshooting tips, you can overcome common challenges and ensure a smooth experience while using your Android tablet as a phone.
Conclusion
Congratulations! You’ve successfully learned how to use your Android tablet as a phone. By following the steps outlined in this guide, you can now make phone calls, send text messages, and use mobile data right from your tablet. This allows for greater convenience and flexibility, as you can consolidate your devices and have all your communication needs met in one place.
Remember to check for cellular connectivity and set up a SIM card that is compatible with your tablet. Activate the cellular service and configure a calling app to make and receive calls. Use the messaging feature of your calling app to send text messages. Utilize mobile data to browse the internet and access various online services. Manage your contacts and call history to stay organized and easily access essential information. And when encountering issues, make use of the troubleshooting tips provided to resolve common problems.
With your Android tablet as a phone, you have the freedom to stay connected wherever you go. Whether it’s for work or personal use, this transformation allows you to enjoy the functionalities of a smartphone right on your tablet’s larger screen.
As technology continues to evolve, it’s essential to adapt and make the most out of the devices we have. By harnessing the power of your Android tablet as a phone, you’re maximizing its potential and making your life more convenient and efficient.
So go ahead, make those calls, send those text messages, and stay connected on the go with your Android tablet as your reliable phone companion. Embrace the possibilities, and make the most out of your technology-driven journey!