Introduction
Welcome to our guide on how to replace the battery in your tablet. Over time, the battery life of your tablet may start to diminish, leading to shorter usage time and frequent charging. Instead of replacing the entire device, replacing the battery can be a cost-effective solution to breathe new life into your tablet. Whether you’re experiencing battery issues or simply want to upgrade to a higher-capacity battery, this step-by-step guide will help you through the process.
Before diving into the instructions, it’s essential to note that tablet battery replacements vary depending on the make and model of your device. It is crucial to consult your tablet’s user manual or the manufacturer’s website to ensure the proper battery replacement procedure specific to your tablet. Additionally, if your tablet is still under warranty, it is recommended to check the warranty terms before attempting any battery replacement. If the warranty is still valid, it is advisable to contact the manufacturer or authorized service centers for assistance.
Replacing the battery in a tablet might seem daunting for some, but with the right tools, materials, and a little patience, it can be a straightforward process. In this guide, we will walk you through the basic steps required to replace the battery in most tablets. However, it’s important to stay cautious and work with precision to prevent any damage during the process. The specific steps may vary slightly depending on your tablet’s make and model, so make sure to adapt the instructions accordingly.
By the end of this guide, you’ll have all the necessary knowledge and confidence to safely replace the battery in your tablet. So, let’s gather the tools and materials required and get started with the battery replacement process.
Step 1: Gather the necessary tools and materials
Before you begin the battery replacement process, it’s essential to gather all the tools and materials you’ll need. Here’s a list of common items typically required:
- Replacement battery: Make sure to purchase a compatible battery for your specific tablet model. Check the tablet’s user manual or manufacturer’s website for the recommended battery.
- Screwdriver: Most tablets require a small screwdriver, such as a Phillips or Torx screwdriver, to remove the back cover and secure the battery.
- Plastic pry tool: A plastic pry tool is useful for gently prying open the tablet’s back cover without causing any damage.
- Tweezers: Tweezers can come in handy for disconnecting and reconnecting small connectors or cables.
- Anti-static wrist strap: To prevent any static electricity discharge that could potentially damage sensitive internal components, wearing an anti-static wrist strap is recommended.
- Clean cloth or microfiber cloth: A clean cloth or microfiber cloth can be used to wipe away any dust or debris during the battery replacement process.
- Adhesive strips or adhesive glue: Some tablets may require adhesive strips or adhesive glue to secure the battery in place. Check the instructions specific to your tablet model.
Ensure that you have all the tools and materials readily available before proceeding with the battery replacement. This will help streamline the process and prevent any delays that might occur if you have to search for missing items midway.
Once you have gathered all the necessary tools and materials, you’re ready to move on to the next step – powering off the tablet.
Step 2: Power off the tablet
Before you begin working on your tablet, it’s crucial to power it off to avoid any potential electrical hazards and prevent damage to the device or yourself. Here’s how to properly power off your tablet:
- Ensure that your tablet is charged above 20%, as low battery levels can sometimes interfere with the shutdown process.
- Press and hold the power button on your tablet until a menu appears on the screen.
- On the menu, look for the “Power Off” or “Shutdown” option. The specific wording may vary depending on your tablet’s make and model.
- Select the “Power Off” or “Shutdown” option and wait for the tablet to completely turn off.
Once the tablet is powered off, it’s a good idea to double-check that the screen is completely black and there are no lights or activity on the device. This ensures that it is safe to proceed with the battery replacement without any potential power source interference.
Remember to handle your tablet with caution, especially when it’s powered off, to prevent any accidental damage. Now that your tablet is safely powered off, let’s move on to the next step – locating and removing the back cover.
Step 3: Locate and remove the back cover
With the tablet powered off, it’s time to locate and remove the back cover. The back cover is typically held in place by clips or screws, depending on the tablet’s design. Here’s a general outline of the process:
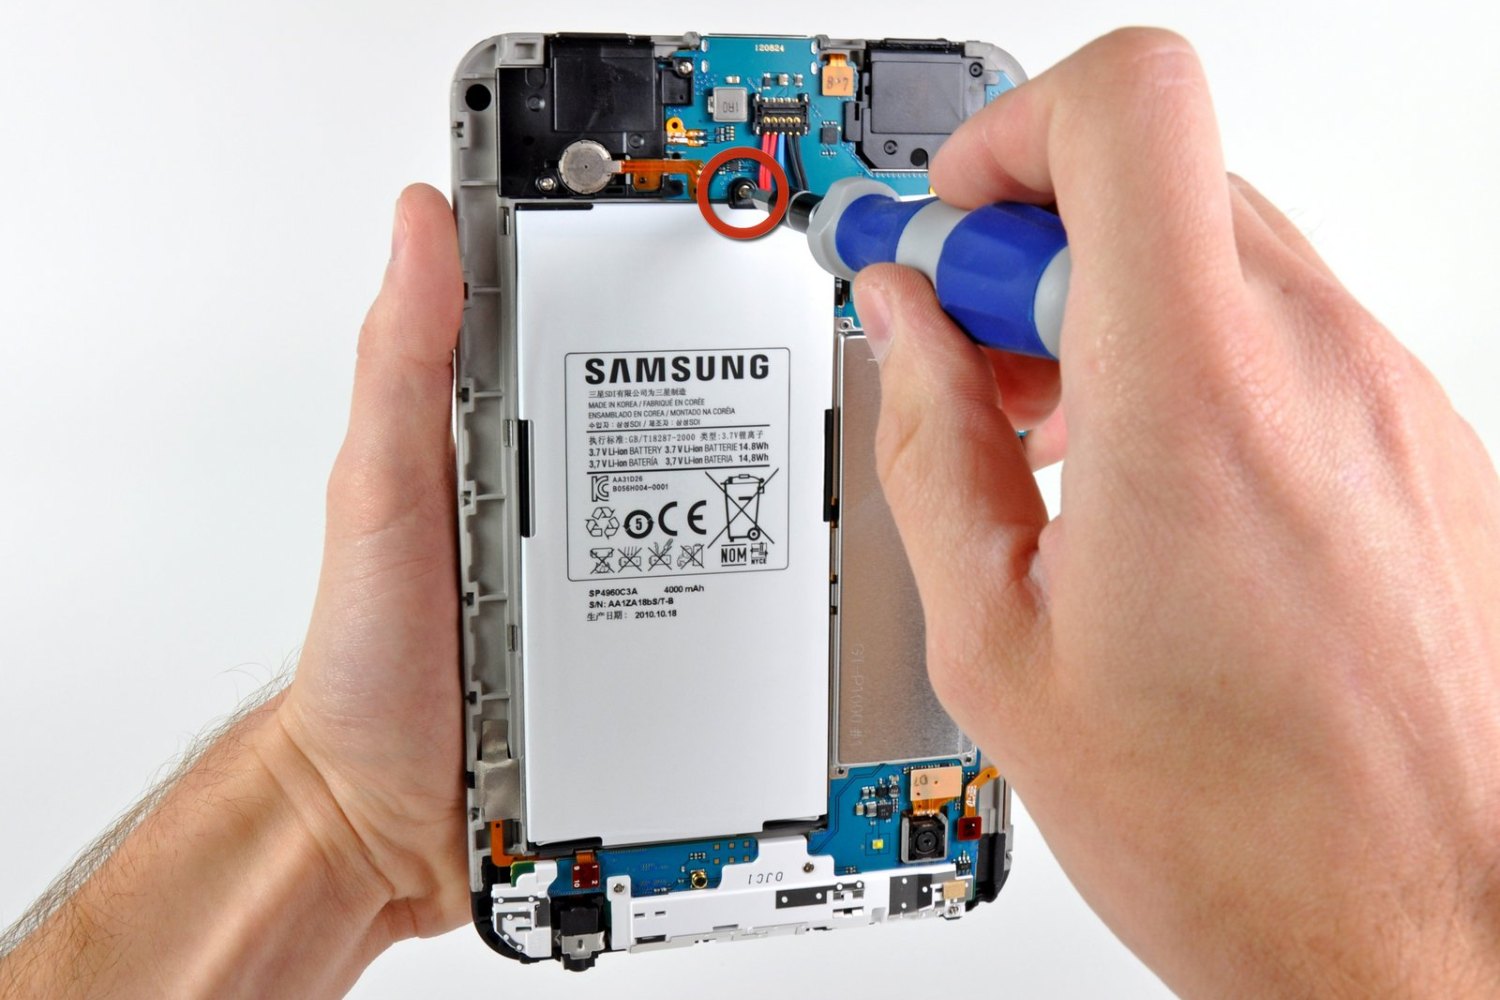
- Inspect the edges of your tablet to determine if it has any visible screws. If there are screws present, you’ll need to use a screwdriver to remove them. If there are no visible screws, it’s likely that the back cover is held in place by clips.
- If your tablet has screws, carefully unscrew them with the appropriate screwdriver. Make sure to keep the screws in a safe place to avoid misplacing them.
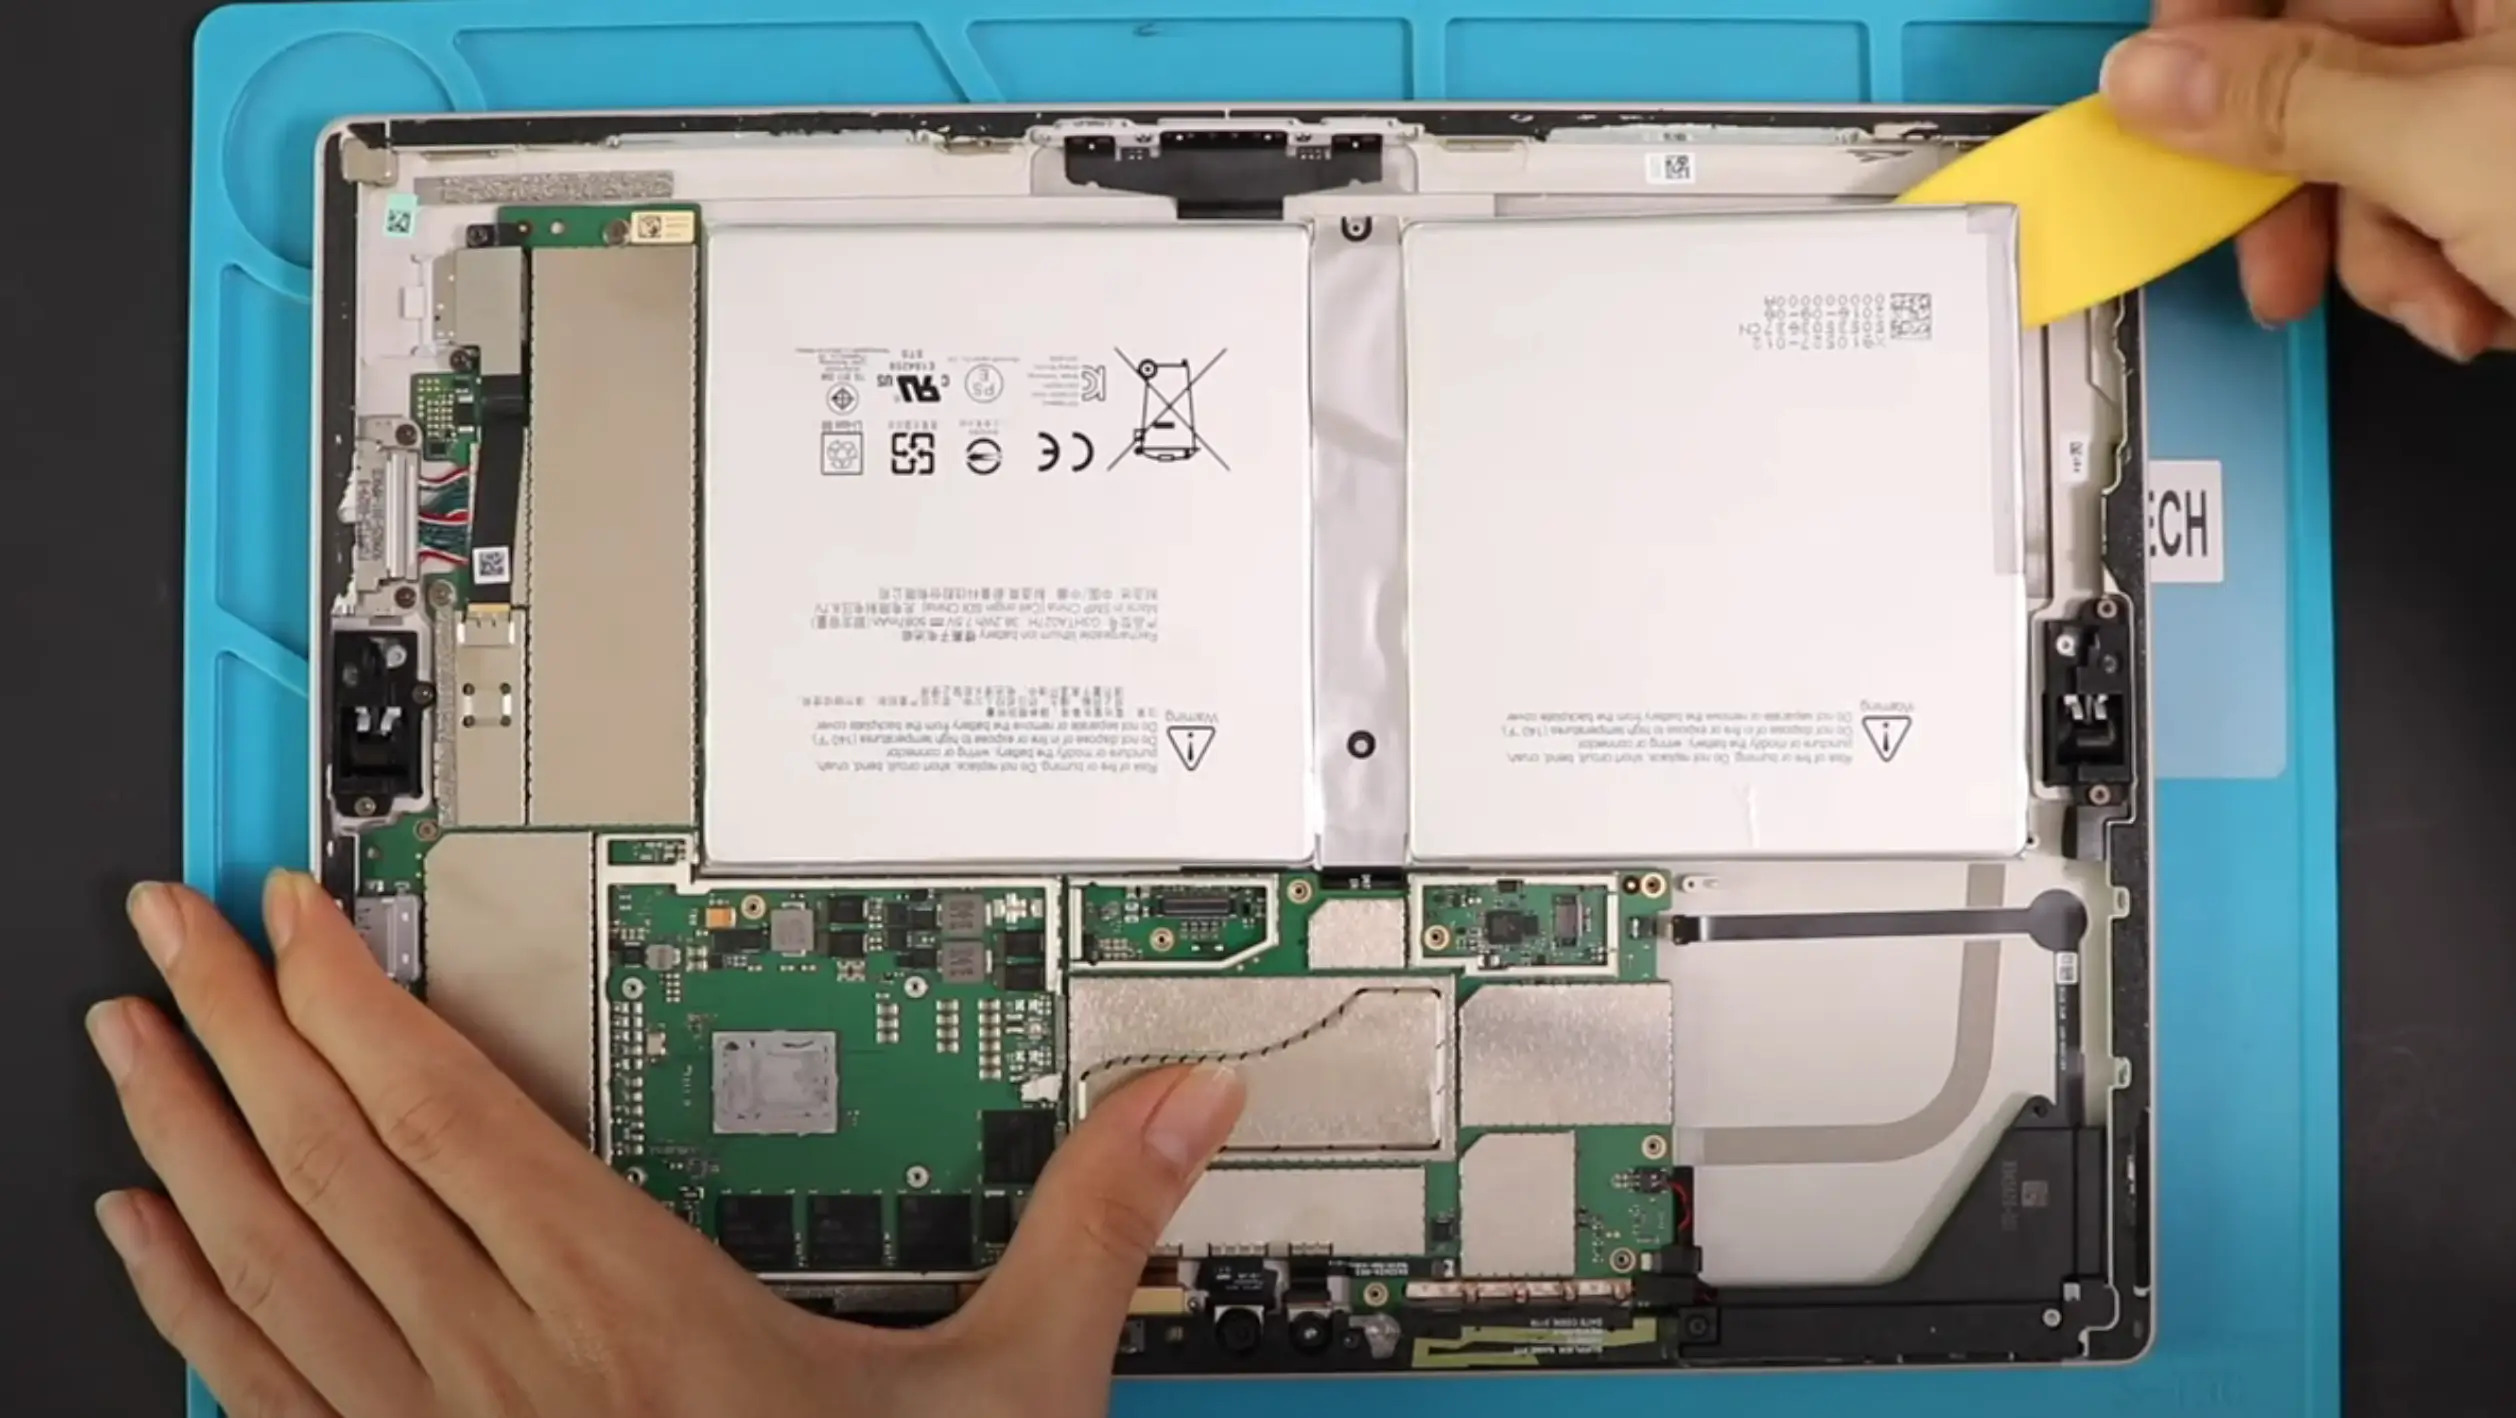
- If your tablet’s back cover is held in place by clips, use a plastic pry tool to gently pry open the cover. Start at one corner or edge and slowly work your way around, applying even pressure.
- As you pry open the back cover, be cautious of any cables or connectors that might be attached. If necessary, use tweezers to disconnect any connectors or cables that are holding the back cover and the battery in place.
- Once all the clips or screws are removed, and any connectors or cables are disconnected, carefully lift off the back cover. Set it aside in a safe place.
Remember to handle the back cover with care to avoid any unnecessary damage or bending. Excessive force can lead to cracks or breaks, which may affect the reassembly of your tablet later on.
Now that you have successfully located and removed the back cover, you can proceed to the next step – disconnecting the battery.
Step 4: Disconnect the battery
Now that you have accessed the inner components by removing the back cover, it’s time to disconnect the battery from the tablet. Disconnecting the battery ensures a safe and uninterrupted power supply during the battery replacement process. Here’s how to disconnect the battery:
- Locate the battery within the tablet. It is usually a rectangular-shaped component and might have a connector attached to it.
- Inspect the battery connector to identify how it is secured. It may be held in place with a small latch or clip.
- If there is a latch or clip, carefully use a pair of tweezers or your fingers to release it, gently pulling it away from the battery connector.
- If there is no latch or clip, the connector might have a plastic tab that needs to be lifted or pulled out. Use a plastic pry tool or your fingers to carefully lift the tab away from the connector.
- Once the latch, clip, or plastic tab has been released, gently pull the battery connector away from the tablet, disconnecting it from the power supply.
Make sure to handle the battery and connector with care, applying even pressure and avoiding any excessive force. If the battery connector feels resistant, double-check for any additional latches or clips that may be securing it. It’s important to be patient and take your time during this step to avoid damaging the battery or any other internal components of the tablet.
With the battery now disconnected, you’re ready to proceed to the next step – removing the old battery.
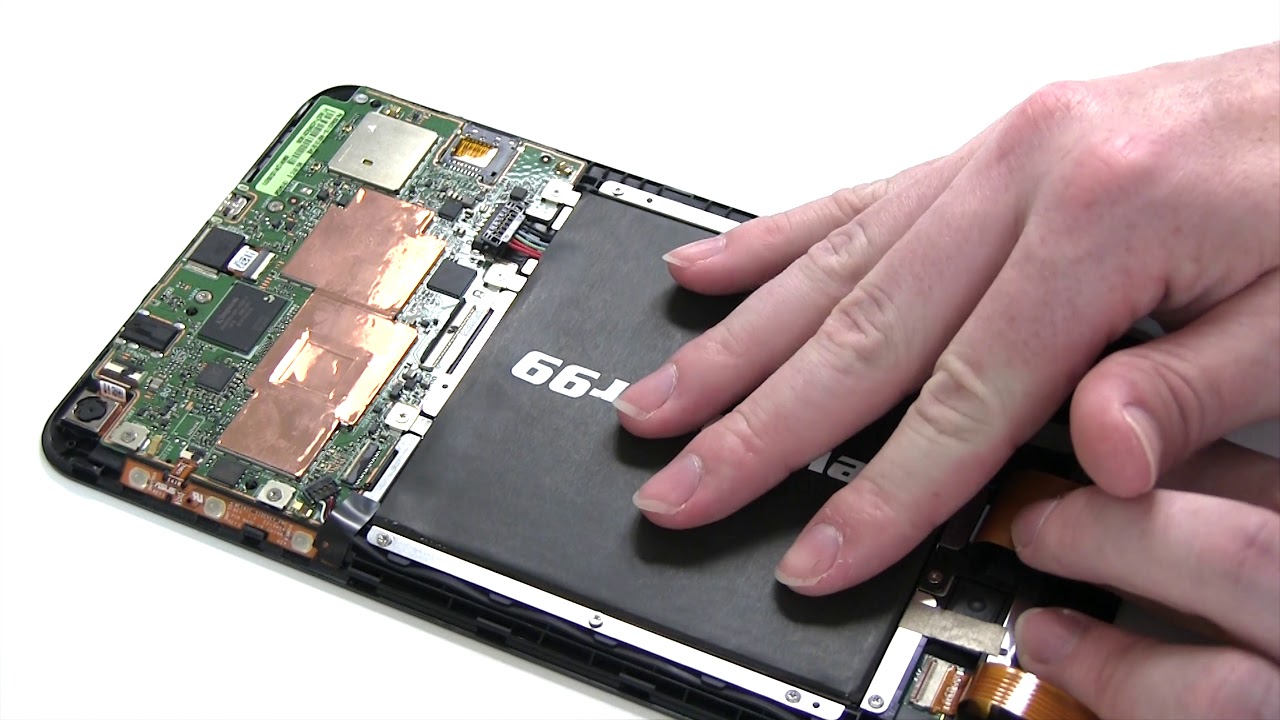
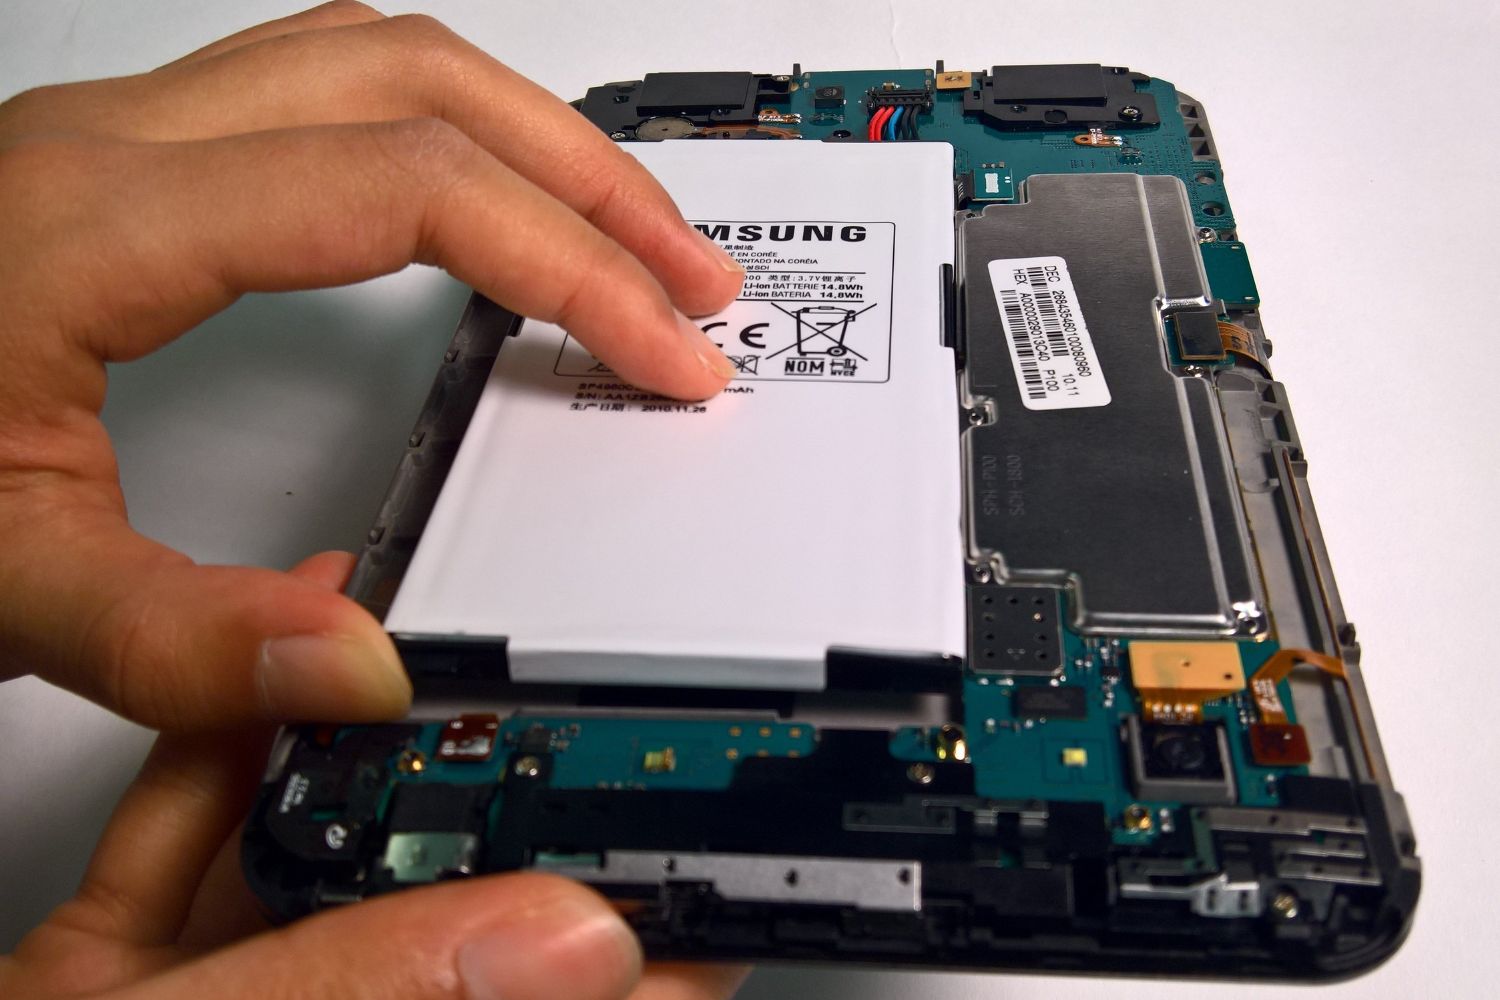
Step 5: Remove the old battery
Now that the battery is disconnected, it’s time to remove the old battery from your tablet. Here’s how to safely remove the old battery:
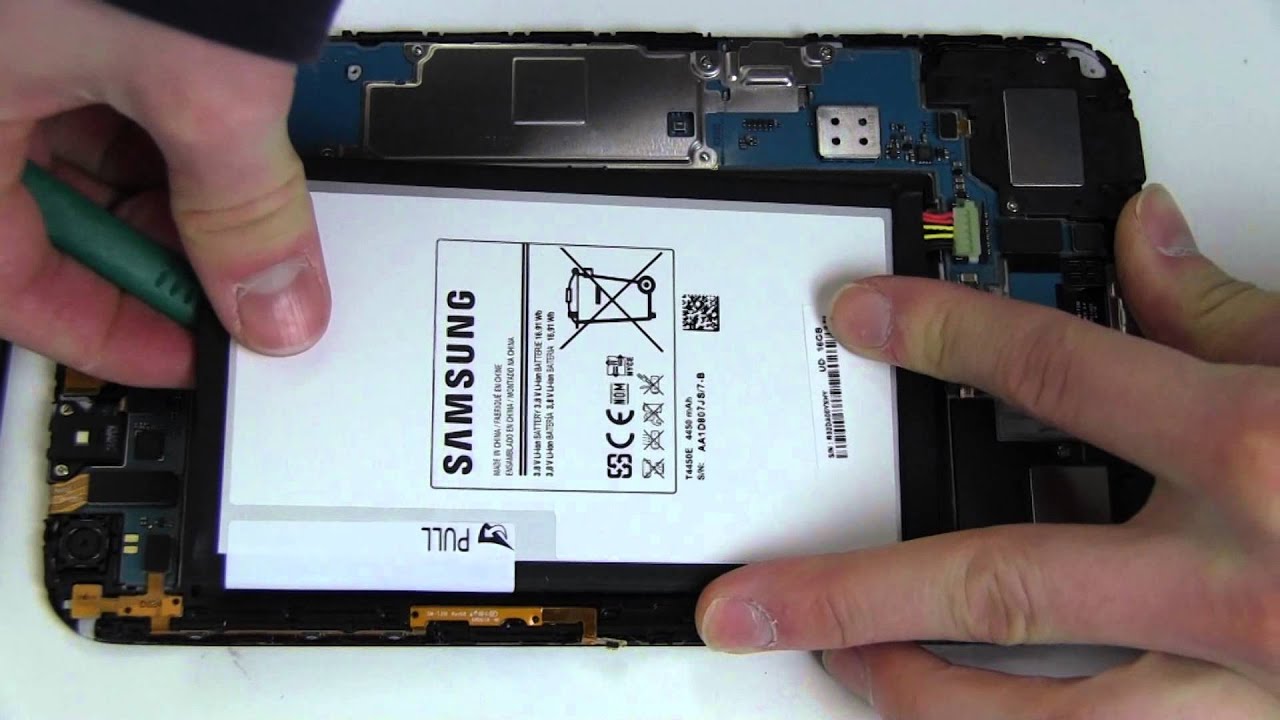
- Inspect the old battery to identify any adhesive or securing mechanisms. Some tablets have adhesive strips or adhesive glue that hold the battery in place.
- If your tablet has adhesive strips, locate the ends of the strips and gently pull them to release the adhesive grip on the battery. Slowly peel the strips away from the battery, taking care not to apply excessive force that could damage the strips or the battery.
- If your tablet has adhesive glue, use a plastic pry tool or a spudger to carefully and gently separate the battery from the tablet’s frame. Apply even pressure and work your way around the edges of the battery until it becomes loose.
- Once the battery is no longer secured by adhesive strips or glue, lift it carefully from the tablet, keeping it level and avoiding any sudden movements.
When removing the old battery, it’s crucial to handle it with care. Batteries can be sensitive to pressure, heat, and moisture. Avoid bending or puncturing the battery, as this can lead to hazardous situations. If the old battery shows any signs of damage, swelling, or leakage, take appropriate precautions and dispose of it properly according to local regulations.
Set the old battery aside in a safe place, away from any sources of heat or potential damage. With the old battery removed, it’s time to move on to the next step – installing the new battery.
Step 6: Install the new battery
With the old battery removed, it’s time to install the new battery in your tablet. Installing the new battery will vary depending on the make and model of your tablet, but here are some general steps to guide you through the process:
- Carefully take the new battery out of its packaging and inspect it for any signs of damage or defects. Ensure that it matches the specifications of your tablet model.
- Align the new battery in the correct orientation, making sure the connector on the battery aligns with the corresponding connector inside the tablet.
- If there were adhesive strips or adhesive glue on the old battery, it is recommended to use new adhesive strips or adhesive glue to secure the new battery in place. Follow the manufacturer’s instructions or consult your tablet’s user manual for guidance on the adhesive application.
- Gently lower the new battery into the designated space in the tablet, ensuring it is properly aligned and fully seated.
- If using adhesive strips, press down firmly on the battery to secure it in place. If using adhesive glue, follow the adhesive manufacturer’s instructions on properly securing the battery to the tablet’s frame.
It’s important to note that different tablets may require different methods of securing the battery. Be sure to refer to the manufacturer’s instructions or specific guidelines for your tablet model to ensure proper installation. Take your time to ensure a secure and stable placement of the new battery, as any loose connections may affect the performance and longevity of the battery.
Once the new battery is securely installed, you’re ready to move on to the next step – reconnecting the battery.
Step 7: Reconnect the battery
Now that the new battery is in place, it’s time to reconnect it to the tablet’s power supply. Follow these steps to successfully reconnect the battery:
- Locate the battery connector on the tablet’s motherboard or circuit board. Align the connector on the battery with the corresponding port on the tablet.
- Gently insert the battery connector into the port, making sure it is properly aligned. Apply slight pressure until you feel the connector smoothly slide into place.
- If there is a latch, clip, or plastic tab securing the battery connector, carefully push it back into its locked position. Ensure that it is snugly secured to prevent any accidental disconnections.
During the reconnection process, it’s crucial to be gentle and avoid applying excessive force. Take your time to align the battery connector properly to avoid any potential damage. If the connector is not fitting correctly, double-check the alignment and try again, ensuring that the connector is aligned with the port markings.
Once the battery connector is reconnected and secured, double-check that all other connectors and cables removed during the back cover removal process are also securely reconnected. This includes any antennae cables, flex cables, or ribbon cables that may be present. Ensuring a properly connected battery and all other connectors will help prevent any issues with the tablet’s functionality.
Now that the battery is reconnected, we can move on to the next step – replacing the back cover.
Step 8: Replace the back cover
With the battery reconnected, it’s time to securely replace the back cover of your tablet. Follow these steps to ensure a proper reassembly:
- Align the back cover with the tablet’s body, ensuring that all the edges and corners are properly aligned with the corresponding slots or protrusions.
- Gently press down on the back cover, applying even pressure to secure it in place. Start at one corner or edge and gradually work your way around, pressing firmly but not forcefully.
- If your tablet has screws, use the appropriate screwdriver to reinsert and tighten them. Start with one screw and gradually move around, tightening each screw to ensure even pressure.
When securing the back cover, it’s important to be cautious and avoid using excessive force that could potentially damage the cover, the tablet, or any internal components. Take your time to align the back cover correctly, and ensure that it sits flat against the tablet’s body without any gaps.
If your tablet’s back cover was held in place by clips, listen for a satisfying click or snapping sound as the clips engage. This indicates that the back cover is securely fastened. Give the entire back cover a gentle press to confirm that it fits snugly.
Once the back cover is securely in place, visually inspect the edges and corners to ensure that it is aligned and fitted correctly. If there are any gaps or misalignments, gently remove and reposition the back cover to achieve a proper fit.
With the back cover replaced, we’re almost done. All that’s left is to power on your tablet, and you’ll be able to enjoy the benefits of the new battery.
Step 9: Power on the tablet
Now that you have successfully replaced the battery and reattached the back cover, it’s time to power on your tablet and ensure that everything is functioning correctly. Here’s how to power on your tablet:
- Locate the power button on your tablet. It is typically located on the side or top of the device.
- Press and hold the power button until you see the tablet’s logo or the screen lights up.
- Once the tablet is powered on, observe the display to ensure that it is functioning correctly, and there are no abnormal visuals or error messages.
- If the tablet powers on successfully, allow it to boot up completely. This may take a few moments, depending on the tablet’s speed and performance.
- Once the tablet has booted up, navigate through the menu or home screen to ensure that all the functions and features are working as expected.
During the power-on process, pay attention to any warning messages or prompts that may indicate a problem with the battery replacement. If you come across any error messages or abnormal behavior, it’s important to refer to the tablet’s user manual or consult with a professional for further assistance.
After confirming that the tablet is functioning correctly, let it run on battery power for a while to test the battery life and ensure that it is charging properly. Monitor the battery level and usage to see if there is a noticeable improvement in battery performance compared to the old battery.
Congratulations! You have successfully replaced the battery in your tablet and powered it on. Enjoy using your tablet with an extended battery life and enhanced performance.
Conclusion
Congratulations on successfully replacing the battery in your tablet! By following the step-by-step guide outlined in this article, you have taken the initiative to improve your tablet’s battery life and functionality. The process may have seemed daunting at first, but with the right tools, materials, and patience, you have accomplished a cost-effective alternative to purchasing a new device.
Remember, the process of replacing the battery may vary slightly depending on the make and model of your tablet. Always consult your tablet’s user manual or the manufacturer’s website for specific instructions tailored to your device.
Throughout this guide, you learned the importance of gathering the necessary tools and materials, powering off the tablet, locating and removing the back cover, disconnecting the battery, removing the old battery, installing the new battery, reconnecting the battery, replacing the back cover, and finally, powering on the tablet to ensure proper functionality.
It’s crucial to follow each step carefully, handling the tablet and its components with care to prevent any inadvertent damage. Take your time during the process to ensure a successful battery replacement.
Now that your tablet has a fresh battery, you can enjoy extended usage time and improved productivity. Remember to keep an eye on the battery’s performance and consider implementing best practices for battery maintenance, such as avoiding overcharging and keeping the device in a cool, dry environment.
We hope that this guide has been helpful in guiding you through the battery replacement process in your tablet. If you have any further questions or concerns, don’t hesitate to consult the manufacturer’s support resources or seek assistance from a professional technician.
Thank you for taking the time to read this guide, and we wish you countless hours of uninterrupted tablet usage with your newly replaced battery!