Introduction
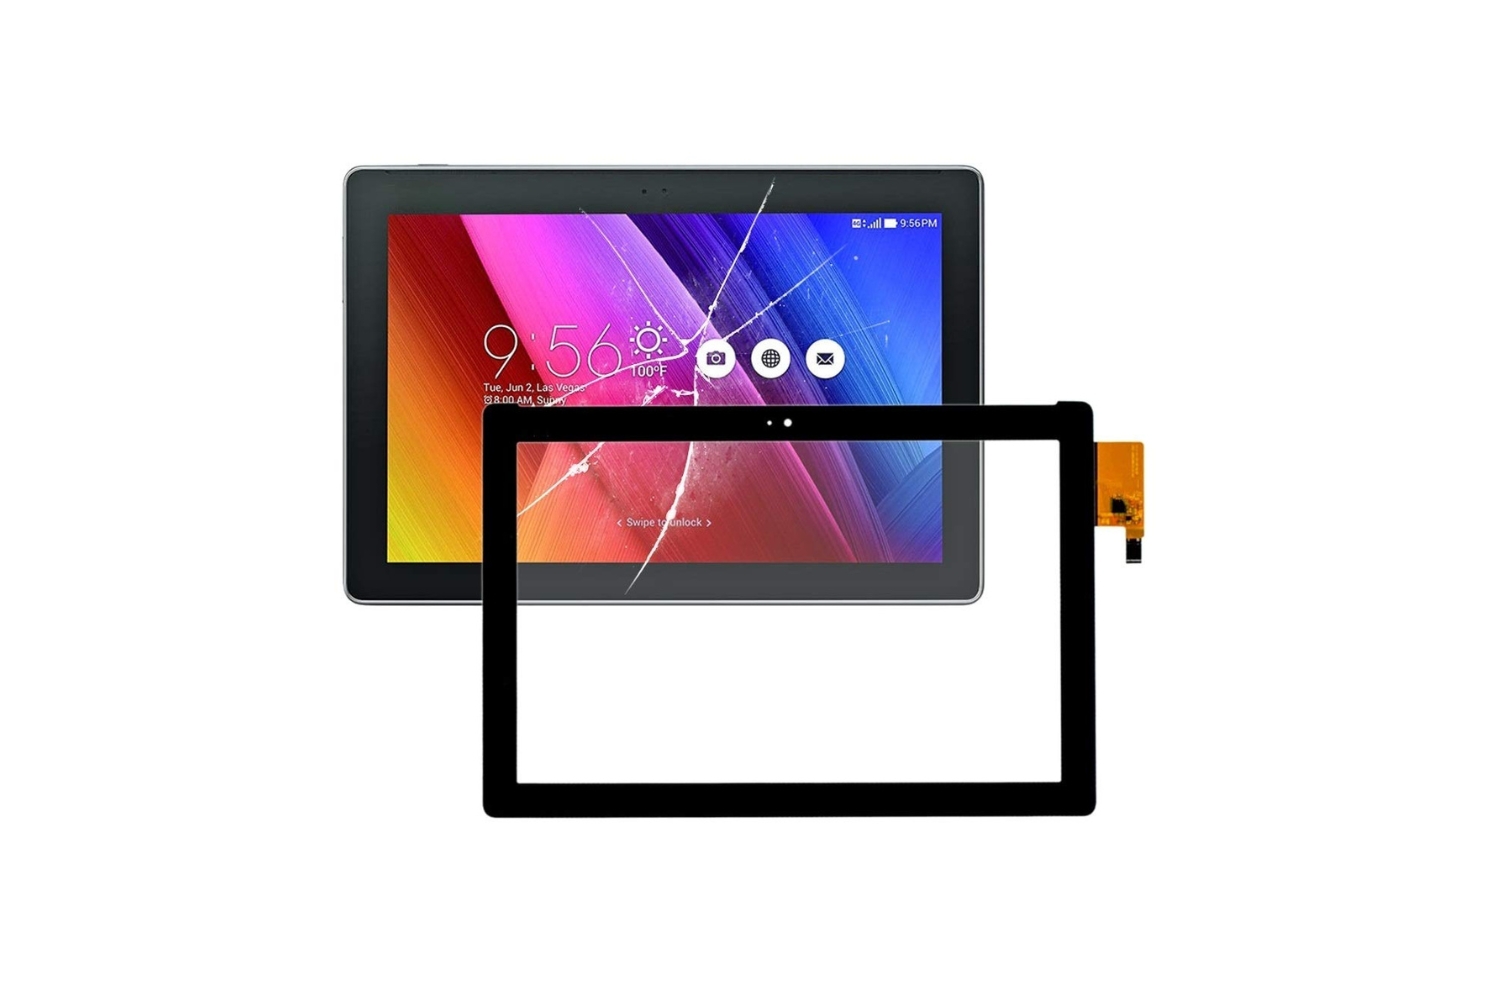
The battery is an essential component of any electronic device, including tablets. Over time, the battery of an Asus tablet may start to degrade, resulting in a shorter battery life and decreased performance. When this happens, it becomes necessary to replace the battery to ensure optimal functioning of the tablet.
In this guide, we will take you through the step-by-step process of replacing the battery in your Asus tablet. By following these instructions, you will be able to replace the battery yourself, saving time and money on professional repairs or replacements.
Before starting the battery replacement process, it is important to gather the necessary tools and materials. Having everything prepared in advance will make the process smoother and more efficient. Additionally, taking proper safety precautions, such as wearing gloves and working in a clean and well-lit area, is recommended to prevent any accidents or damage to the tablet.
Replacing the battery in your Asus tablet can help restore its battery life, allowing you to enjoy longer usage times without constantly charging. It can also improve overall performance and efficiency. So, without further ado, let’s dive into the step-by-step process of replacing the battery in your Asus tablet and bring new life to your device!
Tools and Materials Needed
Before you begin the battery replacement process, it’s important to have the following tools and materials ready:
- Replacement battery: Make sure you have the correct replacement battery for your specific Asus tablet model. Check the model number and specifications to ensure compatibility.
- Screwdriver set: Depending on your tablet model, you may need a Phillips or Torx screwdriver to remove the screws securing the back cover.
- Plastic opening tool: This tool will come in handy to gently pry open the back cover without scratching or damaging the tablet’s surface. A plastic card or guitar pick can also be used as an alternative.
- Tweezers: Tweezers will help you handle small screws and connectors with precision, making the process easier.
- Adhesive tape: Some replacement battery kits may include adhesive tape for securing the new battery in place. If not, you can use double-sided adhesive or strong adhesive tape to ensure a secure fit.
- Microfiber cloth: A soft microfiber cloth will help you clean the tablet and remove any dust or fingerprints from the surfaces.
- Gloves: Wearing gloves is recommended to protect your hands while handling the tablet and components. It will also prevent the transfer of oils or moisture onto sensitive parts.
- Work surface: Find a clean, well-lit, and flat surface to perform the battery replacement. This will prevent accidental damage and allow you to keep track of small screws and other components.
Having these tools and materials ready before you start the battery replacement process will ensure a smooth and successful transition. Now that you have everything prepared, let’s move on to the step-by-step process of replacing the battery in your Asus tablet.
Step 1: Power off the tablet
The first step in replacing the battery of your Asus tablet is to properly power it off. This is essential to ensure your safety and prevent any damage to the device during the battery replacement process.
To power off your tablet, follow these simple steps:
- Press and hold the Power button located on the side or top of your tablet.
- A menu will appear on the screen with different options such as Power Off, Restart, and Airplane Mode.
- Select the “Power Off” option by tapping on it or using the volume buttons to navigate and the Power button to confirm.
- Wait for a few seconds until the tablet completely shuts off.
Ensure that the tablet is completely powered off before proceeding to the next steps. This will prevent any accidental power surges or damage to the internal components while working on the battery replacement.
Once the tablet is powered off, you can proceed to the next step of removing the back cover to access the battery compartment.
Step 2: Remove the Back Cover
With the tablet powered off, we can now move on to removing the back cover to gain access to the battery. Follow these steps to safely remove the back cover:
- Place your tablet on a flat and clean surface, with the screen facing down.
- Inspect the edges of the back cover to locate any screws or clips that may be securing it in place.
- Using the appropriate screwdriver, carefully remove any screws found along the edges of the back cover. Set the screws aside in a safe place so they won’t get lost.
- If your tablet does not have any visible screws, it likely has a clip-on back cover. In this case, use a plastic opening tool or a plastic card to gently pry open the edges of the back cover. Apply even pressure and work your way around the edges until the cover starts to come loose.
- Once the back cover starts to loosen, use your fingers to carefully lift it up and detach it from the tablet. Be mindful of any ribbon cables or connectors that may be attached to the back cover, and gently unclip or disconnect them if necessary.
- Set the back cover aside in a safe place, away from any dust or debris.
Removing the back cover may require some patience and precision, especially if there are clips or adhesive securing it. Take your time, be gentle, and ensure that you do not exert too much force to avoid damaging the tablet or its internal components.
With the back cover successfully removed, we can now proceed to the next step of disconnecting the battery in preparation for its replacement.
Step 3: Disconnect the Battery
Now that the back cover has been removed, we can proceed with disconnecting the battery from the tablet’s internal circuitry. Follow these steps to safely disconnect the battery:
- Locate the battery connector on the motherboard of your tablet. It is usually a small white or black rectangular connector with a thin ribbon cable.
- Gently lift the plastic tab securing the battery connector. You may need to use a plastic opening tool or your fingertips to lift it.
- Once the tab is lifted, carefully pull the battery connector out of its socket. Ensure that you pull it straight and avoid applying excessive force to prevent any damage to the connector or the motherboard.
- Once the battery connector is disconnected, double-check to make sure it is completely detached.
Disconnecting the battery is a crucial step to ensure your safety while working on the tablet’s internal components. By disconnecting the battery, you prevent any electrical currents from flowing through the device, reducing the risk of accidental damage or injury.
Now that the battery is disconnected, we can proceed with removing the old battery from the tablet.
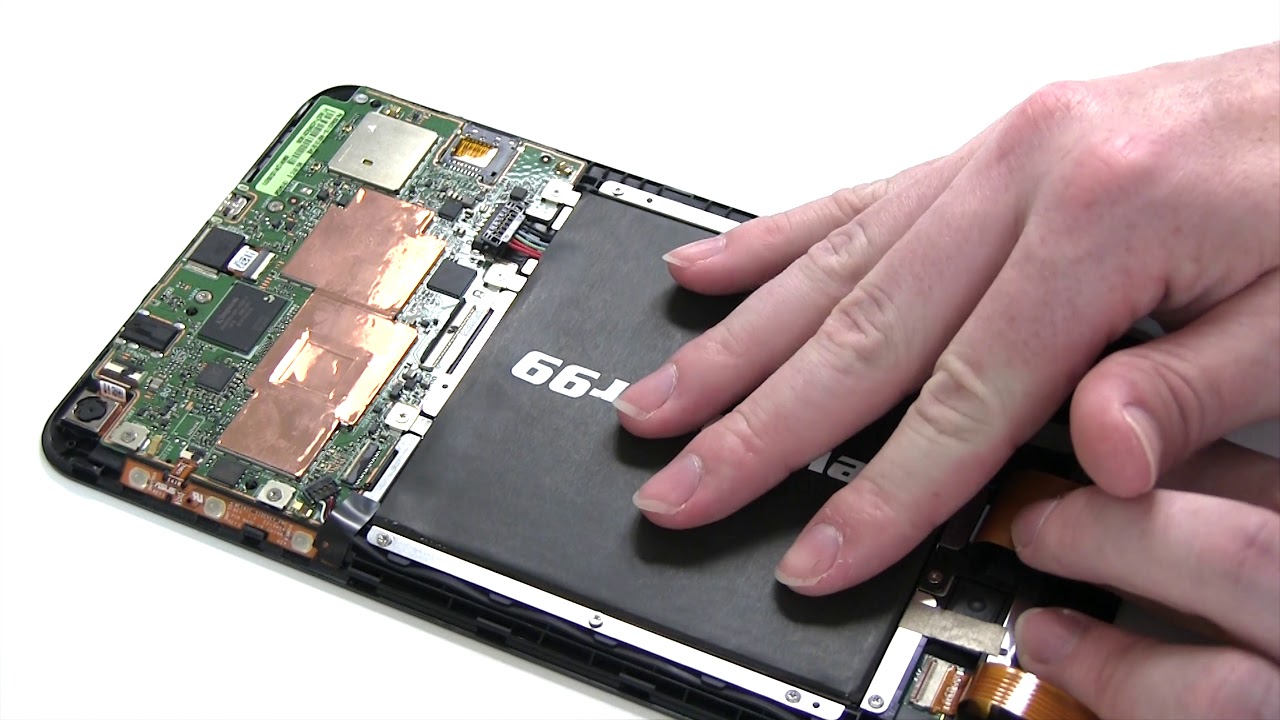
Step 4: Remove the Old Battery
With the battery disconnected, we can now safely remove the old battery from your Asus tablet. Follow these steps to remove the old battery:
- Locate the old battery inside the battery compartment of your tablet. It is usually a rectangular or square-shaped component.
- Take note of how the old battery is positioned and secured in the compartment. This will help you correctly install the new battery later.
- Depending on the model of your tablet, the old battery may be held in place with adhesive tape, screws, or clips. Take note of the attachment method and prepare your tools accordingly.
- If adhesive tape is securing the old battery, gently lift the edges of the tape to loosen the battery. Be careful not to damage the tape or the battery in the process.
- If screws are holding the old battery in place, use the appropriate screwdriver to carefully remove the screws. Set the screws aside in a safe place.
- If the old battery is secured with clips, gently release the clips by applying slight pressure and carefully remove the battery from its position.
As you remove the old battery, handle it with care and avoid bending or damaging the battery’s delicate components. Place the old battery aside in a safe location, away from any heat sources or liquids.
With the old battery successfully removed, we can now move on to the next step of installing the new battery in your Asus tablet.
Step 5: Install the New Battery
Now that the old battery has been removed, it’s time to install the new battery in your Asus tablet. Follow these steps to properly install the new battery:
- Take the new battery out of its packaging and ensure it matches the specifications of your Asus tablet model.
- Position the new battery in the battery compartment, aligning it according to the markings or notches present.
- If the new battery came with adhesive tape, remove the backing from the tape to expose the sticky side. Gently press the battery in place, ensuring it adheres securely to the tablet.
- If the battery requires screws to secure it, insert the screws into the designated holes and use the appropriate screwdriver to tighten them. Be careful not to overtighten the screws as it may damage the tablet or the battery.
- If there are clips to hold the battery in place, carefully align the battery with the clips and press it down until it clicks into position.
During the installation process, ensure that the battery is positioned correctly and securely. Avoid applying excessive pressure or force that could potentially damage the tablet or the battery.
Once the new battery is installed, give it a gentle shake or tap to ensure it is properly seated and secure in the compartment.
Now that the new battery is in place, we can move on to the next step of reconnecting the battery to the tablet’s internal circuitry.
Step 6: Reconnect the Battery
With the new battery securely installed in the tablet, it’s time to reconnect it to the internal circuitry. Follow these steps to safely reconnect the battery:
- Locate the battery connector on the tablet’s motherboard, where you previously disconnected it.
- Take the battery connector and align it with the socket on the motherboard.
- Gently insert the battery connector into the socket, making sure it is fully inserted and properly seated.
- Once the battery connector is in place, securely push down the plastic tab to lock it into position. Ensure that the tab is fully secured to prevent any accidental disconnections.
When reconnecting the battery, it’s important to exercise caution and handle the connector carefully. Make sure the alignment is correct, and avoid applying excessive force to prevent any damage to the connector or the motherboard.
Once the battery is reconnected, take a moment to double-check that the connection is secure and all cables and connectors are properly aligned.
Now that the battery is reconnected, we can proceed to the next step of replacing the back cover to complete the battery replacement process.
Step 7: Replace the Back Cover
With the battery properly connected, it’s time to replace the back cover of your Asus tablet. Follow these steps to securely reattach the back cover:
- Take the back cover of your tablet and align it with the edges of the device.
- Gently press the back cover into place, ensuring that it fits snugly and aligns perfectly with the edges of the tablet. Apply even pressure around the edges to ensure a secure fit.
- If your tablet has screws to secure the back cover, use the appropriate screwdriver to insert and tighten the screws back into their original positions. Make sure the screws are snug but not over-tightened.
- If the back cover uses clips to snap into place, press down on the edges of the cover until you hear or feel them click into place.
When replacing the back cover, be careful not to damage any ribbon cables or connectors that may be attached to it. Ensure that all clips, screws, or adhesive tape are properly aligned for a secure and seamless fit.
Once the back cover is securely in place, give the tablet a gentle shake or tap to make sure it is firmly attached.
With the back cover successfully replaced, we can now move on to the final step of powering on the tablet and verifying the battery replacement.
Step 8: Power on the Tablet
Now that the back cover has been securely replaced, it’s time to power on your Asus tablet and ensure that the battery replacement was successful. Follow these steps to power on the tablet:
- Locate the Power button on the side or top of your tablet.
- Press and hold the Power button for a few seconds until the tablet vibrates or displays the manufacturer’s logo on the screen.
- Release the Power button and wait for the tablet to boot up.
- Once the tablet has powered on, check the battery icon or indicator on the screen to ensure that it indicates a charging battery.
If the tablet powers on successfully and the battery indicator shows a charging battery, this is a positive indication that the battery replacement was successful. You can now enjoy your Asus tablet with a rejuvenated battery life.
However, if you encounter any issues such as the tablet not powering on, abnormal battery behavior, or any error messages, it’s recommended to double-check the battery connection and revisit the previous steps to ensure everything was carried out correctly.
Remember that it may take a few charge cycles for the new battery to reach its optimum performance. To prolong the battery life, it’s advisable to follow best practices such as avoiding extreme temperatures and not letting the battery drain completely before recharging it.
Congratulations! You have successfully replaced the battery in your Asus tablet. Now you can enjoy extended battery life and enhanced performance with your revitalized device.
Conclusion
Replacing the battery in your Asus tablet is a straightforward process that can greatly improve the device’s battery life and overall performance. By following the step-by-step instructions outlined in this guide, you can successfully replace the battery yourself, saving time and money on professional repairs or replacements.
Before undergoing the battery replacement process, it is crucial to gather the necessary tools and materials and ensure that you are working in a clean and well-lit environment. Taking proper safety precautions, such as wearing gloves and handling the tablet and components with care, is essential to prevent any accidents or damage.
Throughout the battery replacement process, it is important to be mindful of proper alignment, avoiding excessive force, and checking for secure connections. Small details like these can make a significant difference in the success of the battery replacement and ensure the longevity of your tablet.
Once the new battery is installed and the back cover is securely in place, power on your tablet to verify that the battery replacement was successful. Be sure to follow best practices for battery usage and maintenance for optimal performance and longevity.
Replacing the battery in your Asus tablet allows you to enjoy longer usage times, improved performance, and a device that lasts throughout the day without constantly needing to be plugged in. Whether you are a student, professional, or casual user, a reliable battery is essential for uninterrupted productivity and entertainment on the go.
Remember, if you encounter any difficulties or are unsure about any step of the process, it is always recommended to consult the official manufacturer’s documentation or seek professional assistance.
Now that you have all the information and guidance needed, you can confidently embark on the battery replacement journey for your Asus tablet and enjoy a revitalized device that will keep up with your daily needs.