Introduction
Tablets have become an essential part of our daily lives, allowing us to stay connected, entertained, and productive. However, one common issue that tablet users often face is a damaged charging port. A faulty or broken charging port can prevent the tablet from charging properly, rendering it virtually unusable. It can be frustrating to deal with such a problem, but the good news is that replacing a charging port on a tablet can often solve the issue and bring your device back to life.
In this guide, we will walk you through the step-by-step process of replacing a charging port on a tablet. Whether you have a cracked port, bent pins, or any other issue, following these instructions can help you resolve the problem and avoid the need for expensive repairs or buying a new tablet.
Before we dive into the process, it is important to note that replacing a charging port may void your tablet’s warranty. If your tablet is still covered by warranty, it is recommended to contact the manufacturer or authorized service center for assistance. However, if your warranty has expired or you are comfortable performing the repair yourself, let’s get started!
Step 1: Gather the necessary tools
Before you begin the process of replacing the charging port on your tablet, you will need to gather the necessary tools. Having the right tools on hand will make the process much smoother and ensure that you can complete the repair effectively. Here are the tools you will need:
- A small Phillips screwdriver
- A plastic pry tool or spudger
- Tweezers
- A heat gun or hairdryer
- A replacement charging port specific to your tablet model
- Adhesive strips or adhesive glue
You can easily find these tools online or at your local electronics store. Make sure to choose a replacement charging port that matches your tablet’s model to ensure compatibility. Additionally, adhesive strips or glue may be required to secure the new charging port in place during reassembly.
It is also important to work in a well-lit and clean workspace. Having a clear environment will help you keep track of small screws and prevent any damage to your tablet during the repair process. It is recommended to have a small storage container or a magnetic mat to hold and organize the screws as you remove them.
With all the necessary tools by your side, you are now ready to move on to the next step of replacing the charging port on your tablet. Remember to exercise caution and take your time during the repair to avoid any potential mishaps.
Step 2: Turn off the tablet and remove the battery
Before you begin working on your tablet, it’s crucial to ensure your device is powered off and the battery is disconnected. This step is essential to prevent any potential electrical hazards and to protect your tablet from damage during the repair process. Here’s how you can turn off the tablet and remove the battery:
- Locate the power button on your tablet. It is commonly found on the side or top of the device.
- Press and hold the power button until a menu appears on the screen.
- Select “Power Off” or a similar option to shut down your tablet completely.
- Once the tablet is powered off, you need to locate the battery compartment. Refer to your tablet’s user manual or search online for instructions specific to your tablet model.
- Use a small Phillips screwdriver or a tool recommended by the manufacturer to remove the screws holding the battery compartment in place.
- Gently lift the battery compartment cover to expose the battery.
- Take note of the battery’s orientation and carefully disconnect the battery connector from the motherboard using your fingers or a pair of tweezers.
- Set the battery aside in a safe place, away from any moisture or potential damage.
By turning off the tablet and removing the battery, you are ensuring a safe working environment for the repair process. Remember, each tablet model may have slight variations in the location and removal method of the battery, so it’s essential to refer to the user manual or online resources specific to your tablet model for accurate instructions.
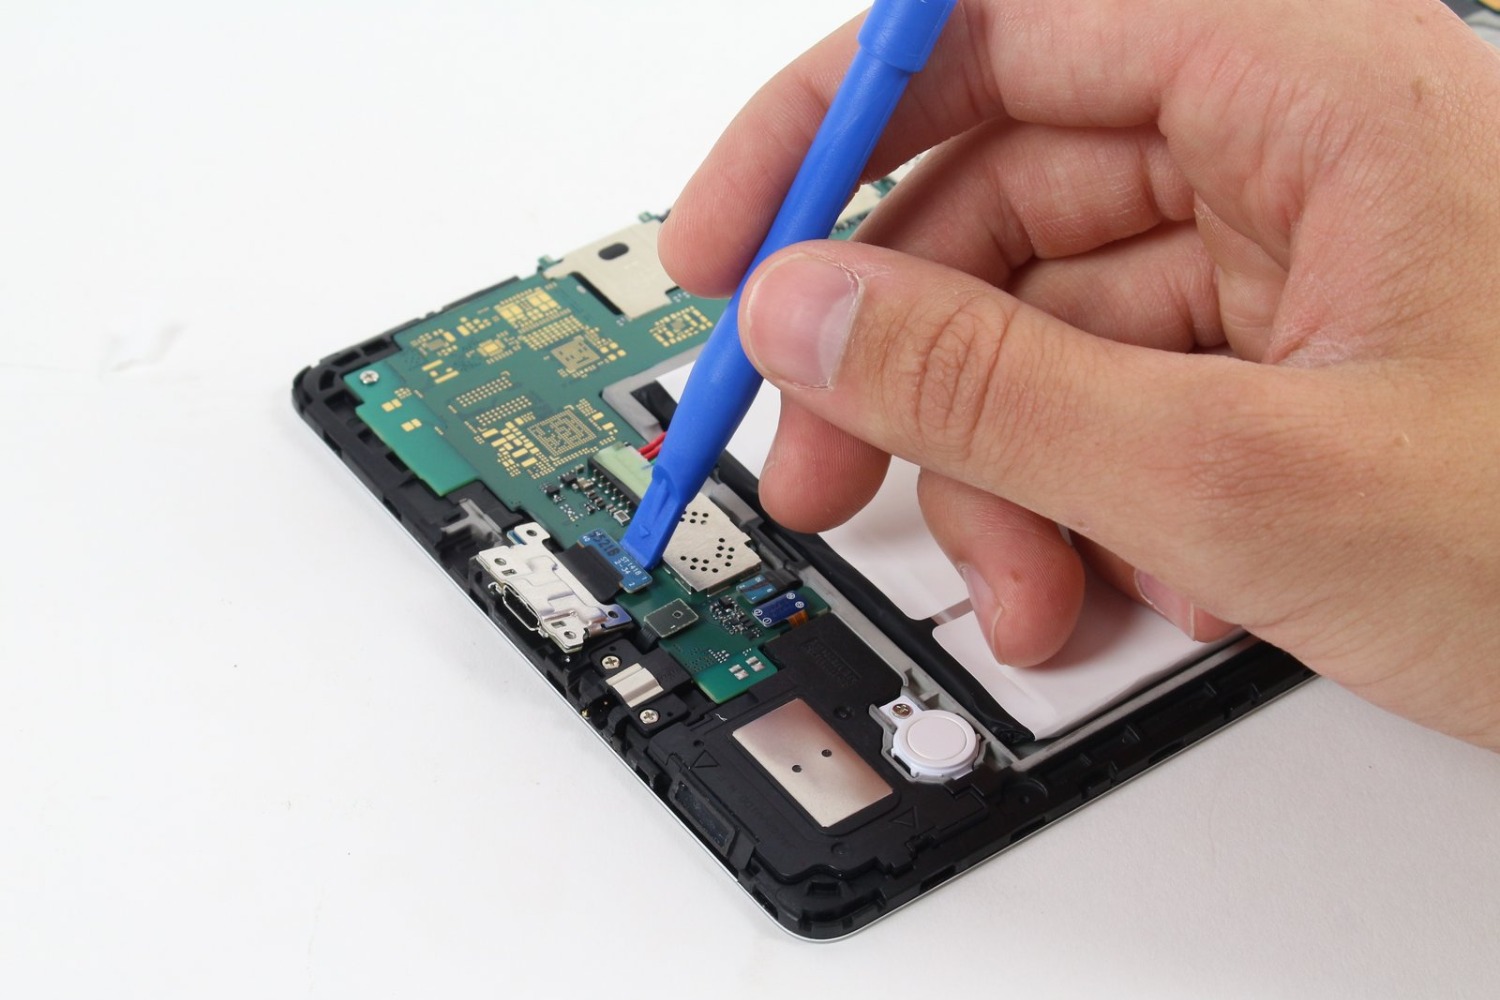
Step 3: Disassemble the tablet
Now that you have turned off the tablet and removed the battery, it’s time to disassemble the device to access the charging port. This step requires careful handling and attention to detail to avoid damaging any internal components. Here’s how you can disassemble your tablet:
- Refer to your tablet’s user manual or search online for specific instructions on how to disassemble your tablet model. Different tablets have varying disassembly methods, so it’s crucial to follow the correct steps to avoid any unnecessary damage.
- Using a small screwdriver, carefully remove all visible screws from the back cover of the tablet. Keep them organized in a small container or on a magnetic mat to ensure you don’t lose any during the process.
- Once all the screws are removed, use a plastic pry tool or spudger to gently pry open the back cover of the tablet. Start by inserting the tool into a corner and gradually work your way around the edges, separating the back cover from the main body of the tablet.
- Be cautious while prying open the back cover, as some tablets have delicate clips or adhesive that may require additional care to avoid damage.
- Slowly lift off the back cover to access the internal components of the tablet.
- Take note of any ribbon cables or connectors attaching the back cover to the motherboard. Carefully disconnect these cables using your fingers or a pair of tweezers, being gentle to avoid any damage.
- With the back cover removed and any necessary connections detached, set the back cover aside in a safe place.
- Now, you will have clear access to the internal components of your tablet, including the charging port.
Remember, the disassembly process may vary depending on your tablet model, so it’s crucial to follow the manufacturer’s instructions or search for specific disassembly guides online. By disassembling your tablet carefully, you can proceed to the next step of locating and replacing the charging port.
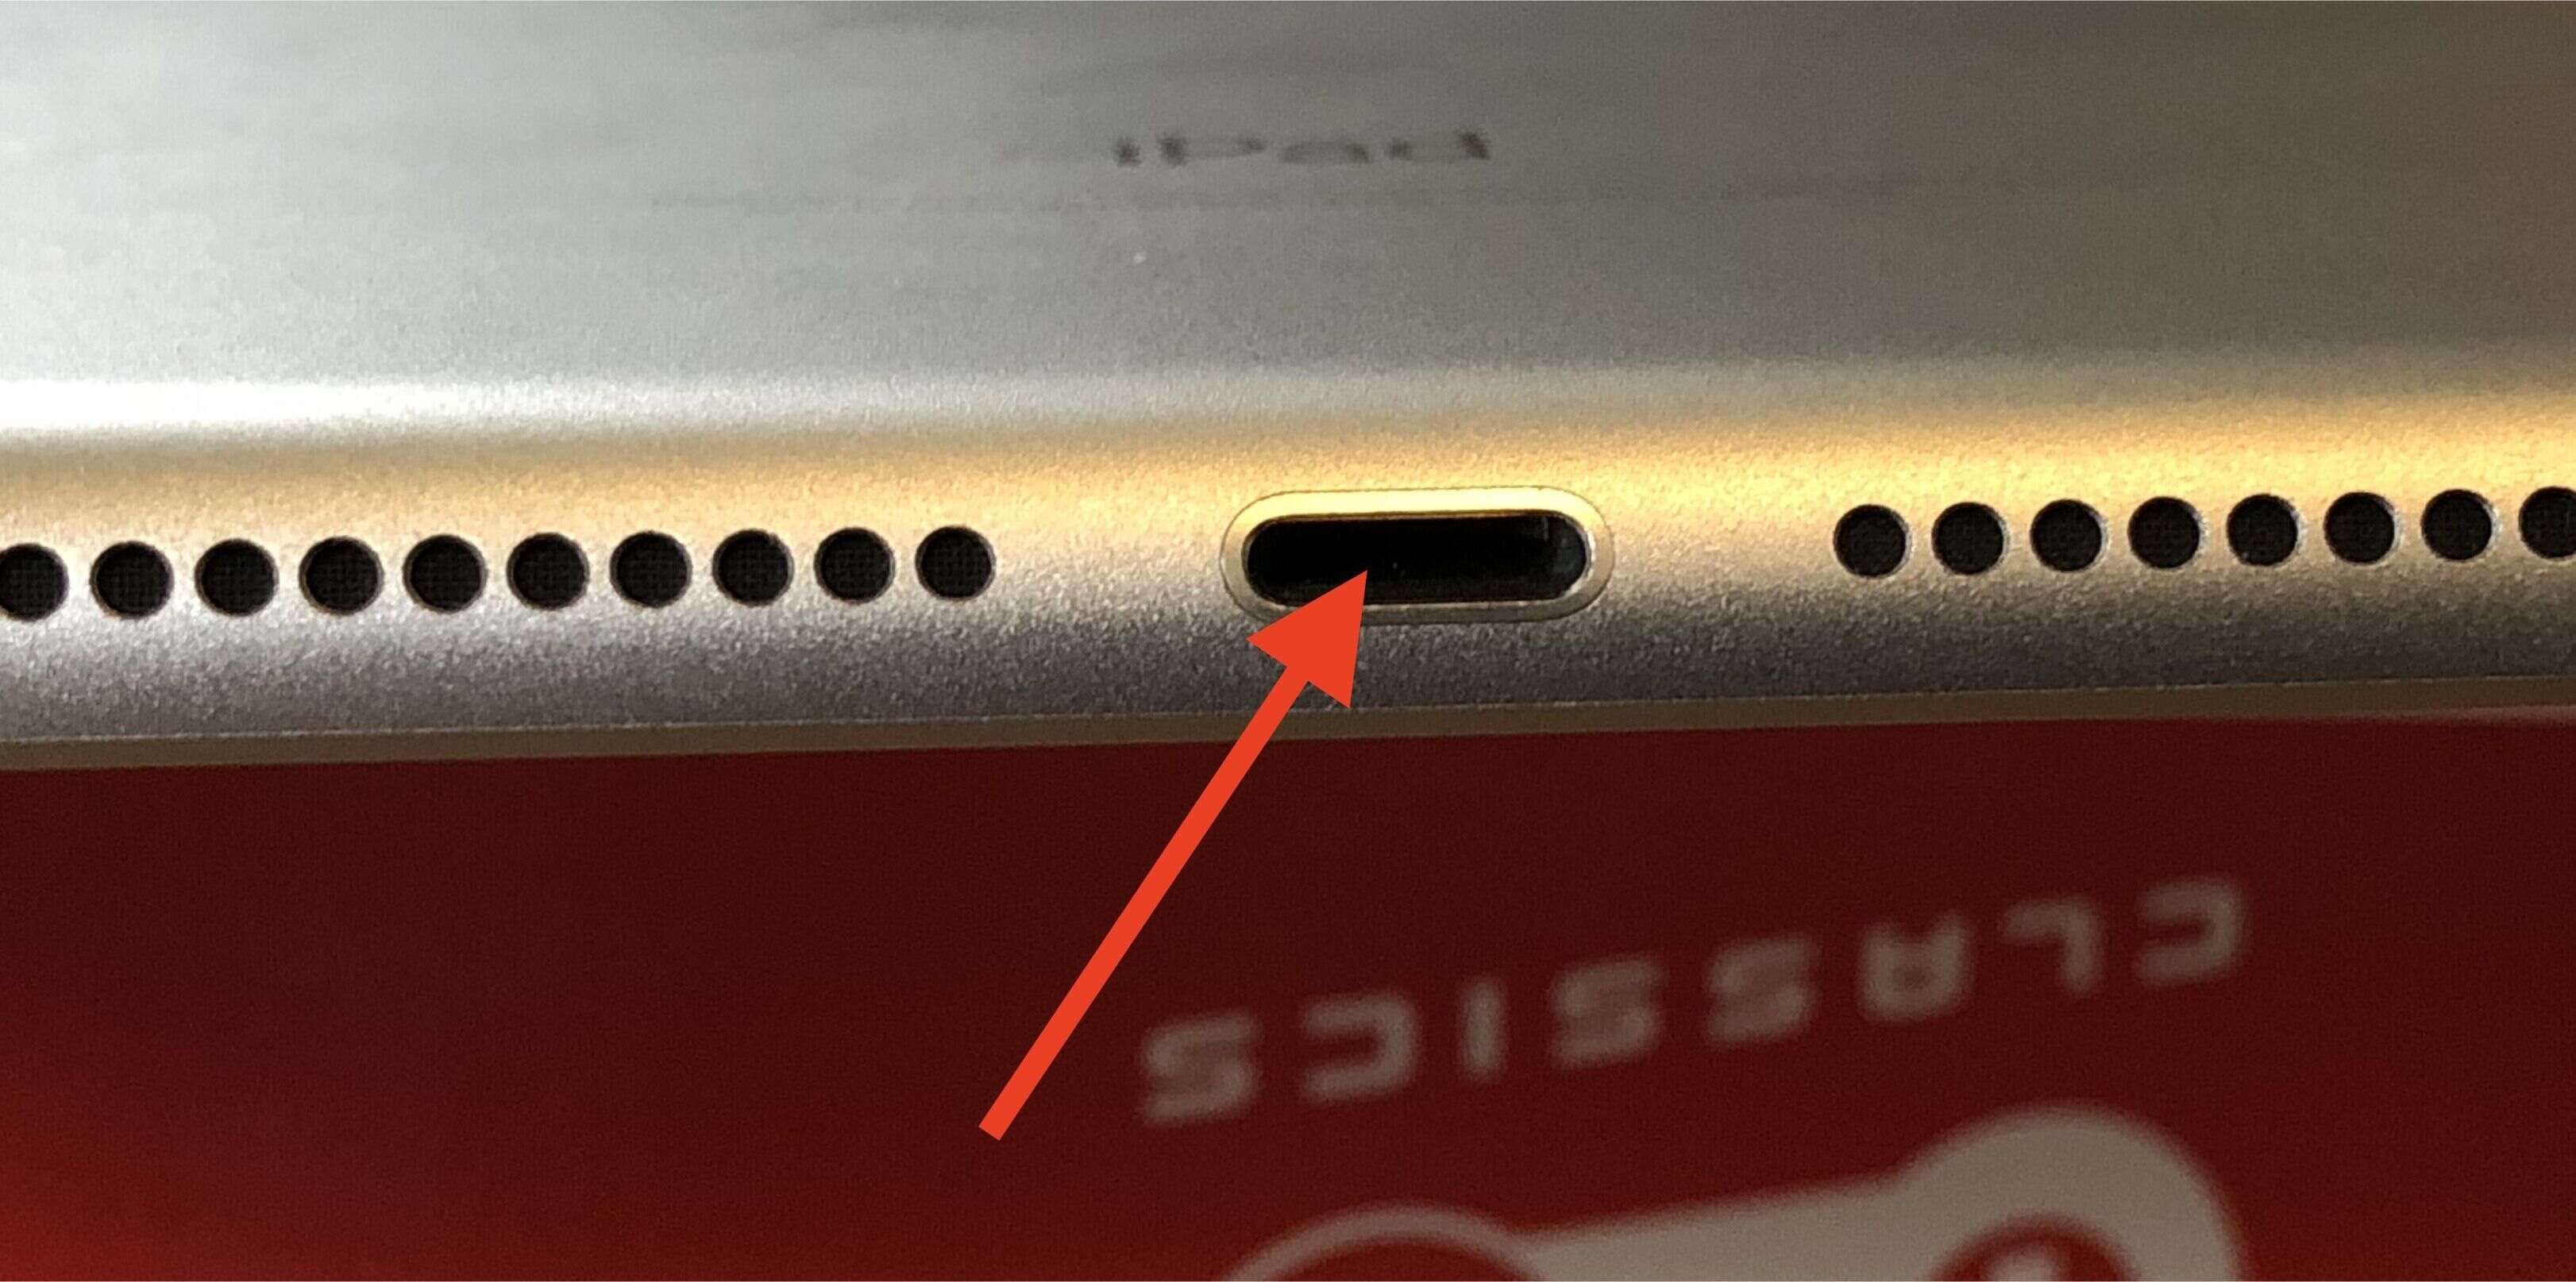
Step 4: Locate the charging port
Now that you have successfully disassembled your tablet, it is time to locate the charging port. The charging port is the component that connects the power source to the tablet for charging. Identifying its location will help you proceed with the replacement process smoothly. Follow these steps to locate the charging port:
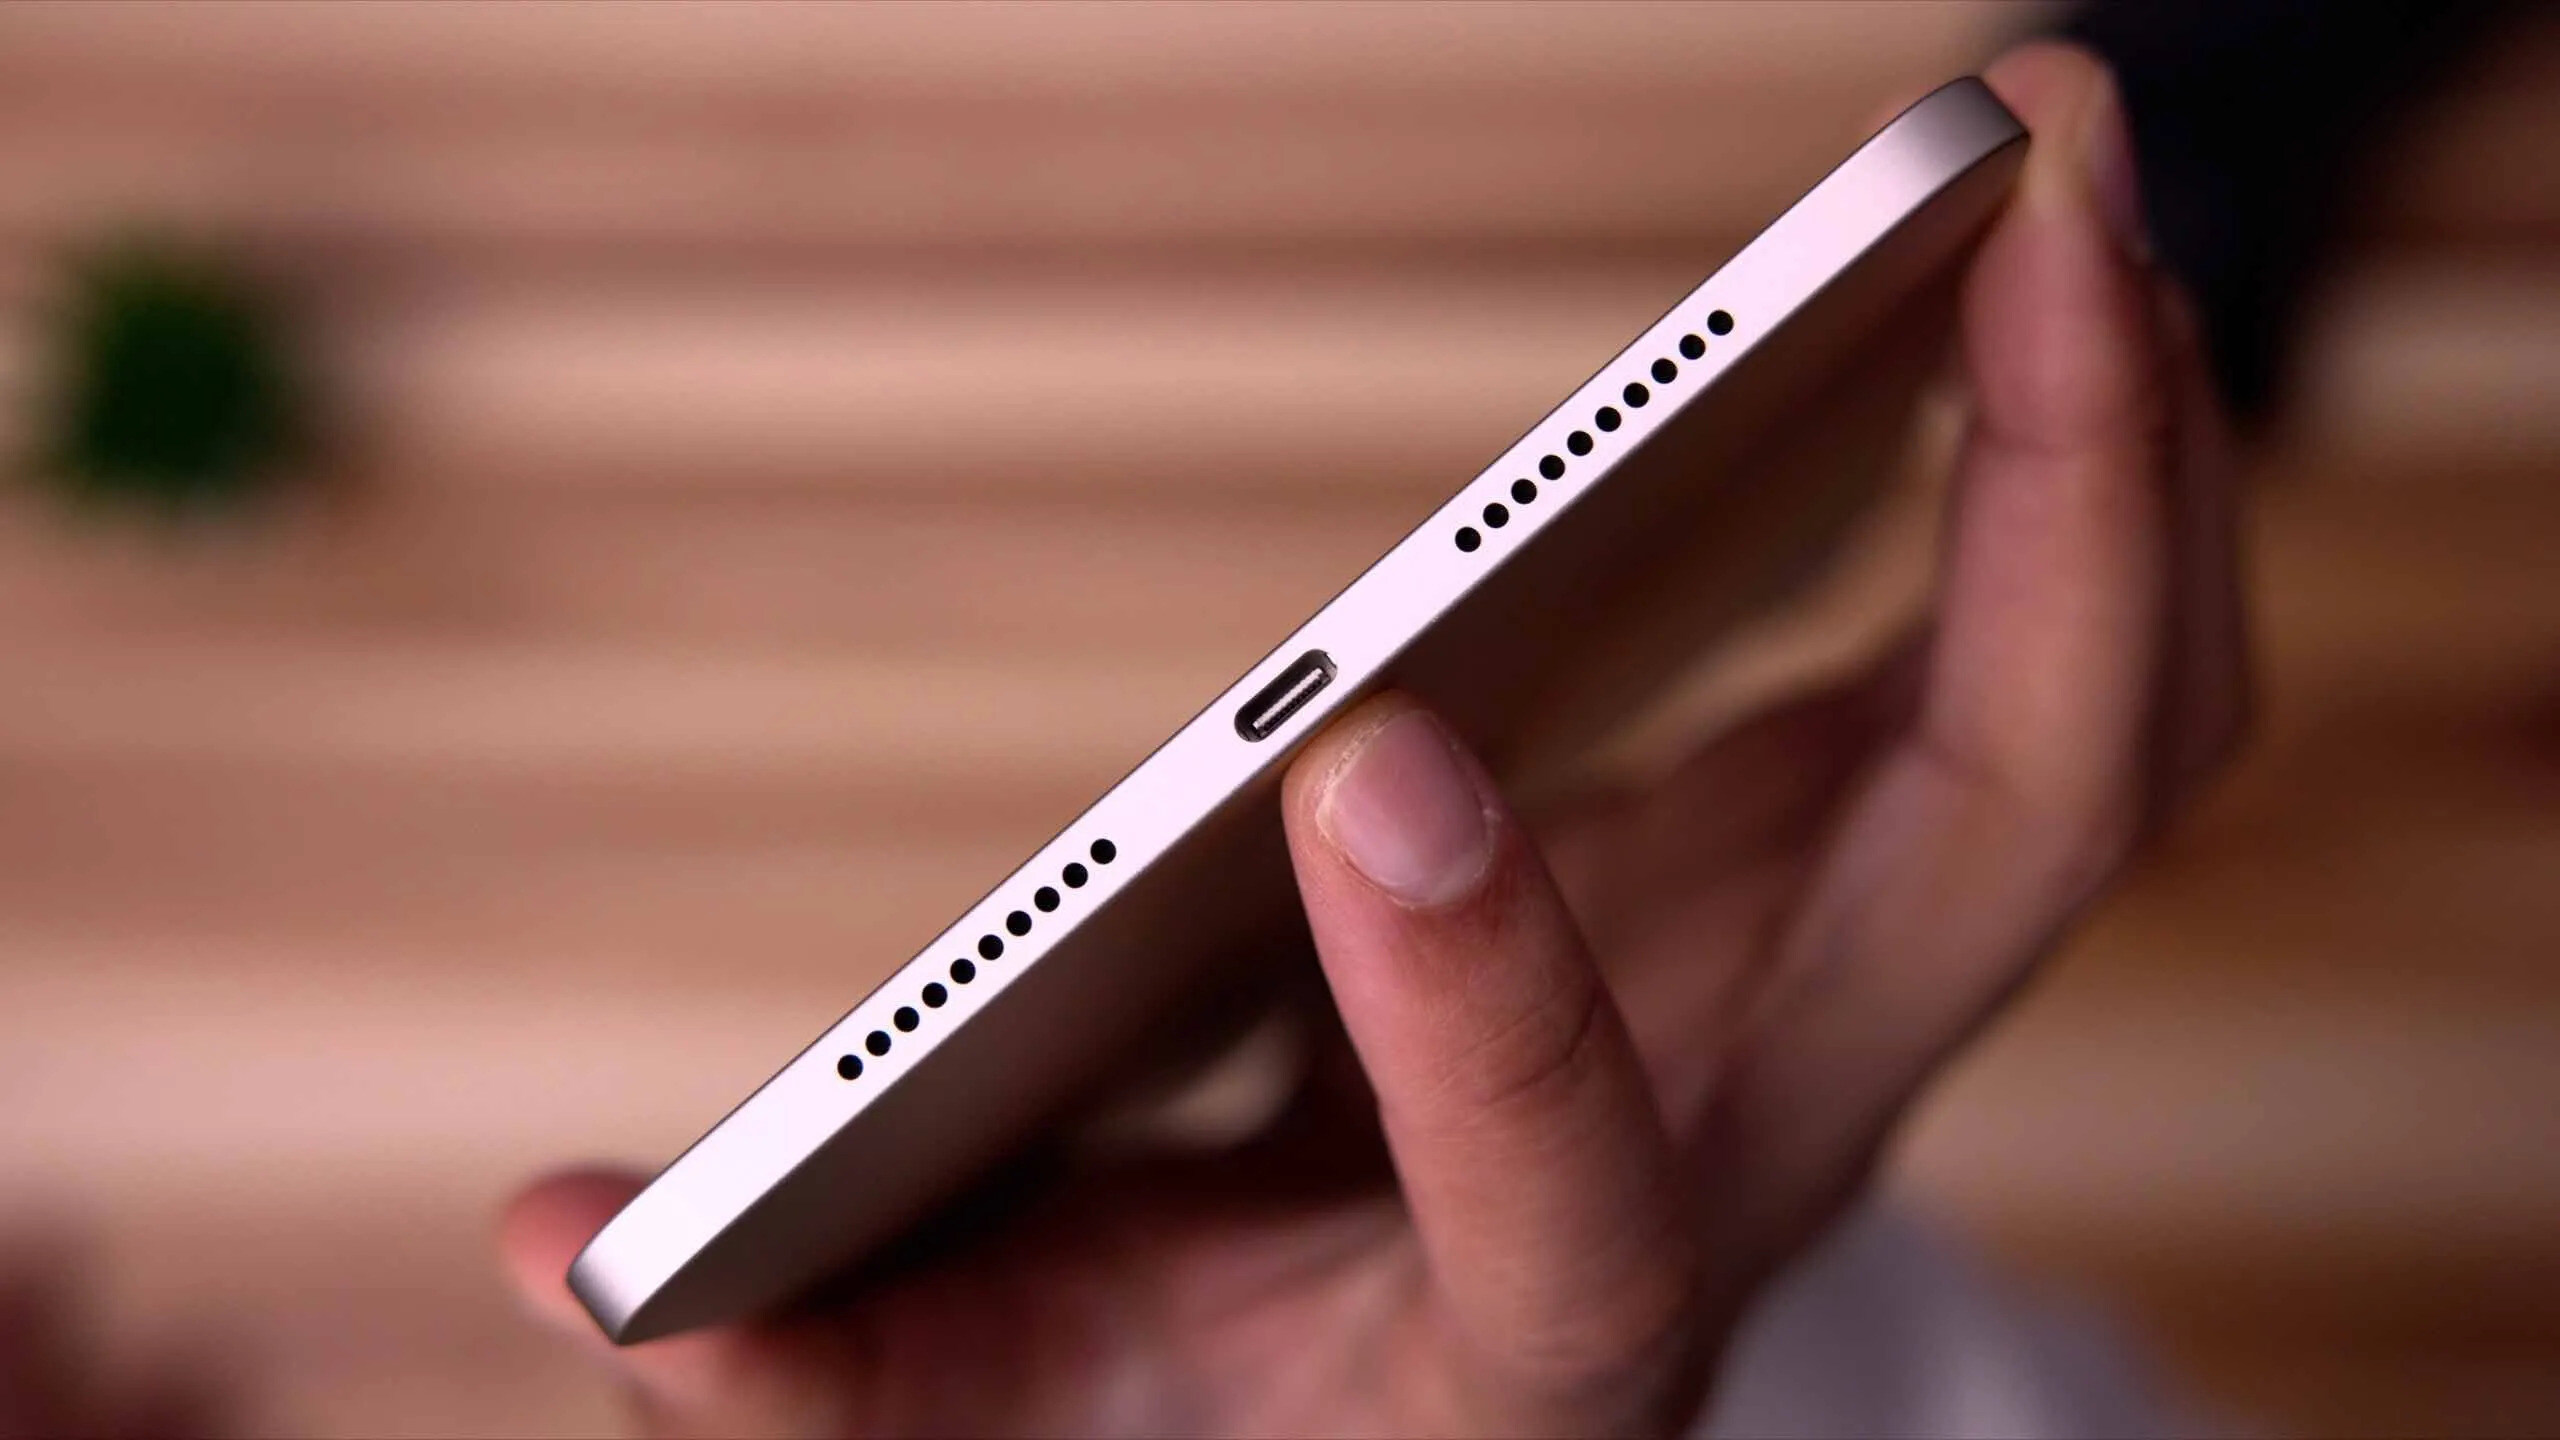
- Inspect the internal components of your tablet, focusing on the area where the charging port is typically located. It is often found near the bottom edge of the tablet.
- Look for a thin, rectangular or square-shaped port with a series of metal pins inside it. This is the charging port.
- Some tablets may have a protective cover or plastic shield over the charging port. If this is the case, carefully remove the cover or shield to access the charging port.
- Take note of the orientation and alignment of the charging port, as this will be important when installing the new one.
- If you are unsure about the location of the charging port or need more guidance, consult your tablet’s user manual or search for online resources specific to your tablet model.
Identifying the charging port is a crucial step before proceeding with the replacement process. It allows you to have a clear understanding of the component you will be working on and ensures that you can easily access and replace it during the next step. With the charging port located, you are ready to move on and remove the damaged charging port from your tablet.
Step 5: Remove the damaged charging port
With the charging port identified, it’s time to remove the damaged charging port from your tablet. This step requires precision and patience to ensure that you don’t cause any further damage to your device. Here’s how you can remove the damaged charging port:
- Inspect the damaged charging port and identify any screws or connectors holding it in place. These may vary depending on your tablet model.
- Using a small screwdriver, carefully remove any screws securing the charging port to the tablet’s motherboard. Keep the screws in a safe place to avoid losing them.
- If there are any connectors or ribbon cables attached to the charging port, gently disconnect them using your fingers or a pair of tweezers. Take note of their position and orientation for reassembly later.
- Once all screws and connectors are removed, gently lift and wiggle the damaged charging port to loosen it from its position on the motherboard.
- Be patient during this step as some charging ports may be adhered to the motherboard with adhesive. Apply gentle pressure or use a plastic pry tool to carefully pry the charging port away from the motherboard.
- Continue working around the charging port until it is fully detached from the tablet.
- Set the damaged charging port aside and inspect it for any visible signs of damage, such as bent pins or cracks. This will help you determine the extent of the issue and validate the need for a replacement.
Removing the damaged charging port is a crucial step in the process of replacing it. Take your time and be attentive to avoid causing any further damage to the tablet or its components. With the damaged charging port safely removed, you can proceed to the next step of installing the new charging port.
Step 6: Install the new charging port
Now that you have removed the damaged charging port, it’s time to install the new charging port on your tablet. Installing the new charging port properly is essential to ensure a secure connection and reliable charging functionality. Follow these steps to install the new charging port:
- Take the new charging port that is compatible with your tablet model.
- Inspect the new charging port to ensure it is in good condition with no visible damage or defects.
- Position the new charging port in the same orientation as the old one, aligning it with the corresponding slot or connector on the motherboard.
- If there are any screws provided with the new charging port, use them to secure the port to the motherboard. Tighten the screws gently but firmly, being careful not to overtighten.
- If there are any connectors or ribbon cables that need to be attached to the new charging port, carefully connect them in the correct orientation. Refer to your notes or the previous connection if necessary.
- Ensure all connections are secure and properly seated.
- In the case of an adhesive-backed charging port, carefully position it in place and press it firmly to ensure it adheres to the motherboard or the designated area.
It’s crucial to take your time and be thorough during the installation process. Double-check all connections and alignments to ensure everything is in place as it should be. Once you are confident that the new charging port is properly installed, you can proceed to the next step of reassembling your tablet.
Step 7: Reassemble the tablet
Now that you have successfully installed the new charging port, it’s time to reassemble your tablet. Reassembling the tablet requires careful attention to detail and following the reverse order of the disassembly process. Here’s how you can reassemble your tablet:
- Begin by reattaching any ribbon cables or connectors that were previously disconnected. Make sure to align them properly and apply gentle pressure to secure them in place.
- Carefully position the back cover of the tablet over the internal components. Double-check that all necessary cables or connectors are threaded through the appropriate openings in the back cover.
- Press down on the back cover firmly but gently to snap it back into place. You may hear or feel a slight click when it is properly secured.
- Once the back cover is in place, use a small screwdriver to reinsert the screws into their respective holes. Tighten them evenly but cautiously to avoid stripping the screws or damaging the threads.
- Ensure all screws are tightened securely, but avoid overtightening them.
- Inspect the tablet’s exterior to ensure there are no gaps or misalignments in the back cover. If necessary, gently press on any areas that require adjustment.
It’s important to reassemble the tablet with care to avoid any damage to the internal components. Take your time to ensure all connections are secure and the back cover is properly in place. Once you have reassembled the tablet, you can proceed to the final step of testing the new charging port.
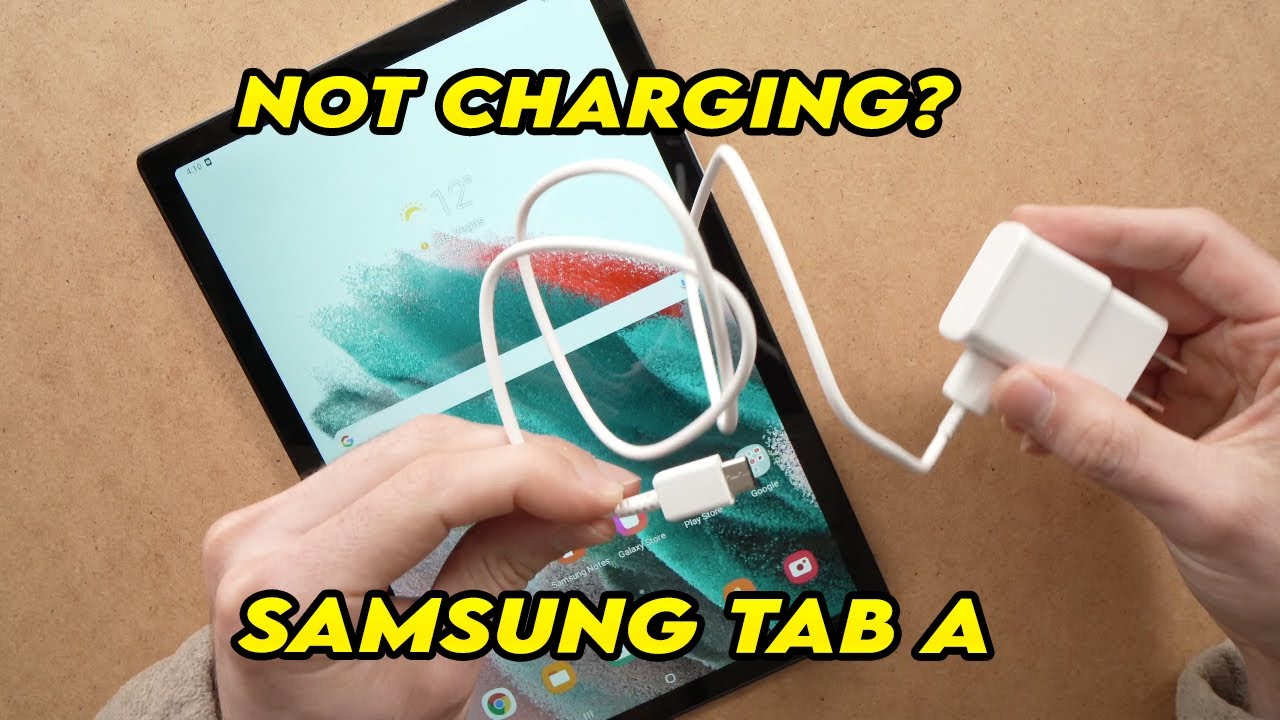
Step 8: Test the new charging port
After reassembling your tablet, it’s crucial to test the new charging port to ensure it is functioning correctly. This step will help verify if the replacement was successful and if the tablet can now charge properly. Here’s how you can test the new charging port:
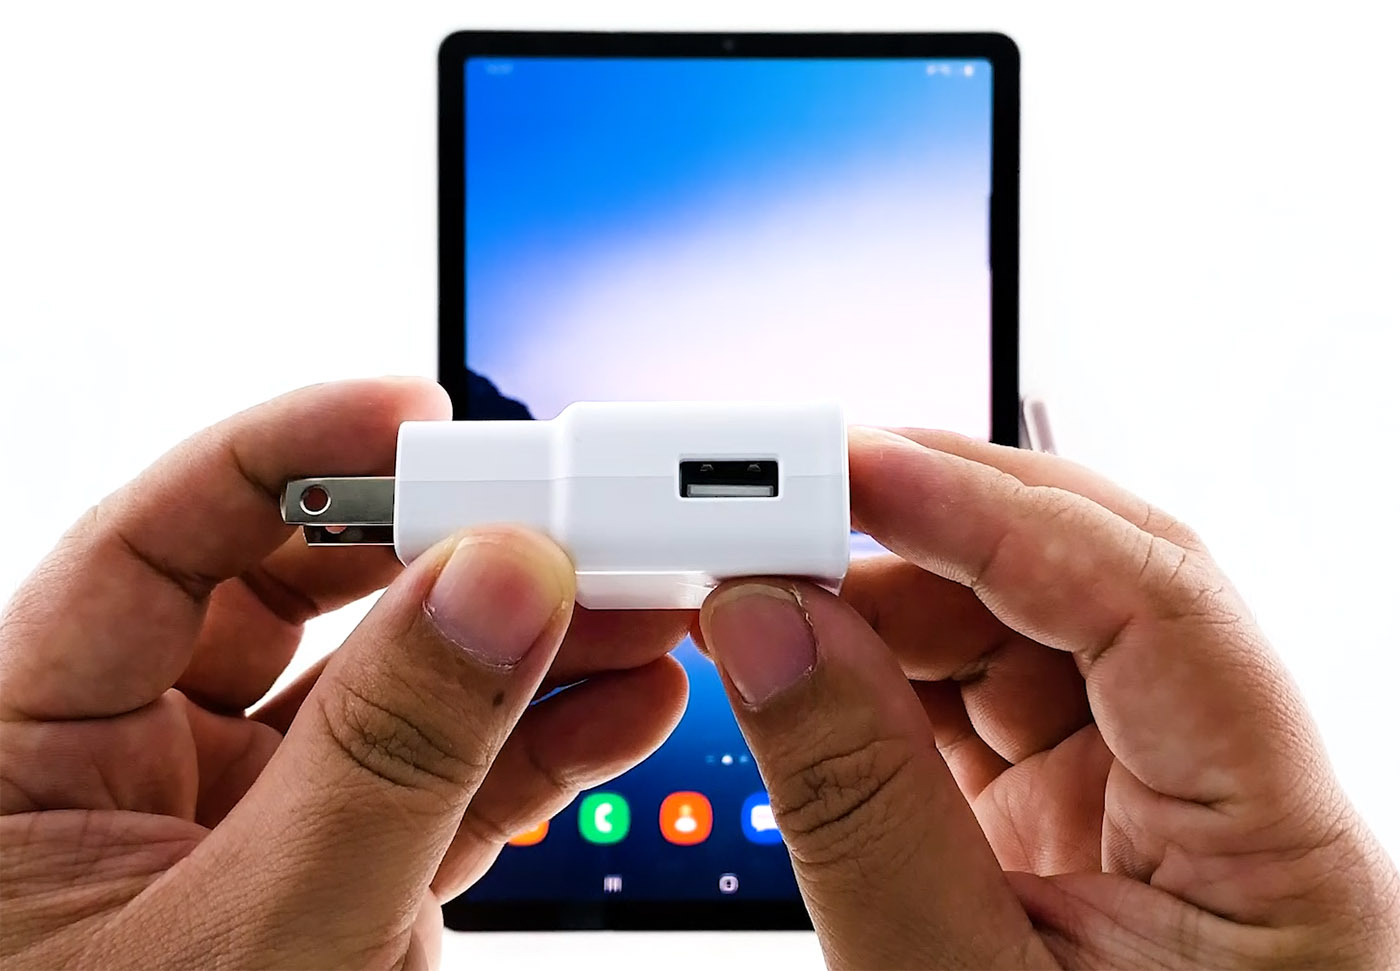
- Connect your tablet to a compatible charging cable and plug it into a power source.
- Observe the tablet’s screen or any LED indicators to check if it displays the charging symbol or shows signs of receiving power.
- Leave the tablet connected to the charger for a period of time, ideally a few hours, to allow it to charge fully.
- Monitor the charging progress and ensure that the tablet is charging at a reasonable rate. If the charging process is too slow or not happening at all, there may be an issue with the new charging port or another component.
- If the tablet charges properly and the battery level increases, disconnect the charger and power on your tablet to ensure it is functioning normally.
- Test the functionality of the charging port by plugging in the charger multiple times to ensure a secure connection and reliable charging.
If you encounter any problems while testing the new charging port, double-check the connections, screws, and alignments. If the issues persist, it may be necessary to seek further assistance from a professional or consult the tablet manufacturer’s customer support for troubleshooting steps.
Once you have confirmed that the new charging port is functioning correctly and your tablet is charging properly, you can celebrate your successful repair!
Conclusion
Replacing a charging port on a tablet can be a daunting task, but with the right tools, patience, and care, it is a repair that can be accomplished successfully. By following the step-by-step guide outlined in this article, you can save yourself the expense of professional repairs or the need to purchase a new tablet when faced with a faulty or damaged charging port.
Throughout the process, it is important to work in a clean and well-organized workspace, identify the necessary tools, and carefully disassemble the tablet to access the charging port. Removing the damaged charging port and installing the new one requires attention to detail and precision to ensure a secure and reliable connection.
Once the new charging port is in place and the tablet has been reassembled, testing its functionality is crucial. Ensuring that the tablet charges properly and functions normally after the repair provides confirmation that the replacement was successful.
Remember, if you are unsure about any step or encounter difficulties during the repair, it is always recommended to seek assistance from a professional or contact the tablet manufacturer’s customer support for guidance.
By successfully replacing the charging port on your tablet, you can revive its functionality and continue enjoying the benefits of this versatile device. Now that you have the knowledge and confidence to tackle this repair, you can save time and money while prolonging the lifespan of your tablet.