Introduction
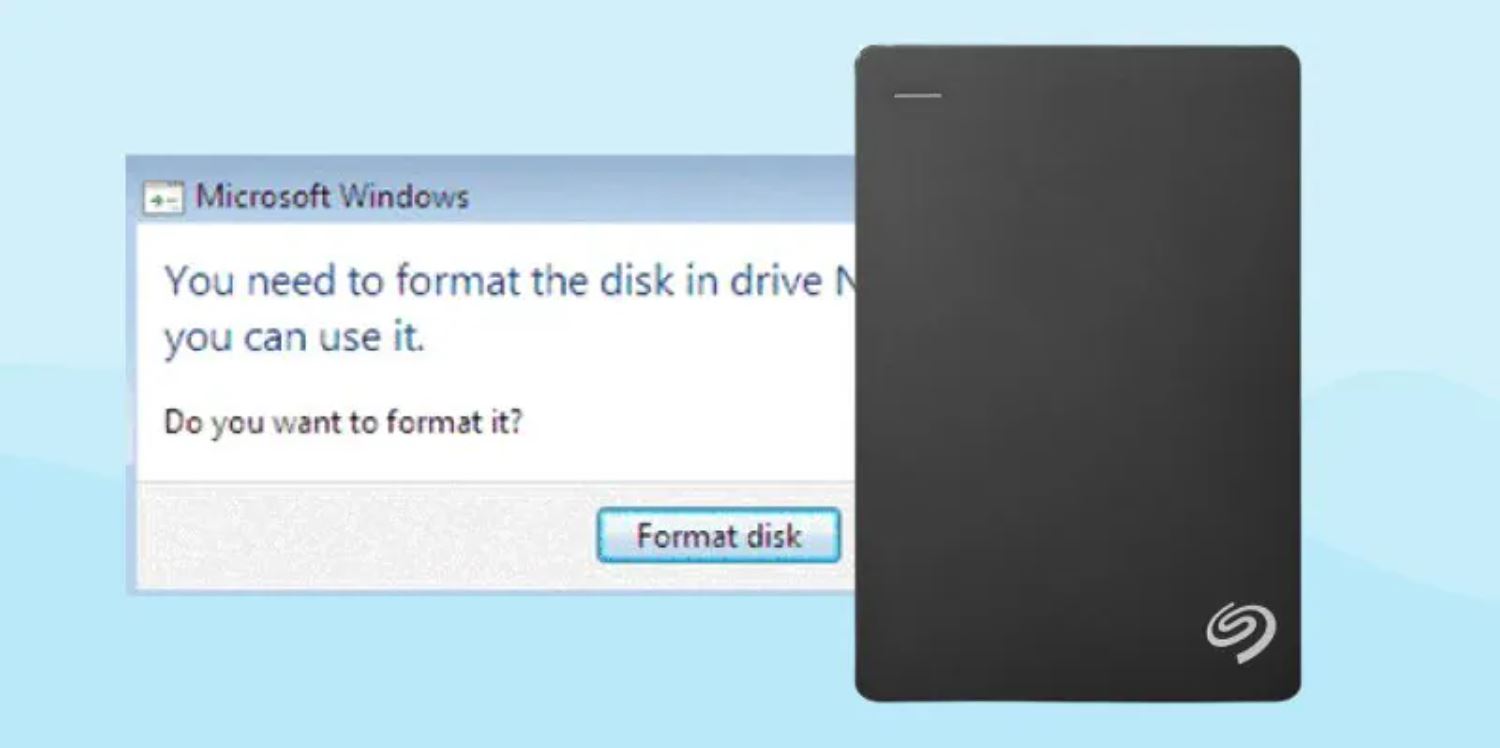
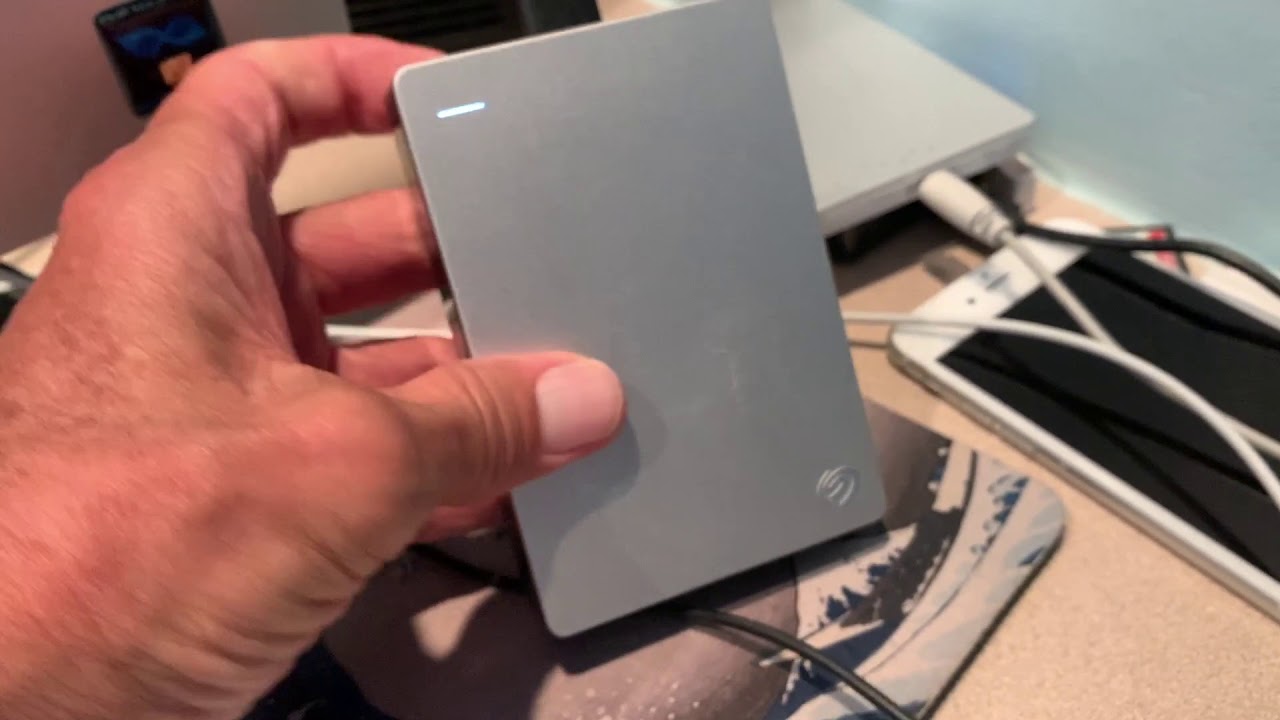
Formatting an external hard drive for use with a Mac can be a daunting task, especially if you’re not tech-savvy. However, with the right information and guidance, you’ll be able to format your Seagate external hard drive properly and seamlessly integrate it with your Mac system. This article will walk you through the process step by step, equipping you with the necessary knowledge to ensure a successful formatting experience.
Having an external hard drive is beneficial for various reasons. It allows you to increase your storage capacity, keep backups of important files, and easily transport data between different devices. Seagate external hard drives are known for their reliability and durability, making them a popular choice among tech enthusiasts and professionals.
Before diving into the formatting process, it’s crucial to understand the importance of choosing the right file system. The file system controls how data is organized and stored on the hard drive, and it determines the compatibility of the drive with different operating systems. Macs primarily use the Apple File System (APFS), while Windows systems typically use the NTFS file system. However, to ensure cross-platform compatibility, it is recommended to choose the ExFAT file system, which is compatible with both Mac and Windows computers.
In this article, we will guide you through the process of formatting your Seagate external hard drive using the built-in Disk Utility application on your Mac. We will also explore how to erase and partition the drive to optimize its performance and storage capabilities. Additionally, we’ll provide troubleshooting tips for common formatting issues that may arise during the process.
So, if you’re ready to unlock the full potential of your Seagate external hard drive and seamlessly integrate it with your Mac, let’s get started with the step-by-step guide on how to format your Seagate external hard drive for Mac.
Choosing the Right File System
Before formatting your Seagate external hard drive, it’s crucial to select the appropriate file system. The file system determines how data is organized and stored on the drive and determines its compatibility with different operating systems.
If you primarily use a Mac, the default file system is Apple File System (APFS). APFS is optimized for macOS and offers advanced features such as encryption and improved performance. However, APFS is not natively supported by Windows systems, which means that if you plan to use the hard drive with both Mac and Windows computers, you will encounter compatibility issues when it comes to reading and writing data.
On the other hand, if you primarily use a Windows computer or require cross-platform compatibility, the NTFS (New Technology File System) file system is the best choice. NTFS is supported by both Windows and Mac computers, but with some limitations on Macs. While Macs can read data from an NTFS-formatted drive, they cannot write files to it without using third-party software or driver tools.
To ensure seamless compatibility and ease of use between Mac and Windows systems, the ExFAT (Extended File Allocation Table) file system is the recommended option. ExFAT is supported by both macOS and Windows without any limitations, allowing you to read and write data from the external hard drive on both platforms. It also supports large file sizes and is ideal for storing multimedia files and backups.
When selecting the file system for your Seagate external hard drive, consider your specific needs and the devices you will be using it with. If you only plan to use it with a Mac and compatibility with Windows is not a concern, then formatting it with APFS is a viable choice. However, if you require cross-platform compatibility, formatting it with ExFAT is the best option.
Now that you understand the importance of choosing the right file system, let’s proceed with the step-by-step guide on how to format your Seagate external hard drive for Mac using Disk Utility.
Formatting with Disk Utility
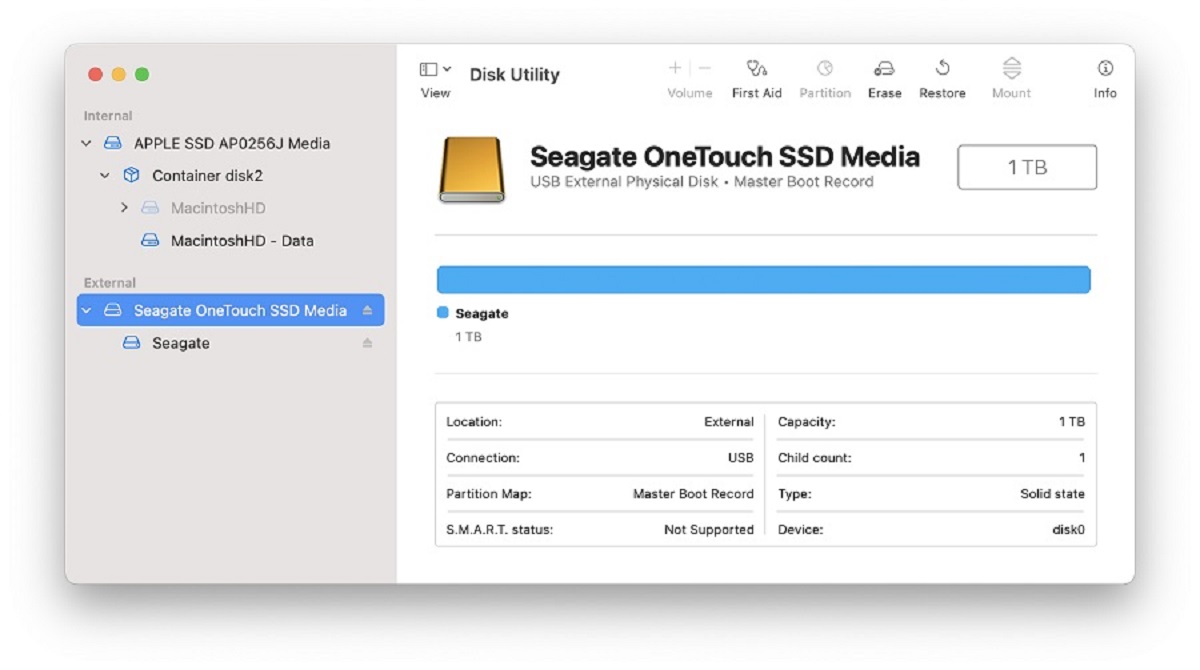
Disk Utility is a built-in application on Macs that allows you to format and manage storage devices, including external hard drives. To format your Seagate external hard drive using Disk Utility, follow the steps below:
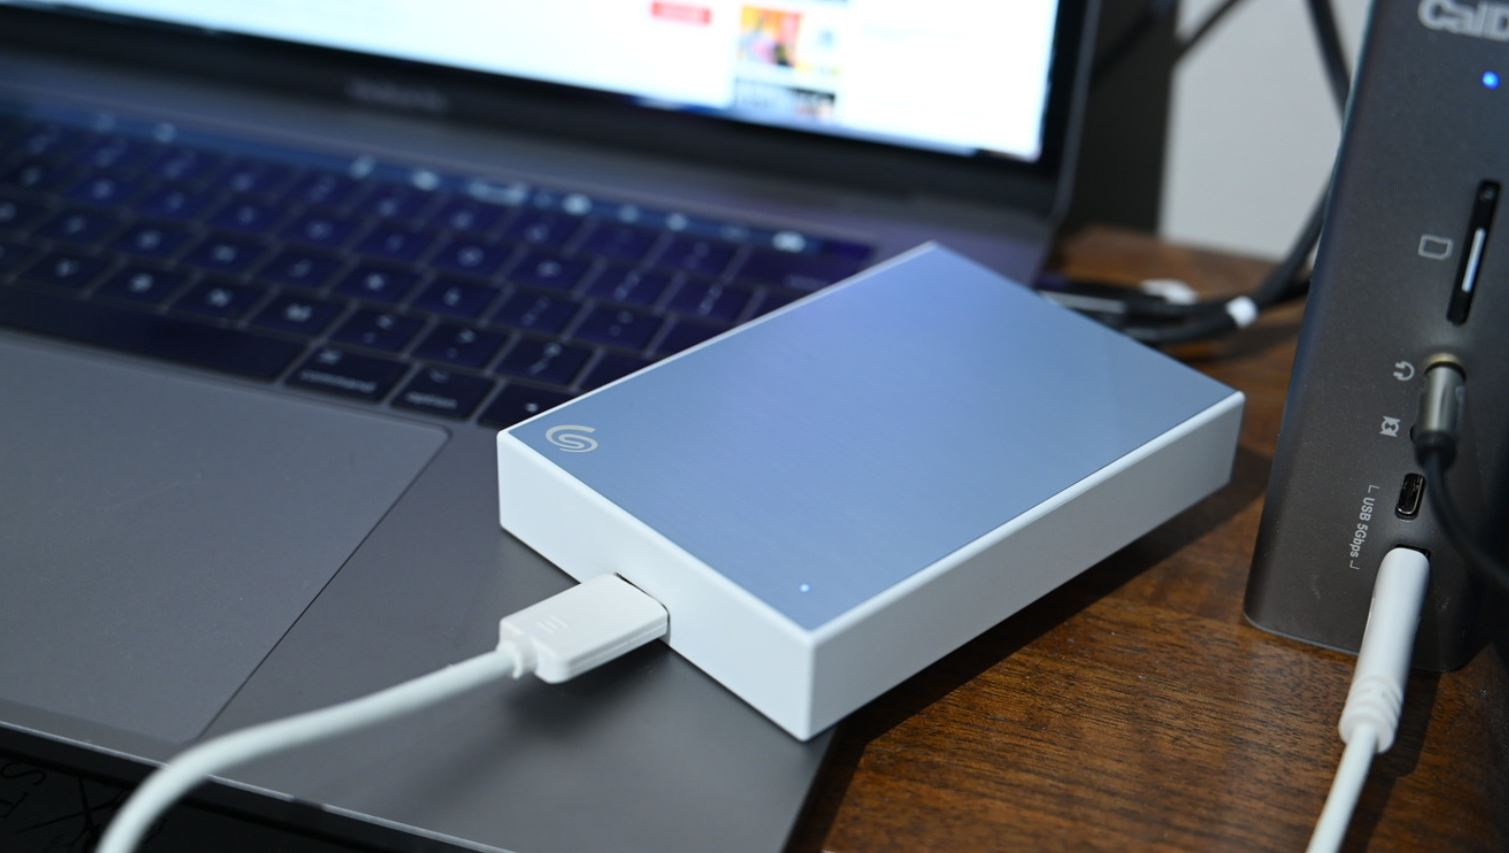
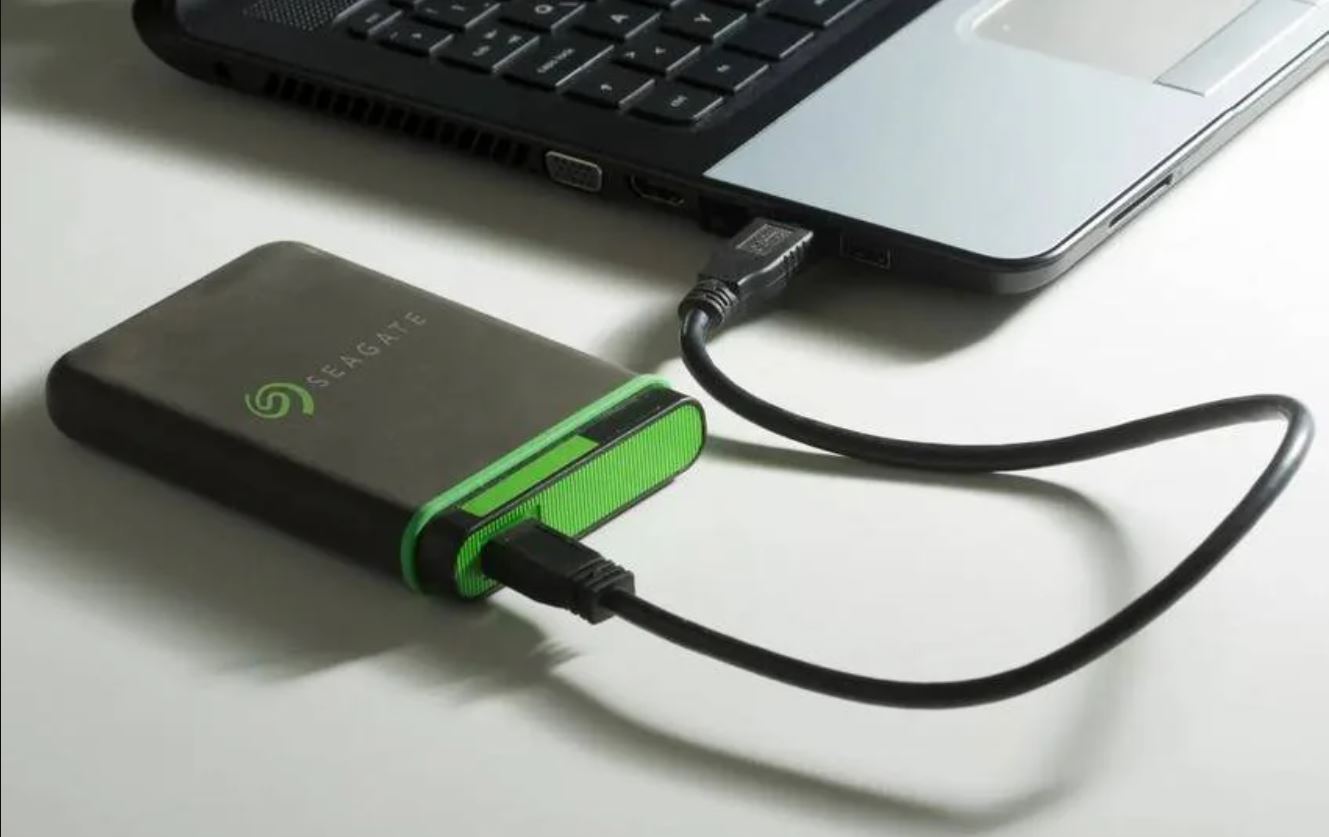
- Connect your Seagate external hard drive to your Mac using the appropriate cable.
- Launch Disk Utility. You can find it in the Utilities folder, which is located within the Applications folder.
- In the Disk Utility window, you will see a list of available storage devices on the left-hand side. Locate your Seagate external hard drive and select it.
- Click on the “Erase” tab at the top of the Disk Utility window.
- Choose a name for your formatted hard drive. Enter a name that is descriptive and easy to remember.
- Next, select the appropriate file system for your needs. If you want to use the hard drive exclusively with Macs, select “APFS” or “Mac OS Extended (Journaled)”. If you need cross-platform compatibility, select “ExFAT”.
- Under the “Scheme” option, choose “GUID Partition Map”. This is the recommended partition scheme for Intel-based Macs.
- Double-check the information you have entered, including the name, file system, and partition scheme.
- Finally, click on the “Erase” button to start the formatting process. Disk Utility will warn you that all data on the drive will be erased. Make sure you have backed up any important files before proceeding.
- Wait for Disk Utility to complete the formatting process. The time it takes will depend on the size of the drive and the selected file system.
- Once the process is complete, you will see a confirmation message. Your Seagate external hard drive is now formatted and ready to use with your Mac.
It is important to note that formatting a hard drive will erase all existing data. Therefore, make sure you have a backup of any important files before proceeding with the formatting process. Once the formatting is complete, you can transfer files to your Seagate external hard drive and enjoy the expanded storage capacity it provides.
Now that you have successfully formatted your Seagate external hard drive using Disk Utility, let’s move on to the next section, where we will explore how to erase and partition the drive for optimal performance and storage capabilities.
Erasing and Partitioning the Drive
In addition to formatting your Seagate external hard drive, you may also need to erase and partition the drive to optimize its performance and storage capabilities. Erasing and partitioning allow you to divide the hard drive into separate sections, called partitions, and customize their settings. Here’s how you can do it using Disk Utility on your Mac:
- Launch Disk Utility from the Utilities folder, located within the Applications folder.
- Select your Seagate external hard drive from the list of available storage devices in Disk Utility.
- Click on the “Partition” tab at the top of the Disk Utility window.
- You will see a visual representation of your hard drive with one or more partitions. To add a new partition, click on the “+” button.
- Enter a name for the new partition and select the desired size. You can adjust the size by dragging the partition’s edge or by typing the exact size in the box.
- Select the file system for the new partition. If you plan to use it exclusively with macOS, choose “APFS” or “Mac OS Extended (Journaled)”. For cross-platform compatibility, select “ExFAT”.
- Repeat steps 4 to 6 for each additional partition you want to create.
- Once you have created all the desired partitions, review the information and layout of the partitions.
- Click on the “Apply” button to apply the changes and start the erasing and partitioning process.
- Wait for Disk Utility to complete the process. The time it takes will depend on the size of the drive and the number of partitions.
- Once the process is complete, you will see a confirmation message. Your Seagate external hard drive is now erased, partitioned, and ready to use.
By erasing and partitioning your Seagate external hard drive, you can allocate different sections for specific purposes, such as separating personal and work files, creating a dedicated backup partition, or setting up a dual-boot system with different operating systems.
It’s important to note that the process of erasing and partitioning will permanently erase all data on the drive. Therefore, make sure you have backed up any important files before proceeding. Additionally, keep in mind that the number of partitions you can create and the maximum size of each partition may vary depending on the capacity of your hard drive and the file system selected.
Now that you have successfully erased and partitioned your Seagate external hard drive, you can start utilizing its customized sections to efficiently manage and store your files. In the next section, we will discuss formatting the drive with the ExFAT file system for cross-platform compatibility.
Formatting ExFAT for Cross-Platform Compatibility
If you need to use your Seagate external hard drive with both Mac and Windows systems, formatting it with the ExFAT file system is the ideal solution. ExFAT provides seamless compatibility between the two platforms, allowing you to read and write data without any limitations. Here’s how you can format your Seagate external hard drive with the ExFAT file system using Disk Utility:
- Connect your Seagate external hard drive to your Mac using the appropriate cable.
- Launch Disk Utility from the Utilities folder, located within the Applications folder.
- Select your Seagate external hard drive from the list of available storage devices in Disk Utility.
- Click on the “Erase” tab at the top of the Disk Utility window.
- Enter a name for your formatted hard drive. Choose a name that is descriptive and easy to remember.
- Under the “Format” option, select “ExFAT”.
- Under the “Scheme” option, choose “GUID Partition Map”. This is the recommended partition scheme for Intel-based Macs.
- Double-check the information you have entered, including the name, file system, and partition scheme.
- Finally, click on the “Erase” button to start the formatting process. Disk Utility will warn you that all data on the drive will be erased. Make sure you have backed up any important files before proceeding.
- Wait for Disk Utility to complete the formatting process. The time it takes will depend on the size of the drive and the selected file system.
- Once the process is complete, you will see a confirmation message. Your Seagate external hard drive is now formatted with the ExFAT file system.
With your Seagate external hard drive now formatted with the ExFAT file system, you can freely transfer files between Mac and Windows computers without worrying about compatibility issues. You can easily use the drive to create backups, store multimedia files, or share data between different devices and operating systems.
It’s important to note that formatting a hard drive will erase all existing data. Therefore, ensure you have a backup of any important files before proceeding with the formatting process. Once the formatting is complete, you can start utilizing your Seagate external hard drive with both Mac and Windows systems, taking advantage of its cross-platform compatibility.
In the next section, we will discuss some troubleshooting tips for common formatting issues that you may encounter during the process.
Troubleshooting Common Formatting Issues
Formatting an external hard drive can sometimes be a complex process, and you may encounter certain issues along the way. Here are some common formatting issues that you may come across and some troubleshooting tips to help you resolve them:
- Formatting takes too long: If the formatting process is taking an unusually long time, it could be due to the size of the drive or potential disk errors. In such cases, try disconnecting and reconnecting the drive, restarting your computer, or using a different USB port. If the issue persists, it may be worth running a disk diagnostic tool or contacting Seagate support for further assistance.
- Unable to format the drive: If Disk Utility is unable to format the drive, there may be underlying issues with the disk. First, ensure that the drive is properly connected to your Mac. If the issue persists, you can try repairing the disk using the First Aid feature in Disk Utility. Additionally, double-check that the drive is not write-protected, as this can prevent formatting. Some external hard drives have a physical write-protection switch or require software specific to the manufacturer to disable write protection.
- Formatting error messages: If you encounter specific error messages during the formatting process, it’s important to pay attention to the details as they can provide insight into the issue. Look up the specific error message online or consult Seagate’s support resources for troubleshooting steps. It may be necessary to run disk repair tools, update your Mac’s operating system, or try formatting the drive on a different computer.
- Inconsistent drive behavior: If your Seagate external hard drive exhibits unpredictable behavior after formatting, such as intermittent disconnection or slow performance, it could be related to hardware or compatibility issues. Try connecting the drive to a different computer or port to rule out any USB connection problems. You can also check the Seagate website for any firmware updates or driver downloads that may address known issues with your specific drive model. Finally, consider using the drive with a dedicated power source or trying a different USB cable to ensure a stable connection.
If you encounter persistent formatting problems or hardware-related issues with your Seagate external hard drive, contacting Seagate support or seeking assistance from a professional may be necessary. They can provide personalized troubleshooting steps based on your specific situation and ensure you can successfully format and use your external hard drive with your Mac.
Now that we have explored some common formatting issues and troubleshooting steps, you are well-equipped to navigate potential challenges and successfully format your Seagate external hard drive. In the final section, we will conclude our guide and summarize the key points discussed throughout the article.
Conclusion
Formatting your Seagate external hard drive for use with your Mac is a crucial step to ensure optimal performance and compatibility. By choosing the right file system, formatting with Disk Utility, erasing and partitioning the drive, and troubleshooting common issues, you can seamlessly integrate your external hard drive with your Mac system.
Remember to consider your specific needs and operating system requirements when selecting the file system for your drive. If cross-platform compatibility is a priority, formatting with the ExFAT file system is the best choice. Disk Utility provides a user-friendly interface to format and manage your external hard drive, allowing you to customize partitions and optimize storage.
Throughout the process, be mindful of potential issues like prolonged formatting time, drive formatting errors, and inconsistent drive behavior. Troubleshooting steps such as reconnecting the drive, repairing disk errors, and checking for firmware updates can help resolve these issues.
Formatting your Seagate external hard drive opens up a world of possibilities, from increasing storage capacity to backing up important files and easily transferring data between devices. By following the steps and tips outlined in this guide, you can confidently format your Seagate external hard drive and harness its full potential.
Should you encounter any persistent issues or require further assistance, don’t hesitate to reach out to Seagate support or consult with a professional. They can provide personalized solutions based on your specific situation.
Now that you have the knowledge and tools to format your Seagate external hard drive for your Mac, you can enjoy the benefits of expanded storage capacity and seamless integration with your Mac system. Happy formatting!


