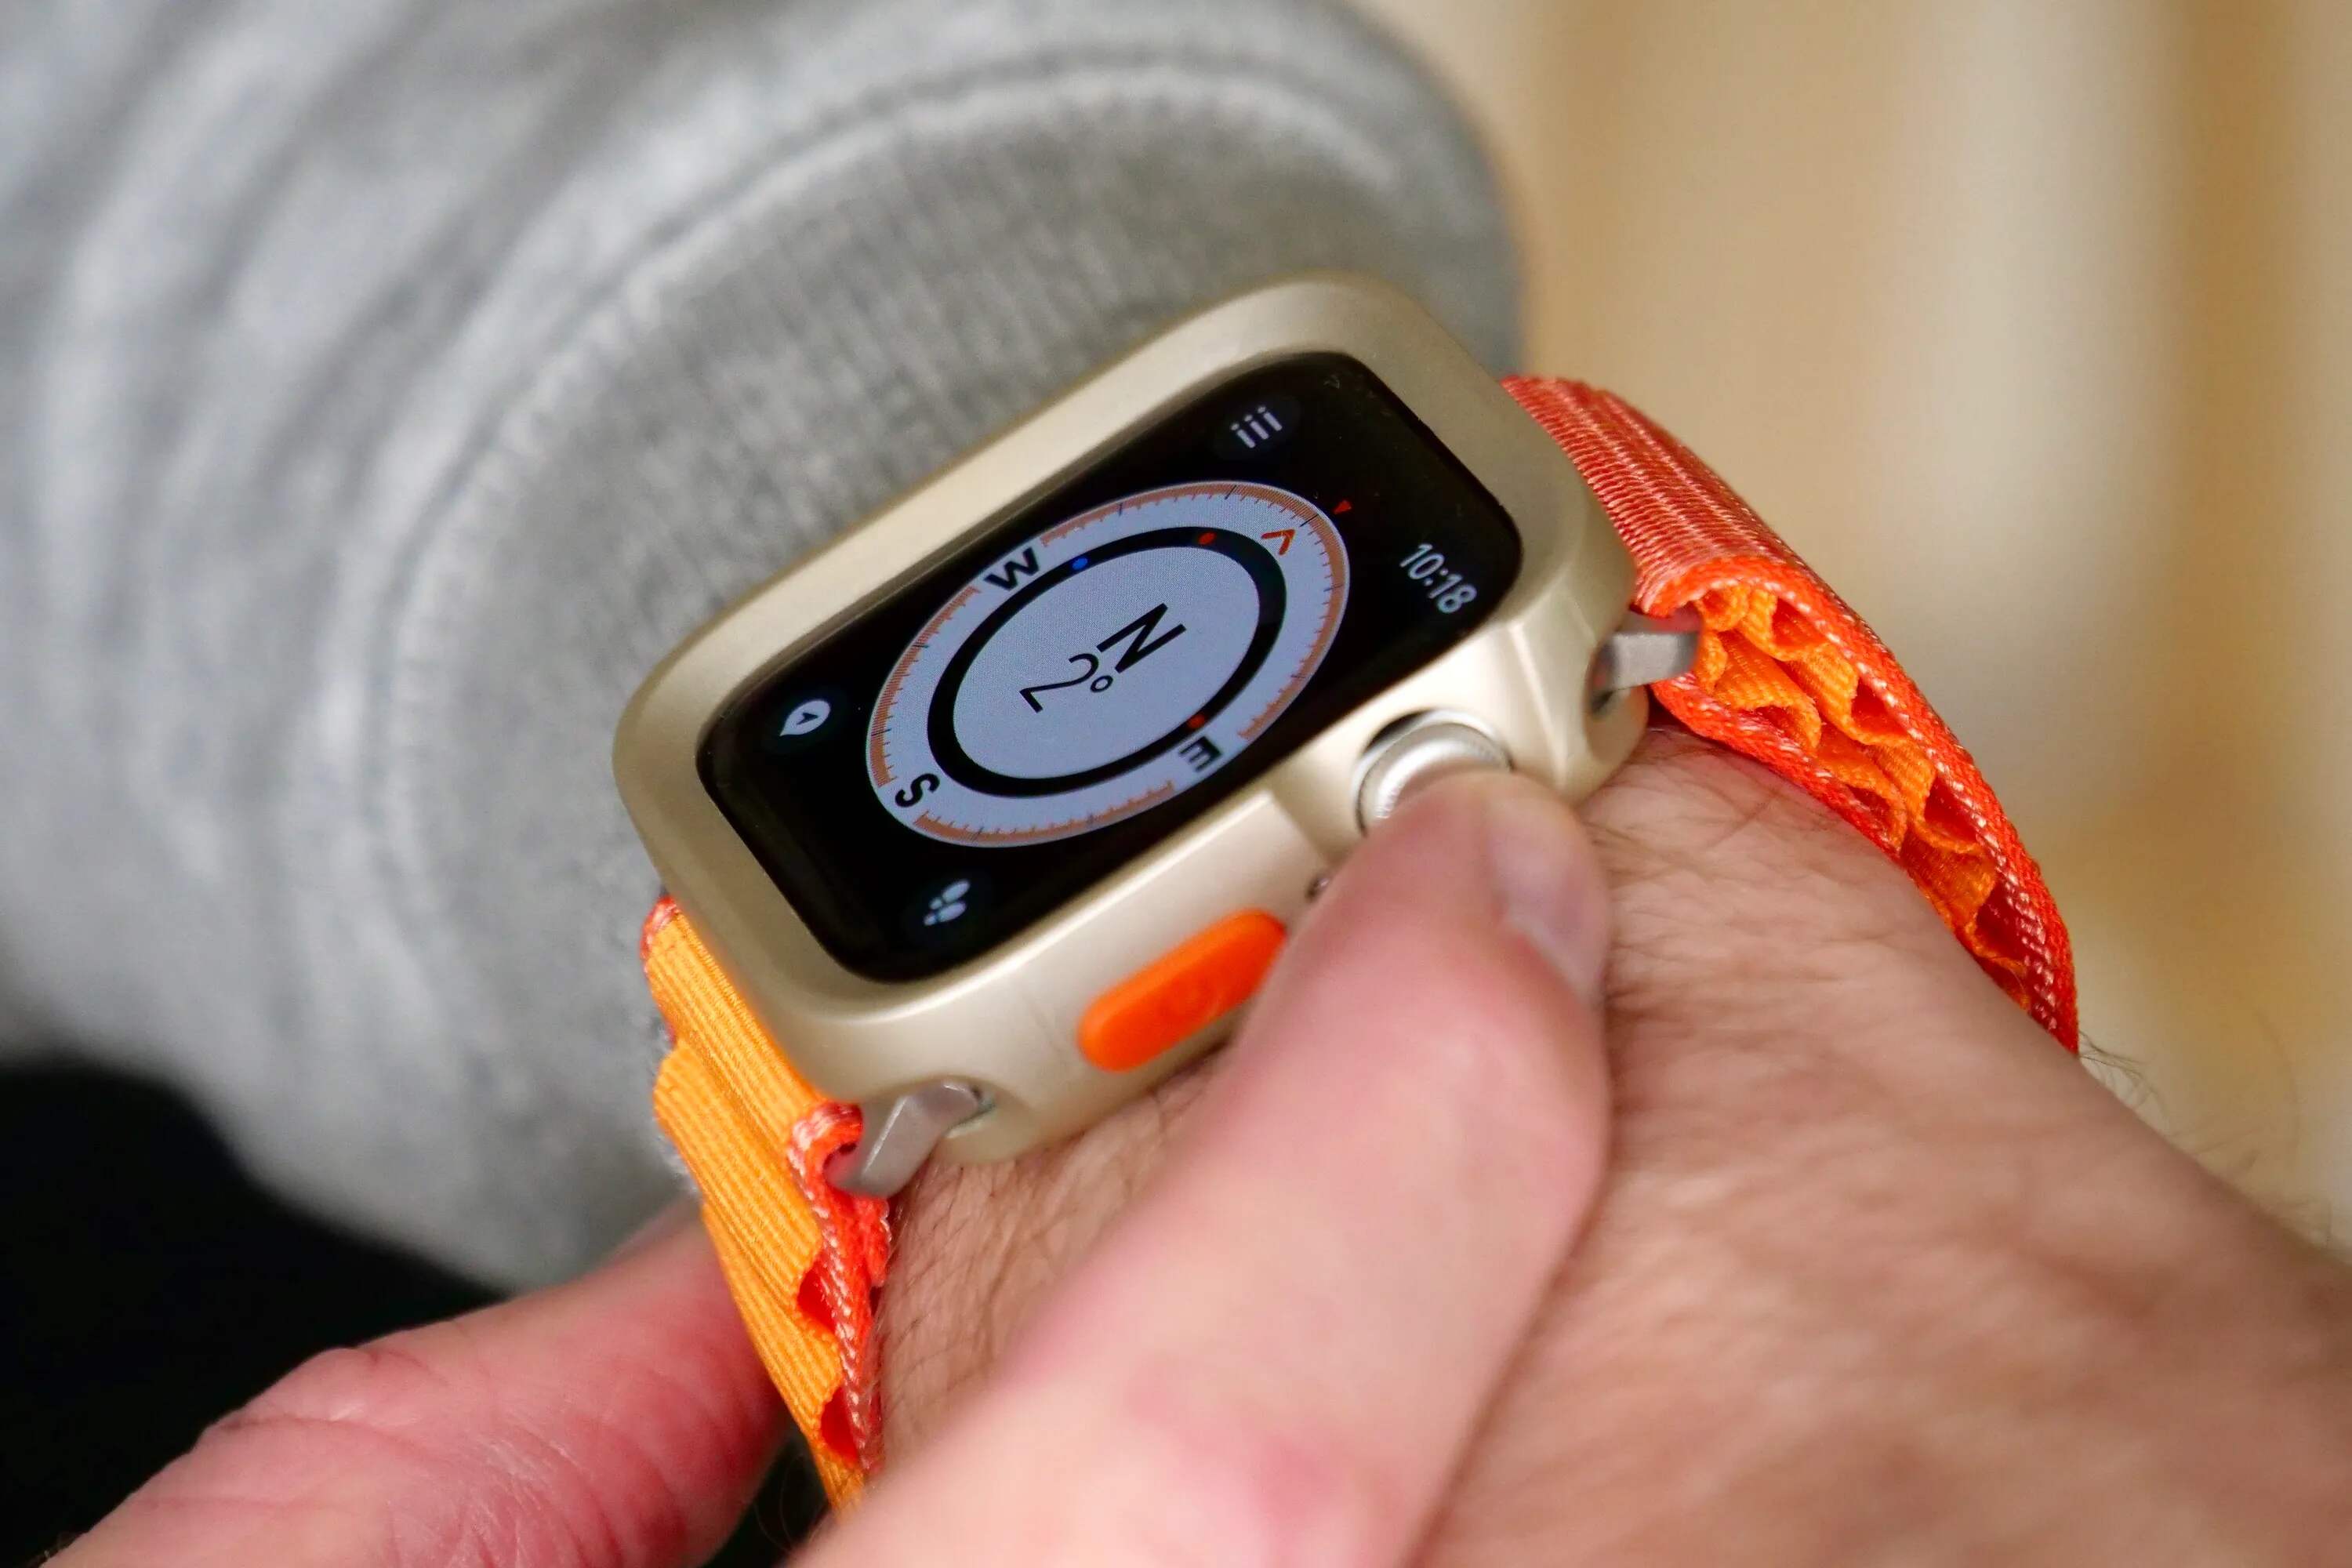
Building your own smartwatch from scratch is a rewarding DIY electronics project that gives you a fully functional, personalized wearable. This diy smartwatch creation guide walks you through the entire process, from selecting components to programming the interface, using accessible microcontrollers and open-source tools.
What you'll build in this diy smartwatch creation guide
By the end of this project, you will have a custom smartwatch that displays the time, reads sensor data, and connects wirelessly to your phone. You'll gain hands-on experience with microcontroller programming, circuit assembly, and enclosure design. No prior expertise in wearable tech is required, just basic soldering skills and familiarity with a code editor.
Step 1: Gathering materials and tools for your smartwatch
Every successful build starts with the right parts. Here is a concrete list of components and tools you will need, with specific options for microcontrollers and displays.
- Microcontroller: Choose an ESP32 or RP2040 board. Both support MicroPython and LVGL, and offer built-in Bluetooth and Wi-Fi for wireless features.
- Display: Ensure the display voltage matches your microcontroller (3.3V is standard).
- Battery: Include a TP4056 charging module for safe charging and over-discharge protection.
- Sensors: A heart-rate sensor (MAX30102) and a 3-axis accelerometer (MPU6050 or ADXL345) add fitness tracking and motion detection.
- Connectivity modules: The ESP32 or RP2040 already include Bluetooth and Wi-Fi; no extra modules are needed.
- Enclosure: A 3D-printed case or a custom-fabricated housing. Design files are available on community platforms like Hackaday and Raspberry Pi forums.
- Tools: Soldering iron, wire cutters, jumper wires, multimeter, screwdrivers, and a set of small pliers.
- Strap: A standard 22mm watch strap that fits your enclosure.
Step 2: Setting up the hardware and wiring connections
Proper wiring is critical for reliable operation. Follow these steps to connect the display, battery, and sensors to your microcontroller.
- Display connection: Wire the OLED or TFT to the microcontroller using its SPI or I2C pins. Always double-check your display's datasheet.
- Power management: This allows the battery to power the board and recharge via USB.
- Sensor integration: Wire the MAX30102 heart-rate sensor using I2C (same SDA/SCL pins as the display, but with a different address). Connect the MPU6050 accelerometer also via I2C. Use separate I2C addresses or an I2C multiplexer if conflicts occur.
- Wiring tips: Keep all wires as short as possible to reduce noise. Use female-to-male jumper wires for prototyping, then solder permanent connections for the final build. Add a 100µF capacitor across the battery input to smooth voltage spikes.
Step 3: Assembling components into the enclosure
With the wiring complete, it's time to fit everything into the case. A 3D-printed or custom-fabricated enclosure protects the electronics and gives your smartwatch a professional look.
- Component placement: Position the microcontroller, battery, and display inside the case. Ensure the display sits flush against the front window and the charging port aligns with the case opening.
- Managing wiring: Use cable ties or small pieces of double-sided tape to secure wires against the case walls. Avoid pinching wires when closing the enclosure.
- Securing fastenings: Use M2 screws or small clips to hold the PCB and battery in place. The battery should not move freely to prevent short circuits.
- Finalizing the enclosure: Close the case and seal any gaps with silicone or adhesive. Attach the watch strap to the lugs on the case.
Step 4: Programming the smartwatch with MicroPython and LVGL
MicroPython provides a lean Python 3 implementation for microcontrollers like ESP32 and RP2040, making development fast and readable. LVGL (Light and Versatile Graphics Library) handles the user interface, offering efficient rendering on small displays.
- Setting up the development environment: Install Thonny or Mu Editor, then flash MicroPython firmware onto your ESP32 or RP2040 using the official flashing tool.
- Configuring the microcontroller: Define pin assignments for the display and sensors in a config.py file.
- Designing the UI with LVGL: Create a main screen with a clock widget, a battery indicator, and a menu for sensor data. LVGL's built-in styles and animations produce a polished look without heavy code.
- Implementing features: Write functions to read the RTC (real-time clock) for time display, poll the MAX30102 for heart rate, and read the MPU6050 for step counting. Display each value using LVGL label objects.
- Handling errors: Wrap sensor reads in try/except blocks to avoid crashes if a sensor disconnects. Add a watchdog timer to reset the microcontroller if the UI freezes.
Step 5: Testing, troubleshooting, and final calibration
Before wearing your smartwatch daily, run through these checks to ensure everything works correctly.
- Functional verification: Confirm the time updates every second, the display responds to touch or button presses, and the battery indicator shows the correct charge level.
- Sensor calibration: Place the smartwatch on a table to calibrate the accelerometer's zero-g offset. For the heart-rate sensor, compare readings against a commercial device for 30 seconds.
- Power management analysis: Adjust the screen brightness or add deep-sleep intervals to improve battery life.
- Connectivity testing: Pair the smartwatch with your phone via Bluetooth. Send a test notification and verify it appears on the display. If connection drops, check antenna placement (keep it away from metal parts).
- Iterative refinement: If you encounter smartwatch malfunctions like unresponsive buttons or garbled display, recheck solder joints and I2C addresses. For persistent issues, refer to the Smartwatch Malfunctions Troubleshooting Guide for systematic debugging steps.
Next steps: pairing and using your new smartwatch
Once testing passes, complete the smartwatch setup and pairing process by following the configuration steps. If the battery doesn't charge or drains quickly, consult the dedicated resource on Troubleshooting: Fixing Smartwatch Charging Issues. Your smartwatch is now ready for daily use, experiment with adding new sensors, custom watch faces, or even a GPS module to expand its capabilities.
For the wider topic, see smartwatch setup and pairing.