Introduction
Are you ready to embark on an exhilarating journey into the realm of technology and creativity? Crafting your own smartwatch can be an immensely rewarding and fulfilling project, allowing you to delve into the intricacies of hardware assembly and programming while ultimately reaping the benefits of a personalized, functional device. In this comprehensive guide, we will walk you through the step-by-step process of creating your very own smartwatch, from gathering the essential materials and tools to programming and testing your innovative creation.
As technology continues to evolve at a rapid pace, the concept of wearable devices has become increasingly prevalent in our daily lives. Smartwatches, in particular, have garnered immense popularity for their convenience and multifunctionality. By constructing your own smartwatch, you not only gain a deeper understanding of how these devices operate but also have the freedom to customize its features according to your preferences.
Throughout this guide, we will provide detailed instructions, valuable insights, and troubleshooting tips to ensure a seamless and enjoyable DIY experience. Whether you are a tech enthusiast, a hobbyist, or simply curious about the inner workings of smart technology, this guide is designed to cater to your needs and ignite your passion for innovation.
So, roll up your sleeves, gather your tools, and brace yourself for an exciting journey into the world of DIY smartwatch creation. Let's dive into the first step: gathering the essential materials and tools.
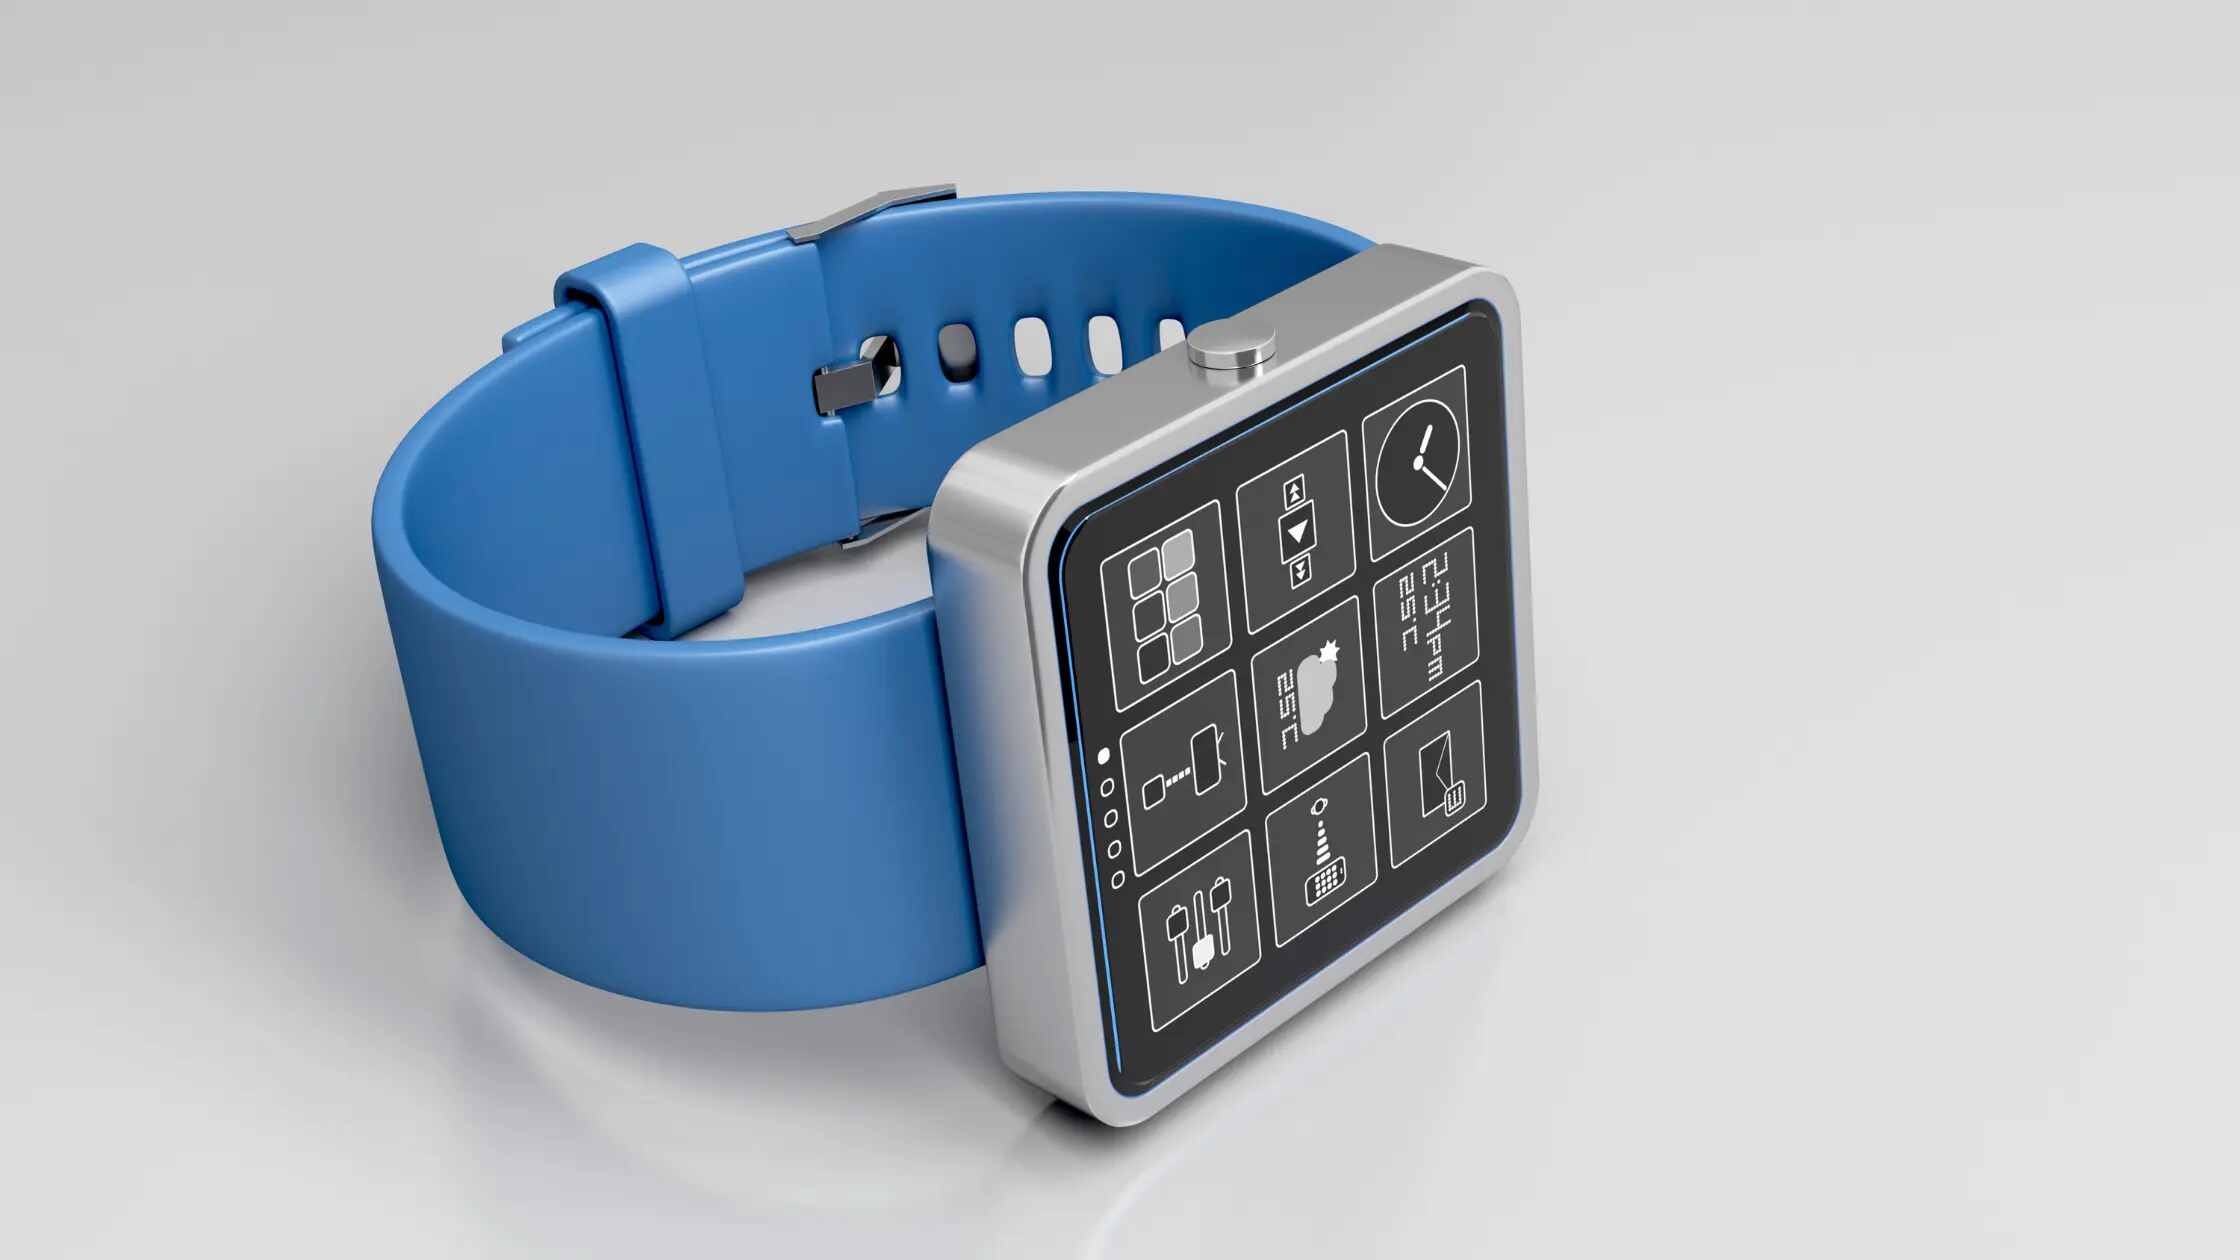
Step 1: Gathering Materials and Tools
Before delving into the intricate process of assembling your smartwatch, it is crucial to gather all the necessary materials and tools. By ensuring that you have everything at your disposal, you can streamline the construction process and minimize potential interruptions. Here’s a comprehensive list of the essential items you will need:
- Microcontroller: The brain of your smartwatch, the microcontroller serves as the central processing unit that enables the device to function. Arduino and Raspberry Pi are popular choices for DIY smartwatch projects due to their versatility and extensive community support.
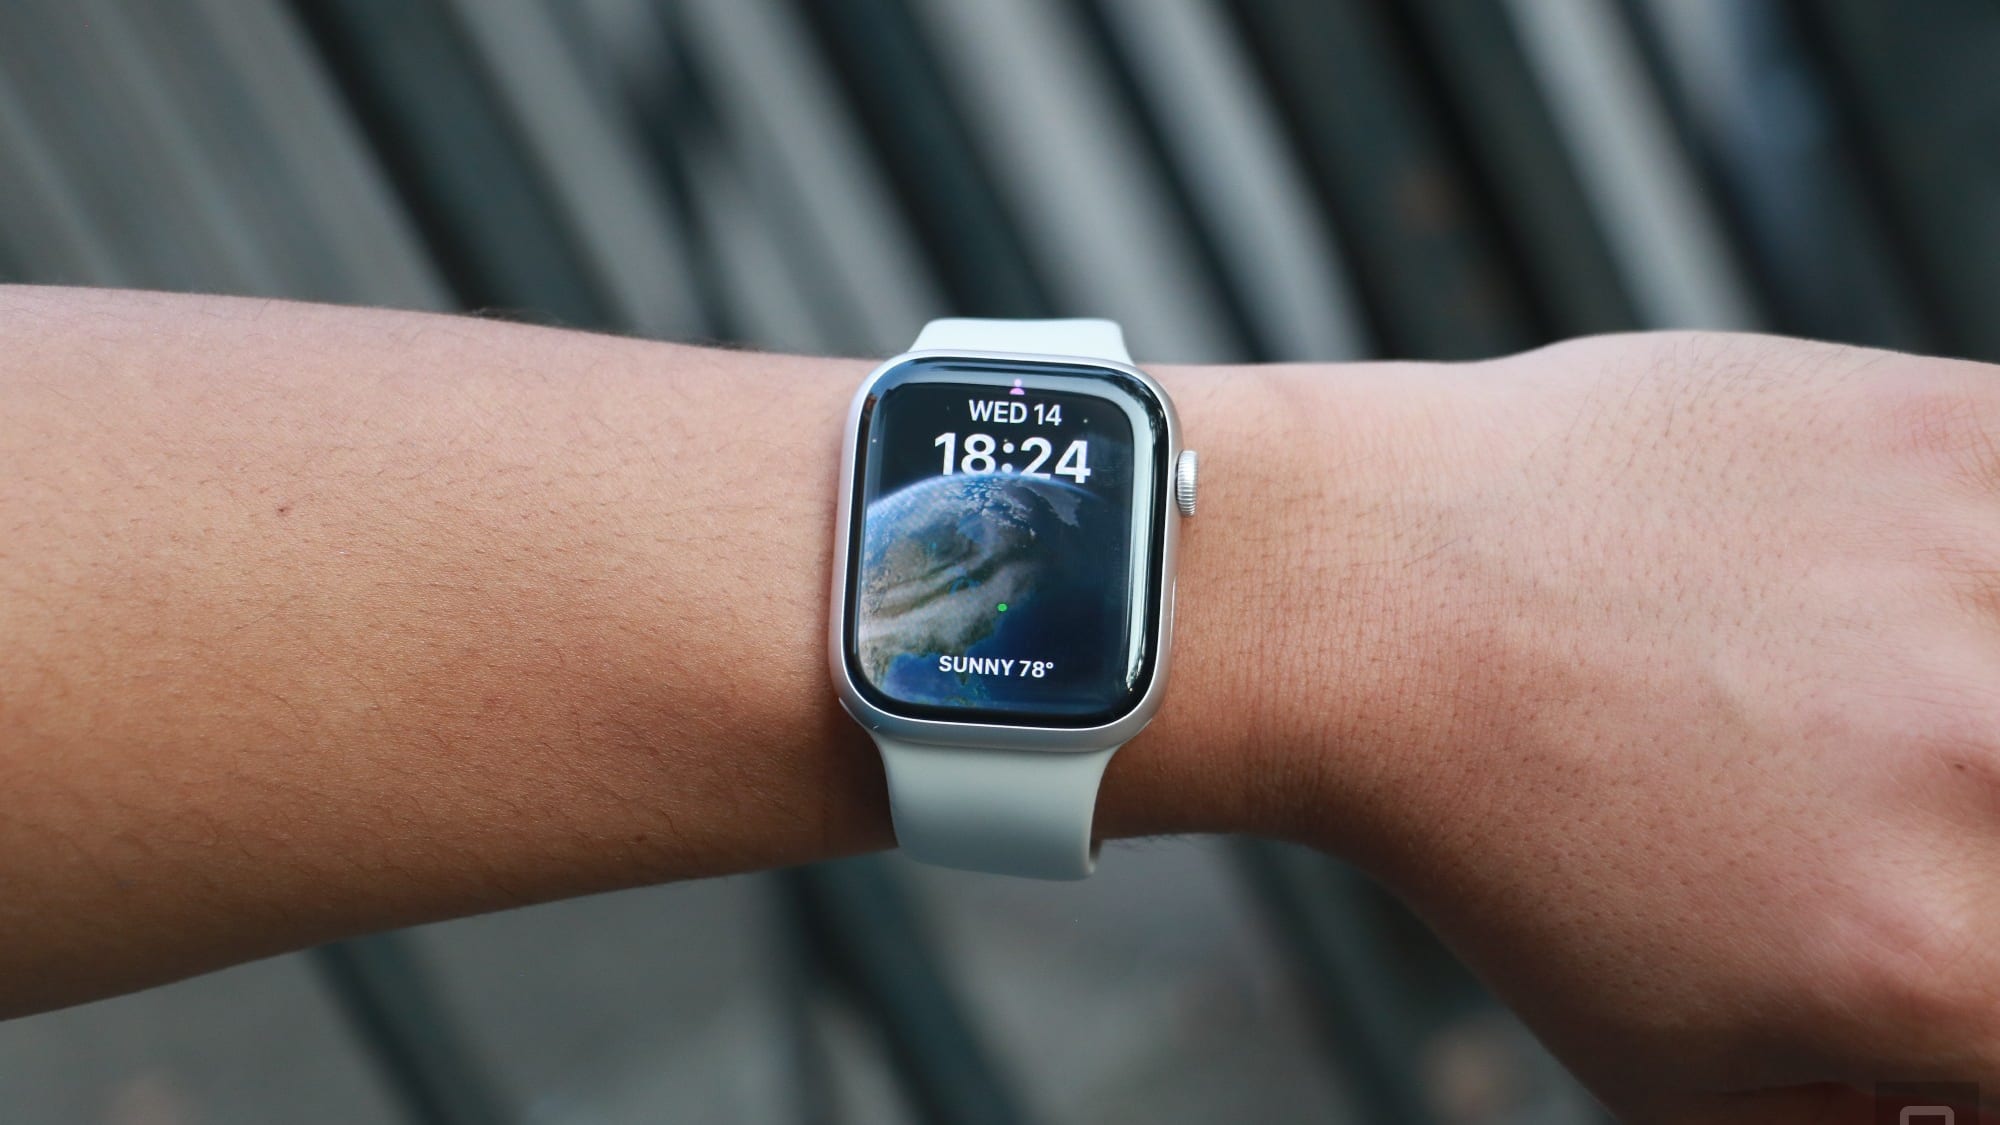
- Display: Select a suitable display module for your smartwatch, considering factors such as size, resolution, and compatibility with the microcontroller. OLED and TFT displays are commonly used for their vibrant visuals and energy efficiency.
- Battery: Choose a rechargeable lithium-ion battery with an appropriate capacity to power your smartwatch. Ensure that it is compatible with the voltage requirements of the microcontroller and other components.
- Strap and Casing: Opt for a comfortable and durable strap that complements the design of your smartwatch. Additionally, acquire a casing or enclosure to protect the internal components and provide a polished finish to the device.
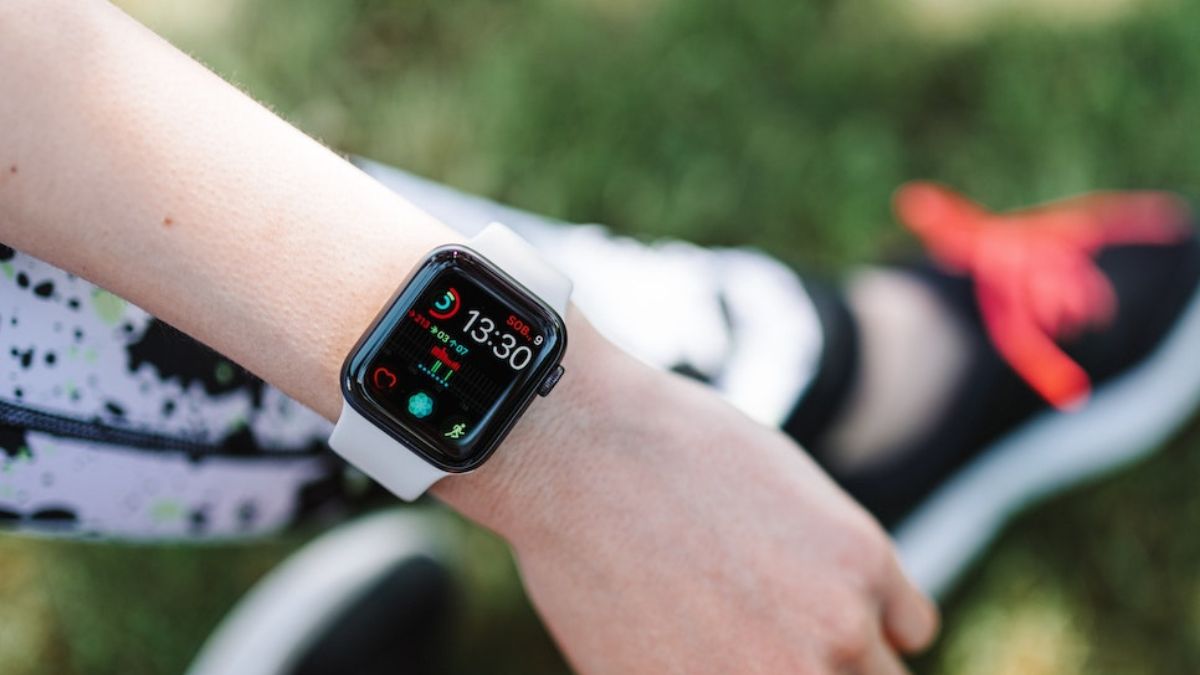
- Sensors: Depending on the features you wish to incorporate, consider integrating sensors such as heart rate monitors, accelerometers, and gyroscopes. These sensors can enhance the functionality of your smartwatch and enable fitness tracking and motion detection.
- Connectivity Modules: If you intend to enable wireless communication or synchronization with other devices, procure Bluetooth or Wi-Fi modules that are compatible with the microcontroller.
- Tools: Equip yourself with a soldering iron, wire cutters, jumper wires, and a multimeter for precise and efficient assembly. Additionally, ensure that you have a reliable set of screwdrivers and pliers for handling the casing and securing components.
By gathering these materials and tools, you are laying a solid foundation for the construction of your DIY smartwatch. With these essentials in hand, you are now ready to proceed to the next step: setting up the hardware.
Step 2: Setting Up the Hardware
Now that you have assembled all the necessary materials and tools, it’s time to delve into the foundational stage of crafting your smartwatch: setting up the hardware. This pivotal step involves configuring the components and establishing the physical framework of the device. Here’s a detailed guide to help you navigate through this crucial phase:
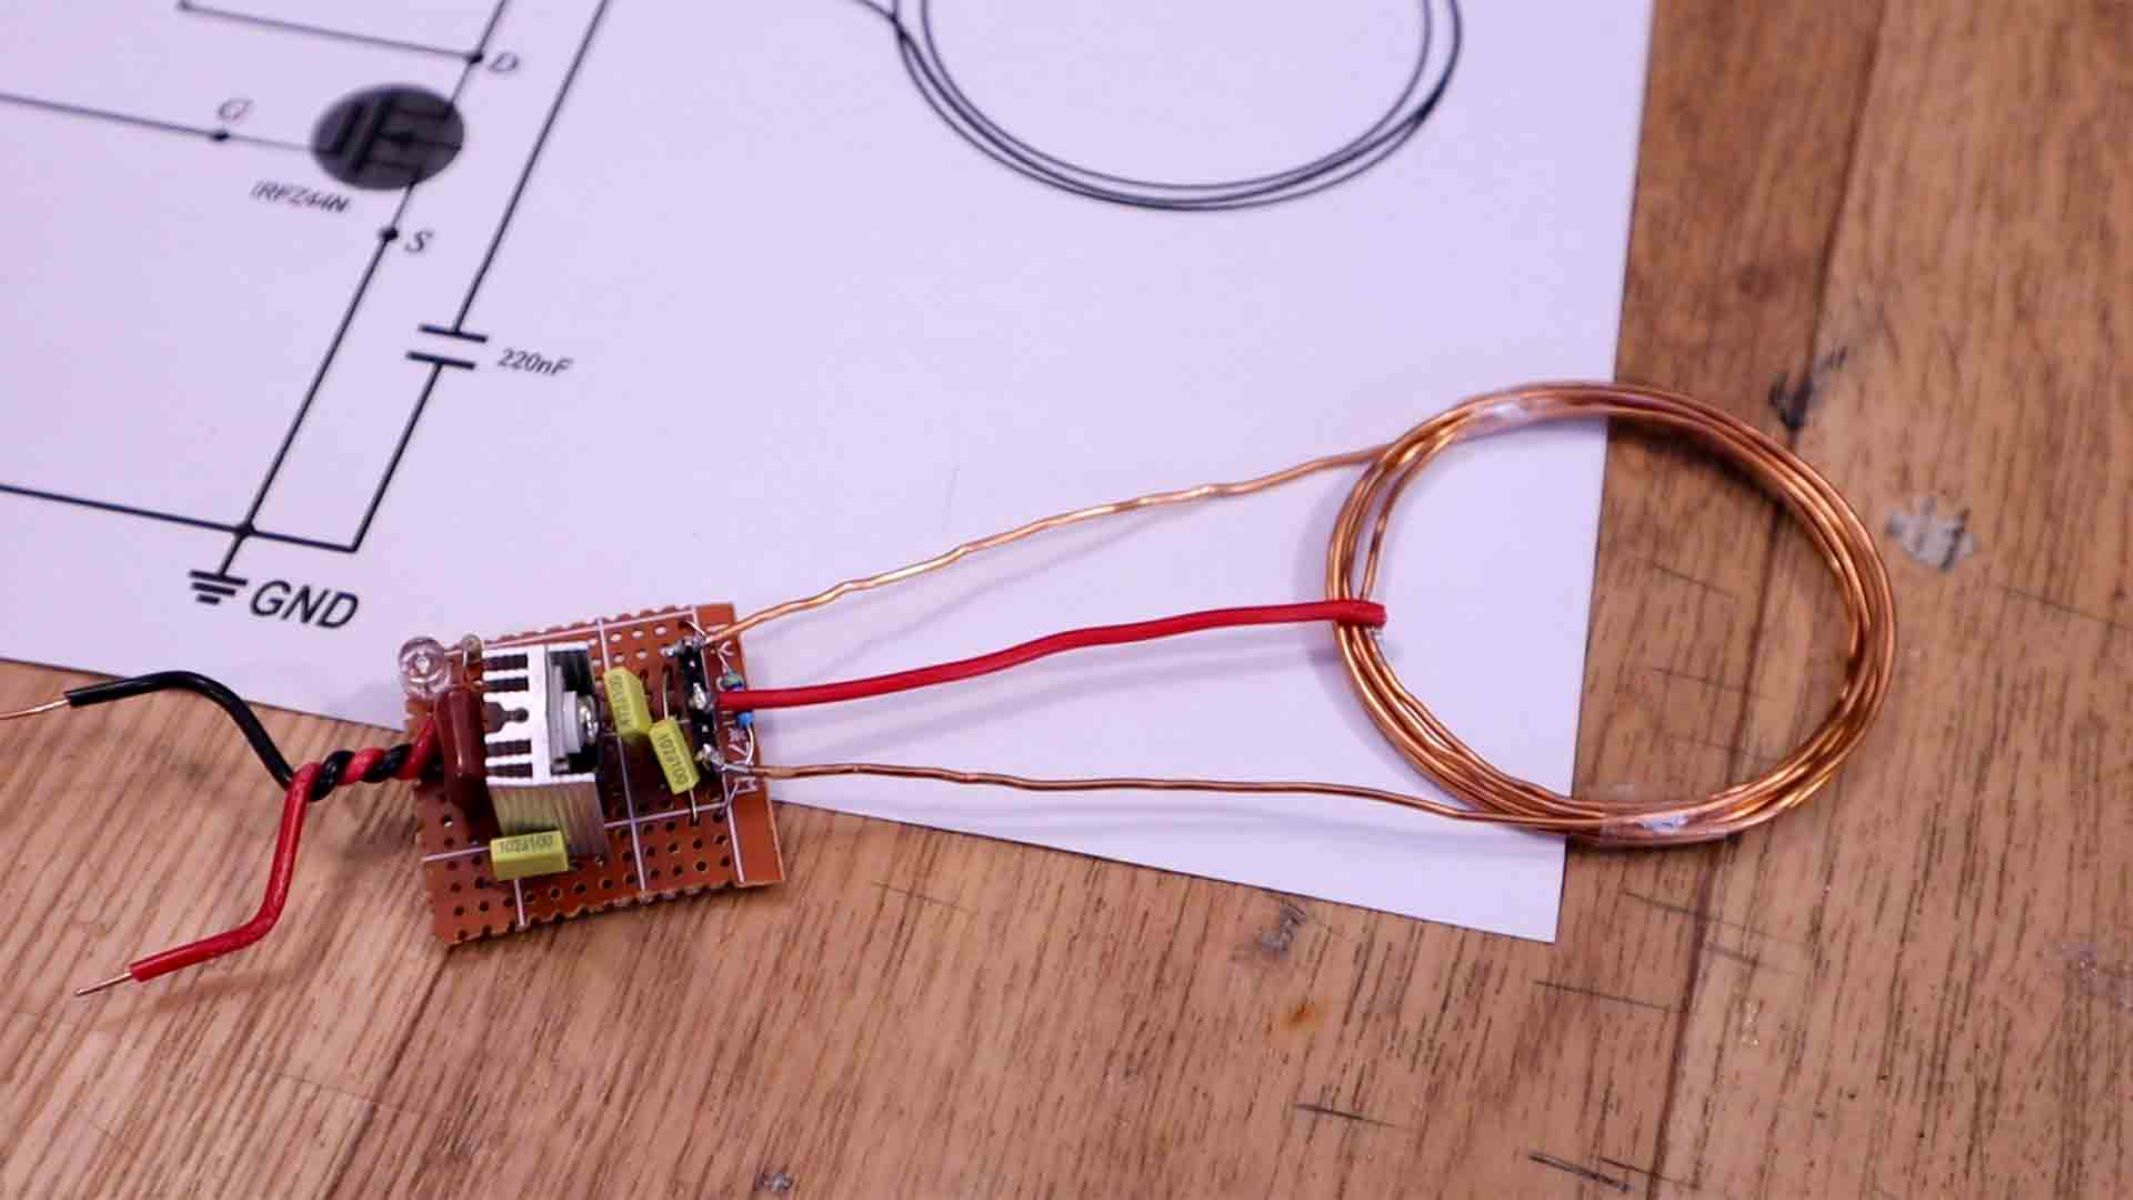
1. Microcontroller Integration: Begin by connecting the display module and other essential components to the microcontroller. Ensure that the wiring is secure and the connections are properly aligned to facilitate seamless communication between the components.
2. Power Management: Integrate the rechargeable lithium-ion battery into the smartwatch, adhering to the voltage and current requirements of the microcontroller and other power-consuming elements. Implement a reliable power management system to optimize energy efficiency and ensure prolonged usage.
3. Display Configuration: Set up the display module, adjusting the resolution, orientation, and brightness to suit the design and functionality of your smartwatch. Test the display to verify its responsiveness and visual output, making any necessary adjustments along the way.
4. Sensor Integration: If you have opted to incorporate sensors such as heart rate monitors or motion detectors, carefully integrate them into the hardware framework. Calibrate the sensors and verify their functionality to ensure accurate data collection and processing.
5. Connectivity Setup: If your smartwatch includes wireless connectivity features, such as Bluetooth or Wi-Fi, configure the corresponding modules to enable seamless communication with external devices or networks. Verify the connectivity range and reliability to guarantee consistent performance.
6. Enclosure Assembly: Once the internal components are in place and fully operational, assemble the casing or enclosure around the hardware. Ensure a snug fit and secure the components within the enclosure to protect them from external elements and physical impact.
By meticulously setting up the hardware components of your smartwatch, you are laying the groundwork for its functionality and durability. With the hardware intricacies in place, you are now prepared to progress to the next stage: assembling the smartwatch components.
Step 3: Assembling the Smartwatch Components
As you venture into the assembly phase of creating your DIY smartwatch, you are poised to witness the tangible culmination of your efforts. This step involves intricately piecing together the hardware components within the casing, culminating in the physical manifestation of your innovative device. Here’s a comprehensive guide to aid you through the assembly process:
1. Component Placement: Carefully position the microcontroller, display module, battery, and any additional components within the casing. Ensure that the components fit snugly and are arranged to optimize space utilization and accessibility for future maintenance.
2. Wiring and Interconnections: Methodically route the wiring and interconnections between the components, prioritizing organization and minimizing the risk of entanglement or interference. Employ cable management techniques to streamline the assembly and facilitate potential troubleshooting in the future.
3. Secure Fastening: Utilize appropriate fastening mechanisms, such as screws or clips, to secure the components within the casing. Ensure that the fastenings are robust and reliable, preventing internal displacement or damage during regular usage.
4. Casing Finalization: Once the components are securely positioned and interconnected, finalize the assembly of the casing. Seal any openings or access points to safeguard the internal hardware from dust, moisture, and physical impact, ensuring the longevity of your smartwatch.
5. Quality Assurance: Conduct a comprehensive inspection of the assembled components, verifying the integrity of the connections, the stability of the hardware, and the overall aesthetic appeal of the smartwatch. Address any discrepancies or imperfections to achieve a polished final product.
6. Functional Testing: Prior to proceeding to the programming phase, conduct initial functional tests to ensure that the assembled components operate harmoniously. Verify the display functionality, sensor responsiveness, and power management system to preemptively address any anomalies.
By meticulously assembling the hardware components of your smartwatch, you are inching closer to the realization of your DIY creation. With the components seamlessly integrated within the casing, you are now primed to transition to the next stage: programming the smartwatch.
Step 4: Programming the Smartwatch
As you venture into the programming phase of your DIY smartwatch project, you are poised to infuse life and intelligence into the hardware ensemble you meticulously assembled. This pivotal step involves configuring the microcontroller, integrating software functionalities, and tailoring the user interface to align with your personalized vision. Here’s a comprehensive guide to aid you through the programming process:
1. Software Environment Setup: Install the necessary integrated development environment (IDE) and programming tools for the microcontroller. Whether you are using Arduino or Raspberry Pi, ensure that the software environment is conducive to seamless code compilation and deployment.
2. Microcontroller Configuration: Initialize the microcontroller and configure its operational parameters, including clock speed, memory allocation, and input/output pin assignments. Establish a robust foundation for executing the smartwatch’s functionalities and managing external interactions.
3. User Interface Design: Design and implement the user interface (UI) for the smartwatch, considering factors such as display layout, menu navigation, and interactive elements. Tailor the UI to accommodate essential features such as time display, notifications, and sensor data visualization.
4. Feature Implementation: Integrate desired features and functionalities into the smartwatch’s software, such as fitness tracking, heart rate monitoring, and connectivity with external devices. Leverage existing libraries and APIs to expedite feature implementation and optimize performance.
5. Data Processing and Display: Implement algorithms for processing sensor data, managing power consumption, and rendering information on the display. Ensure that the smartwatch efficiently interprets and presents data to the user while maintaining optimal energy utilization.
6. Error Handling and Optimization: Implement robust error handling mechanisms to preemptively address potential software anomalies or hardware interactions. Additionally, optimize the codebase to enhance efficiency and responsiveness, contributing to a seamless user experience.
By meticulously programming the software aspects of your smartwatch, you are infusing it with the intelligence and functionality that define its essence. With the software intricacies meticulously configured, you are now prepared to progress to the next stage: testing and troubleshooting the smartwatch.
Step 5: Testing and Troubleshooting
As you approach the final phase of your DIY smartwatch creation, thorough testing and troubleshooting are paramount to ensure the seamless functionality and reliability of your innovative device. This critical step involves subjecting the smartwatch to rigorous assessments, identifying potential issues, and implementing corrective measures to refine its performance. Here’s a comprehensive guide to aid you through the testing and troubleshooting process:
1. Functional Verification: Initiate comprehensive tests to verify the core functionalities of the smartwatch, including timekeeping accuracy, display responsiveness, and basic interaction with user inputs. Ensure that fundamental features operate as intended before proceeding to advanced testing.
2. Sensor Calibration: Calibrate and validate the accuracy of integrated sensors, such as heart rate monitors and motion detectors. Compare sensor readings with established benchmarks to ascertain their precision and consistency in diverse scenarios.
3. Power Management Analysis: Assess the power consumption patterns and battery performance of the smartwatch under varying usage scenarios. Verify the efficiency of the power management system and optimize energy utilization to prolong battery life.
4. Connectivity and Data Exchange: Test the wireless connectivity features, such as Bluetooth or Wi-Fi, to ensure seamless data exchange with external devices or networks. Validate the reliability of data transmission and reception under different environmental conditions.
5. User Interface Evaluation: Solicit feedback on the user interface from potential users or testers to gauge its intuitiveness and functionality. Address any usability concerns and refine the UI elements based on constructive input.
6. Troubleshooting Iterations: Identify and address any anomalies or malfunctions observed during testing by conducting systematic troubleshooting iterations. Utilize debugging tools and diagnostic techniques to isolate and rectify software or hardware-related issues.
7. Iterative Refinement: Iterate through testing, feedback incorporation, and refinement cycles to progressively enhance the smartwatch’s performance and user experience. Embrace a proactive approach to refining the device based on real-world testing outcomes.
By meticulously subjecting your DIY smartwatch to comprehensive testing and troubleshooting, you are fortifying its resilience and functionality. With potential issues addressed and performance optimized, your smartwatch is poised to transcend the realm of DIY creation and become a tangible manifestation of innovation and ingenuity.
Conclusion
Congratulations on embarking on a remarkable journey to create your very own smartwatch from scratch. Throughout this comprehensive guide, you’ve traversed the intricate process of gathering materials, setting up the hardware, assembling components, programming the software, and conducting thorough testing and troubleshooting. The culmination of your dedicated efforts has resulted in the birth of a personalized and functional smartwatch that embodies your creativity and technical acumen.
By immersing yourself in the world of DIY smartwatch creation, you’ve not only honed your technical skills but also unleashed your capacity for innovation and problem-solving. The amalgamation of hardware assembly, software configuration, and meticulous testing has empowered you to bring a sophisticated wearable device to life, tailored to your unique preferences and requirements.
As you reflect on this enriching experience, remember that the knowledge and expertise gained from this endeavor extend far beyond the realm of smartwatch creation. The patience, precision, and resilience demonstrated throughout the process epitomize the essence of craftsmanship and the pursuit of knowledge.
Whether you embarked on this journey as a tech enthusiast, a hobbyist, or an aspiring innovator, the completion of your DIY smartwatch stands as a testament to your ingenuity and determination. Embrace this achievement as a stepping stone to further explorations in the realm of technology and as a reminder of the boundless potential within your grasp.
As you don your newly crafted smartwatch, adorned with the fruits of your labor and creativity, envision the endless possibilities that lie ahead. Let this endeavor serve as a beacon of inspiration, propelling you toward future ventures that harness the power of imagination and hands-on craftsmanship.
With your DIY smartwatch serving as a tangible symbol of your capabilities and aspirations, may it ignite a passion for continuous learning, innovation, and the relentless pursuit of turning dreams into reality.