Introduction
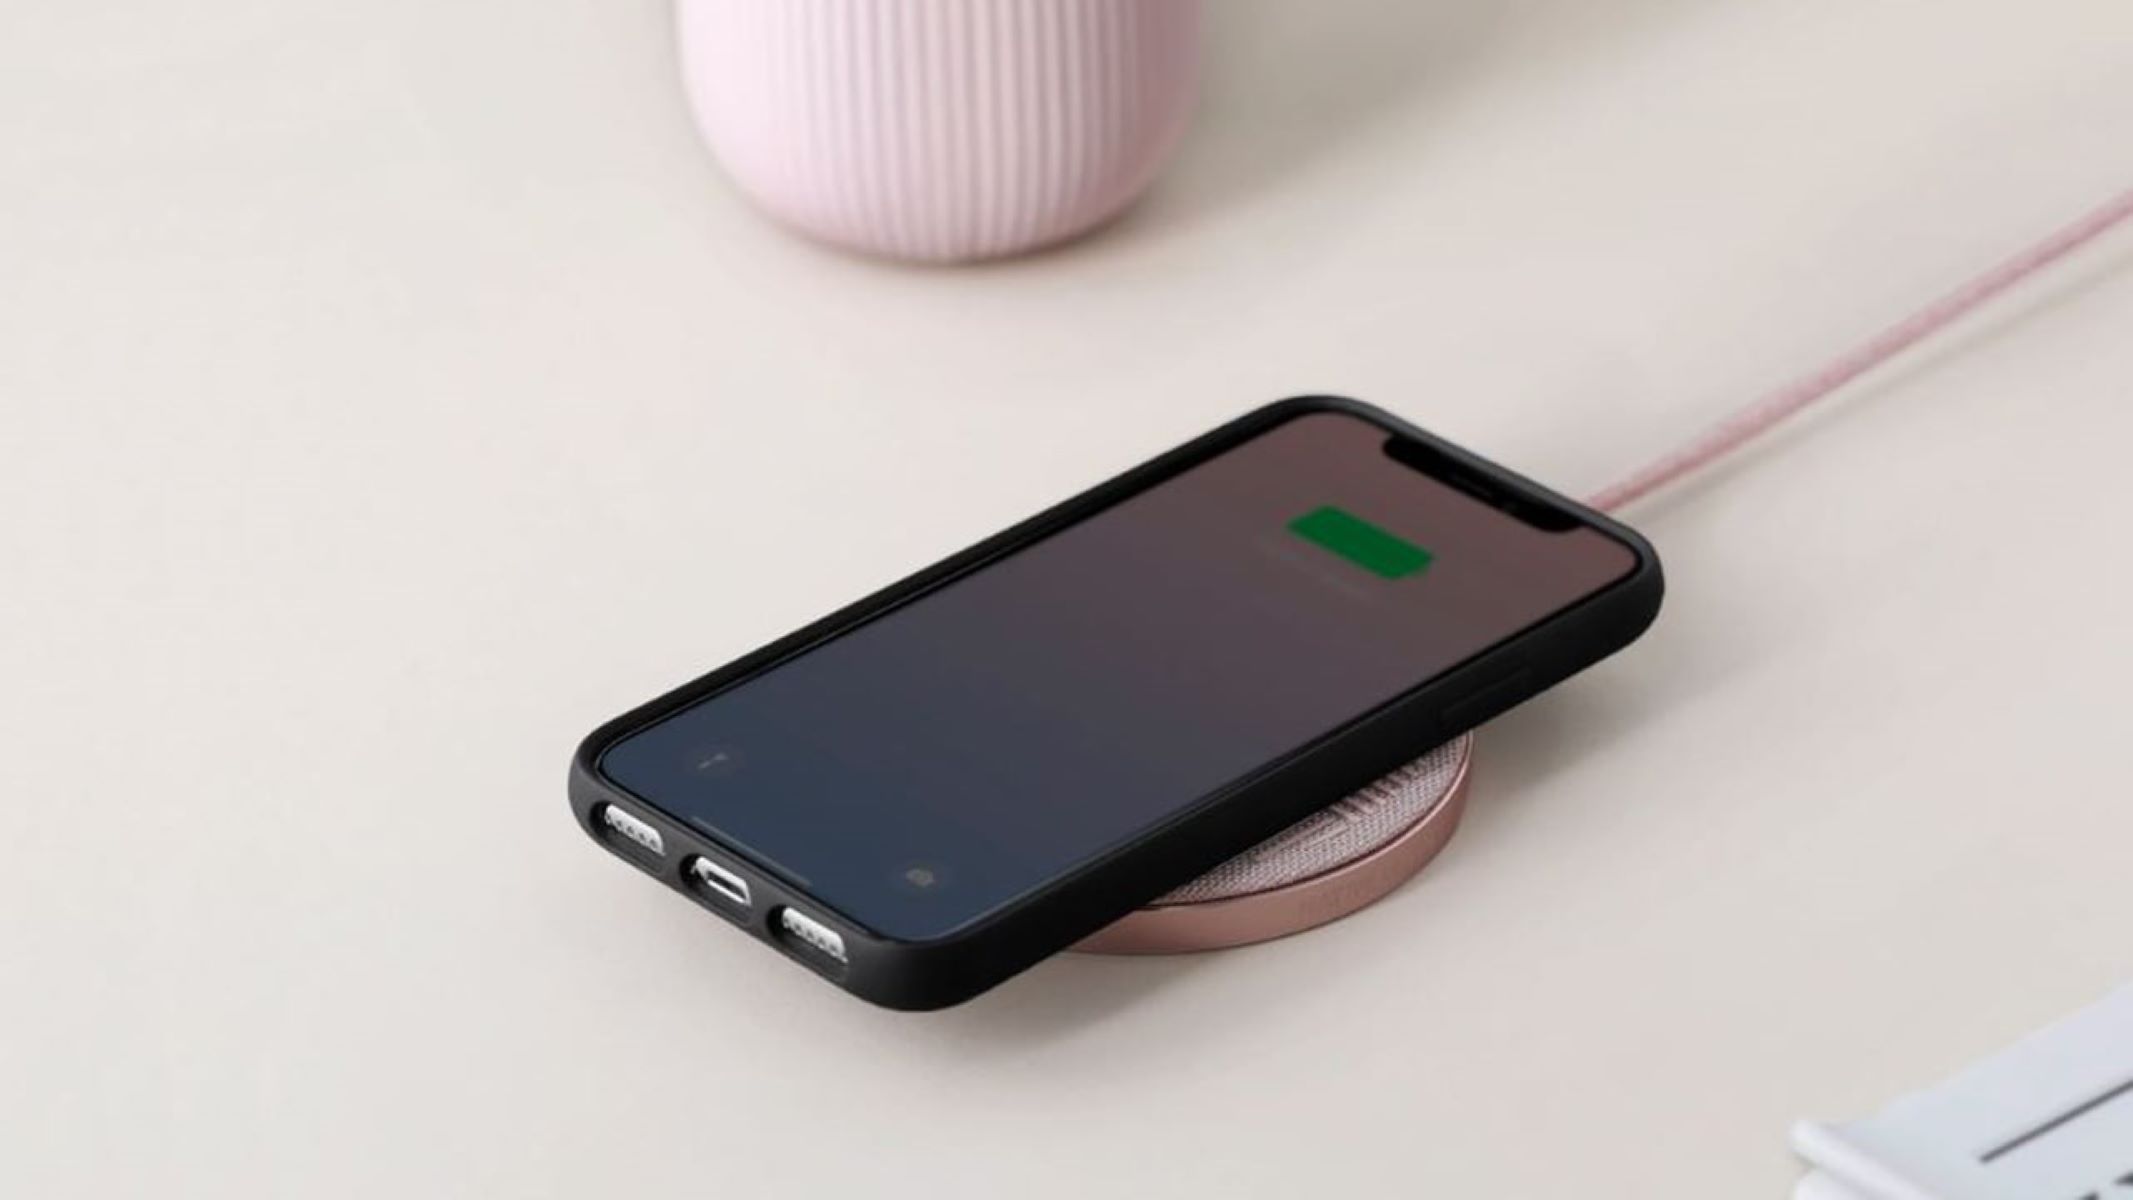
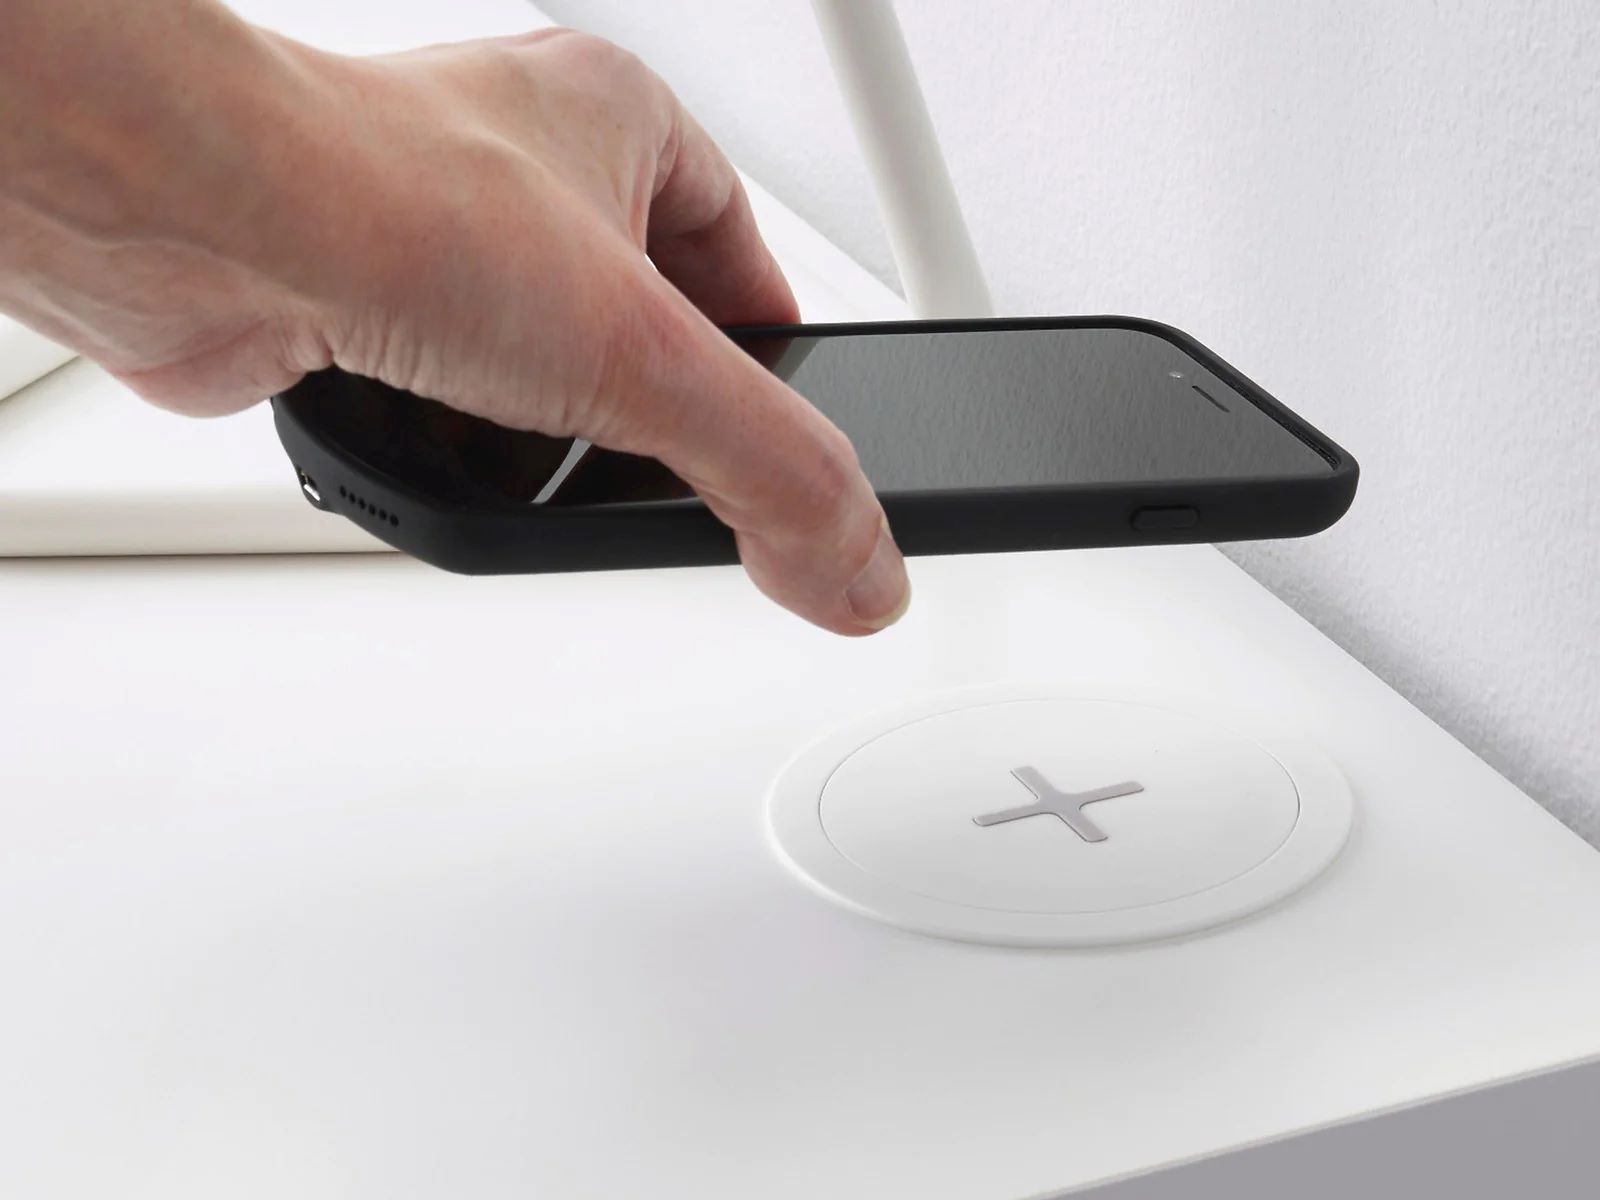
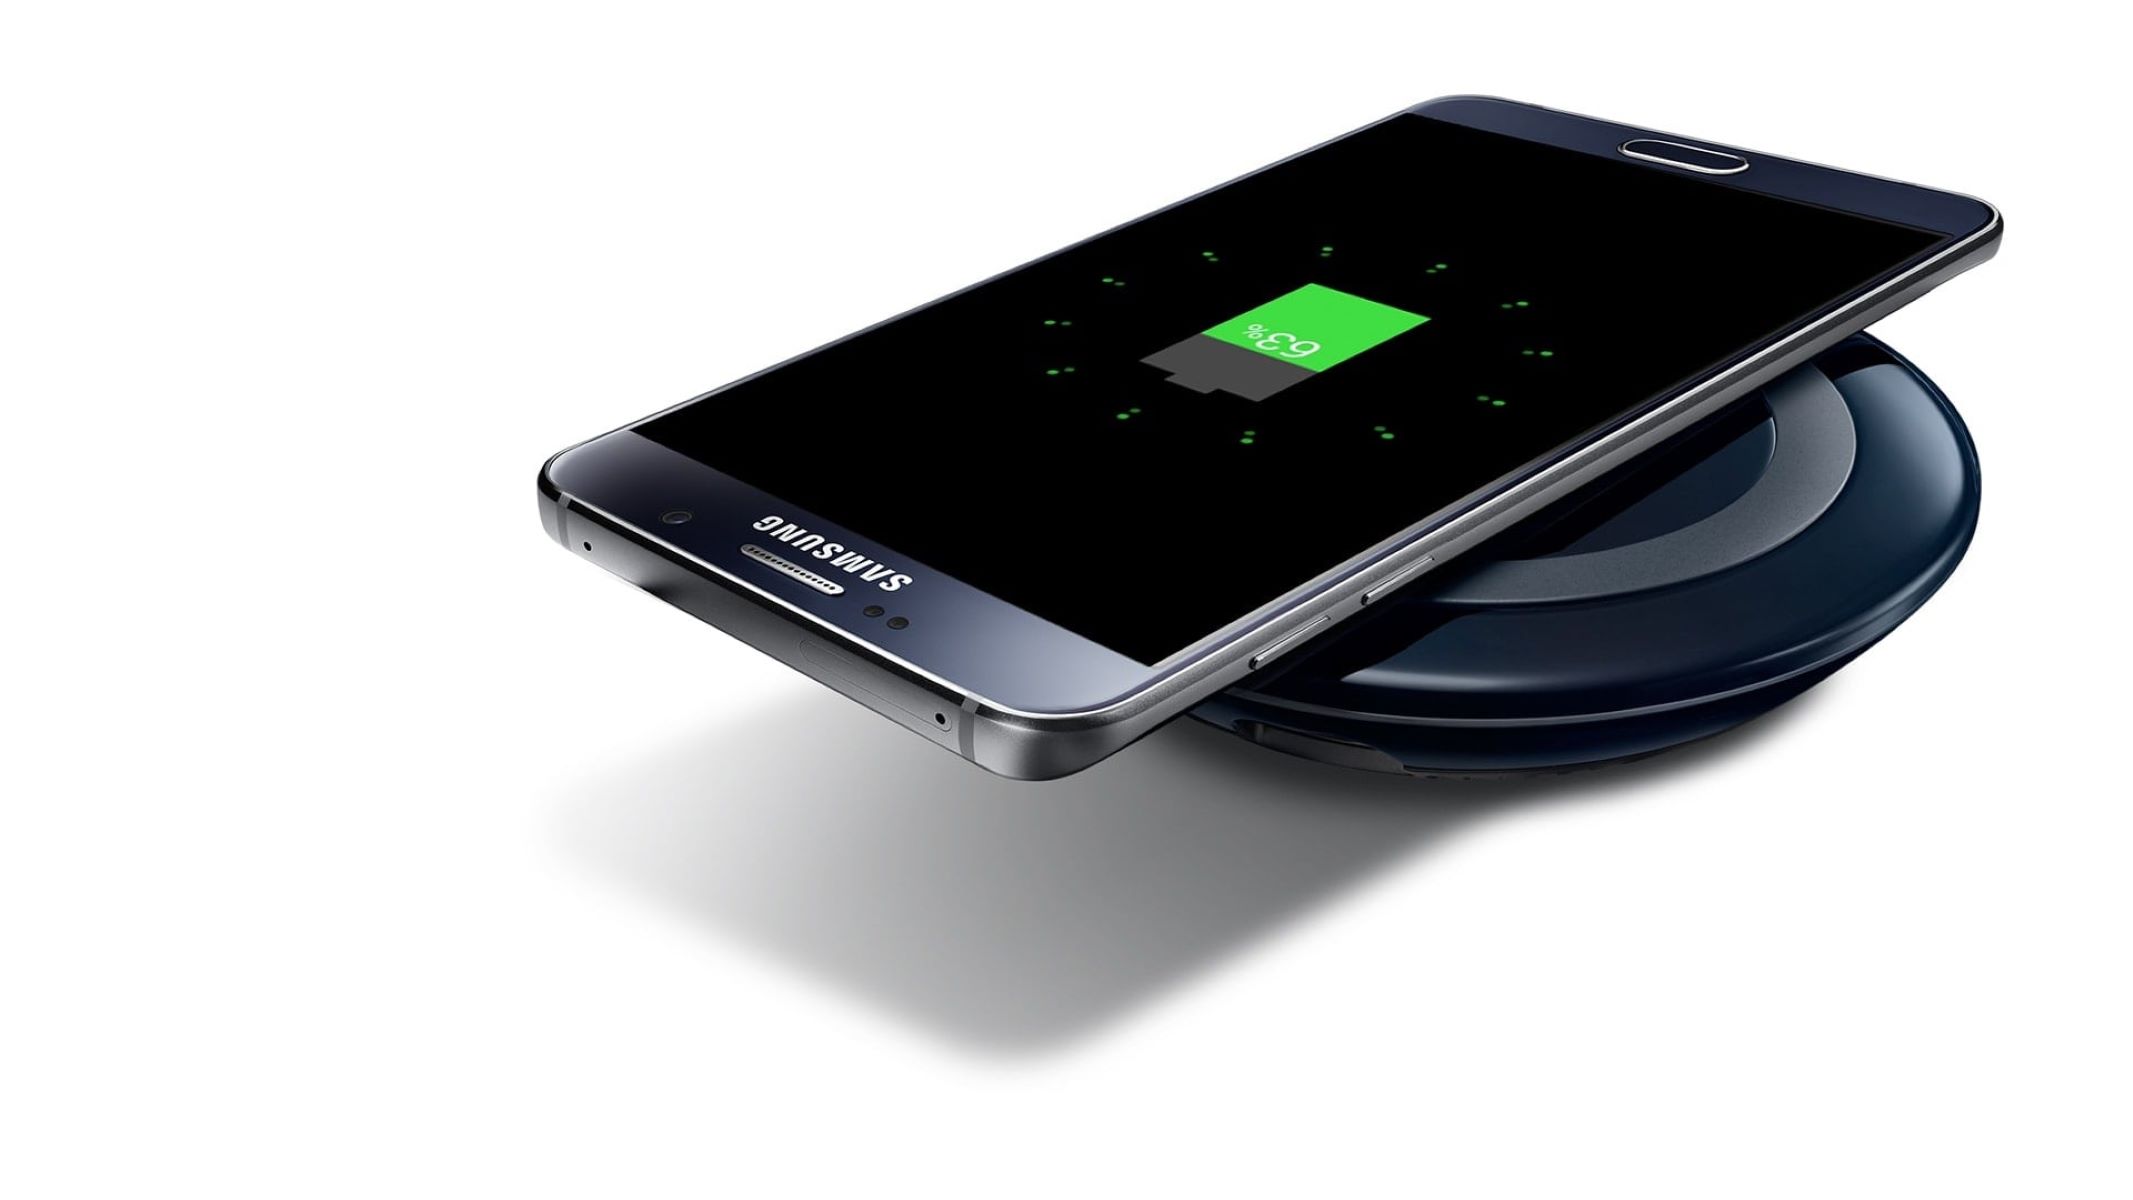
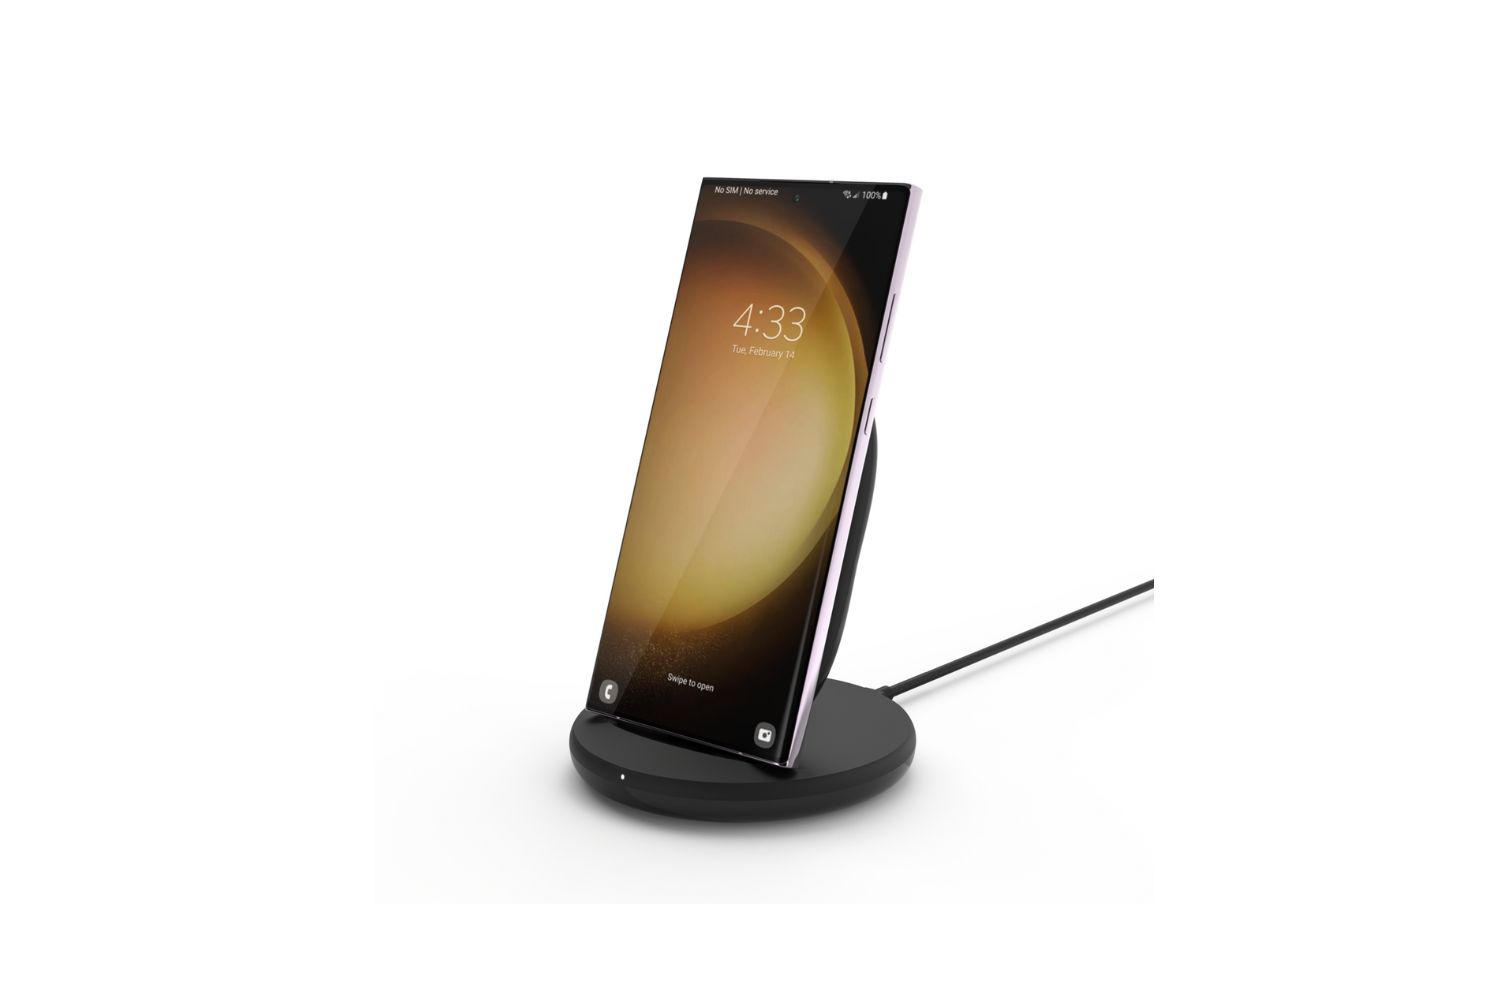
Wireless charging has become increasingly popular as a convenient way to power up our devices without the hassle of cords and cables. Imagine the convenience of simply placing your phone on a charging pad and watching the battery charge up effortlessly. This technology is not only efficient but also eliminates the clutter of tangled cords on your desk or nightstand.
In this article, we will explore the fascinating world of wireless charging and guide you through the process of making your own wireless charger. By following these steps, you can experience the thrill of creating a device that can power up your phone or other compatible devices wirelessly.
Before diving into the building process, let’s start by understanding how wireless charging works. Essentially, wireless charging, also known as inductive charging, uses an electromagnetic field to transfer energy between a charging pad (transmitter) and a compatible device (receiver). This allows the device to charge without any physical connection.
The convenience of wireless charging extends beyond smartphones; it can also be used with various other devices, such as smartwatches, earbuds, and even electric toothbrushes. Once you have a basic understanding of wireless charging, we can move on to the materials you will need to gather for this DIY project.
Step 1: Understanding wireless charging
Before you embark on the journey of making your own wireless charger, it is essential to have a solid grasp of how wireless charging technology works. By understanding the underlying principles, you will be better equipped to build an effective and efficient charging system.
Wireless charging operates on the principle of electromagnetic induction. It involves two main components: a transmitter (also known as a charging pad) and a receiver (the device being charged). The transmitter generates an oscillating magnetic field, while the receiver contains a coil that converts the magnetic field into electrical energy.
When the transmitter and receiver are placed in close proximity, the alternating current flowing through the transmitter’s coil induces a corresponding alternating current in the receiver’s coil. This current is then rectified and used to charge the device’s battery.
It’s important to note that wireless charging requires compatible devices. Not all devices are equipped with wireless charging capabilities, so it’s vital to check if your device supports this technology before attempting to build a wireless charger. Many modern smartphones, such as certain models of iPhones and Android devices, come with built-in wireless charging capabilities.
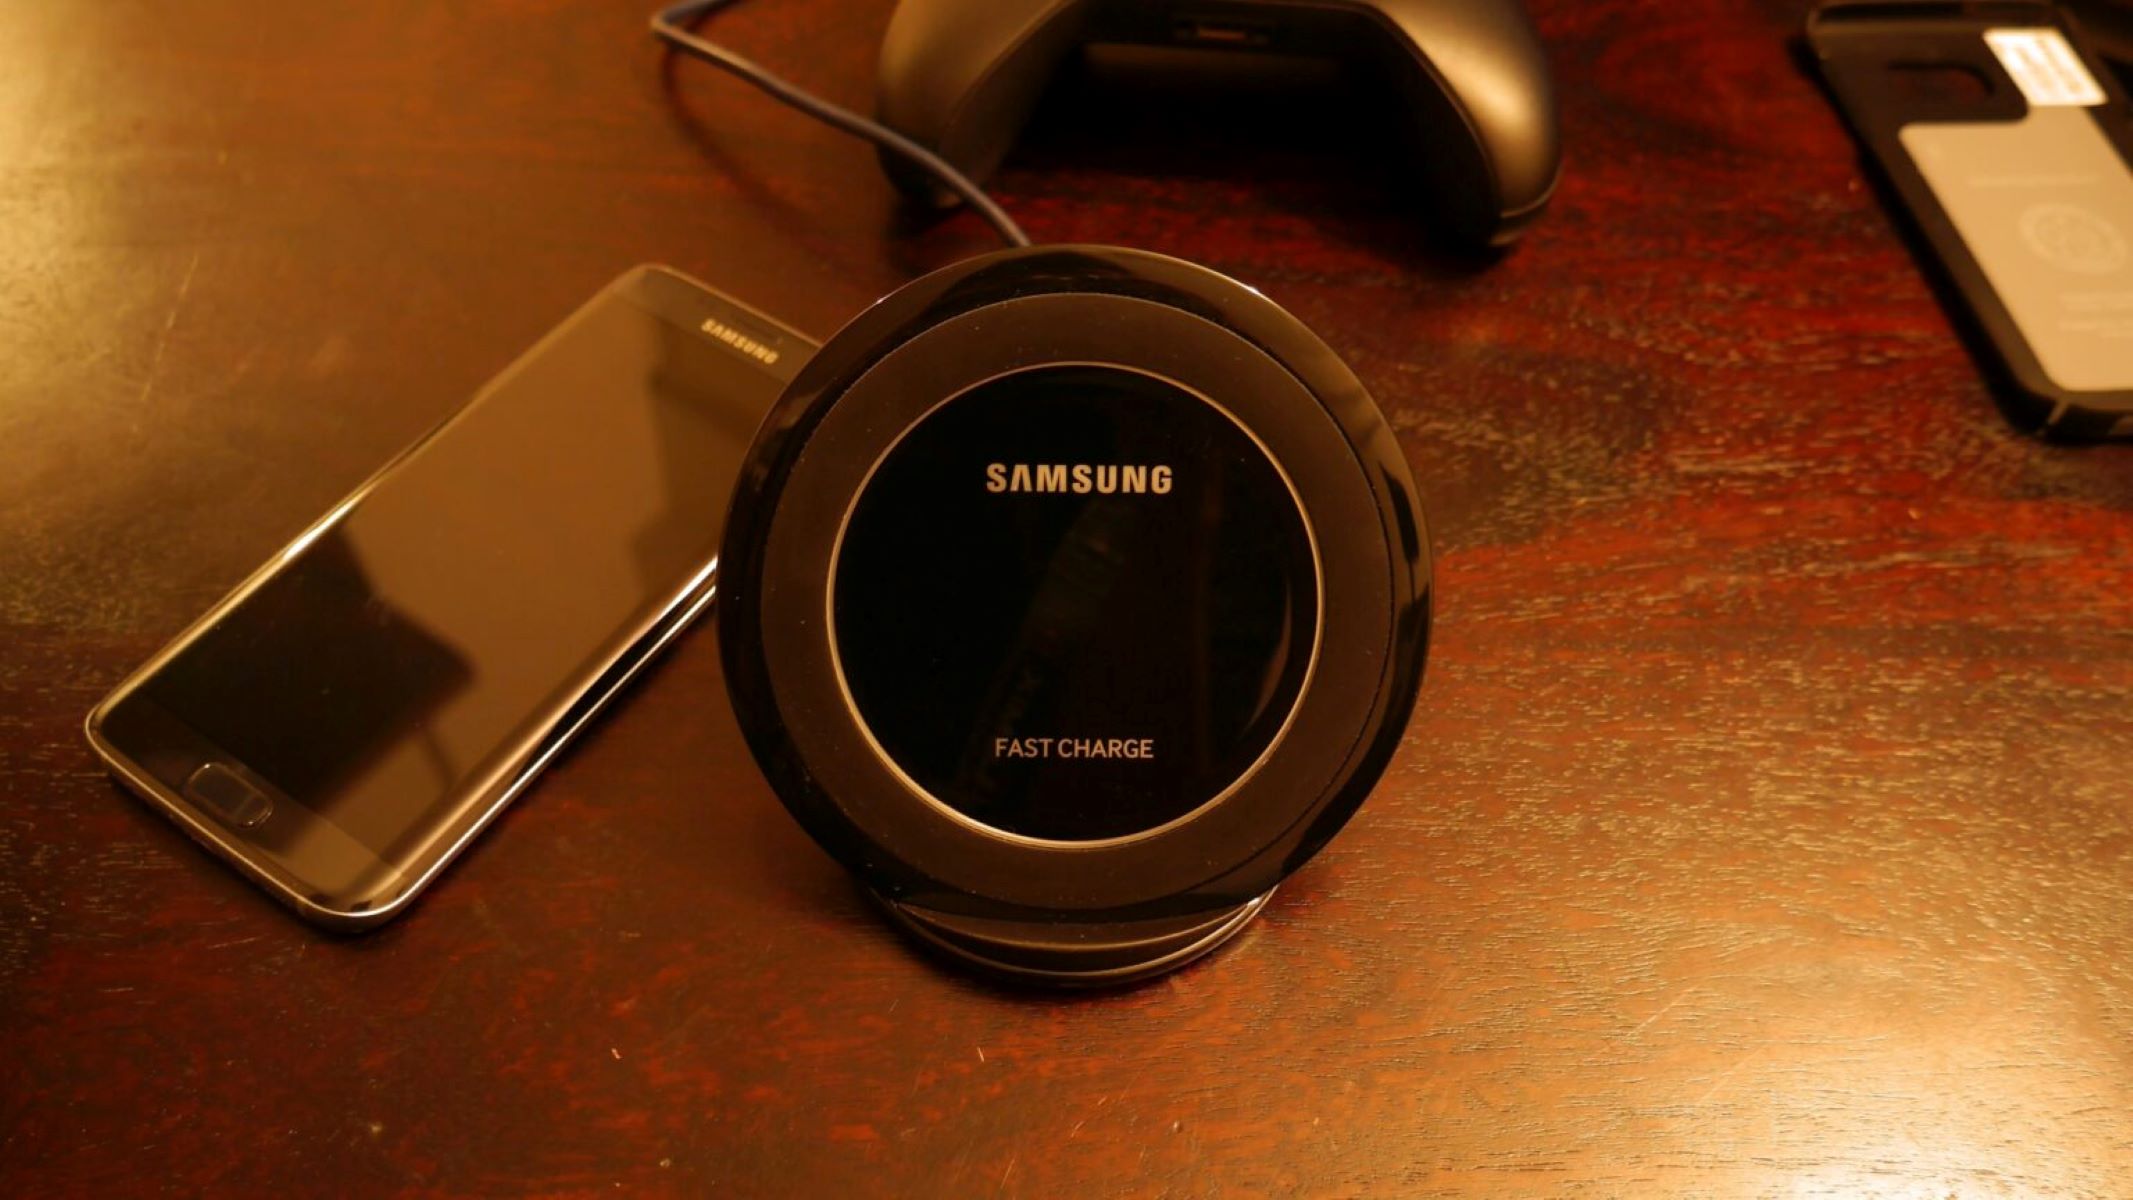
In addition to device compatibility, it’s crucial to consider the Qi standard. Qi (pronounced “chee”) is the universal standard for wireless charging and is supported by many manufacturers. Ensuring that your wireless charger adheres to the Qi standard will improve its compatibility across different devices.
While wireless charging offers many benefits, including convenience and reduced clutter, it’s important to understand that it may have some limitations. Charging speed can be slower compared to traditional wired charging, and the efficiency of wireless charging can vary depending on factors such as distance from the transmitter and alignment of the receiver’s coil.
Now that you have a solid understanding of the basic principles of wireless charging, let’s move on to the next step: gathering the necessary materials to build your own wireless charger.
Step 2: Gathering the necessary materials
Now that you understand the fundamentals of wireless charging, it’s time to gather the materials you’ll need to build your own wireless charger. While there are various methods and components available, we’ll focus on a simple and cost-effective approach using off-the-shelf components.
Here’s a list of the essential materials you’ll need:
- A wireless charging transmitter: This can be a pre-made Qi wireless charging pad or a DIY transmitter module.
- A wireless charging receiver: This is a compatible receiver module that will be embedded into the device being charged.
- A power source: You’ll need a suitable power supply to provide the necessary electricity to the transmitter.
- A USB cable: This will be used to connect the power supply to the transmitter.
- A soldering iron and solder: These tools will be necessary for connecting the wires and components together.
- Insulating tape: This will help secure the connections and prevent any short circuits.
Optional materials that can enhance your wireless charging system include:
- A 3D-printed or laser-cut case: This can provide a neat and organized enclosure for your wireless charger.
- LED indicators: These can be added to visually indicate when the device is charging.
- A heat sink: This can help dissipate any heat generated during the charging process.
Before purchasing the materials, consider the dimensions and specifications of your device to ensure compatibility with the transmitter and receiver modules. Additionally, make sure to check the required power input of the transmitter and choose a suitable power supply accordingly.
Now that you have your list of materials, it’s time to move on to the next step: building the wireless charging transmitter.
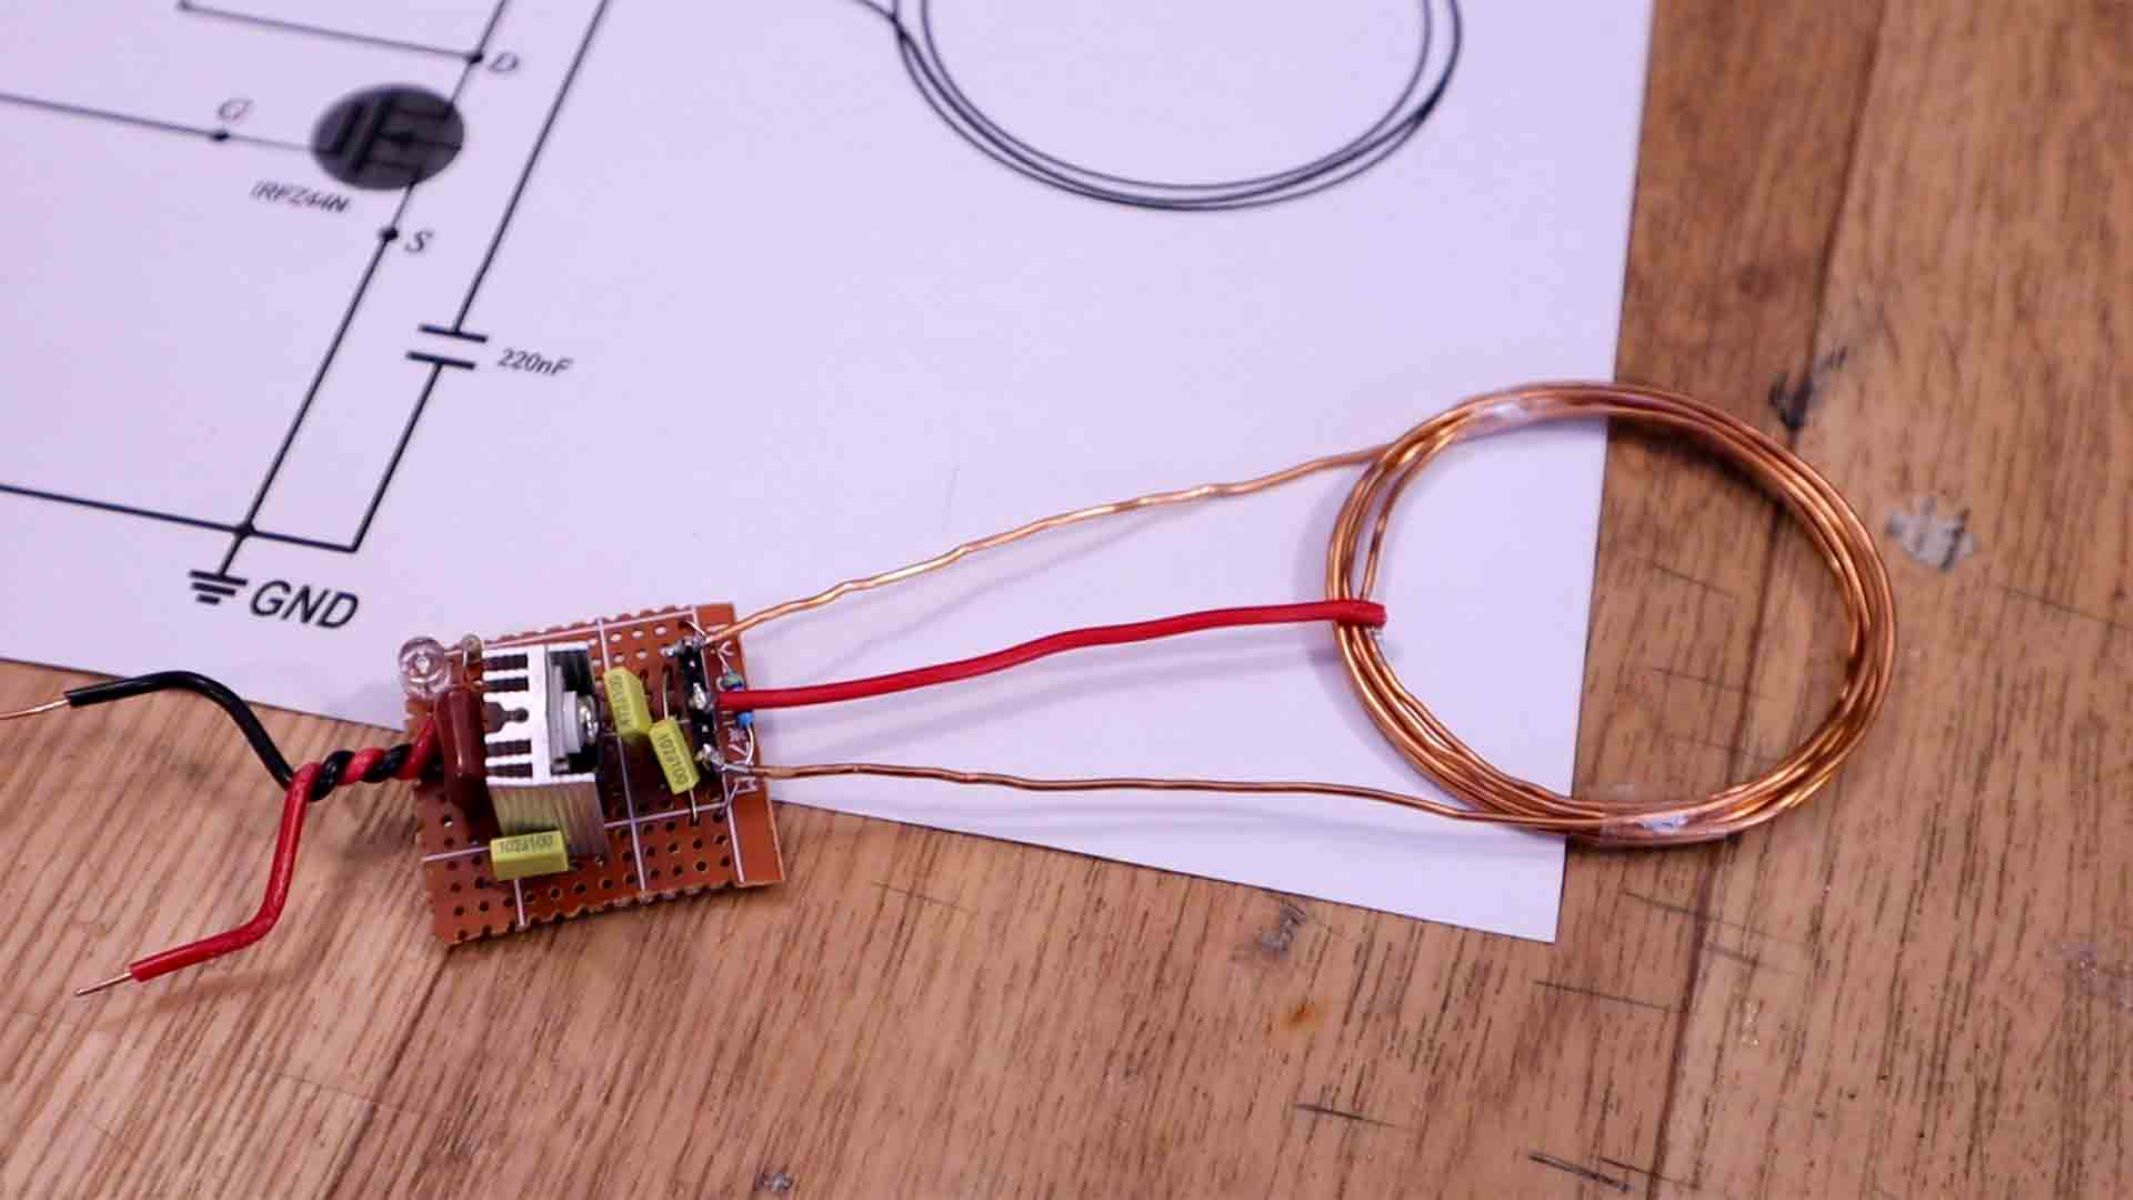
Step 3: Building the wireless charging transmitter
Once you have gathered all the necessary materials, it’s time to start building the wireless charging transmitter. The transmitter is responsible for generating the electromagnetic field that will wirelessly transfer energy to the receiver. Here’s a step-by-step guide to help you with the process:
- Connect the power supply: Start by connecting the power supply to the transmitter module using a USB cable. Ensure that the voltage and current rating of the power supply match the requirements of the transmitter module.
- Prepare the transmitter coil: Many pre-made wireless charging pads come with a built-in transmitter coil. If you are using a DIY transmitter module, you will need to create or purchase a suitable transmitter coil. Follow the instructions provided with the transmitter module or refer to online resources for guidance on coil specifications and construction.
- Mount the transmitter coil: Position the transmitter coil over the transmitter module, ensuring that it is centered and aligned properly. Secure the coil in place using adhesive or by attaching it to the transmitter module’s PCB board as instructed.
- Make the necessary connections: Solder the wires from the transmitter coil to the corresponding points on the transmitter module. Use the manufacturer’s instructions or refer to online resources for guidance on the correct wiring and connections.
- Insulate the connections: Once the connections are secure, use insulating tape or heat shrink tubing to cover and insulate the soldered joints. This will protect against short circuits and ensure the integrity of the connections.
It’s important to follow the instructions provided with your specific transmitter module and consult additional resources for any specific requirements or variations. Additionally, take necessary safety precautions while working with electrical components and soldering tools.
Now that you have successfully built the wireless charging transmitter, it’s time to move on to the next step: creating the wireless charging receiver.
Step 4: Creating the wireless charging receiver
With the wireless charging transmitter completed, it’s time to move on to creating the wireless charging receiver. The receiver is the component that will be embedded in the device you want to charge wirelessly. Follow these steps to build your wireless charging receiver:
- Determine the receiver module: Begin by identifying a compatible wireless charging receiver module that matches the specifications of your device and the transmitter. These receiver modules are readily available from electronics suppliers.
- Prepare the receiver coil: The receiver coil is an essential part of the charger that will convert the electromagnetic field into electrical energy. Determine the optimal size and shape of the coil based on your device’s dimensions and the requirements of your selected receiver module.
- Integrate the receiver module: Carefully embed the receiver module and coil into your device. This may involve opening up the device and making modifications to accommodate the receiver module, or for certain devices, you can find receiver modules that can be attached externally.
- Connect the receiver module: Follow the manufacturer’s instructions to connect the receiver module to the device’s charging port. Ensuring proper connections is crucial for the successful wireless charging of your device.
- Secure and test the wireless charging receiver: Once the receiver module is connected, secure it in place using adhesive or other suitable methods. Ensure the coil is properly aligned with the transmitter on the charging pad. Test the wireless charging functionality by placing the device on the transmitter and observing if it charges wirelessly.
It’s important to note that certain devices, such as smartphones, may require additional modifications or access to specific charging circuitry to enable wireless charging functionality. Consult device-specific resources or online communities for guidance on integrating the wireless charging receiver into your particular device.
Once you have successfully created the wireless charging receiver and verified its functionality, you are now ready to test and troubleshoot the wireless charging system.
Step 5: Testing and troubleshooting
After building the wireless charging transmitter and receiver, it’s time to test your creation and address any potential issues that may arise. Here are some important steps to follow:
- Connection and alignment: Ensure that the transmitter and receiver are properly aligned and in close proximity. This is crucial for the effective transfer of energy. Make sure there are no obstacles or metal objects that can interfere with the electromagnetic field.
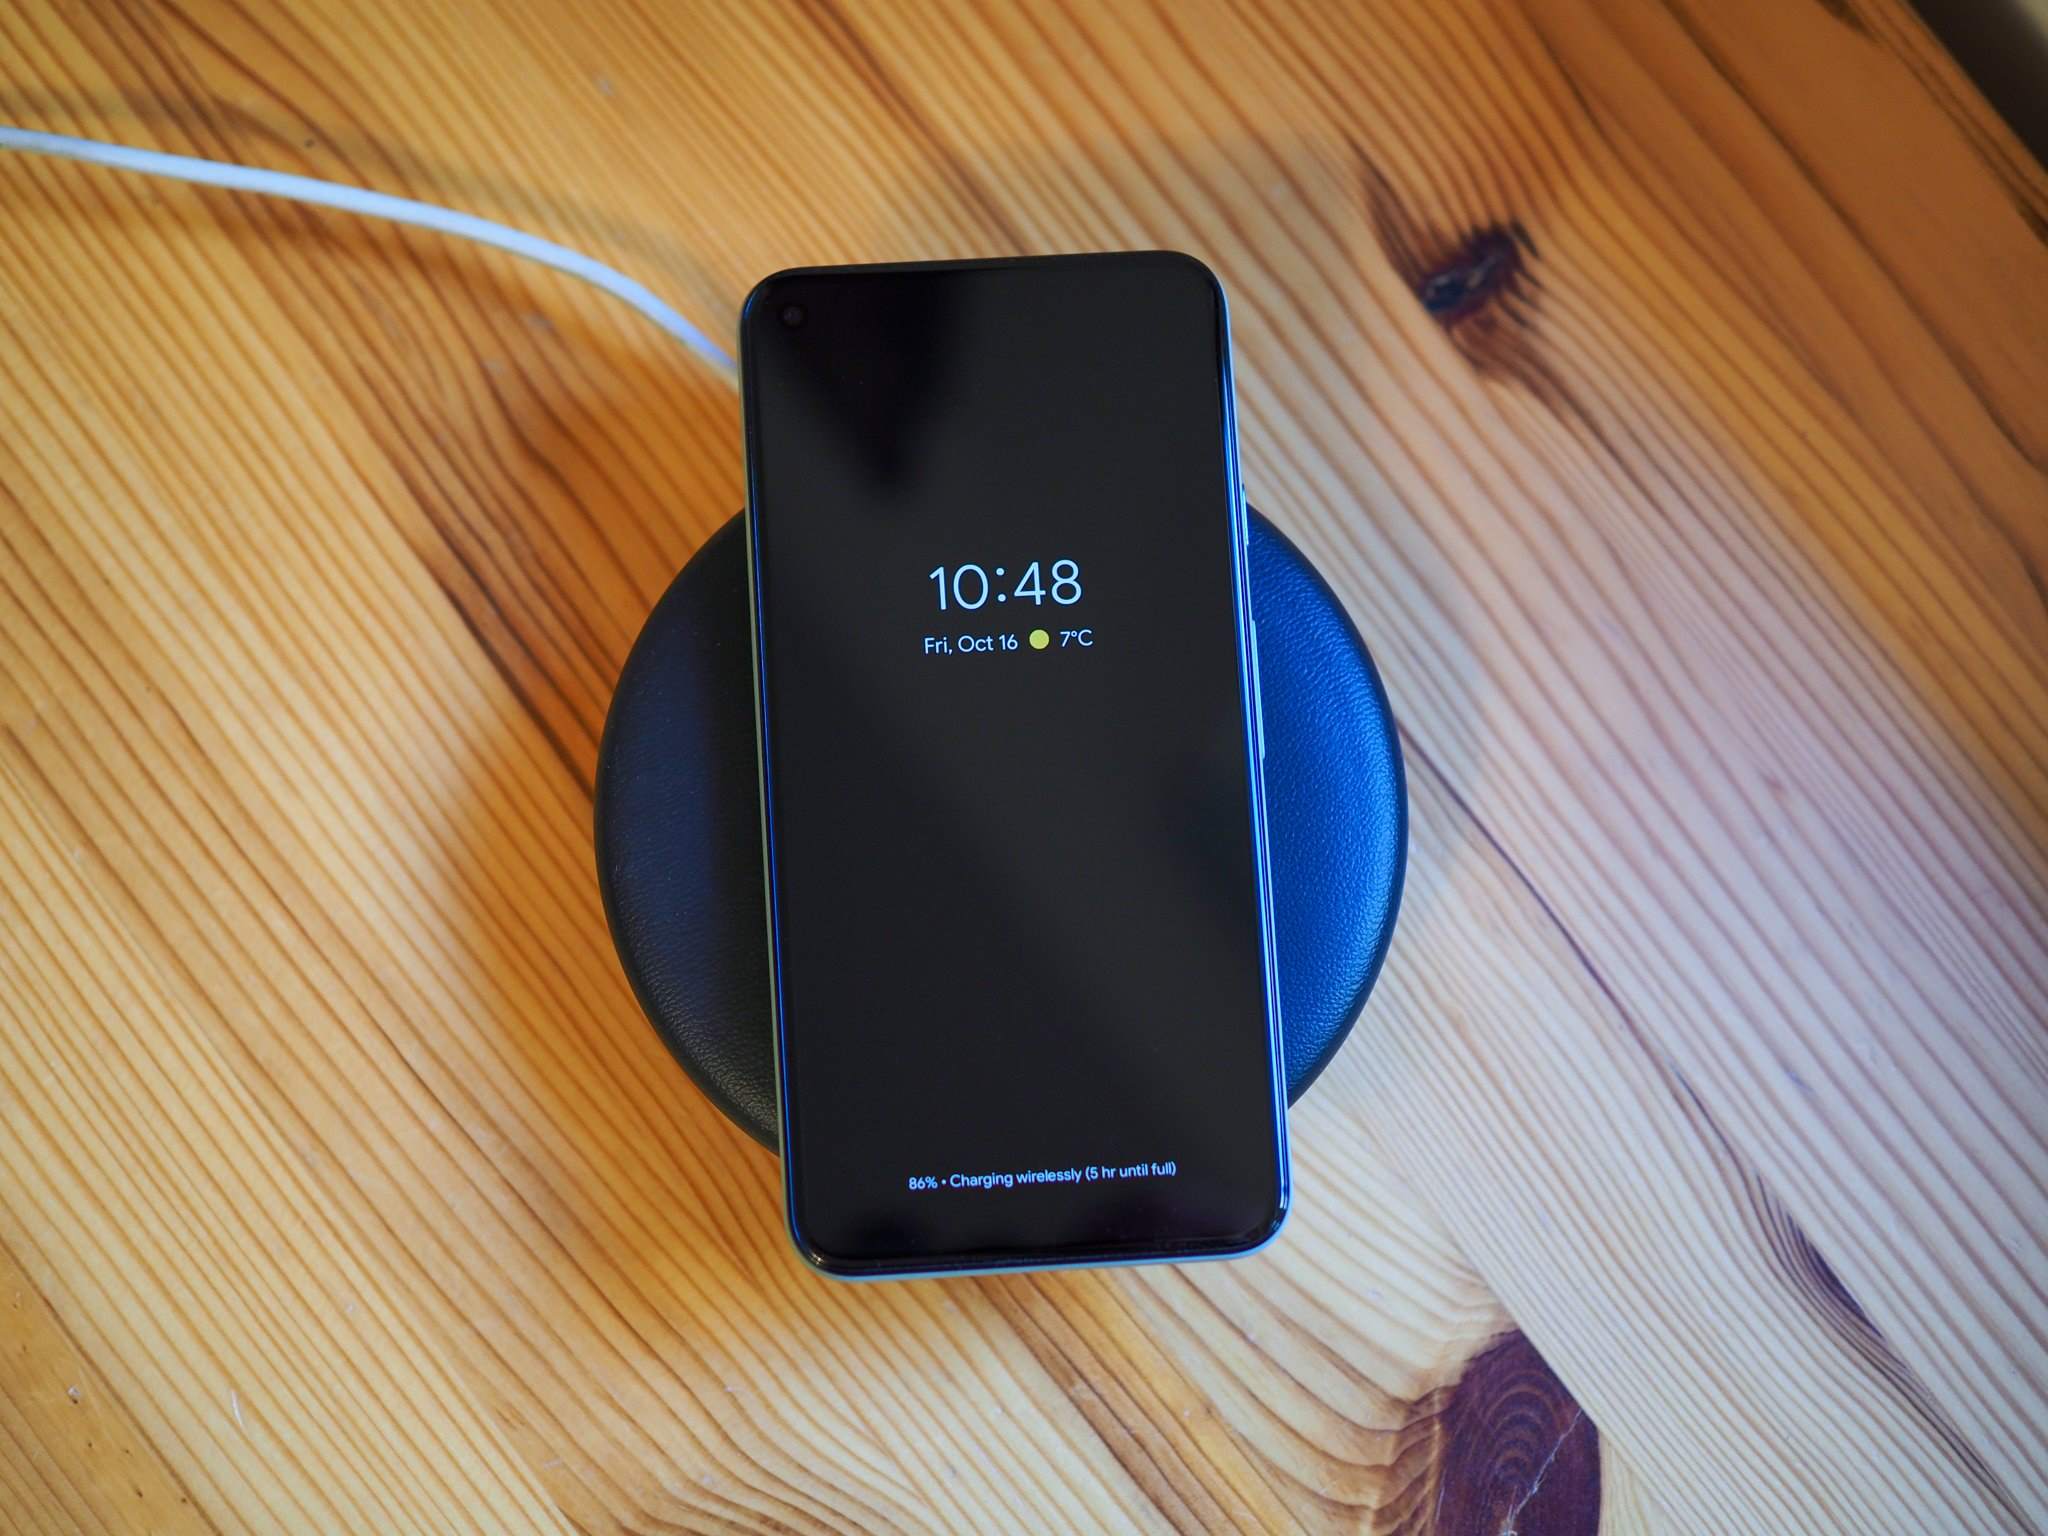
- Charging indicator: If your transmitter or receiver has an LED charging indicator, check if it illuminates when your device is correctly placed on the charging pad. This visual feedback can help verify that the charging system is working as intended.
- Charging speed: Monitor the charging speed of your device to ensure that it is charging at a reasonable rate. Wireless charging may be slightly slower than wired charging, but excessively slow charging could indicate an issue that needs troubleshooting.
- Device compatibility: Test the wireless charger with different compatible devices to ensure that it functions properly with various devices. Confirm that the wireless charging receiver module is compatible with the charging pad and supports the required Qi standard.
- Troubleshooting: If your device is not charging wirelessly or experiencing difficulties, check for loose connections, damaged wires, or incorrect wiring. Double-check the alignment between the transmitter and receiver to ensure they are properly aligned. Consult online resources, forums, or user manuals specific to your transmitter and receiver modules for troubleshooting guidance.
- Optimizing performance: Experiment with different placements and orientations to find the optimal position for effective charging. You may need to adjust the position of the receiver coil within your device to ensure better alignment with the transmitter.
Remember, the performance of your wireless charging system may vary depending on the quality of components used, alignment accuracy, and other external factors. Therefore, it’s important to remain patient and make necessary adjustments to improve the performance.
By thoroughly testing and troubleshooting your wireless charging system, you can ensure its reliability and enhance your overall charging experience.
Step 6: Enhancing the wireless charging system
Once you have your wireless charging system up and running, there are several ways you can enhance its functionality and user experience. Here are some suggestions for further improving your wireless charging setup:
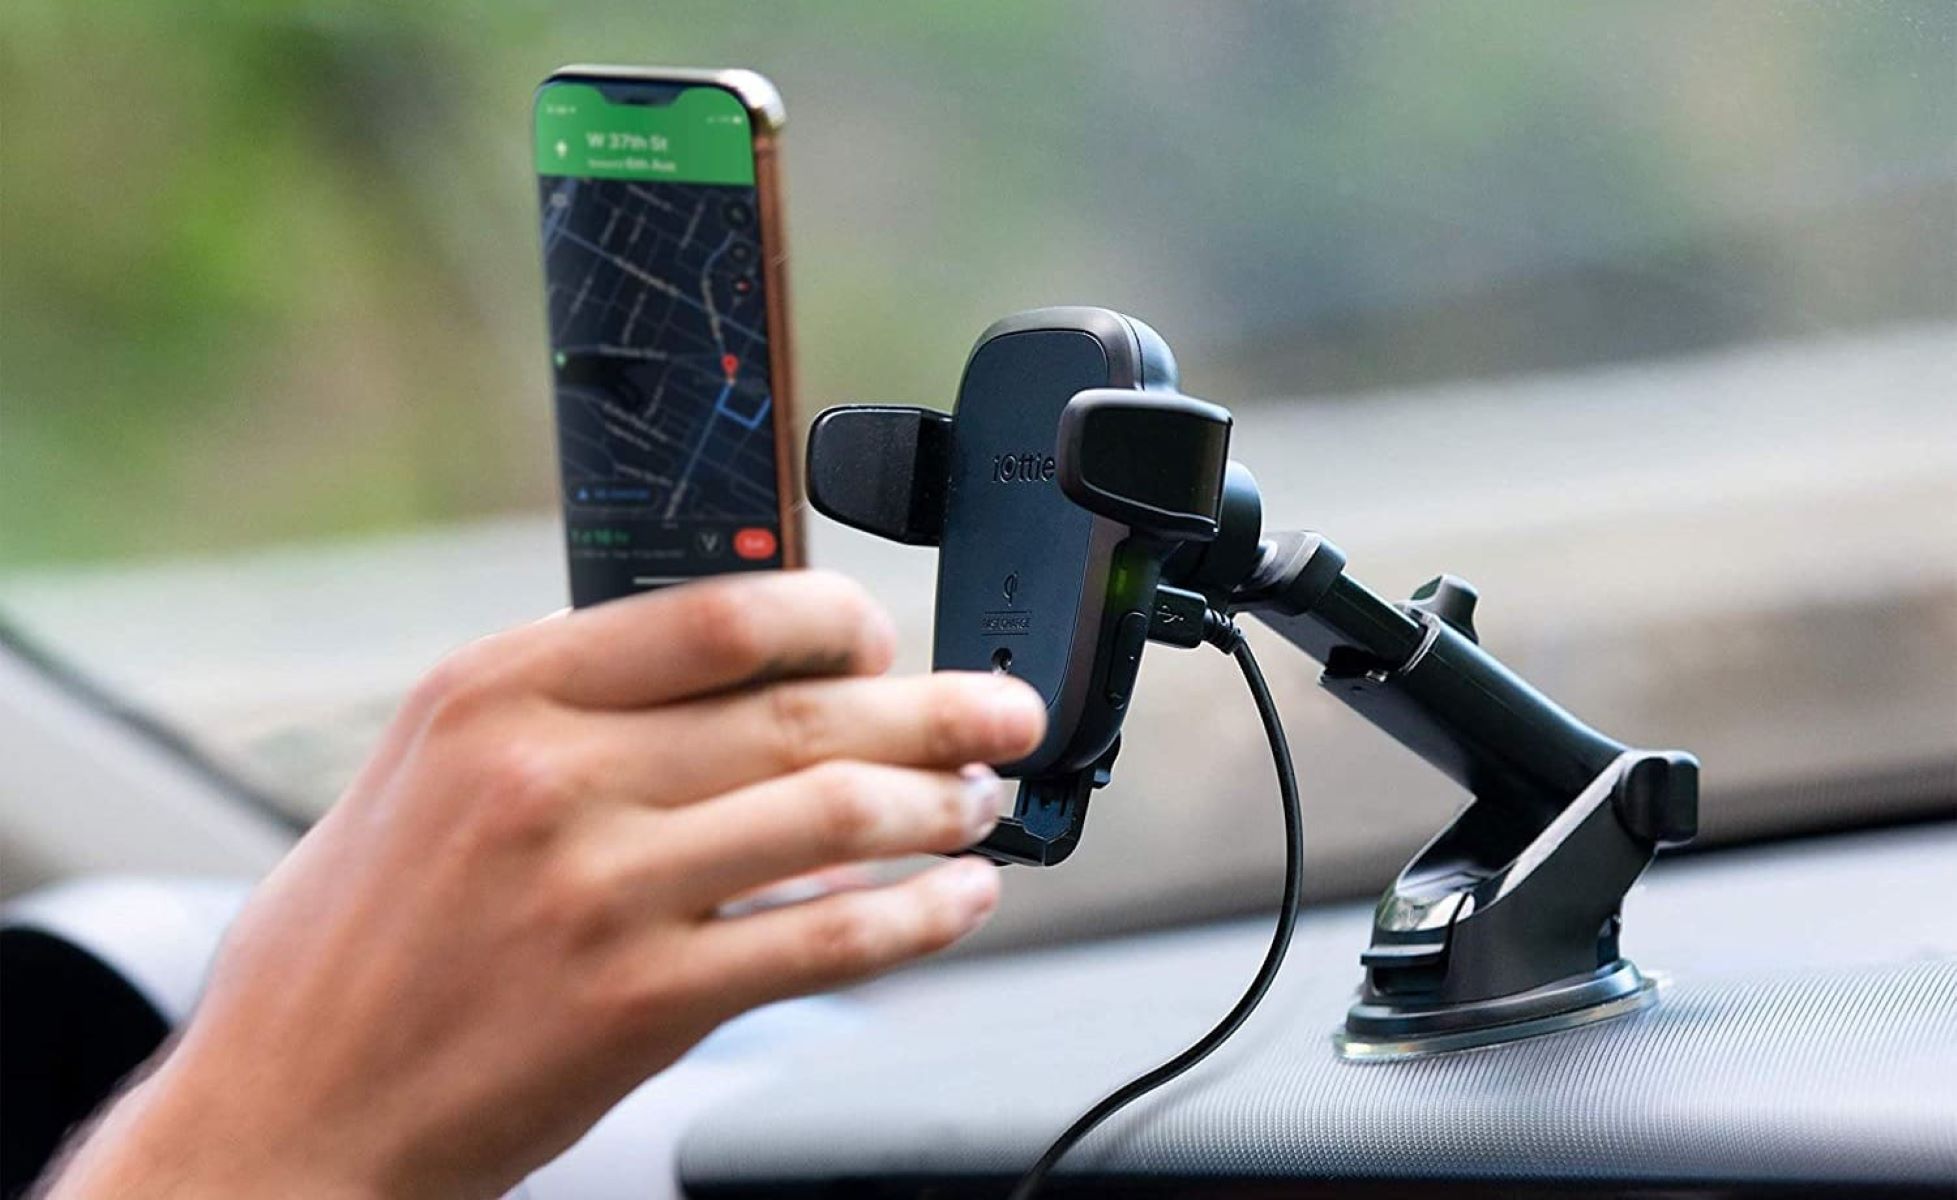
- Optimize the charging pad placement: Experiment with different locations and orientations for your charging pad. Find a spot that is convenient and easily accessible, such as your desk, bedside table, or car console.
- Create a custom charging station: To keep your charging pad organized and to hold multiple devices, consider building a custom charging station using 3D printing or other DIY methods. This can provide a centralized location for all your wireless charging needs.
- Add multiple charging pads: If you have multiple devices that support wireless charging, consider adding additional charging pads to accommodate all your devices. This way, you can charge multiple devices simultaneously.
- Incorporate smart features: Look for wireless charging pads that come with smart features, such as automatic device detection and power management. These features can optimize charging efficiency and protect your devices from overcharging.
- Integrate wireless charging into furniture: Consider integrating wireless charging functionality into your furniture, such as desks, tables, or nightstands. This can provide a seamless charging experience and eliminate the need for separate charging pads.
- Upgrade to faster wireless charging: If you find that the charging speed is not meeting your expectations, consider upgrading to a faster wireless charging pad or receiver module. Look for higher wattage options that support fast charging protocols like Qi 2.0 or Qi 3.0.
- Stay up-to-date with industry advancements: Wireless charging technology is continually evolving. Stay informed about the latest developments and advancements in wireless charging standards and technology. This will enable you to enhance and upgrade your wireless charging system as better options become available.
Remember to consider safety precautions when modifying or enhancing your wireless charging system. Follow manufacturer guidelines, consult professional resources, and ensure that any modifications are done safely and securely.
By implementing these enhancements, you can further streamline your wireless charging experience and make it even more convenient and efficient.
Conclusion
Wireless charging technology has revolutionized the way we power our devices. By understanding the principles behind wireless charging and following the steps outlined in this guide, you can create your own wireless charger and enjoy a cable-free charging experience.
Throughout this process, you’ve learned about the basics of wireless charging, gathered the necessary materials, built the wireless charging transmitter and receiver, tested and troubleshooted your setup, and explored ways to enhance your wireless charging system.
Keep in mind that building a wireless charger requires careful attention to detail and adherence to safety precautions. Always consult the manufacturer’s instructions, follow proper wiring techniques, and proceed with caution when working with electrical components.
By embracing wireless charging, you can benefit from the convenience, efficiency, and freedom it offers. No longer will you have to deal with tangled cords and cluttered charging areas. With a self-built wireless charger, you can charge your compatible devices effortlessly by simply placing them on the charging pad.
Remember to stay updated on the latest advancements and standards in wireless charging technology as it continues to evolve. This will allow you to explore new possibilities and improve your wireless charging system in the future.
Now that you have the knowledge and skills to create your own wireless charger, it’s time to embark on this exciting DIY project. Embrace the world of wireless charging and say goodbye to cumbersome charging cables.