Introduction
Are you tired of the standard ringtone options on your phone? Do you want a more personalized touch to your incoming calls? Look no further! You can easily download ringtones from YouTube and set them as your ringtone with just a few simple steps.
YouTube is a treasure trove of content, including countless music and audio tracks that can be transformed into unique ringtones. Whether you want to have your favorite song or a catchy tune as your ringtone, YouTube offers a wide range of options to suit your preferences.
In this article, we will guide you through the process of downloading ringtones from YouTube and setting them as your ringtone. Follow our step-by-step instructions, and soon you’ll be enjoying a custom, attention-grabbing ringtone that reflects your personality.
Before we delve into the process, it’s important to note that using YouTube for personal purposes, such as downloading ringtones, is allowed as long as you respect the copyright laws. We recommend using YouTube’s content for personal use only and not for any commercial purposes.
Now, let’s get started on our journey to download exciting ringtones from YouTube and give your phone a fresh new sound!
Step 1: Find the YouTube video with the desired ringtone
The first step in downloading ringtones from YouTube is to find the video that contains the audio you want to use. It could be a music video, a live performance, or even a movie clip. Follow these steps to locate the desired YouTube video:
- Open your web browser and visit the YouTube website.
- Use the search bar at the top of the page to type in keywords related to the song or audio you want as your ringtone. For example, if you’re searching for the theme song of a popular TV show, type in the name of the show followed by “theme song.”
- Hit the Enter key or click on the magnifying glass icon to initiate the search.
- Browse through the search results until you find the video that best matches your desired ringtone. Look for videos with high-quality audio and clear sound.
- Click on the video thumbnail to open it and ensure that it is the correct video that contains the audio you want. You can also check the views, likes, and comments to gauge the authenticity and popularity of the video.
It’s important to choose a video that has good audio quality to ensure that your ringtone sounds clear and pleasant. Taking the time to find the right video will enhance your ringtone experience.
Once you have identified the YouTube video that contains the desired ringtone audio, you are now ready to move on to the next step: copying the YouTube video URL.
Step 2: Copy the YouTube video URL
Now that you have found the YouTube video with the desired ringtone, the next step is to copy the video’s URL. The URL is a unique web address that identifies the specific video on YouTube. Follow these instructions to copy the YouTube video URL:
- Ensure that the YouTube video you want to download is playing on your screen.
- Look at the address bar at the top of your web browser. It should display the web address of the YouTube video.
- Select the entire URL by clicking and dragging your mouse cursor over it or by using the shortcut keys Ctrl+A (Windows) or Command+A (Mac) to select everything in the address bar.
- Right-click on the selected URL and choose the “Copy” option from the context menu that appears.
Alternatively, you can also use the shortcut keys Ctrl+C (Windows) or Command+C (Mac) after selecting the URL to copy it to your clipboard.
Once you have successfully copied the YouTube video’s URL, you are now ready to move on to the next step: converting the YouTube video to MP3 format.
Step 3: Convert the YouTube video to MP3 format
After you have copied the YouTube video URL, the next step is to convert the video into MP3 format. This conversion allows you to extract the audio from the video and save it as a standalone audio file. Follow these steps to convert the YouTube video to MP3:
- Open a new browser tab or window and go to a YouTube to MP3 conversion website. There are several reliable options available, such as convert2mp3.net, ytmp3.cc, or y2mate.com.
- Paste the YouTube video URL that you copied earlier into the designated box or field on the conversion website. Look for an area that allows you to enter the URL or click on a specific button to paste it.
- Select the desired quality or format for the MP3 file. Most conversion websites offer different options, such as standard quality, high quality, or even different file formats like WAV or AAC. Choose the best quality that suits your needs.
- Once you have selected the quality and format, click on the “Convert” or “Start” button to initiate the conversion process.
- Wait for the conversion to complete. The time it takes for the conversion to finish will depend on the length of the YouTube video and the speed of your internet connection.
- Once the conversion is finished, you will typically be provided with a download link or button to download the converted MP3 file to your device.
Ensure that you download the MP3 file from a trusted source to avoid any potential malware or viruses. It’s always a good idea to run a virus scan on the downloaded file before opening or using it.
With the YouTube video successfully converted to MP3 format, you are now ready to proceed to the next step: downloading the MP3 file to your device.
Step 4: Download the MP3 file to your device
Now that you have converted the YouTube video into an MP3 file, it’s time to download the file to your device. Follow these steps to download the MP3 file:
- Locate the download link or button provided by the YouTube to MP3 conversion website.
- Click on the download link or button to initiate the download process.
- A dialog box or prompt will appear, asking you to choose a location on your device to save the MP3 file. Select a suitable folder or directory where you can easily locate the file later.
- Click on the “Save” or “Download” button to begin the download.
- Wait for the MP3 file to finish downloading. The duration of the download will depend on the size of the file and the speed of your internet connection.
- Once the download is complete, navigate to the folder or directory where you saved the MP3 file.
- Verify that the MP3 file is successfully downloaded and ready to be used as your ringtone.
It’s important to note that the location where the downloaded MP3 file is saved may vary depending on your device and internet browser. By default, most devices save downloaded files to a designated “Downloads” folder.
With the MP3 file now downloaded to your device, you are one step closer to setting it as your ringtone. The final step is to set the MP3 file as your ringtone, which we will cover in the next step.
Step 5: Set the MP3 file as your ringtone
Now that you have successfully downloaded the MP3 file to your device, it’s time to set it as your ringtone. Follow these steps to set the MP3 file as your ringtone:
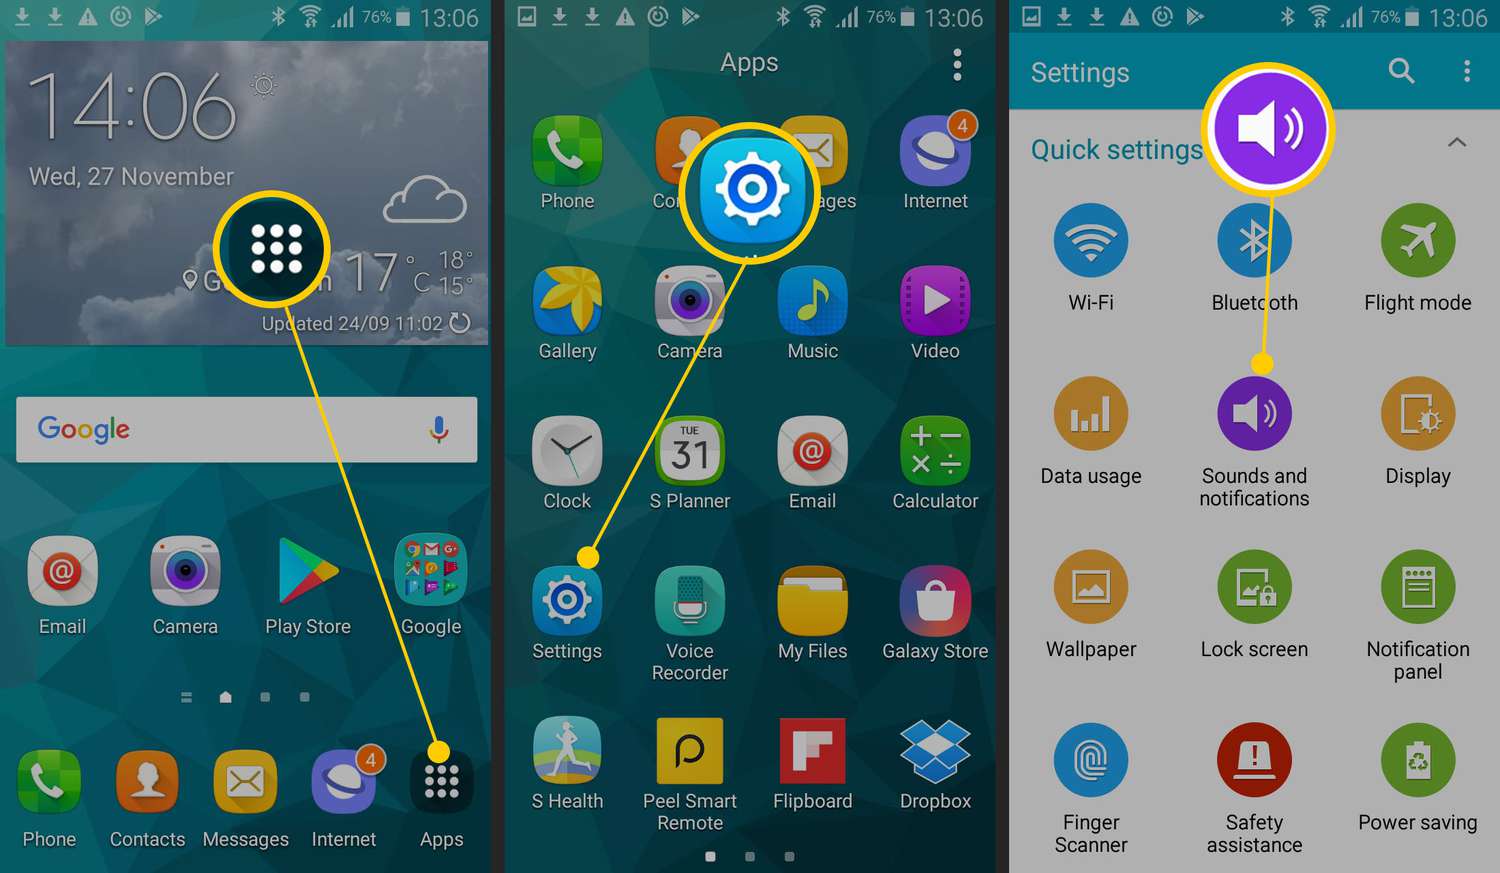
- Open the Settings app on your device. The location of the Settings app may vary depending on your device’s operating system.
- Scroll through the settings options and look for the “Sound” or “Sound & Vibration” option. Tap on it to open the sound settings menu.
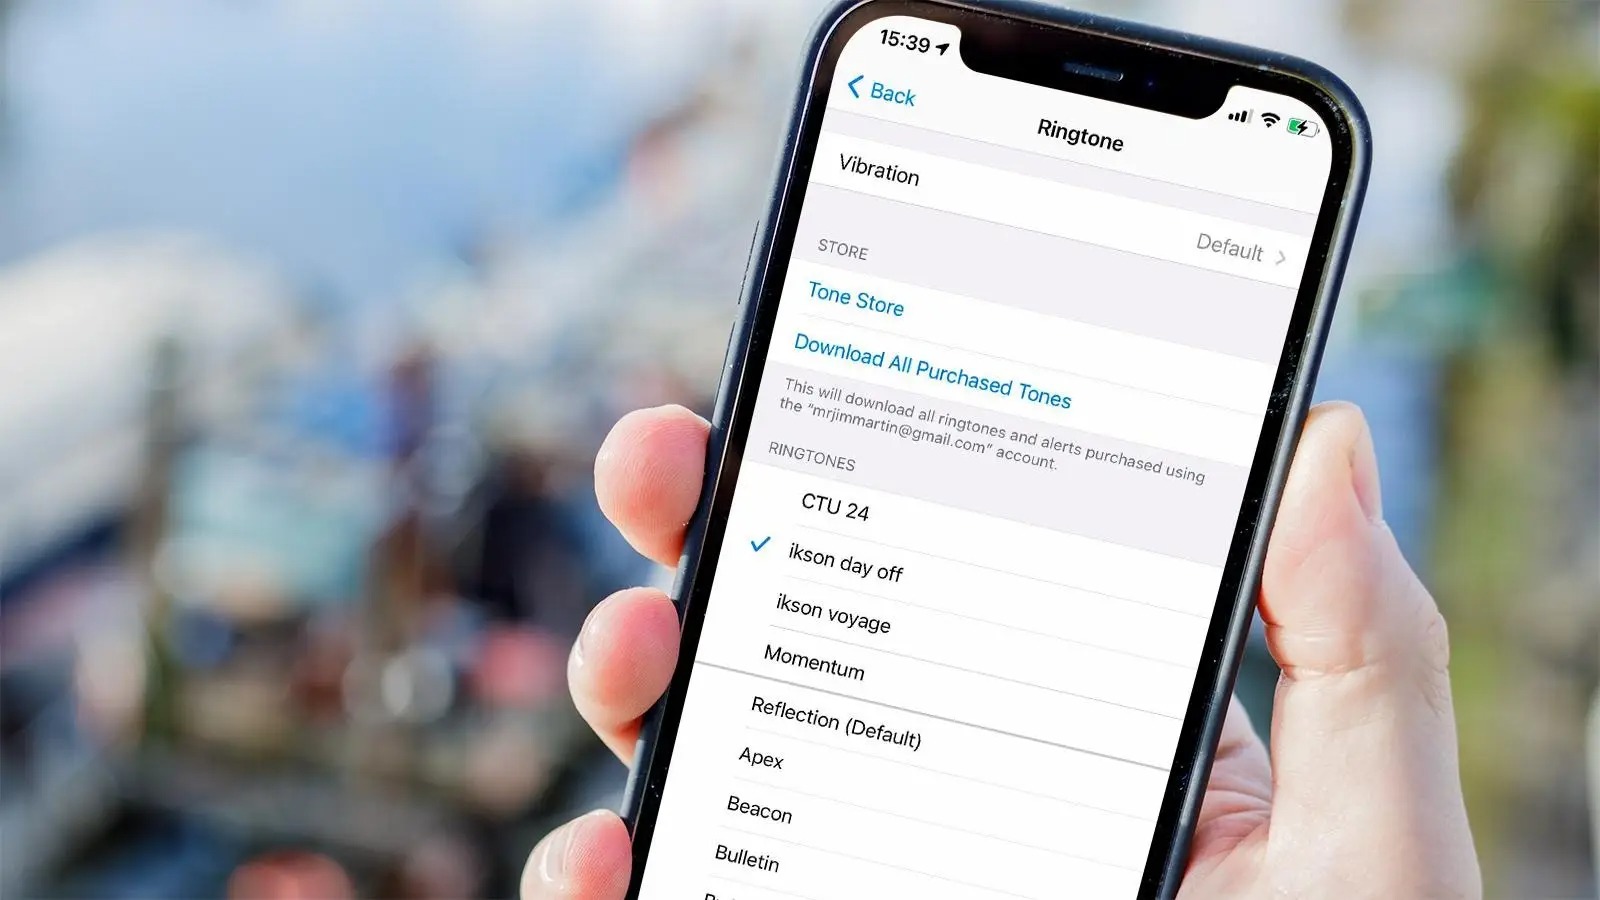
- Within the sound settings menu, you should see an option for “Phone ringtone” or “Ringtone”. Tap on this option to access the ringtone selection menu.
- In the ringtone selection menu, you may see a list of pre-installed ringtones. Look for an option that allows you to add a custom ringtone.
- Tap on the “Add” or “Add ringtone” button to browse for the MP3 file you downloaded earlier.
- Navigate to the folder or directory where the downloaded MP3 file is saved on your device.
- Select the MP3 file and confirm your selection by tapping on the “Done” or “Save” button.
- Once the MP3 file is selected, it should now appear in the list of available ringtones.
- Tap on the newly added MP3 file to set it as your default ringtone.
Now, when someone calls you, your customized ringtone will play, adding a personal touch to your incoming calls. You can repeat these steps to set different MP3 files as your ringtone for specific contacts or notifications.
Please note that the steps to set a custom ringtone may vary slightly depending on your device’s make, model, and operating system version. If you encounter any difficulties or are unsure how to proceed, consult your device’s user manual or search for specific instructions related to your device online.
With the MP3 file successfully set as your ringtone, you can now enjoy the personalized and unique audio whenever someone calls you.
Conclusion
Congratulations! You have now learned how to download ringtones from YouTube and set them as your ringtone. By following the step-by-step instructions outlined in this article, you can add a personalized touch to your phone and enjoy a unique audio experience every time someone calls you.
From finding the YouTube video with the desired ringtone to converting it to MP3 format and finally setting it as your ringtone, this process is straightforward and accessible to anyone. Remember to respect copyright laws and only use YouTube content for personal purposes.
With countless videos and audio tracks available on YouTube, the possibilities for finding the perfect ringtone are virtually endless. Whether you prefer your favorite songs, catchy tunes, or even sound effects, YouTube offers a vast library of audio content to suit your preferences.
Now that you have the knowledge and tools to download and set ringtones from YouTube, why settle for generic ringtone options? Dive into the world of personalized audio and make your phone truly unique.
So go ahead, explore YouTube, find the audio you love, and follow the steps outlined in this article to transform it into your new ringtone. Enjoy the personalized sounds and let your phone reflect your style and personality!


