Introduction
Are you looking to transfer the music from your iPod to a new computer? Whether you’ve recently purchased a new computer, experienced a hard drive failure, or simply want to have a backup of your precious music collection, this guide will walk you through the process step by step.
Your iPod is a treasure trove of your favorite songs, albums, and playlists, and it’s only natural to want to have them accessible on your new computer. However, transferring music from an iPod to a new computer can be a bit tricky without the right tools and know-how.
In this guide, we will outline the necessary steps to download your beloved iPod music to a new computer, ensuring that you don’t lose any of your favorite tunes in the process. We will cover topics such as preparing your iPod, installing iTunes on your new computer, enabling disk use on your iPod, transferring music to iTunes, authorizing your new computer, and syncing your iPod.
By following these steps, you’ll be able to enjoy your iPod music on your new computer, create new playlists, and easily manage your music collection using iTunes. So, let’s dive into the process and get your iPod music safely transferred to your new computer!
Step 1: Prepare your iPod
Before you start the process of transferring your iPod music to a new computer, it’s important to ensure that your iPod is ready for the transfer. Here are the essential steps to prepare your iPod:
- Update your iPod: Make sure your iPod is running the latest version of its software. You can check for updates by connecting your iPod to your computer and opening iTunes. If there are any available updates, iTunes will prompt you to install them.
- Create a backup: It’s always a good idea to have a backup of your iPod’s music in case anything goes wrong during the transfer process. Connect your iPod to your computer, open iTunes, and select your iPod under the “Devices” section. Right-click on your iPod and select “Back Up” to create a backup of your music library.
- Organize your music: Take some time to organize your music on your iPod by creating playlists and adding album artwork. This will make it easier to locate and transfer specific songs or albums later on.
- Check available storage: Ensure that your iPod has enough free storage space to accommodate the music you want to transfer. You can check the available storage on your iPod by connecting it to your computer and opening iTunes. Select your iPod under the “Devices” section, and the available storage will be displayed at the bottom of the screen.
Once you have completed these steps, your iPod will be ready for the transfer process. Having a backup of your music and organizing your library will make it easier to locate and manage your songs on your new computer. Now that your iPod is prepared, let’s move on to the next step: installing iTunes on your new computer.
Step 2: Install iTunes on your new computer
In order to successfully transfer your iPod music to your new computer, you’ll need to have iTunes installed. iTunes is a free software developed by Apple that allows you to manage and play your digital media collection. Here’s how you can install iTunes on your new computer:
- Visit the official iTunes website: Open your preferred web browser and navigate to the official Apple iTunes website.
- Download the iTunes installer: On the iTunes website, locate the download link for the latest version of iTunes compatible with your operating system (Windows or macOS), and click on it to start the download.
- Run the installer: Once the download is complete, locate the downloaded file on your computer and double-click on it to run the iTunes installer.
- Follow the installation prompts: The iTunes installer will guide you through the installation process. Simply follow the on-screen prompts and select the desired options, such as the installation location and whether you want to create desktop shortcuts.
- Complete the installation: After following the prompts, the installation process will begin. It may take a few moments to complete depending on your computer’s performance. Once the installation is finished, you’ll be notified that iTunes has been successfully installed on your computer.
- Launch iTunes: After the installation is complete, you can launch iTunes by locating it in your computer’s programs or by clicking on the desktop shortcut if you chose to create one. iTunes will automatically scan your computer for any existing media files and create a library for you to manage your music, videos, podcasts, and more.
Now that you have iTunes installed on your new computer, you’re ready to proceed to the next step: enabling disk use on your iPod. This will allow you to access your iPod as an external storage device in iTunes.
Step 3: Enable disk use on your iPod
In order to transfer your iPod music to your new computer, you’ll need to enable disk use on your iPod. Enabling disk use allows your iPod to be recognized as an external storage device by your computer. Here’s how you can enable disk use on your iPod:
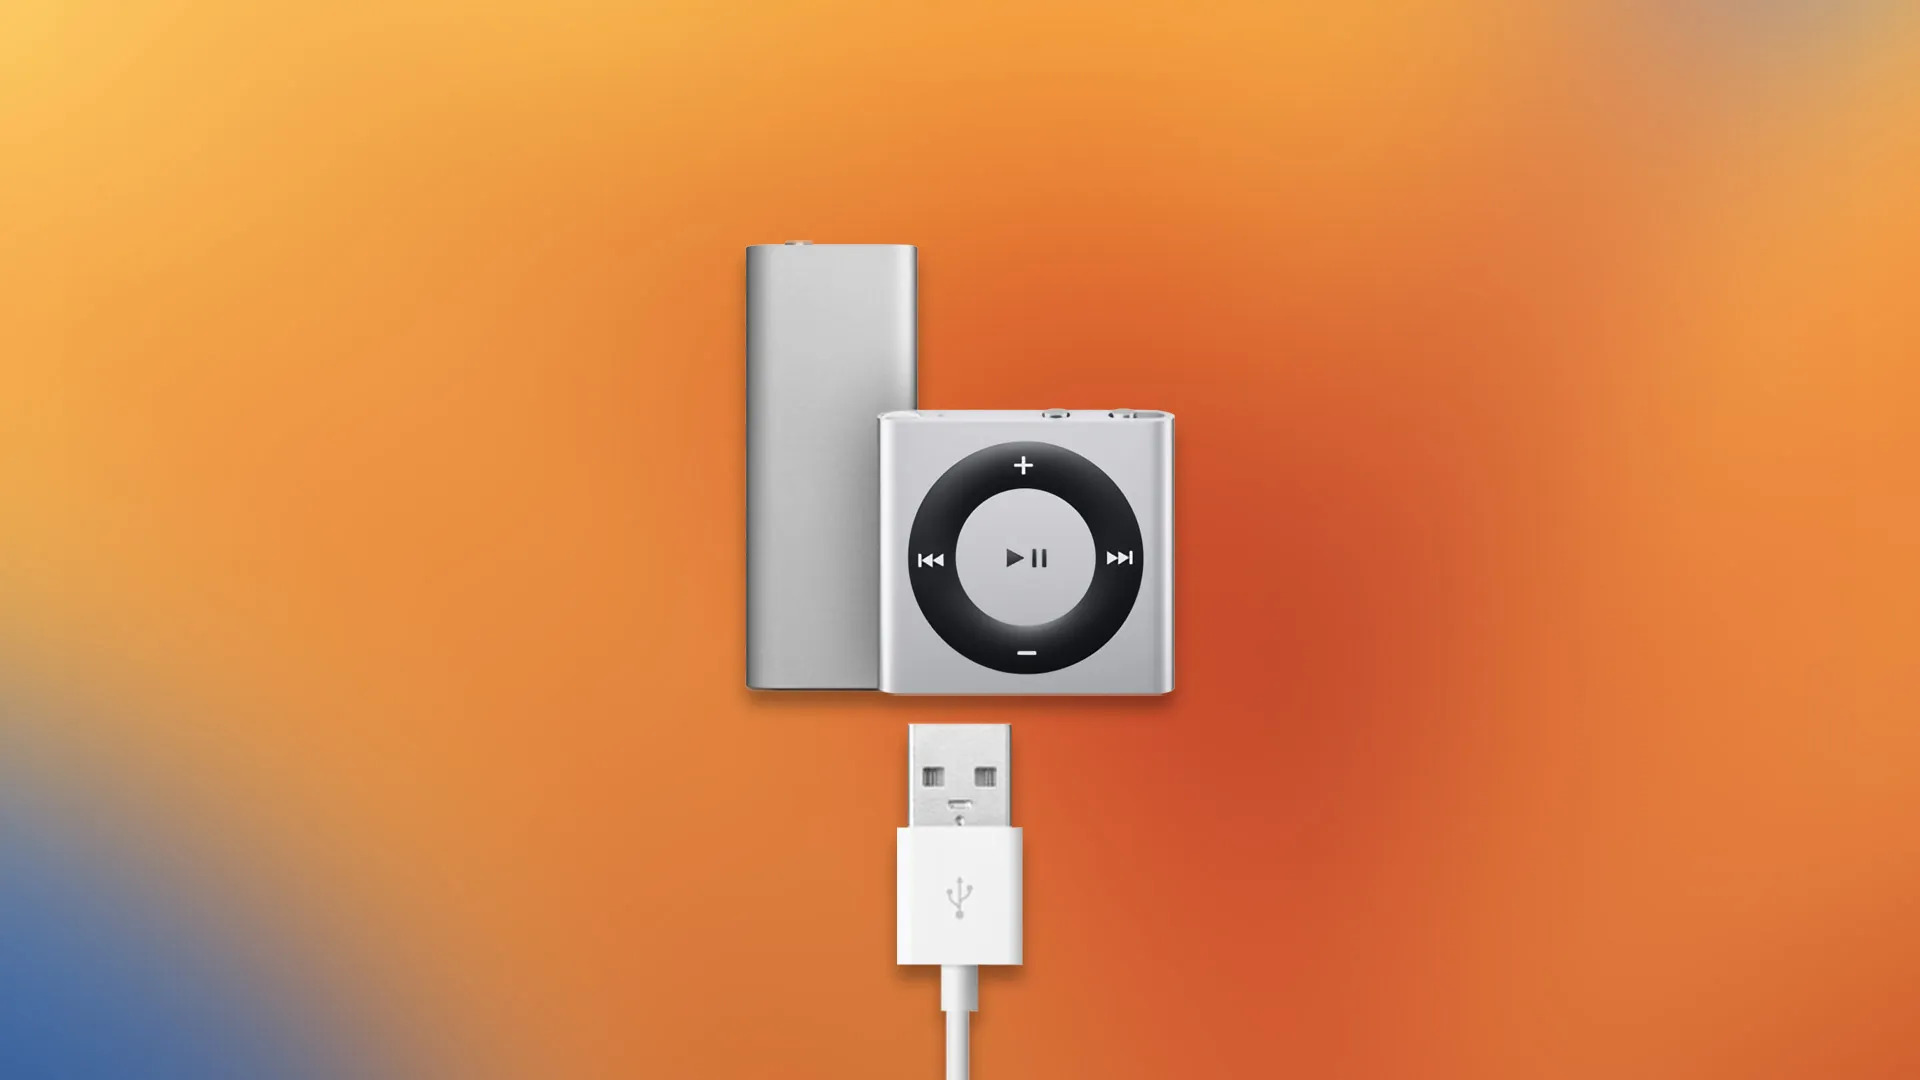
- Connect your iPod to your computer: Use the USB cable that came with your iPod to connect it to your new computer. Ensure that both your iPod and computer are powered on.
- Launch iTunes: Once your iPod is connected, open iTunes on your computer. If iTunes doesn’t open automatically, you can manually launch it from your desktop or programs folder.
- Select your iPod: In the iTunes interface, you should see your iPod listed under the “Devices” section. Click on your iPod to select it. If you don’t see your iPod listed, make sure it is securely connected to your computer and try restarting both your iPod and computer.
- Enable disk use: Once your iPod is selected, go to the “Summary” tab in the main iTunes window. Scroll down to the “Options” section. Check the box next to “Enable disk use” to allow your iPod to be used as an external storage device.
- Apply the changes: After enabling disk use, click on the “Apply” or “Sync” button in the bottom-right corner of the iTunes window. This will save the changes and apply them to your iPod.
Enabling disk use on your iPod is a crucial step as it allows your new computer to access the files stored on your iPod. Once enabled, your iPod will appear as a removable storage device in your computer’s file explorer or Finder, depending on your operating system.
Now that you have enabled disk use on your iPod, you’re ready to proceed to the next step: connecting your iPod to your new computer and preparing for the music transfer process.
Step 4: Connect your iPod to your new computer
Now that you have enabled disk use on your iPod, it’s time to connect it to your new computer. By establishing a connection between your iPod and computer, you’ll be able to transfer your music seamlessly. Follow these steps to connect your iPod to your new computer:
- Locate the USB port: Identify the USB port on your new computer. It’s usually located on the sides or back of the computer case.
- Connect the USB cable: Take the USB cable that came with your iPod and plug one end into the USB port of your new computer.
- Connect your iPod: Connect the other end of the USB cable to the charging port of your iPod. Ensure that the connection is secure. Your iPod should display a charging indicator or show up on its screen.
- Wait for the computer to recognize your iPod: Once your iPod is connected, your new computer will recognize it as a connected device. It may take a few moments for the computer to fully recognize your iPod.
When your iPod is successfully connected to your new computer, you’ll be able to see it listed under the “Devices” section in iTunes. This indicates that your iPod is ready to have its music transferred to the new computer.
It’s important to ensure that your iPod remains connected to your computer throughout the entire music transfer process, as interruptions or disconnections may result in incomplete transfers or data loss.
Now that your iPod is connected to your new computer, it’s time to move on to the next step: transferring music from your iPod to iTunes.
Step 5: Transfer music from your iPod to iTunes
With your iPod connected to your new computer, you’re now ready to transfer your music from the iPod to iTunes. Follow these steps to successfully transfer your music:
- Open iTunes: If iTunes isn’t already open, launch it on your new computer. Ensure that your iPod is still connected.
- Select your iPod: In the iTunes interface, click on your iPod under the “Devices” section. This will display the summary screen for your iPod.
- Enable manual music management: Scroll down to the “Options” section on the summary screen. Check the box next to “Manually manage music and videos” to allow manual transfer of your music.
- Access your iPod’s music: On the left-hand side of the iTunes window, under “Devices,” you’ll see your iPod listed. Click on it to reveal the contents of your iPod.
- Select the music you want to transfer: Navigate through the different categories, such as “Music” or “Playlist,” and check the boxes next to the songs or albums you want to transfer to iTunes. If you want to select all the music on your iPod, check the box next to “Music”.
- Transfer the selected music: Once you’ve selected the music you want to transfer, click on the “Import” or “Sync” button in the bottom-right corner of the iTunes window. This will start the transfer process.
- Wait for the transfer to complete: The transfer process may take some time, depending on the size of your music library. It’s important to keep your iPod connected to your computer until the transfer is complete.
Once the transfer is finished, you’ll find all the transferred music in your iTunes library. You can now easily manage and play your iPod music using iTunes on your new computer.
Note that transferring music from your iPod to iTunes will not delete the music from your iPod. It creates a copy of the music in your iTunes library, allowing you to have access to your music in both locations.
Now that your music has been successfully transferred to iTunes, you’re ready to move on to the next step: authorizing your new computer.
Step 6: Authorize your new computer
In order to ensure that you have full access to all the content you transferred from your iPod to iTunes on your new computer, it’s important to authorize the computer. By authorizing your computer, you grant it permission to play and manage any protected content, such as music or movies purchased from the iTunes Store. Follow these steps to authorize your new computer:
- Open iTunes: Launch iTunes on your new computer if it isn’t already open.
- Sign in to your Apple ID: In the top-right corner of the iTunes window, click on “Account” and select “Sign In.” Enter your Apple ID and password to sign in.
- Go to Account Information: Once signed in, go back to the “Account” menu and click on “Account Info.” This will take you to the Account Information page.
- Find the “Computer Authorizations” section: Scroll down the Account Information page until you see the “Computer Authorizations” section. This section displays the number of authorized computers you currently have.
- Authorize your computer: Click on the “Authorize This Computer” button to authorize your new computer. You may be prompted to enter your Apple ID and password again for security purposes.
- Confirmation message: Once the authorization process is complete, you’ll see a confirmation message indicating that your computer has been successfully authorized.
By authorizing your new computer, you ensure that you can play and manage any protected content without any restrictions. This includes content that you’ve transferred from your iPod as well as any purchases you make from the iTunes Store.
It’s important to note that there is a limit to the number of computers you can authorize with your Apple ID. If you reach the maximum number of authorizations, you may need to deauthorize one or more computers before authorizing your new computer.
Now that your new computer is authorized, you’re ready to proceed to the next step: syncing your iPod with your new computer to keep your music library up to date.
Step 7: Sync your iPod with your new computer
Now that you have transferred your music from your iPod to iTunes on your new computer and authorized it, it’s time to sync your iPod to ensure that your music library stays up to date. Syncing your iPod will update it with any changes you make in iTunes, such as adding or removing songs, playlists, or podcasts. Follow these steps to sync your iPod with your new computer:
- Connect your iPod: Use the USB cable to connect your iPod to your new computer. Make sure both devices are powered on.
- Open iTunes: Launch iTunes on your new computer if it isn’t already open.
- Select your iPod: In the iTunes interface, click on your iPod under the “Devices” section to select it.
- Choose sync options: On the main iPod summary page in iTunes, you’ll find several tabs at the top. Explore these tabs to select the specific content you want to sync, such as music, videos, podcasts, or photos. Choose which content you want to sync with your iPod.
- Start the sync process: Once you have selected the desired sync options, click on the “Apply” or “Sync” button in the bottom-right corner. iTunes will begin the sync process and start updating your iPod with the selected content.
- Wait for the sync to complete: The time it takes to sync your iPod will vary depending on the amount of content and the speed of your computer. Ensure that your iPod remains connected until the sync is complete.
- Disconnect your iPod: Once the sync is finished, you can safely disconnect your iPod from your computer.
Syncing your iPod with your new computer allows you to keep your music library organized, up to date, and in sync with your iTunes library. Any changes you make in iTunes will be reflected on your iPod after syncing.
It’s important to note that when you sync your iPod with your new computer, any existing content on your iPod that is not in your iTunes library will be removed. Make sure to have a backup of your iPod’s content if there are any files you don’t want to lose.
Now that your iPod is synced with your new computer, you can enjoy your music and other media on your iPod while keeping it in sync with your iTunes library.
Step 8: Verify and organize your music in iTunes
After transferring and syncing your iPod music to your new computer, it’s important to verify and organize your music in iTunes. This step will ensure that your music library is correctly imported and organized, making it easier for you to find and enjoy your favorite songs. Here’s how you can verify and organize your music in iTunes:
- Open iTunes: Launch iTunes on your new computer.
- Navigate to your music library: Click on the “Music” tab located at the top left corner of the iTunes window. This will display your music library.
- Verify your music: Scroll through your music library and check if all the songs and albums from your iPod are present. Pay attention to any missing or duplicate songs that may need to be addressed.
- Organize your music: If you notice any disorder in your music library, take some time to sort and organize your music. You can create playlists, categorize your songs based on genre, or add album artwork to enhance the visual experience of your library.
- Resolve any missing or duplicate songs: If you come across missing songs or albums, it is possible that they were not properly transferred or synced. In this case, you may need to repeat the transfer and sync process for those specific items. If you encounter duplicate songs, you can use the built-in “Show Duplicate Items” feature in iTunes to identify and remove duplicates.
- Edit song information: To ensure accurate metadata for your songs, right-click on any song and select “Get Info.” From here, you can edit the song title, artist name, album name, and other details as necessary.
- Check album artwork: Album artwork adds visual appeal to your music library. If any of your albums are missing artwork, you can right-click on the album, select “Get Info,” and manually add or update the artwork using the “Artwork” tab.
By verifying and organizing your music in iTunes, you can have a well-structured and visually appealing music library. This will make it easier for you to navigate and enjoy your favorite songs.
Remember to periodically check your music library to keep it up to date and organized as you continue to add new songs and albums to your collection.
Now that your music is verified and organized in iTunes, you can freely explore and enjoy your music on your new computer, hassle-free!
Conclusion
Congratulations! You have successfully downloaded your iPod music to your new computer. By following the step-by-step process outlined in this guide, you were able to transfer your beloved music collection from your iPod to iTunes on your new computer.
Starting from preparing your iPod, installing iTunes, enabling disk use, and connecting your iPod to your new computer, you carefully navigated each step of the process. You transferred your music to iTunes, authorized your new computer, synced your iPod, and verified and organized your music library.
Now, with your music safely stored in iTunes, you have full control over your music collection. You can easily manage and play your favorite songs, create personalized playlists, and explore new music possibilities with the convenience of your new computer.
Remember to periodically back up your iTunes library to avoid any potential data loss. It’s also worth noting that this guide primarily covered transferring music from your iPod to iTunes. However, you can apply similar principles to transfer other media, such as videos, podcasts, and photos.
With your newly transferred music collection, you can enjoy your favorite tunes wherever you go, whether it’s on your computer, your iPod, or even your other Apple devices. Keeping your music in sync and organized will enhance your overall listening experience.
We hope this guide has been helpful to you in successfully downloading your iPod music to your new computer. As technology evolves and new updates become available, always refer to the official Apple support documentation for the latest instructions and guidance.
Now, go ahead, press play, and enjoy the music!


