Introduction
Welcome to our comprehensive guide on how to download all your music from Google Play. Google Play Music has been a popular platform for streaming and storing music, but with the recent transition to YouTube Music, many users are seeking to download their music collection before it’s no longer accessible. In this article, we will walk you through the steps to ensure that you can have your entire music library safely stored on your device or computer.
As Google Play Music shuts down, it’s important to note that the migration to YouTube Music will not include the ability to download your entire music library automatically. Therefore, it’s crucial to follow the methods outlined in this guide to preserve your music collection and enjoy it even when you’re offline or no longer using the streaming service.
Whether you have a few favorite albums or an extensive music library, the process of downloading your music from Google Play Music is relatively straightforward. Through a few simple steps, you will be able to have all your cherished songs in a format that can be saved and enjoyed through various devices and applications.
Before we dive into the details, it’s essential to ensure that you have an active Google Account and are signed in. This will enable you to access your music library and perform the necessary actions to export and download your music files. Additionally, it’s recommended to verify that you have enough storage space on your device or computer to accommodate your music collection.
Now, let’s proceed to the next step and learn how to access the Google Play Music website.
Step 1: Sign in to your Google Account
The first step to downloading your music from Google Play is to sign in to your Google Account. This will allow you to access your music library and perform the necessary actions to export and download your songs.
If you already have a Google Account, simply open a web browser on your device or computer and go to the Google homepage. Click on the “Sign In” button located in the top-right corner of the screen. Enter your email address or phone number associated with your Google Account, followed by your password. Once you have entered your credentials, click on the “Next” button to proceed.
If you don’t have a Google Account yet, you will need to create one. Click on the “Create account” link located below the sign-in form. Follow the prompts to enter your personal information, such as your name, date of birth, and desired email address. Set a secure password for your account and provide a recovery email or phone number for account verification purposes. After completing these steps, click on the “Next” button to create your Google Account.
Once you are signed in to your Google Account, you are ready to move on to the next step in our guide. It’s important to note that signing in to your Google Account is crucial for accessing your music library and ensuring that the download process goes smoothly.
Now that you have successfully signed in to your Google Account, let’s proceed to the next step, where we will guide you on how to access the Google Play Music website.
Step 2: Access the Google Play Music website
Once you have signed in to your Google Account, the next step is to access the Google Play Music website. This is where you will find your music library and be able to export and download your songs.
To access the Google Play Music website, open a web browser on your device or computer. In the address bar, enter “play.google.com/music” and press the Enter key. This will take you directly to the Google Play Music website.
If you are redirected to the YouTube Music website, don’t worry, as Google Play Music has been integrated into YouTube Music. You can proceed with the instructions in this guide, as the steps are similar in both platforms.
Once you have reached the Google Play Music website or the YouTube Music website, you may be prompted to sign in again, depending on your browser settings or if you haven’t used the service in a while. If prompted, enter your Google Account credentials to sign in.
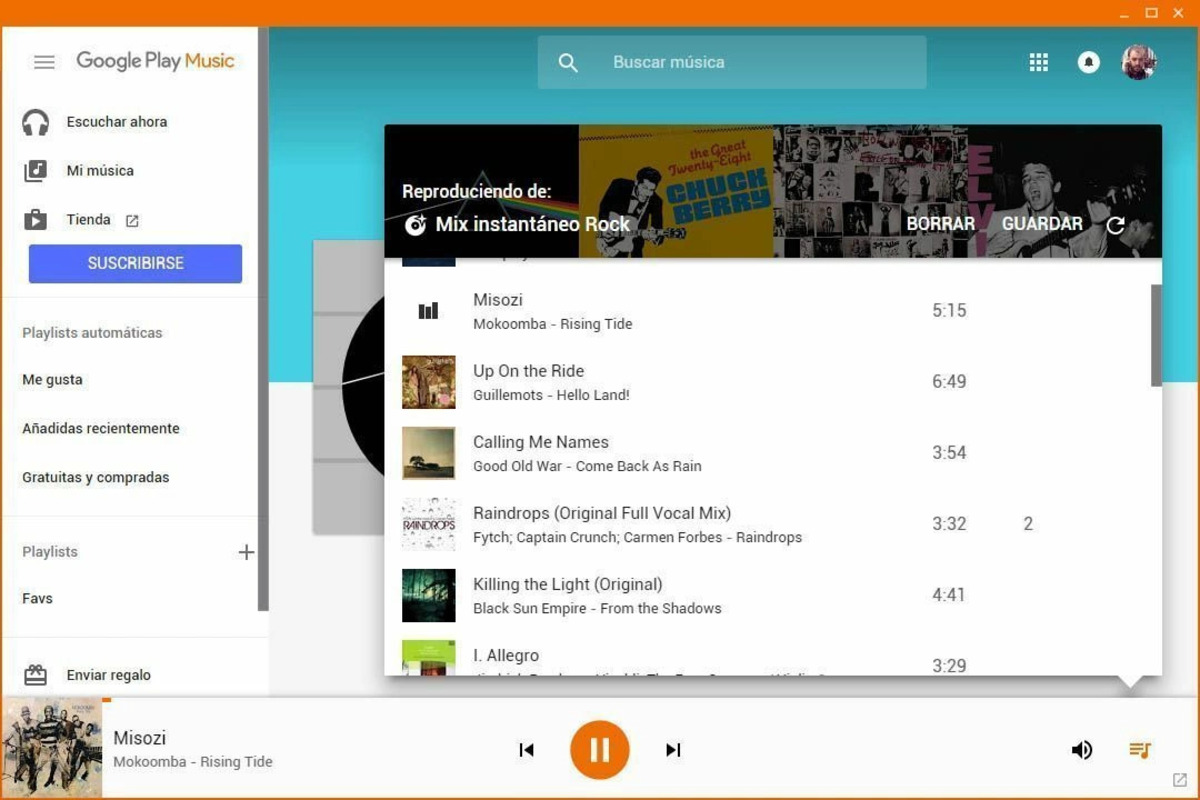
After signing in, you will be taken to the homepage of Google Play Music or YouTube Music, depending on the platform you are using. Here, you can explore your music library, playlists, and recommendations.
It’s important to note that the layout and design of the website may vary slightly, but the functionality for downloading your music remains the same. You will still be able to access and export your music files, regardless of any interface changes.
Now that you have successfully accessed the Google Play Music website, let’s move on to the next step, where we will guide you through accessing your library and preparing to export your music files.
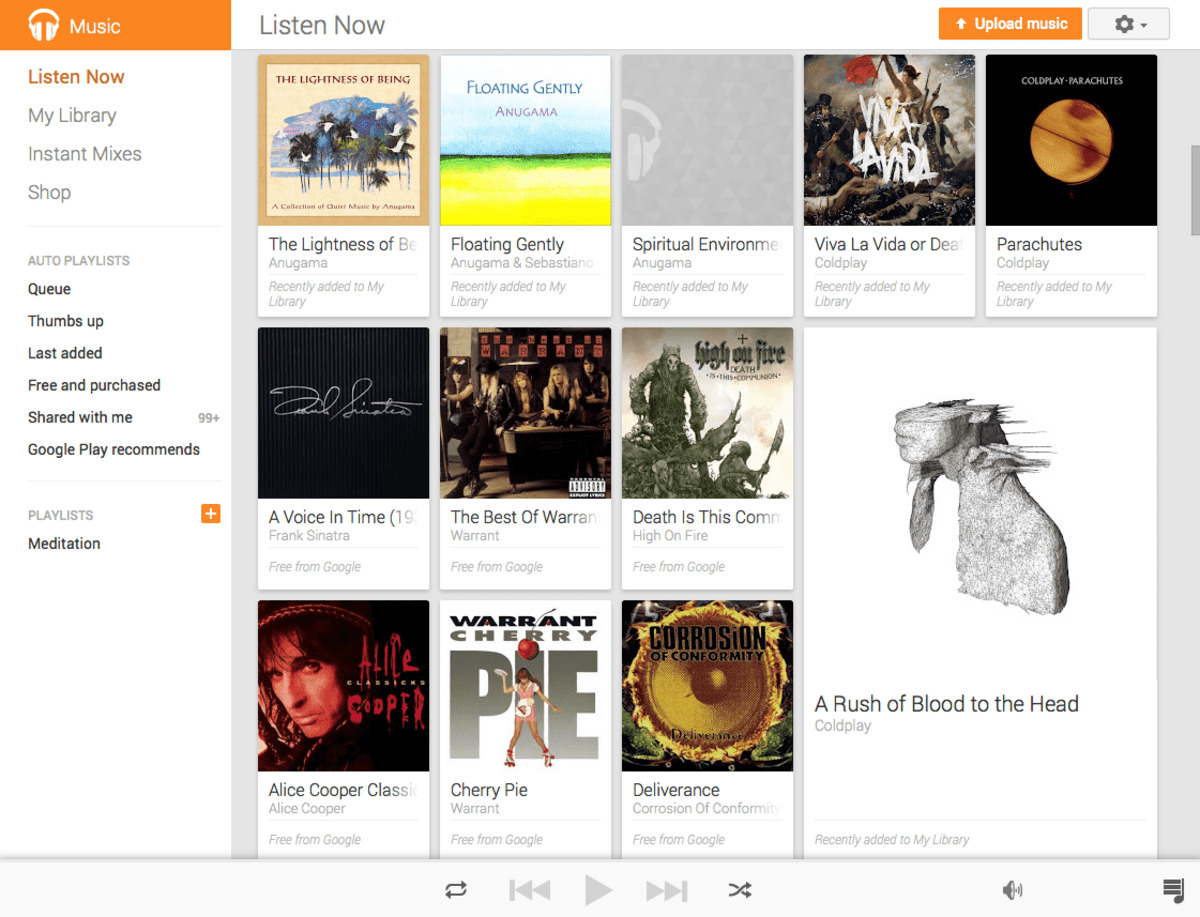
Step 3: Go to your library
Once you have accessed the Google Play Music or YouTube Music website and signed in to your account, the next step is to navigate to your music library. This is where you will find all of your uploaded and purchased songs.
To go to your library, look for the “Library” tab or link on the website. In Google Play Music, the library tab is usually located in the navigation menu on the left side of the screen. Click on it to open your library.
When you enter your library, you will see different categories that organize your music collection, such as Albums, Artists, Songs, and Playlists. You can explore these categories to find specific songs or browse through your entire library.
It’s important to note that if you have a large music library, it may take a moment for all your songs and albums to load. Be patient, and once everything is loaded, you can proceed with exporting and downloading your music.
If you have created playlists in your library, you can also access them in the playlist section. This is particularly useful if you want to download specific playlists rather than your entire music library.
Take some time to familiarize yourself with the layout and organization of your library. This will make it easier for you to select and export the music files you want to download.
Now that you are in your library and ready to export your music, let’s move on to the next step, where we will guide you through the process of exporting your entire music library.
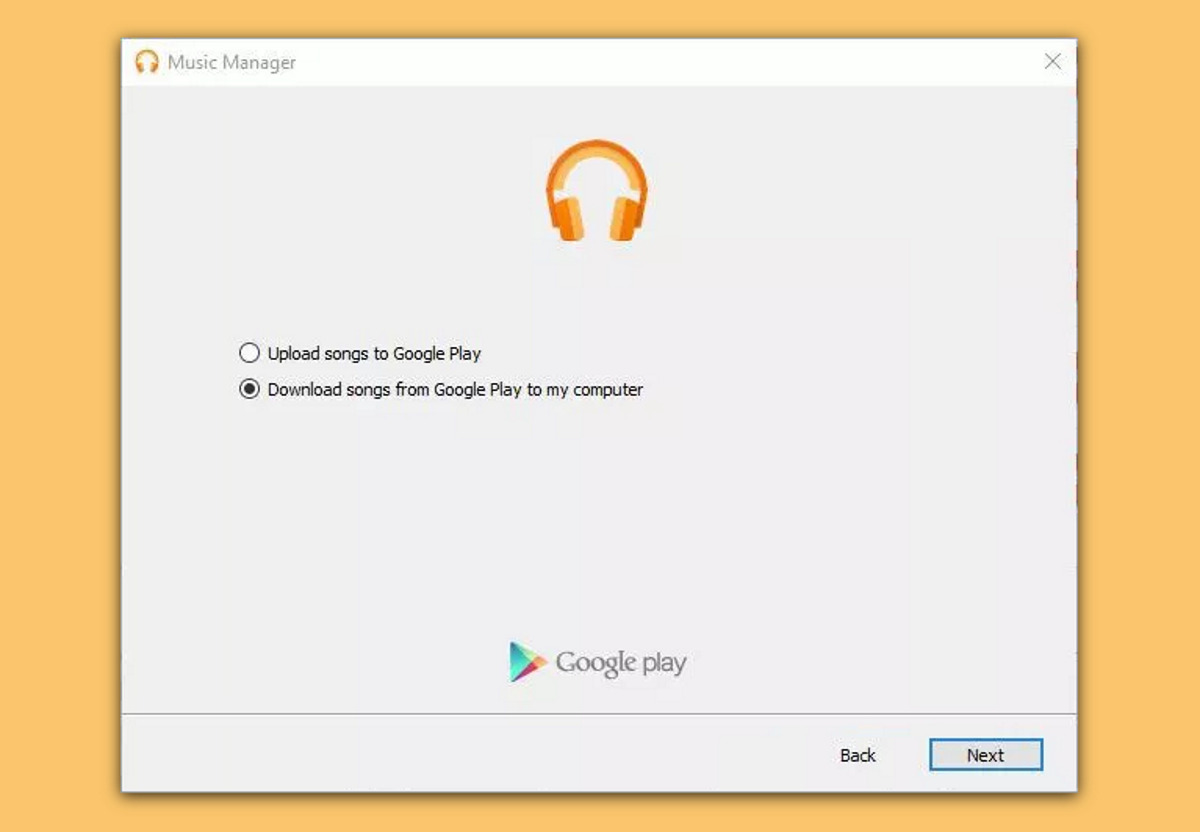
Step 4: Export your music library
Now that you have accessed your music library, it’s time to export your songs and prepare them for download. The export process allows you to create a file containing all the music files in your library in a format that can be downloaded and saved to your device or computer.
To begin the export process, look for the “Export” or “Download” option in your library. This option may be located within the settings menu or as an icon/button specifically labeled for exporting your library.
Click on this option, and a dialogue box or prompt will appear, asking you to confirm the export of your music library. Take a moment to review the options provided, such as the file format and quality settings.
In most cases, you will have the option to export your library as a .zip archive or a similar compressed file format. This allows for easier downloading and storage of your music files.
Select the desired export format and quality settings, and click on the “Export” or “Download” button to initiate the export process. Depending on the size of your music library, it may take a few moments to create the export file.
Once the export file is ready, you will be prompted to choose a location on your device or computer to save it. Select an appropriate location where you can easily find and access the file later.
It’s important to note that the export file may be quite large, especially if you have a substantial music library. Make sure you have enough free storage space on your device or computer to accommodate the exported file.
Now that you have successfully exported your music library, let’s proceed to the next step where we will guide you through the process of downloading your music files to your device or computer.
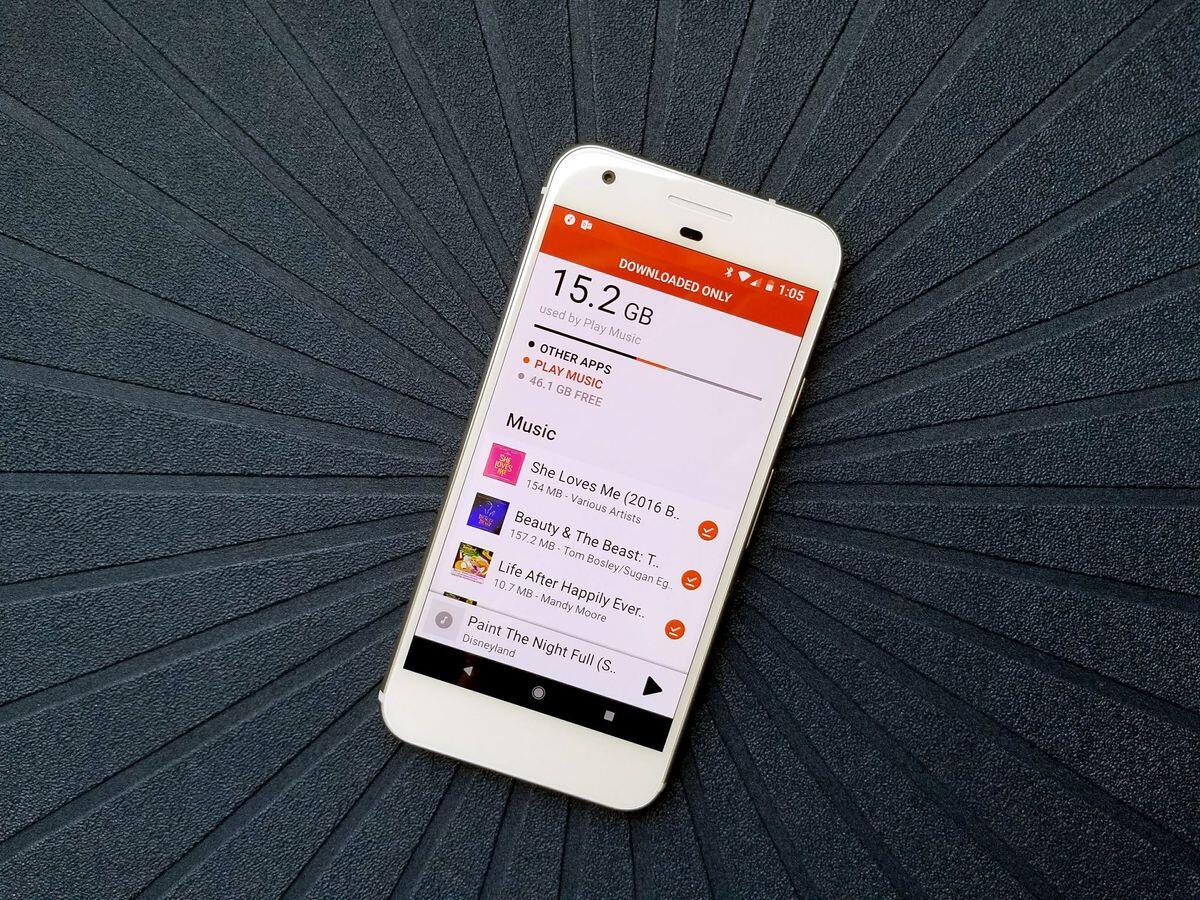
Step 5: Download your music to your device or computer
After successfully exporting your music library, it’s time to download your songs to your device or computer. This step ensures that you have a local copy of your music files that can be accessed and enjoyed offline.
Open the location where you saved the exported file from the previous step. Depending on the file format, you may need to extract the contents of the .zip archive or similar compressed file. Right-click on the file and select “Extract” or “Extract All” to extract the files to a folder of your choice.
Once the files are extracted, you will have access to your music collection in a folder on your device or computer. Navigate to this folder to view and select the songs you wish to download.
To download the songs, you can either manually transfer them to your preferred music player or use the music management software provided by the manufacturer of your device or computer.
If you are transferring the songs to a mobile device, connect your device to your computer using a USB cable. Open the folder containing the exported music files, select the songs you want to download, and drag them into the designated music folder on your device. The songs will be copied to your device and will be available for offline playback through your music player app.
If you are downloading the songs to your computer, you can either import them into your preferred media player or simply double-click on each file to open and play them using the default media player on your computer.
It’s important to note that the process of transferring and managing your downloaded music may vary depending on the device or computer you are using. Refer to the user manuals or documentation provided by the manufacturer for detailed instructions specific to your device.
Now that you have successfully downloaded your music files to your device or computer, you can enjoy your favorite songs offline, knowing that your entire music library is safely stored and accessible.
Step 6: Transfer the downloaded music to your preferred location
Once you have downloaded your music files to your device or computer, the final step is to transfer them to your preferred location for easy access and organization. This step allows you to have your music files stored in a location that suits your preferences and makes it convenient for you to enjoy your music.
First, decide where you want to store your downloaded music. This can be a specific folder on your device or computer, an external hard drive, or a cloud storage service. Consider factors such as storage capacity, accessibility, and backup options when choosing the location.
If you are transferring the music files to a specific folder on your device or computer, locate the folder and open it. Then, navigate to the folder where you downloaded your music files from the previous step.
Using the File Explorer (Windows) or Finder (Mac), select the downloaded music files and drag them into the desired location folder. The files will be copied or moved to the new location, depending on your preference.
If you are transferring the music files to an external hard drive or a cloud storage service, connect the device or log in to the service. Open the folder containing your downloaded music files and select them.
Next, open the destination folder on the external hard drive or the cloud storage service. Drag and drop the selected music files into this folder. The files will be transferred and saved to the specified location.
It’s important to note that the transfer process may take some time, especially if you have a large music library or are using a cloud storage service with limited internet speed. Be patient and ensure that the transfer is completed successfully.
Once the transfer is complete, you will have your downloaded music files stored in your preferred location. You can now access them easily, play them through your preferred media player, and organize them according to your personal preferences.
Remember to keep backups of your music files in case of any unforeseen circumstances, such as device failure or accidental deletion. Regularly back up your music library to ensure that your music collection remains safe and easily recoverable.
With the transfer of your downloaded music files complete, you can now enjoy your favorite songs and albums whenever and wherever you want, knowing that they are stored securely in your preferred location.
Conclusion
Congratulations! You have successfully learned how to download all your music from Google Play. By following the step-by-step guide in this article, you have ensured that your entire music library is safely stored and accessible, even after the transition to YouTube Music.
Throughout the process, we have covered the necessary steps, from signing in to your Google Account and accessing the Google Play Music website to exporting your music library and downloading the songs to your device or computer. We also discussed how to transfer the downloaded music to your preferred location for easy access.
Remember, downloading your music from Google Play is particularly important as the transition to YouTube Music does not automatically include the ability to download your entire music library. By following the methods outlined in this guide, you have taken control of your music collection and ensured that you can enjoy it offline or on your preferred music player.
Keep in mind that as technology evolves, the process of downloading and managing music may change. It’s always a good idea to stay updated with the latest information and resources provided by Google and other technology providers to ensure a seamless transition and access to your music collection.
Now that you know how to download all your music from Google Play, take some time to explore the options, customize your music library organization, and enjoy your favorite songs anytime, anywhere. Whether you prefer listening offline during your commute or while traveling, you can now do so with ease.
Thank you for following this guide, and we hope you continue to enjoy your music collection for years to come!