Introduction
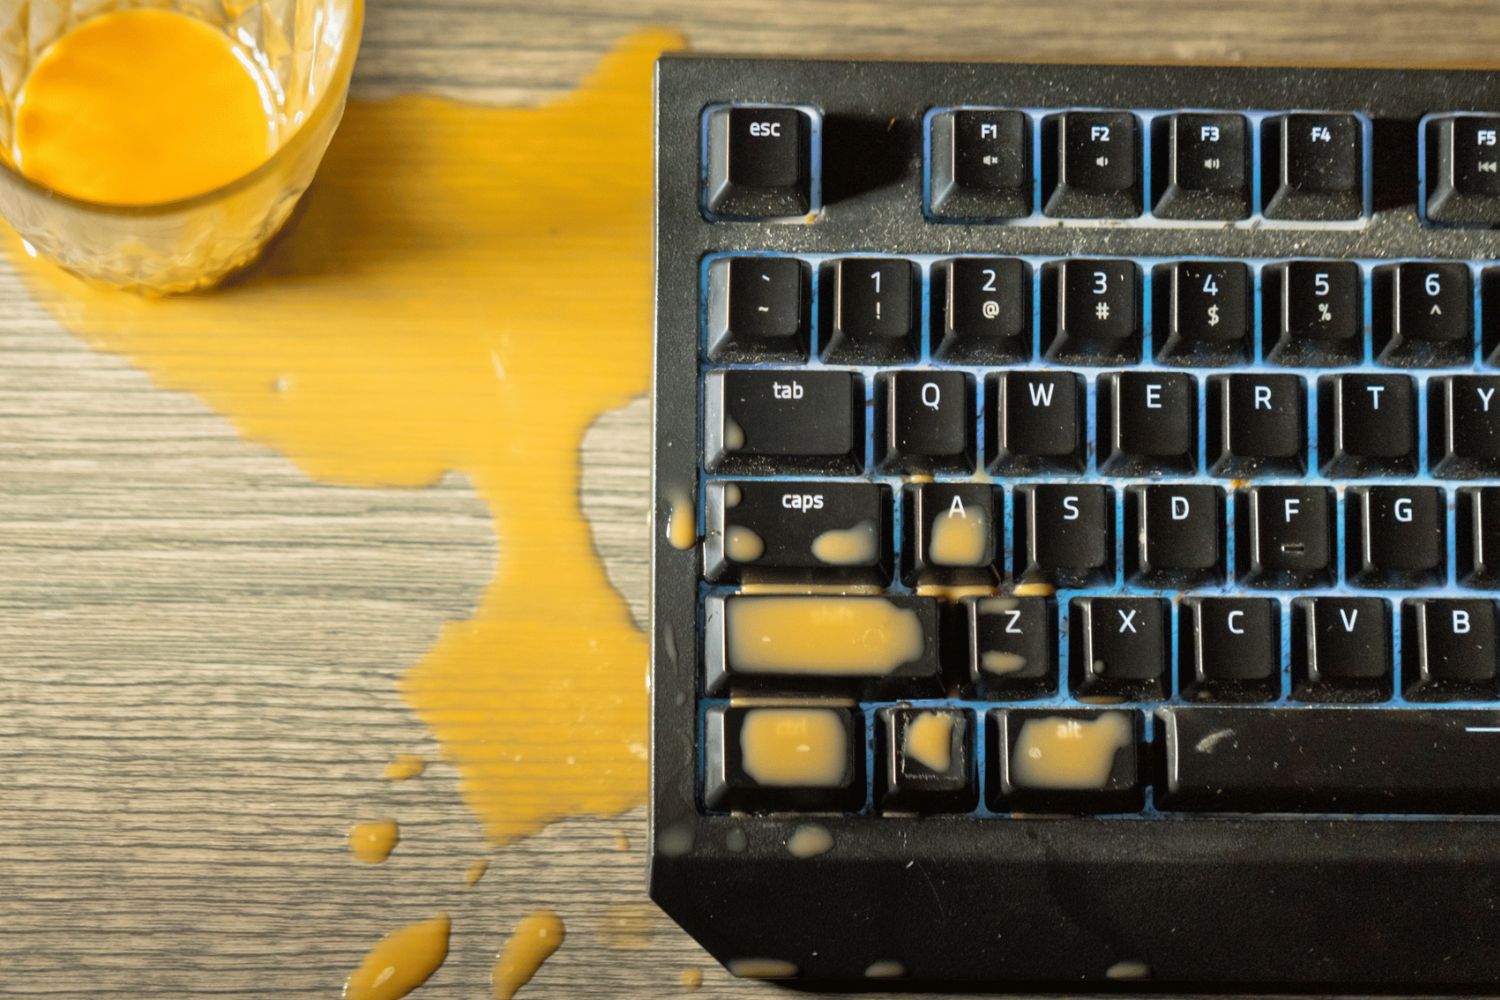
Have you accidentally spilled water on your beloved mechanical keyboard? Don't panic! With the right approach, you can salvage your keyboard and restore it to its former glory. Mechanical keyboards are a joy to use, thanks to their tactile feedback and durability. However, they are susceptible to damage if exposed to liquids. In this guide, we will walk you through the step-by-step process of cleaning a mechanical keyboard that has come into contact with water.
Even though keyboards are not designed to withstand moisture, there's still hope for your waterlogged mechanical keyboard. By following the proper cleaning and drying procedures, you can increase the likelihood of saving your keyboard from irreparable damage. It's important to act swiftly and methodically to prevent any long-term harm to the keyboard's components.
Before we delve into the cleaning process, it's essential to gather the necessary materials to ensure a thorough and safe cleaning operation. By disassembling the keyboard and meticulously cleaning each component, you can rid it of any moisture and potential damage. Once the components are clean and dry, reassembling the keyboard and conducting a thorough test will determine if it has been successfully restored to its former working condition.
So, let's roll up our sleeves and embark on this keyboard-saving journey together. With a bit of patience and the right techniques, you can rescue your water-damaged mechanical keyboard and get back to enjoying the satisfying click-clack of its keys. Let's get started!
Materials Needed
Before you begin the process of cleaning your water-damaged mechanical keyboard, it’s crucial to gather the essential materials to ensure a thorough and safe cleaning operation. Here’s what you’ll need:
- Isopropyl Alcohol (90% or higher): This high-concentration alcohol is effective for cleaning and evaporates quickly, making it suitable for electronic components.
- Cotton Swabs: These are ideal for reaching small crevices and cleaning delicate components of the keyboard.
- Microfiber Cloth: Use a soft, lint-free cloth to wipe down and dry the keyboard components without leaving behind any residue.
- Keycap Puller: A keycap puller tool will facilitate the safe removal of keycaps for thorough cleaning.
- Flathead Screwdriver: This tool will assist in carefully disassembling the keyboard for access to its internal components.
- Bowl or Container: Use a clean container to hold the keycaps and other removable components during the cleaning process.
- Compressed Air: This will help remove any lingering debris or moisture from hard-to-reach areas of the keyboard.
- Distilled Water: In case the spill involved a sticky substance, distilled water can be used to clean the affected areas before using isopropyl alcohol.
By having these materials at your disposal, you’ll be well-prepared to tackle the cleaning and restoration of your water-damaged mechanical keyboard. With the right tools and a methodical approach, you can increase the likelihood of salvaging your keyboard and preventing any long-term damage. Now that you’re equipped with the necessary materials, let’s move on to the disassembly process to access the keyboard’s components for cleaning.
Disassembling the Keyboard
Before you can begin the cleaning process, it’s essential to carefully disassemble your mechanical keyboard to gain access to its internal components. Here’s a step-by-step guide to disassembling the keyboard:
- Unplug the Keyboard: Start by disconnecting the keyboard from your computer to prevent any electrical mishaps during the disassembly process.
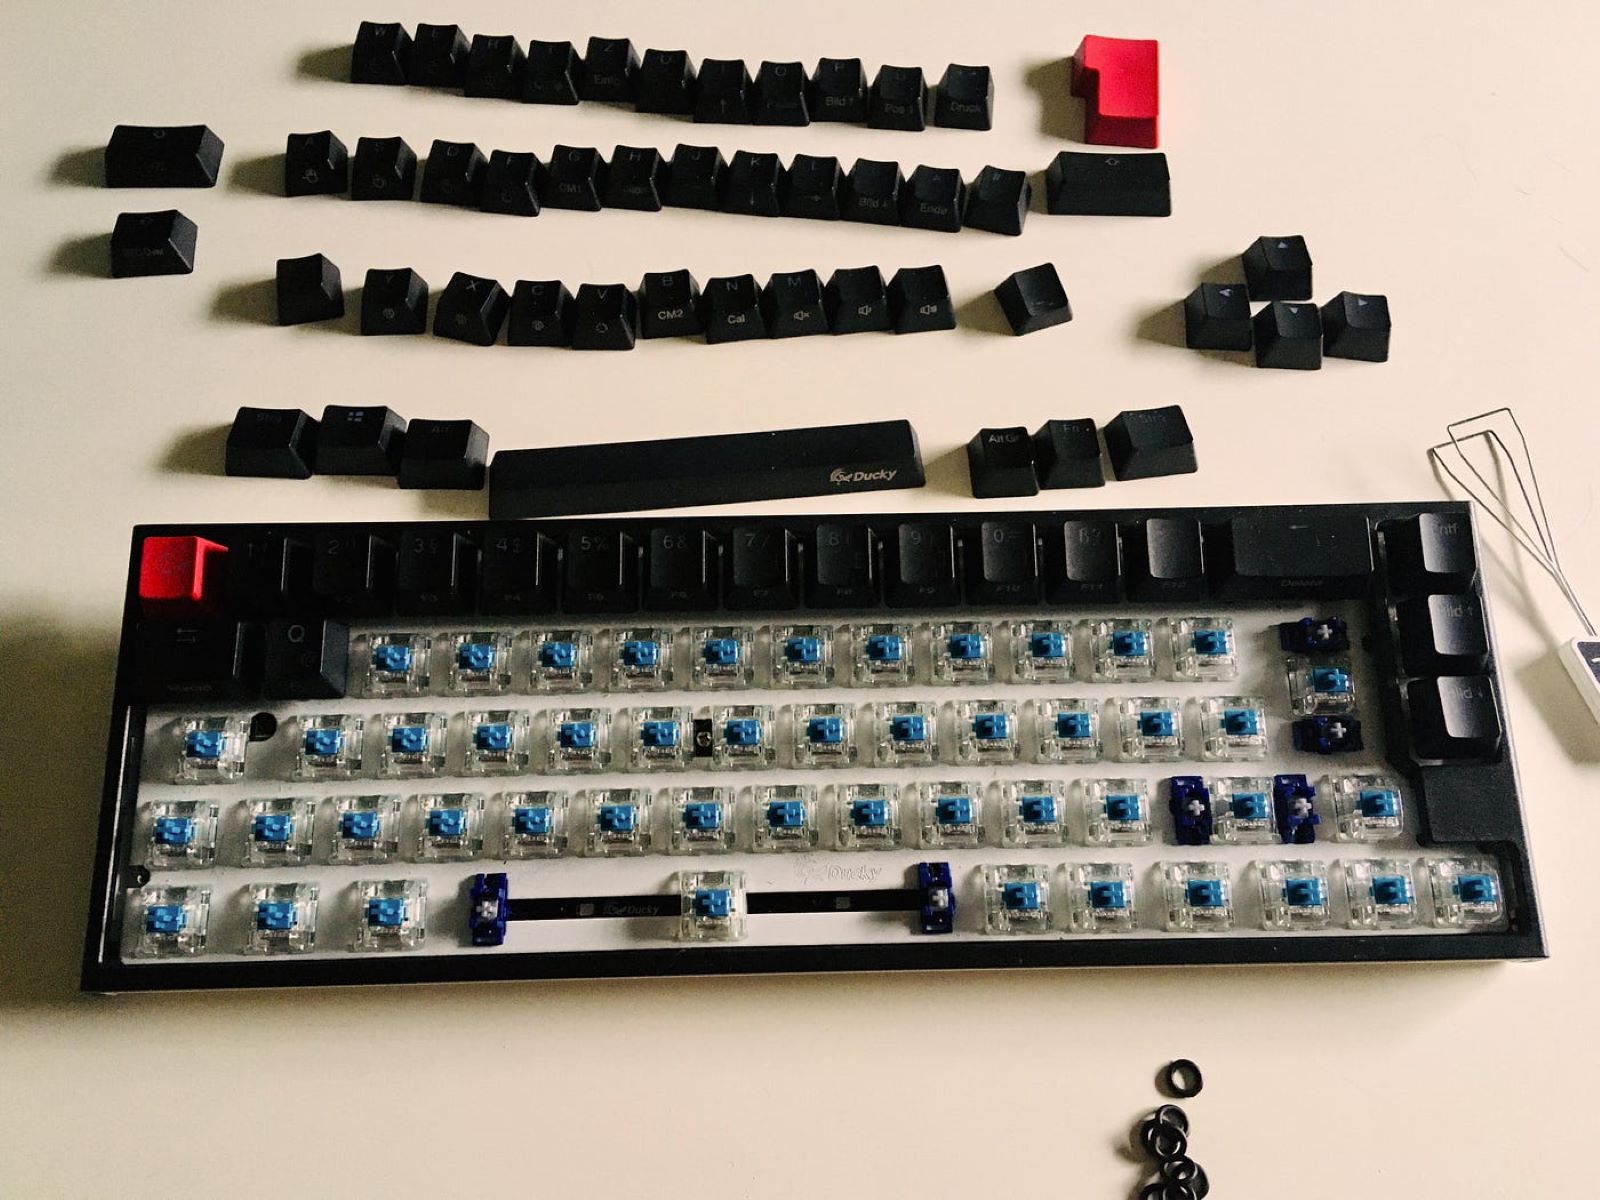
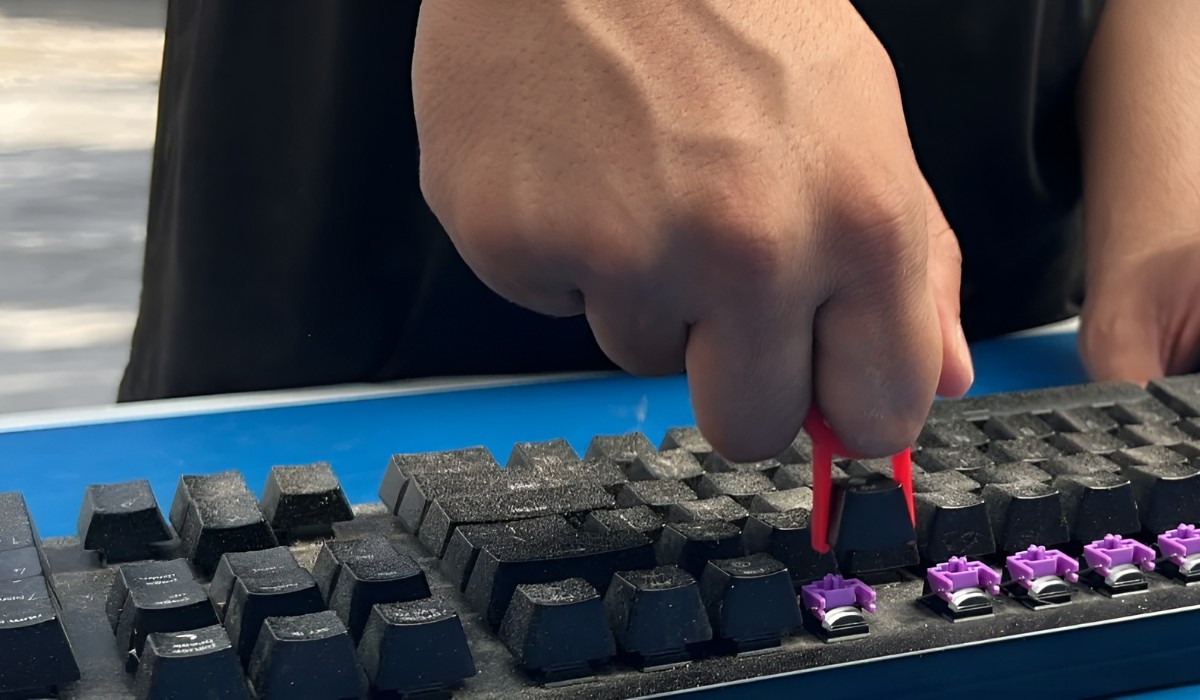
- Remove the Keycaps: Use a keycap puller tool to gently remove the keycaps from the switches. Take your time and ensure each keycap is safely removed and placed in a clean container for later cleaning.
- Detach the Top Plate: Depending on your keyboard’s design, you may need to use a flathead screwdriver to carefully detach the top plate or outer casing of the keyboard. Be gentle to avoid damaging the keyboard’s housing.
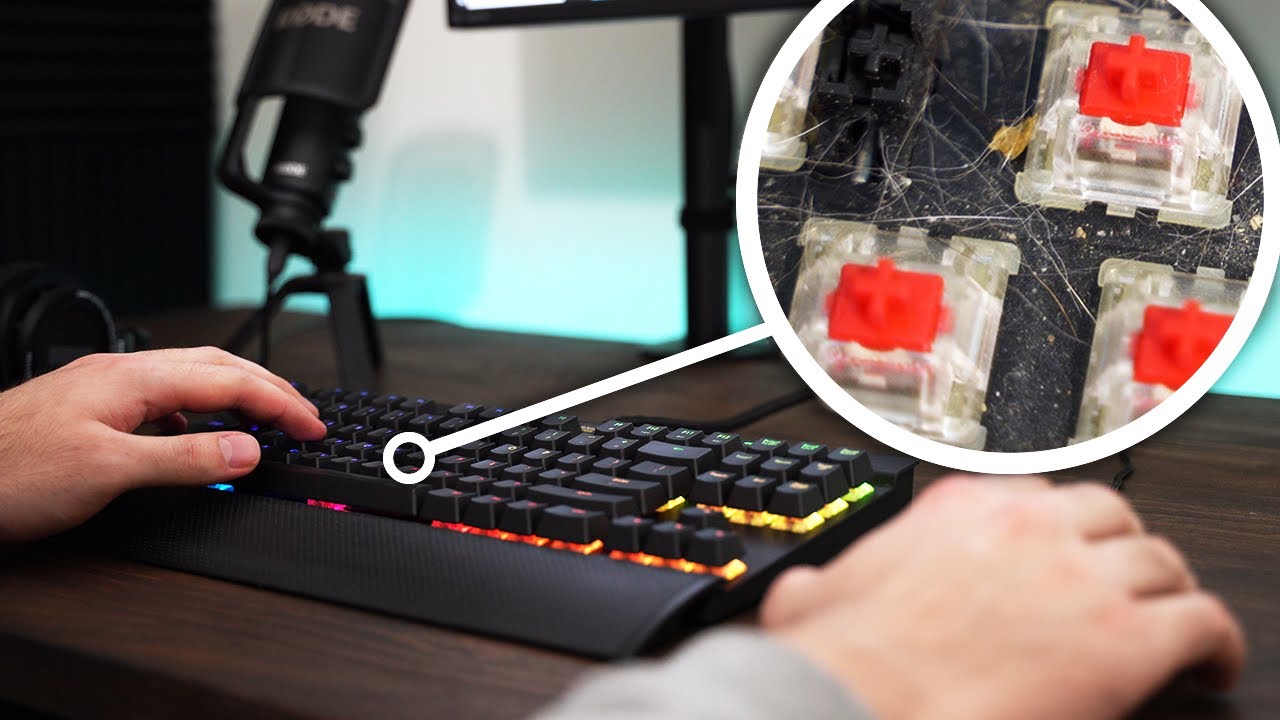
- Access the Internal Components: Once the top plate is removed, you’ll have access to the keyboard’s internal components, including the switches and PCB (printed circuit board). Take note of the layout and positioning of the components for reassembly later.
- Disconnect the PCB: If possible, disconnect the PCB from the keyboard’s main housing. This will allow for more thorough cleaning and drying of the components.
By following these steps, you can safely disassemble your mechanical keyboard and prepare its components for the cleaning process. Remember to handle the delicate components with care and take note of their placement to ensure a smooth reassembly process later on. With the keyboard disassembled, you’re now ready to move on to the crucial step of cleaning the individual components to remove any moisture and potential damage caused by the water spill.
Cleaning the Components
With the keyboard disassembled, it’s time to focus on cleaning the individual components to remove any moisture and potential damage caused by the water spill. Here’s a systematic approach to cleaning the keyboard components:
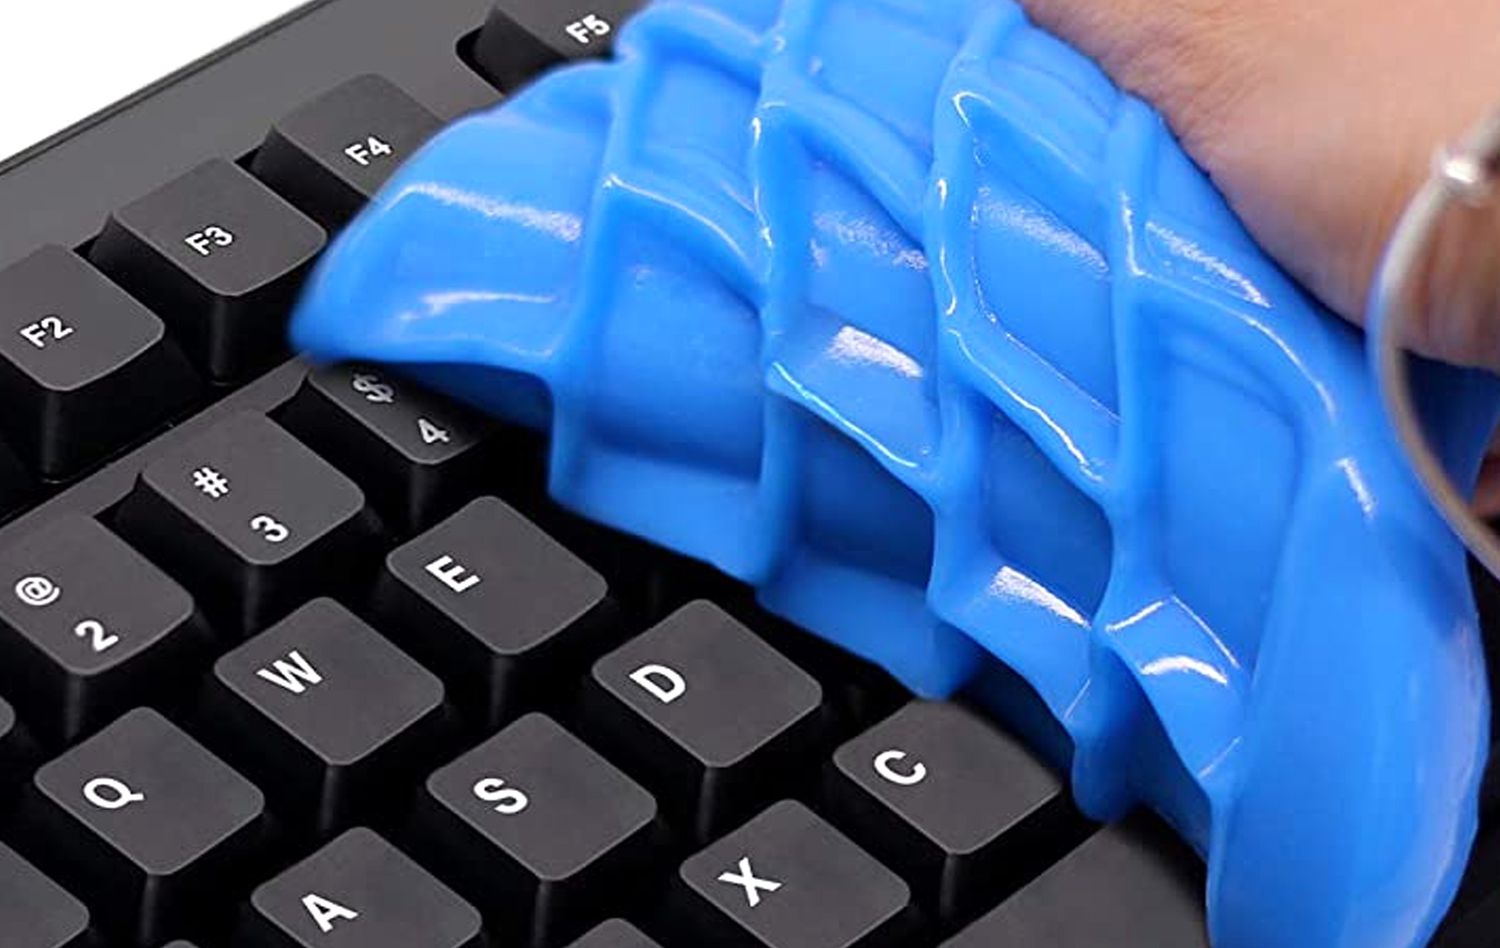
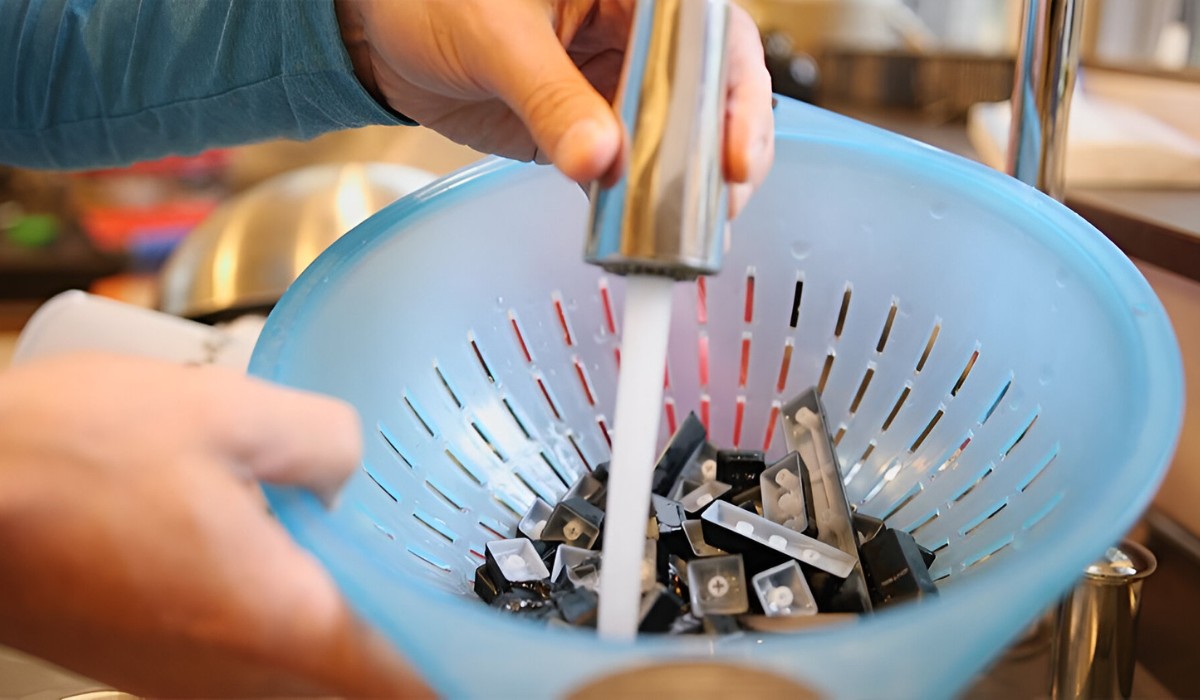
- Clean the Keycaps: Place the keycaps in a bowl or container filled with warm, soapy water. Gently agitate the keycaps to loosen any debris or residue. After soaking, use a soft brush or cloth to further clean each keycap, ensuring all traces of liquid and debris are removed. Rinse the keycaps thoroughly with clean water and allow them to air dry completely.
- Clean the Switches and PCB: Use cotton swabs lightly dampened with isopropyl alcohol to carefully clean the switches and PCB. Pay close attention to any areas affected by the water spill, and ensure that all moisture and residue are effectively removed. Be gentle to avoid damaging the delicate components.
- Wipe Down the Housing and Plate: Use a microfiber cloth lightly dampened with isopropyl alcohol to wipe down the keyboard’s housing and plate. This will help remove any lingering moisture and ensure a thorough cleaning of the external components.
- Remove Stubborn Residue: If the water spill involved a sticky substance, use distilled water and cotton swabs to carefully remove any stubborn residue from the switches and PCB. Take care to avoid excessive moisture and ensure thorough drying after cleaning.
- Use Compressed Air: After the initial cleaning, use compressed air to blow out any remaining moisture or debris from the keyboard’s components. This will help ensure that hard-to-reach areas are thoroughly dried and free of any lingering residue.
By following these cleaning steps, you can effectively remove any moisture and residue from the keyboard’s components, increasing the likelihood of restoring its functionality. It’s crucial to be thorough and patient during the cleaning process to prevent any long-term damage to the keyboard’s delicate components. Once the components are clean and dry, you can proceed to the next crucial step: drying the keyboard to ensure all moisture is completely eliminated.
Drying the Keyboard
After the cleaning process, thorough drying is essential to ensure that all moisture is completely eliminated from the keyboard’s components. Proper drying techniques will help prevent any potential damage and ensure the successful restoration of your mechanical keyboard. Here’s how to effectively dry the keyboard:
- Air Drying: Lay out the cleaned components, including the keycaps, switches, and PCB, on a clean, dry surface. Allow them to air dry naturally in a well-ventilated area. It’s important to ensure that each component is completely dry before proceeding to reassemble the keyboard.
- Use Absorbent Materials: If necessary, place the components on absorbent materials, such as a clean, lint-free cloth, to aid in the drying process. Avoid using heat sources, as excessive heat can damage the delicate components of the keyboard.
- Patience is Key: Allow ample time for the components to air dry completely. Rushing this step can lead to residual moisture, potentially causing damage to the keyboard’s internal components when reassembled and in use.
- Ensure Thorough Drying: Check each component carefully to ensure that no moisture remains. Pay close attention to areas that may retain moisture, such as switch housings and crevices, and allow additional drying time if needed.
By employing these drying techniques, you can effectively eliminate any remaining moisture from the keyboard’s components, setting the stage for a successful reassembly process. It’s crucial to exercise patience and thoroughness during the drying phase to prevent any potential damage to the delicate electronic components. Once the components are completely dry, you can proceed to the final step: reassembling the keyboard to restore its functionality.
Reassembling the Keyboard
With the keyboard components thoroughly cleaned and dried, it’s time to carefully reassemble the keyboard to restore its functionality. Reassembly is a critical step in the process of salvaging your water-damaged mechanical keyboard. Here’s a systematic guide to reassembling the keyboard:
- Position the PCB: If you disconnected the PCB during the cleaning process, carefully position it back into the keyboard’s main housing, ensuring a secure fit without applying excessive force.
- Attach the Top Plate: Gently place the top plate or outer casing back onto the keyboard, aligning it properly with the switches and PCB. Take care to avoid misalignment or damage to the internal components.
- Reattach the Keycaps: Begin reattaching the thoroughly dried keycaps to their respective switches. Ensure each keycap is securely and correctly positioned, aligning them evenly for a uniform appearance.
- Test the Keys: After reattaching the keycaps, perform a visual inspection to ensure that each keycap is properly seated. Test a few keys to verify that they register key presses accurately.
By following these reassembly steps, you can effectively restore the keyboard to its functional state, ready for the final crucial step: testing the keyboard to ensure that it has been successfully salvaged from the water damage.
Testing the Keyboard
After completing the reassembly process, it’s time to put your restored mechanical keyboard to the test. Thorough testing is essential to ensure that the keyboard has been successfully salvaged from the water damage and is fully functional. Here’s how to test the keyboard:
- Functional Testing: Test each key on the keyboard to ensure that it registers key presses accurately. Check for any keys that may feel sticky or unresponsive, indicating residual moisture or debris.
- Typing Test: Perform a typing test to gauge the overall functionality and responsiveness of the keyboard. Pay attention to any keys that may exhibit unusual behavior or inconsistencies in their tactile feedback.
- Special Function Testing: If your mechanical keyboard features special function keys or media controls, test each of these functions to ensure they operate as intended.
- Backlight Testing (If Applicable): If your keyboard has backlighting, verify that the lighting functions properly and evenly across all keys.
By conducting thorough testing, you can verify that your mechanical keyboard has been successfully restored to its pre-damage condition. It’s important to be attentive during the testing phase, as it allows you to identify any lingering issues that may require further attention. If you notice any keys or functions that are not performing as expected, revisit the cleaning and drying process to ensure that all components are free of any residual moisture or debris.
Once you have confirmed that the keyboard is fully functional and responsive, you can proceed to reconnect it to your computer and resume enjoying the tactile satisfaction of your restored mechanical keyboard. Congratulations on successfully salvaging your water-damaged mechanical keyboard!