Introduction
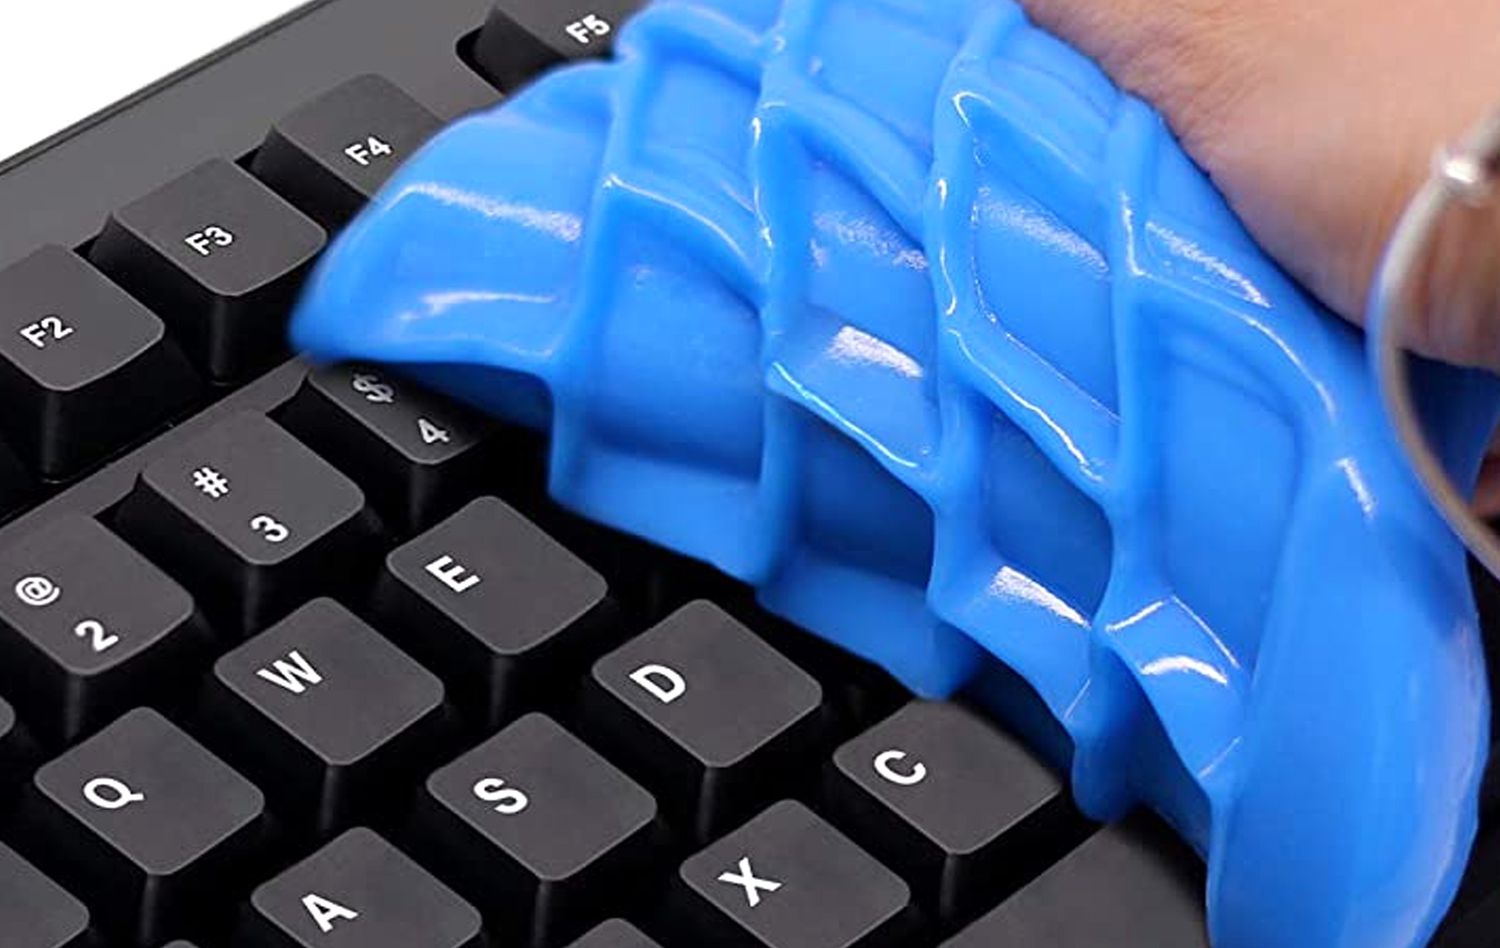
Maintaining a clean and functional mechanical keyboard is essential for a seamless typing and gaming experience. Over time, grease and grime can accumulate on the keys and within the nooks and crannies of the keyboard, affecting its performance and aesthetics. However, with the right materials and a systematic approach, you can effectively remove grease and restore your mechanical keyboard to its pristine state. This guide will walk you through the step-by-step process of cleaning grease off a mechanical keyboard, ensuring that you can enjoy a satisfying typing or gaming session without any hindrances.
A mechanical keyboard is a cherished tool for many, offering tactile feedback and a satisfying typing experience. Thus, keeping it clean is paramount to its longevity and performance. Whether you are a professional typist, a passionate gamer, or simply someone who spends a significant amount of time at their computer, a clean keyboard is essential for a pleasant and hygienic computing experience.
Throughout this guide, you will learn about the materials needed for the cleaning process, the meticulous steps for removing and cleaning the keycaps, the process of cleaning the keyboard itself, and finally, reassembling the keyboard for seamless operation. By following these instructions, you can effectively remove grease and grime from your mechanical keyboard, ensuring that it remains in optimal condition for the long haul. Let's dive into the materials needed for this endeavor.
Materials Needed
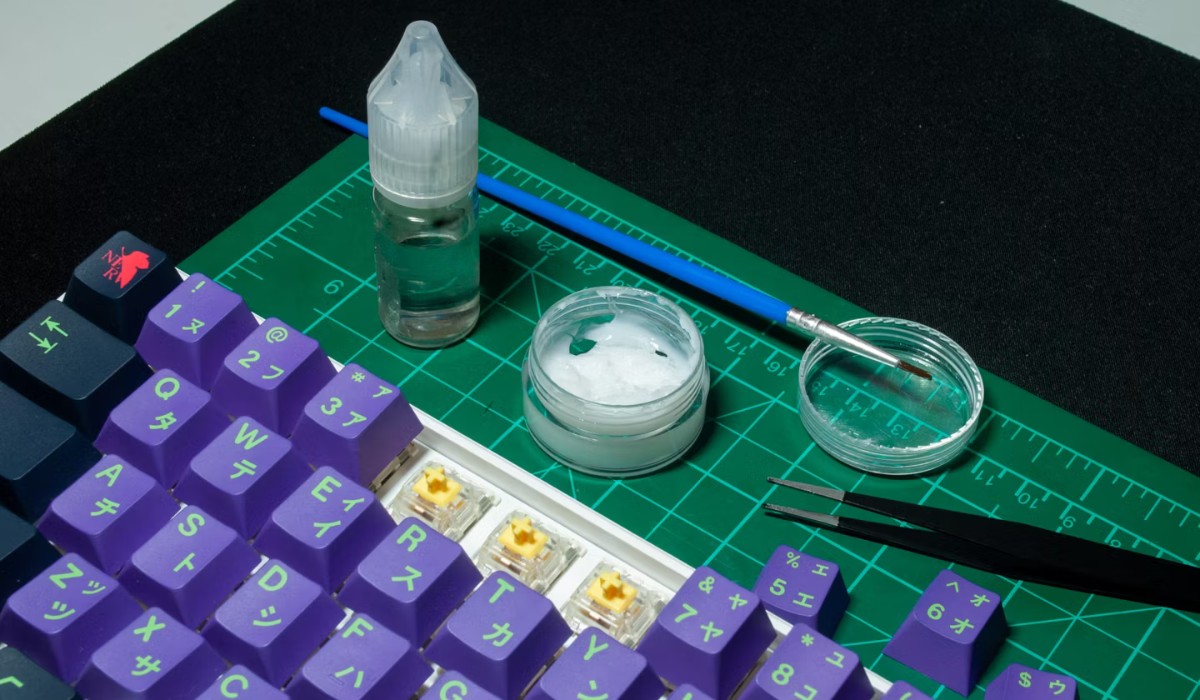
Before embarking on the journey of cleaning grease off your mechanical keyboard, it is crucial to gather the necessary materials to ensure a thorough and effective cleaning process. Here’s a list of items you’ll need:
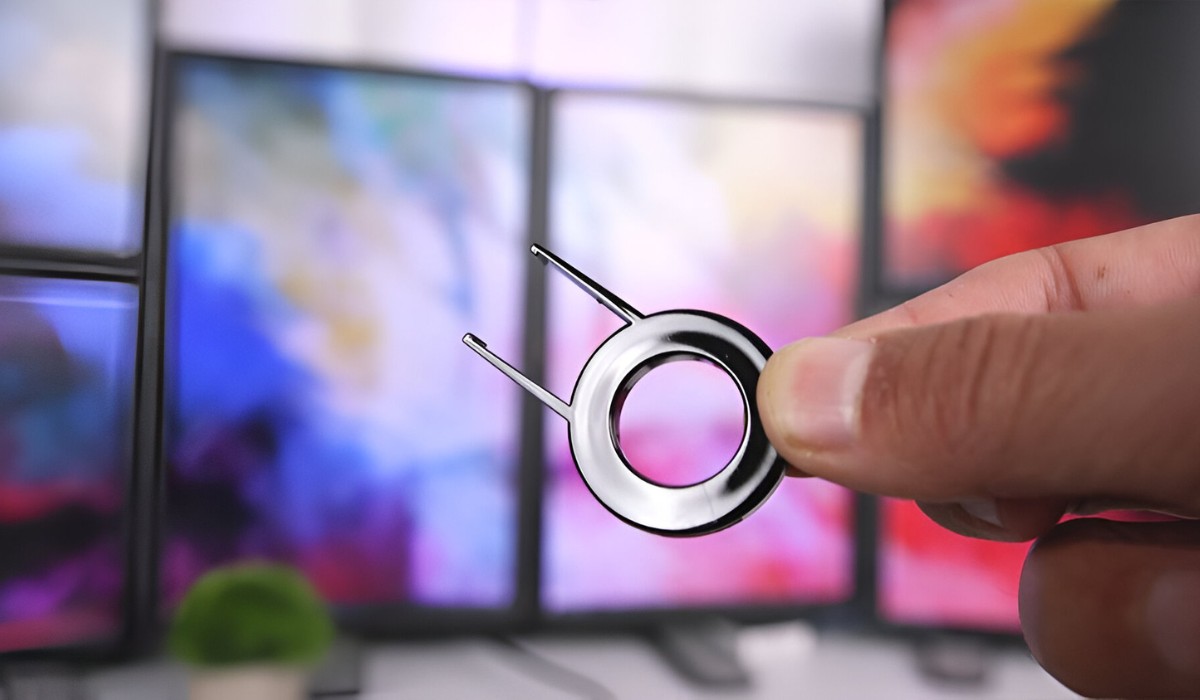
- Keycap Puller: This tool is essential for safely removing the keycaps without damaging the switches or the keycap stems.
- Isopropyl Alcohol: A high-percentage isopropyl alcohol solution is ideal for cleaning the keycaps and the keyboard housing, effectively dissolving grease and grime.
- Cotton Swabs: These are useful for reaching into tight spaces and cleaning hard-to-reach areas on the keyboard.
- Microfiber Cloth: A lint-free microfiber cloth is perfect for wiping down the keycaps and the keyboard housing, leaving no residue behind.
- Bowl or Container: You’ll need a container to soak the keycaps in isopropyl alcohol for thorough cleaning.
- Compressed Air: This can be used to blow away dust, crumbs, and debris from the keyboard’s switches and housing.
- Warm Water: For rinsing the keycaps after cleaning them with isopropyl alcohol.
- Dish Soap: A mild dish soap can be used in conjunction with warm water for cleaning particularly stubborn grime from the keycaps.
- Flat Surface: Prepare a clean, flat surface to work on, providing ample space to organize the keycaps and perform the cleaning process efficiently.
By ensuring that you have all these materials at your disposal, you can proceed with confidence, knowing that you have everything you need to effectively clean the grease off your mechanical keyboard. With these materials in hand, you are now ready to delve into the meticulous process of removing the keycaps from your keyboard.
Removing Keycaps
Before you can address the grease and grime on your mechanical keyboard, you’ll need to remove the keycaps to access the underlying switches and housing. The following steps will guide you through the process of safely removing the keycaps:
- Prepare Your Workspace: Find a well-lit and spacious area to work in, ensuring that you have enough room to organize the keycaps and perform the removal process comfortably.
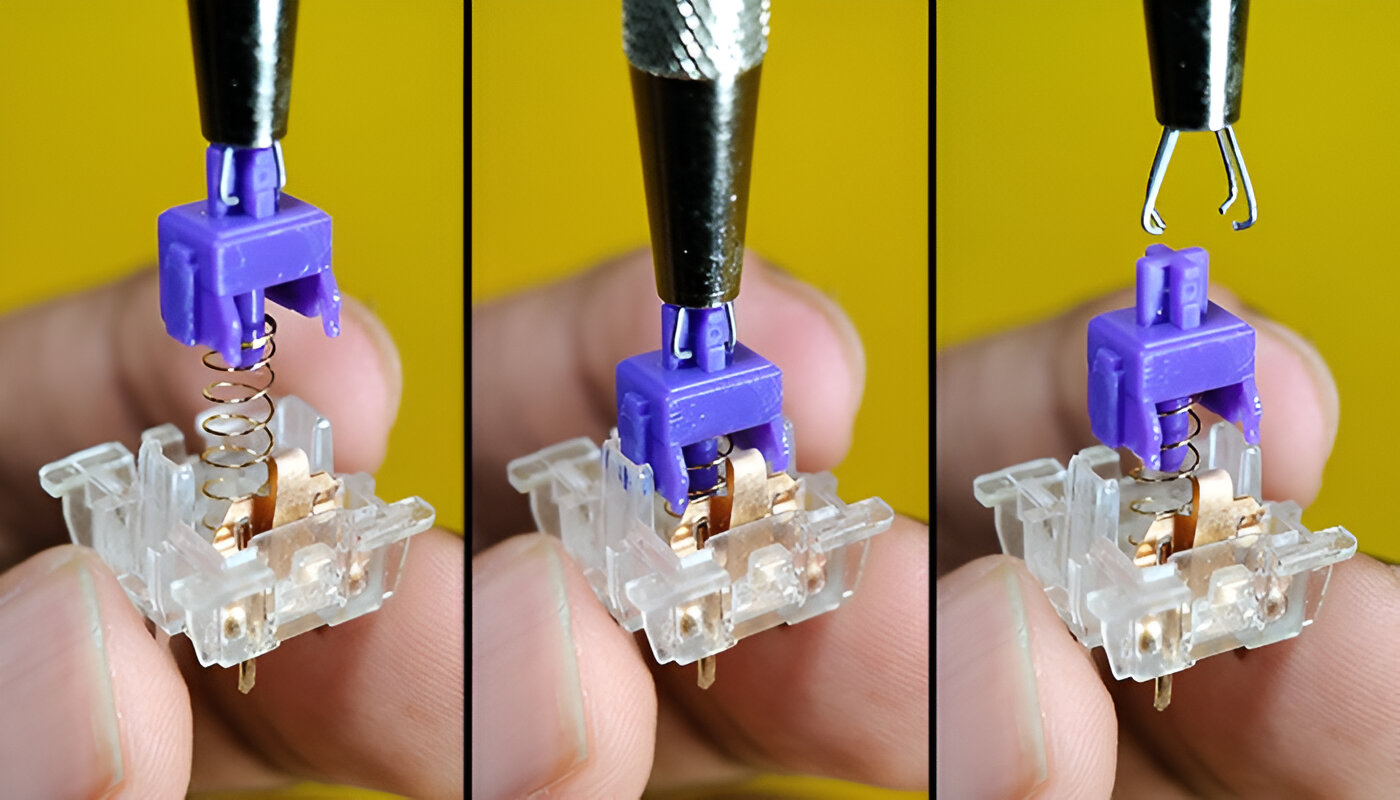
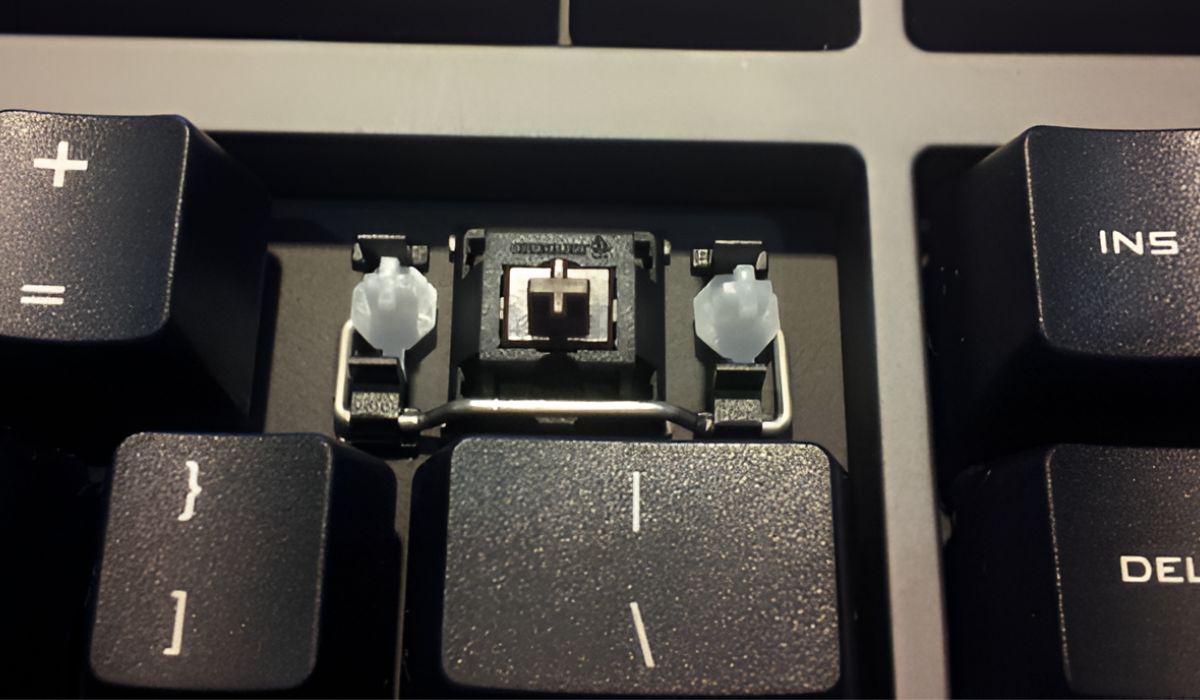
- Use the Keycap Puller: Gently position the keycap puller around a keycap, ensuring that it grasps the sides of the keycap evenly. Apply upward pressure while wiggling the keycap puller from side to side until the keycap pops off. Repeat this process for all the keycaps, taking care not to use excessive force to avoid damaging the switches.
- Organize the Keycaps: As you remove the keycaps, arrange them in a pattern that corresponds to their original placement on the keyboard. This will make it easier to reassemble the keyboard later on.
- Inspect the Switches: With the keycaps removed, take a moment to inspect the switches and the exposed keyboard housing for any visible debris or buildup. Use compressed air to gently blow away any dust or particles from the switches and the keyboard surface.
By following these steps, you can effectively remove the keycaps from your mechanical keyboard, laying the groundwork for the comprehensive cleaning process that will address the grease and grime that may have accumulated over time. With the keycaps safely removed and organized, you are now ready to proceed with the meticulous cleaning of both the keycaps and the keyboard housing.
Cleaning the Keyboard
With the keycaps safely removed, it’s time to focus on cleaning the keyboard to eliminate any grease and grime that may have built up over time. The following steps will guide you through the process of thoroughly cleaning the keyboard:
- Prepare the Isopropyl Alcohol Solution: In a container, mix a solution of isopropyl alcohol and warm water. This solution will be used to clean the keyboard housing and remove any stubborn grease or grime.
- Moisten a Cloth or Cotton Swab: Dip a lint-free microfiber cloth or a cotton swab into the isopropyl alcohol solution, ensuring that it is damp but not dripping. Use this damp cloth or swab to carefully wipe down the exposed keyboard housing, paying close attention to areas where grease and grime may have accumulated.
- Use Compressed Air: After wiping down the keyboard housing, use compressed air to blow away any remaining dust, debris, or dislodged particles from within the switches and the keyboard’s crevices.
- Inspect and Repeat as Needed: Take a moment to inspect the keyboard housing for any remaining grease or grime. If necessary, repeat the cleaning process with the isopropyl alcohol solution until the keyboard housing is free from any buildup.
By following these steps, you can effectively clean the keyboard housing, ensuring that it is free from any accumulated grease or grime. With the keyboard now thoroughly cleaned, the next step involves cleaning the keycaps to ensure that they are also free from any residue or buildup. This meticulous process will prepare the keycaps for reassembly, allowing you to restore your mechanical keyboard to its optimal condition.
Reassembling the Keyboard
After successfully cleaning the keycaps and the keyboard housing, the final step involves reassembling the keyboard to restore it to its original state. Follow these steps to reassemble your mechanical keyboard:
- Organize the Cleaned Keycaps: Retrieve the cleaned keycaps and organize them according to their original layout on the keyboard. Ensuring that the keycaps are properly aligned will facilitate a smooth reassembly process.
- Position the Keycaps: Starting from one end of the keyboard, gently press each keycap back onto its respective switch stem. Apply even pressure to ensure that the keycap snaps into place without causing any damage to the switches.
- Verify Keycap Alignment: As you reattach each keycap, take a moment to verify that it is aligned correctly and sits flush with the adjacent keycaps. This attention to detail will ensure a uniform and visually appealing keyboard layout.
- Test the Keys: Once all the keycaps are reattached, perform a quick test by pressing each key to ensure that they register keystrokes accurately. This will confirm that the keycaps are securely in place and the switches are functioning as intended.
By following these steps, you can successfully reassemble your mechanical keyboard after thoroughly cleaning both the keycaps and the keyboard housing. This meticulous process ensures that your keyboard is free from grease and grime, allowing you to enjoy a satisfying typing or gaming experience without any hindrances. With the keyboard now reassembled and restored to its pristine state, you can marvel at the transformation and appreciate the effort put into maintaining your cherished mechanical keyboard.
Conclusion
Cleaning grease off a mechanical keyboard is a rewarding endeavor that not only enhances its aesthetics but also ensures optimal performance and longevity. By following the systematic process outlined in this guide, you have successfully learned how to remove and clean the keycaps, thoroughly clean the keyboard housing, and reassemble the keyboard for seamless operation.
With the right materials and a methodical approach, you can maintain your mechanical keyboard in pristine condition, free from the detrimental effects of accumulated grease and grime. This process not only improves the visual appeal of your keyboard but also contributes to a hygienic and enjoyable typing or gaming experience.
As you reassemble your freshly cleaned mechanical keyboard, take a moment to appreciate the meticulous effort invested in restoring it to its optimal state. The satisfaction of typing on a clean and well-maintained keyboard is a testament to your dedication to preserving your valuable equipment.
Remember, regular maintenance and cleaning are key to prolonging the lifespan of your mechanical keyboard and ensuring that it continues to provide a satisfying typing or gaming experience for years to come. By incorporating these cleaning practices into your routine, you can uphold the performance and aesthetics of your mechanical keyboard, allowing you to fully immerse yourself in your computing endeavors without the distraction of accumulated grease and grime.
With your newly cleaned and reassembled mechanical keyboard at your fingertips, you can embark on your next typing session or gaming adventure with confidence, knowing that your trusted keyboard is in optimal condition, free from the encumbrances of grease and grime.