Introduction
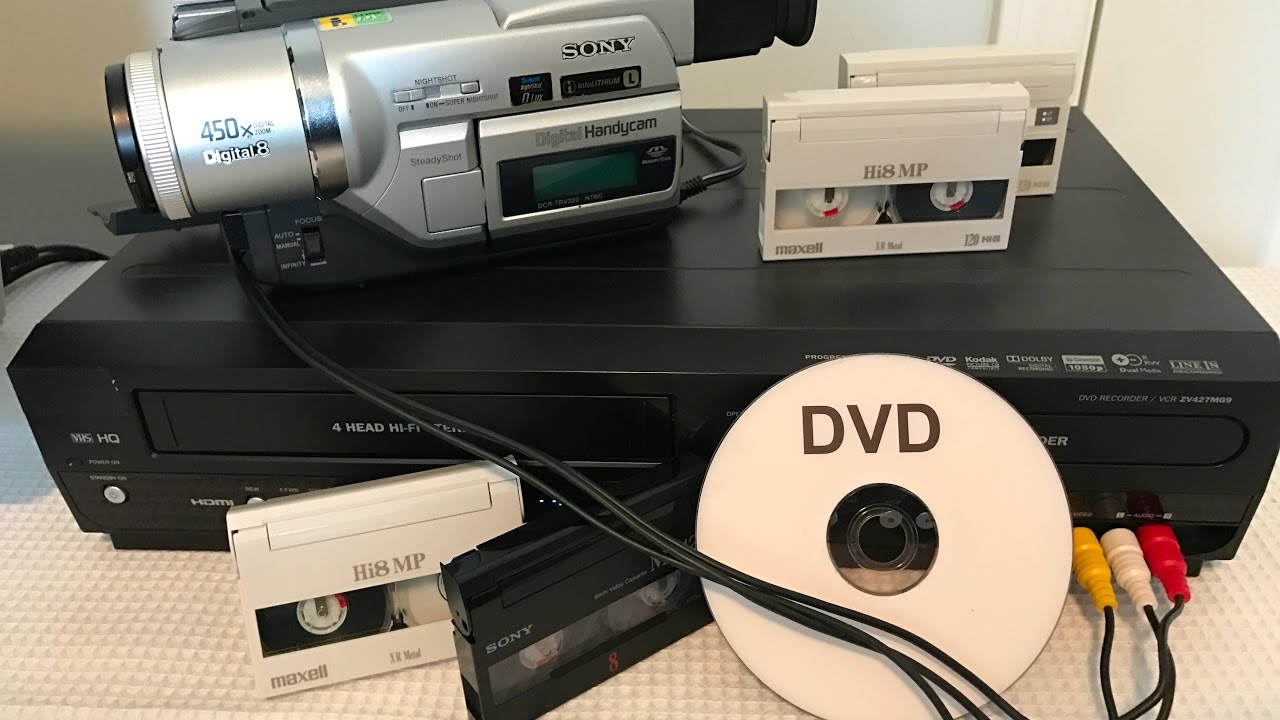
Are you eager to transfer the precious memories captured on your camcorder's DVDs to your computer for safekeeping, easy access, and potential editing? This guide will walk you through the process, providing clear and concise steps to help you achieve this goal. Whether you're a novice or a tech-savvy individual, transferring camcorder DVD content to your computer can be a straightforward and rewarding experience.
Preserving and digitizing your camcorder footage offers various benefits, such as safeguarding the content from physical damage, enabling convenient sharing with friends and family, and providing opportunities for creative editing and enhancement. By following the steps outlined in this guide, you can seamlessly transfer your camcorder DVD content to your computer and embark on a journey of rediscovering, preserving, and sharing your cherished memories.
The process involves connecting your camcorder to your computer, installing the necessary software, transferring the DVD content, and finally, editing and saving the transferred videos. Each step is crucial in ensuring a smooth and successful transfer, and this guide will provide detailed instructions and tips to assist you at every stage.
So, let's dive into the world of digital preservation and creativity as we embark on this journey to transfer your camcorder DVD content to your computer. Get ready to unlock the potential of your cherished videos and create new possibilities for reliving and sharing your most treasured moments.
Step 1: Connect Your Camcorder to Your Computer
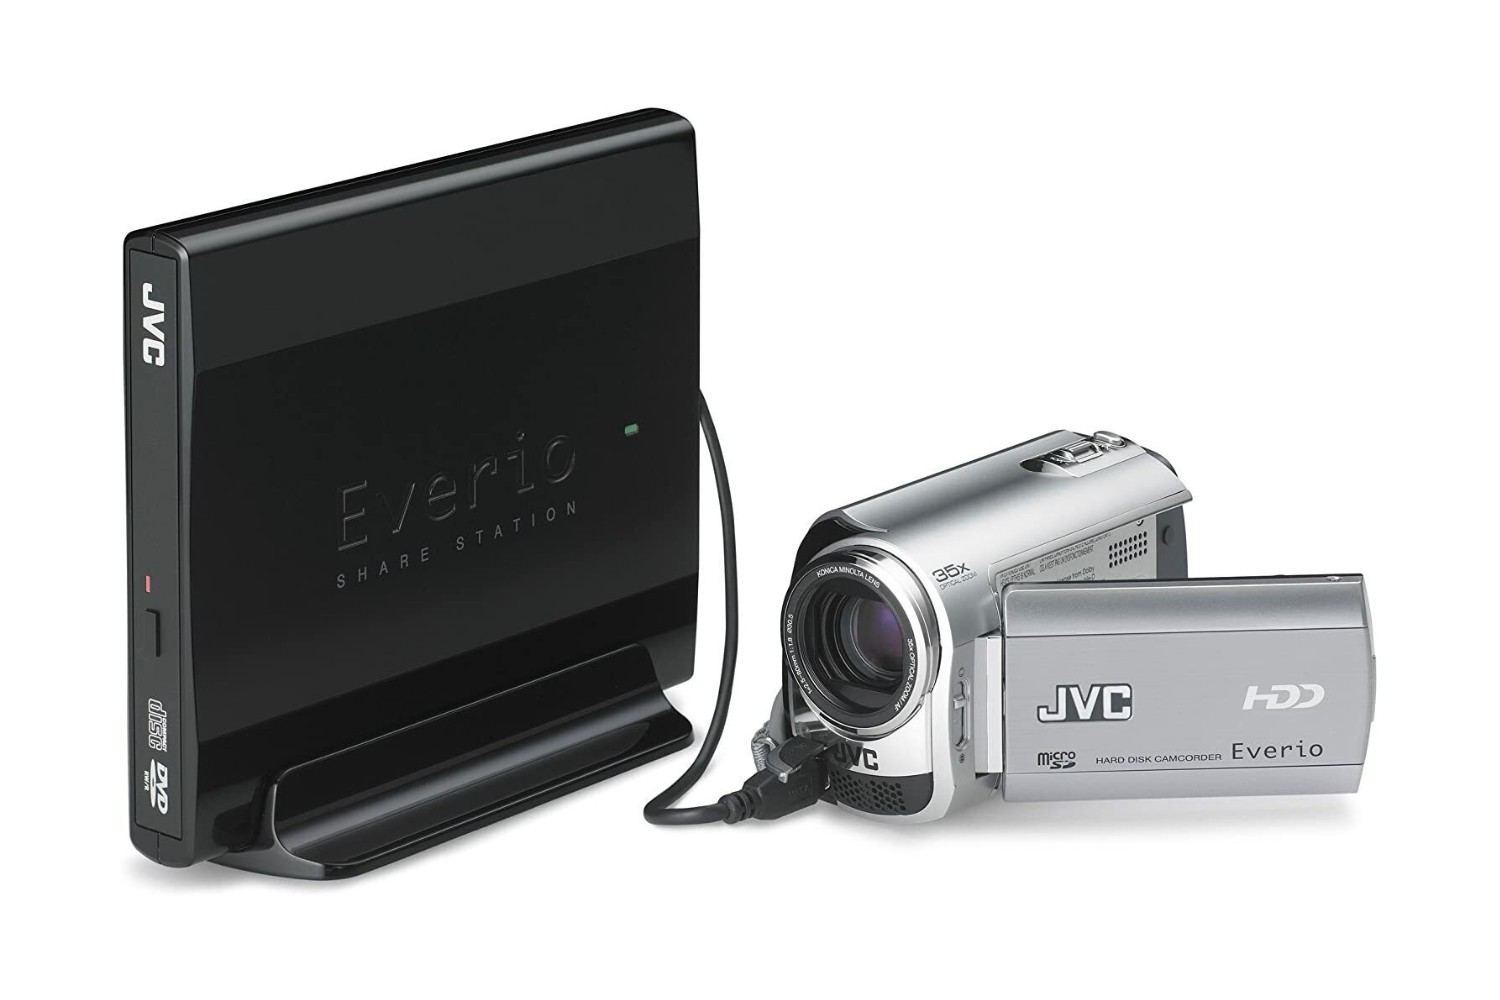
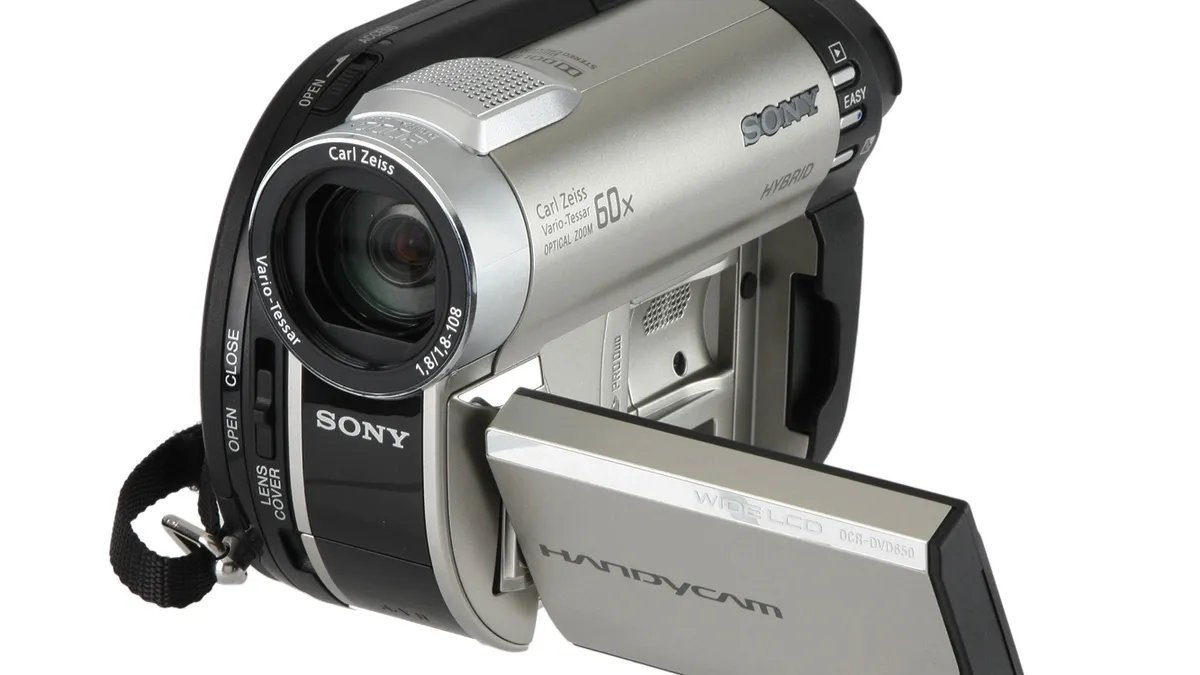
Before initiating the transfer process, it’s essential to establish a physical connection between your camcorder and your computer. This step lays the foundation for seamless communication and data transfer between the two devices, ensuring that you can access and transfer the DVD content effectively.
Firstly, identify the type of ports available on your camcorder and your computer. Most modern camcorders feature USB or HDMI ports, while computers typically offer USB, HDMI, or FireWire ports. Once you’ve identified the compatible ports, use the appropriate cable to establish a direct connection between the camcorder and the computer. For USB connections, a standard USB cable with the appropriate connectors on each end will suffice. If your camcorder and computer both support HDMI, an HDMI cable can provide a high-quality connection for transferring video content.
After connecting the devices, ensure that your camcorder is powered on and set to the appropriate mode for data transfer. Some camcorders have a dedicated “PC” or “Data Transfer” mode, while others may require manual selection of the input source. Refer to your camcorder’s user manual for specific instructions on enabling data transfer mode.
Once the physical connection is established and the camcorder is ready for data transfer, your computer should recognize the connected device. Depending on your computer’s operating system, you may receive a notification indicating the successful connection of a new device. In some cases, you may need to install specific drivers or software provided by the camcorder manufacturer to facilitate the recognition and communication between the camcorder and the computer.
With the physical connection established and the devices recognized, you’re now ready to proceed to the next step of installing the necessary software to facilitate the transfer of DVD content from your camcorder to your computer.
Step 2: Install the Necessary Software
After successfully connecting your camcorder to your computer, the next crucial step is to ensure that the necessary software is installed to facilitate the transfer of DVD content. Depending on the make and model of your camcorder, as well as the operating system of your computer, specific software may be required to initiate and manage the data transfer process.
Many modern camcorders are accompanied by proprietary software designed to streamline the transfer of content to a computer. This software often provides a user-friendly interface for initiating transfers, organizing files, and even performing basic editing tasks. Check the packaging of your camcorder or visit the manufacturer’s official website to identify and download the recommended software for your specific model. Ensure that the software is compatible with your computer’s operating system, whether it’s Windows, macOS, or a Linux distribution.
If your camcorder’s manufacturer does not provide dedicated software, your computer’s operating system may offer built-in utilities for managing connected devices and transferring data. For instance, Windows operating systems often include Windows Media Player, which can recognize and import content from connected camcorders. Similarly, macOS devices come equipped with the Photos app, which supports importing and managing multimedia content from various devices, including camcorders.
In addition to proprietary and built-in software, third-party applications can also serve as effective tools for transferring DVD content from your camcorder to your computer. Software options such as Adobe Premiere Pro, Final Cut Pro, and VLC Media Player offer robust features for importing, organizing, and editing video content. These applications often provide advanced editing capabilities, making them suitable for users seeking to enhance and customize their transferred videos.
Before proceeding with the transfer process, ensure that the selected software is installed and updated to the latest version. This will help minimize compatibility issues and ensure that you can take full advantage of the features and functionalities offered by the software. With the necessary software in place, you’re now prepared to proceed to the next step of transferring the DVD content from your camcorder to your computer.
Step 3: Transfer the DVD Content to Your Computer
With the physical connection established and the required software installed, you’re now ready to embark on the pivotal step of transferring the DVD content from your camcorder to your computer. This process involves accessing the video files stored on the camcorder’s DVD and importing them into your computer’s storage for convenient access, editing, and preservation.
Begin by launching the software that you’ve installed for managing the transfer process. Depending on the specific application or utility, you may need to navigate to the “Import” or “Transfer” section, which is designed to recognize and retrieve content from connected camcorders. Follow the on-screen prompts and instructions provided by the software to initiate the content transfer process.
Once the software establishes a connection with your camcorder, you should be presented with a list of available video files stored on the DVD. Select the videos that you intend to transfer to your computer, and specify the destination folder or library where you’d like to store the imported content. Some software applications offer options for organizing videos into specific categories or projects, enabling efficient management of transferred content.
During the transfer process, it’s essential to ensure that your computer remains powered and connected to a stable power source to prevent interruptions. Depending on the size and quantity of the video files being transferred, the process may take some time to complete. Exercise patience and allow the software to execute the transfer operation thoroughly to avoid potential data corruption or incomplete transfers.
While the transfer is in progress, refrain from disconnecting the camcorder or interrupting the data transfer process. Doing so may lead to data loss or corruption, potentially affecting the quality and integrity of the transferred videos. Once the transfer process is successfully completed, you’ll receive a notification or confirmation from the software, indicating that the DVD content has been successfully imported to your computer.
With the DVD content now residing on your computer’s storage, you’re poised to explore the final step of editing and saving the transferred videos, unlocking the potential for creative enhancements and personalized touches to your cherished memories.
Step 4: Edit and Save the Transferred Videos
Now that the DVD content from your camcorder has been successfully transferred to your computer, you have the opportunity to unleash your creativity and personalize your cherished videos through the process of editing and saving. Whether you aim to enhance the visual quality, trim unnecessary footage, or add captivating effects, this step empowers you to transform your raw video content into captivating, polished creations.
Begin by launching the video editing software of your choice, whether it’s the proprietary software provided by your camcorder’s manufacturer, a third-party application, or the built-in editing tools available on your computer’s operating system. Import the transferred videos into the editing interface, where you can begin to explore the various editing options and features offered by the software.
Editing capabilities may include trimming and splitting video clips, adjusting color and contrast, adding transitions, incorporating text overlays, and integrating audio tracks. These features enable you to tailor the visual and auditory elements of your videos to align with your creative vision, ensuring that your memories are presented in a captivating and personalized manner.
As you navigate the editing process, take advantage of the software’s features to experiment with different effects, transitions, and enhancements. Consider adding a soundtrack to evoke specific emotions, applying filters to enhance the visual appeal, and incorporating text overlays to provide context or storytelling elements. These creative touches can elevate your videos, transforming them into engaging narratives that resonate with your audience.
Once you’re satisfied with the edits and enhancements applied to your videos, it’s time to save the finalized versions. Most video editing software offers options for exporting or saving the edited videos in various formats and resolutions. Consider the intended use of the videos—whether they’re destined for online sharing, personal archives, or professional presentations—and select the appropriate settings for the output format and quality.
After specifying the export settings, initiate the saving process, allowing the software to render and generate the finalized videos. Depending on the complexity of the edits and the duration of the videos, this process may require some time to complete. Exercise patience and ensure that your computer remains powered and operational throughout the saving process to avoid interruptions.
Upon completion, you’ll have successfully edited and saved the transferred videos, transforming them into captivating, personalized creations that reflect your creative vision and storytelling prowess. These edited videos are now ready for sharing, archiving, or further customization, enabling you to preserve and present your cherished memories in a compelling and impactful manner.
Conclusion
Congratulations! By following the comprehensive steps outlined in this guide, you’ve successfully navigated the process of transferring your camcorder’s DVD content to your computer, unlocking a world of possibilities for preserving, editing, and sharing your treasured memories. This journey has empowered you to bridge the gap between analog and digital realms, ensuring that your precious videos are safeguarded, easily accessible, and open to creative enhancements.
Through the initial step of connecting your camcorder to your computer, you established a direct channel for data transfer, laying the groundwork for seamless communication and content retrieval. The subsequent installation of necessary software equipped you with the tools and utilities essential for managing the transfer process, ensuring compatibility and streamlined access to your camcorder’s DVD content.
As you delved into the pivotal step of transferring the DVD content to your computer, you exercised patience and diligence, allowing the software to import your videos effectively. This process culminated in the successful migration of your cherished memories to your computer’s storage, setting the stage for the final step of editing and saving the transferred videos.
During the editing phase, you harnessed the power of video editing software to infuse your videos with creativity and personalization, transforming raw footage into captivating narratives. By exploring various editing features, applying enhancements, and refining the visual and auditory elements, you’ve breathed new life into your videos, elevating them into polished, engaging creations.
As you concluded the journey by saving the edited videos, you ensured that your efforts and creativity were preserved in finalized, shareable formats. These videos now stand as testaments to your dedication to preserving and presenting your cherished memories in a compelling and impactful manner.
As you reflect on this transformative process, remember that the digital realm offers boundless opportunities for preserving, enhancing, and sharing your most treasured moments. Whether you choose to share your videos with friends and family, archive them for posterity, or embark on further creative endeavors, the journey of transferring camcorder DVD content to your computer has opened doors to a new chapter of digital storytelling and preservation.
Embrace the newfound capabilities at your disposal, and continue to explore the myriad ways in which you can leverage digital tools to breathe new life into your cherished memories. Your journey has only just begun, and the digital realm eagerly awaits your creative touch as you navigate the landscape of preserving and sharing your most precious videos.