Introduction
So, you've captured some fantastic moments on your camcorder and want to preserve them by burning the videos to a DVD. This process allows you to create a physical copy of your memories that can be easily shared, stored, and enjoyed for years to come. Whether it's a family vacation, a special event, or a creative project, transferring your camcorder videos to a DVD is a great way to ensure that those precious moments are safely preserved.
Burning videos from your camcorder to a DVD involves several steps, but with the right tools and guidance, it can be a straightforward and rewarding process. In this guide, we'll walk you through the essential steps to help you transfer, organize, and burn your video files onto a DVD. From transferring the video to your computer to customizing the DVD menu, you'll learn how to navigate each stage with ease.
By the end of this tutorial, you'll have a clear understanding of how to transform your digital camcorder footage into a tangible and shareable DVD. So, let's dive in and explore the steps to bring your videos to life on a DVD!
Step 1: Transfer Video to Computer
The first step in burning videos from your camcorder to a DVD is to transfer the video files from your camcorder to your computer. This process allows you to work with the digital video files on your computer, making it easier to organize and edit them before burning them to a DVD.
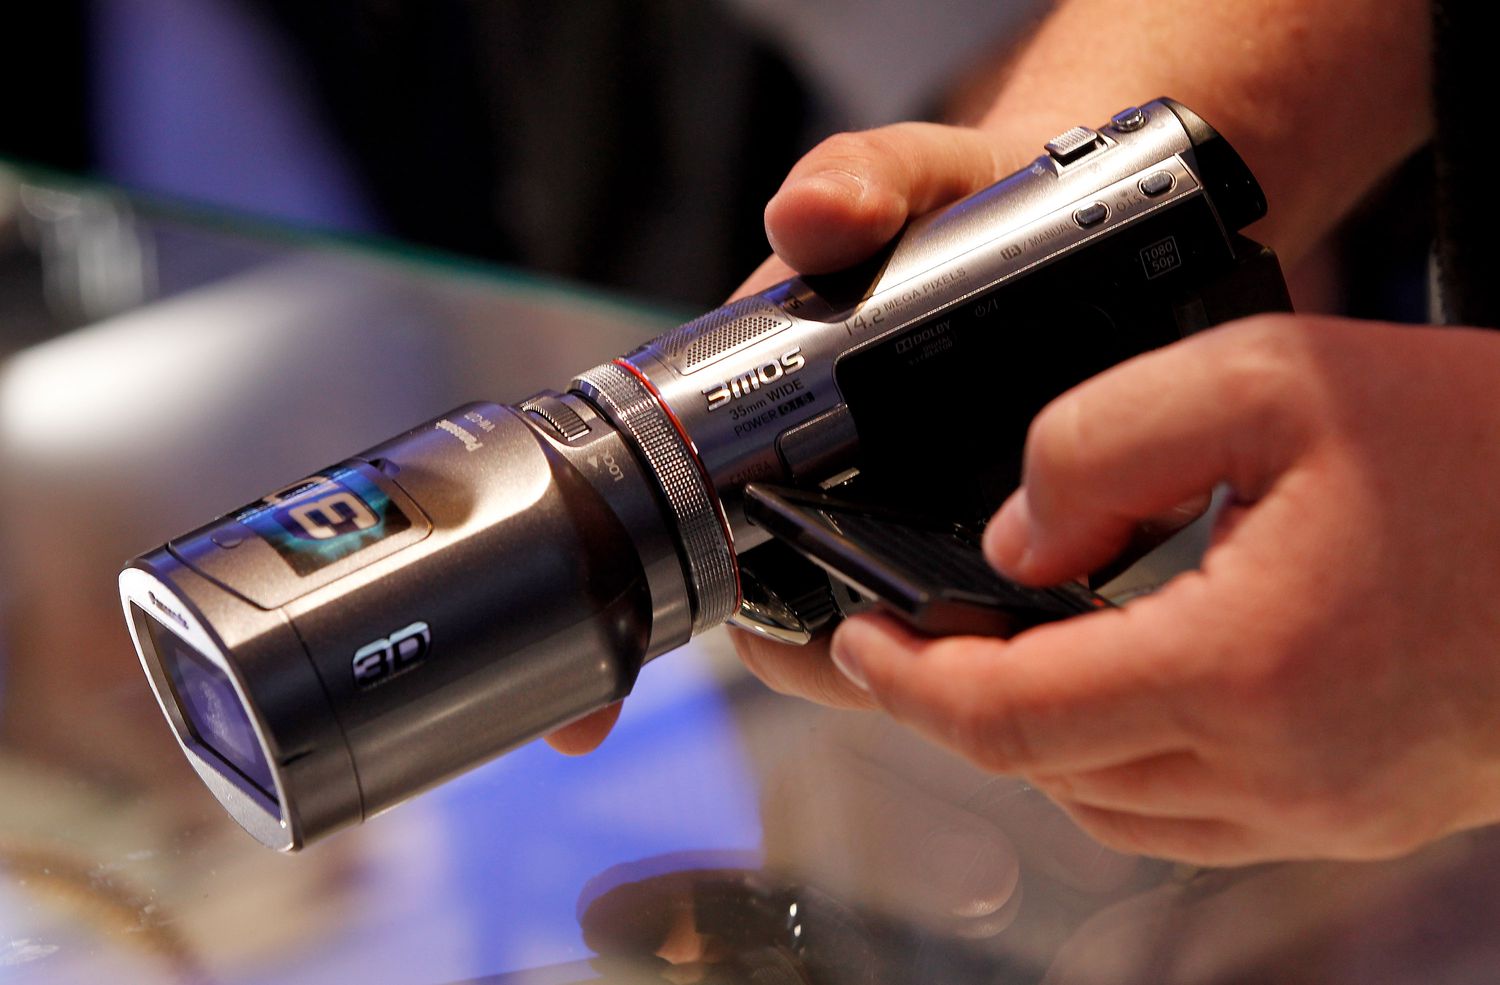
There are several methods to transfer video from your camcorder to your computer. One common approach is to connect your camcorder to your computer using a USB cable or FireWire connection. Many camcorders come with software that facilitates this transfer process. Once connected, you can typically use the camcorder’s software to transfer the video files to a folder on your computer.
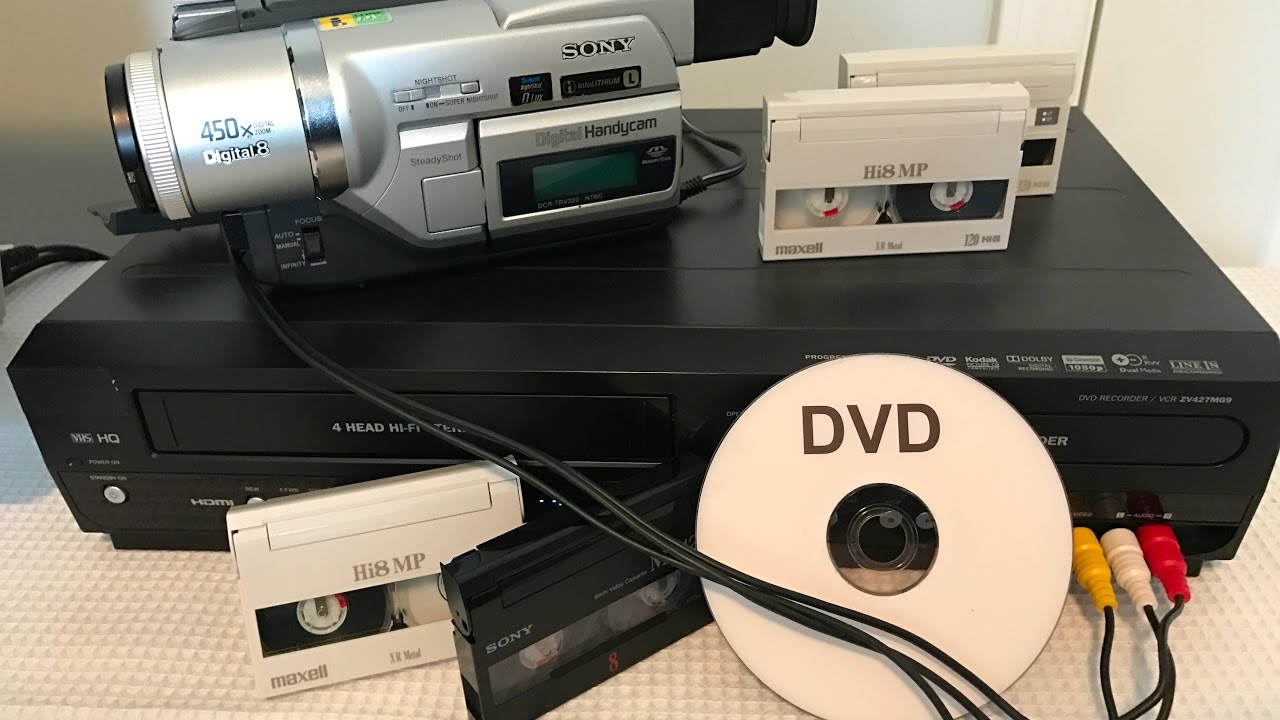
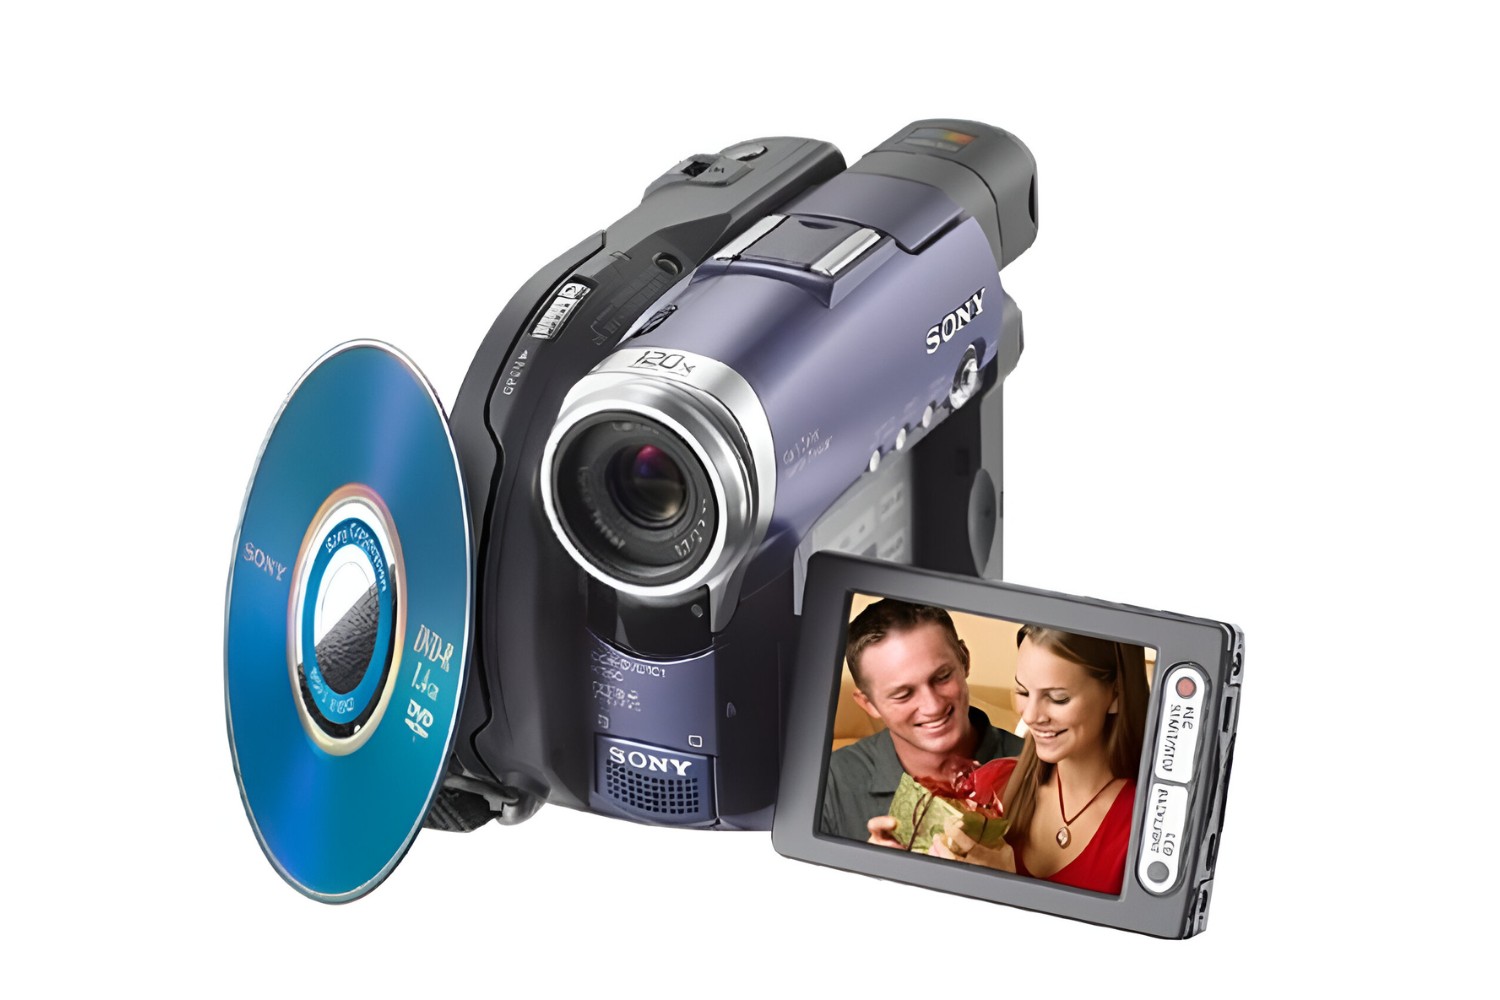
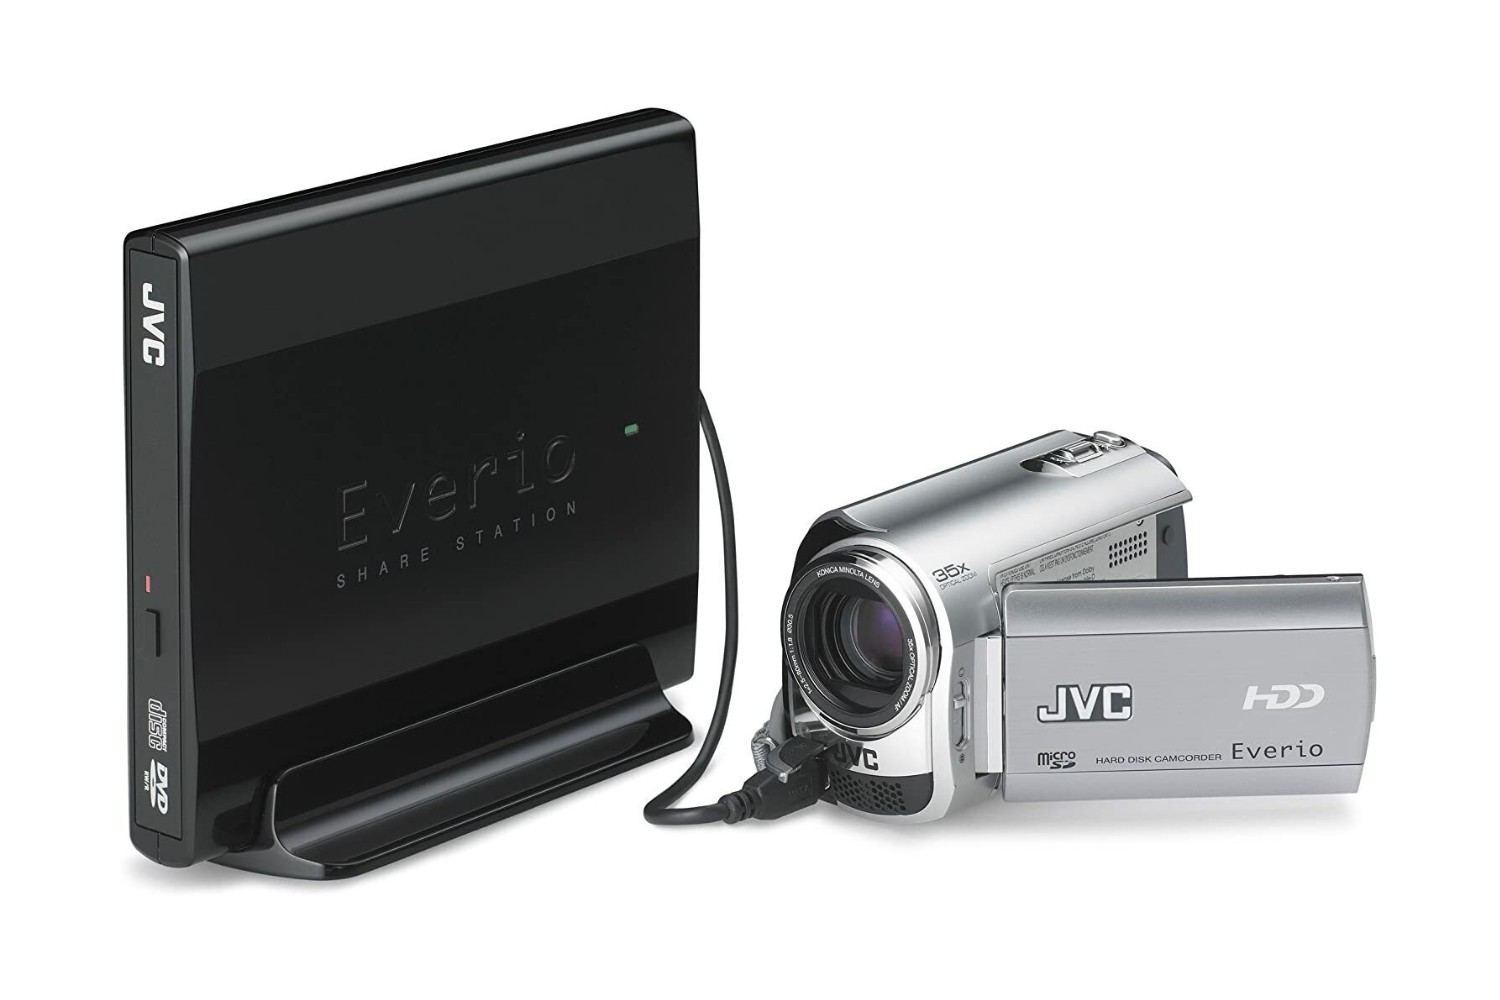
If your camcorder uses tapes or discs, you may need to use a capture device or a DVD drive to transfer the video to your computer. Capture devices can connect to your camcorder and computer, allowing you to digitize the video content. For camcorders that record to discs, you can use a DVD drive to import the video files onto your computer.
Another method involves removing the memory card from your camcorder and inserting it into a card reader connected to your computer. This allows you to directly access the video files on the memory card and transfer them to your computer’s hard drive.
Once the video files are on your computer, you can review and organize them, delete any unwanted footage, and make any necessary edits before proceeding to the next step of burning the videos to a DVD.
Step 2: Choose DVD Burning Software
After transferring the video files to your computer, the next step is to choose the right DVD burning software to create your DVD. There are various DVD burning programs available, each offering different features and capabilities. When selecting DVD burning software, consider factors such as ease of use, compatibility with your computer’s operating system, supported file formats, and the ability to customize the DVD menu and chapters.
One popular option for DVD burning is ImgBurn, a lightweight yet powerful program that supports a wide range of image file formats and offers advanced features for creating and burning DVDs. Its intuitive interface makes it suitable for both beginners and experienced users.
Windows DVD Maker is another option for Windows users, providing a straightforward way to create DVDs with custom menus and background music. This built-in application simplifies the DVD creation process and allows for easy integration with Windows Media Center.
For Mac users, iDVD is a user-friendly DVD authoring tool that offers templates for creating professional-looking DVDs. It provides options for customizing menus, adding background music, and creating chapters for easy navigation.
When choosing DVD burning software, it’s important to ensure that it supports the file formats of your video files. Additionally, look for software that allows you to customize the DVD menu, add subtitles, and create chapters to enhance the viewing experience.
Before making a decision, consider reading user reviews and exploring the features of different DVD burning programs to find the one that best suits your needs and preferences. Once you’ve selected the appropriate software, you’ll be ready to move on to the next steps of importing and arranging your video files for burning to a DVD.
Step 3: Import Video Files
With the DVD burning software selected, the next step is to import the video files that you transferred to your computer. Most DVD burning programs provide a straightforward process for importing video files, allowing you to easily add them to the project.
When you open the DVD burning software, you’ll typically find an option to create a new project or start a new DVD. This initiates the process of importing your video files into the program. Depending on the software you’re using, you may be able to import video files in a variety of formats, including AVI, MP4, WMV, and more.
Once you’ve selected the option to add video files, you can navigate to the folder where your transferred video files are stored and choose the ones you want to include on the DVD. Some DVD burning programs allow you to drag and drop the video files directly into the project, while others may have a specific import function that prompts you to select the files you want to add.
After importing the video files, you may have the opportunity to arrange them in the desired order for playback on the DVD. This step is essential for organizing the content and ensuring that it flows seamlessly from one video to the next. Depending on the software, you may be able to rearrange the order of the video files by dragging them into the desired sequence within the project.
It’s important to review the imported video files within the DVD burning software to confirm that they are correctly added and arranged according to your preferences. This ensures that the final DVD will reflect the sequence and content you intend to present to your audience. Once the video files are successfully imported and arranged, you can proceed to the next step of customizing the DVD menu to enhance the viewing experience.
Step 4: Arrange Video Files
After importing the video files into the DVD burning software, the next step is to arrange them in the desired order for playback on the DVD. Properly organizing the video files ensures a seamless viewing experience and allows you to create a cohesive narrative or presentation.
Most DVD burning programs provide a user-friendly interface that allows you to easily rearrange the order of the video files within the project. You can typically drag and drop the video files into the preferred sequence, enabling you to create a logical flow of content for the DVD. This step is crucial for storytelling, as it allows you to structure the videos in a way that engages and captivates your audience.
Consider the chronological order of events or the thematic progression of the videos when arranging them for the DVD. For example, if you’re creating a DVD of a family vacation, you may want to organize the videos based on the sequence of activities or the locations visited. On the other hand, if you’re compiling a collection of creative projects, you might arrange the videos to showcase a progression of skills or themes.
When arranging the video files, you may also have the option to add transitions between the videos to create a smooth and polished viewing experience. Transitions can include fades, wipes, or other visual effects that seamlessly connect one video to the next. This enhances the overall presentation and contributes to a professional and polished final product.
Take the time to preview the arrangement of the video files within the DVD burning software to ensure that the sequence aligns with your vision for the DVD. Making any necessary adjustments at this stage will help you create a compelling and well-organized DVD that effectively showcases your video content. Once the video files are arranged to your satisfaction, you can proceed to the next step of customizing the DVD menu to further enhance the viewing experience.
Step 5: Customize DVD Menu
Customizing the DVD menu is an essential step in the DVD burning process, as it allows you to create a visually appealing and user-friendly interface for navigating the content on the DVD. The DVD menu serves as the gateway to the video content, providing viewers with the ability to select and play specific videos, access additional features, and enhance their overall viewing experience.
Most DVD burning software offers a range of customizable options for designing the DVD menu. You can typically choose from various templates that provide pre-designed menu layouts, backgrounds, and button styles. These templates offer a convenient starting point for customizing the DVD menu to align with the theme or content of the videos.
When customizing the DVD menu, consider incorporating elements that complement the visual style and content of the videos. For example, if you’re creating a DVD of a wedding ceremony, you might choose a romantic and elegant template with soft colors and decorative elements. Alternatively, if you’re compiling a collection of action sports videos, you might opt for a dynamic and energetic menu design with bold graphics and vibrant colors.
Additionally, DVD burning software often allows you to add text, music, and background images to the DVD menu, further personalizing the viewing experience. You can include descriptive titles for each video, select background music to accompany the menu navigation, and incorporate images that reflect the content of the videos.
Consider the user experience when customizing the DVD menu, ensuring that it is intuitive and easy to navigate. Clearly labeled buttons, logical navigation flow, and visually appealing design elements contribute to a positive viewing experience for your audience.
Before finalizing the DVD menu, take the time to preview the design within the DVD burning software to ensure that it aligns with your vision for the DVD. Making any necessary adjustments at this stage will help you create a polished and engaging menu that enhances the overall presentation of your video content. Once the DVD menu is customized to your satisfaction, you can proceed to the final step of burning the video files to a DVD.
Step 6: Burn Video to DVD
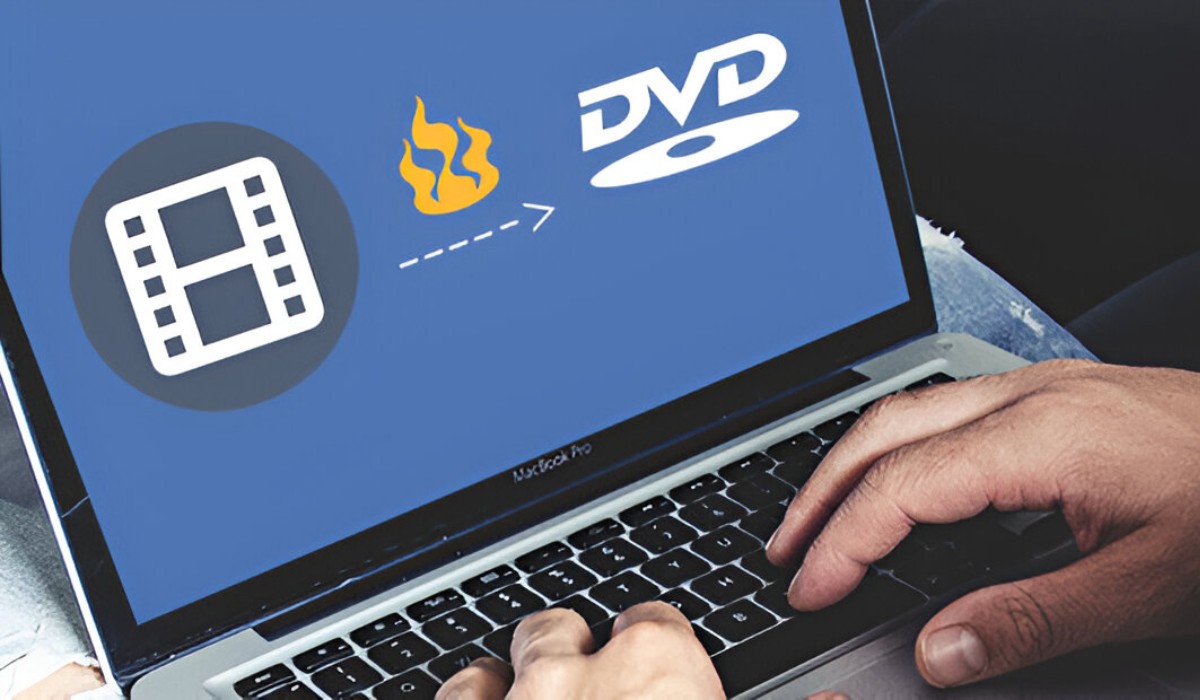
After completing the previous steps of importing, arranging, and customizing the video files, you are now ready to burn the videos to a DVD. This final step in the process involves creating a playable DVD that can be enjoyed on a DVD player or computer.
Within the DVD burning software, you will typically find an option to initiate the burning process. Before proceeding, ensure that you have a blank DVD-R or DVD+R disc inserted into your computer’s DVD drive. These writable DVD formats are compatible with most DVD players and are suitable for burning video content.
When you select the option to burn the DVD, the software will prompt you to confirm the settings for the burning process. This may include selecting the burning speed, choosing the appropriate DVD burner if you have multiple drives, and verifying the disc format. Once the settings are confirmed, the software will begin the burning process, converting the digital video files into a format that is compatible with standard DVD players.
The duration of the burning process will depend on factors such as the size of the video files, the speed of your DVD burner, and the quality settings selected. During the burning process, it’s important to avoid interrupting or ejecting the disc to prevent errors or incomplete burns.
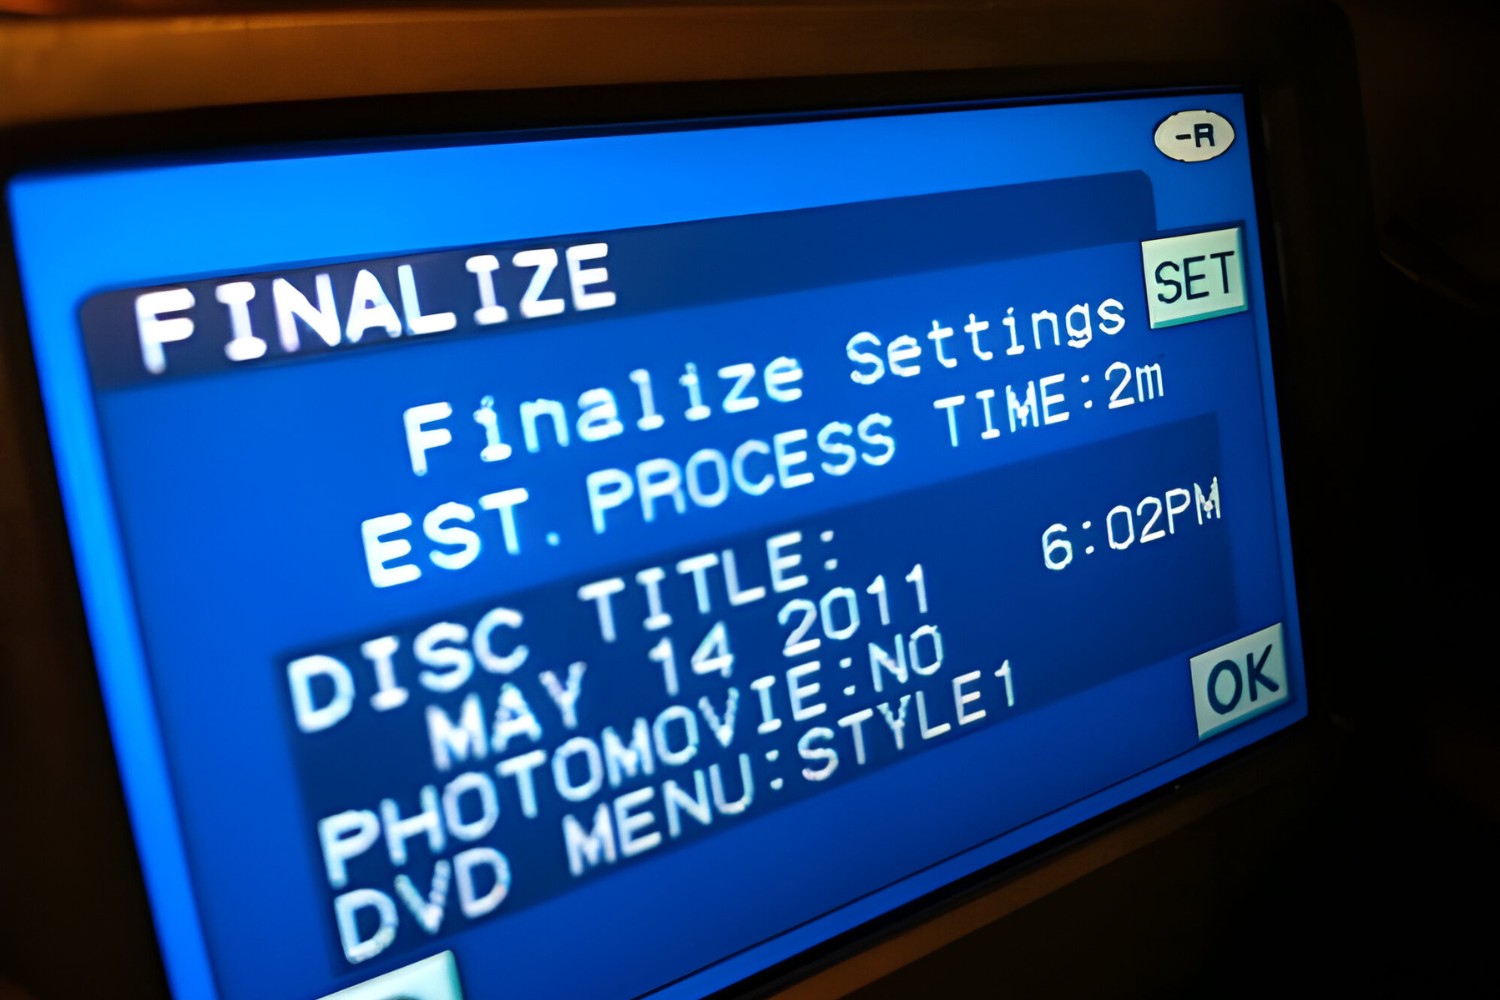
After the burning process is complete, the DVD will be finalized and ready for playback. You can then test the DVD on a compatible player to ensure that the videos play smoothly and that the DVD menu functions as intended. This quality check allows you to confirm that the DVD is ready for sharing, archiving, or presenting to an audience.
Once you have verified the successful burning of the videos to the DVD, you can label the disc, store it in a protective case, and share it with others to enjoy your captured memories, creative projects, or special events in a tangible and accessible format.
Conclusion
Congratulations! You have successfully navigated the process of burning videos from your camcorder to a DVD. By following the essential steps outlined in this guide, you have transformed your digital video files into a tangible and shareable format that can be enjoyed for years to come.
Transferring the video files to your computer marked the beginning of this journey, allowing you to organize and prepare the content for the DVD burning process. Selecting the right DVD burning software provided you with the tools to create a professional and polished DVD, while importing and arranging the video files allowed you to structure the content in a meaningful and engaging way.
Customizing the DVD menu further enhanced the viewing experience, providing a visually appealing and user-friendly interface for navigating the videos. Finally, burning the videos to a DVD culminated in the creation of a physical disc that preserves your memories, projects, or special events in a format that can be easily shared and enjoyed.
As you reflect on this journey, consider the significance of preserving your digital content in a physical and accessible form. The DVD serves as a timeless medium for archiving and sharing your videos, offering a tangible representation of your creativity, experiences, and cherished moments.
Whether you created a DVD of a family vacation, a collection of creative projects, or a documentation of special events, the process of burning videos to a DVD has allowed you to transform intangible digital content into a tangible and enduring format.
As you share your DVD with others or revisit the videos in the years to come, may it serve as a cherished memento of the moments and creativity that you have captured, preserved, and shared with the world.