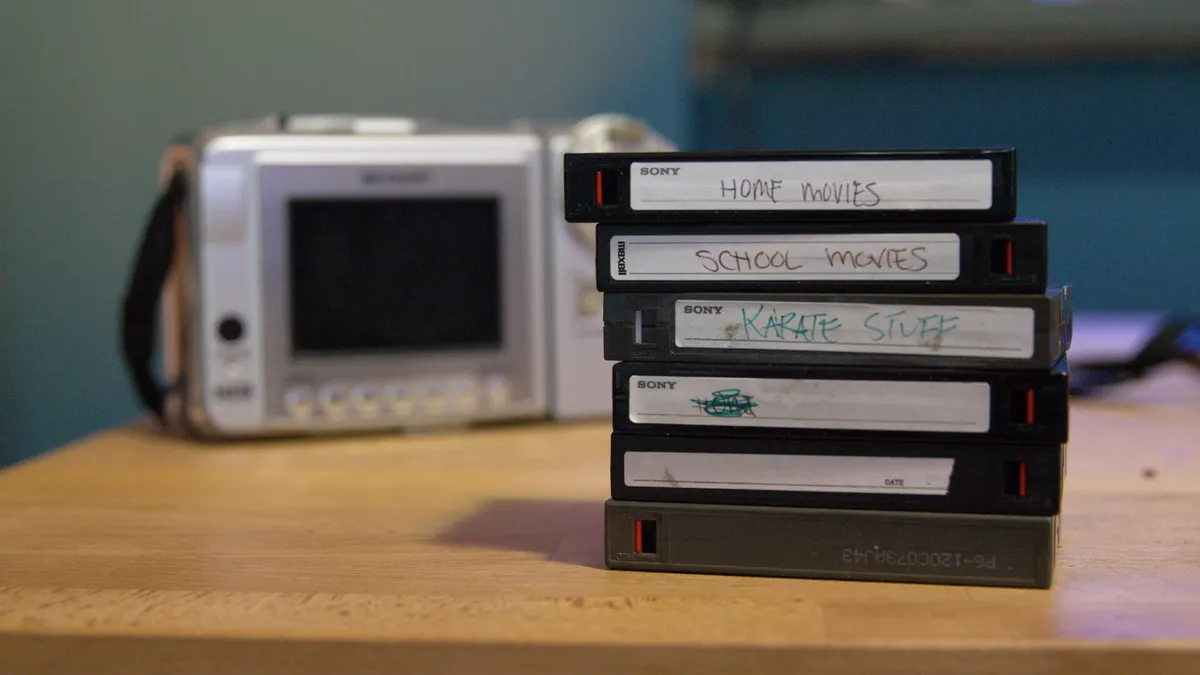
Introduction
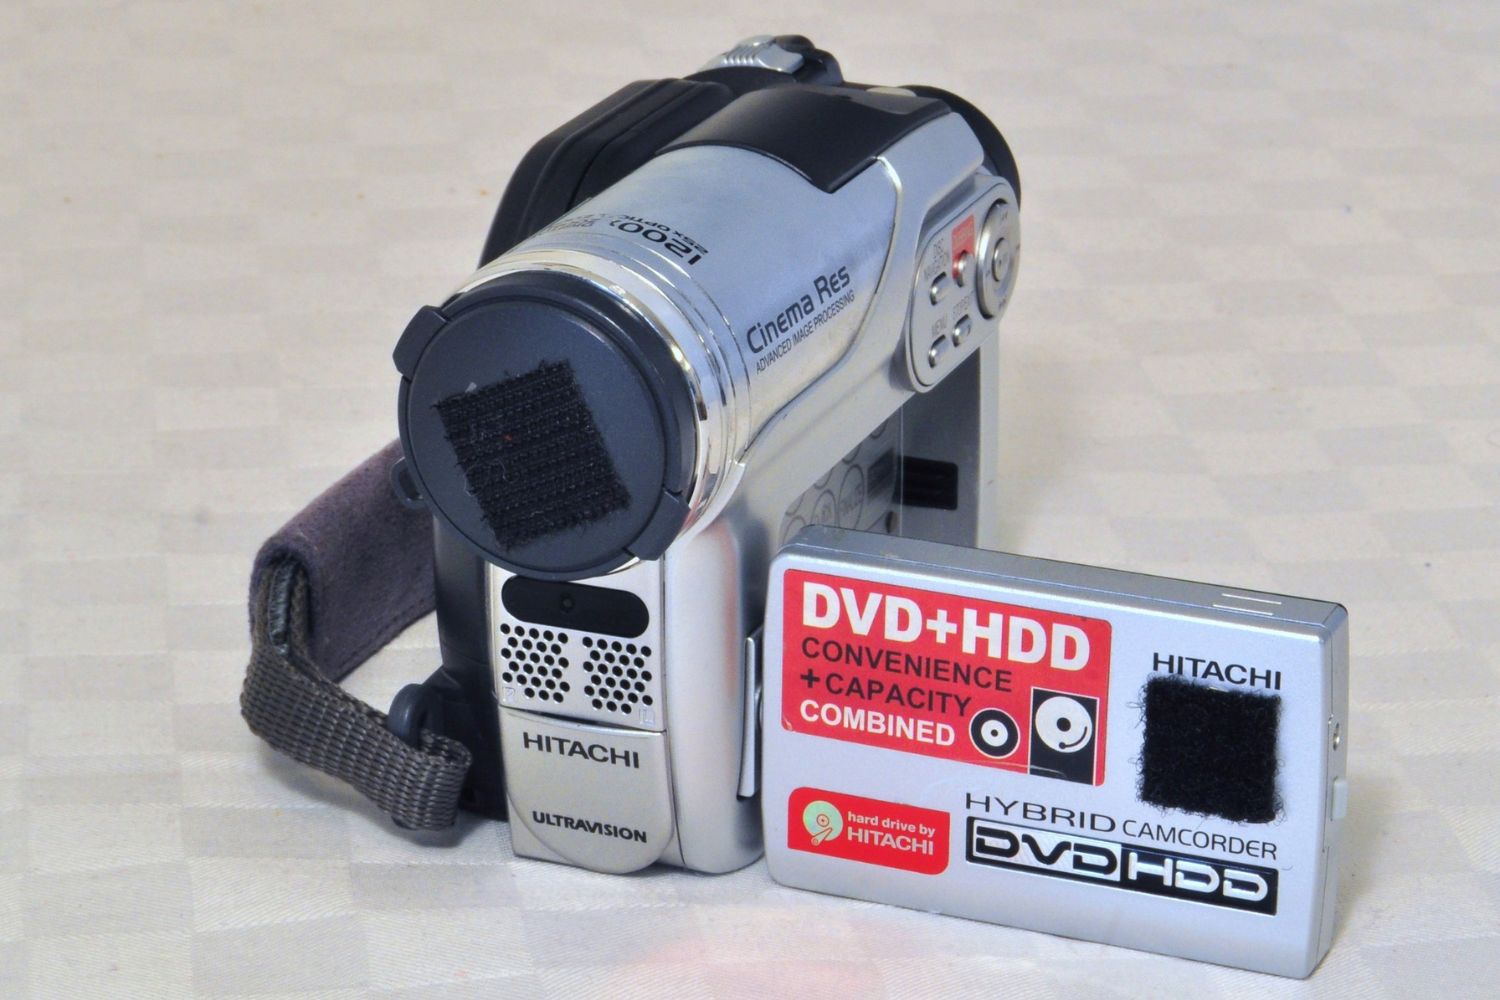
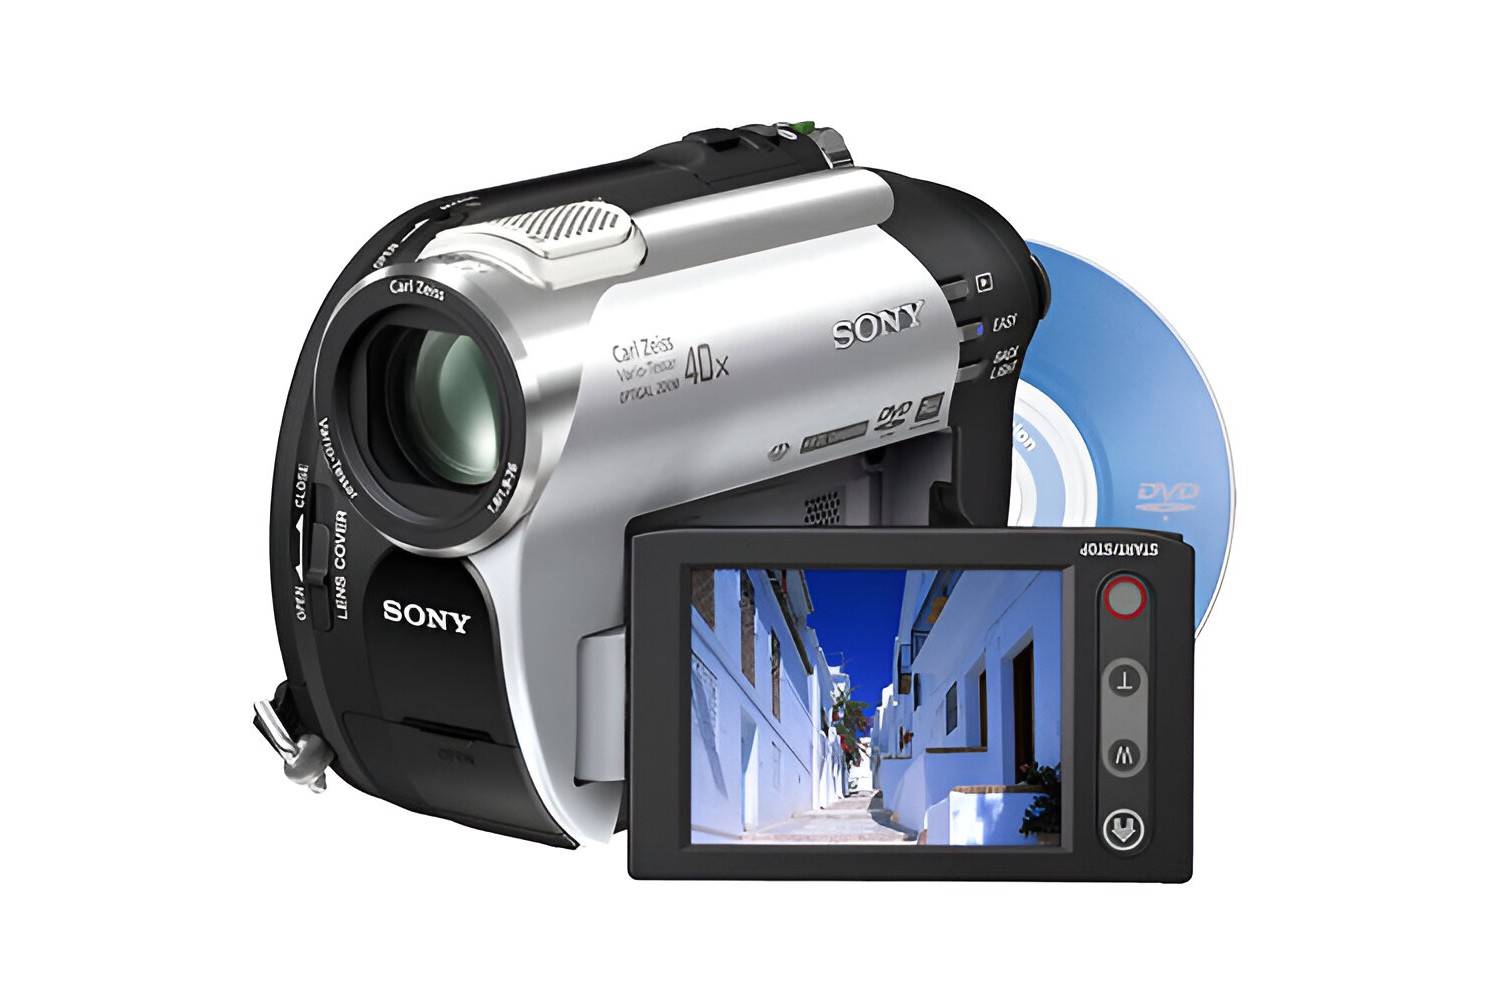
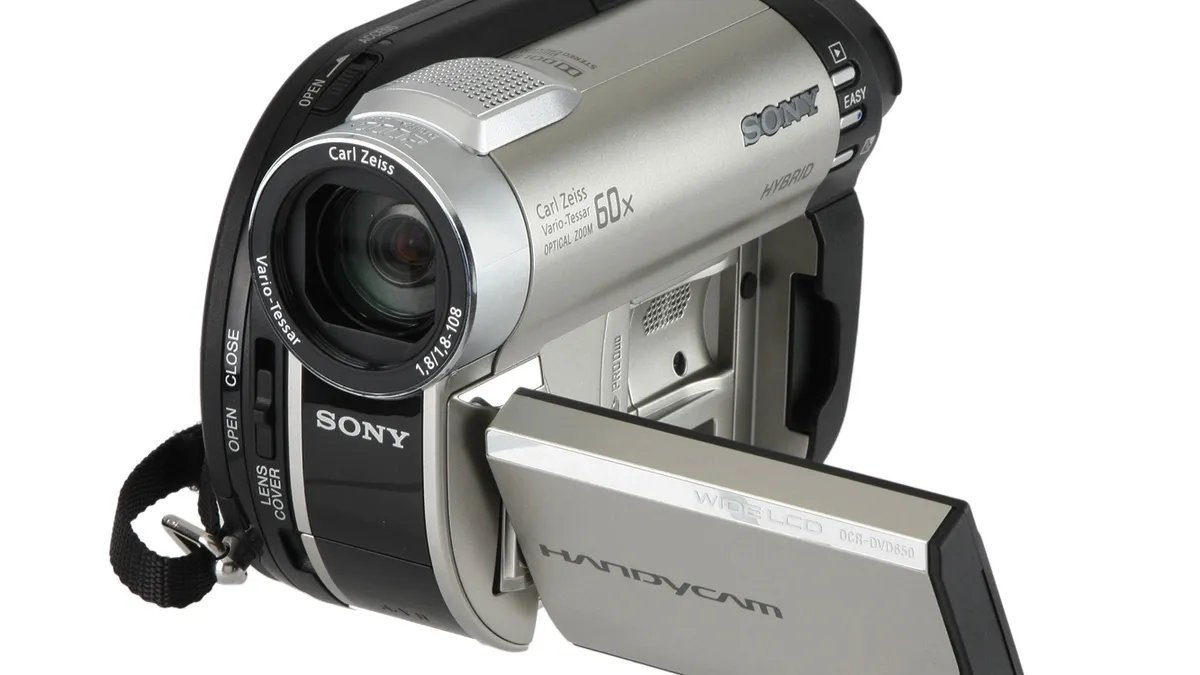
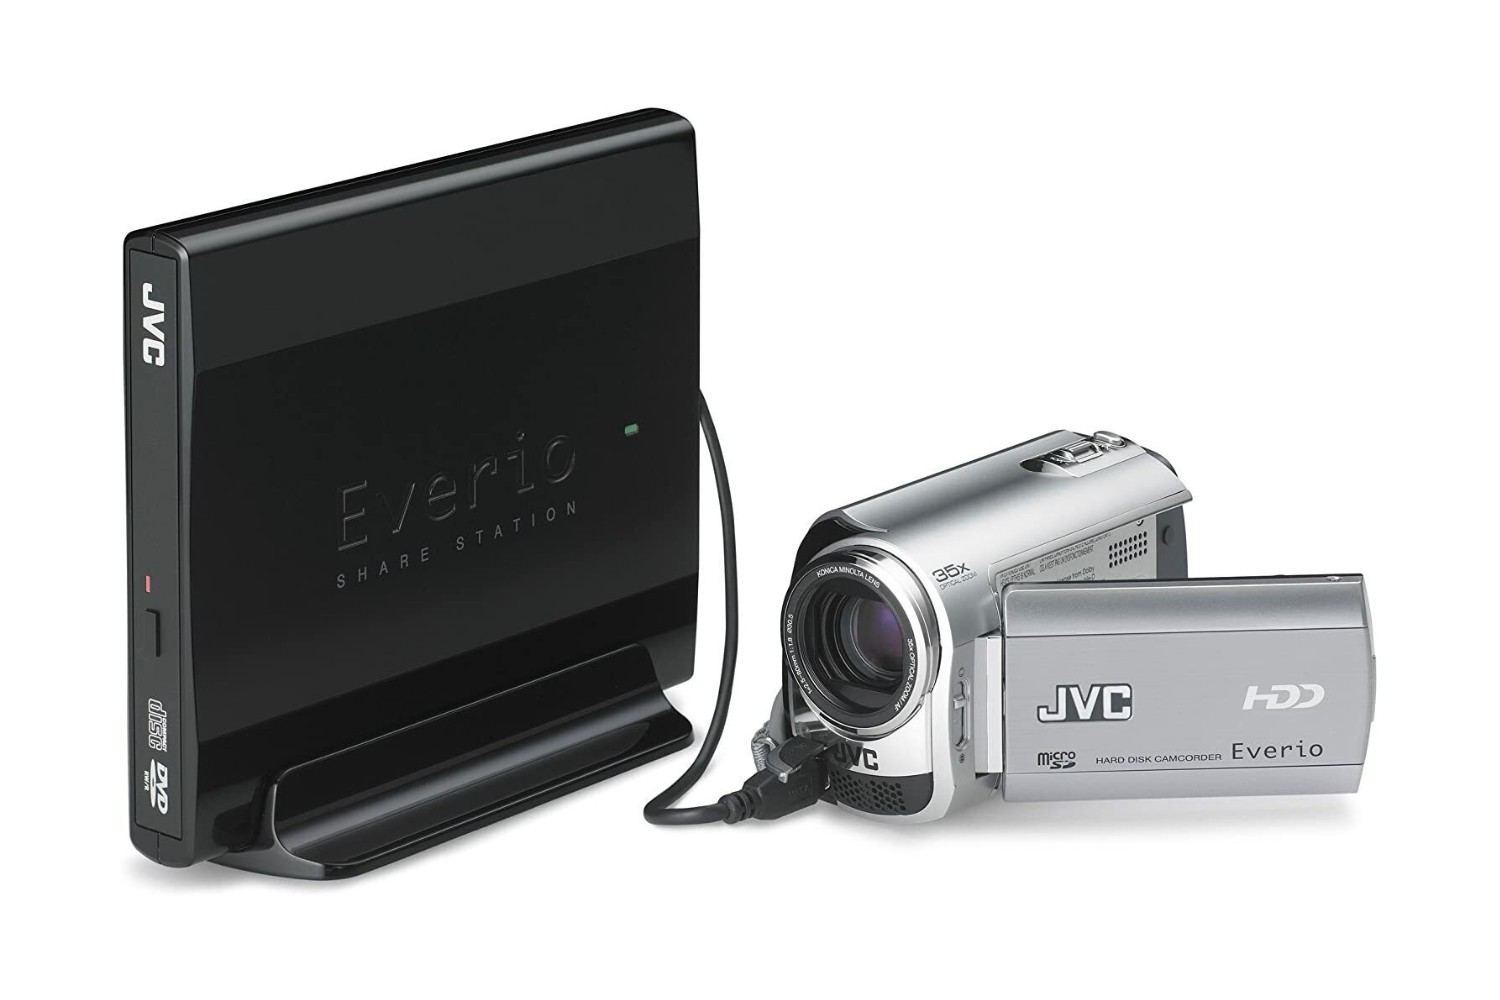
So, you've captured some incredible moments on your camcorder and finalized them onto a DVD. However, you may encounter a situation where the camcorder is no longer accessible, leaving you with a finalized DVD but no way to edit or duplicate its contents. Don't worry; there's a solution! In this guide, we'll walk you through the process of finalizing a camcorder DVD without the camcorder itself.
You'll learn how to transfer the DVD's contents to your computer, edit and finalize the video, and then burn the finalized video to a new DVD. By following these steps, you can regain control over your precious footage and ensure it's preserved and accessible for years to come.
Whether you're a novice or experienced in handling digital media, this guide will equip you with the knowledge and tools necessary to navigate this process. So, let's dive in and discover how to bring new life to your camcorder DVD without the need for the original camcorder.
Step 1: Transfer the DVD to Your Computer
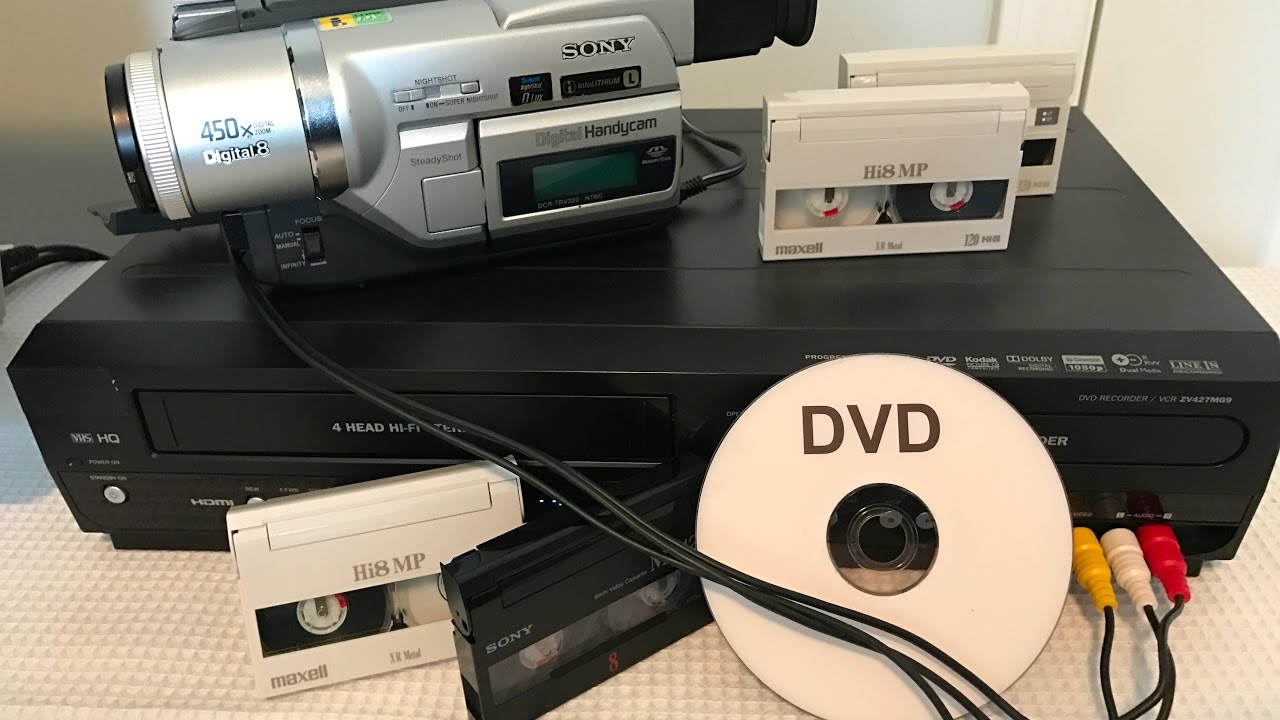
The first step in finalizing a camcorder DVD without the camcorder is to transfer the contents of the DVD to your computer. This process allows you to access and manipulate the video files using video editing software. Here’s how to accomplish this transfer:
- Insert the DVD: Begin by inserting the camcorder DVD into your computer’s DVD drive. If your computer doesn’t have a built-in DVD drive, you can use an external DVD drive to accomplish this.
- Open Video Editing Software: Launch your preferred video editing software. Many modern computers come with basic video editing applications, or you can opt for more advanced software such as Adobe Premiere Pro or Final Cut Pro.
- Import the Video Files: Once the DVD is recognized by your computer, import the video files from the DVD into your video editing software. This process may vary depending on the software you’re using, but typically, there will be an option to import media or footage from a DVD.
- Save the Files to Your Computer: After importing the video files, save them to your computer’s hard drive. This step ensures that you have a digital copy of the DVD’s contents readily accessible for editing and finalization.
By transferring the DVD’s contents to your computer, you’ve taken the crucial first step in reclaiming control over your footage. Now that the video files are in a digital format on your computer, you can proceed to the next step: editing and finalizing the video to your desired specifications.
Step 2: Edit and Finalize the Video
With the camcorder DVD contents successfully transferred to your computer, you can now commence the process of editing and finalizing the video. This step empowers you to enhance the footage, add effects, trim unnecessary segments, and create a polished, finalized version of your original recording. Follow these steps to edit and finalize the video:
- Review the Footage: Begin by reviewing the imported video files in your editing software. This allows you to familiarize yourself with the content and identify any segments that require editing or removal.
- Edit and Enhance: Utilize the features of your video editing software to make enhancements to the footage. This may include adjusting the color balance, adding transitions, incorporating text overlays, or applying special effects to elevate the visual appeal of the video.
- Trim and Arrange: Use the editing tools to trim any unwanted sections of the video and arrange the remaining segments in the desired sequence. This step is crucial for refining the narrative flow and removing any unnecessary content.
- Add Audio (if desired): If your original recording lacks audio or if you wish to include background music or voiceovers, use the editing software to integrate audio elements into the video. Ensure that the audio enhances the overall viewing experience.
- Preview and Finalize: Once you’ve made all the necessary edits and enhancements, preview the finalized video to ensure it meets your expectations. Take this opportunity to make any final adjustments before proceeding to the next step.
Through the process of editing and finalizing the video, you have transformed the raw footage from the camcorder DVD into a refined and polished production. The next step involves preserving this finalized video by burning it to a new DVD, ensuring that it remains accessible and secure for future enjoyment.
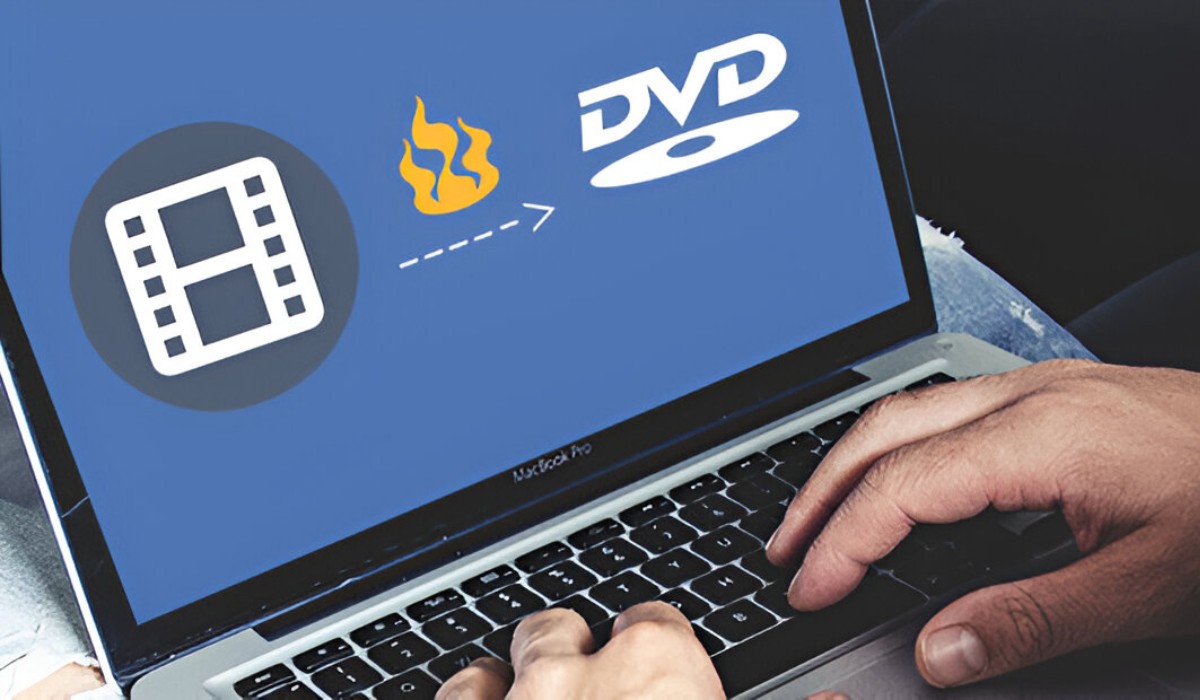
Step 3: Burn the Finalized Video to a New DVD
After editing and finalizing the video on your computer, the next step is to burn the completed video to a new DVD. This process allows you to create a physical copy of the finalized video, ensuring that it can be played on standard DVD players and preserved for long-term storage. Here’s how to proceed with burning the video to a new DVD:
- Select a Blank DVD: Obtain a blank DVD compatible with your computer’s DVD burner. Ensure that the DVD has sufficient storage capacity to accommodate the finalized video file.
- Launch DVD Burning Software: Open your preferred DVD burning software. Many computers come with built-in DVD burning utilities, or you can opt for third-party software with advanced features.
- Import the Finalized Video: Use the DVD burning software to import the finalized video file from your computer. This typically involves selecting the video file from its saved location and adding it to the DVD burning project.
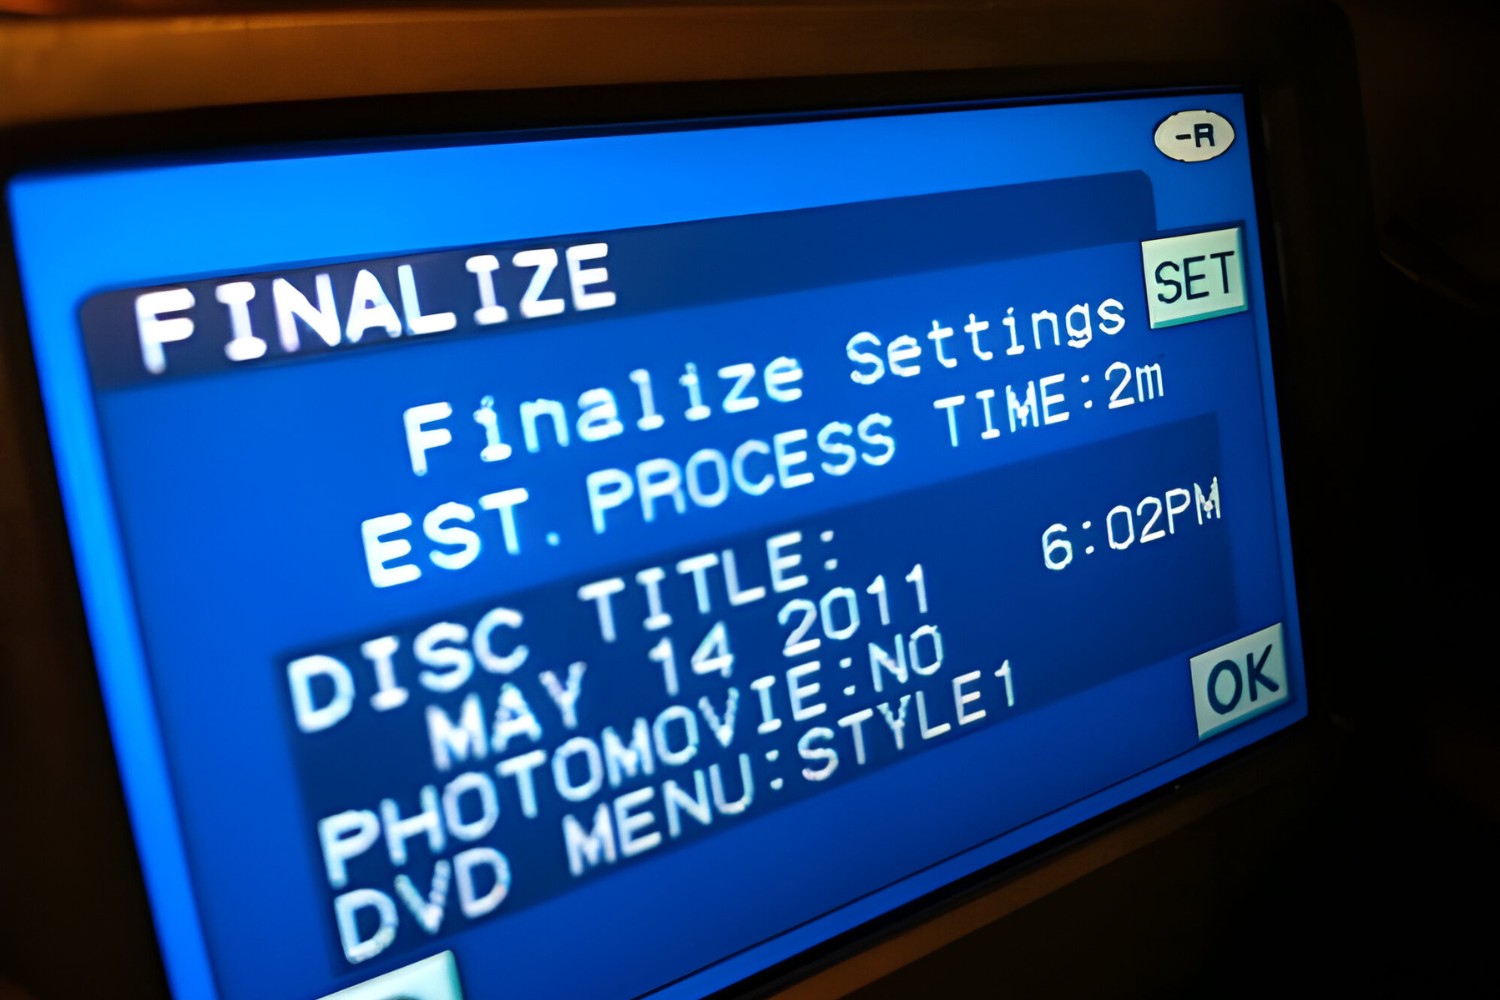
- Customize DVD Settings: Adjust the settings within the DVD burning software to specify the title of the DVD, set the playback menu if desired, and configure any additional options such as chapter markers or subtitles.
- Initiate the Burning Process: Once all settings are configured, initiate the burning process. The software will begin writing the finalized video to the blank DVD, creating a playable copy of your edited and finalized footage.
- Verify the Burned DVD: After the burning process is complete, verify the burned DVD to ensure that the video has been successfully transferred and is playable on standard DVD players. Test the DVD on different devices to confirm its compatibility.
By burning the finalized video to a new DVD, you have preserved your edited and finalized footage in a tangible format that can be easily shared, stored, and enjoyed. This step ensures that your precious memories and creative productions remain accessible for years to come, independent of the original camcorder.
Conclusion
Congratulations! By following the steps outlined in this guide, you’ve successfully navigated the process of finalizing a camcorder DVD without the need for the original camcorder. Through the strategic transfer of the DVD contents to your computer, meticulous editing and finalization, and the creation of a new playable DVD, you have reclaimed control over your valuable video footage.
Now, armed with a digital copy of your finalized video and a tangible DVD for playback, you can confidently preserve and share your content with friends, family, or audiences. The techniques you’ve employed not only ensure the longevity of your footage but also empower you to enhance and customize your videos to your exact specifications.
Remember, the skills and knowledge you’ve gained through this process can be applied to a wide range of digital media projects, allowing you to unleash your creativity and preserve cherished memories with confidence. Whether you’re documenting family events, creating professional video productions, or simply exploring the art of filmmaking, the ability to finalize a camcorder DVD without the original device opens up a world of possibilities.
As technology continues to evolve, the methods for managing and finalizing digital media will undoubtedly transform. However, the fundamental principles of transferring, editing, and preserving video content will remain timeless. By mastering these principles, you are equipped to adapt to future innovations and continue sharing your stories through the captivating medium of video.
So, take pride in your newfound expertise, and let your creativity flourish as you embark on future video projects. With the knowledge gained from this guide, you have the power to transform raw footage into compelling, finalized productions, regardless of the tools at your disposal.