Introduction
Welcome to the exciting world of camcorders and video editing! Whether you're a budding filmmaker, a proud parent capturing precious family moments, or a hobbyist looking to preserve memories, understanding how to rip and burn footage from your camcorder is an essential skill. In this comprehensive guide, we will delve into the intricacies of handling your camcorder, extracting footage, editing it to perfection, and finally, burning it onto a DVD for long-lasting enjoyment.
The process of ripping and burning from a camcorder involves a blend of technical prowess and creative finesse. By mastering these techniques, you can transform raw footage into polished, professional-looking videos that are perfect for sharing with friends and family, archiving special events, or even showcasing your artistic talents.
Throughout this guide, we will explore the step-by-step procedures, essential tips, and best practices for each stage of the process. From understanding the workings of your camcorder to the intricacies of editing and the final burning of your footage onto a DVD, this guide will equip you with the knowledge and skills to bring your video projects to life.
So, whether you're a novice looking to learn the ropes or a seasoned videographer seeking to expand your capabilities, fasten your seatbelt and get ready to embark on an exhilarating journey into the captivating realm of camcorder video production. Let's dive in and unravel the secrets of ripping and burning from your camcorder!
Understanding Your Camcorder
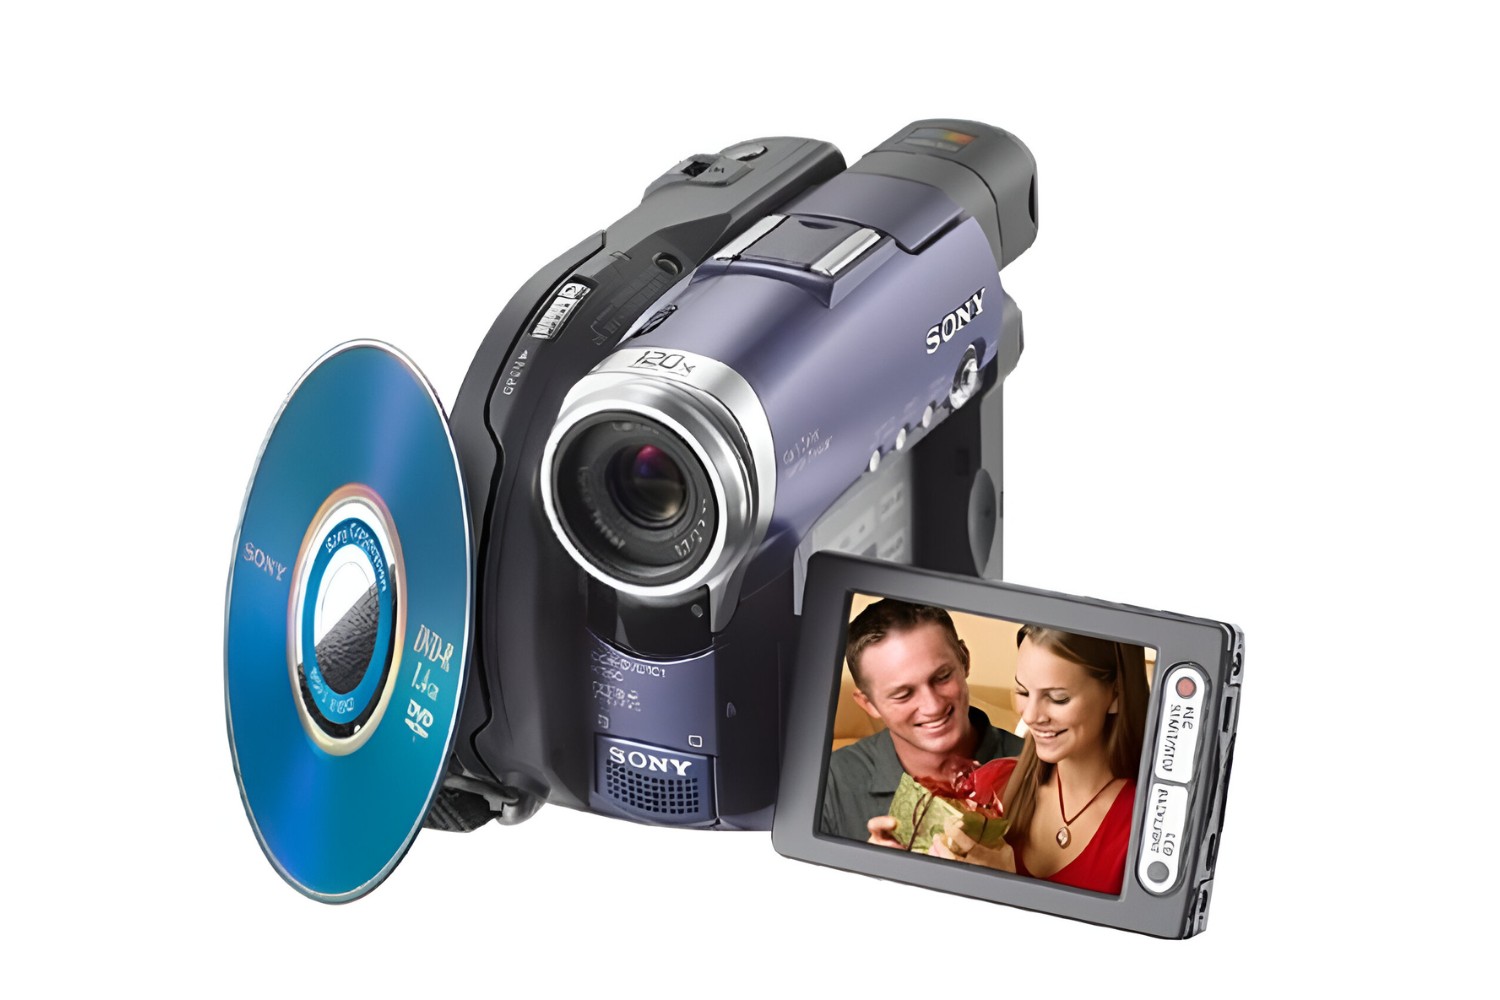
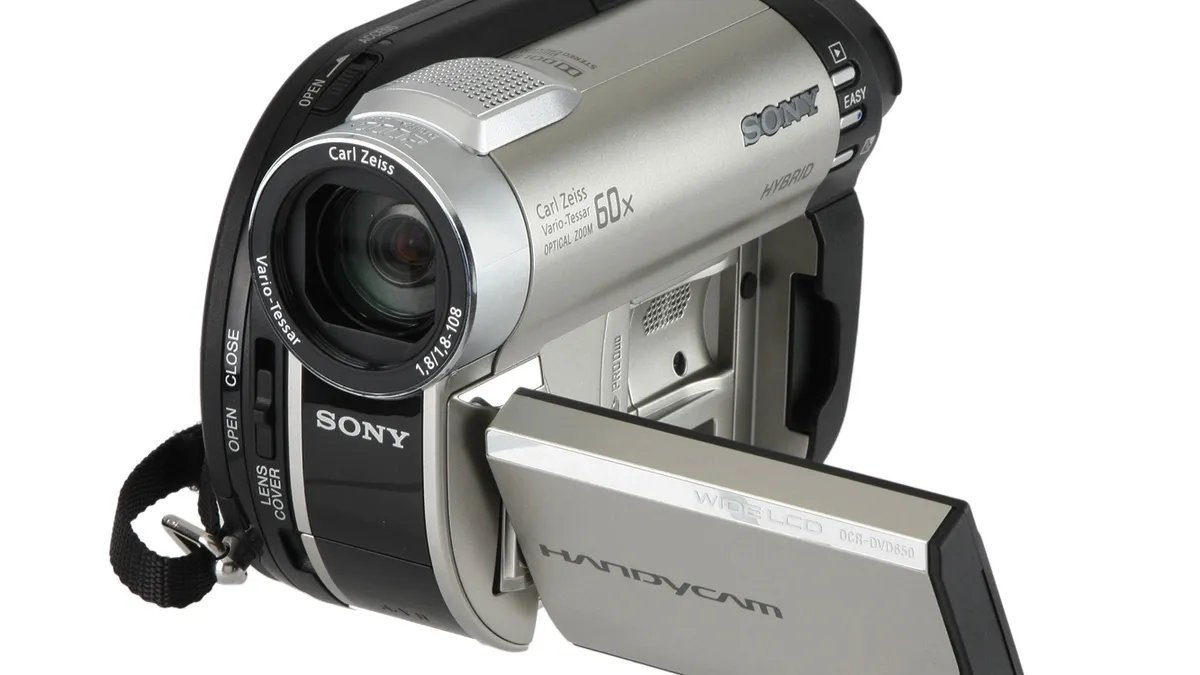
Before diving into the process of ripping and burning footage from your camcorder, it’s crucial to familiarize yourself with the workings of this essential tool. Camcorders come in various shapes, sizes, and functionalities, but they all share common features and components that are integral to capturing high-quality video footage.
First and foremost, acquaint yourself with the physical aspects of your camcorder. This includes understanding the location and function of buttons, dials, and ports. Familiarize yourself with the various shooting modes, such as auto, manual, and scene modes, to gain a comprehensive understanding of how to optimize your filming settings for different scenarios.
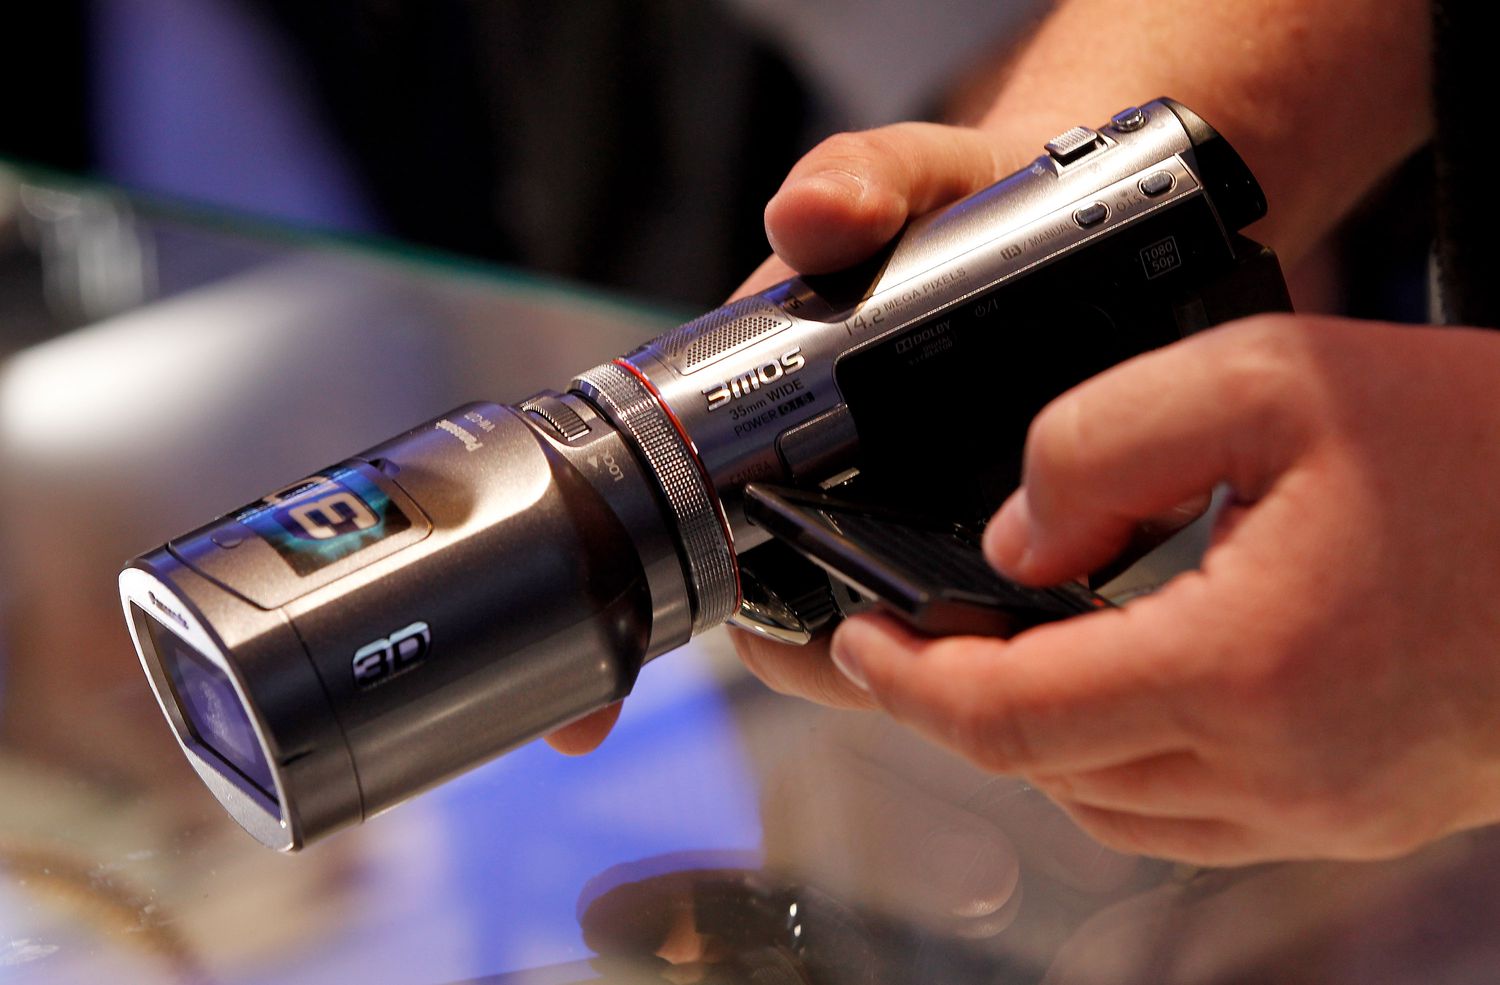
Furthermore, delve into the technical specifications of your camcorder. This entails grasping concepts such as resolution, frame rate, zoom capabilities, and image stabilization. Understanding these technical aspects will empower you to make informed decisions when capturing footage and later when editing it.
Equally important is mastering the art of framing and composition. Learn to leverage the viewfinder or LCD screen to frame your shots effectively, considering elements such as rule of thirds, leading lines, and visual balance. Additionally, familiarize yourself with the various shooting techniques, including panning, tilting, and zooming, to add dynamism to your footage.
Lastly, ensure that you are well-versed in the operation of the camcorder’s storage media, whether it’s internal memory, SD cards, or other recording formats. Understanding how to manage, transfer, and organize your footage will streamline the process of ripping and editing your videos.
By comprehensively understanding your camcorder, you lay a solid foundation for the subsequent stages of ripping, editing, and burning your footage. With a firm grasp of your camcorder’s capabilities and functionalities, you are poised to unleash your creativity and produce compelling videos that will captivate your audience.
Ripping Footage from Your Camcorder
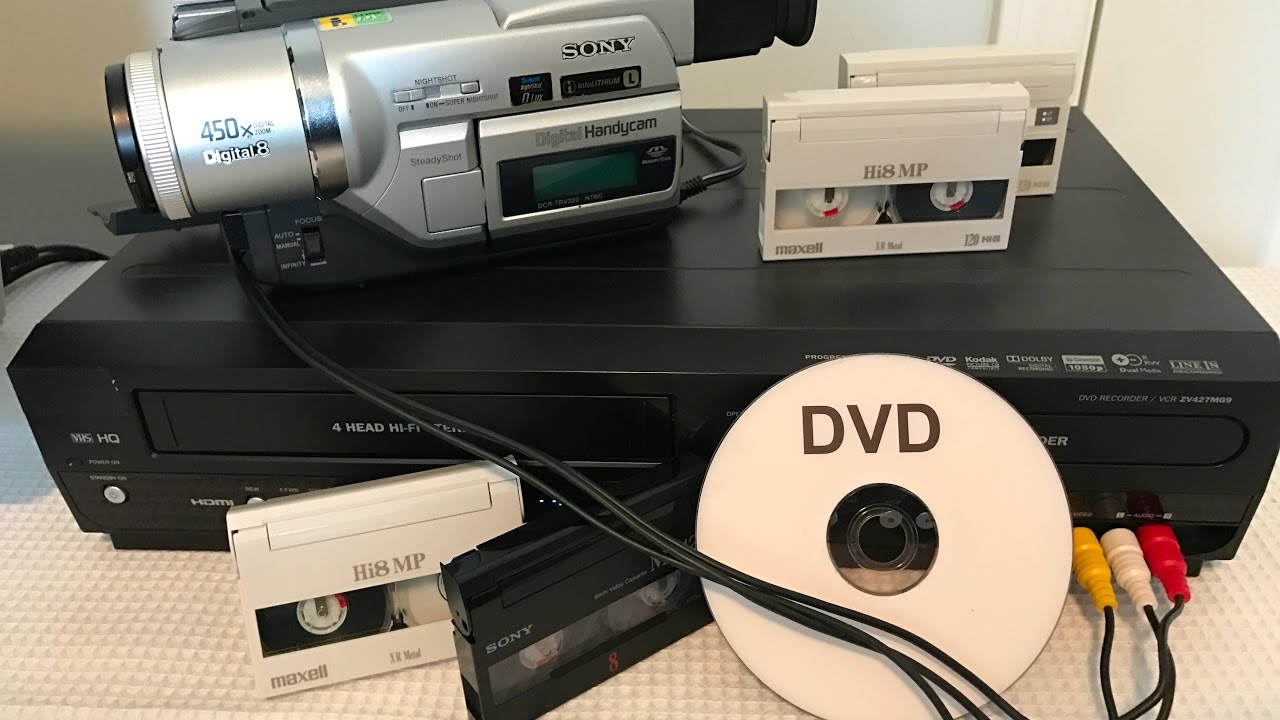
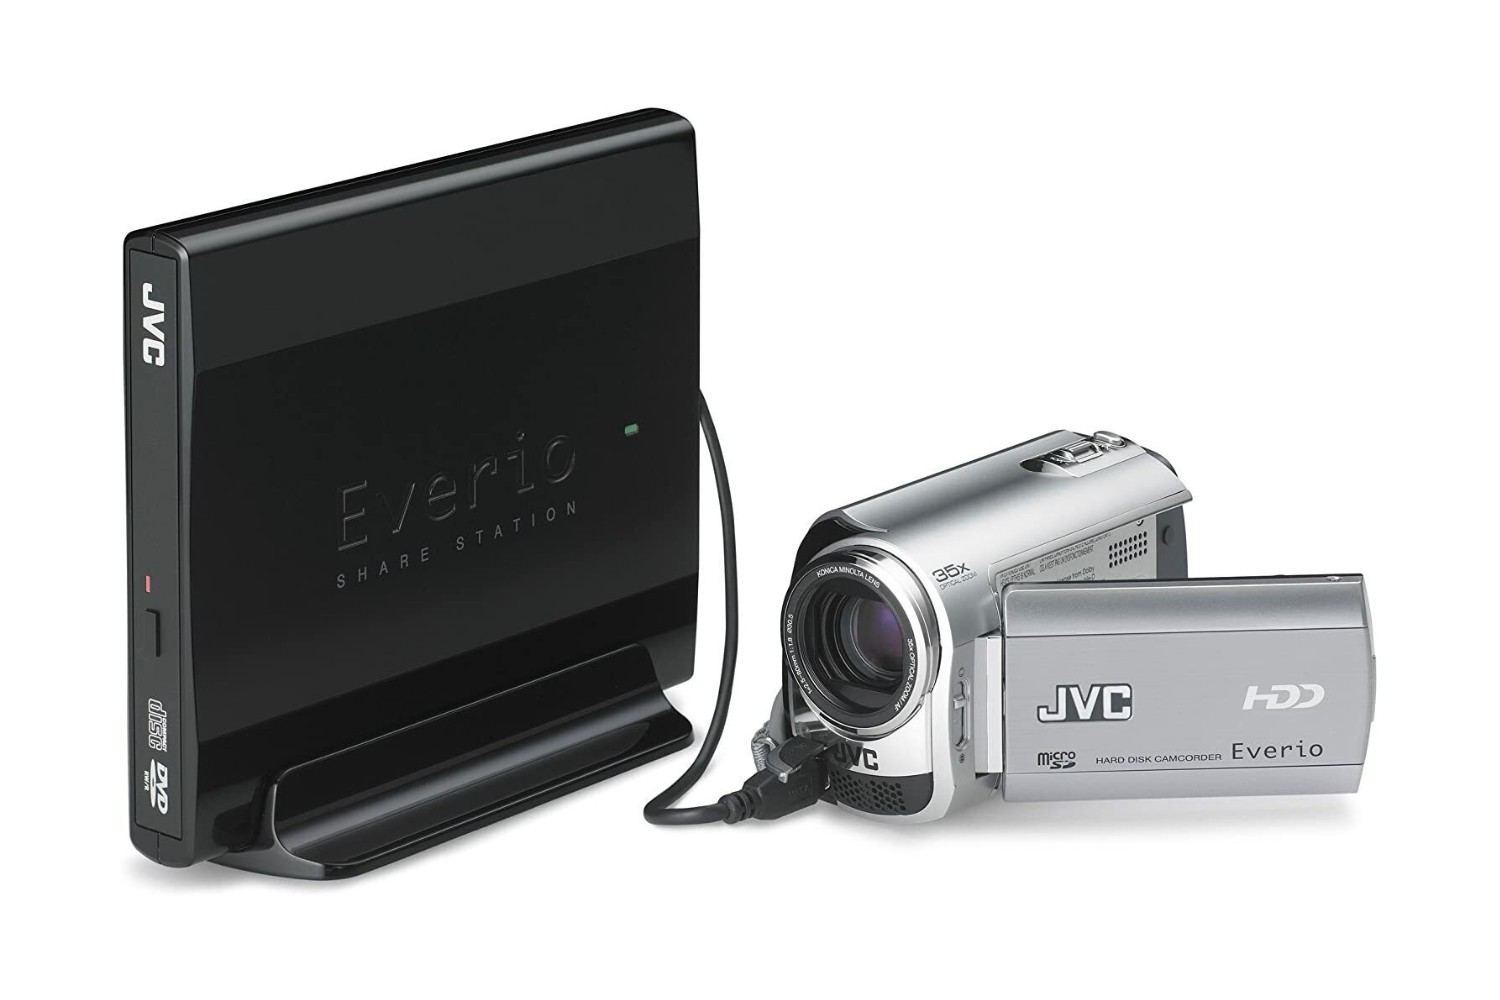
Now that you have a firm grasp of your camcorder’s features and functionalities, it’s time to embark on the process of ripping footage from your device. The first step in this endeavor is to connect your camcorder to a computer or a compatible device using the appropriate cables or interfaces. Most modern camcorders utilize USB or HDMI connections for seamless data transfer.
Once your camcorder is connected, navigate to the file management interface on your computer and locate the connected device. You should be able to access the stored video files on your camcorder’s memory or storage media. Select the footage you wish to rip and initiate the transfer process by copying the files to a designated folder on your computer’s hard drive.
Alternatively, if your camcorder utilizes removable storage media such as SD cards, you can directly insert the card into a card reader connected to your computer. From there, you can access the video files and proceed with transferring them to your computer’s storage.
It’s essential to organize your ripped footage systematically, creating folders for different projects or events to maintain a structured and easily accessible video library. This organization will prove invaluable when it comes to editing and managing your video content efficiently.
As you rip your footage, consider the file formats and resolutions that best suit your editing and burning needs. High-definition formats such as MP4 or MOV are widely compatible with video editing software and DVD authoring tools, ensuring optimal quality throughout the production process.
By successfully ripping your footage from the camcorder to your computer, you have now laid the groundwork for the subsequent stages of editing and burning. With your video files securely stored on your computer, you are ready to unleash your creativity and transform raw footage into captivating visual narratives.
Editing Your Footage
With your raw footage safely transferred to your computer, it’s time to delve into the exciting realm of video editing. This stage is where the magic truly happens, as you mold your raw footage into a cohesive, engaging visual story. To begin, you’ll need to utilize video editing software, such as Adobe Premiere Pro, Final Cut Pro, or iMovie, to name a few.
Import your ripped footage into the editing software, creating a new project and organizing your video files into a structured timeline. This timeline serves as the canvas for your creative expression, allowing you to arrange, trim, and enhance your footage with precision.
Start by reviewing your footage and identifying the key moments and sequences that will form the narrative backbone of your video. Trim unnecessary segments and arrange the remaining clips in a logical sequence, ensuring a smooth and coherent flow of visuals.
Enhance your footage by applying transitions, effects, and filters to add visual flair and maintain viewer engagement. Experiment with color correction and grading to achieve a consistent and visually appealing aesthetic throughout your video.
Audio is a vital component of video editing. Incorporate background music, sound effects, and voiceovers to elevate the emotional impact of your footage. Ensure that the audio levels are balanced and that the soundtrack complements the visuals seamlessly.
Text overlays and graphics can further enhance the storytelling aspect of your video. Introduce titles, captions, and visual elements to provide context, convey information, or evoke an emotional response from your audience.
As you refine your video project, preview your work frequently to assess the pacing, visual coherence, and overall impact of your edits. Make adjustments as needed, fine-tuning each element to achieve a polished and professional result.
By meticulously editing your footage, you breathe life into your raw video files, transforming them into compelling visual narratives that captivate and resonate with your audience. Your creativity and technical finesse culminate in a video production that reflects your unique vision and storytelling prowess.
Burning Your Footage to a DVD
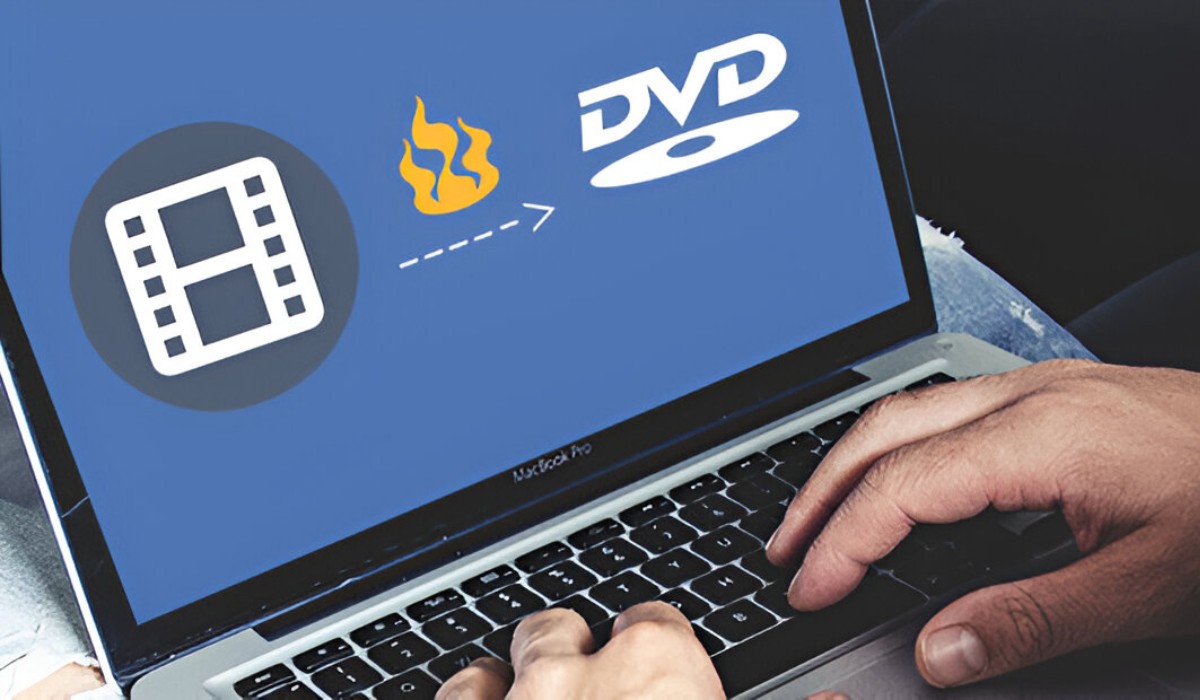
After meticulously editing your video masterpiece, the next step is to preserve and share it in a timeless format: a DVD. Burning your footage to a DVD not only ensures long-term archival but also allows for convenient playback on standard DVD players, making it an ideal medium for sharing your creations with friends, family, and audiences.
To initiate the burning process, you will need DVD authoring software, such as Nero Burning ROM, Roxio Creator, or Windows DVD Maker. These applications provide the tools necessary to compile your edited video project into a format compatible with DVD players.
Start by launching the DVD authoring software and creating a new DVD project. Import your edited video file into the project interface, where you can customize the DVD menu, chapter points, and additional features to enhance the viewing experience.
Design a visually appealing DVD menu that reflects the theme or content of your video. Incorporate background images, text, and navigation elements to provide an intuitive and engaging menu interface for viewers to navigate through your content.
Establish chapter points within your video to enable convenient navigation, allowing viewers to jump to specific sections or scenes with ease. This enhances the user experience and facilitates seamless exploration of your video content.
Preview the authored DVD to ensure that all elements, including video playback, menu navigation, and additional features, function as intended. Make any necessary adjustments to guarantee a seamless and immersive viewing experience.
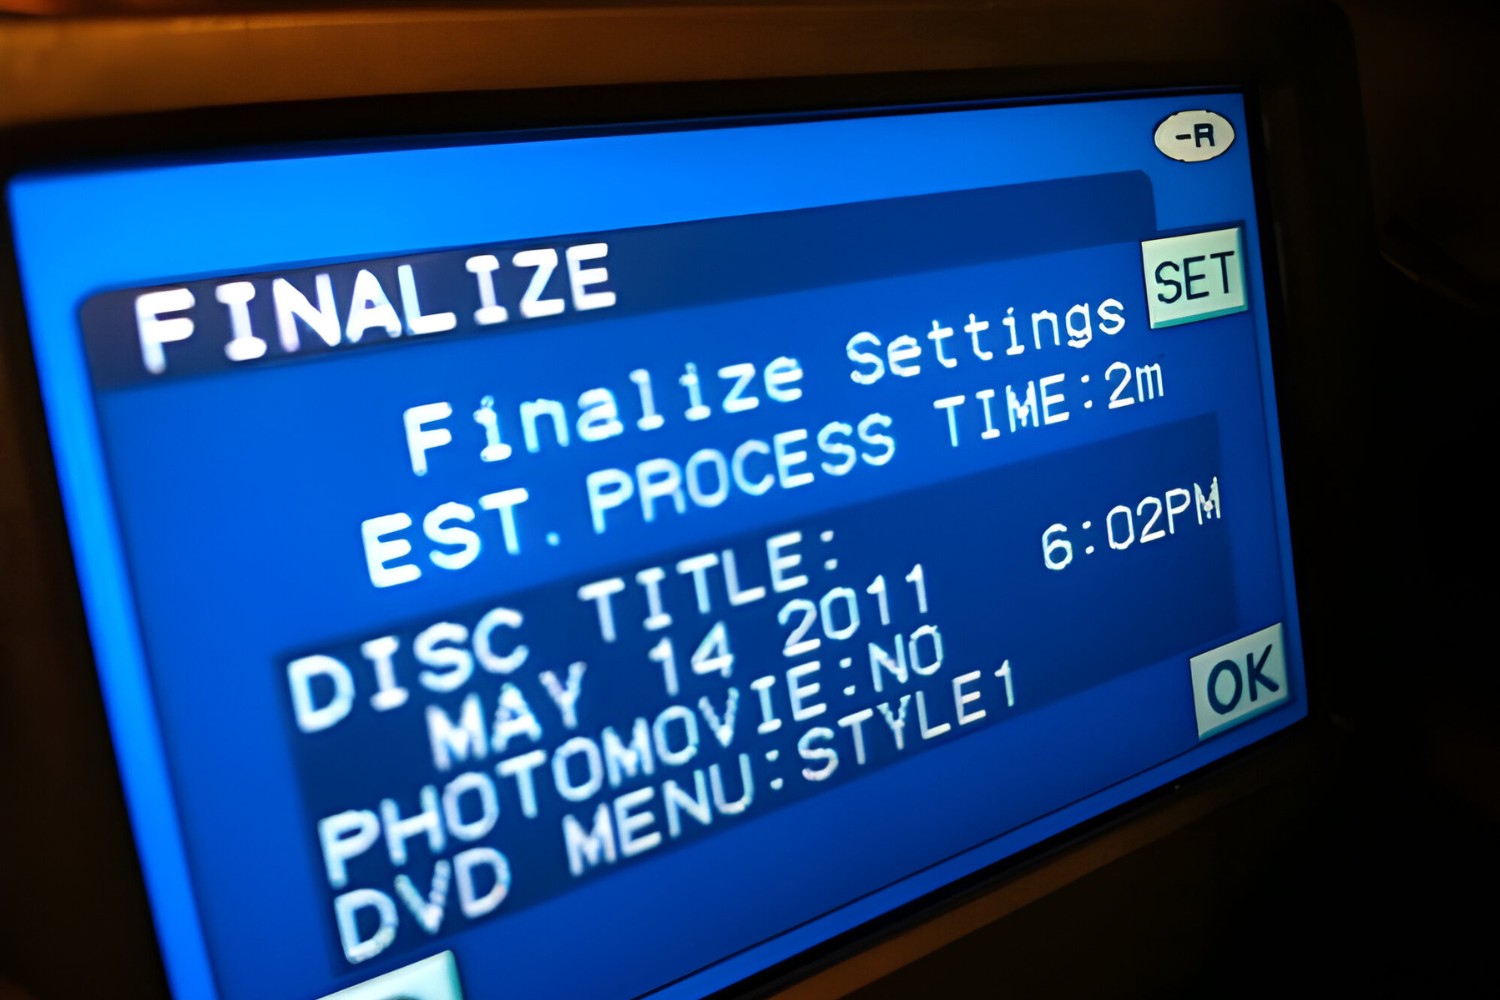
Once satisfied with the DVD project, initiate the burning process, during which the authoring software will compile your video and menu elements into a format compatible with standard DVD players. Insert a blank DVD disc into your computer’s optical drive and follow the software’s prompts to initiate the burning process.
Upon completion, you will have successfully created a DVD that encapsulates your creative vision and storytelling prowess. This tangible medium not only preserves your video project for posterity but also allows for widespread sharing and enjoyment, ensuring that your visual narratives reach and resonate with diverse audiences.
Conclusion
Congratulations on embarking on the exhilarating journey of ripping and burning footage from your camcorder! Through this comprehensive guide, you have gained invaluable insights into the intricacies of handling your camcorder, extracting footage, editing it to perfection, and finally, burning it onto a DVD for long-lasting enjoyment. By mastering these techniques, you have unlocked the potential to transform raw footage into polished, professional-looking videos that are perfect for sharing, archiving, and showcasing your creative talents.
Understanding your camcorder’s features and functionalities has laid a solid foundation for your video production endeavors. By familiarizing yourself with the physical aspects, technical specifications, and shooting techniques of your camcorder, you have honed the skills necessary to capture high-quality footage with precision and artistry.
Ripping footage from your camcorder and organizing it systematically on your computer has empowered you to preserve and manage your video library efficiently. By selecting the appropriate file formats and resolutions, you have positioned yourself for seamless editing and burning processes, ensuring optimal quality throughout your production workflow.
Delving into the realm of video editing has allowed you to unleash your creativity and storytelling prowess. By meticulously arranging, enhancing, and refining your footage, you have transformed raw video files into compelling visual narratives that captivate and resonate with your audience.
Finally, burning your footage onto a DVD has preserved your video masterpiece in a timeless format, ready for widespread sharing and enjoyment. By crafting a visually engaging DVD menu, establishing convenient chapter points, and ensuring a seamless burning process, you have created a tangible medium that encapsulates your creative vision and storytelling prowess.
As you continue to explore the art of video production, remember that each project is an opportunity for growth and self-expression. Embrace the technical intricacies with enthusiasm and let your creativity flow freely, knowing that you possess the knowledge and skills to bring your video projects to life.
So, whether you’re capturing cherished family moments, documenting special events, or expressing your artistic vision, may the knowledge and techniques gained from this guide empower you to create captivating visual narratives that leave a lasting impression on your audience.