Introduction
Are you looking to preserve your precious camcorder videos for the long term? Transferring them to DVD is a great way to ensure their safety and accessibility. Whether you want to create a backup of your cherished memories or simply enjoy watching your videos on a DVD player, this guide will walk you through the process step by step.
With the rapid advancement of technology, many of us have transitioned from using traditional camcorders to capturing videos on smartphones or digital cameras. However, there's something special about the footage captured on older camcorders that holds sentimental value. By transferring these videos to DVD, you can relive those moments and share them with friends and family in a timeless format.
In this comprehensive guide, you will learn how to transfer your camcorder videos to DVD with ease. From gathering the necessary materials to selecting the right DVD authoring software, each step is designed to simplify the process and help you achieve professional-quality results. By following these steps, you can ensure that your precious videos are preserved for years to come.
So, gather your camcorder, computer, and blank DVDs, and let's embark on this journey to transform your cherished memories into a tangible and enduring format. Let's get started!
Step 1: Gather Your Materials
Before embarking on the process of transferring your camcorder videos to DVD, it’s essential to gather the necessary materials. Here’s what you’ll need:
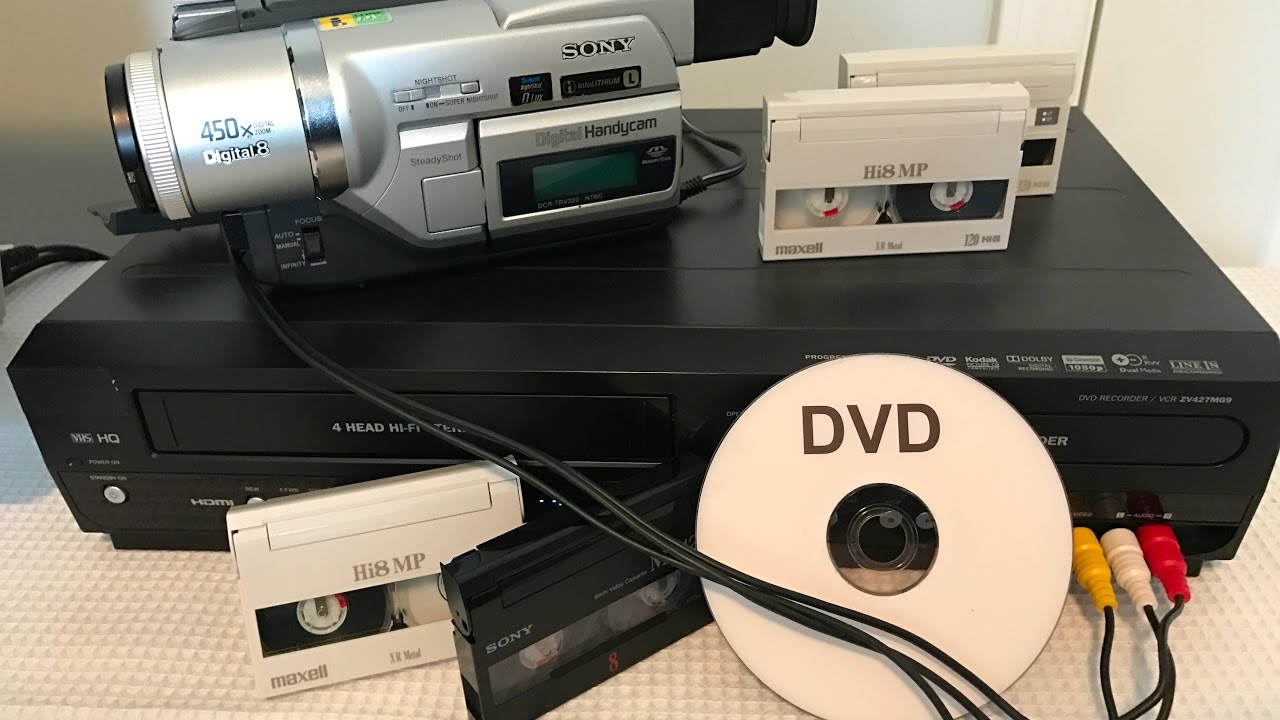
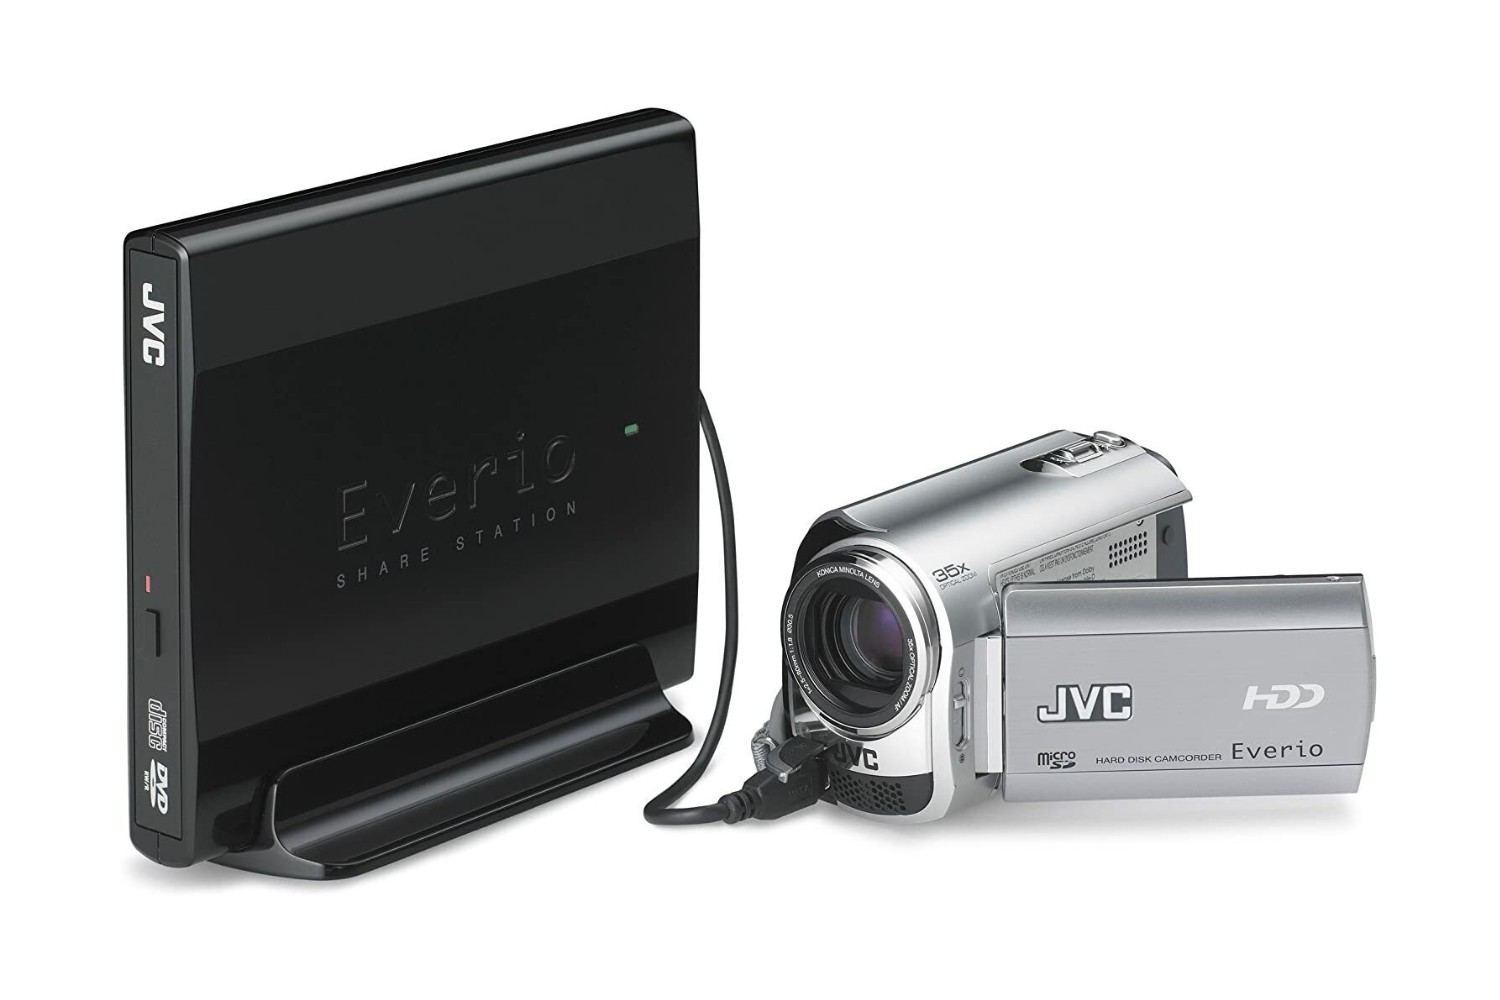
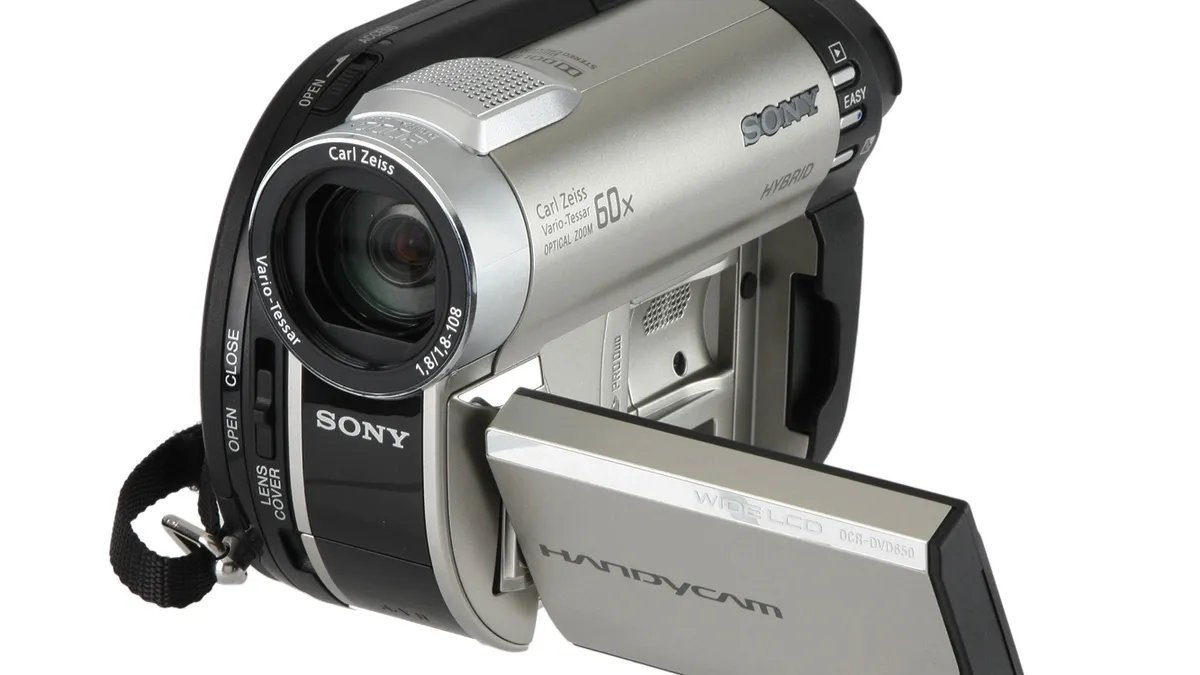
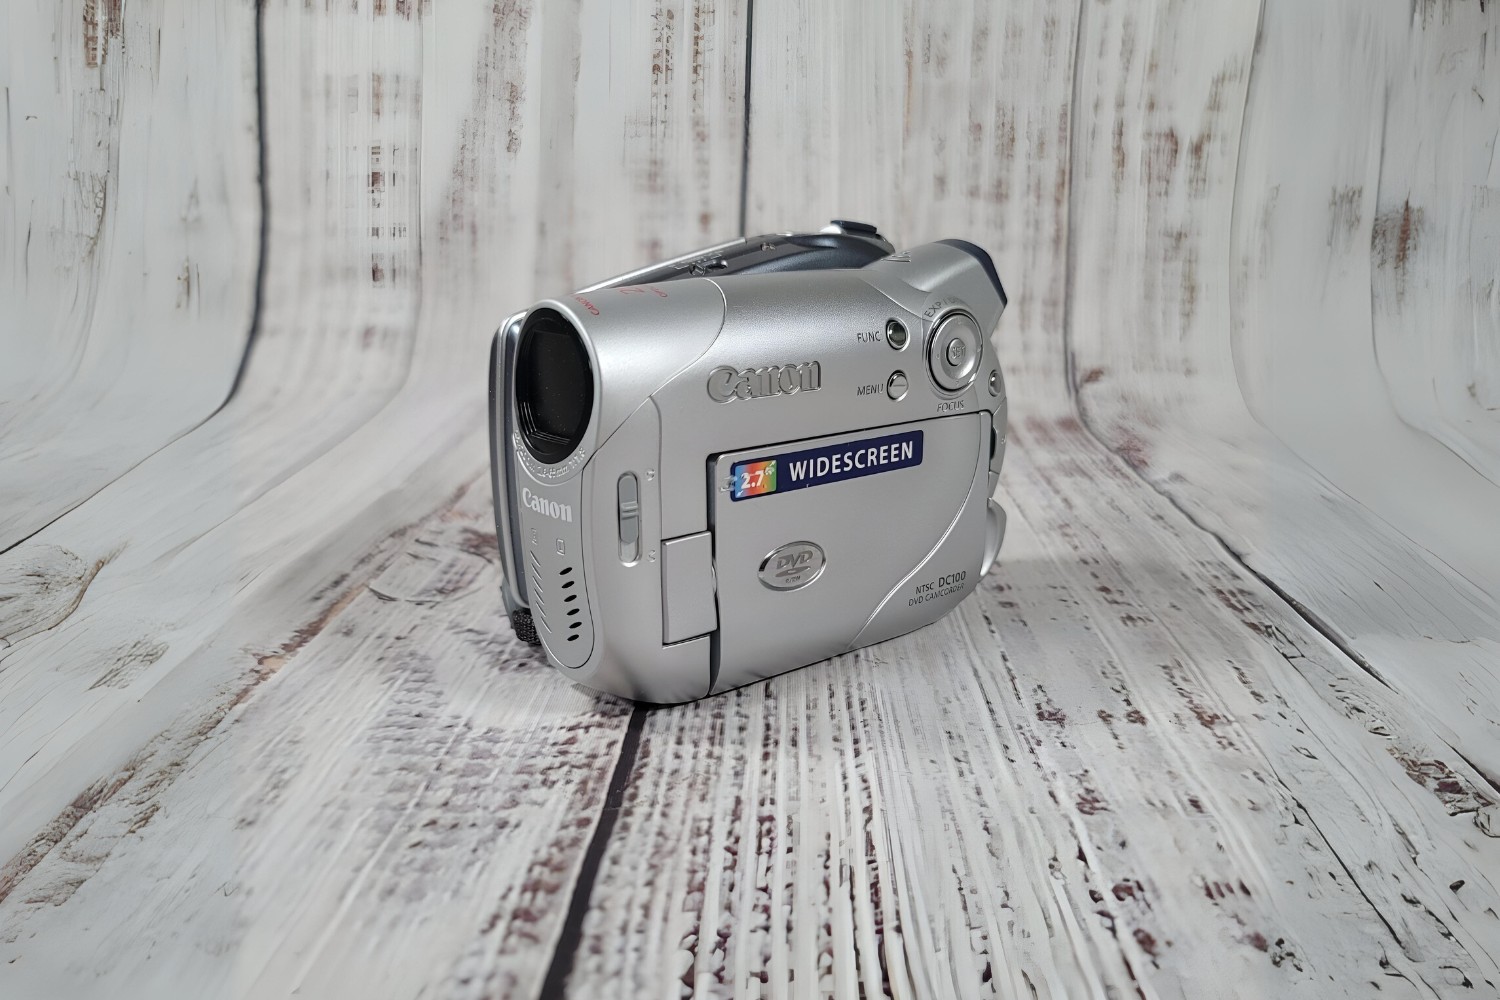
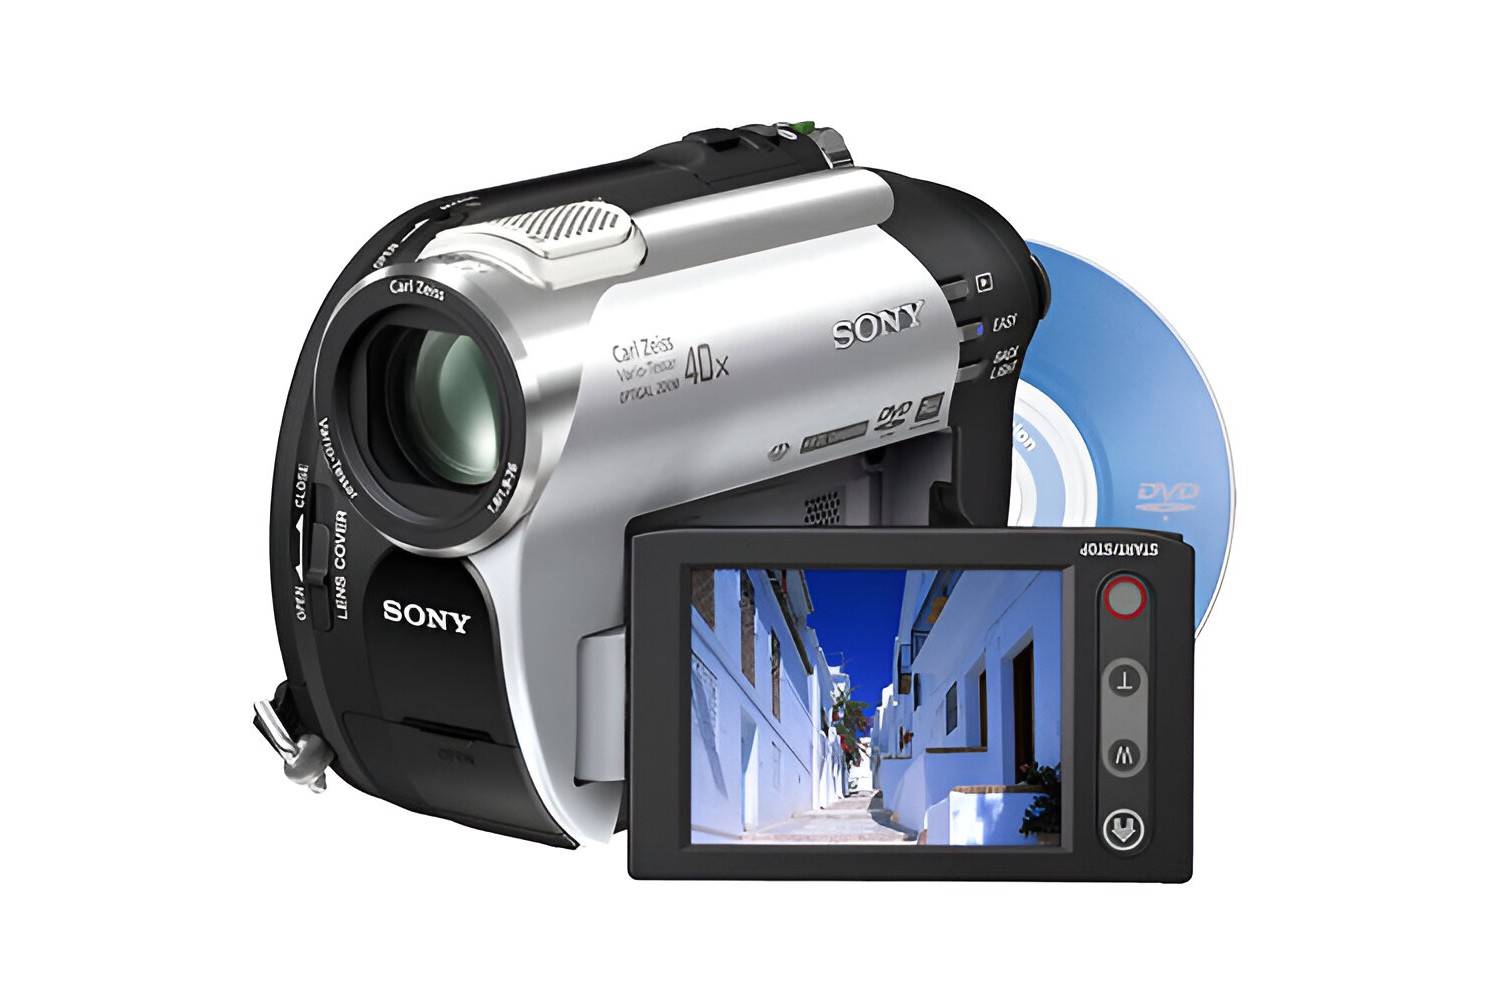
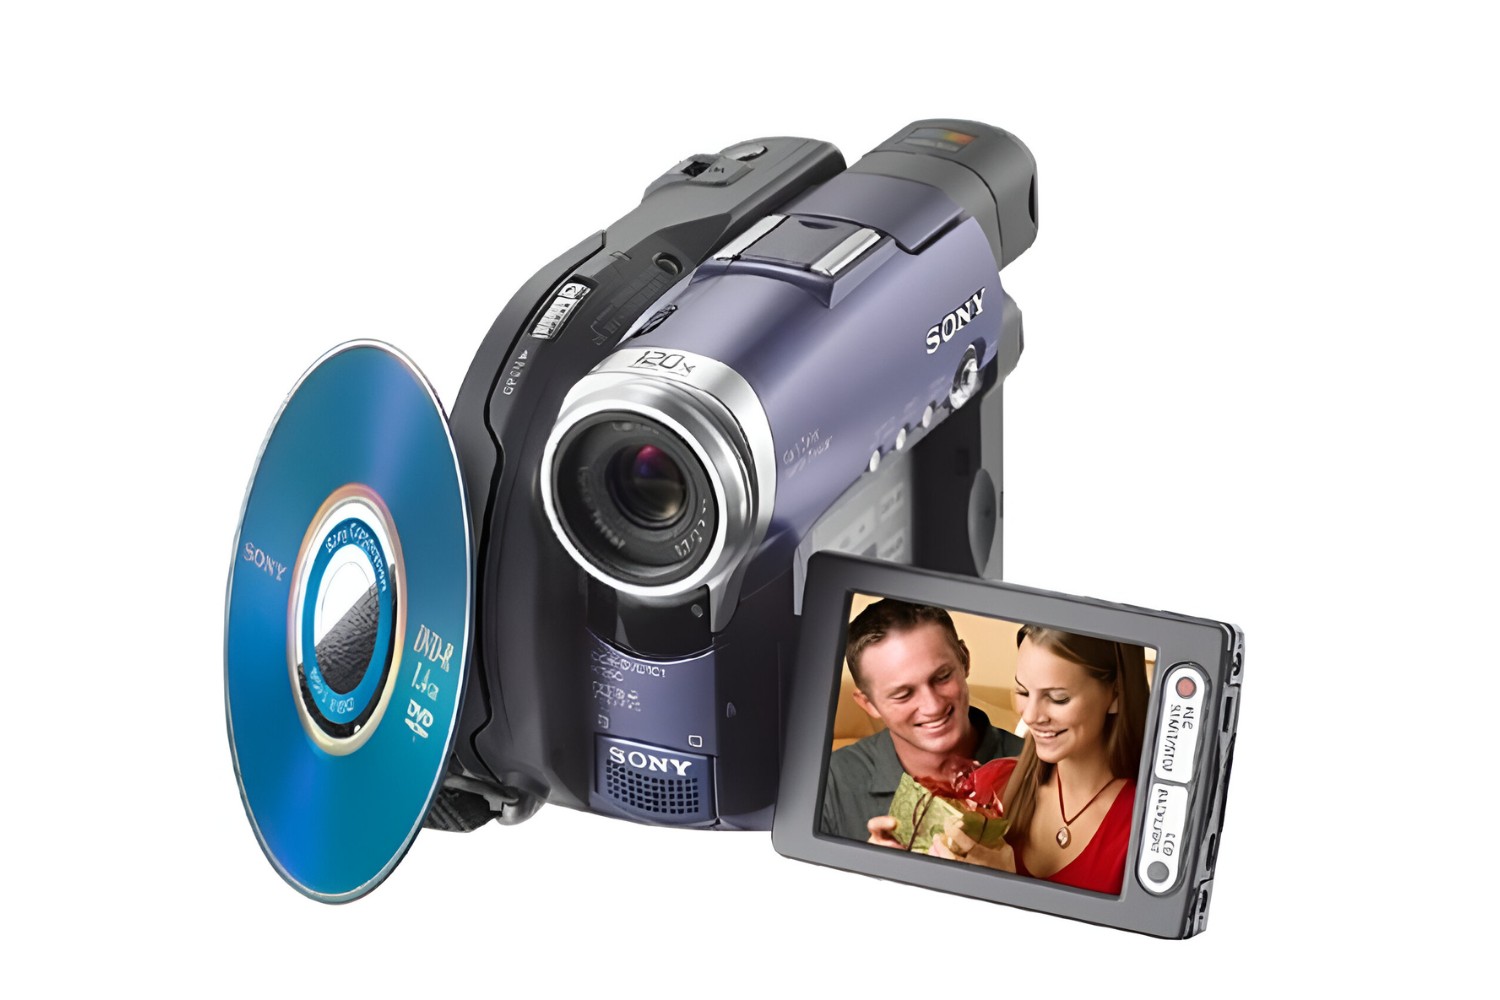
- Camcorder: Ensure that your camcorder is in working condition and that the videos you want to transfer are accessible.
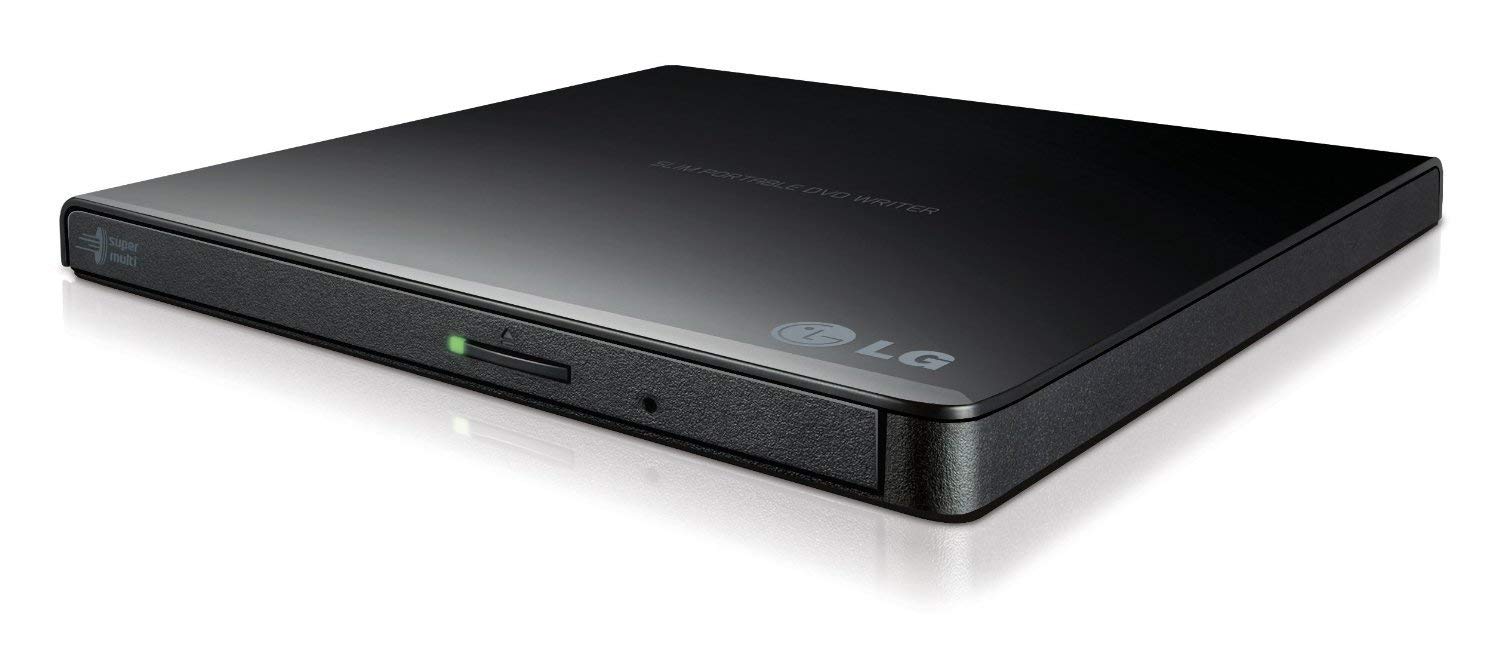
- Computer: You’ll need a computer with a DVD burner to complete the transfer process.
- Blank DVDs: Purchase high-quality blank DVDs to ensure the longevity and playback compatibility of your transferred videos.
- Camcorder cables: Depending on the type of camcorder you have, you may need specific cables to connect it to your computer.
- DVD authoring software: Research and select a reliable DVD authoring software that suits your needs and is compatible with your computer’s operating system.
By ensuring that you have all these materials on hand, you’ll be well-prepared to proceed with the subsequent steps of the transfer process. Having everything ready will streamline the process and minimize interruptions, allowing you to focus on preserving your videos effectively.
Step 2: Connect Your Camcorder to Your Computer
Once you have gathered the necessary materials, the next step is to establish a connection between your camcorder and your computer. The method of connection may vary depending on the type of camcorder you have. Follow these general steps to initiate the connection:
- Locate the appropriate cable: Identify the cable that is compatible with your camcorder and computer. This may include USB, FireWire, HDMI, or other proprietary cables specific to your camcorder model.
- Connect the cable: With your camcorder powered off, connect one end of the cable to the appropriate port on your camcorder and the other end to a USB or FireWire port on your computer. Ensure that the connections are secure.
- Power on your camcorder: Once the cable is connected, power on your camcorder. Some camcorders may require you to switch to a specific mode for data transfer. Refer to your camcorder’s manual for instructions on how to enable data transfer mode.
- Computer recognition: Your computer should recognize the connected camcorder as a removable storage device or camera. If prompted, install any necessary drivers or software to facilitate the transfer of videos.
After successfully establishing the connection, you are now ready to proceed to the next step of transferring the videos from your camcorder to your computer. This seamless connection provides the bridge necessary to begin the preservation process for your cherished videos.
Step 3: Transfer the Videos to Your Computer
With your camcorder successfully connected to your computer, it’s time to transfer the videos to your computer’s hard drive. The process may vary slightly based on your computer’s operating system and the software that came with your camcorder. Here are the general steps to transfer the videos:
- Locate the videos: Using the file management software provided with your camcorder or by accessing the camcorder as a removable storage device on your computer, locate the videos you want to transfer.
- Copy the videos: Select the videos you wish to transfer and copy them to a designated folder on your computer. This may involve dragging and dropping the files from the camcorder’s storage location to your computer’s hard drive.
- Organize the videos: Create a specific folder on your computer to store the transferred videos. This will help you keep your videos organized and easily accessible during the DVD authoring process.
- Verify the transfer: Once the transfer is complete, verify that the videos have been successfully copied to your computer and are playable using a media player.
By following these steps, you can ensure that your camcorder videos are securely transferred to your computer, ready to be compiled and authored onto a DVD. This crucial step sets the stage for the next phase of the process, which involves selecting the appropriate DVD authoring software to create your DVD masterpiece.
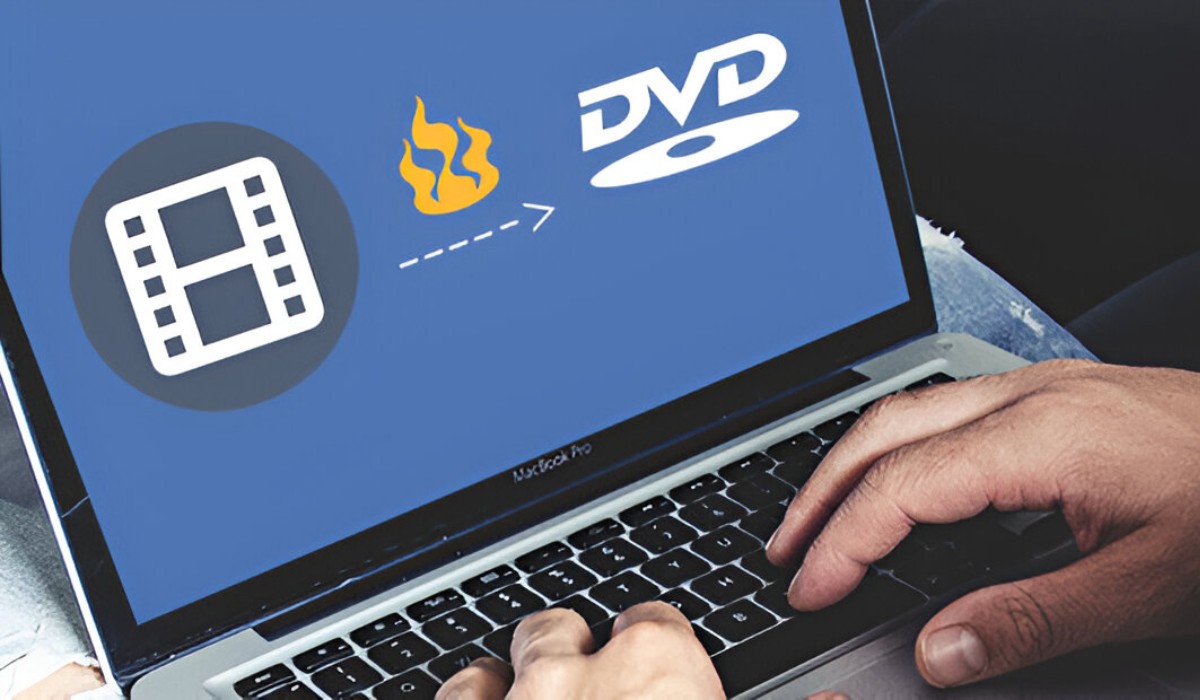
Step 4: Choose a DVD Authoring Software
Once your videos are safely transferred to your computer, the next step is to select a suitable DVD authoring software to create your DVD. There are various DVD authoring programs available, each offering unique features and capabilities. Consider the following factors when choosing your DVD authoring software:
- User Interface: Look for software with an intuitive and user-friendly interface, making it easy for you to navigate and use its features.
- Supported Formats: Ensure that the software supports the video formats of your transferred camcorder videos. Common formats include AVI, MP4, and MOV.
- Menu Templates: If you desire a professional touch, opt for software that provides customizable menu templates to enhance the visual appeal of your DVD.
- Burning Capabilities: Verify that the software includes DVD burning capabilities to seamlessly write your authored project to a blank DVD.
- Editing Tools: Consider whether the software offers basic video editing tools such as trimming, merging, and adding transitions to refine your videos before burning them to DVD.
Research and compare different DVD authoring software options to find the one that best suits your needs and proficiency level. Some popular choices include Adobe Encore, DVD Flick, and Nero Video. Once you’ve selected the software that aligns with your requirements, you’re ready to move on to the final step of burning your videos to DVD.
Choosing the right DVD authoring software ensures that you can create a professional-looking DVD that showcases your camcorder videos in the best possible light. With the software in place, you’re one step closer to preserving your memories on a tangible and enduring medium.
Step 5: Burn the Videos to DVD
With your chosen DVD authoring software installed and your videos organized, it’s time to initiate the process of burning your videos to a DVD. Follow these general steps to accomplish this final phase:
- Import your videos: Open your DVD authoring software and import the videos you transferred to your computer. Arrange them in the desired order, and if applicable, customize the DVD menu with the available templates.
- Preview your project: Before proceeding with the burning process, preview your project to ensure that the videos are correctly sequenced and that the menu, if included, is visually appealing and functional.
- Insert a blank DVD: Insert a blank, writable DVD into your computer’s DVD burner. Ensure that the disc has sufficient capacity to accommodate the size of your authored project.
- Initiate the burning process: Follow the prompts within your DVD authoring software to initiate the burning process. Select the appropriate burning speed and verify that all settings align with your preferences.
- Label and store your DVD: Once the burning process is complete, label your DVD with the contents and store it in a safe and accessible location. Consider creating a backup copy for added security.
By following these steps, you can successfully burn your camcorder videos to a DVD, creating a physical and enduring representation of your cherished memories. The process of burning your videos to DVD marks the culmination of your efforts, providing you with a tangible medium through which to relive and share your special moments.
Conclusion
Congratulations! You have successfully navigated the process of transferring your camcorder videos to DVD, preserving your cherished memories in a tangible and enduring format. Through the careful execution of each step, you have transformed your videos into a medium that can be enjoyed for years to come. By gathering the necessary materials, connecting your camcorder to your computer, transferring the videos, choosing suitable DVD authoring software, and burning the videos to DVD, you have taken a significant step towards safeguarding your precious moments.
As you reflect on this journey, remember the importance of preserving these memories for future generations. The act of transferring your videos to DVD not only safeguards them from potential loss or degradation but also ensures that they can be shared and enjoyed in a format that transcends technological changes. Whether it’s reliving family vacations, celebrating milestones, or capturing everyday moments, the DVD serves as a timeless vessel for your stories and experiences.
As you hold the finished DVD in your hands, consider the joy it brings and the legacy it represents. Your efforts have culminated in a tangible keepsake that can be shared with loved ones, providing them with a window into the past and a connection to the moments that matter most. This process has not only preserved your videos but has also enriched the value of your memories, underscoring the significance of the moments captured on film.
Embrace the satisfaction of completing this journey, knowing that your dedication has secured a lasting tribute to the meaningful events and people in your life. With your videos now preserved on DVD, you can continue to create new memories, secure in the knowledge that the past is safeguarded and ready to be revisited whenever you desire.
So, as you embark on future endeavors and continue to capture life’s moments, may the DVD serve as a reminder of the enduring power of preservation and the timeless nature of the memories you hold dear.