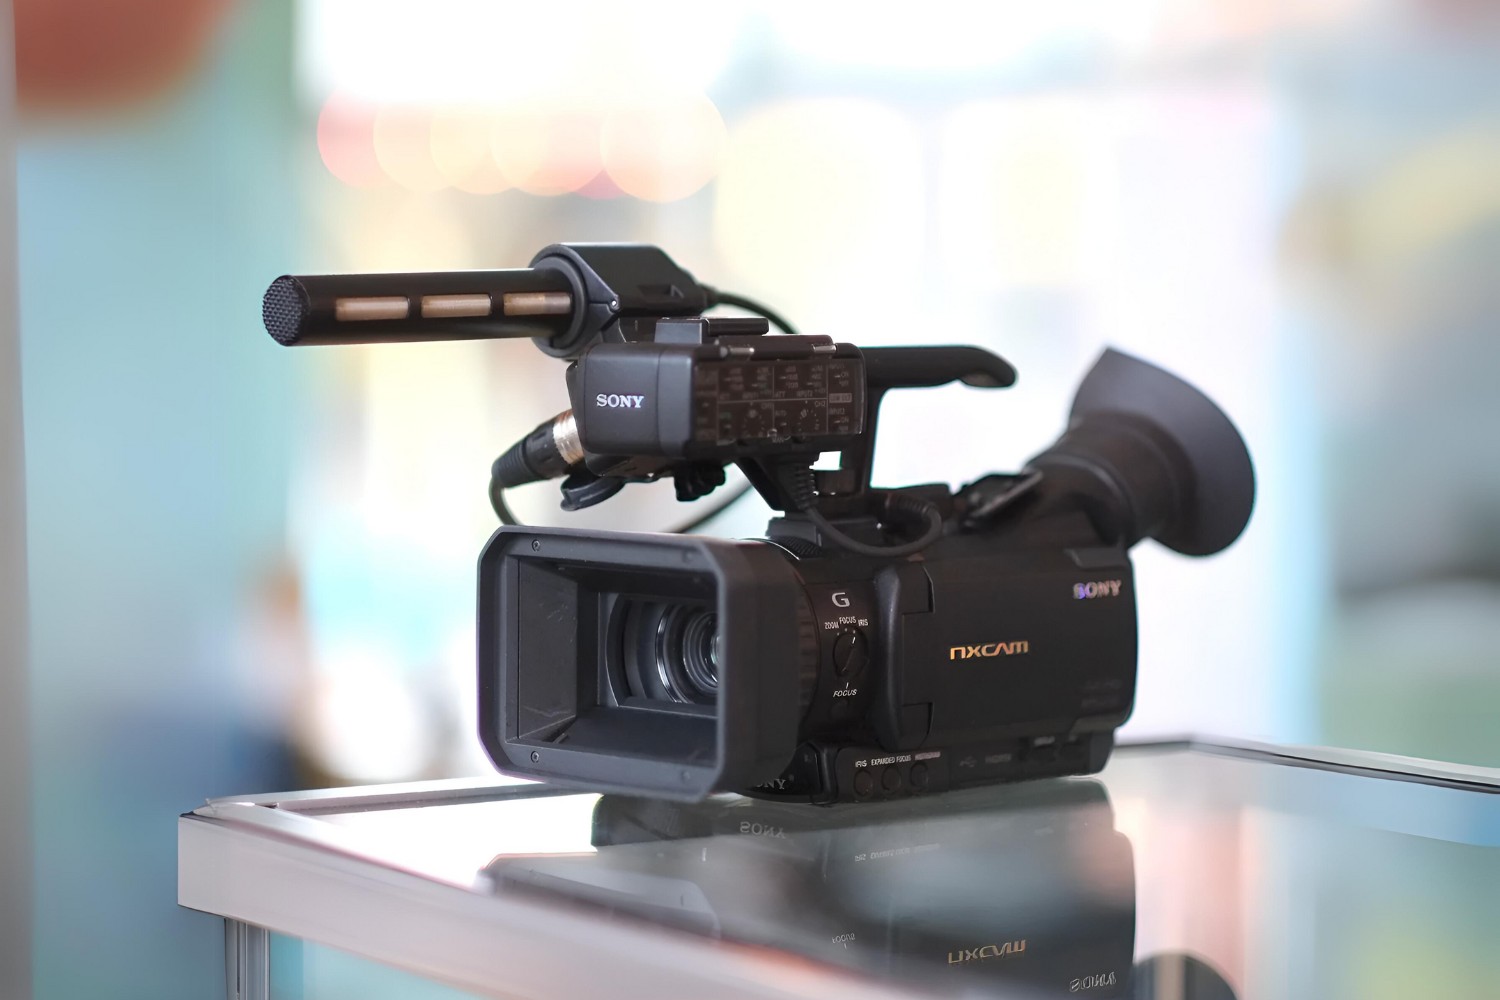
Introduction
Resetting your NXCAM camcorder to its factory settings can be a valuable troubleshooting tool. Whether you're encountering persistent technical issues or simply want to start afresh, performing a factory reset can help restore your camcorder to its original state. This process can effectively resolve software glitches, erratic behavior, or unresponsive controls, giving you a clean slate to work with.
Before proceeding with a factory reset, it's crucial to understand the implications. This action will erase all custom settings, preferences, and data stored on the camcorder, reverting it to the default configuration. Therefore, it's advisable to back up any important files or settings that you wish to retain.
In this guide, we'll walk you through the step-by-step process of performing a factory reset on your NXCAM camcorder. By following these instructions, you can confidently navigate the menu system and initiate the reset procedure, restoring your device to its original settings. Let's delve into the details of accessing the menu, navigating to the factory setting option, and confirming the reset to effectively reset your NXCAM camcorder.
Step 1: Accessing the Menu
Before initiating the factory reset process, you’ll need to access the menu system of your NXCAM camcorder. The menu provides access to various settings and options, allowing you to make adjustments and perform system operations. Here’s how to access the menu:
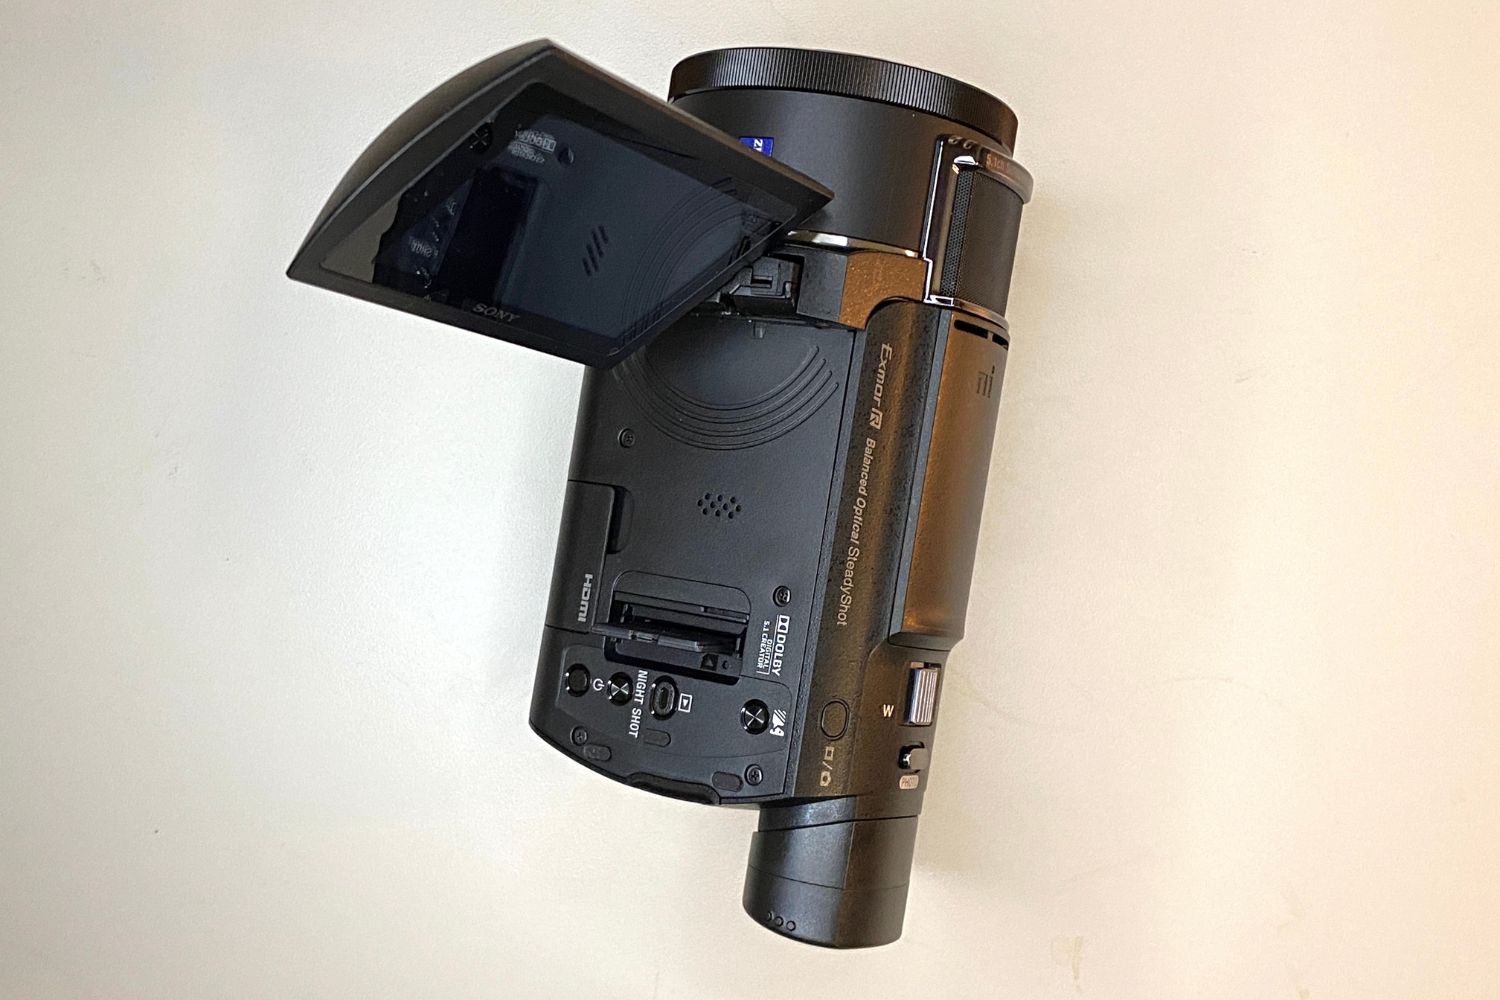
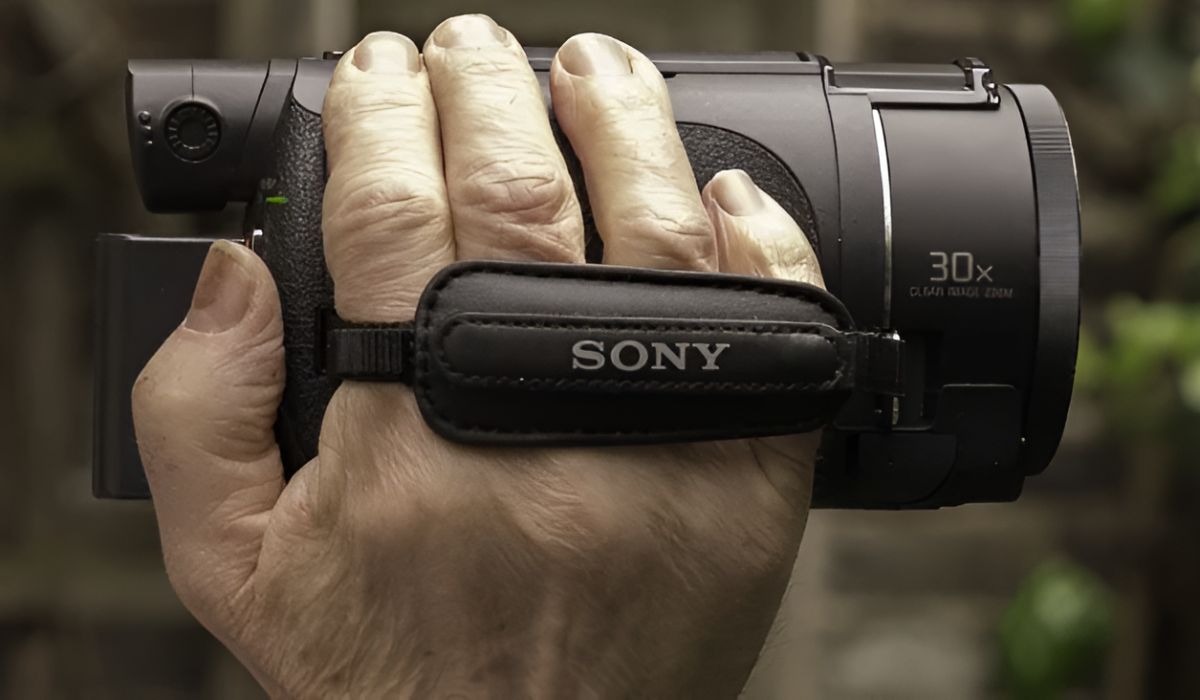
- Power On the Camcorder: Ensure that your NXCAM camcorder is powered on and in standby mode. If the camcorder is off, press the power button to turn it on. Wait for the device to initialize before proceeding.
- Locate the Menu Button: On the camcorder body or the handle, locate the menu button. This button is typically labeled with the word “Menu” or represented by an icon depicting a series of horizontal lines or squares.
- Press the Menu Button: Press the menu button to access the main menu of the camcorder. This action will display a list of available settings and options that can be adjusted to customize the camcorder’s functionality.
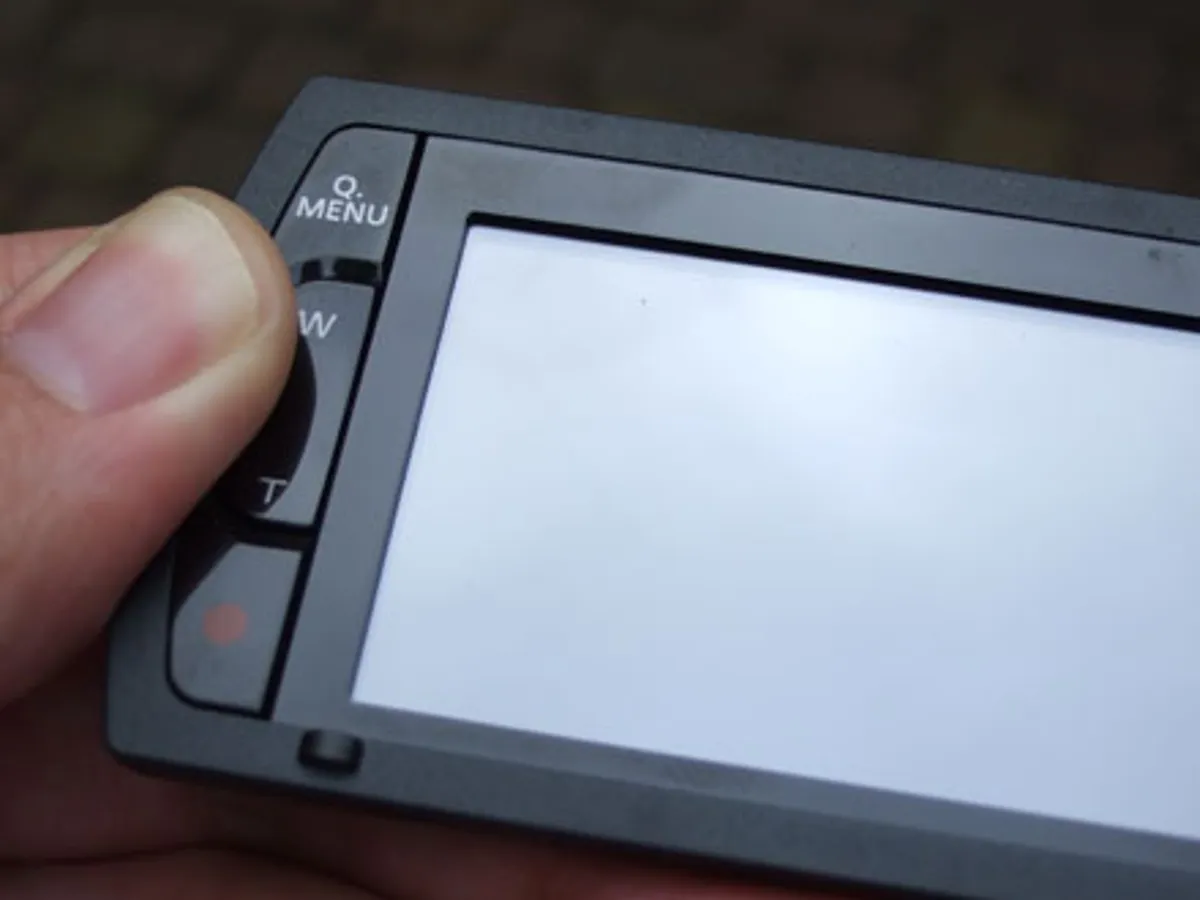
- Navigate the Menu: Once the menu is displayed on the camcorder’s screen, use the navigation controls or touchscreen interface to move through the menu options. Depending on your camcorder model, you may need to use a joystick, arrow buttons, a touchscreen, or a combination of these input methods to navigate the menu.
By following these steps, you can successfully access the menu system of your NXCAM camcorder, laying the groundwork for navigating to the factory reset option in the subsequent steps.
Step 2: Navigating to the Factory Setting Option
Once you’ve accessed the menu of your NXCAM camcorder, the next step is to navigate to the factory setting option. This is where you’ll find the necessary settings to initiate the factory reset process. Follow these steps to locate the factory setting option:
- Explore the Menu Categories: Within the main menu, you may encounter different categories or tabs that organize the available settings. Look for a category related to system settings, configuration, or maintenance. The factory setting option is commonly found within these sections.
- Scroll Through the Options: Using the navigation controls or touchscreen, scroll through the menu options until you find the category that includes system or configuration settings. Depending on the organization of the menu, you may need to navigate through multiple layers of submenus to locate the factory setting option.
- Locate the Factory Setting Option: Once you’ve accessed the appropriate category, look for the specific option related to resetting the camcorder to its factory settings. This option may be labeled as “Factory Reset,” “Reset to Default,” or something similar. Select this option to proceed to the next step.
- Review the Confirmation Prompt: Upon selecting the factory setting option, the camcorder may display a confirmation prompt to ensure that you intend to proceed with the reset. Take a moment to review the prompt and ensure that you are prepared to initiate the factory reset process.
By following these steps, you can successfully navigate to the factory setting option within the menu of your NXCAM camcorder, setting the stage for the final step of confirming the reset.
Step 3: Confirming the Factory Reset
After locating the factory setting option in the menu of your NXCAM camcorder, the final step involves confirming the factory reset to initiate the process. This critical step ensures that you intentionally proceed with restoring the camcorder to its original factory settings. Follow these instructions to confirm the factory reset:
- Select the Factory Reset Option: Once you’ve located the factory setting option in the menu, select it to access the reset confirmation screen. This action will prompt the camcorder to display a confirmation dialog or screen, indicating that all custom settings and data will be erased as part of the reset process.
- Review the Warning Message: The confirmation screen will typically display a warning message informing you about the implications of the factory reset. Take a moment to read the message carefully, ensuring that you understand the consequences of proceeding with the reset.
- Confirm the Reset: After reviewing the warning message, the camcorder will prompt you to confirm the reset action. This confirmation may require you to select “Yes,” “OK,” or a similar affirmative option to proceed. Once confirmed, the camcorder will initiate the factory reset process.
- Wait for the Reset to Complete: Depending on the camcorder model and the amount of data to be cleared, the factory reset process may take a few moments to complete. During this time, the camcorder will revert to its default settings, erasing all customized configurations and data stored on the device.
By following these steps and confirming the factory reset, you can effectively restore your NXCAM camcorder to its original factory settings, providing a clean slate for troubleshooting or starting anew.
Conclusion
Performing a factory reset on your NXCAM camcorder is a straightforward process that can yield significant benefits. By accessing the menu, navigating to the factory setting option, and confirming the reset, you can effectively restore the camcorder to its default configuration. This can be particularly useful in troubleshooting persistent technical issues or preparing the device for a fresh start.
It’s important to note that a factory reset will erase all custom settings, preferences, and data stored on the camcorder. Therefore, it’s advisable to back up any important files or configurations before proceeding with the reset. Additionally, familiarizing yourself with the menu navigation and reset confirmation process can help streamline the procedure and ensure a successful outcome.
After completing the factory reset, you’ll have the opportunity to reconfigure the camcorder settings according to your preferences. This can include adjusting video quality settings, audio input options, exposure controls, and other parameters to optimize the camcorder for your specific needs.
By following the steps outlined in this guide, you can confidently initiate a factory reset on your NXCAM camcorder, empowering you to address technical issues and restore the device to its original state. Whether you’re a professional videographer, a content creator, or an enthusiast capturing precious moments, understanding the factory reset process can be a valuable skill in maintaining and optimizing your NXCAM camcorder.