Introduction
Welcome to the digital era, where capturing life’s precious moments is as easy as clicking a button on your camcorder. However, once you’ve recorded those special memories, you may want to share them, edit them, or simply store them on your computer for safekeeping. In this guide, we’ll walk you through the process of transferring videos from your camcorder to your computer so that you can easily access, edit, and share your footage.
Whether you’re a budding filmmaker, a proud parent documenting family milestones, or simply someone who enjoys capturing life’s adventures, knowing how to upload video from your camcorder to your computer is a valuable skill in today’s digital age. By following these steps, you’ll be able to preserve your precious memories and unleash your creativity through video editing and sharing.
So, grab your camcorder, fire up your computer, and let’s dive into the world of digital video transfer and editing!
Step 1: Gather Your Equipment
Before you embark on the journey of transferring videos from your camcorder to your computer, it’s essential to gather the necessary equipment. Here’s what you’ll need:
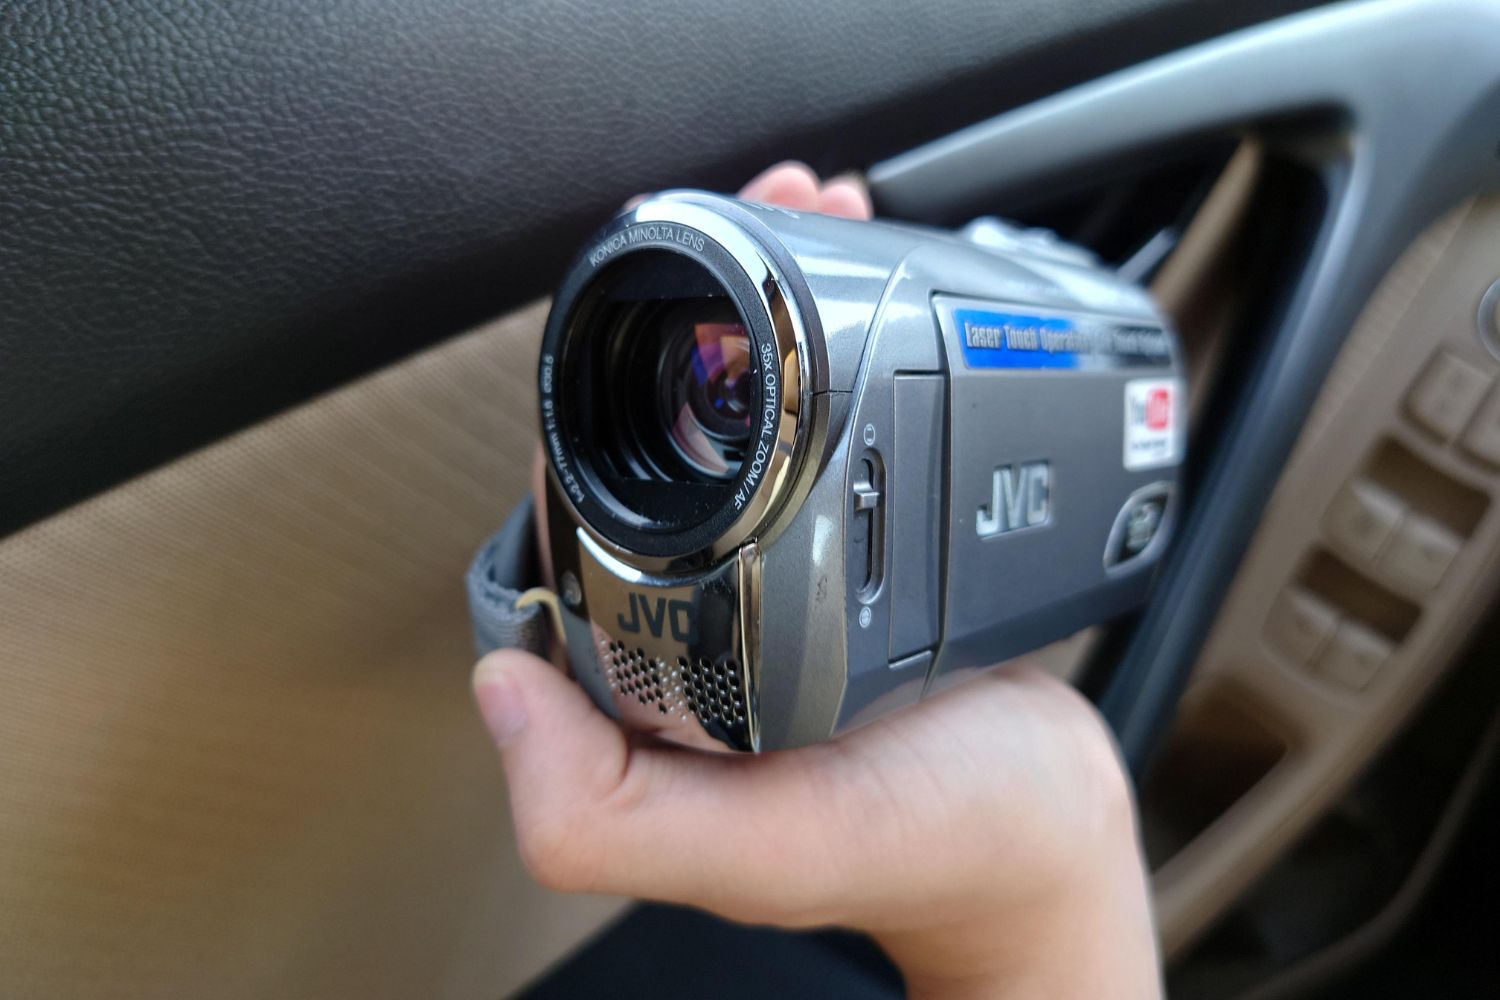
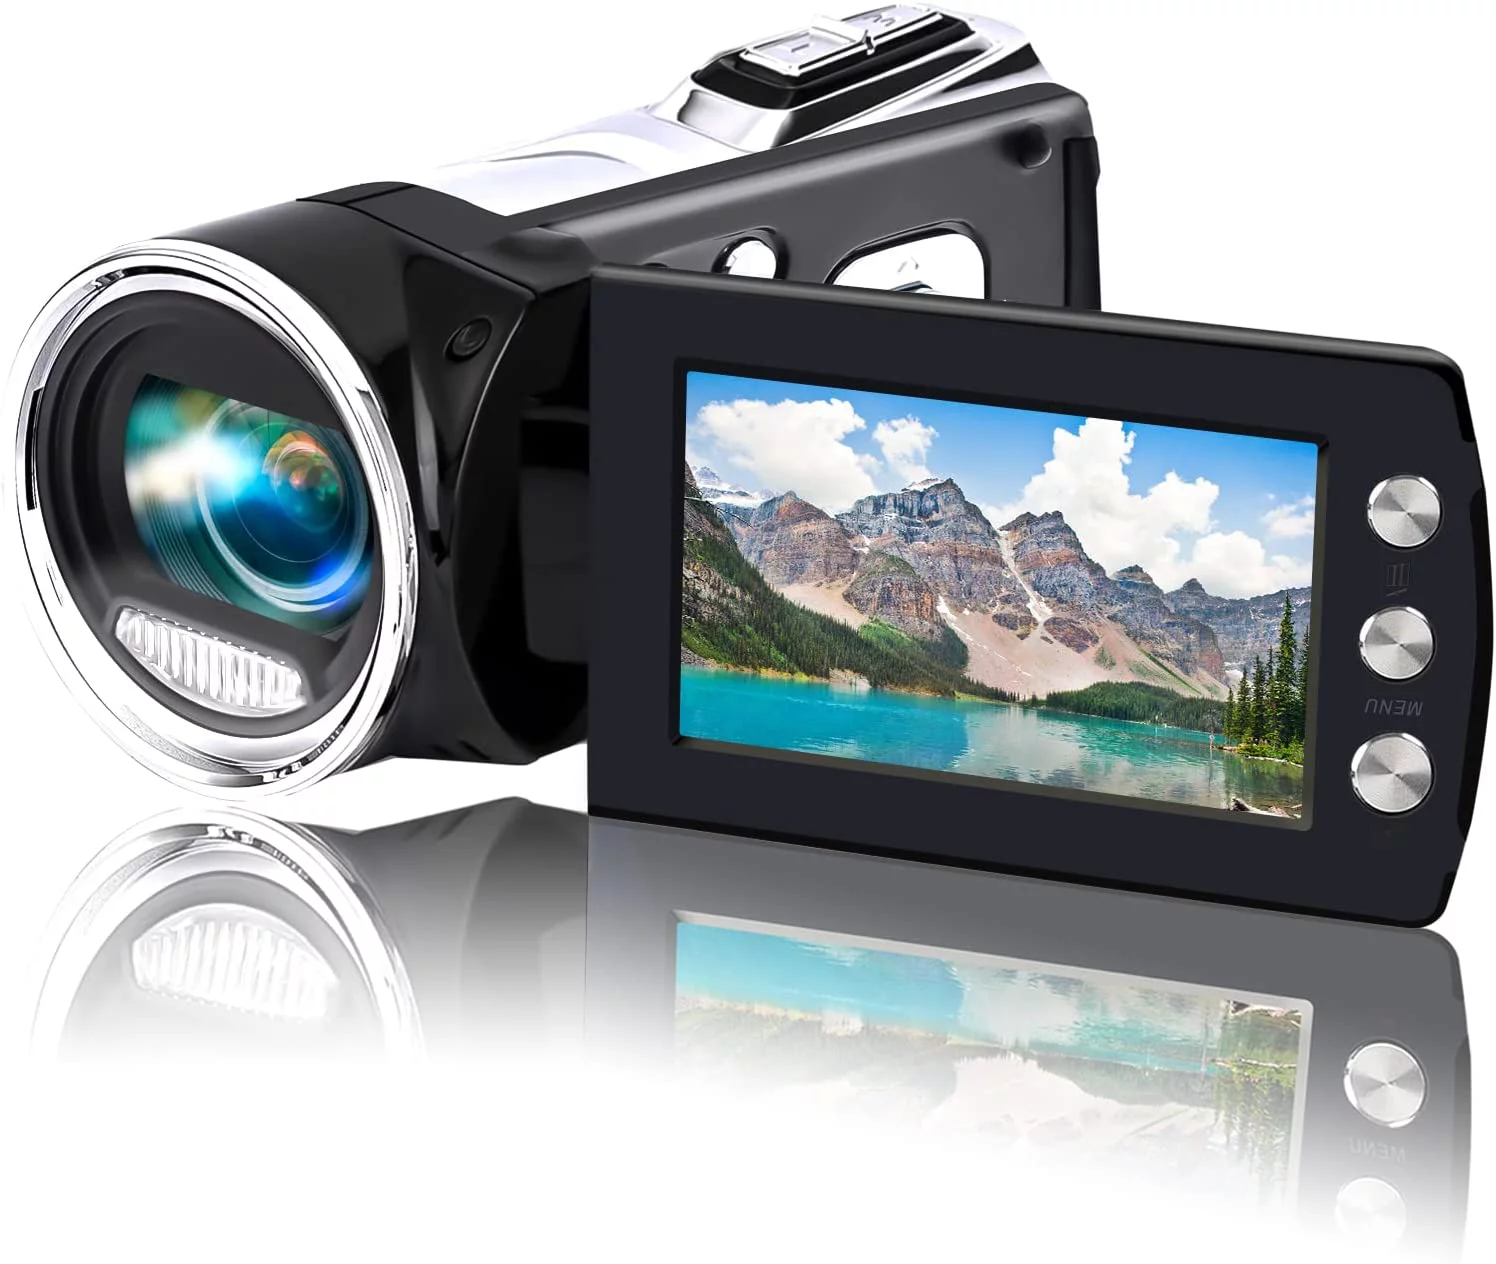
- Camcorder: Ensure that your camcorder is fully charged or plugged into a power source to prevent any interruptions during the transfer process.
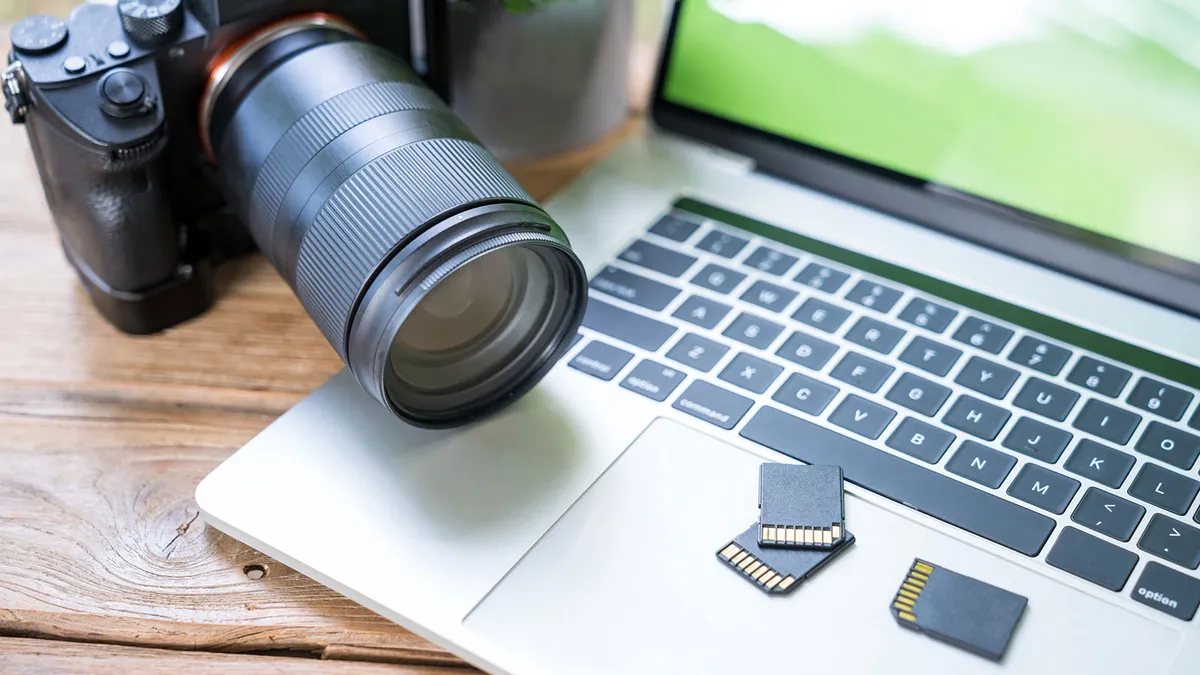
- Computer: You’ll need a reliable computer with sufficient storage space to accommodate the video files you plan to transfer.
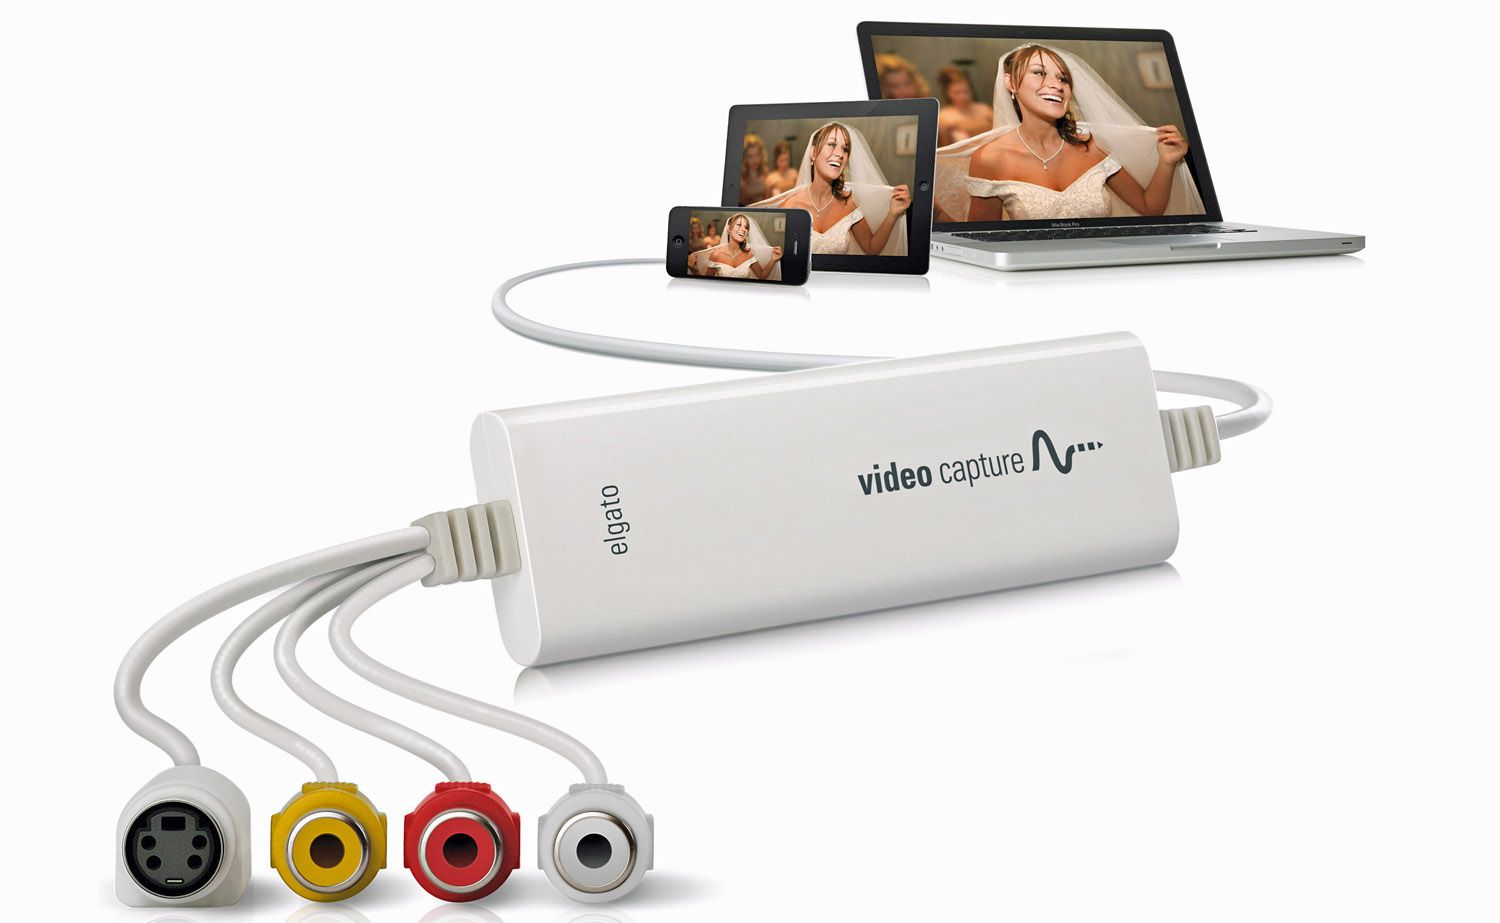
- USB Cable or Memory Card Reader: Depending on your camcorder’s connectivity options, you’ll need a USB cable or a compatible memory card reader to establish a connection between your camcorder and computer.
- Video Editing Software (Optional): If you intend to edit your videos after transferring them to your computer, consider having video editing software installed and ready to use.
Once you’ve gathered these essential items, you’re ready to move on to the next step and begin the process of connecting your camcorder to your computer.
Step 2: Connect Your Camcorder to Your Computer
Now that you have all the necessary equipment assembled, it’s time to establish a connection between your camcorder and your computer. Depending on the type of camcorder you have, there are several methods for establishing this connection:
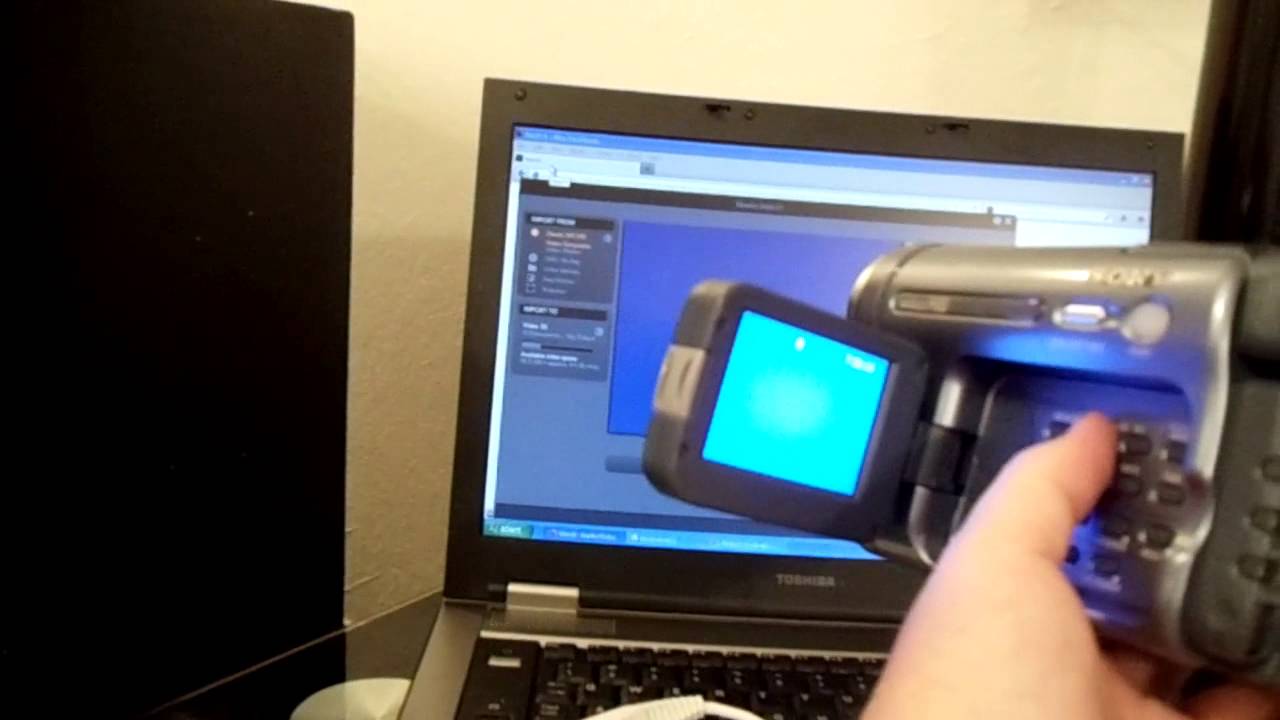
- USB Connection: Many modern camcorders come with a USB port that allows you to connect directly to your computer using a USB cable. Simply plug one end of the USB cable into your camcorder and the other end into a USB port on your computer. Your computer should recognize the camcorder as a removable storage device.
- Memory Card Reader: If your camcorder uses a memory card to store videos, you can remove the memory card from the camcorder and insert it into a compatible memory card reader connected to your computer. This method allows for direct access to the video files stored on the memory card.
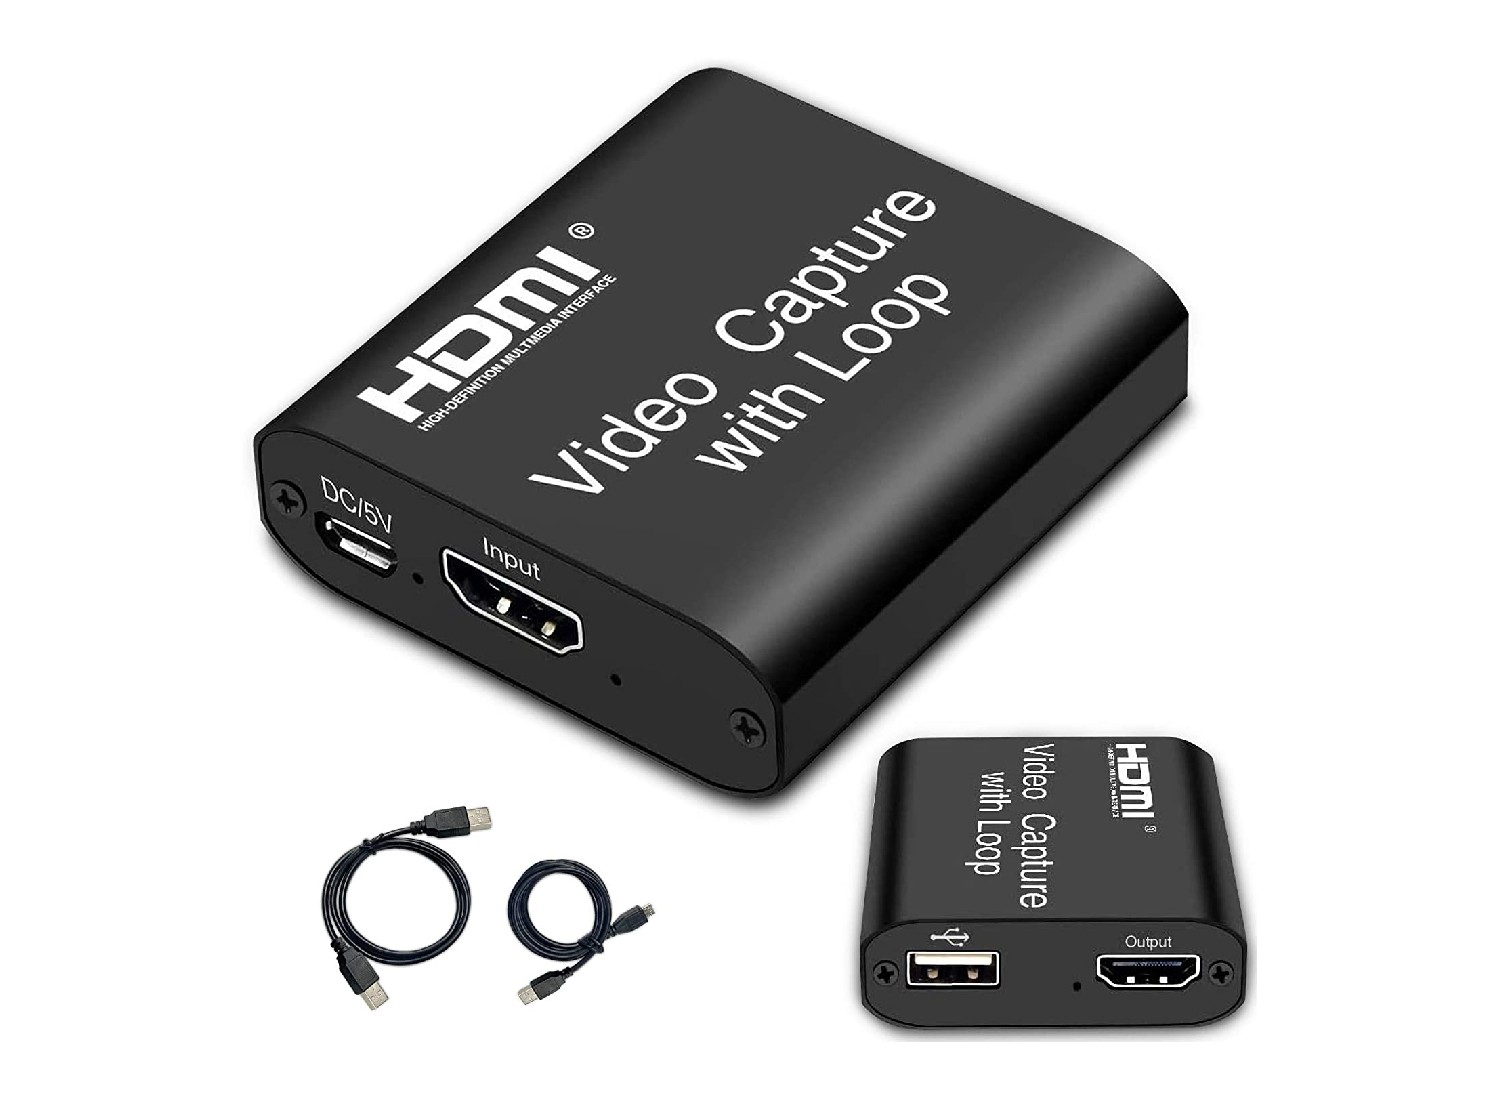
- Firewire or HDMI Connection: Some professional-grade camcorders may use Firewire or HDMI connections to transfer video to a computer. In this case, you’ll need to ensure that your computer has the necessary ports to accommodate these connections.
Once you’ve established a connection between your camcorder and computer, you’re ready to move on to the next step and begin transferring the video files from your camcorder to your computer’s storage.
Step 3: Transfer the Video Files
With your camcorder successfully connected to your computer, it’s time to initiate the transfer of your video files. The method for transferring the files may vary depending on your operating system and the software available on your computer. Here are the general steps to transfer video files from your camcorder to your computer:
- Locate the Video Files: Once your camcorder is connected, navigate to the storage location of the video files on your camcorder. This may involve accessing the camcorder’s internal storage or the memory card, depending on your device.
- Copy or Import the Files: Depending on your preference and the available options, you can either copy the video files directly from the camcorder to a folder on your computer or use video editing software to import the files into a project for editing.
- Organize the Files: After the transfer is complete, consider organizing the video files into specific folders based on dates, events, or any other categorization that suits your needs. This will make it easier to locate and manage your videos in the future.
- Verify the Transfer: Once the transfer process is finished, take a moment to verify that all the video files have been successfully copied or imported to your computer. It’s essential to ensure that the transfer is complete and that the files are accessible for further editing or viewing.
By following these steps, you can seamlessly transfer your video files from your camcorder to your computer, setting the stage for the next phase of organizing and editing your precious footage.
Step 4: Organize and Edit Your Videos
Now that your video files are safely transferred to your computer, it’s time to embark on the exciting journey of organizing and editing your footage. Here’s how you can effectively manage and enhance your videos:
- Organize Your Video Library: Create a systematic folder structure on your computer to organize your videos. You can categorize them by date, event, or any other relevant criteria. This will make it easier to locate specific videos when you need them.
- Choose a Video Editing Software: If you plan to edit your videos, consider using a reliable video editing software. There are various options available, ranging from user-friendly programs for beginners to professional-grade software for advanced editing capabilities.
- Edit Your Videos: Dive into the world of video editing and unleash your creativity. Trim unnecessary footage, add transitions, incorporate music or voiceovers, and apply visual effects to enhance the overall quality of your videos.
- Save and Backup Your Projects: As you make progress with editing, remember to save your projects regularly to avoid losing any changes. Additionally, create backups of your edited videos to prevent accidental loss of your hard work.
- Export and Share Your Masterpieces: Once you’re satisfied with the edits, export your videos in the desired format and share them with friends, family, or your online audience. You can also upload them to video-sharing platforms or social media to showcase your creativity.
By organizing and editing your videos, you can transform raw footage into captivating stories that preserve cherished memories or convey compelling narratives. Embrace the creative process and let your imagination guide you as you craft engaging videos that leave a lasting impression.
Conclusion
Congratulations! You’ve successfully navigated the process of transferring videos from your camcorder to your computer and have embarked on the exciting journey of organizing and editing your precious footage. By following the steps outlined in this guide, you’ve gained the skills to preserve and enhance your videos, whether they capture cherished family moments, adventurous travel experiences, or creative storytelling endeavors.
As you continue to explore the realm of digital video editing, remember that the possibilities are endless. Embrace your creativity, experiment with different editing techniques, and let your unique storytelling style shine through in your videos.
Whether you’re a novice enthusiast or a seasoned videographer, the ability to upload video from a camcorder to a computer opens up a world of opportunities for sharing, preserving, and enhancing your visual narratives. From creating captivating family montages to producing professional-quality content, your newfound skills empower you to bring your video visions to life.
Now, armed with the knowledge and tools to transfer, organize, and edit your videos, you’re ready to embark on a captivating journey of visual storytelling. So, fire up your editing software, unleash your imagination, and let your videos become a testament to the moments and stories that matter most to you.