Introduction
So, you've captured some amazing moments with your camcorder, and now you're eager to turn them into a captivating video using Windows Movie Maker. This user-friendly software allows you to edit, enhance, and transform your raw footage into a polished masterpiece. Whether it's a family vacation, a birthday celebration, or a creative project, Movie Maker provides the tools you need to bring your vision to life.
In this guide, we'll walk you through the process of downloading your camcorder videos to Movie Maker, offering step-by-step instructions to ensure a seamless transition from recording to editing. By the end of this tutorial, you'll be equipped with the knowledge and skills to effortlessly import, edit, and export your videos, resulting in a professional-quality production that you can proudly share with friends, family, or your online audience.
Before we dive into the technical details, it's important to ensure that your camcorder is connected to your computer and that you have the necessary software installed. This guide assumes that you have a basic understanding of your camcorder's functions and that you have already installed Windows Movie Maker on your computer. If not, take a moment to set up your equipment and software, and then join us as we embark on this exciting video editing journey.
Now, let's get ready to unleash your creativity and transform your raw footage into a captivating visual story. With our guidance, you'll soon be navigating Movie Maker with confidence, making the most of its features, and crafting videos that leave a lasting impression. It's time to breathe life into your footage and create something truly extraordinary. Let's begin!
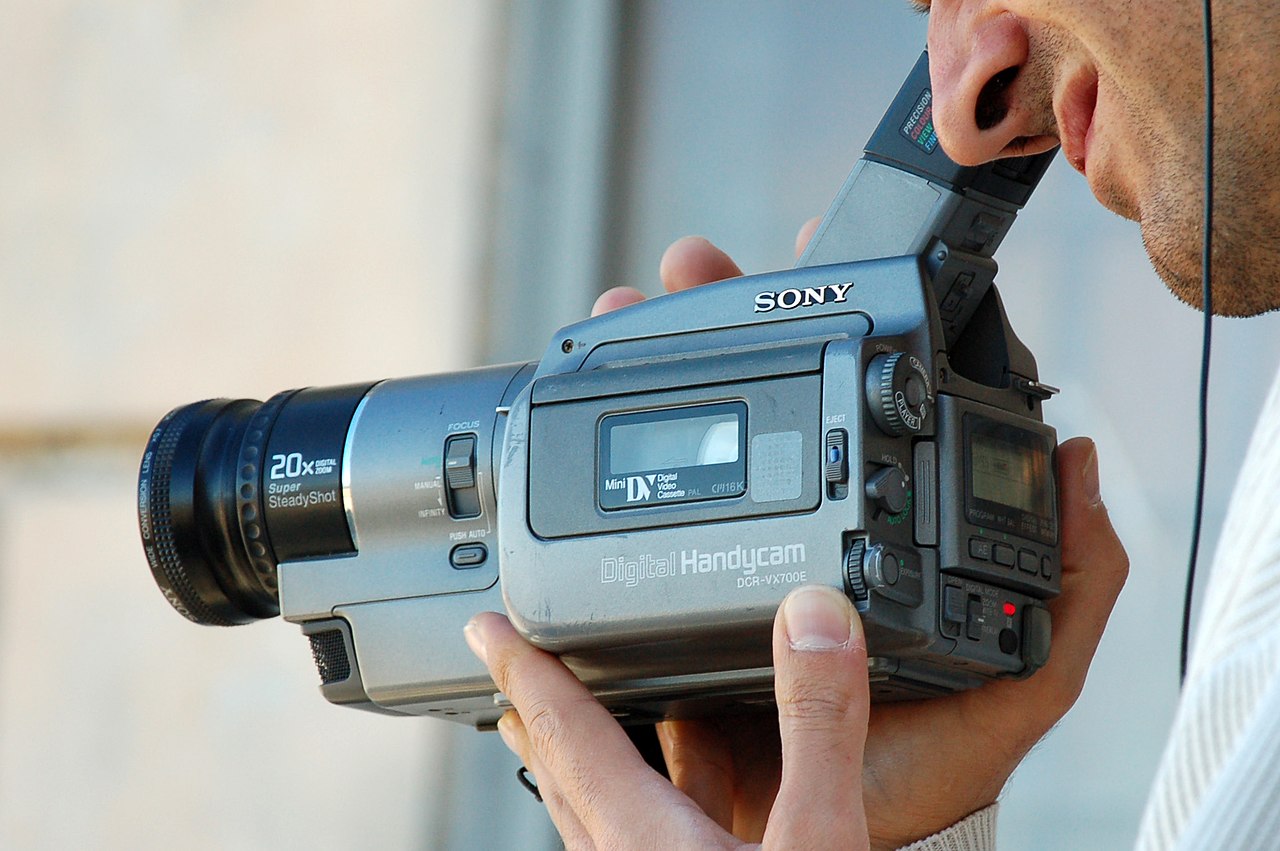
Step 1: Connect Your Camcorder to Your Computer
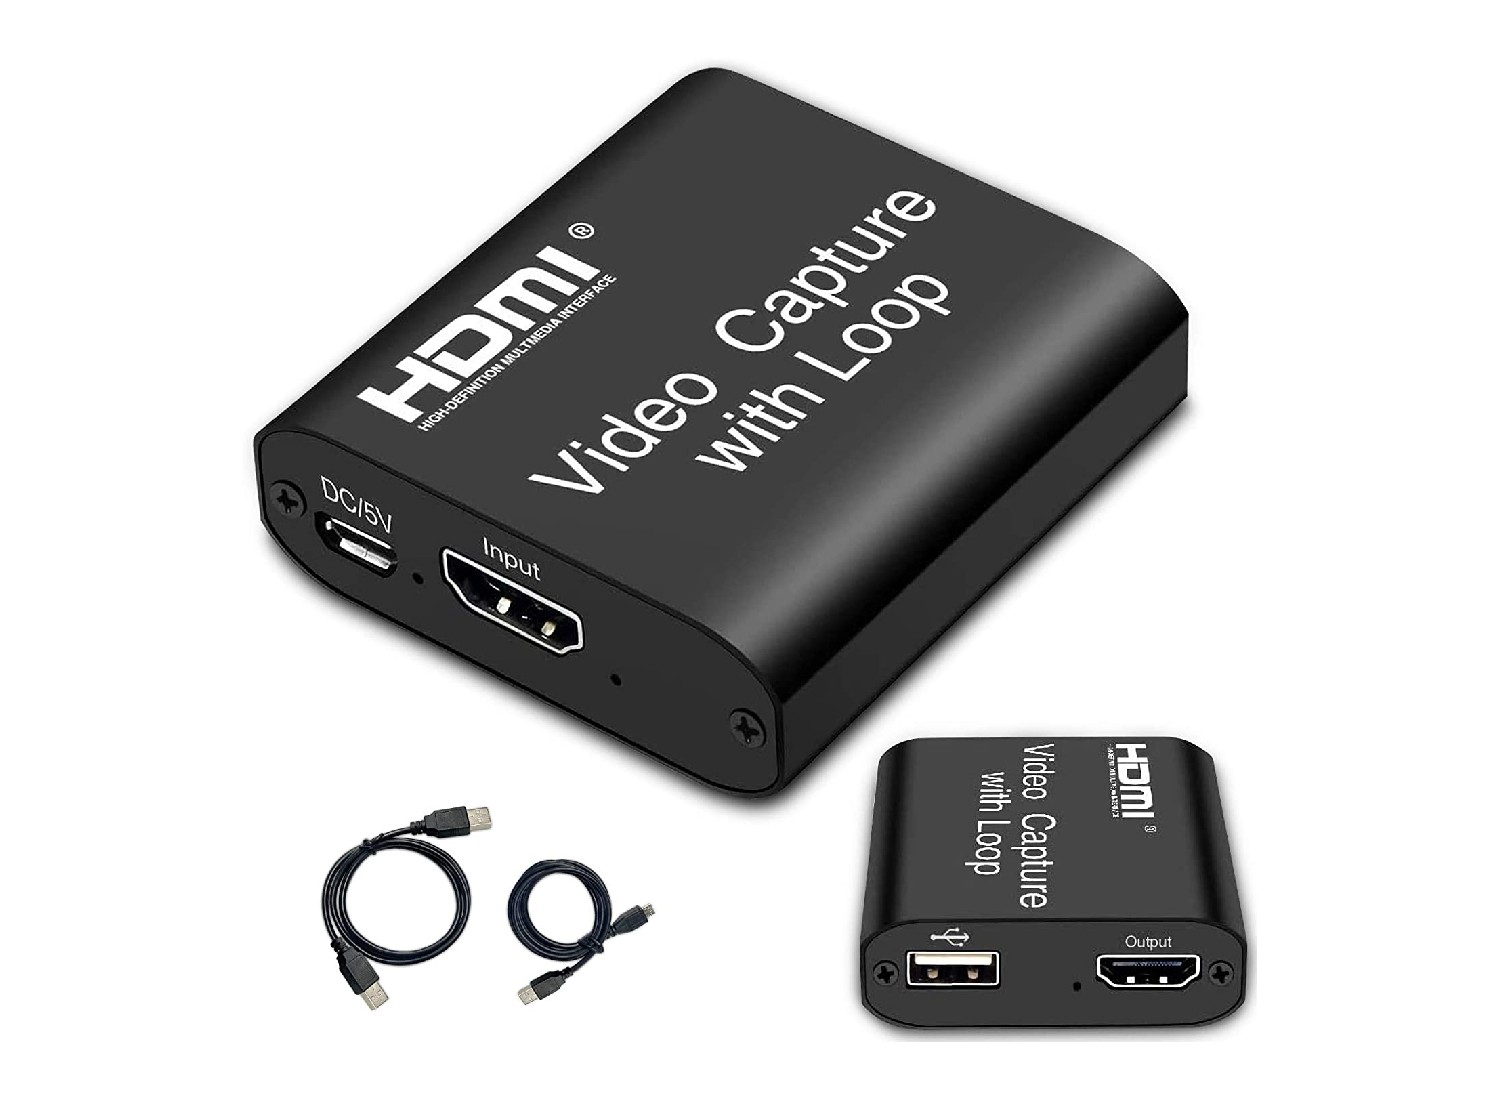
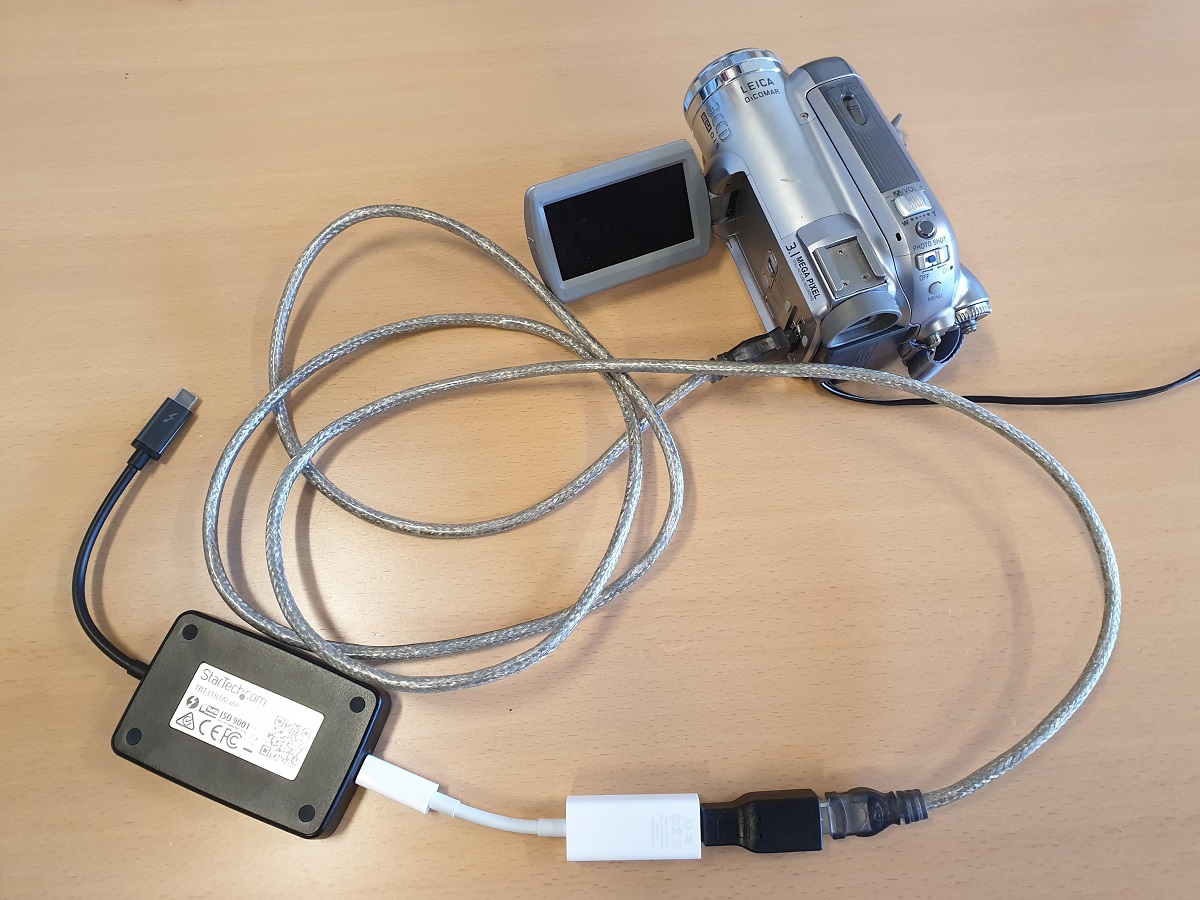
Before you can start editing your camcorder videos in Movie Maker, you need to establish a connection between your camcorder and your computer. This allows you to transfer the video files from your camcorder to your computer, making them accessible for editing. Here’s a step-by-step guide to help you through the process:
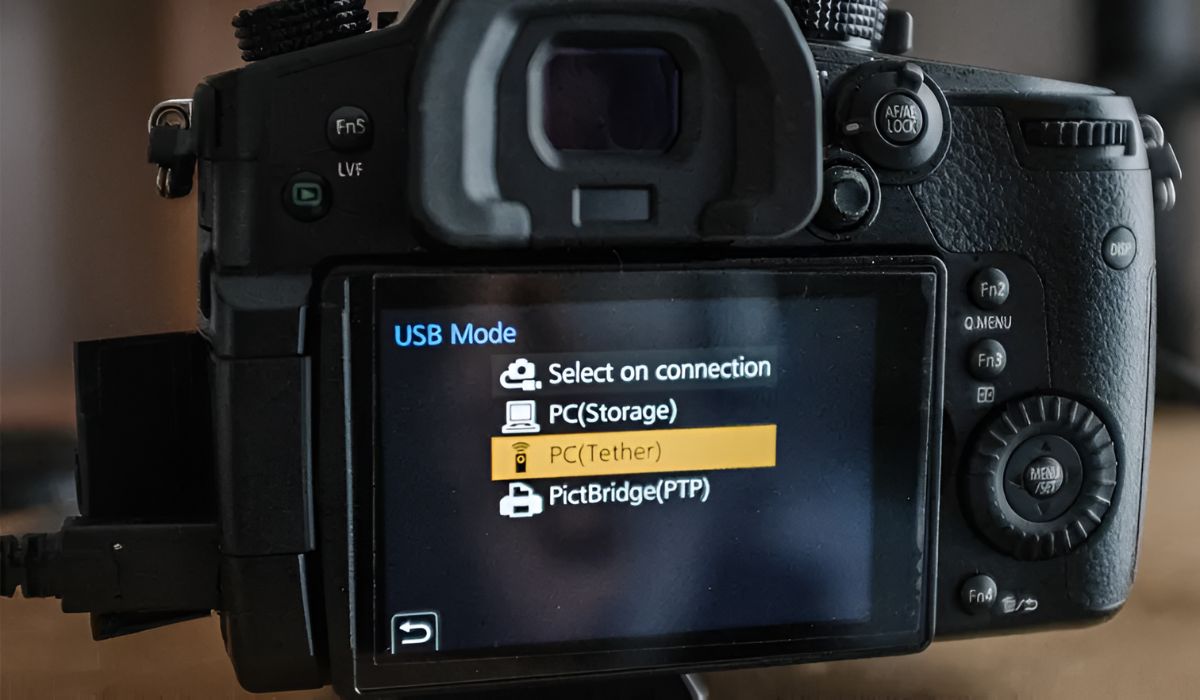
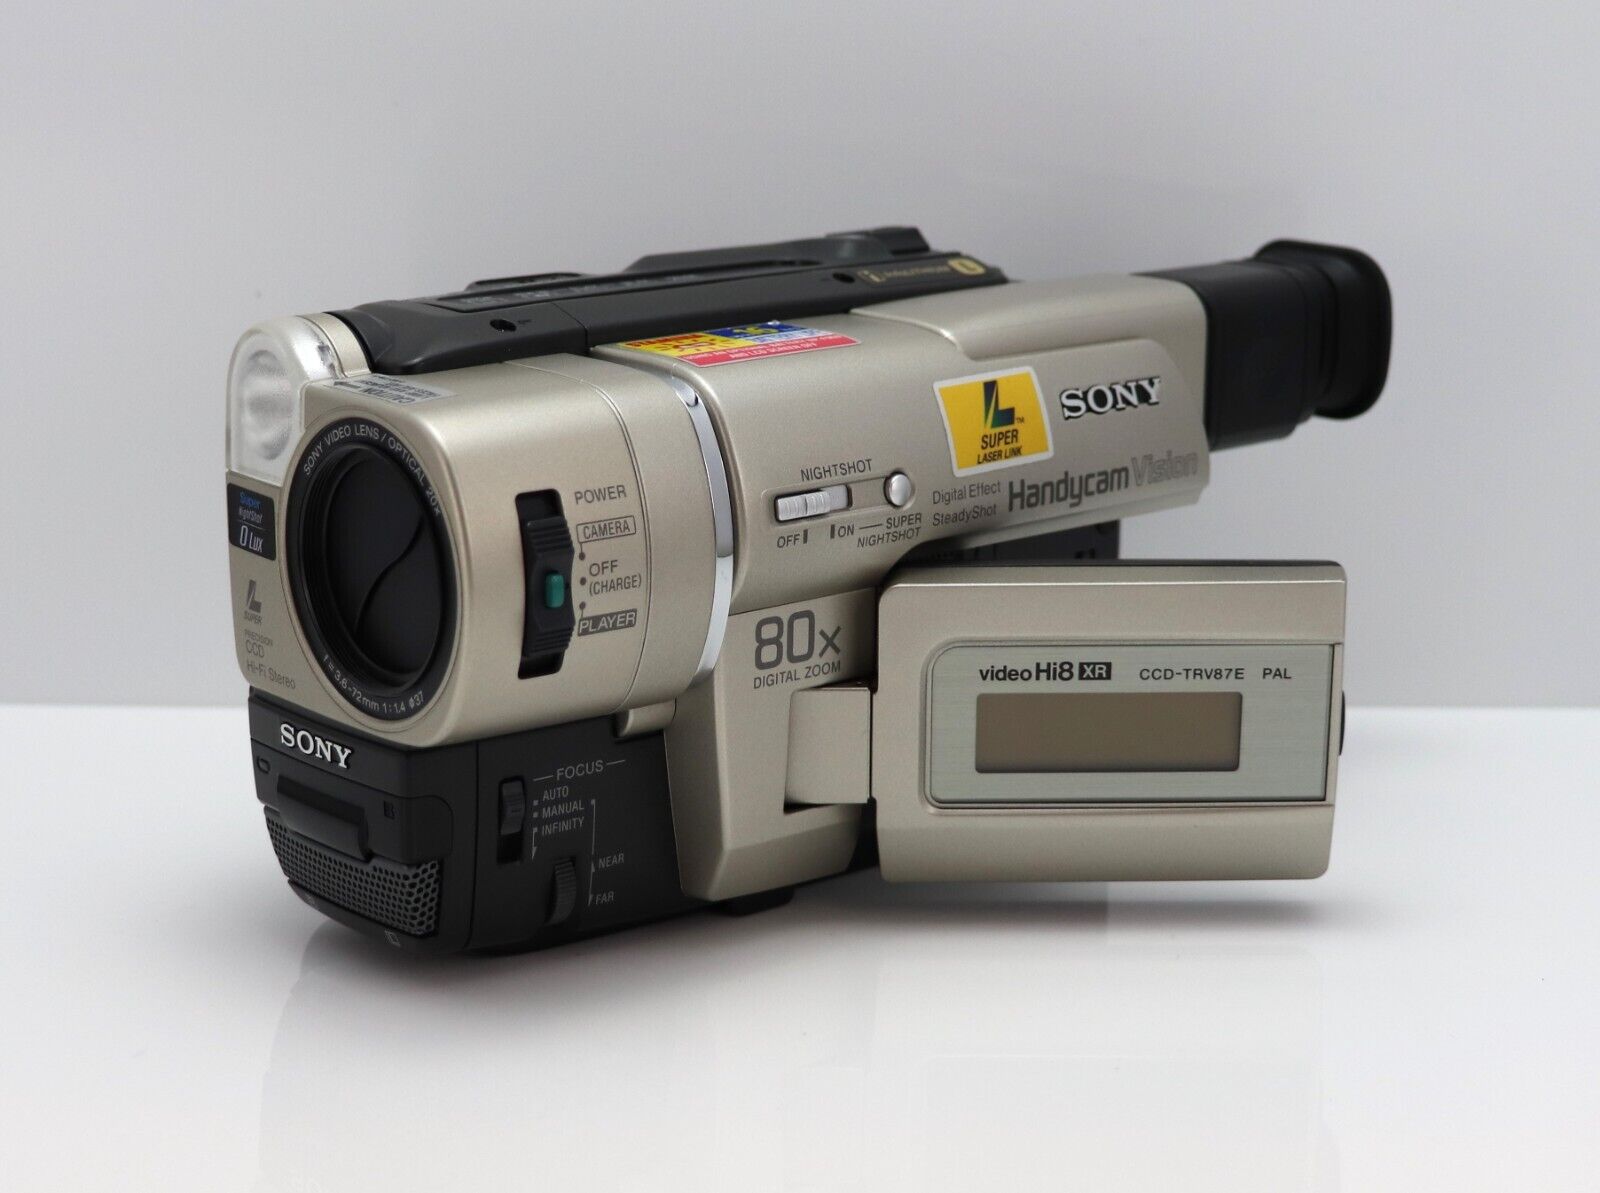
- Prepare Your Camcorder: Ensure that your camcorder is powered on and in the appropriate mode for file transfer. Some camcorders have a specific “PC” or “USB” mode for connecting to a computer. Refer to your camcorder’s manual for instructions on how to enable this mode.
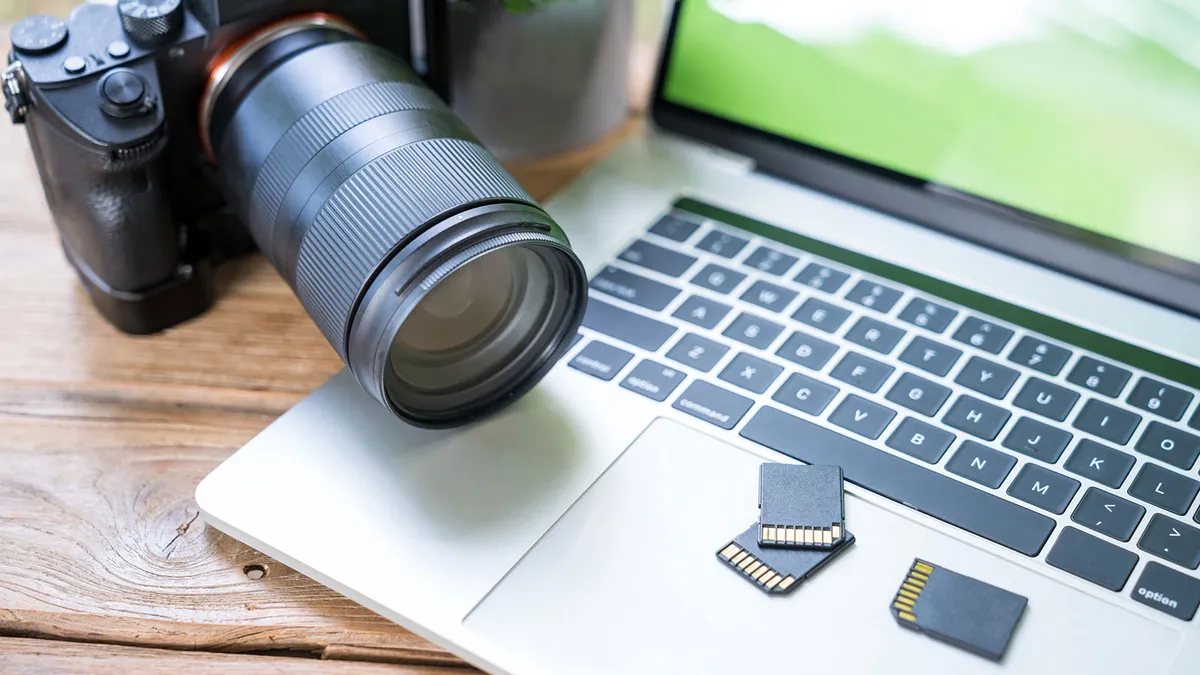
- Connect the Camcorder to Your Computer: Using the provided USB cable, connect your camcorder to a USB port on your computer. Once connected, your computer should recognize the camcorder as an external storage device.
- Access the Video Files: Navigate to the folder or location on your camcorder where the video files are stored. This may vary depending on your camcorder’s file structure. Look for a folder labeled “Videos” or a similar directory where your recorded videos are stored.
- Transfer the Video Files: Select the video files you want to edit in Movie Maker and copy them to a folder on your computer. This process may involve dragging and dropping the files or using the copy-paste function, depending on your computer’s operating system.
Once the video files are successfully transferred to your computer, you’re ready to move on to the next step: importing the videos into Windows Movie Maker. This seamless transfer process ensures that your raw footage is readily available for editing, allowing you to unleash your creativity and transform your videos into captivating visual stories.
By following these simple steps, you can establish a direct connection between your camcorder and your computer, paving the way for a smooth transition from recording to editing. With your video files securely transferred, you’re now poised to explore the diverse editing capabilities of Movie Maker and craft compelling narratives that resonate with your audience.
Step 2: Import Videos to Movie Maker
With your camcorder videos successfully transferred to your computer, it’s time to import them into Windows Movie Maker, where you can begin the creative process of editing and enhancing your footage. Follow these straightforward steps to seamlessly import your videos into the software:
- Launch Windows Movie Maker: Open the Movie Maker application on your computer. If you’ve recently installed the software, you can typically find it in your list of installed programs or by searching for “Movie Maker” in the Windows search bar.
- Create a New Project: Once Movie Maker is open, create a new project by clicking on the “File” menu and selecting “New Project.” This action initializes a new editing workspace where you can begin assembling your video.
- Import Your Video Files: Locate the “Import” or “Add Videos and Photos” option within Movie Maker’s interface. Click on this feature to open a file browser window, allowing you to navigate to the folder where your transferred camcorder videos are stored.
- Select and Import Videos: In the file browser window, browse through your computer’s folders to find the location where you saved your camcorder videos. Once located, select the videos you wish to import into Movie Maker and click “Open” or a similar command to initiate the import process.
- Verify Successful Import: After importing your videos, you should see them displayed within Movie Maker’s workspace, ready for editing. The imported videos will appear as clips in the timeline or storyboard view, allowing you to arrange and manipulate them as needed.
By following these steps, you can seamlessly import your camcorder videos into Movie Maker, setting the stage for a seamless editing experience. With your videos now integrated into the software, you have the freedom to explore Movie Maker’s array of editing tools, transitions, effects, and audio options to craft a compelling visual narrative.
As you embark on this creative journey, remember that Movie Maker offers a user-friendly interface designed to empower creators of all skill levels. Whether you’re a novice or an experienced editor, the software provides a versatile platform for transforming your raw footage into polished, professional-quality videos that captivate and inspire your audience.
Step 3: Edit Your Videos
Now that your camcorder videos are imported into Windows Movie Maker, it’s time to unleash your creativity and begin the editing process. Movie Maker offers a range of intuitive tools and features that empower you to enhance your videos, add visual effects, incorporate transitions, and fine-tune the overall presentation. Here’s a step-by-step guide to editing your videos in Movie Maker:
- Arrange Your Clips: In Movie Maker’s editing workspace, arrange your imported video clips in the desired sequence on the timeline or storyboard view. This allows you to establish the flow and structure of your video project.
- Trim and Split Footage: Use Movie Maker’s editing tools to trim the beginnings and endings of your video clips, removing any unwanted footage. You can also split clips to isolate specific segments for targeted editing.
- Add Visual Effects: Enhance your videos by applying visual effects such as filters, color corrections, and cinematic styles. Movie Maker offers a selection of effects that can dramatically transform the look and feel of your footage.
- Incorporate Transitions: Seamlessly transition between video clips by adding dynamic transitions. Movie Maker provides a variety of transition effects to add polish and continuity to your video project.
- Integrate Audio: Enhance the auditory experience of your videos by adding background music, sound effects, or voiceovers. Movie Maker allows you to import audio files and adjust their placement and timing within your project.
- Apply Text and Titles: Add context and visual interest to your videos by including text overlays and titles. Movie Maker offers customizable text options, allowing you to convey information or reinforce the narrative of your footage.
- Preview and Refine: Review your edited video project within Movie Maker to ensure a cohesive and engaging presentation. Make any necessary adjustments to timing, effects, or transitions to achieve your desired visual storytelling.
As you navigate through the editing process, remember that Movie Maker prioritizes user-friendly functionality, making it accessible for creators of all skill levels. Whether you’re refining a family vacation video or producing a creative project, the software empowers you to bring your vision to life with precision and artistry.
By leveraging Movie Maker’s versatile editing capabilities, you have the opportunity to transform your raw footage into a compelling visual narrative that resonates with your audience. Embrace the creative freedom that Movie Maker offers, and let your imagination guide you as you craft videos that leave a lasting impression.
Step 4: Save and Export Your Project
After investing your creativity and effort into editing your videos in Windows Movie Maker, it’s vital to save and export your project to preserve your work and prepare it for sharing with others. Movie Maker offers straightforward options for saving your project and exporting it into a format suitable for various platforms. Follow these essential steps to complete the final stages of your video editing journey:
- Save Your Project: Before exporting your video, it’s prudent to save your project within Movie Maker. Click on the “File” menu and select “Save Project” to ensure that your editing progress is securely stored. This step safeguards your work and allows you to revisit and make additional edits in the future.
- Choose Export Settings: Navigate to the “File” menu and select “Save Movie” or “Export” to access the export options in Movie Maker. Here, you can choose the desired quality settings, file format, and destination for your exported video.
- Select Export Destination: Specify the location on your computer where you want to save the exported video file. Choose a folder or directory that is easily accessible and well-organized for future reference.
- Export Your Video: Once the export settings and destination are configured, initiate the export process by clicking on the “Save” or “Export” button. Movie Maker will then render your edited project into a standalone video file based on your specified settings.
- Verify Export Completion: After the export process is complete, navigate to the designated export destination to confirm that your video file has been successfully created. Play back the exported video to ensure that it meets your expectations in terms of quality and content.
By following these steps, you can securely save your project and export your edited video from Movie Maker, ready to be shared with your intended audience. Whether you’re planning to upload your video to a social media platform, share it with friends and family, or incorporate it into a larger creative project, Movie Maker equips you with the tools to finalize and distribute your visual masterpiece.
As you complete the export process, take a moment to celebrate your accomplishment and the creative journey you’ve undertaken. Your efforts in editing and refining your videos have culminated in a polished, professional-quality production that reflects your unique vision and storytelling prowess.