The manual eject screw is located behind a vent or a removable glossy panel on the left side of the console, but its exact access point differs between the original PS4, the Slim, and the Pro.
PS4 eject screw on the original launch model
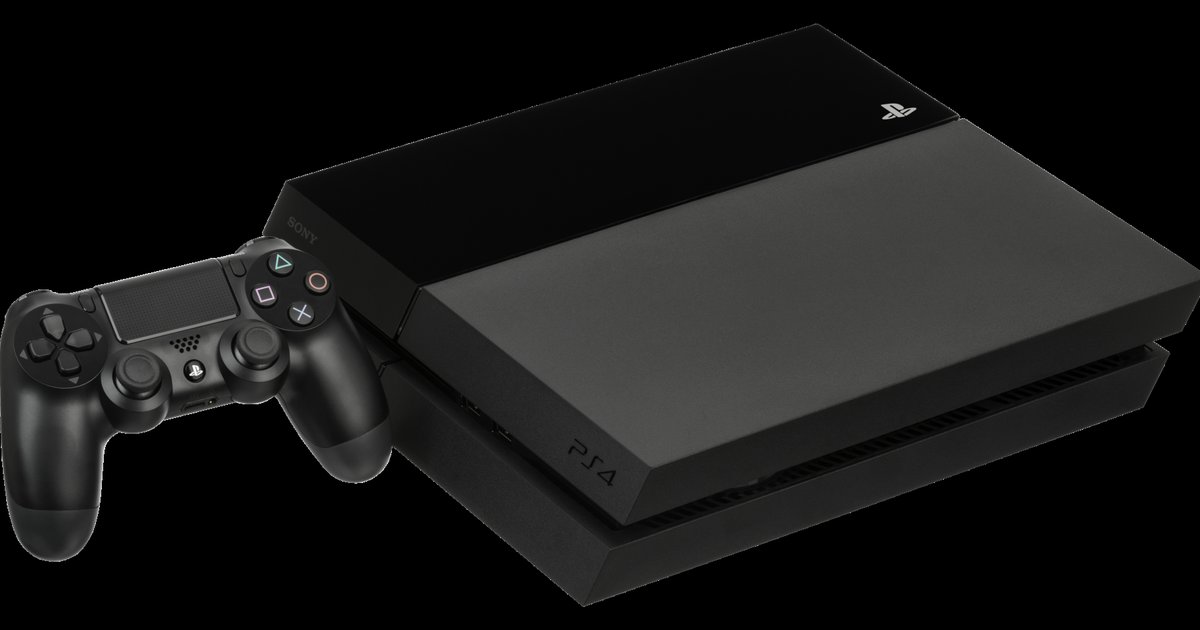
On the original PS4 (model CUH-1000 and CUH-1100 series), the manual eject screw sits behind the left-side glossy panel. To access it, place the console horizontally with the disc slot facing you. Locate the glossy, piano-black panel on the left side of the console, this panel is separate from the matte top cover. Gently slide that glossy panel toward the front of the console until it pops off. Underneath, near the disc slot opening, you will see a small Phillips-head screw. Turn it anti-clockwise with a #0 or #1 screwdriver; you should feel resistance as the gear engages and the disc ejects. If you need to fully reset the system’s disc drive mechanism after this, you can reset your PlayStation 4. Once the drive is working again, you can download games on PS4 to avoid future disc-read errors entirely.
PS4 slim
For the PS4 Slim (model CUH-2000 series), the manual eject screw is on the underside of the console, directly above the PlayStation logo. Place the console upside down with the PlayStation logo facing away from you. Directly above the PlayStation logo on the underside, you will find the manual eject hole. Shine a flashlight into that hole, and you will see the silver screw head inside. Use a long, thin Phillips-head screwdriver (a #00 works best) to turn the screw anti-clockwise. If the disc does not eject after several turns, remember that a full system reset from the Settings menu under Initialization will not fix a mechanical jam. The screw is your hardware solution here.
PS4 pro
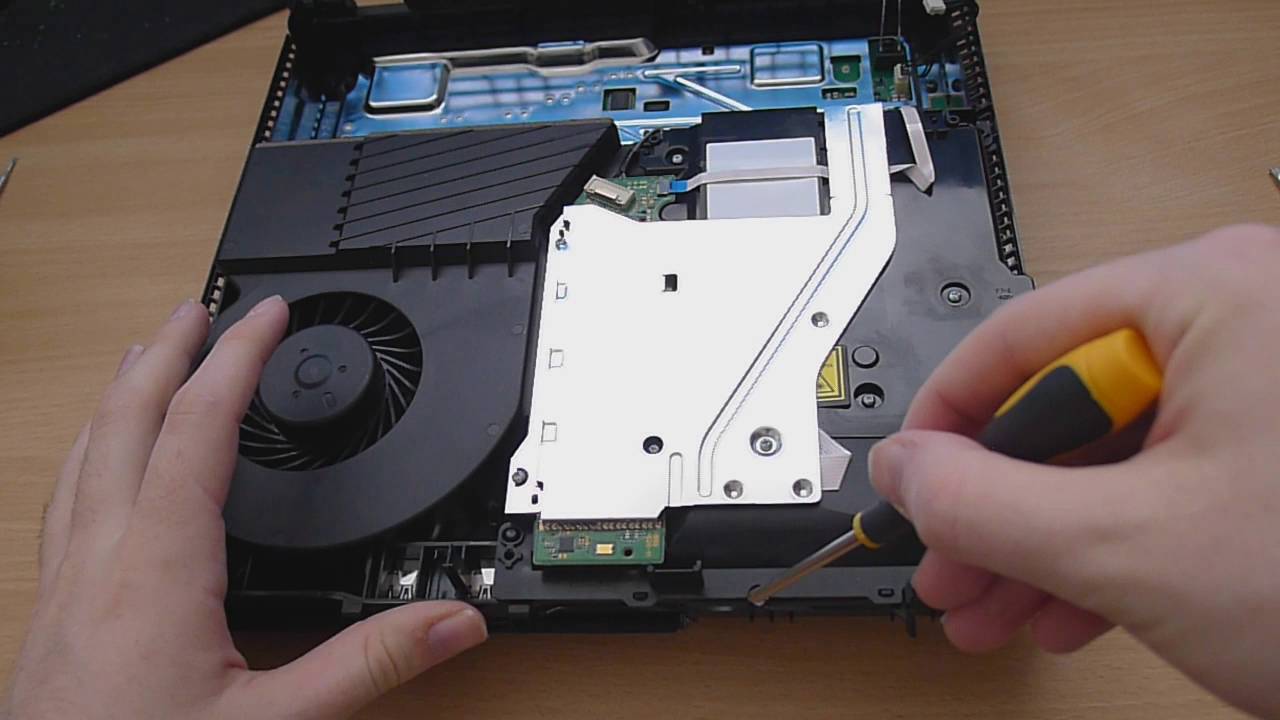
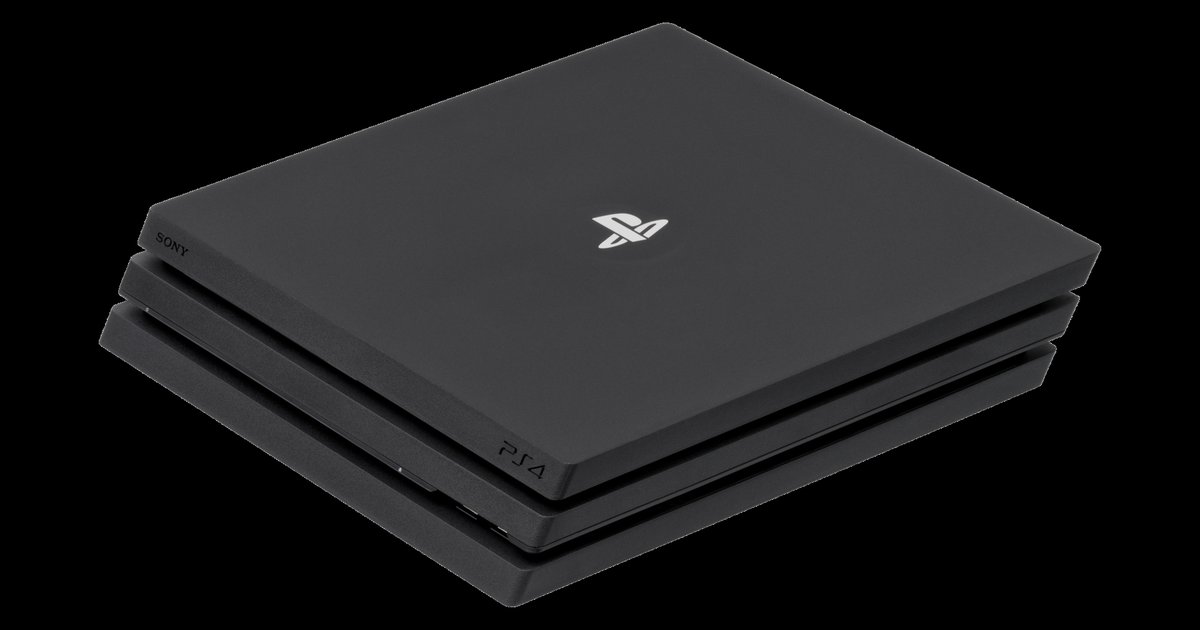
On the PS4 Pro (model CUH-7000 series), the manual eject screw is on the underside of the console. Insert a screwdriver into the manual eject hole and turn the screw anti-clockwise to manually eject the stuck disc. If the screw turns freely without moving the disc, stop immediately; the internal gear has likely skipped. For deeper access, you can follow a guide on how to take apart PlayStation 4, but only if you are comfortable removing the top cover and drive assembly.
When the screw does not work
If the manual eject screw turns endlessly without ejecting the disc, the internal gear has likely skipped, and you should stop to avoid stripping the mechanism. Continuing to turn the screw can damage the plastic gear teeth, making professional repair harder. At this point, the most reliable fix is to partially disassemble the console to realign the eject assembly. Unlike a simple disc removal, this process requires physically repositioning internal components that have fallen out of alignment. If you decide to proceed, remember that you can download the update file for reinstallation from PlayStation.com after reassembling the system, and you may need to factory reset a PlayStation 4 to clear any drive-related errors. Do not force the screw beyond its natural stopping point, once the gear skips, only manual intervention on the internal mechanism will resolve the jam.