Introduction
Welcome to our guide on how to fix a loose HDMI port on your Xbox One. If you’ve experienced issues with your HDMI connection, such as intermittent signal dropouts or poor video quality, a loose port may be to blame. Luckily, you don’t have to be a technical expert to resolve this problem – with the right tools and a little know-how, you can quickly and easily secure your HDMI port and restore optimal performance to your gaming console.
One of the most common causes of a loose HDMI port on the Xbox One is continuous plugging and unplugging of the HDMI cable. Over time, this can weaken the connection and lead to a wobbly or unstable port. Additionally, accidental tugs or bumps to the cable can also contribute to a loose HDMI port.
If left untreated, a loose HDMI port can result in frustrating gaming experiences, video playback issues, and a generally unreliable connection. However, by following the steps outlined in this guide, you can fix the problem and ensure a solid, secure connection for uninterrupted gaming sessions.
Before we dive into the step-by-step process, it’s important to note that certain precautions must be taken to ensure your safety and avoid potential damage to your Xbox One. We highly recommend familiarizing yourself with these safety measures before attempting any repairs.
So, if you’re ready to take matters into your own hands and put an end to that pesky loose HDMI port, let’s get started with the necessary safety precautions to keep in mind before proceeding with the fix.
Common Signs of a Loose HDMI Port
Identifying the signs of a loose HDMI port is crucial in troubleshooting and resolving the issue effectively. Here are some common indicators that your Xbox One has a loose HDMI port:
- Intermittent signal dropouts: If you notice that your screen goes black or flashes on and off while playing games or watching videos, it may be a sign of a loose HDMI port. The connection is momentarily lost when the port moves, causing signal interruptions.
- Poor video quality: A loose HDMI port can result in distorted or fuzzy video output. The image may appear blurry, pixelated, or lacking in sharpness. This is due to an unstable connection between the port and the HDMI cable.
- No audio: Sometimes, a loose HDMI connection can lead to a loss of audio output. If you’re experiencing a complete absence of sound while playing games or watching movies, it could be a sign that your HDMI port needs attention.
- Wobbly or unstable port: Physically inspect the HDMI port on your Xbox One. If it feels loose or wiggles when the HDMI cable is inserted, it’s a clear sign that the port is not properly secured. This can result in ongoing connection issues.
- Difficulty in establishing a connection: If you find yourself repeatedly adjusting the HDMI cable to establish a stable connection or having to wiggle it around to get a signal, it’s likely that your HDMI port is loose and needs fixing.
It’s important to note that while these signs are indicative of a loose HDMI port, they don’t necessarily rule out other underlying issues. If you’re experiencing these problems, it’s recommended to follow the steps outlined in this guide to secure your HDMI port. By doing so, you can eliminate this common cause and potentially improve your gaming and viewing experience.
Safety Precautions Before Fixing the HDMI Port
Before diving into the process of fixing a loose HDMI port on your Xbox One, it’s crucial to prioritize safety and take necessary precautions. Please follow these guidelines to protect yourself and your console:
- Power off your Xbox One: Before attempting any repairs, make sure your console is powered off and unplugged from the electrical outlet. This prevents any risk of electrical shock or damage to the internal components.
- Allow your console to cool down: Give your Xbox One sufficient time to cool down, especially if it has been running for an extended period. Component temperature can be quite high, and touching them without cooling down can lead to burns or other injuries.
- Work in a well-lit and clear area: Choose a well-lit area where you have plenty of space to work comfortably. Keep the surroundings clutter-free to avoid accidentally knocking over objects or damaging your console during the repair process.
- Use ESD protection: Protect your console from electrostatic discharge (ESD) by wearing an anti-static wrist strap. This prevents any static electricity from damaging the internal circuitry of your Xbox One.
- Gather the necessary tools: Ensure you have all the required tools, such as a small screwdriver, a soft cloth or microfiber cloth, and any additional components or replacement parts you may need for securing the HDMI port.
- Refer to official guides: If available, consult the official Xbox One user manual or any repair guides provided by the manufacturer. They may contain specific instructions or precautions tailored to your particular console model.
- Proceed with caution: While fixing a loose HDMI port is a relatively simple task, ensure that you work carefully and avoid applying excessive force. Mishandling or using excessive pressure can cause further damage to your console.
By adhering to these safety precautions, you can minimize the risk of accidents and protect both yourself and your Xbox One while troubleshooting and fixing the loose HDMI port.
Tools Required to Fix a Loose HDMI Port
When it comes to fixing a loose HDMI port on your Xbox One, having the right tools can make the process much smoother and more efficient. Here are the essential tools you’ll need to secure the HDMI port:
- Small screwdriver: A small Phillips head screwdriver is typically required to remove any screws that secure the outer casing of your Xbox One. This allows access to the inside of the console where the HDMI port is located.
- Soft cloth or microfiber cloth: Having a soft cloth or microfiber cloth on hand is essential for cleaning the HDMI port and removing any dust, debris, or residue that may be affecting the connection.
- Replacement HDMI port (if necessary): In some cases, the HDMI port may be damaged beyond repair or require replacement. If this is the case, you will need a replacement HDMI port that is compatible with your Xbox One model.
- Soldering iron and solder (optional): If you have experience with soldering and the HDMI port requires soldering to fix loose connections, you may need a soldering iron and solder to secure the connections properly.
- Tweezers (optional): Tweezers can be useful for handling small components or cables with precision and ease during the repair process.
- Electrical tape (optional): If the HDMI port is loose due to a physical issue such as a loose plastic frame, electrical tape can be used to provide additional support and ensure a secure connection.
Before proceeding with the repair, it’s important to ensure that you have all the necessary tools at your disposal. This will help you complete the process seamlessly without any interruptions.
Remember, if you’re not confident in your ability to perform the repair yourself or don’t have the required tools, it’s always advisable to seek assistance from a professional technician or contact the manufacturer for further guidance.
Step-by-Step Guide to Fix a Loose HDMI Port on Xbox One
Now that you’re equipped with the necessary tools and safety precautions, let’s walk through the step-by-step process to fix a loose HDMI port on your Xbox One:
- Power off your Xbox One: Ensure your console is completely powered off and disconnected from any power source.
- Remove the outer casing: Use a small screwdriver to remove any screws securing the outer casing of your Xbox One. Carefully lift off the casing to expose the internal components.
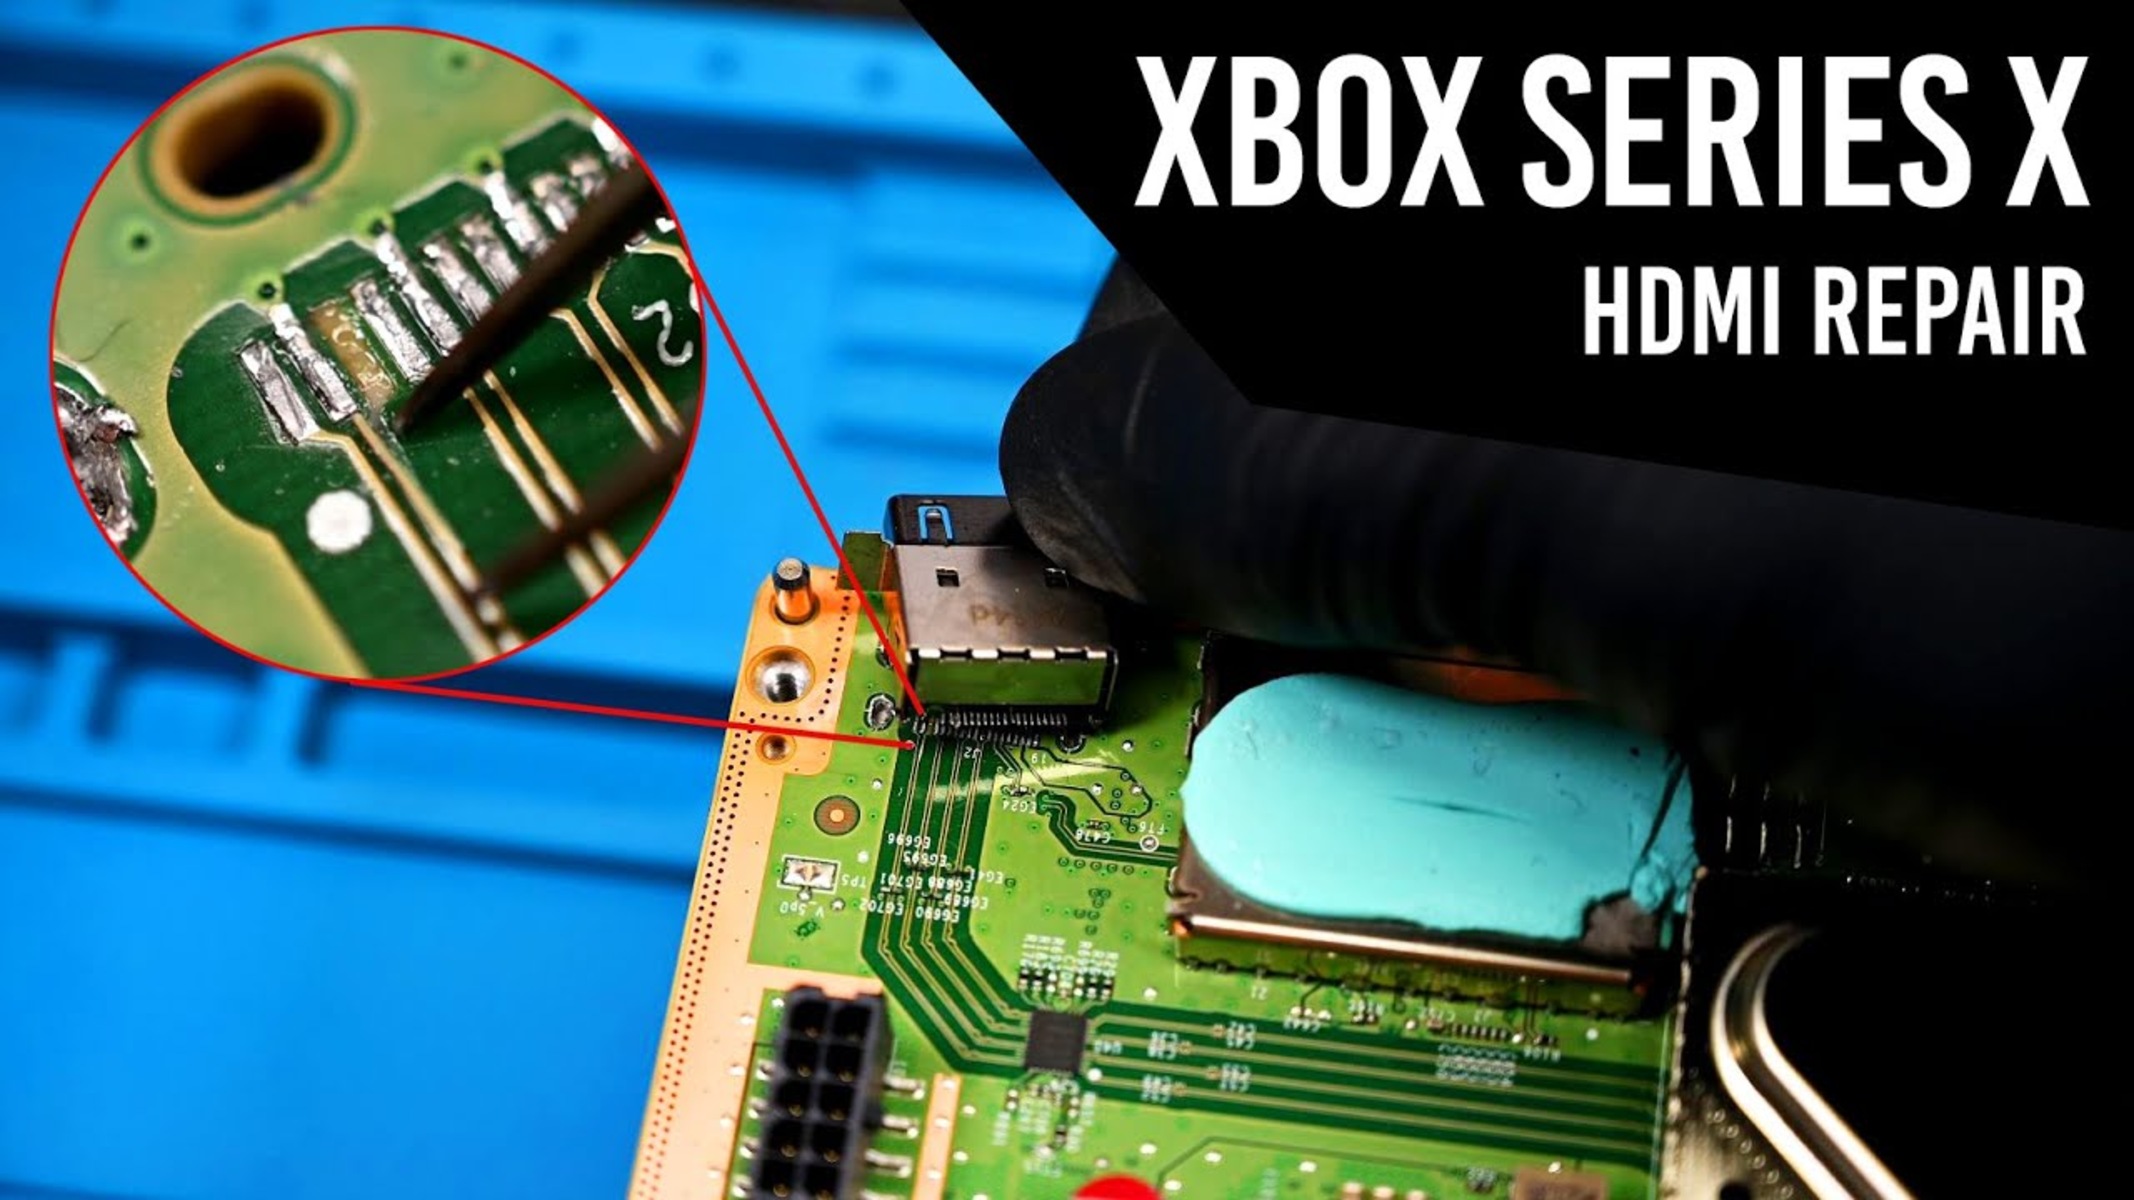
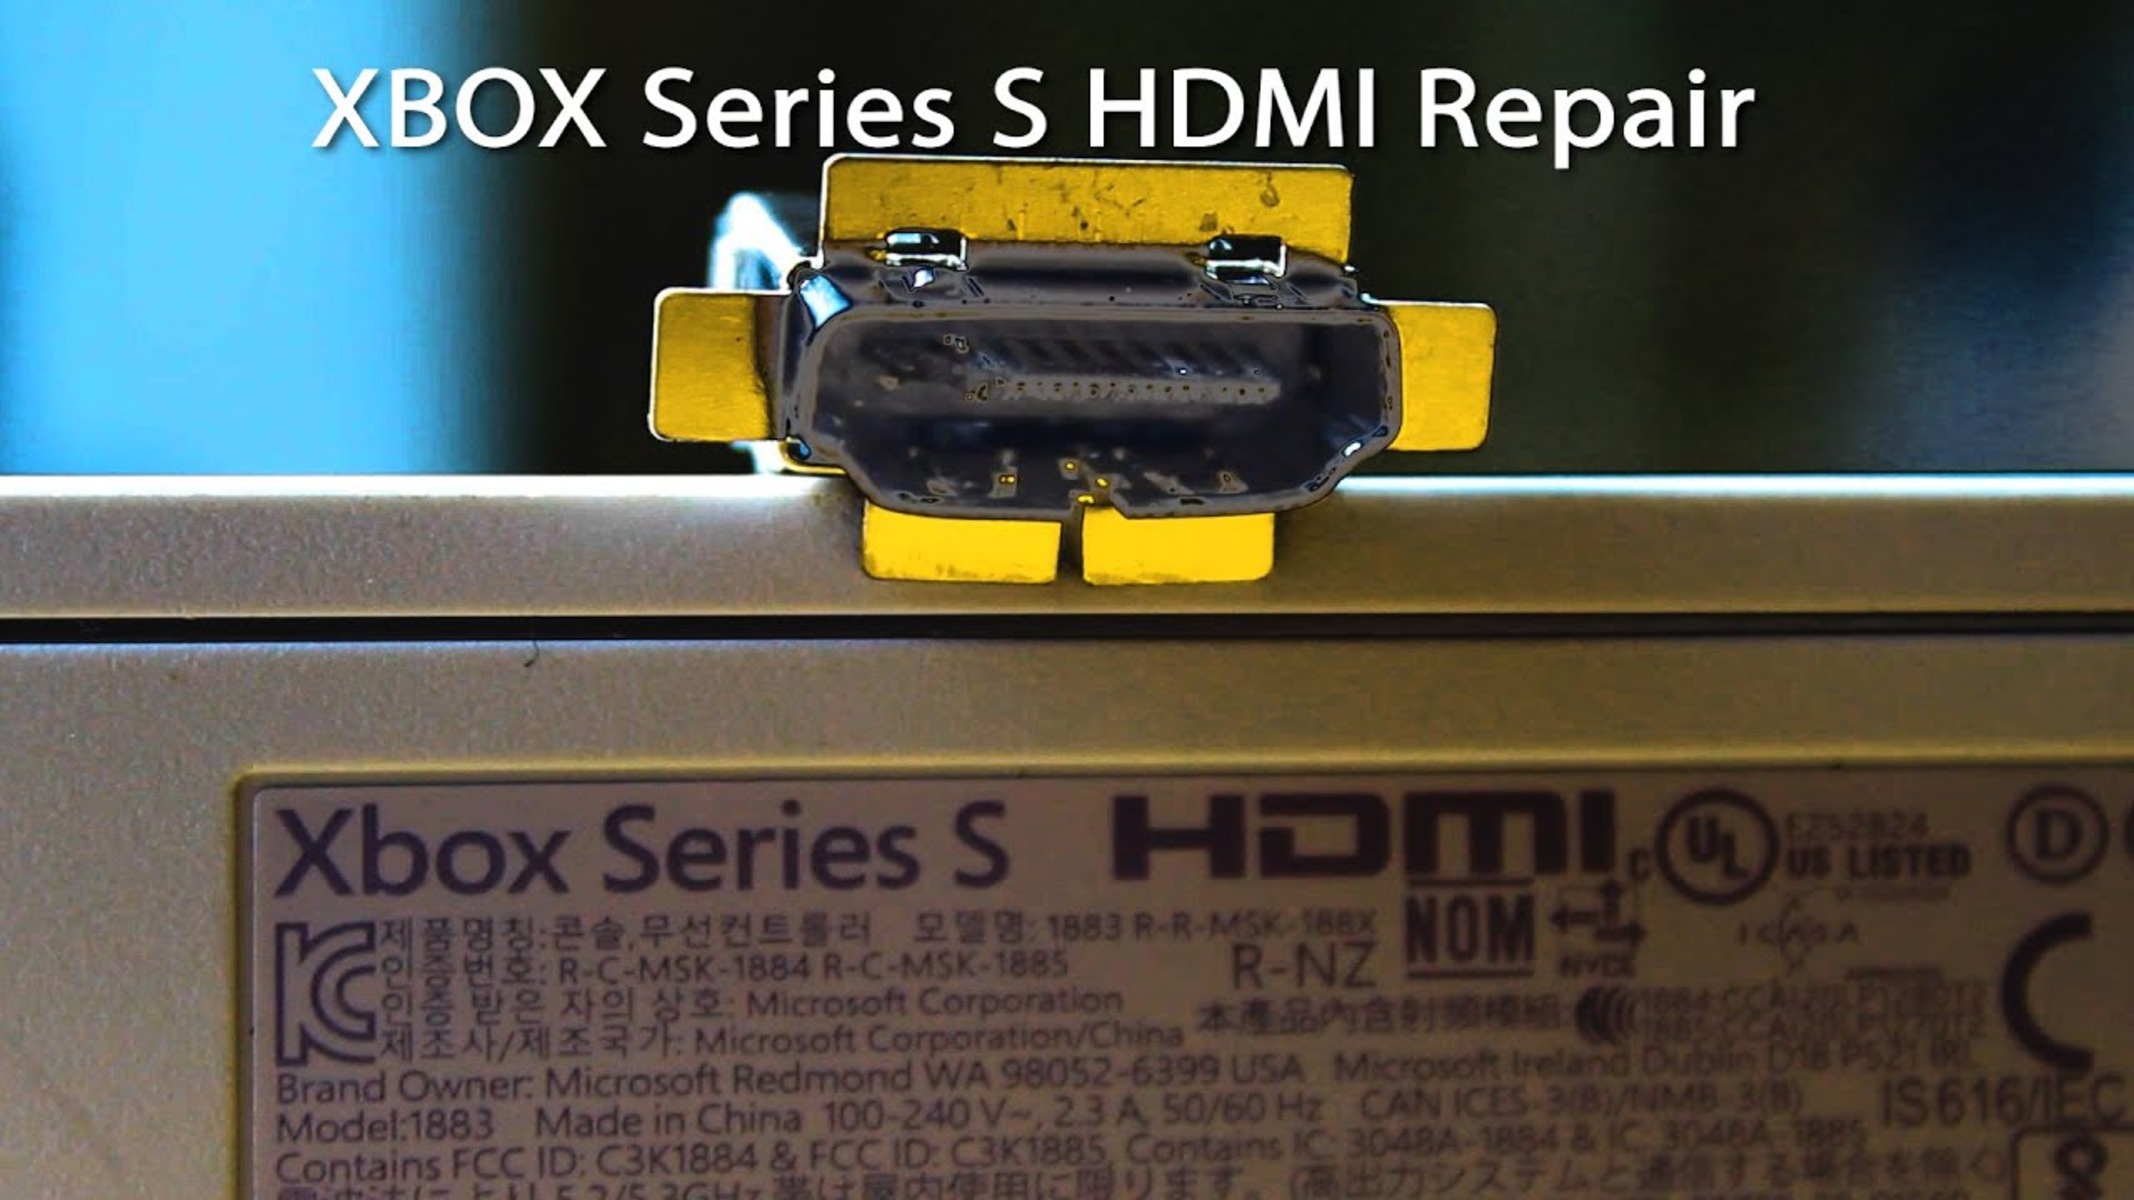
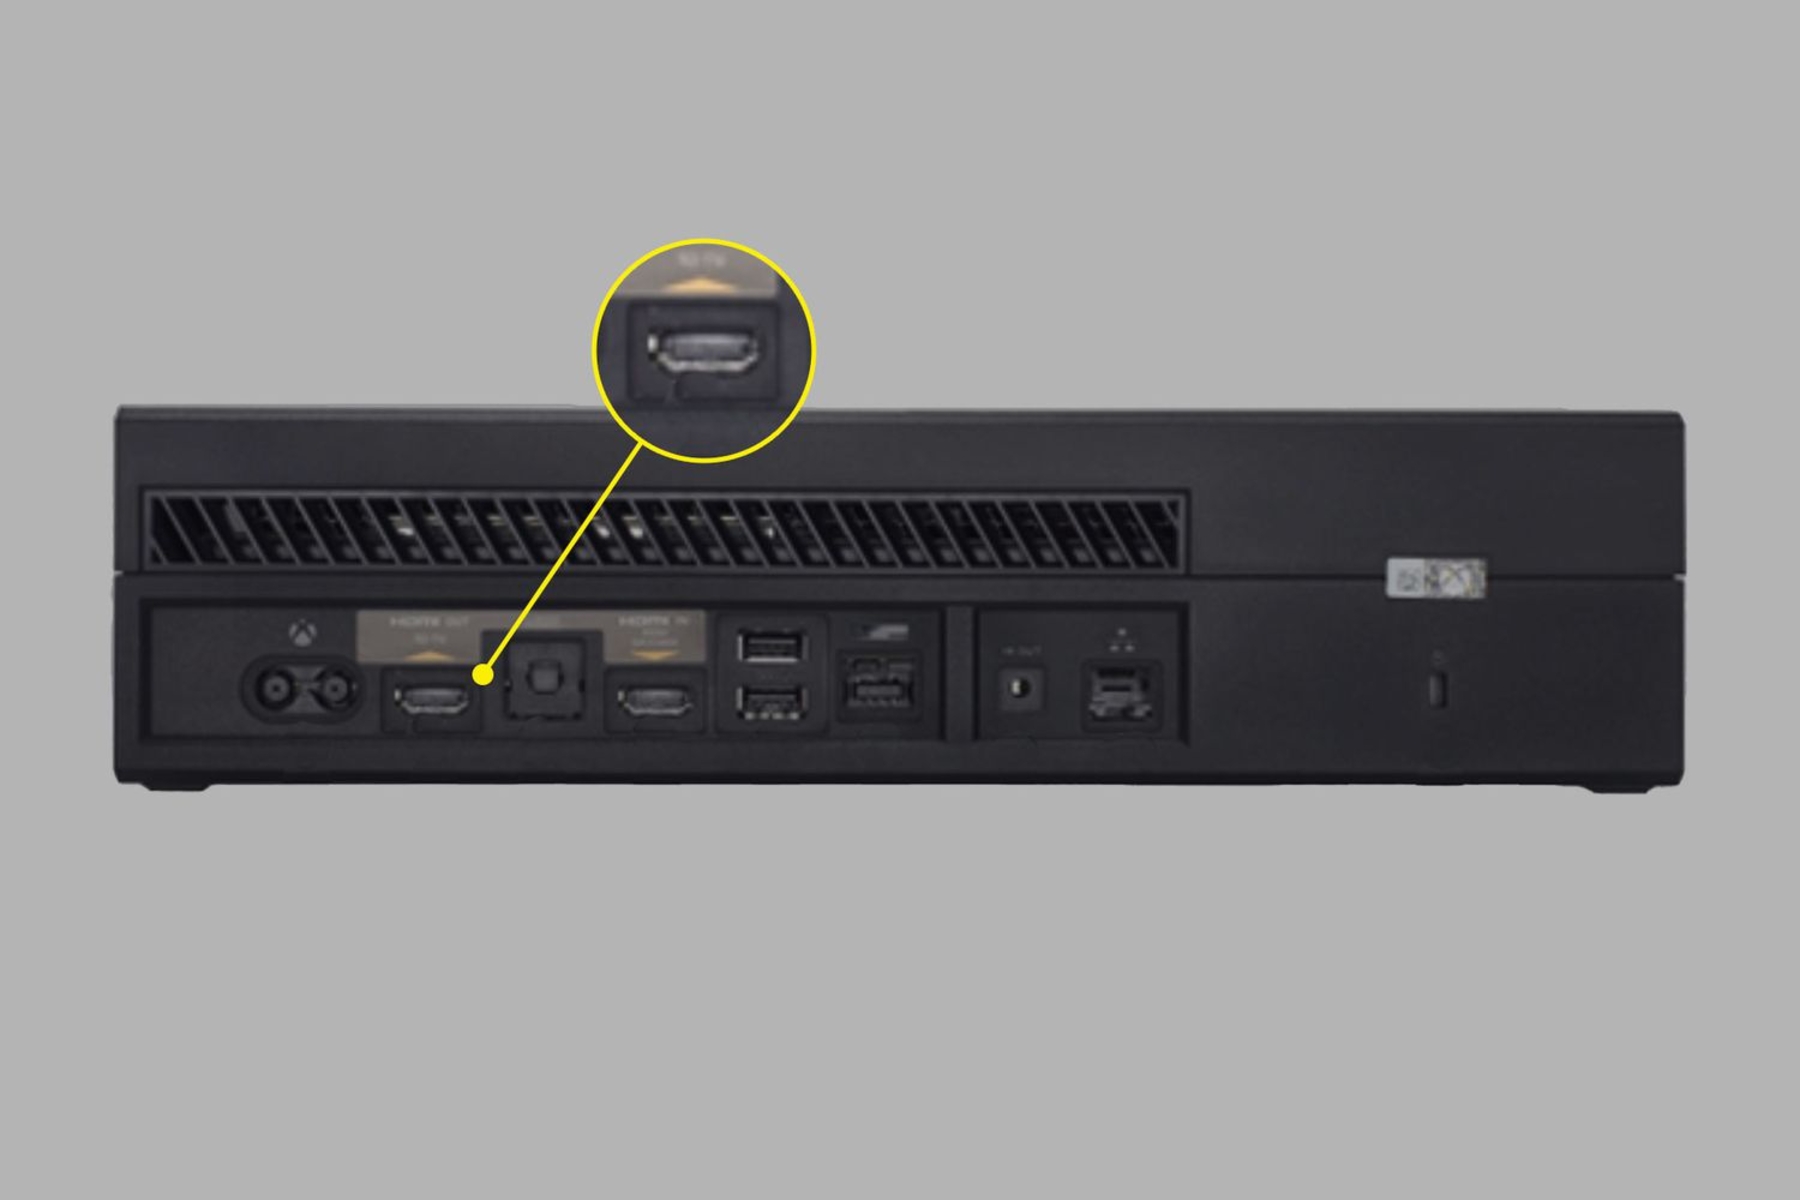
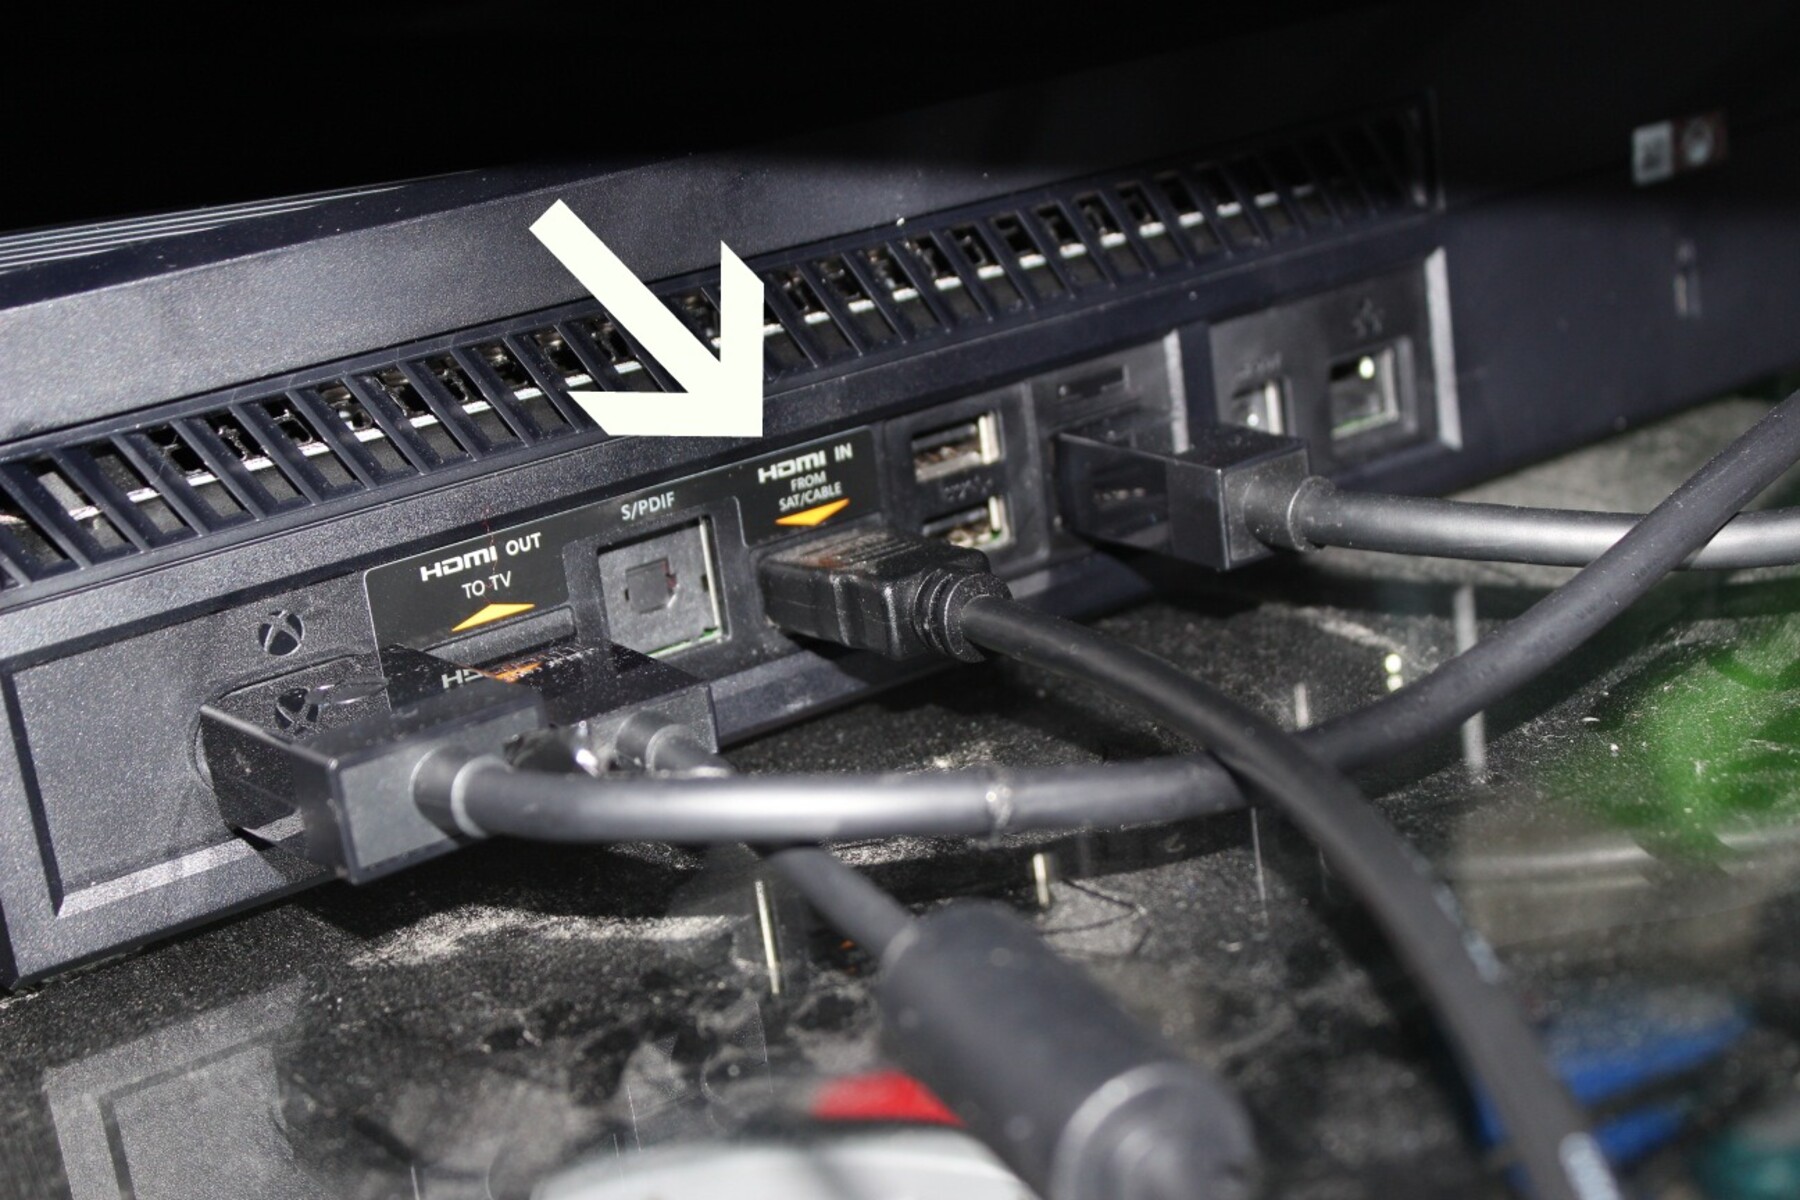
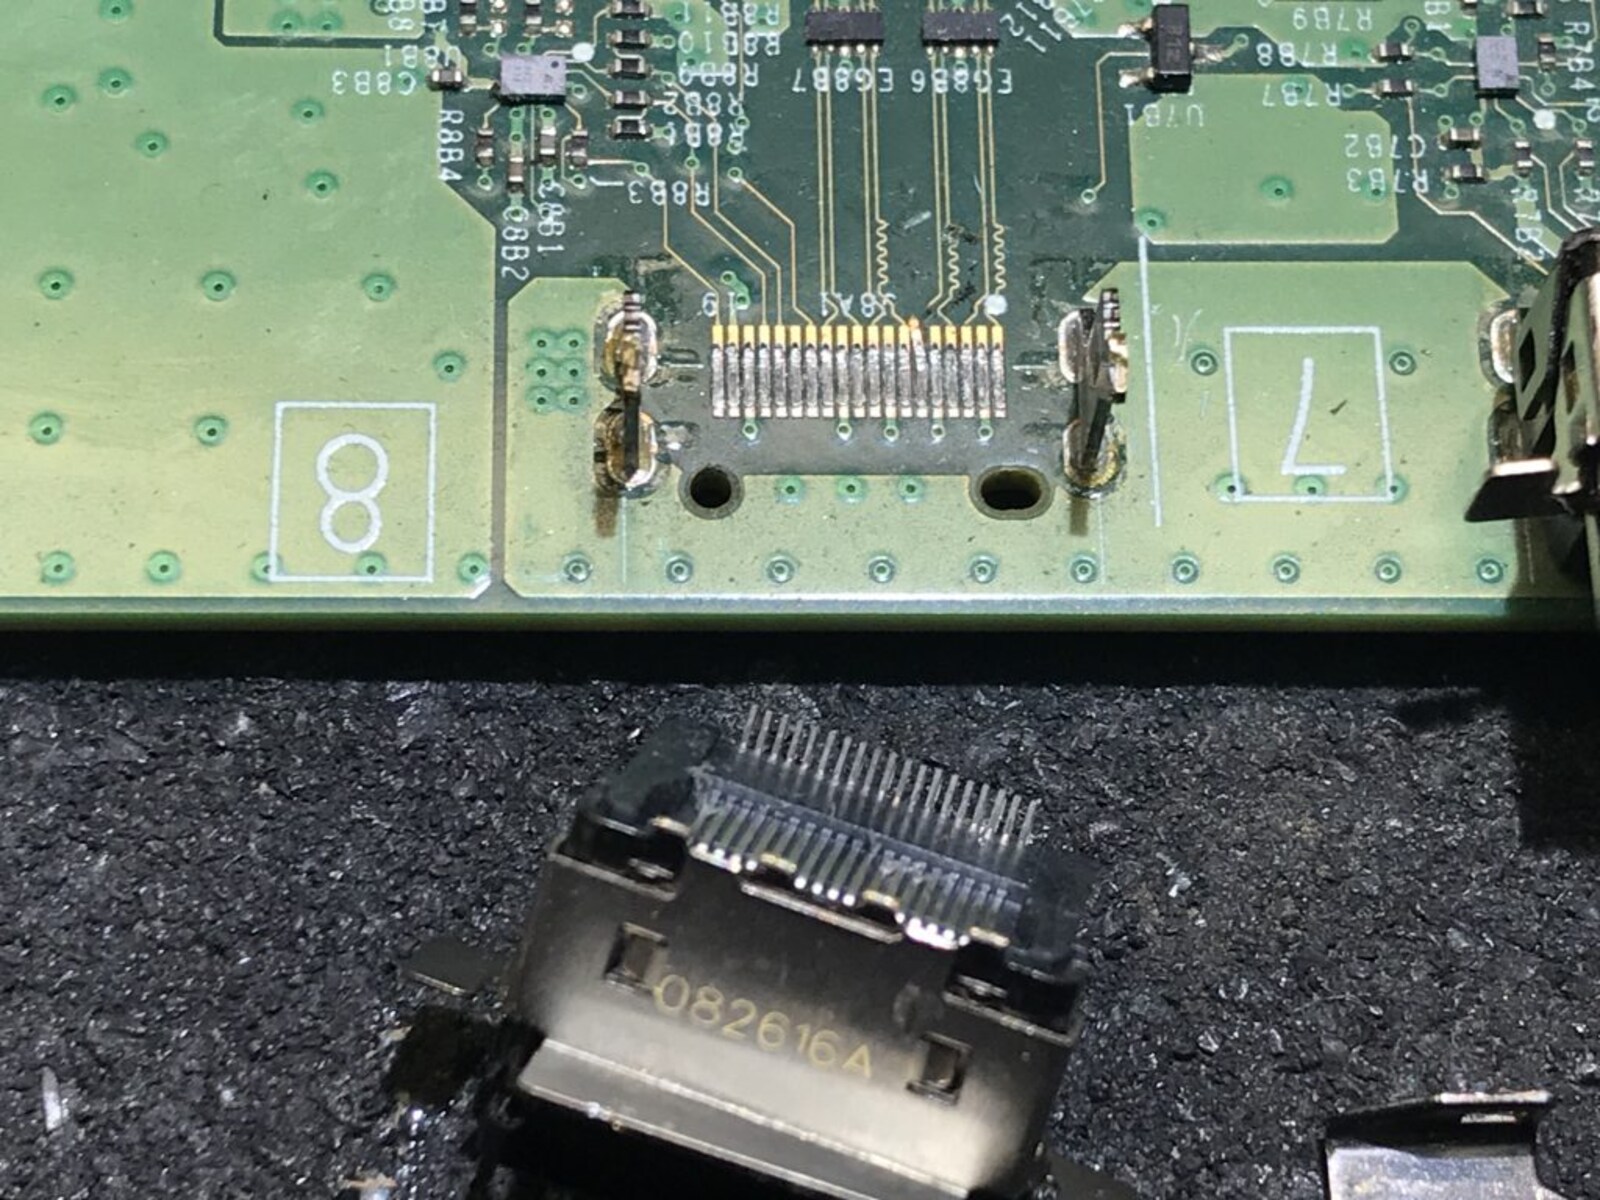
- Locate the HDMI port: Identify the HDMI port on your Xbox One. It’s usually located at the back of the console and is connected to the motherboard.
- Inspect the HDMI port: Examine the HDMI port closely for any visible damage, loose connections, or debris. Use a soft cloth or microfiber cloth to gently clean the port and remove any dirt or residue.
- Tighten the HDMI port: If the HDMI port feels loose, use a small screwdriver to secure any screws or fastenings holding the port in place. Ensure they are tightened but not overly tightened to avoid damaging the port or surrounding components.
- Apply additional support (if necessary): If the HDMI port is still loose, you can use electrical tape to provide additional support. Carefully wrap the tape around the HDMI port or between the port and the plastic frame to create a snug fit.
- Reassemble your Xbox One: Place the outer casing back onto the Xbox One and secure it with the screws. Make sure all the screws are tightened properly.
- Power on your Xbox One: Once your console is reassembled, plug it into a power source and turn it on to test the HDMI connection. Connect your HDMI cable and check if the connection is secure and stable.
- Test and troubleshoot: Play games or watch videos to ensure that the HDMI port problem is resolved. If you’re still experiencing issues, double-check the connections and consider seeking professional help or contacting the manufacturer for assistance.
Following these step-by-step instructions should help you fix a loose HDMI port on your Xbox One. Remember to exercise caution, work in a well-lit area, and refer to your console’s manual or manufacturer’s repair guides for additional guidance if needed.
By securing the HDMI port successfully, you can enjoy uninterrupted gaming sessions and immersive entertainment on your Xbox One.
Alternative Methods to Secure a Loose HDMI Port
If the traditional method of tightening the screws and using electrical tape doesn’t resolve the issue with your loose HDMI port on the Xbox One, there are a few alternative methods you can try to secure the connection:
- Use a HDMI port lock: HDMI port locks, also known as HDMI connectors or secure clips, are accessories designed to provide additional support and prevent accidental disconnection of the HDMI cable. These locks attach to the HDMI port and hold the cable firmly in place, ensuring a stable and secure connection.
- Apply adhesive: If you’re comfortable with a more permanent solution, you can use a small amount of adhesive (such as epoxy or strong glue) to secure the HDMI port in place. Apply the adhesive around the edges of the port, being careful not to obstruct the connection points or damage the surrounding components.
- Seek professional repair services: If you’re hesitant about attempting the fix yourself or none of the DIY methods prove successful, it’s best to reach out to a professional repair service or contact the manufacturer. They have the expertise and specialized tools to diagnose and resolve complex issues with your Xbox One’s HDMI port.
While these alternative methods can provide temporary or even permanent solutions to a loose HDMI port, it’s important to weigh the pros and cons of each approach. Be mindful that using adhesive or a HDMI port lock may void your warranty or make future repairs more challenging.
Exploring alternative methods should be considered when the conventional solutions do not yield desired results. However, if you’re uncertain or uncomfortable with attempting these methods yourself, it’s always recommended to seek professional assistance to avoid causing further damage to your console.
Remember, securing a loose HDMI port ensures a stable connection and enhances your gaming and multimedia experience on the Xbox One.
Conclusion
Having a loose HDMI port on your Xbox One can be frustrating, leading to signal dropouts, poor video quality, and other connectivity issues. However, with the step-by-step guide and alternative methods provided in this article, you can fix the problem and restore a secure connection.
It’s important to start by understanding the signs of a loose HDMI port, such as intermittent signal dropouts, poor video quality, and a wobbly port. Identifying these signs allows for a targeted repair process, ensuring you address the root cause of the issue.
Remember to prioritize safety and take necessary precautions before attempting any repairs. Power off your Xbox One, allow it to cool down, and work in a well-lit area. Additionally, gather the required tools and refer to official guides or manuals for specific instructions related to your console model.
The step-by-step guide provided in this article offers a comprehensive overview of the repair process, from removing the outer casing to tightening the HDMI port and applying additional support if necessary. Follow the instructions carefully and test your HDMI connection to ensure the problem has been resolved successfully.
If the traditional method does not work, there are alternative methods available, such as using HDMI port locks or applying adhesive. However, be aware of the potential consequences of these methods, such as warranty voidance or future repair difficulties.
If you’re unsure or uncomfortable with DIY repairs, it’s always a good idea to seek professional assistance. Professional repair services or contacting the manufacturer can provide specialized expertise and ensure the issue is resolved without causing further damage.
By securing your loose HDMI port, you can enjoy uninterrupted gaming sessions and high-quality video playback on your Xbox One. Remember to prioritize safety, follow the instructions carefully, and consider alternative methods if needed.
Now that you’re equipped with the knowledge and steps to fix a loose HDMI port, go ahead and restore a stable and reliable connection to enhance your gaming and entertainment experience on your Xbox One.