Introduction
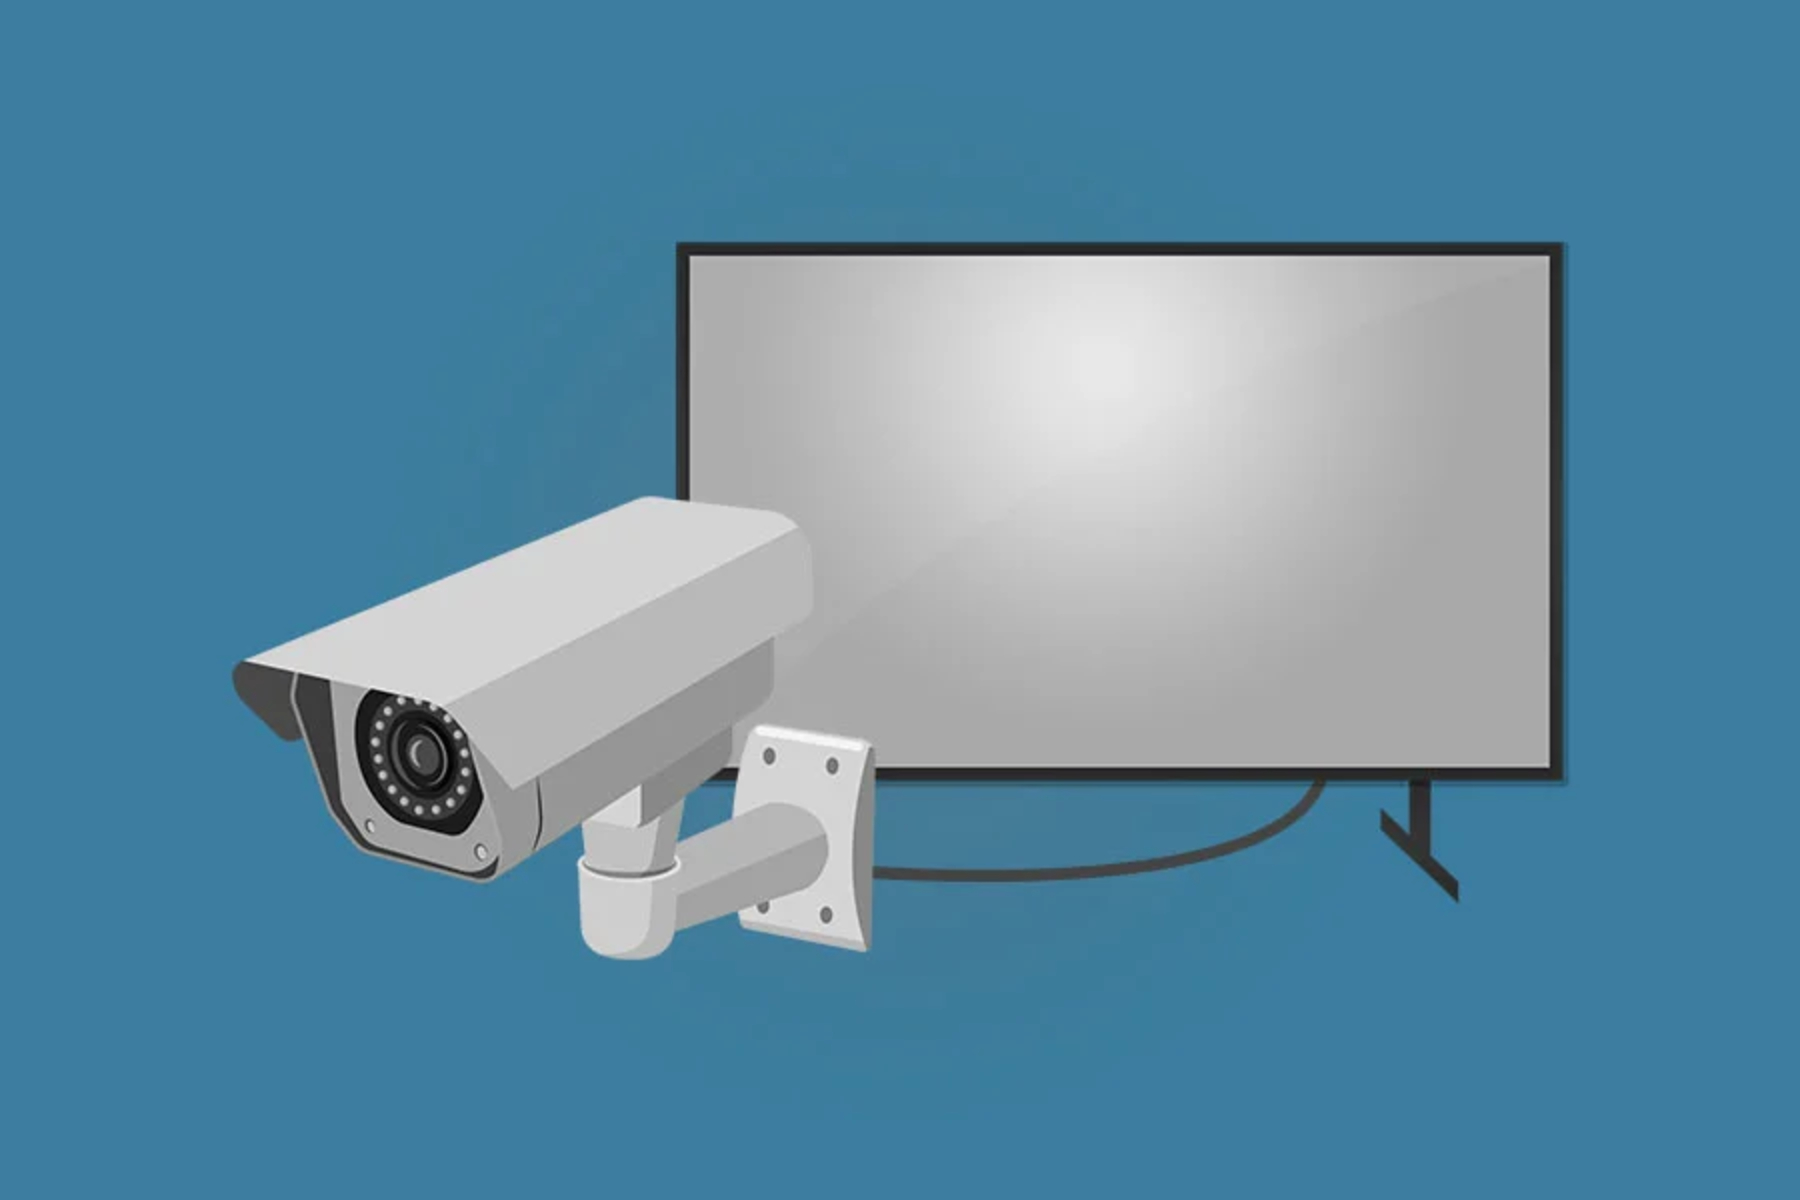
Welcome to this guide on how to connect a camera to a monitor using an HDMI cable. Whether you are a photographer, videographer, or simply someone who wants to display content captured by your camera on a larger screen, connecting your camera to a monitor can enhance your viewing experience and allow for better image analysis and editing. Luckily, connecting a camera to a monitor is a relatively straightforward process that can be accomplished in just a few simple steps.
In this article, we will walk you through the process of connecting your camera to a monitor using an HDMI cable. We will cover the equipment you’ll need, the connection process, and how to adjust the camera settings to ensure optimal display on the monitor. So, whether you’re setting up a home studio, reviewing footage on location, or simply want to enjoy your photos and videos on a larger screen, read on to learn how to make the connection.
Before we dive into the steps, let’s quickly touch on why you might want to connect your camera to a monitor. By connecting your camera directly to a monitor, you can view your images or videos in high resolution, allowing for better analysis of details and composition. This can be especially useful for photographers who need to evaluate their photos in a larger format, or videographers who want to review their footage in more detail.
Additionally, by connecting to a monitor, you can also take advantage of the larger screen real estate to edit your photos or videos more comfortably. This can facilitate more precise adjustments and editing decisions, ultimately resulting in better final output.
Now that we have a clear understanding of why connecting a camera to a monitor can be beneficial, let’s move on to the specific steps required to achieve this connection.
Step 1: Gather the necessary equipment
Before you can connect your camera to a monitor, you’ll need to gather a few essential items. Here’s a list of the necessary equipment:
- Camera: Ensure you have your camera readily available. This can be a DSLR, mirrorless, or even a point-and-shoot camera.
- Monitor: You’ll need a monitor with an HDMI input port. Ideally, choose a monitor with a high resolution and color accuracy for a better viewing experience.
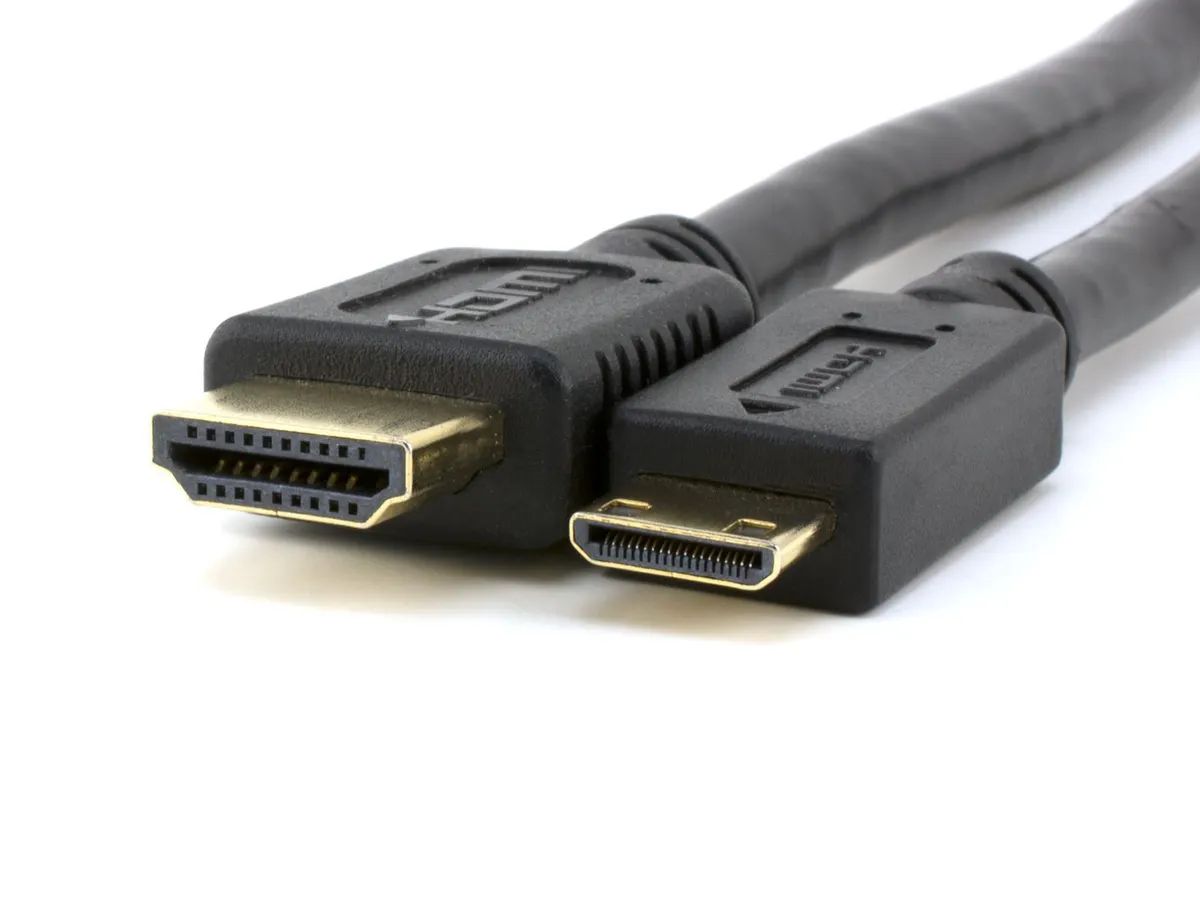
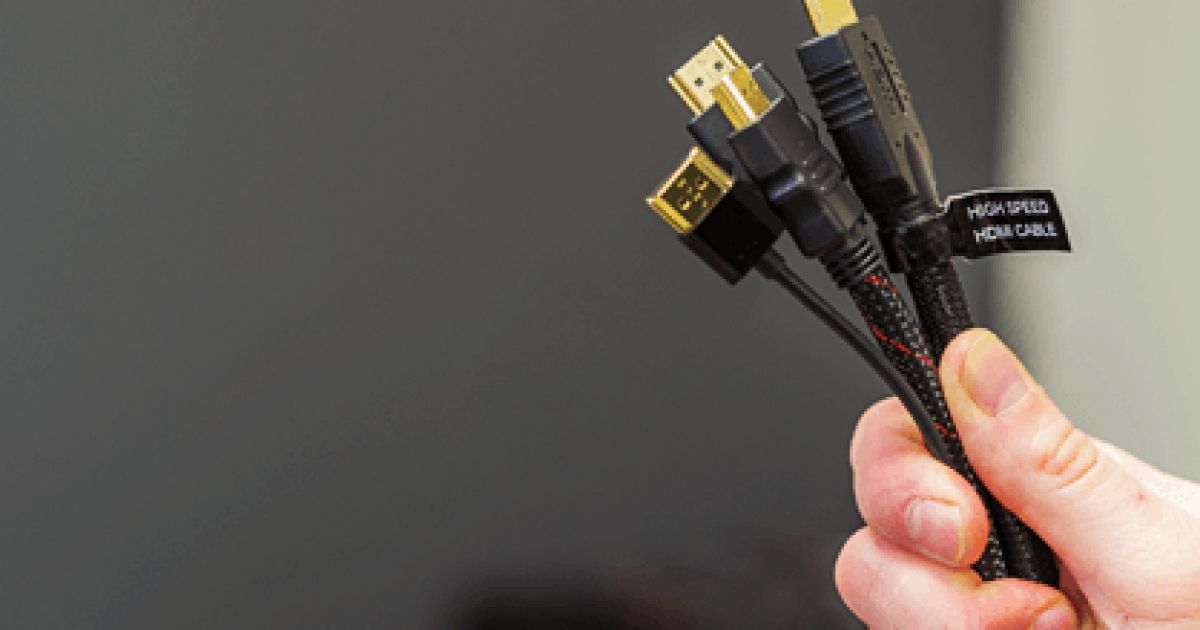
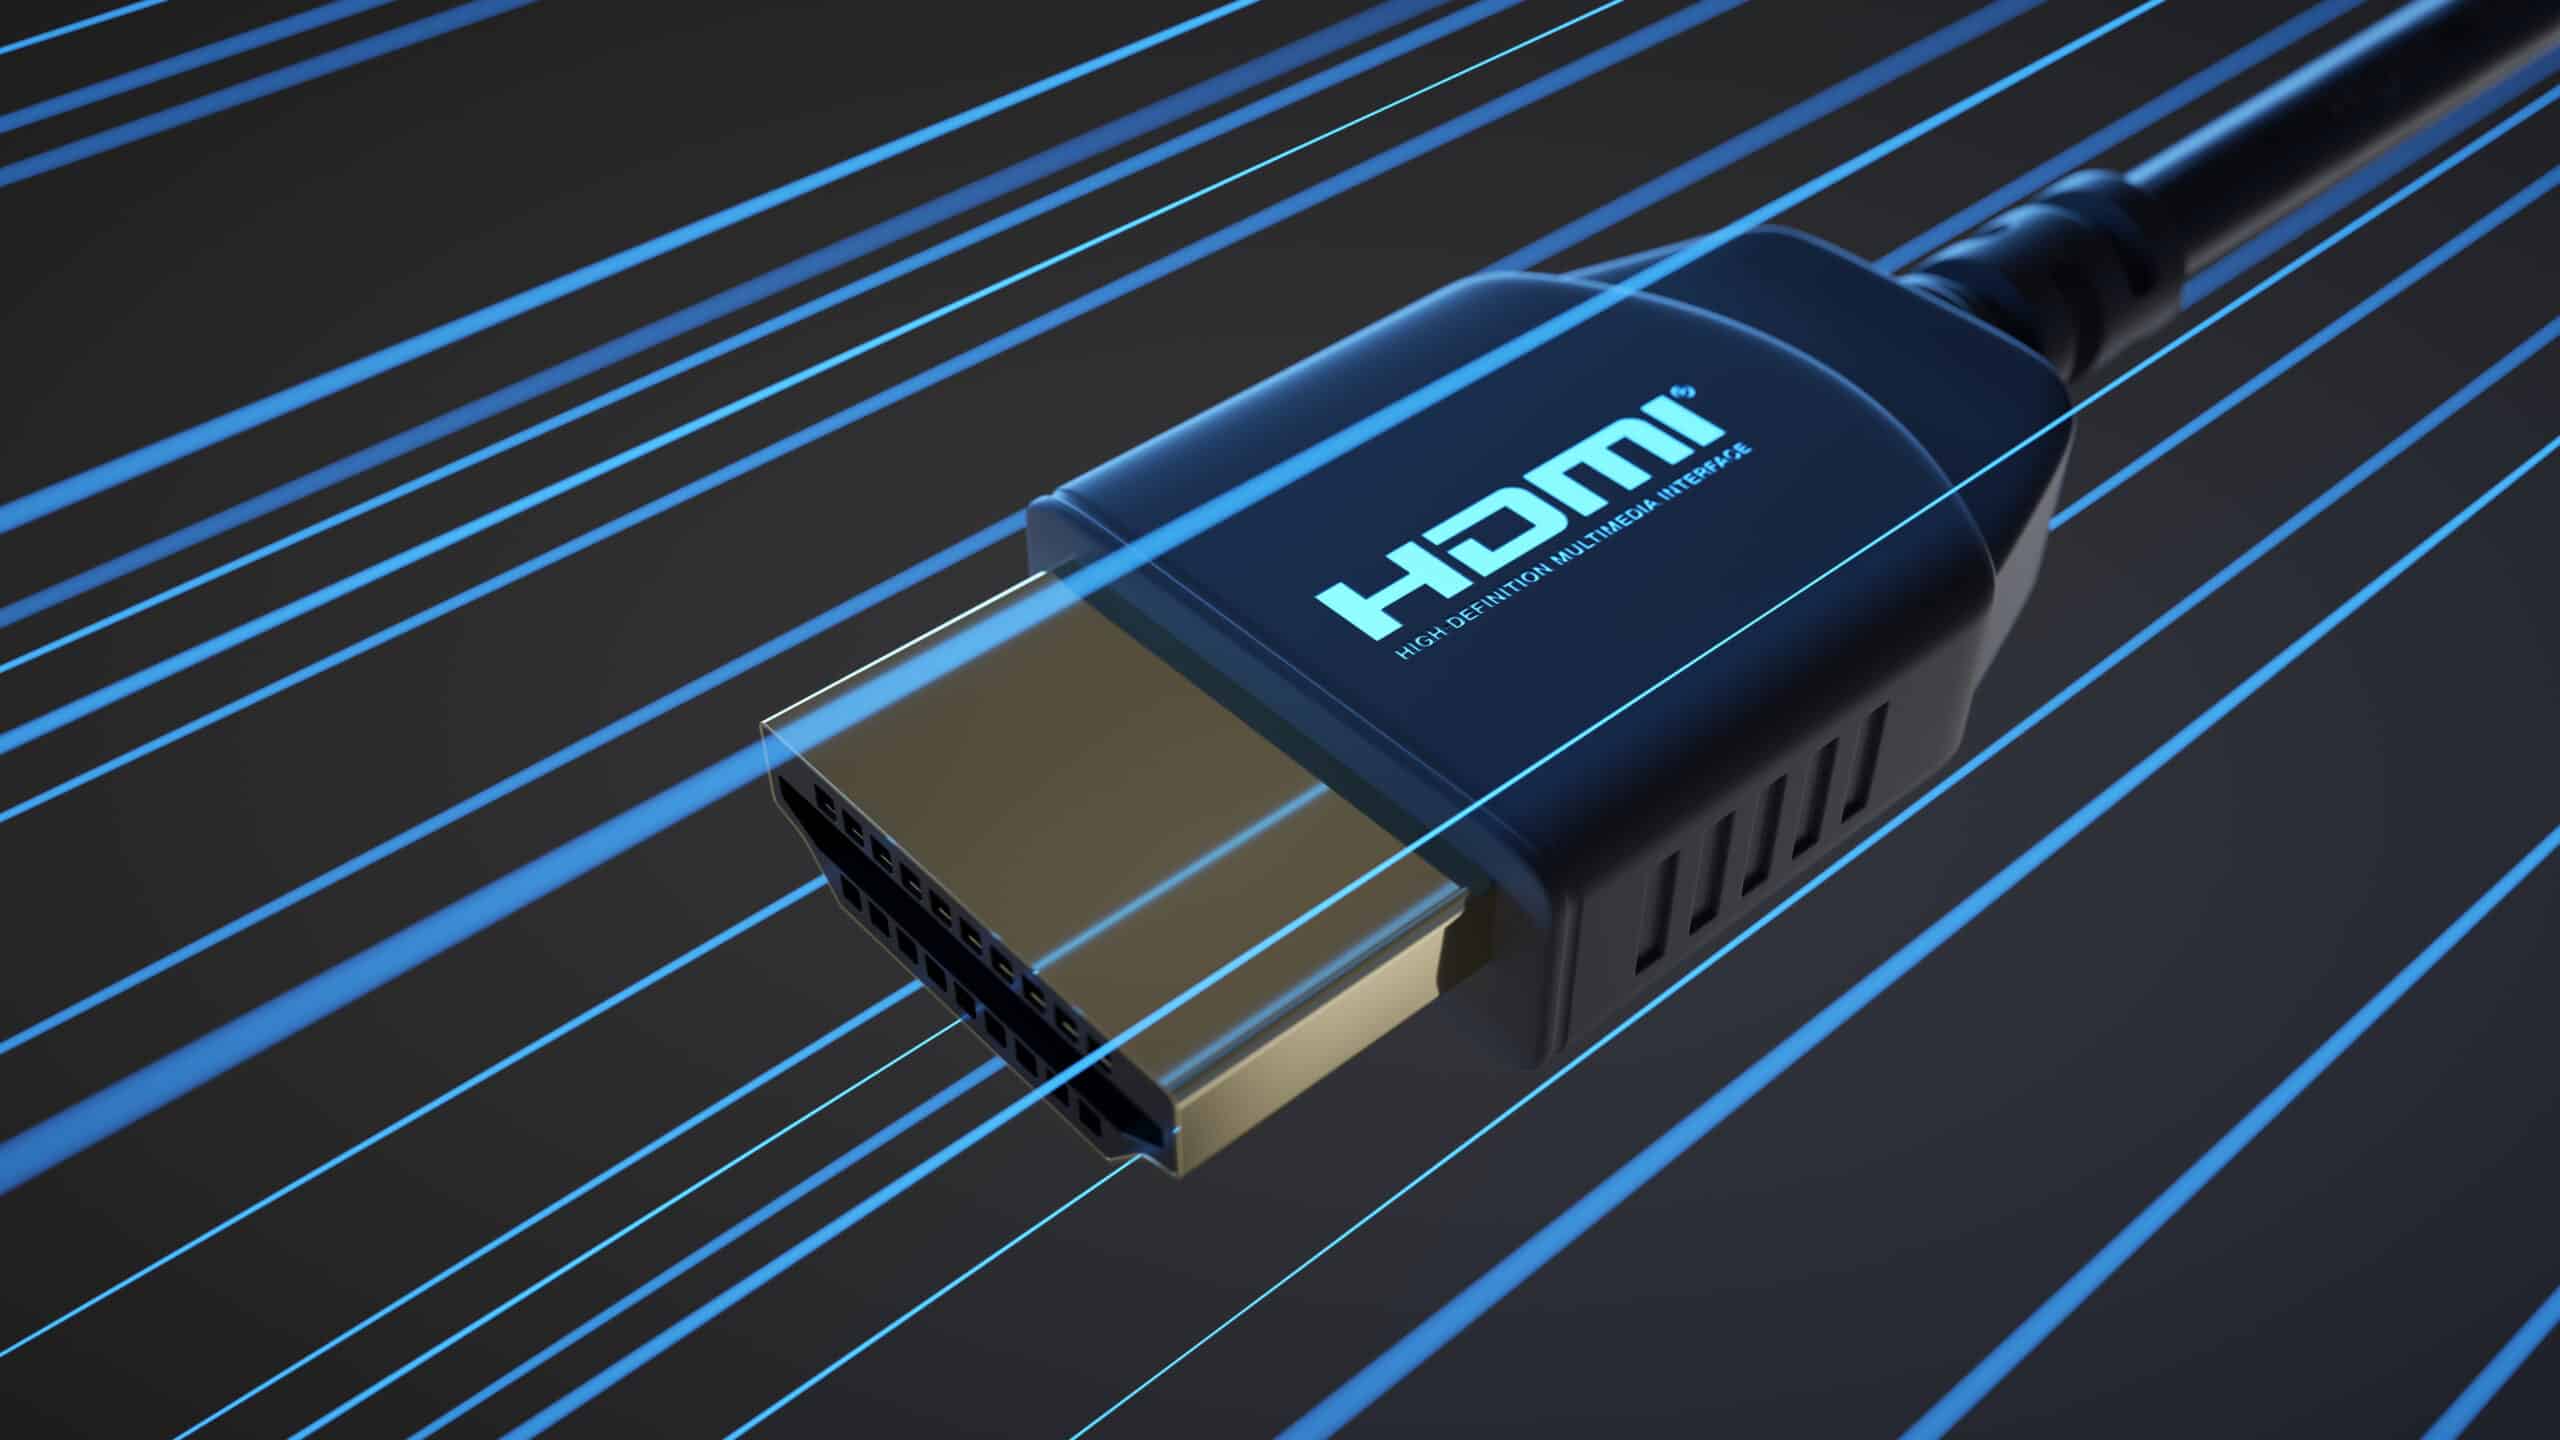
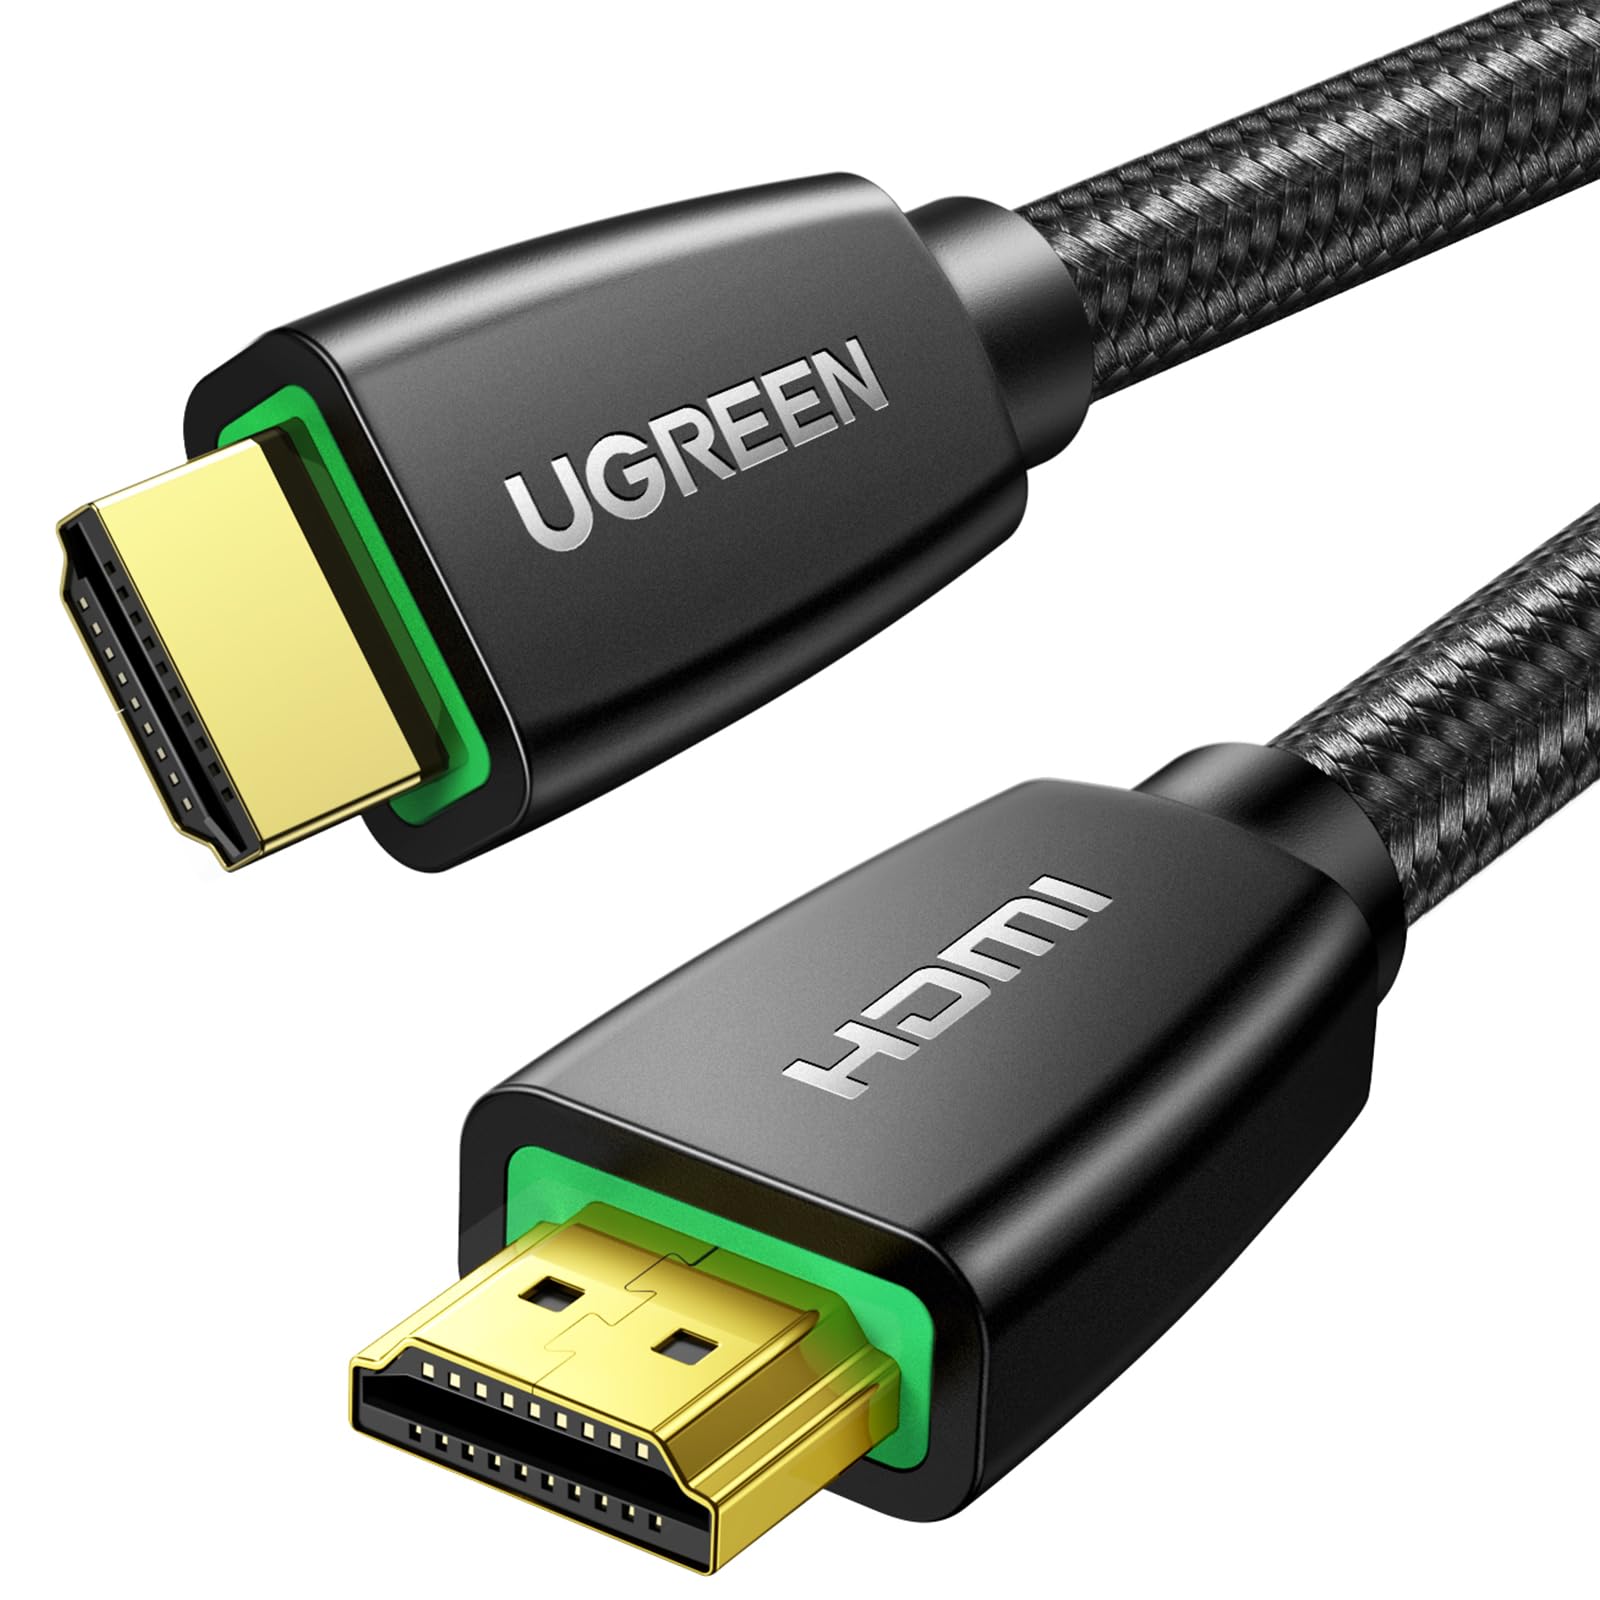
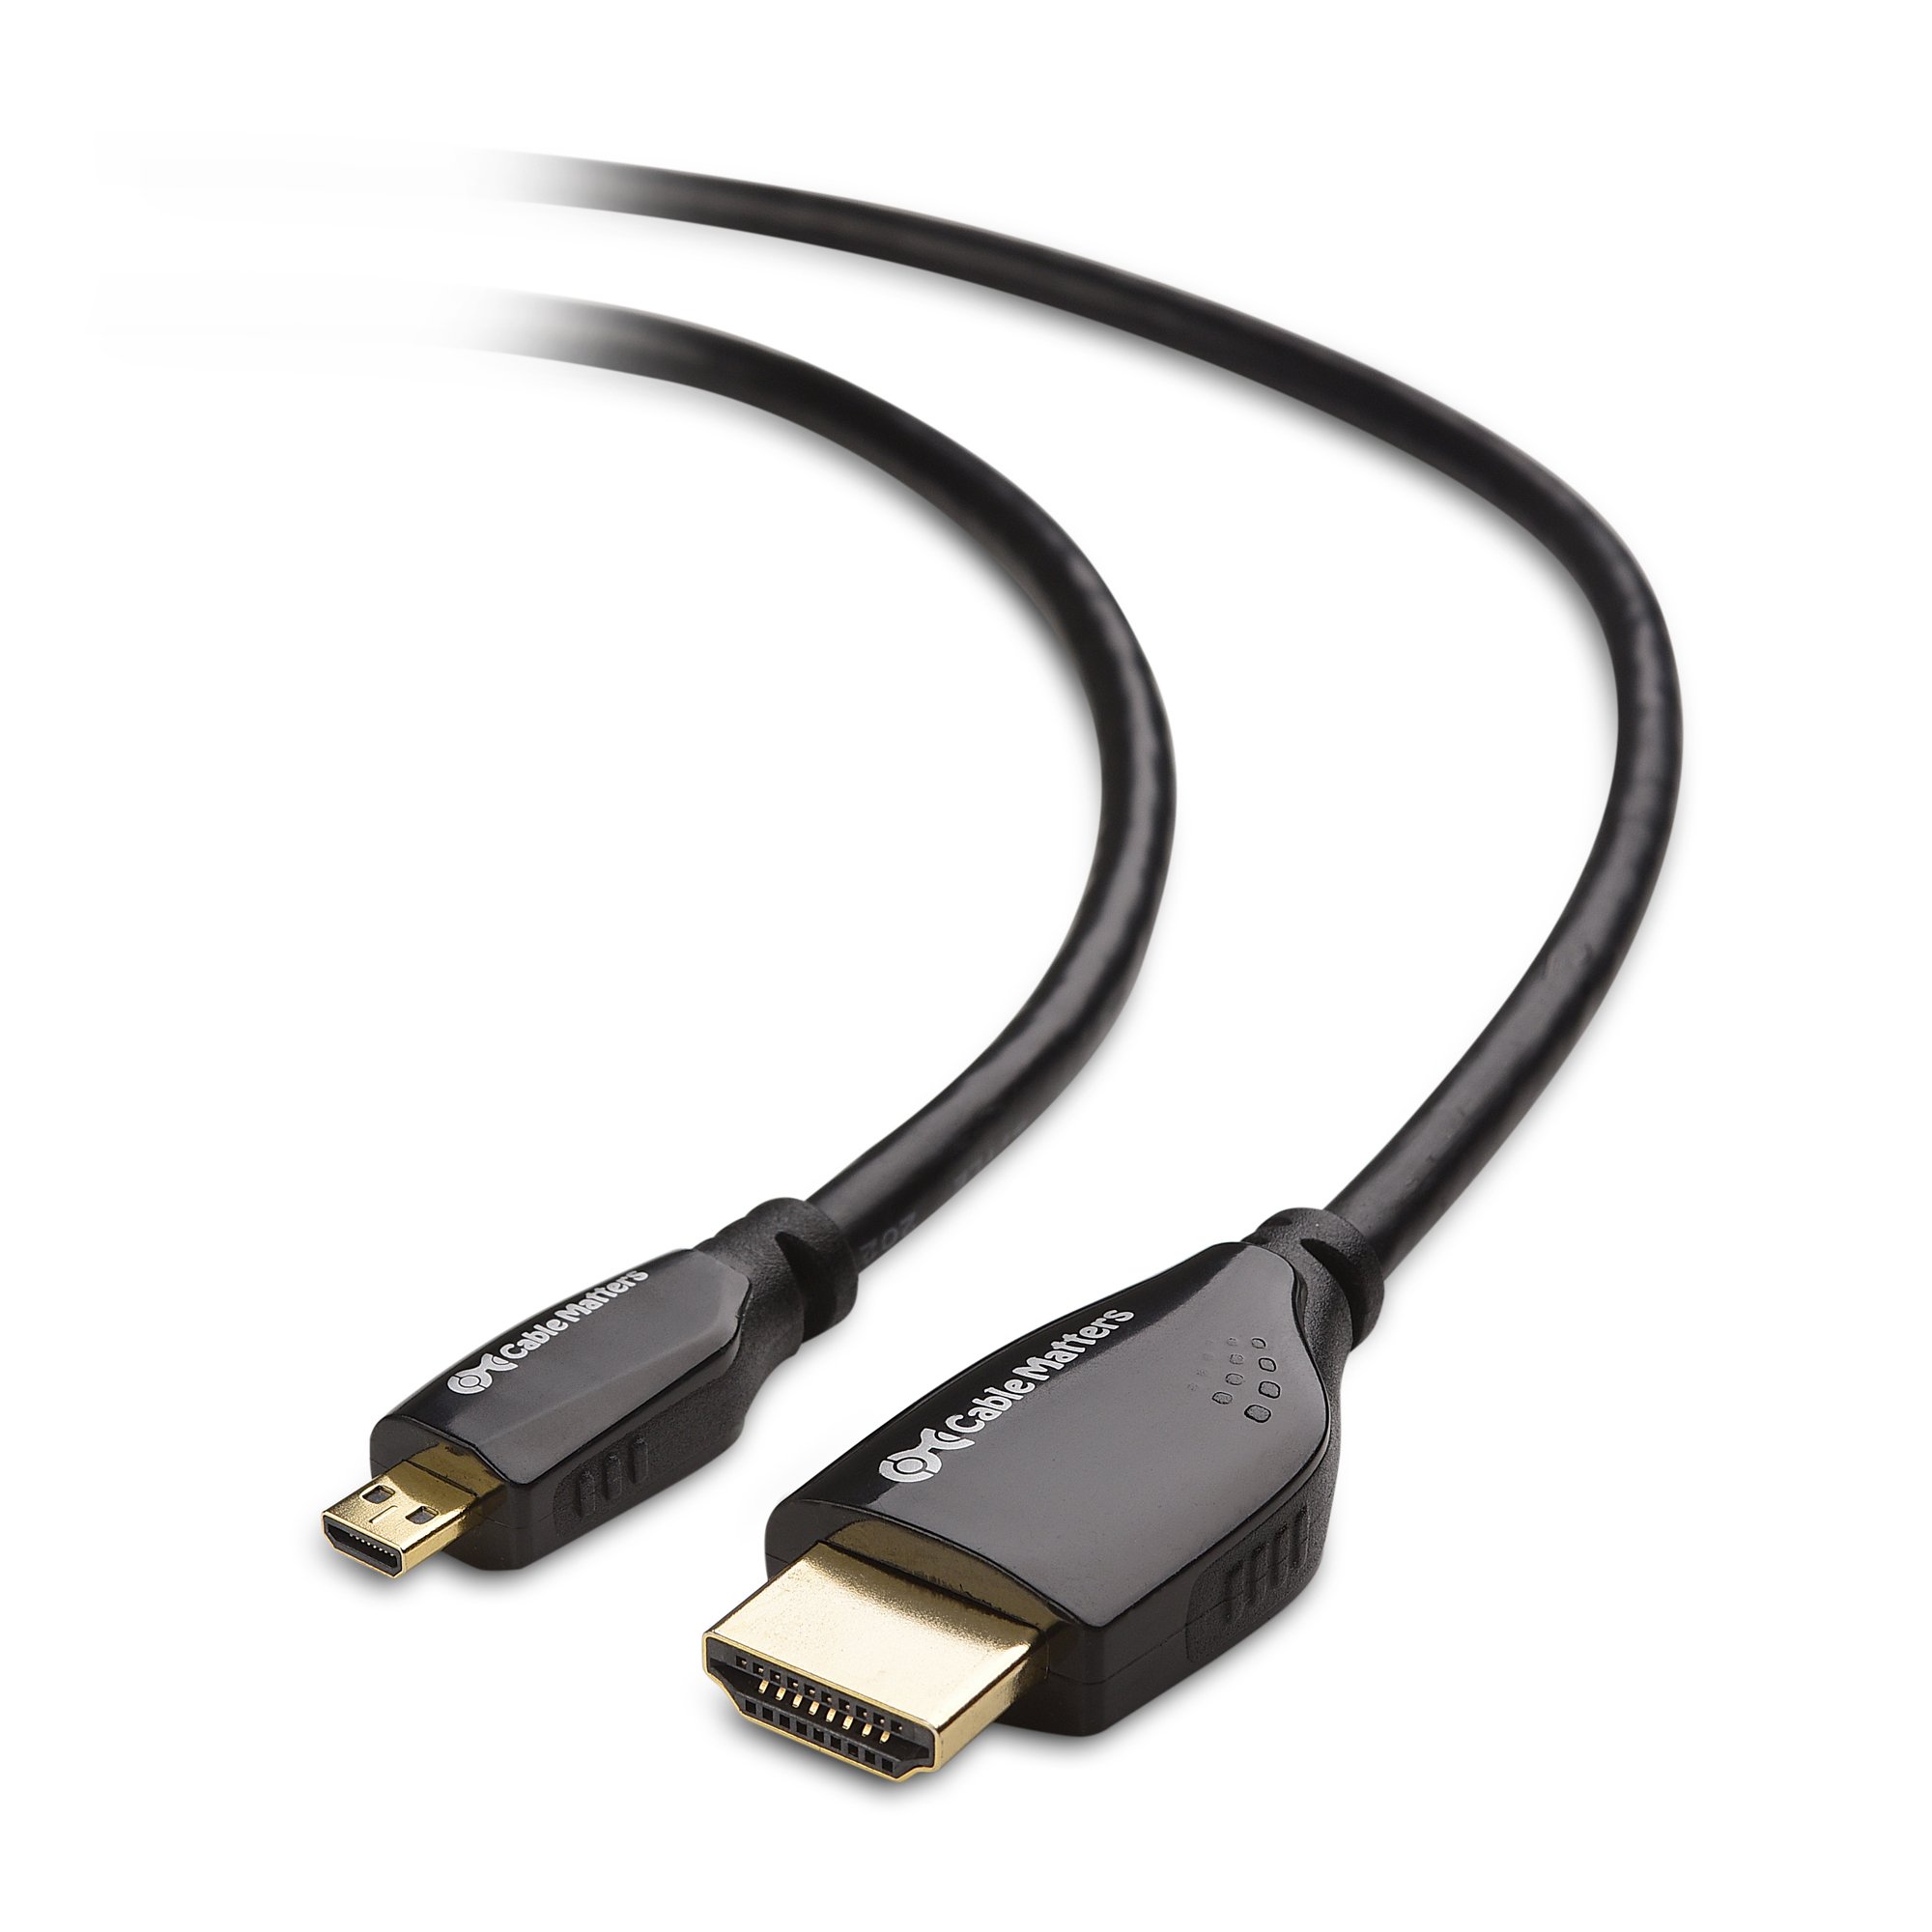
- HDMI Cable: Obtain an HDMI cable with the appropriate connectors for both your camera and monitor. The most common connector types are HDMI Type A (standard) and HDMI Type C (mini).
- Camera Battery/Power Adapter: Make sure your camera has sufficient power to establish a connection and sustain it for the duration of your use. Alternatively, use a power adapter to connect your camera directly to a power source.
It’s important to note that the specific equipment you’ll need may vary depending on the make and model of your camera and monitor. Consult the user manuals or manufacturer’s websites for compatibility information.
Once you have gathered all the necessary equipment, it’s time to move on to the next step: connecting your camera to the monitor.
Step 2: Connect the camera to the monitor using an HDMI cable
Now that you have all the required equipment, it’s time to establish the connection between your camera and the monitor using an HDMI cable. Follow these steps:
- Locate the HDMI output port on your camera. It is typically labeled “HDMI” or represented by an HDMI icon.
- Connect one end of the HDMI cable to the HDMI output port on your camera. Ensure a secure connection by gently inserting the cable into the port.
- Next, locate the HDMI input port on your monitor. It is typically located on the back or side of the monitor.
- Connect the other end of the HDMI cable to the HDMI input port on your monitor. Again, ensure a secure connection.
- Once the HDMI cable is connected to both the camera and the monitor, power on both devices.
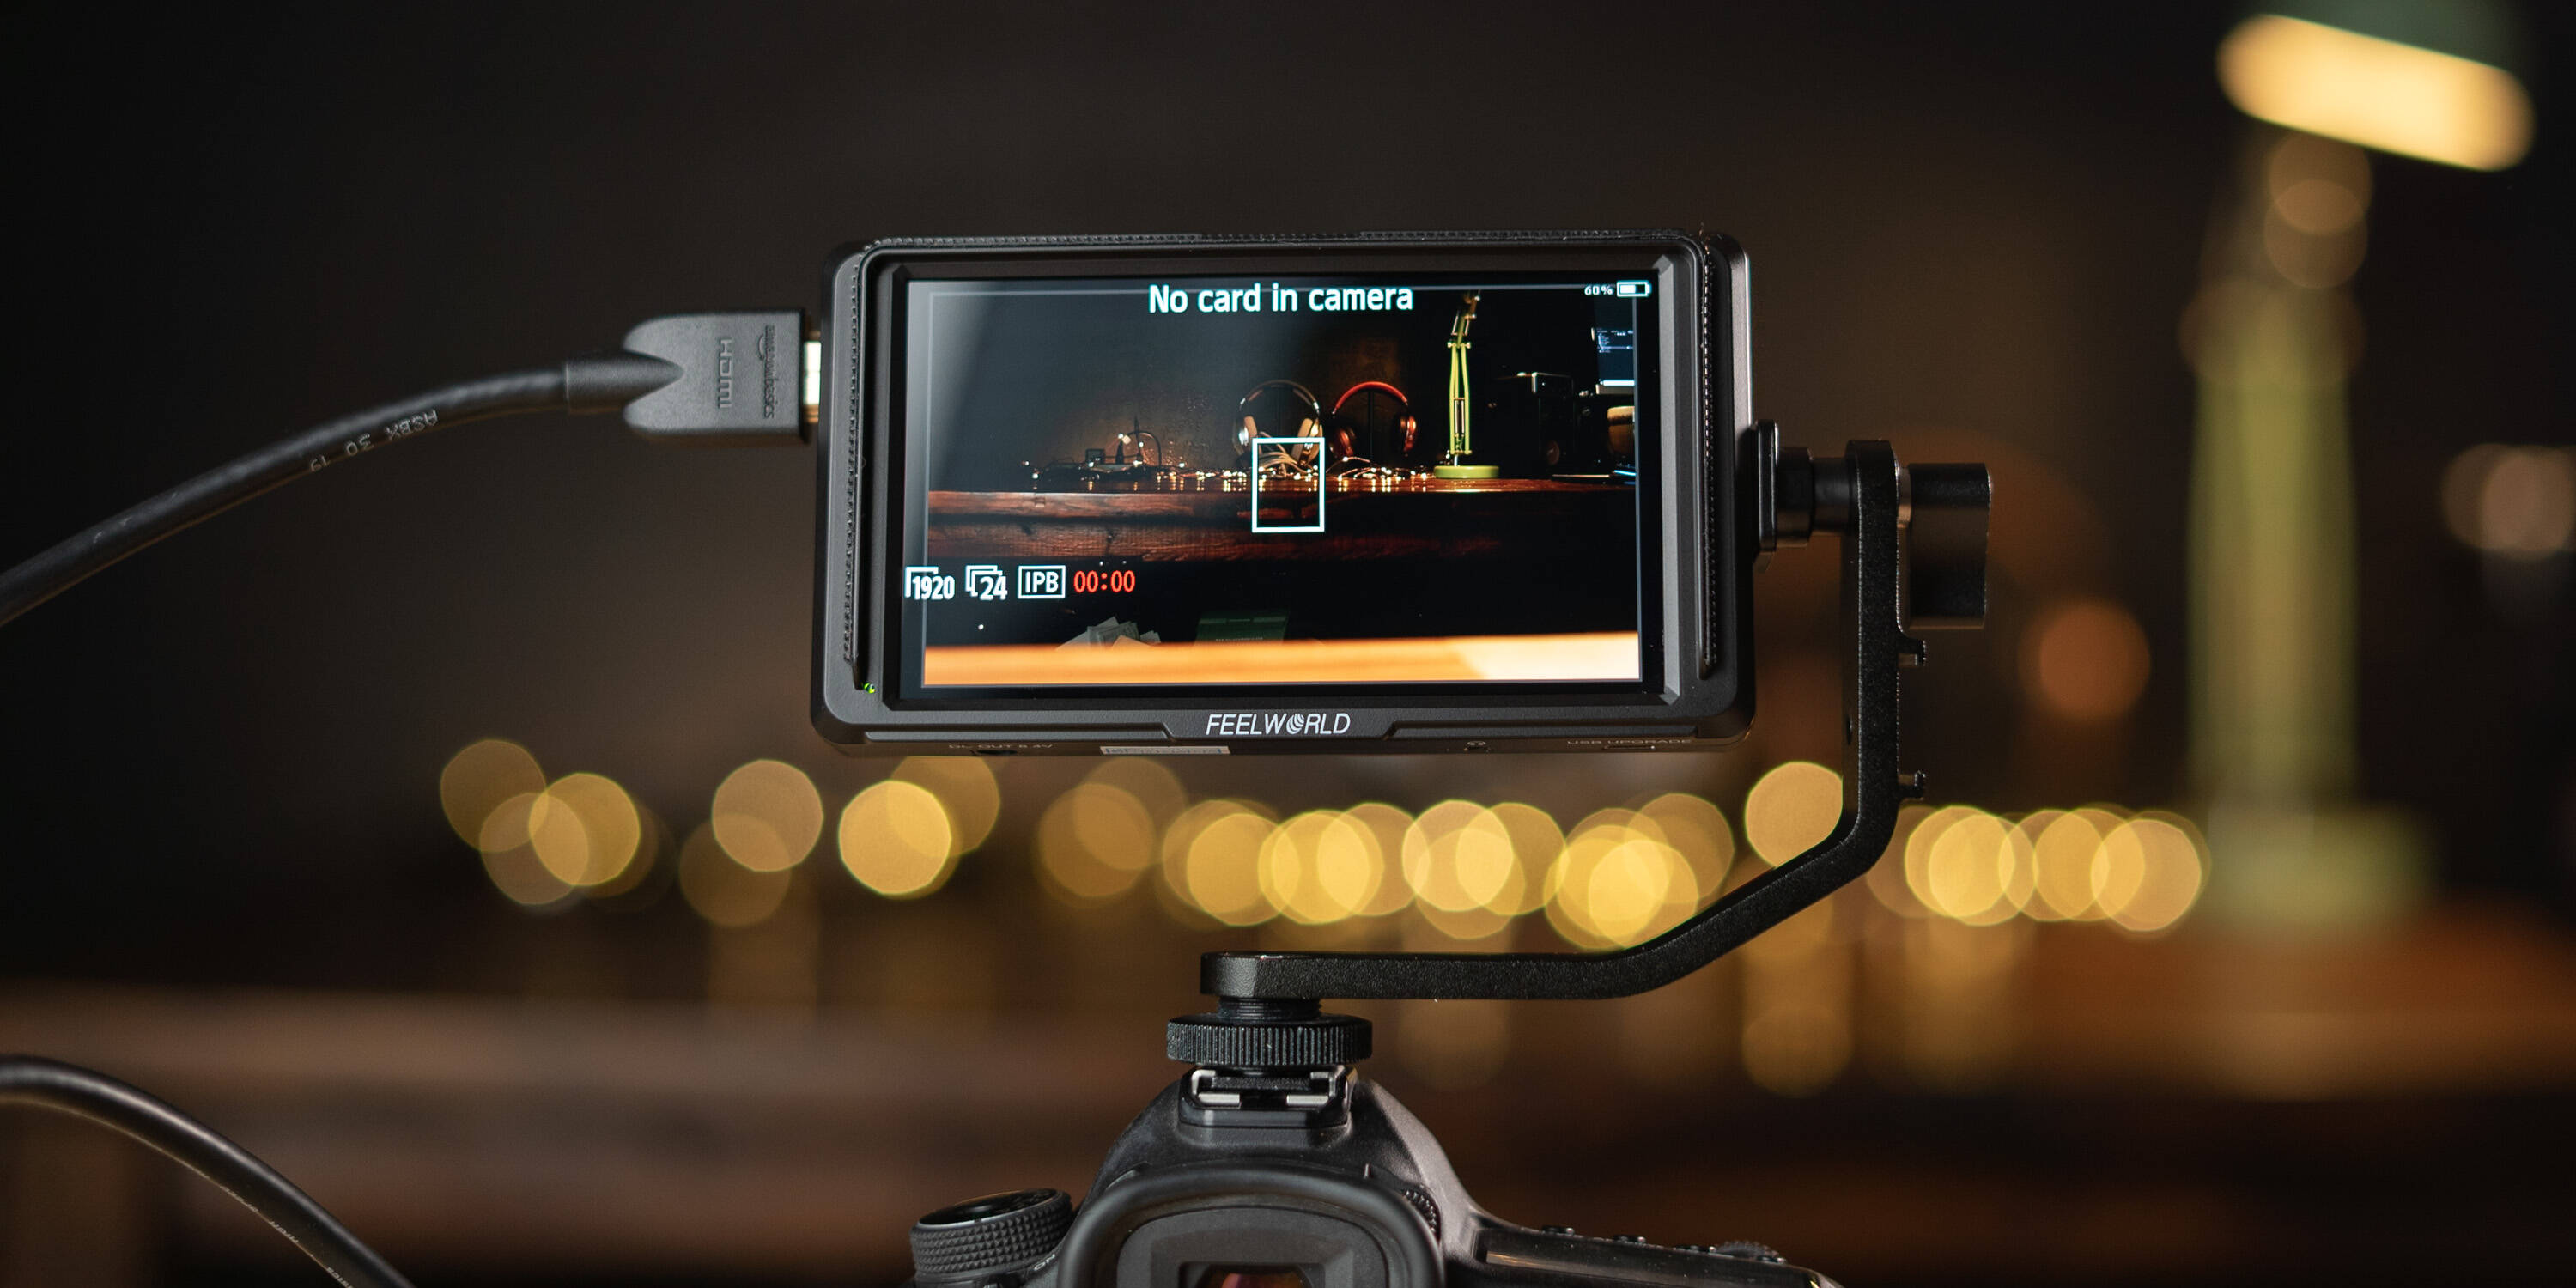
Upon powering on, your camera and monitor should establish a connection automatically. However, some cameras may require you to manually switch to “HDMI output” mode. Refer to your camera’s user manual for specific instructions on how to enable HDMI output.
If all goes well, you should now see the live view from your camera displayed on the monitor. Depending on your camera model, you may also have additional options for adjusting the display settings, such as aspect ratio, resolution, or focus peaking.
It’s important to note that in some cases, the camera’s display may be disabled when connected to an external monitor. This is a normal behavior and doesn’t indicate a malfunction.
With the camera successfully connected to the monitor, you can now move on to the next step: adjusting the camera settings.
Step 3: Adjust the camera settings
Now that your camera is connected to the monitor, it’s time to make adjustments to ensure optimal display. Here are some key settings to consider:
Aspect Ratio: Check the aspect ratio settings on both your camera and monitor. It’s essential to match the aspect ratios to avoid any image distortion or black bars on the screen. Common aspect ratios include 16:9 (widescreen) and 4:3 (standard).
Resolution: Ensure that the camera’s output resolution matches the monitor’s native resolution for the best image quality. You can typically find resolution settings in the camera’s menu options.
Display Mode: Some cameras offer different display modes, such as “Live View” or “External Monitor.” Choose the appropriate mode to activate the camera’s output on the monitor.
Focusing and Exposure Assistance: Take advantage of any focus peaking, zebras, or histogram display options provided by your camera. These assistive features can help in achieving accurate focus and exposure while viewing on the monitor.
Color Calibration: If color accuracy is crucial, consider calibrating your camera and monitor to ensure consistent color reproduction. Many cameras offer color profile settings, while monitors may have built-in calibration options or external calibration devices available.
Remember to consult your camera’s user manual for specific instructions on adjusting these settings. Experimenting with different settings and configurations can help you find the optimal setup for your needs and preferences.
Once you have adjusted the camera settings, you can move on to the next step: checking the monitor display.
Step 4: Check the monitor display
After connecting the camera to the monitor and adjusting the camera settings, it’s time to verify that the monitor is displaying the camera’s output correctly. Here are a few important checks to make:
Image Quality: Examine the displayed image on the monitor for clarity, sharpness, and color accuracy. Ensure that the details in your photos or videos are accurately represented and that the image is free from any artifacts or distortions.
Frame Rate: If you’re working with video footage, check that the frame rate displayed on the monitor matches the settings on your camera. Inconsistencies in frame rates can lead to choppy or irregular playback.
Screen Calibration: Confirm that your monitor is properly calibrated by comparing the displayed image to a reference image. This will ensure that the colors, brightness, and contrast are accurately represented on the screen.
Audio Output (if applicable): If your camera has audio capabilities and you’re using the monitor’s built-in speakers or external speakers, ensure that the audio is synced with the video and plays at the desired volume level.
Additional Adjustments: Depending on your specific requirements and preferences, you may need to make further adjustments to the camera or monitor settings. This could include fine-tuning color balance or adjusting brightness and contrast for optimal viewing conditions.
Remember to periodically review the monitor display while shooting or reviewing footage to ensure that everything remains aligned and working as expected. Making any necessary adjustments as you go will help you maintain a consistent and accurate display throughout your workflow.
With the camera successfully connected and the monitor display verified, you’re ready to make the most of your camera-to-monitor setup. Whether you’re using it for photo editing, video production, or simply enjoying larger and more detailed images, connecting your camera to a monitor can greatly enhance your visual experience.
Take the time to experiment with different settings, explore the features of your camera and monitor, and discover how this connection can elevate your photography or videography workflow.
Conclusion
Connecting a camera to a monitor using an HDMI cable opens up a world of opportunities for photographers, videographers, and enthusiasts alike. By following the steps outlined in this guide, you can easily establish a connection and enjoy the benefits of a larger screen for viewing, editing, and analyzing your visual content.
Throughout this article, we discussed the necessary equipment you’ll need, such as a camera, monitor, and HDMI cable. We also provided step-by-step instructions on connecting the camera to the monitor and adjusting the camera settings to ensure optimal display. Finally, we emphasized the importance of checking the monitor display for image quality, frame rate, and calibration.
Remember, this connection can significantly enhance your workflow, allowing for better analysis of details, more comfortable editing, and a more immersive viewing experience. Whether you’re fine-tuning your photos, reviewing and editing video footage, or simply enjoying the visuals on a larger screen, connecting your camera to a monitor using an HDMI cable can elevate your creative endeavors.
Now that you have all the necessary information, grab your camera, monitor, and HDMI cable, and start enjoying the benefits of this connection. Explore the possibilities, experiment with different settings, and discover new ways to enhance your visual storytelling.
Happy connecting!