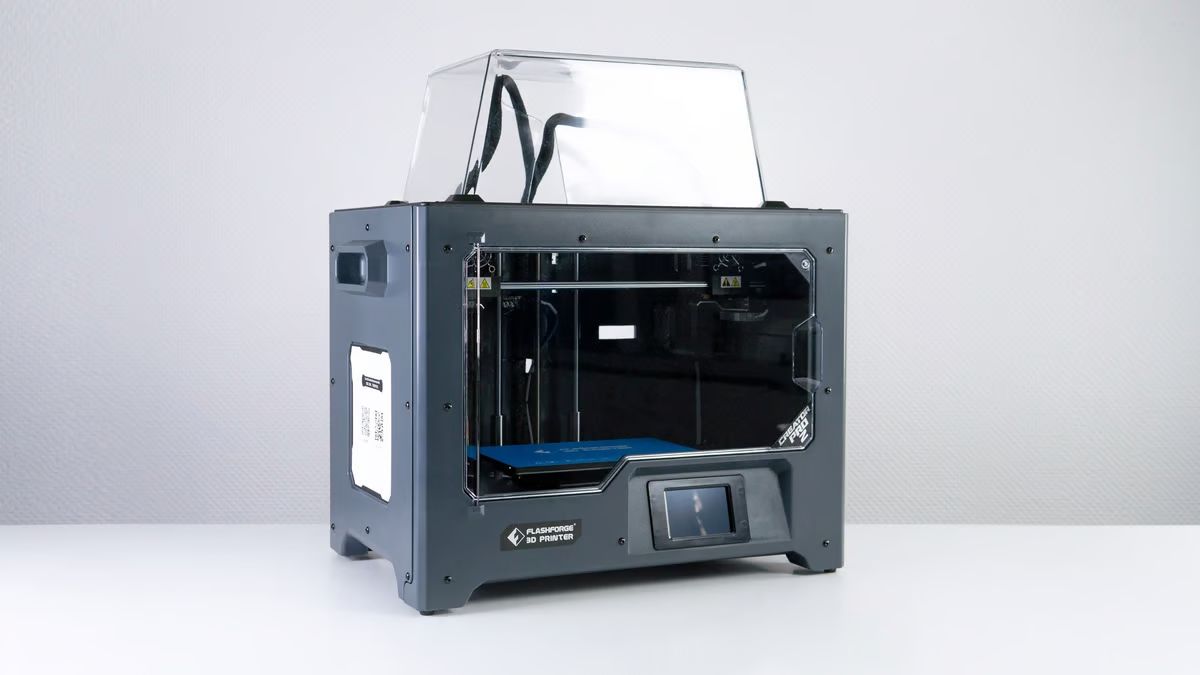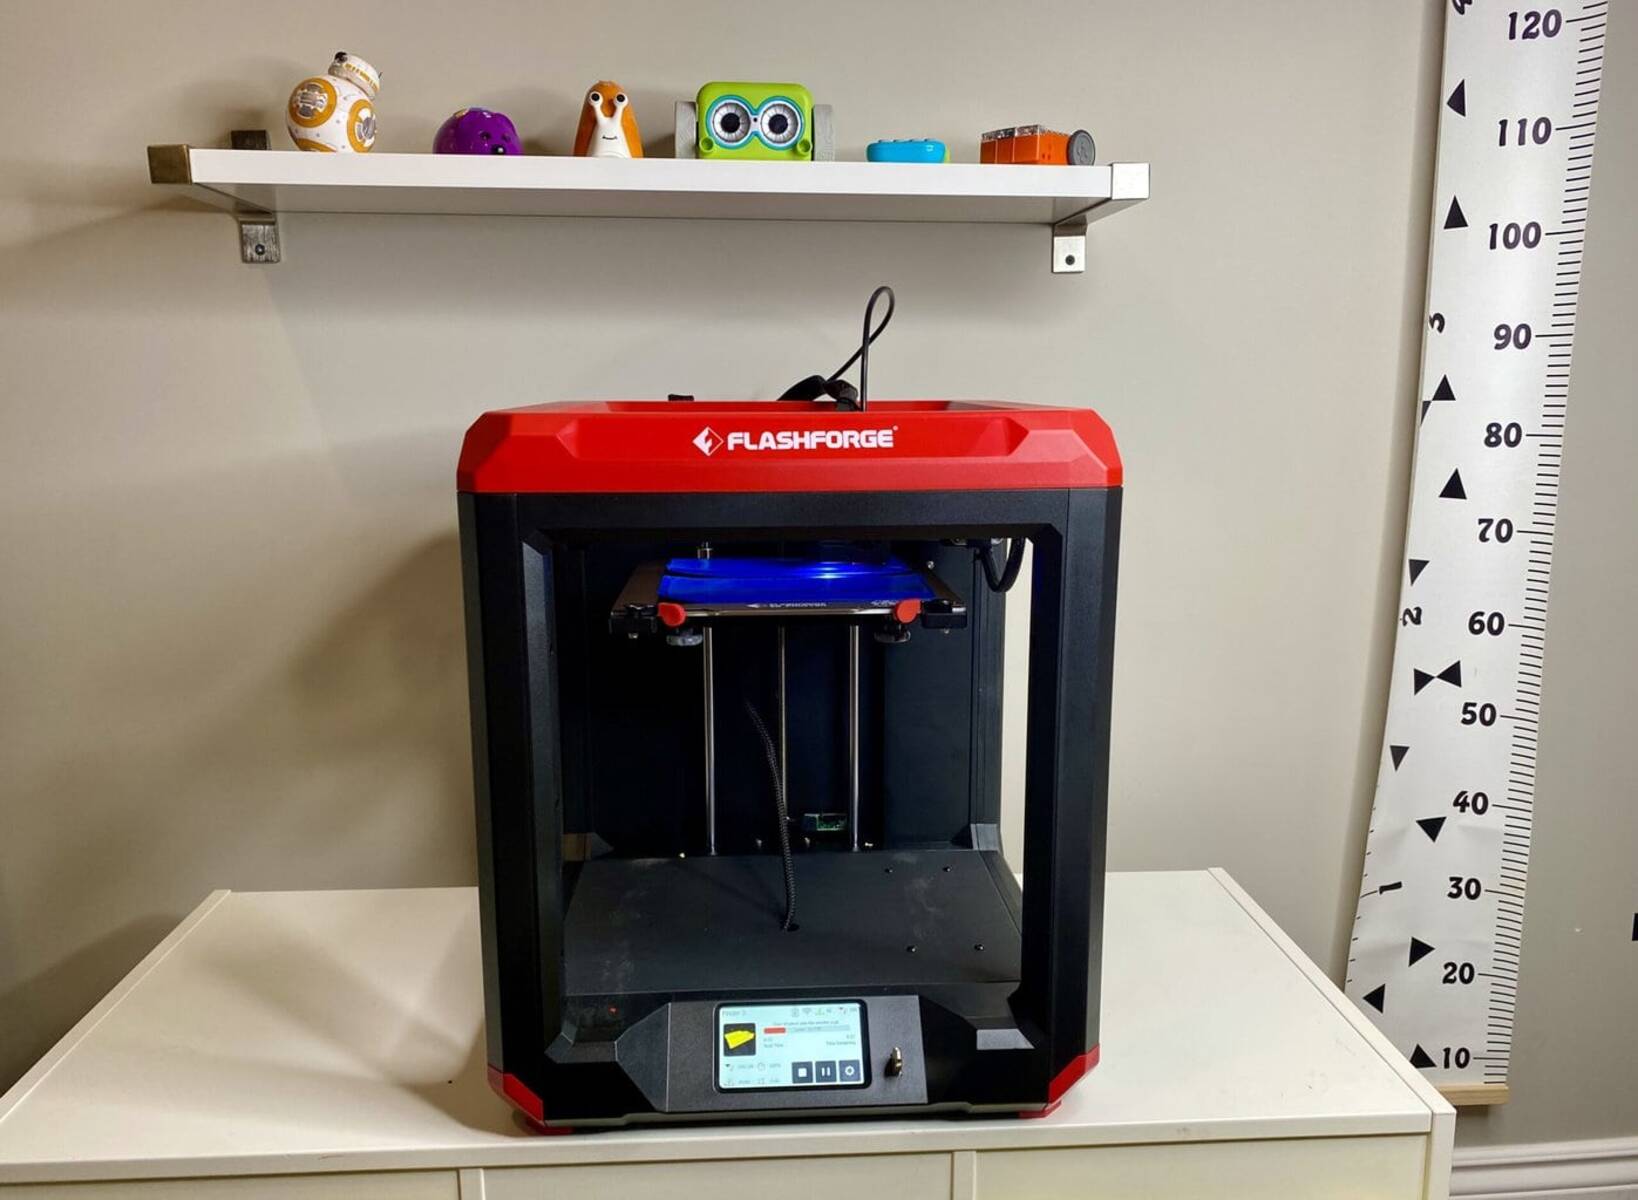
FlashPrint 5 is the official slicing software from Flashforge, designed to convert your 3D models into G-code instructions that your FlashForge FDM printer can follow. To use FlashPrint 5 on a 3D printer, you start by downloading the software, importing your model, which must be compatible with the file format used by Flashforge 3D printers, adjusting settings, and slicing the file before sending it to your machine. If you haven't yet transferred your design to your computer, first upload STL file to a 3D printer from your digital storage.
What is FlashPrint 5 and how to use it on a 3D printer
FlashPrint 5 is the official slicing tool from Flashforge, purpose-built to prepare 3D models for printing on all FlashForge FDM printer types. The software converts 3D model files in .stl, .obj, .3mf, and .fpp formats into G-code, the machine-readable instructions that tell your printer where to move, how fast to extrude, and at what temperature. By handling this conversion and offering control over print parameters, FlashPrint 5 ensures your digital model becomes a physical object with accuracy and reliability.
Downloading FlashPrint 5 and selecting your printer
To begin, download the latest version of FlashPrint 5 from the official Flashforge website's download center. The software is available for Windows, macOS, and Linux operating systems, so choose the installer that matches your computer. Once installed, launch the program. Upon first opening FlashPrint 5, you must select your specific printer type; this setting can be changed later by clicking the machine type or print nozzle icon at the bottom left of the interface. Selecting the correct machine ensures the slicing parameters align with your printer's build volume, nozzle size, and motion system.
Importing and repairing your 3D model
Import your 3D model by clicking the "add model" icon or navigating to File > Load file and selecting your .stl, .obj, or .3mf file. After importing, ensure the model is correctly positioned, sitting flat on the virtual build plate, and not floating, tilted, or outside the printable area. FlashPrint 5 offers "Rotation Optimization" to automatically adjust the model's position, saving you time and preventing failed prints caused by poor orientation. If your model has errors, use the Auto Repair function to automatically fix damaged 3D models, which is essential for files downloaded from online repositories that may have mesh issues.
Choosing basic or expert print settings
FlashPrint 5 provides both "Basic Mode" and "Expert Mode" for adjusting slicing parameters. Basic Mode offers a quick setup with simplified controls, ideal for beginners or routine prints. Expert Mode gives you full control over every variable, from layer height to cooling fan speed. Within the slicing settings window, select the appropriate nozzle size and material type; using the correct material profile is vital as it affects temperature and cooling settings, impacting print success. Choosing the wrong material profile can lead to poor adhesion, stringing, or failed prints, so match the profile to the filament you have loaded.
Adding support structures to your model
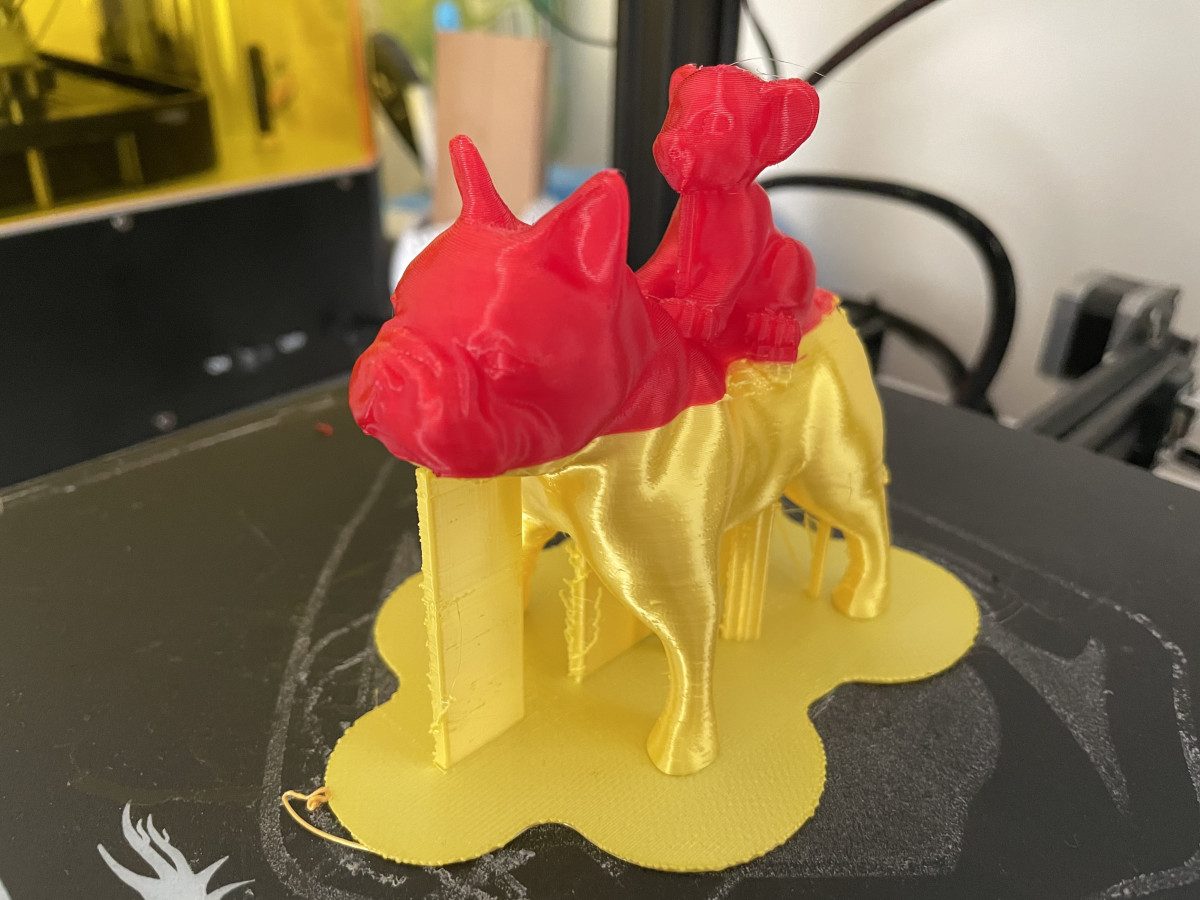
To add support structures, click the 'Supports' button, then 'Auto Supports' for automatic generation, with options for "treelike" or "linear" support types. Treelike supports use less material and are easier to remove, while linear supports provide more robust support for steep overhangs. This step is crucial for models with overhangs exceeding 45 degrees, as unsupported features will droop or fail during printing.
Slicing your file and using the preview
Initiate the slicing process by clicking the Start Slicing button at the top of the screen. After slicing, always use the "Slice Preview" option to visually inspect the layer-by-layer build, estimated print time, and material usage before sending the file to the printer. The preview lets you spot potential issues like gaps, thin walls, or missing supports before you waste filament. Reviewing the estimated time and material also helps you plan your print schedule and budget.
Sending the file and starting your print
FlashPrint 5 supports multi-machine control, enabling remote visual management, real-time adjustment of printing parameters, and the ability to start, pause, or resume prints on multiple connected printers. You can transfer the sliced G-code file via a network connection, USB drive, or SD card, depending on your printer's capabilities. Once the file is loaded on the printer, start the print from the printer's interface. Multi-machine control is especially useful in a workshop or classroom setting where you need to monitor several printers from one computer.
Troubleshooting common print quality issues
If you encounter warping, check your bed temperature and ensure the build plate is clean and level. For stringing, adjust retraction settings in Expert Mode, increasing retraction distance or speed to reduce oozing during travel moves. Poor first-layer adhesion often results from a miscalibrated Z-offset or incorrect nozzle height; re-level your bed and verify the first layer settings in FlashPrint 5. Each of these issues can be traced back to specific settings adjustments in the slicing software, so use the preview and material profiles to diagnose the root cause.
Tips for getting the most out of FlashPrint 5
Fine-tune temperature settings by running a temperature tower test for each new filament brand; this helps you find the sweet spot between layer adhesion and stringing. Retraction settings should be calibrated for your specific printer and filament combination to minimize stringing without causing clogs. Experiment with these parameters in Expert Mode, saving your custom profiles for reuse on similar projects. By dialing in these advanced settings, you can optimize print quality and material usage for different projects, from detailed miniatures to durable mechanical parts.
\nRelated reading: How To Use Toybox 3D Printer.