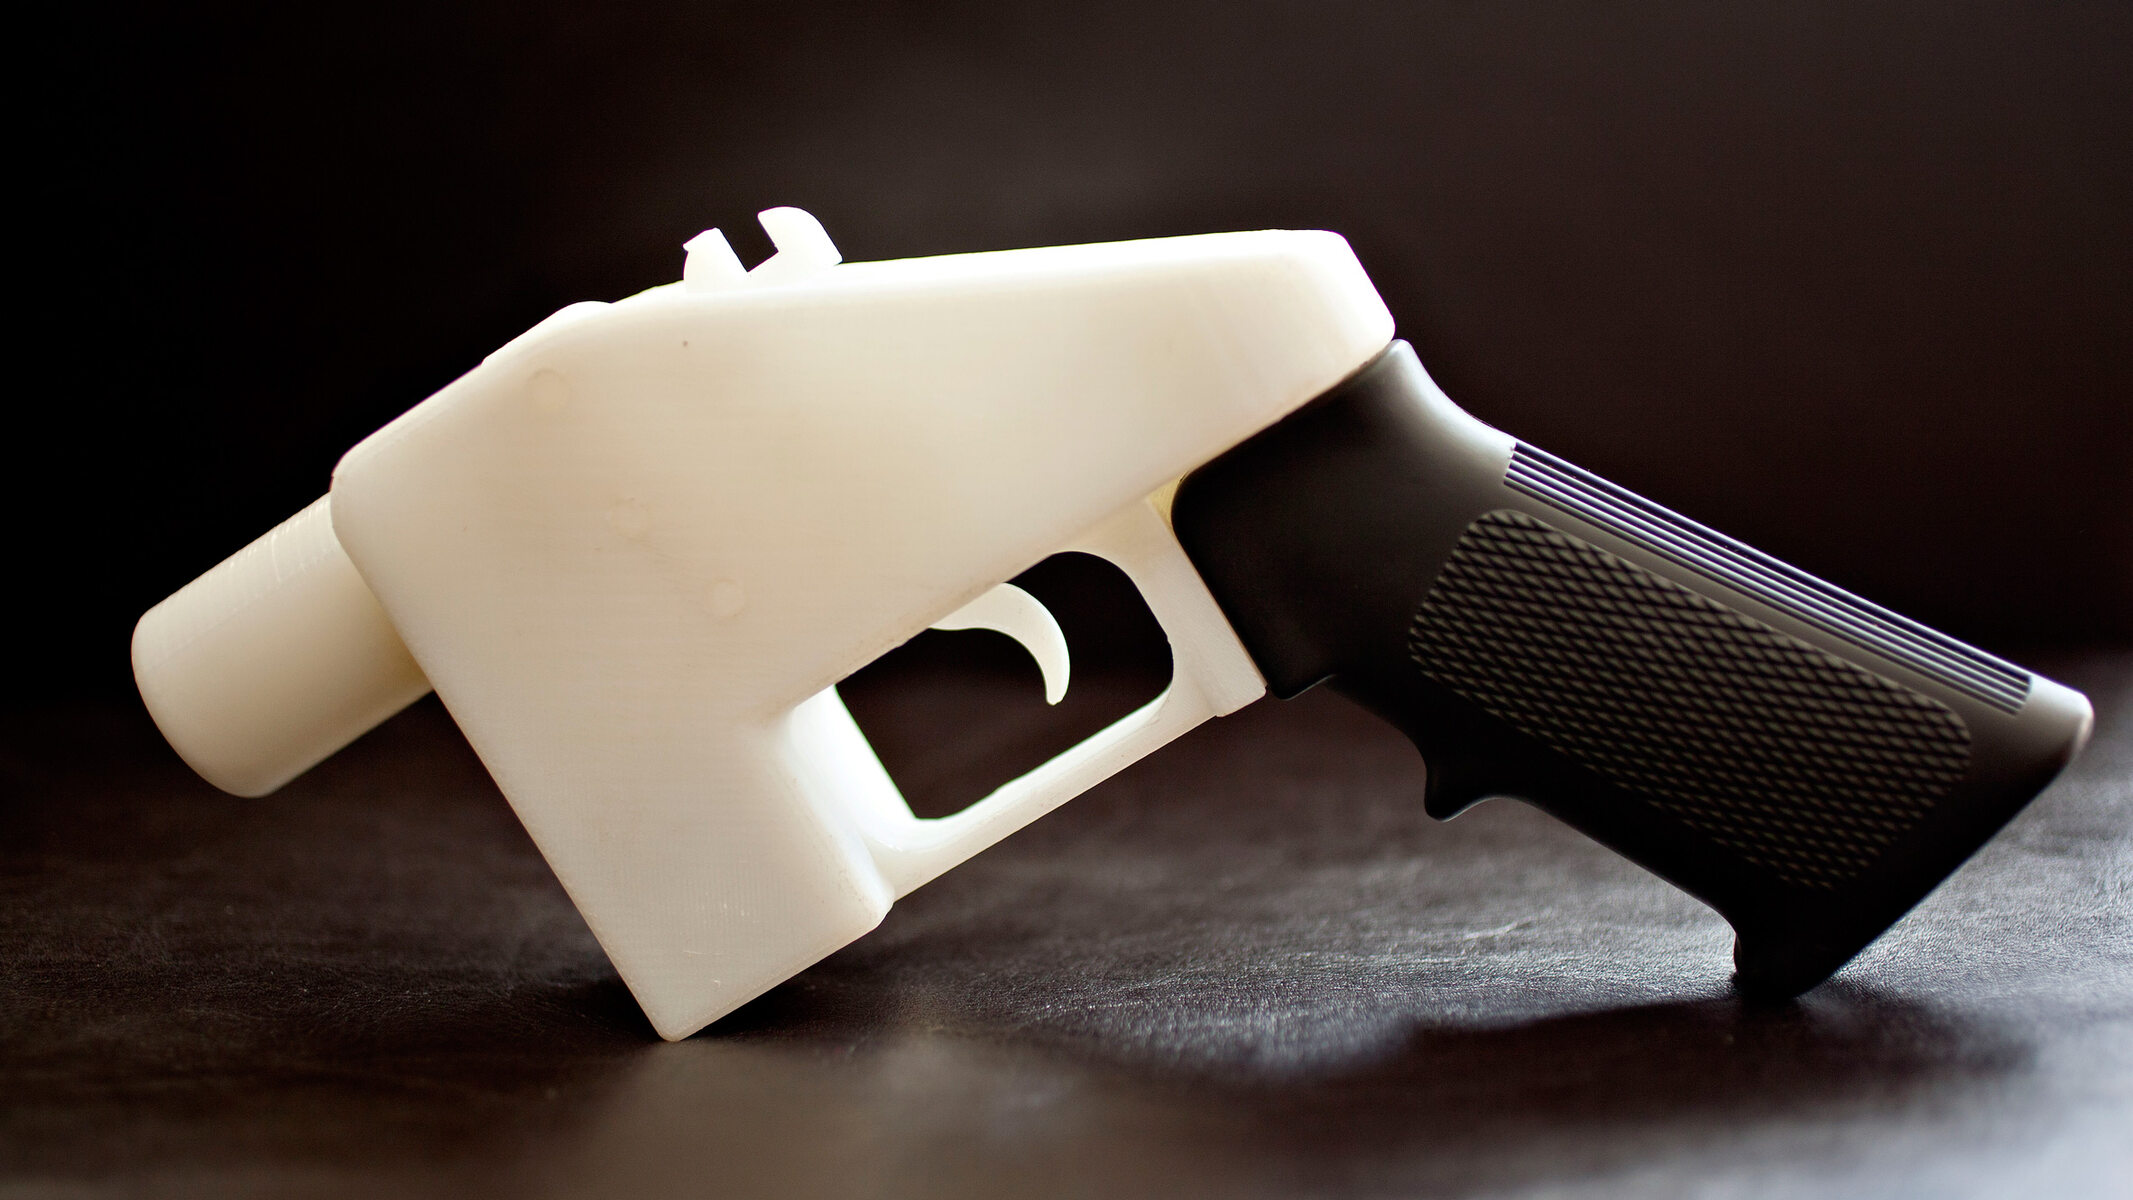
3D print handgun blueprints are digital files, typically STL (stereolithography) format, that contain the exact 3D model data and assembly instructions needed to manufacture a functional firearm layer-by-layer on a 3D printer. The most famous example is the Liberator, a single-shot pistol designed by Defense Distributed and released in 2013, which proved that a working handgun could be produced almost entirely from plastic in a home workshop.
What are 3D print handgun blueprints?
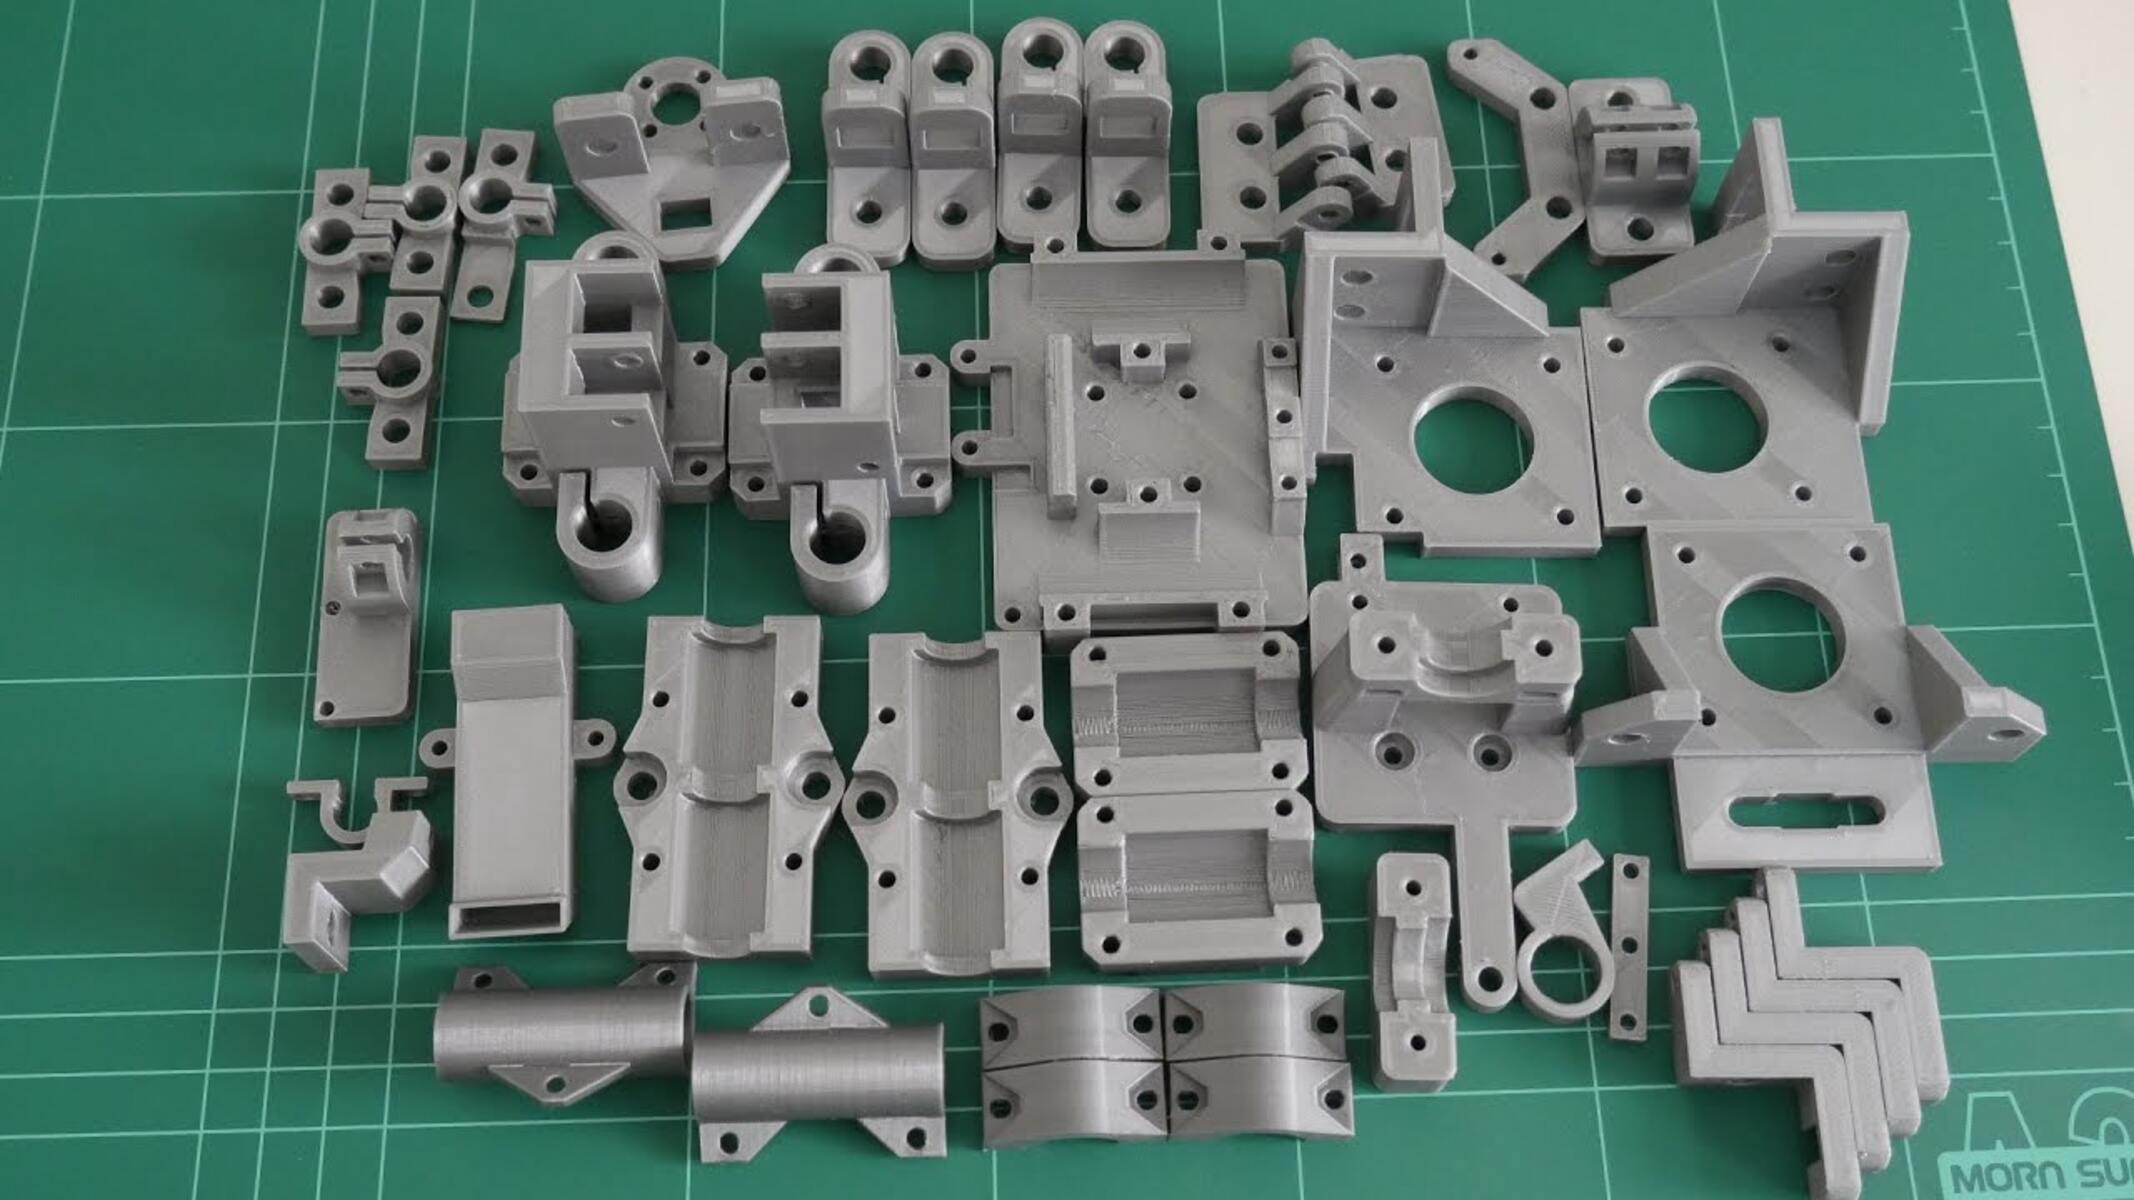
At their core, 3D print handgun blueprints are the complete digital DNA of a firearm. They are not traditional paper drawings but rather a collection of STL files that define the geometry of every part: the frame, the barrel housing, the trigger mechanism, and the grip. These files are sliced into thousands of horizontal layers by software, which then instructs the printer where to deposit melted plastic. The blueprints also include critical assembly instructions, specifying which metal components are needed and how they fit into the printed parts. The Liberator, for example, was primarily made from ABS plastic, with the only metal component being a standard nail used as a firing pin. This design demonstrated that a functional, albeit crude, handgun could be created with a desktop printer and publicly shared digital plans.
The legal reality of DIY firearms in the US
Before you even download a file, you need to understand the legal landscape. In the United States, it is generally legal in many areas to manufacture a firearm for personal use, but selling firearms without proper licensing is illegal. This means you can build a gun for yourself, but you cannot sell it to another person without becoming a licensed manufacturer and conducting a background check. Furthermore, the Undetectable Firearms Act of 1988, extended in 2013, prohibits the manufacture or possession of any firearm that is not detectable by a metal detector, meaning all-plastic 3D-printed firearms are illegal. This is why designs like the Liberator require a metal nail or a steel barrel, to ensure the gun is detectable. These DIY weapons are often referred to as "ghost guns" because they typically lack serial numbers, making them difficult for law enforcement to trace. State laws vary significantly, with some states prohibiting their manufacture, sale, or possession, while others require serialization or background checks for components. Always research your local jurisdiction before proceeding.
Essential materials: PLA+ and a common nail
If you are going to build a handgun, you need the right materials, and the community has settled on a standard. PLA+ is the most commonly used filament in the 3D firearm community, offering a good balance of stiffness, impact resistance, and printability. While polycarbonate offers greater strength and heat resistance, it is more challenging to print and requires specialized equipment. For a basic design like the Liberator, you will need a spool of PLA+ (or ABS, which was used in the original), and critically, a metal firing pin. In the Liberator's case, this is simply a standard nail. You will also need a metal barrel (often a steel tube) to contain the pressure of the cartridge, as plastic alone may lack the necessary strength and heat resistance for sustained firing. Other standard 3D printing supplies include painter's tape or glue stick for bed adhesion, and a scraper for removing the finished part.
Finding a reliable 3D printer for firearms
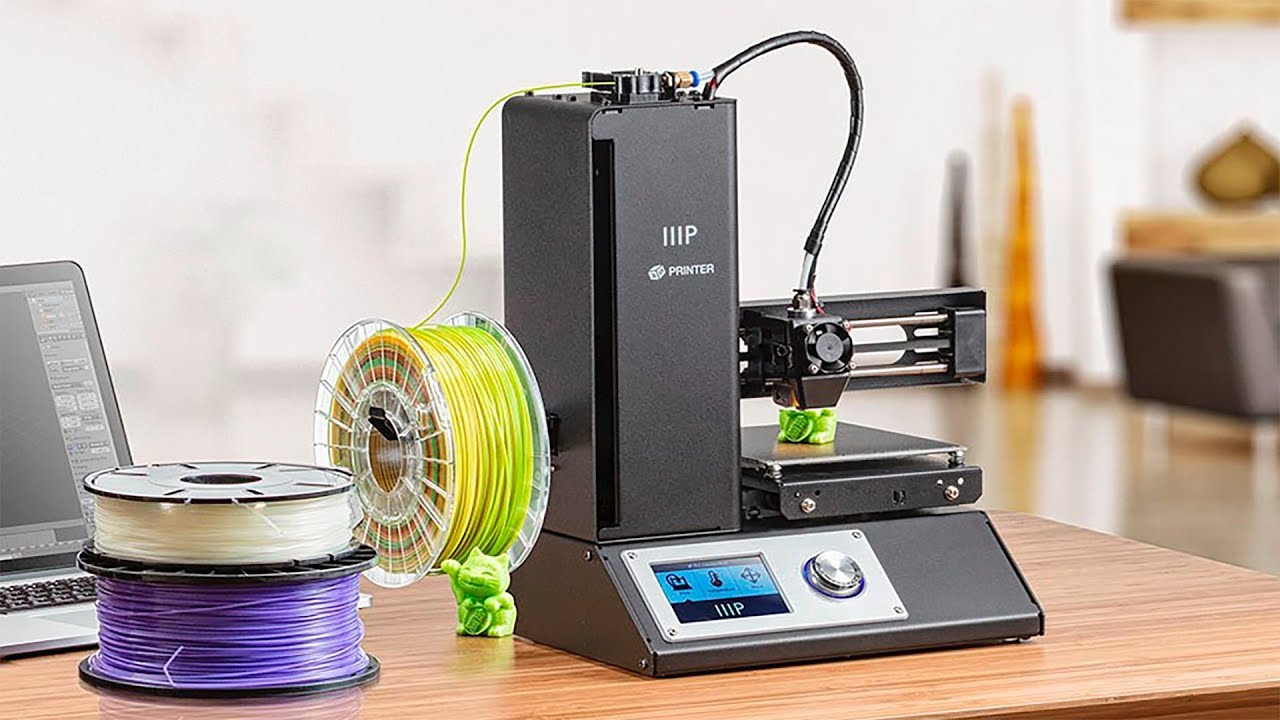
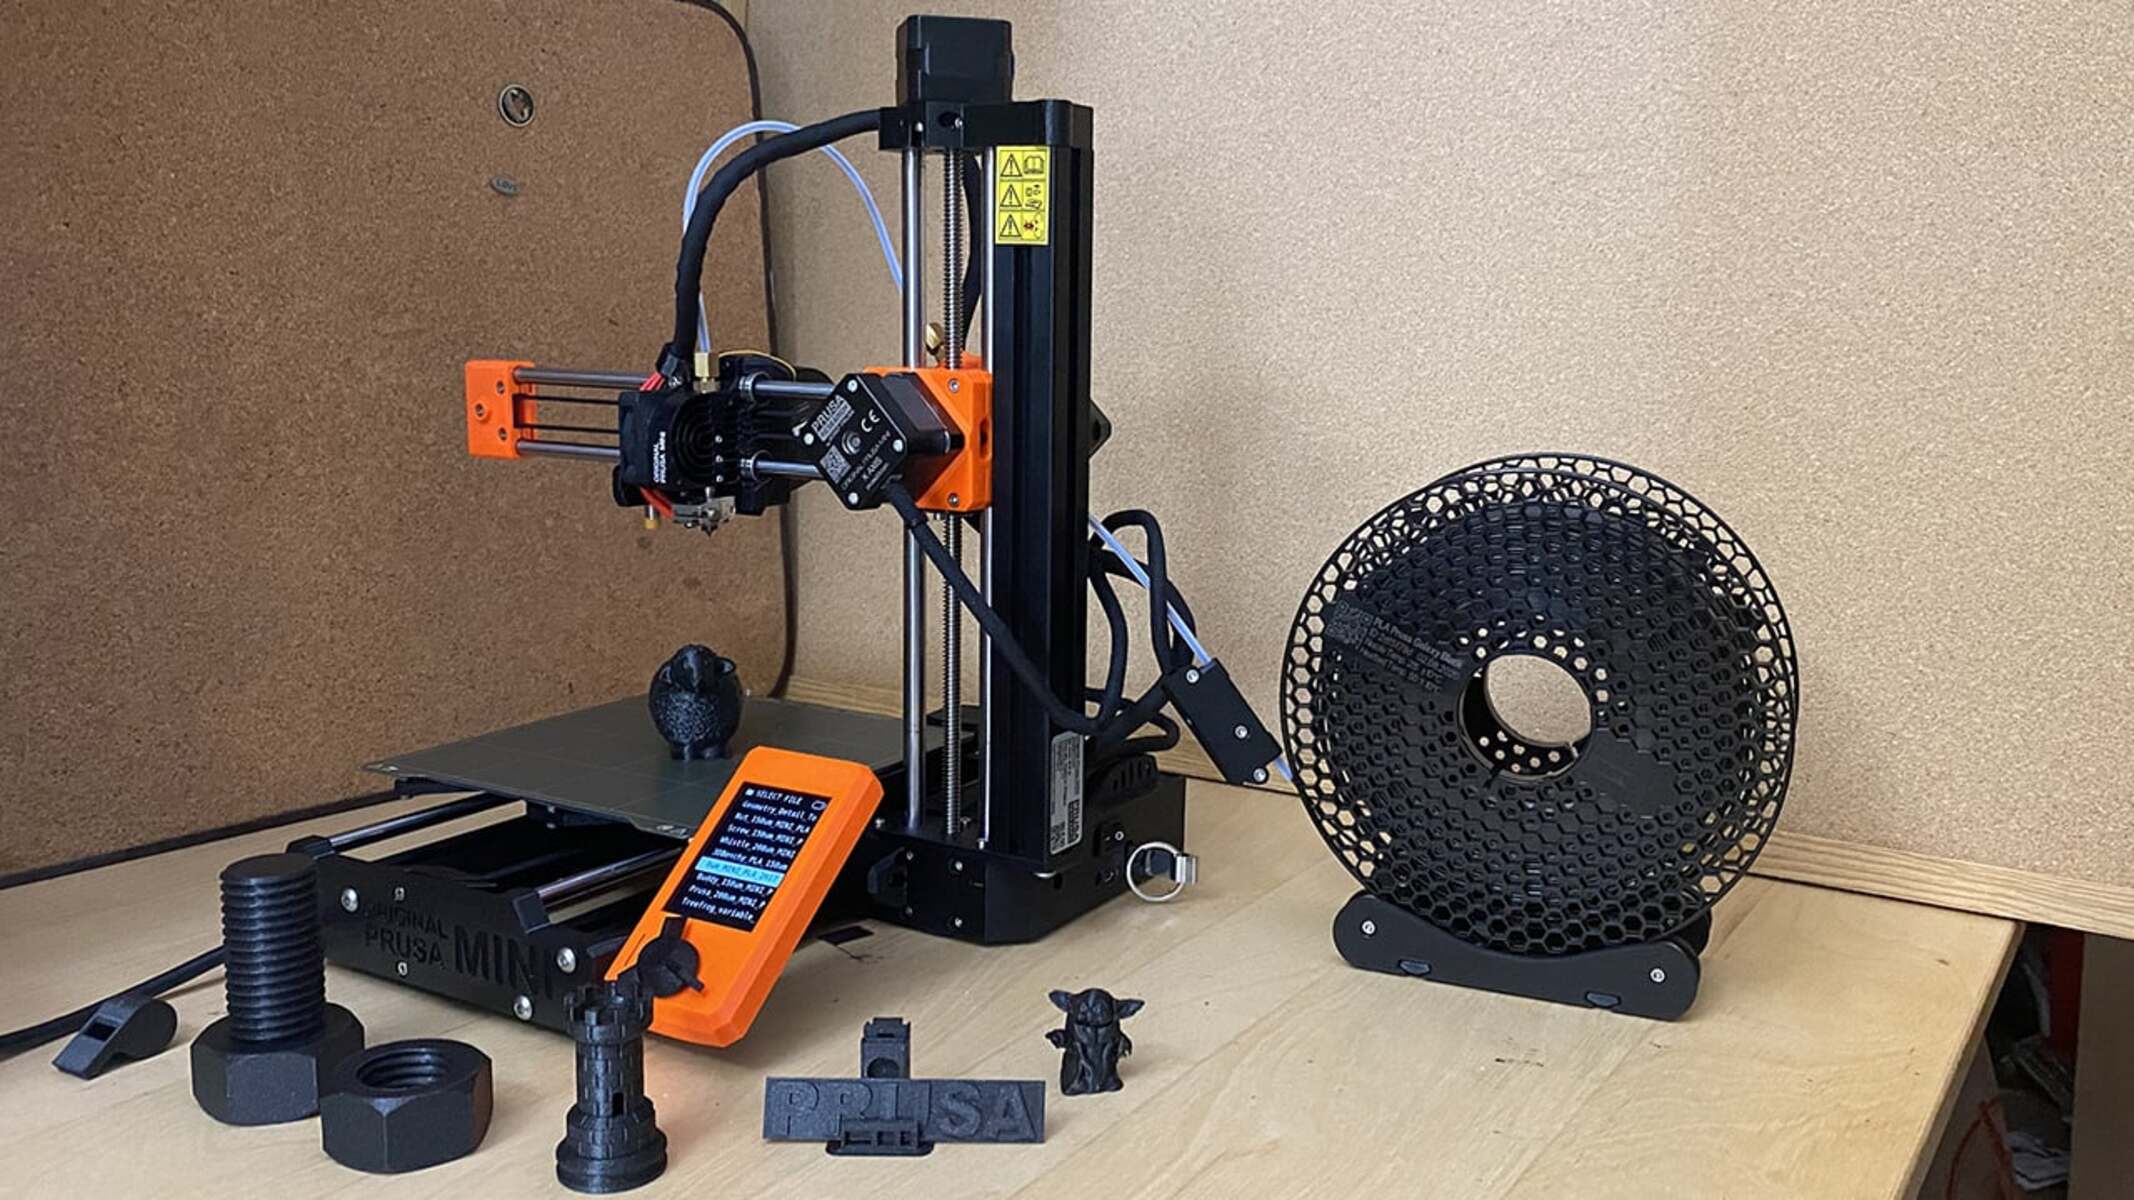
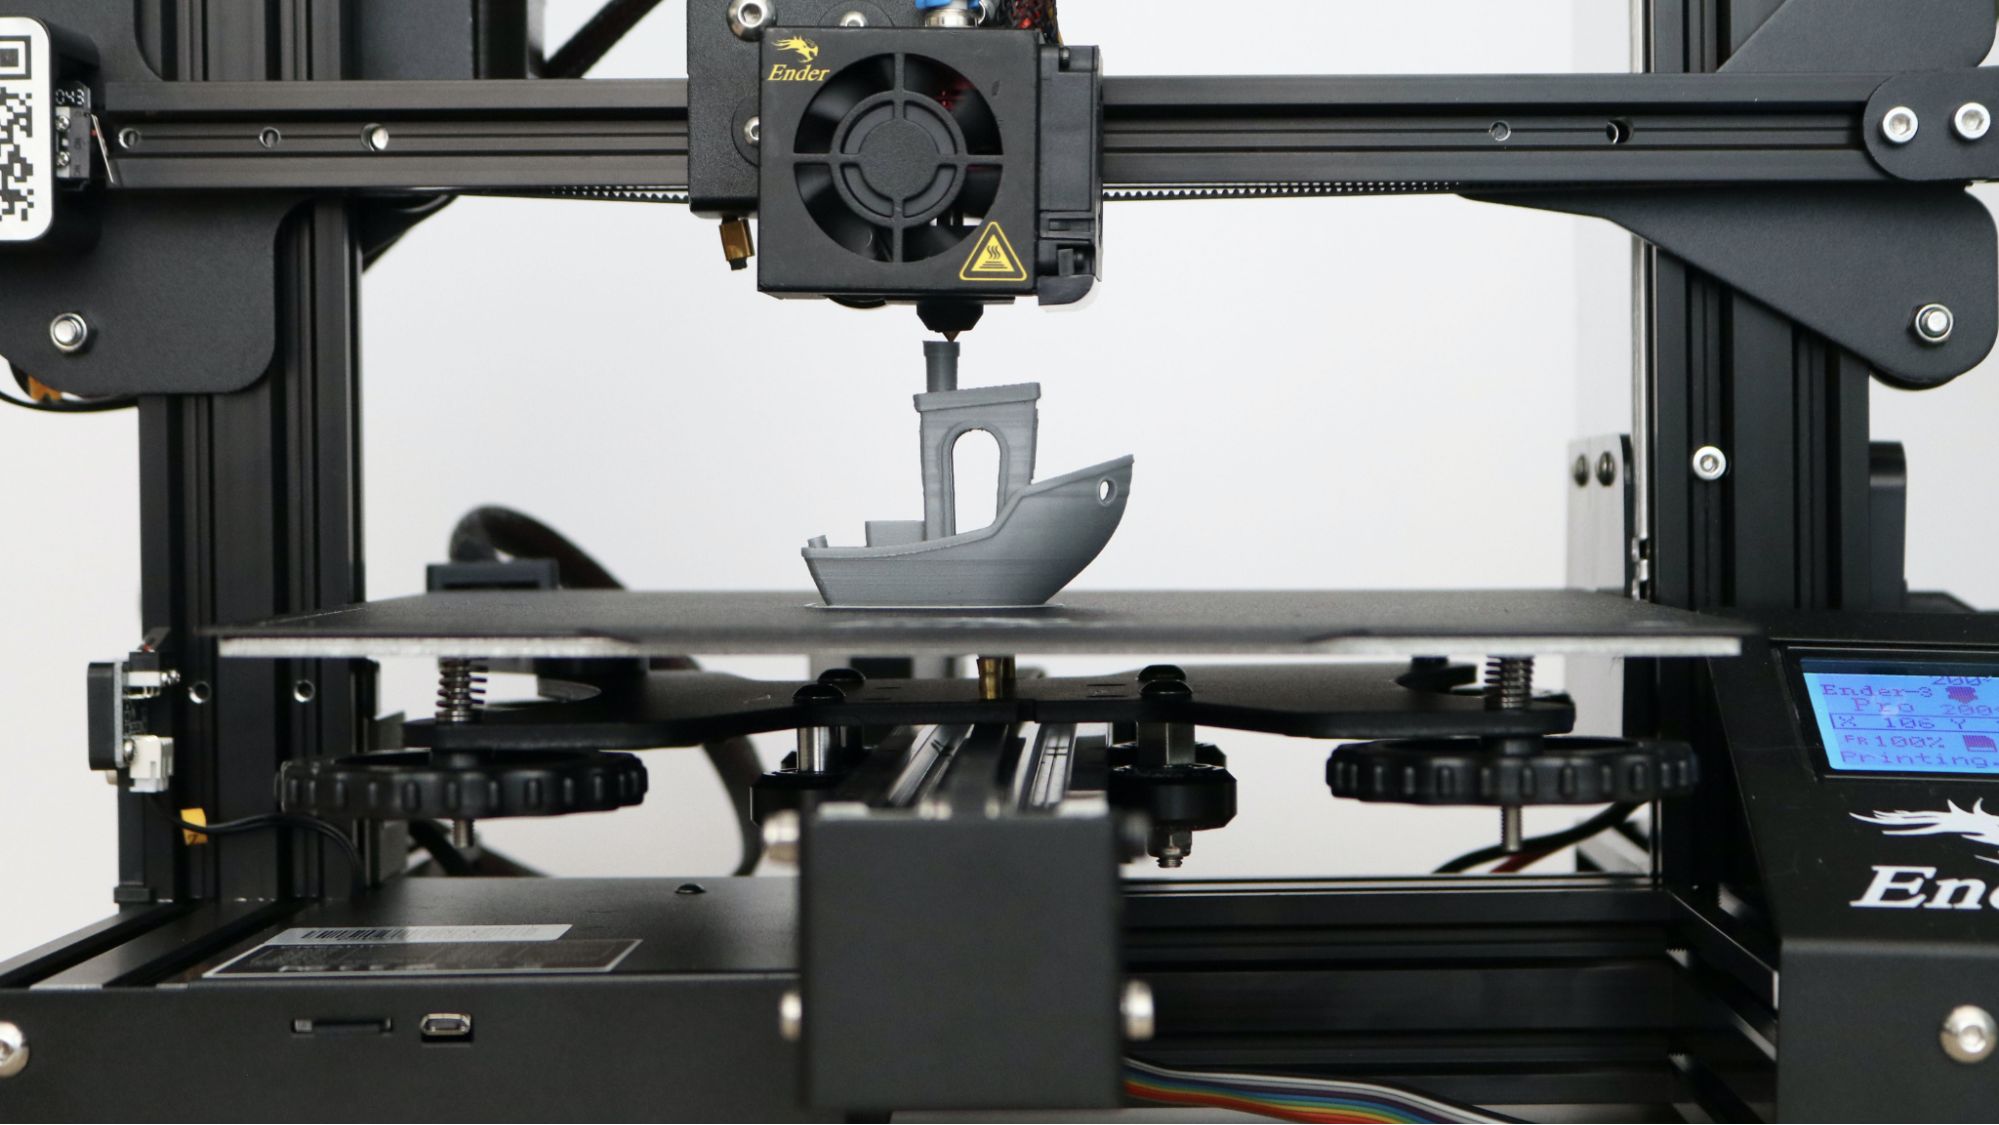
Your printer is the machine tool, and not every printer is up to the task. To reliably print high-strength thermoplastics like PLA+ and ABS, you need a printer with a heated bed, this is non-negotiable for preventing warping and ensuring the first layers stick. You also want an all-metal hotend, which can reach and maintain the higher temperatures required for these filaments without degrading the PTFE tube. While brand names like Prusa, Creality, or Bambu Lab are popular, the specific brand matters less than the specs. Look for a printer with a build volume large enough to accommodate a handgun frame (at least 200x200x200mm), a rigid frame for dimensional accuracy, and a reputation for reliability. The process of 3D printing firearms may involve long printing times and repeated use, so choose a printer known for consistent operation. Also, be aware that major 3D printer manufacturers, such as Prusa Research, Formlabs, and Stratasys, prohibit the use of their products for illegal purposes, including the manufacture of weapons, in their terms of service.
Step 1: Slicing your handgun blueprints
Once you have your STL files, you need to import them into a slicer, software like Cura or PrusaSlicer. This program converts the 3D model into G-code, the instructions your printer follows. For a firearm frame, you must override the default settings. Set the infill to 100%, this is critical because any internal air gaps will create weak points that will fail under the explosive pressure of firing. Increase the wall count to at least 4 or 5 perimeters to add strength to the outer shell. Enable support structures for any overhangs, such as the trigger guard, and use a support interface to make them easier to remove. Pay attention to the layer height; a 0.12mm or 0.16mm layer height will produce a stronger part than a 0.2mm layer because it creates more inter-layer bonding. Slow down the print speed for the first few layers to ensure perfect adhesion.
Step 2: The 15-20 hour printing process
Printing a handgun frame is not a quick task; expect a 15-20 hour print job for a typical single-shot design. Before you start, ensure your build plate is perfectly level and clean. Apply a layer of glue stick or blue painter's tape to improve bed adhesion and prevent the part from lifting. During the print, monitor the first few layers closely. Watch for warping, especially at the corners of the frame, which occurs when the plastic cools too quickly. A consistent ambient temperature is crucial, drafts or temperature fluctuations can cause the part to curl and separate from the bed. Consider enclosing the printer or placing it in a room with stable temperature. Check on the print periodically to ensure the filament is feeding correctly and there are no clogs. Do not leave it unattended for long periods; a failed print wastes hours and material.
Step 3: Post-processing and assembly
After the print finishes, the real work begins. Carefully remove the frame from the build plate using a scraper. Remove the support structures, using flush cutters and a hobby knife for tight areas. Sand the fitting surfaces where the metal components will slide or seat, the barrel channel and the firing pin hole. This is a crucial step for maintaining the functionality of the firearm. Now, assemble the parts. Follow the blueprint's assembly instructions: press the metal barrel into the printed housing, insert the firing pin (the nail), and add the springs and any other hardware. You may need to file or sand the plastic slightly to get a snug, but not tight, fit. The trigger mechanism must move freely without binding. Once assembled, perform a function check by cycling the action (if applicable) and ensuring the firing pin strikes correctly.
Safety and the 8-shot lifespan
This is the most critical section of this guide. A basic 3D-printed handgun like the Liberator has a lifespan of only 8-10 shots before it may shatter. This is not a durable weapon; it is a proof-of-concept. The plastic frame undergoes extreme stress and heat with each firing, and it will eventually fail catastrophically, potentially sending plastic shrapnel into your hand. When test firing, always wear eye protection and heavy gloves. Fire the first shot remotely if possible, using a string tied to the trigger. Inspect the frame for cracks after each shot. Never attempt to fire a round that is too powerful for the design, and never modify the blueprint to increase the caliber. The safety protocols for handling any firearm apply here with extra urgency: treat the gun as always loaded, keep your finger off the trigger until ready to shoot, and store the firearm in a lockable container, unloaded. Remember that this article is for educational purposes only, and you are responsible for complying with all laws and ensuring your own safety. If you have any specific legal concerns, consult with legal professionals who specialize in firearms laws in your jurisdiction.
\nRelated reading: How To Change Color On A 3D Printer, How To Remove Filament From A 3D Printer, and Why Isn't My 3D Printer Extruding.