Introduction
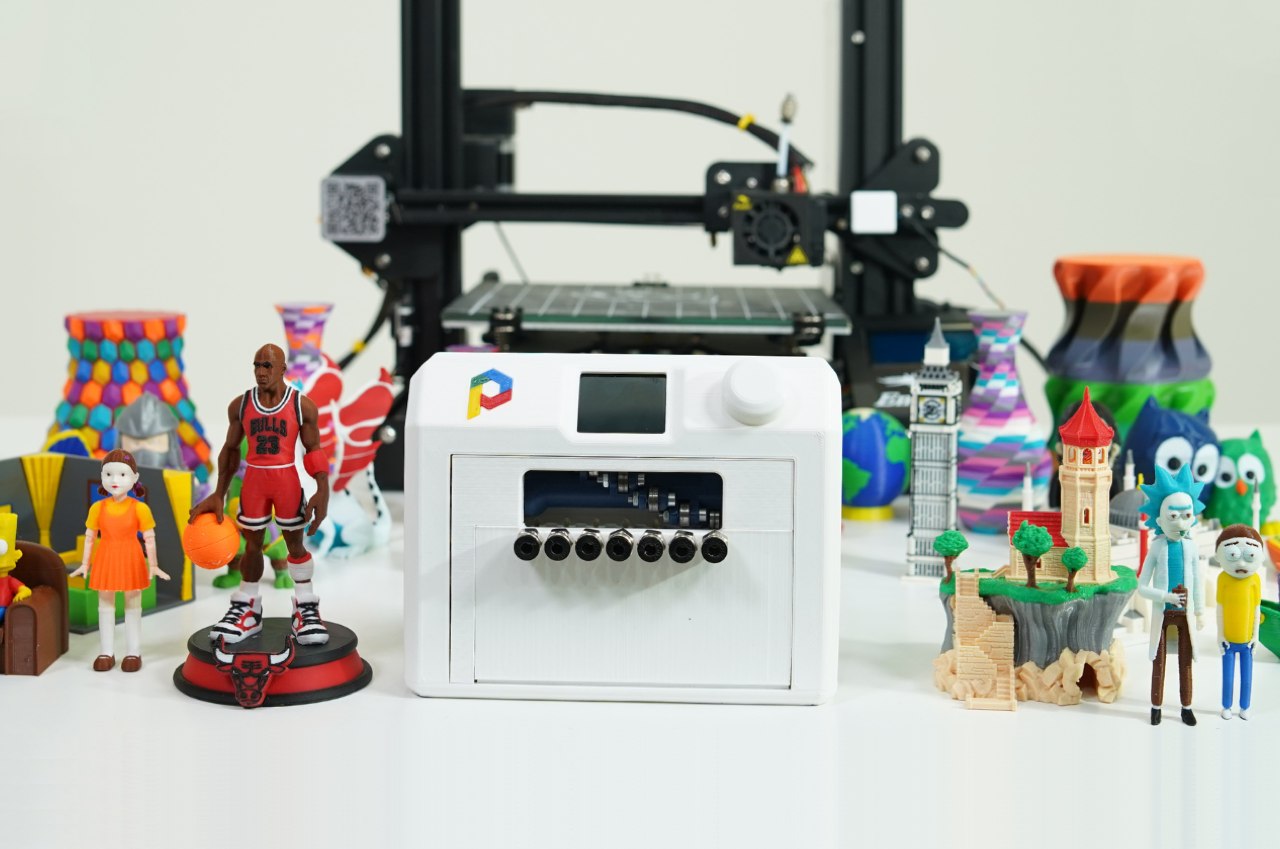
Welcome to the world of 3D printing, where you have the power to turn your digital designs into physical objects. As a 3D printing enthusiast, you may encounter situations where you need to change filament during the printing process. This could be due to various reasons, such as running out of filament, wanting to switch to a different color or material, or even to make modifications to your print.
Changing filament during a print may seem daunting at first, especially if you’re new to the world of 3D printing. But fear not! In this guide, we will take you through the step-by-step process of changing filament, and provide you with helpful tips and tricks to ensure a smooth transition.
Why is it necessary to change filament during a print? Well, think of filament as the lifeblood of your 3D printer. It is the material that gets extruded and deposited layer by layer to create your desired object. Depending on the size and complexity of your print, it may take several hours or even days to complete. During this time, you may run out of filament, encounter a printing error, or simply want to switch things up by using a different material or color.
Knowing when to change filament is crucial for achieving successful prints. For instance, if you run out of filament halfway through a print, you risk not being able to complete the object as intended. Similarly, if you want to switch to a different color or material, changing filament at the right time ensures a seamless transition without any visible artifacts or gaps in the print.
Before we dive into the actual process of changing filament, there are a few essential preparations you should make. These will help ensure a smooth filament change and minimize the risk of any issues or interruptions during your print. We will cover these preparations in the next section, so let’s get started!
Why do you need to change filament during 3D printing?
Changing filament during the 3D printing process allows for greater versatility and customization in your prints. Here are a few reasons why you might need to change filament:
- Running out of filament: One of the most common reasons for changing filament is when you run out of it during a print. This can happen if your print takes longer than expected or if you miscalculated the amount of filament needed. Changing filament allows you to continue the print and ensure its completion.
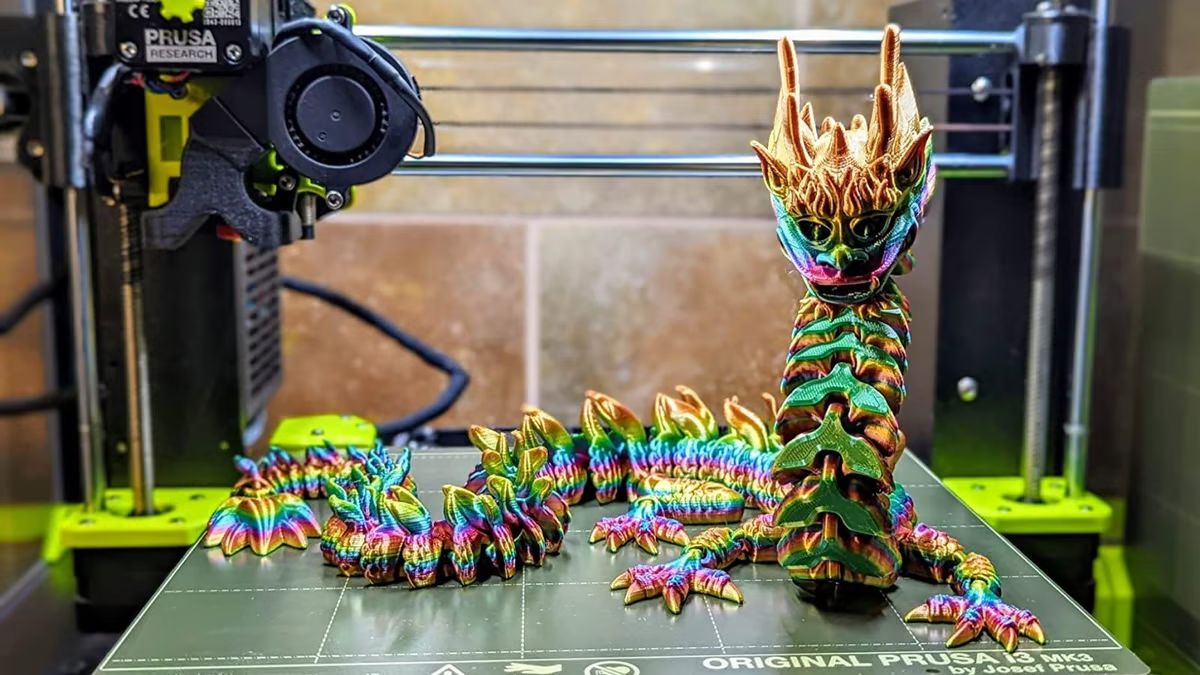
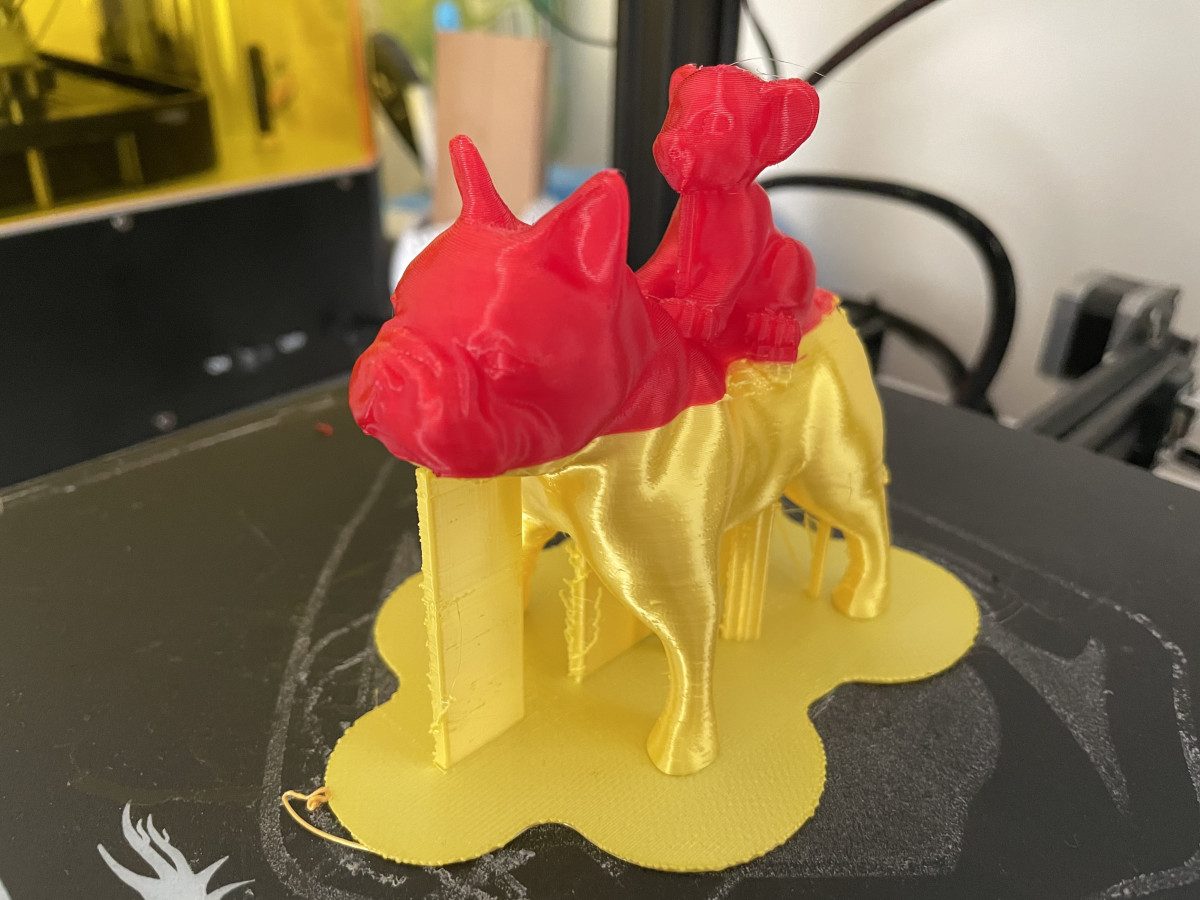
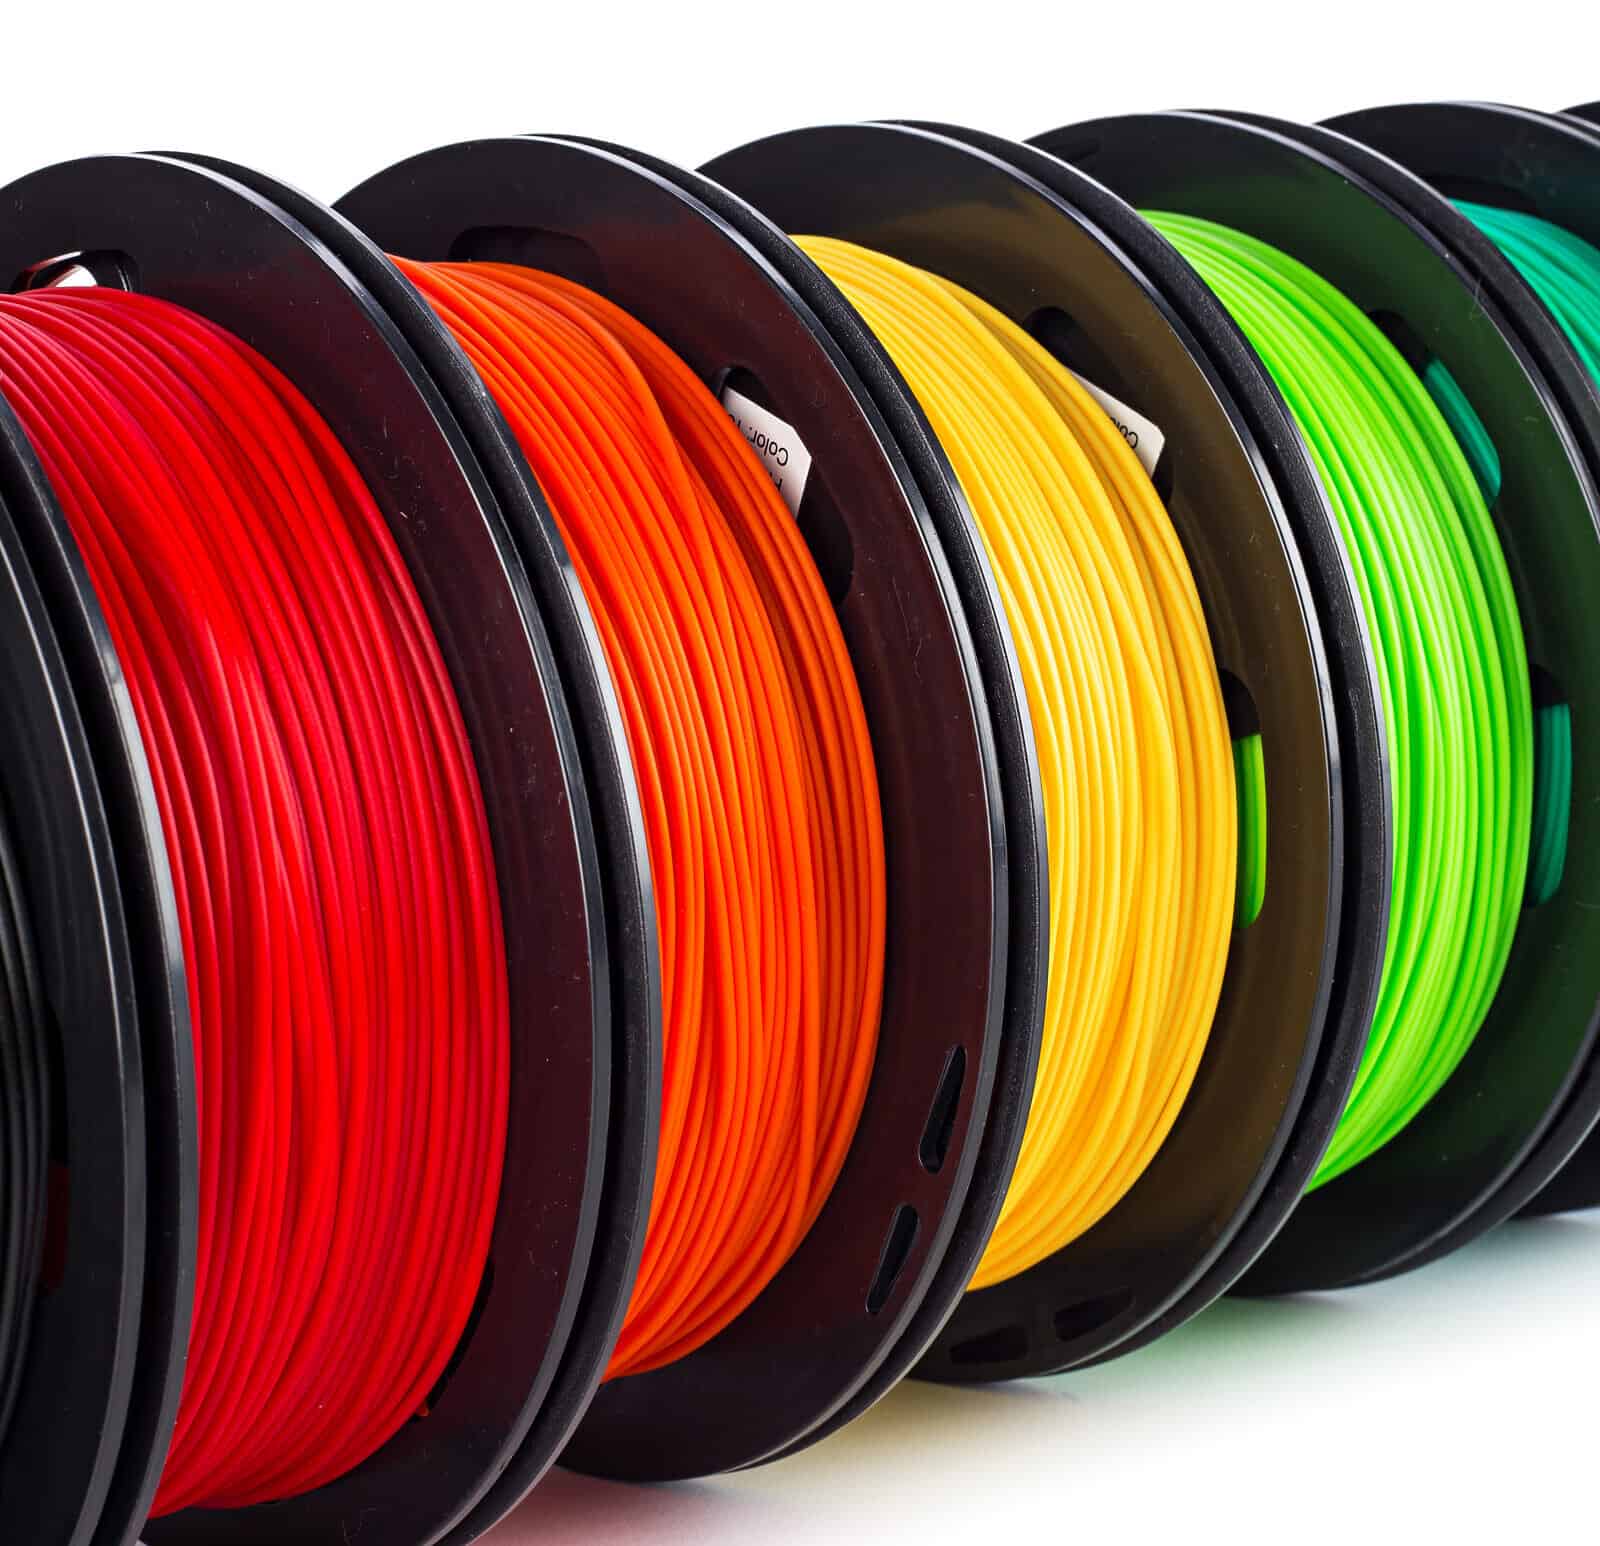
- Switching to a different color or material: Sometimes, you may want to add a pop of color or experiment with different materials in your prints. Changing filament gives you the opportunity to switch to a different color or material and create unique and visually appealing objects.
- Printing multi-colored or multi-material objects: If you want to create objects with different colors or materials in different sections, you’ll need to change filament during the print. This is common for objects like figurines, toys, or decorative items where different parts require different colors or materials.
- Fixing print issues: Occasionally, you may encounter print issues such as clogs, under-extrusion, or stringing. Changing filament can help troubleshoot these issues by clearing out any obstructions or inconsistencies in the filament flow, allowing for smoother and higher-quality prints.
- Adding inserts or reinforcements: If you want to add inserts or reinforcements to your prints, changing filament can help. For example, you may need to switch to a stronger filament for added structural support or to embed a metal or magnetic element within the object.
Changing filament during 3D printing opens up a world of possibilities and enables you to unleash your creativity. Whether it’s for practical purposes or to add aesthetic appeal to your prints, the ability to switch filament seamlessly is a valuable skill for any 3D printing enthusiast.
Now that we understand the reasons behind changing filament, let’s move on to the next section, where we will explore the necessary preparations before performing a filament change.
When should you change filament?
Knowing when to change filament during the 3D printing process is crucial for ensuring the successful completion of your prints. Here are a few scenarios where you may need to consider changing filament:
- Filament running low: One of the obvious signs that you need to change filament is when it is running low or approaching the end of the spool. Many 3D printers have filament sensors or indicators that can alert you when the filament is about to run out. Changing filament at the right time ensures a smooth transition without interruption.
- Switching colors or materials: If you have a specific design in mind that involves multiple colors or materials, you will need to change filament accordingly. For example, if you’re printing a model with different sections or layers of varying colors, you will need to change filament at the appropriate points in the print to achieve the desired effect.
- Print defects or errors: Sometimes, you may encounter print defects or errors during the printing process. This could be due to issues such as clogs, under-extrusion, or stringing. In such cases, changing filament can help troubleshoot the problem by clearing out any obstructions and ensuring a smooth and consistent flow of filament.
- Desire for different print characteristics: If you’re looking to achieve specific print characteristics, such as increased strength or flexibility, you may need to switch to a different filament material. For example, if you’re printing a functional part that requires durability, you might choose to switch from PLA to a stronger material like ABS or PETG.
- Experimentation and customization: As a 3D printing enthusiast, you may want to experiment with different filaments to explore their unique properties and capabilities. Changing filament allows you to customize your prints, making them more visually appealing or functionally optimized.
It’s important to note that changing filament at the wrong time can result in a flawed print or even failure. Therefore, it’s crucial to carefully consider the timing and plan your filament changes accordingly. Understanding the characteristics of your filament and the requirements of your print will help you determine the optimal moments to perform a filament change.
Now that we have discussed when to change filament, let’s move on to the next section, where we will cover the essential preparations you need to make before changing filament.
Preparation Before Changing Filament
Before you embark on the process of changing filament during a 3D print, it’s important to prepare yourself and your 3D printer to ensure a smooth transition. Here are some essential preparations to consider:
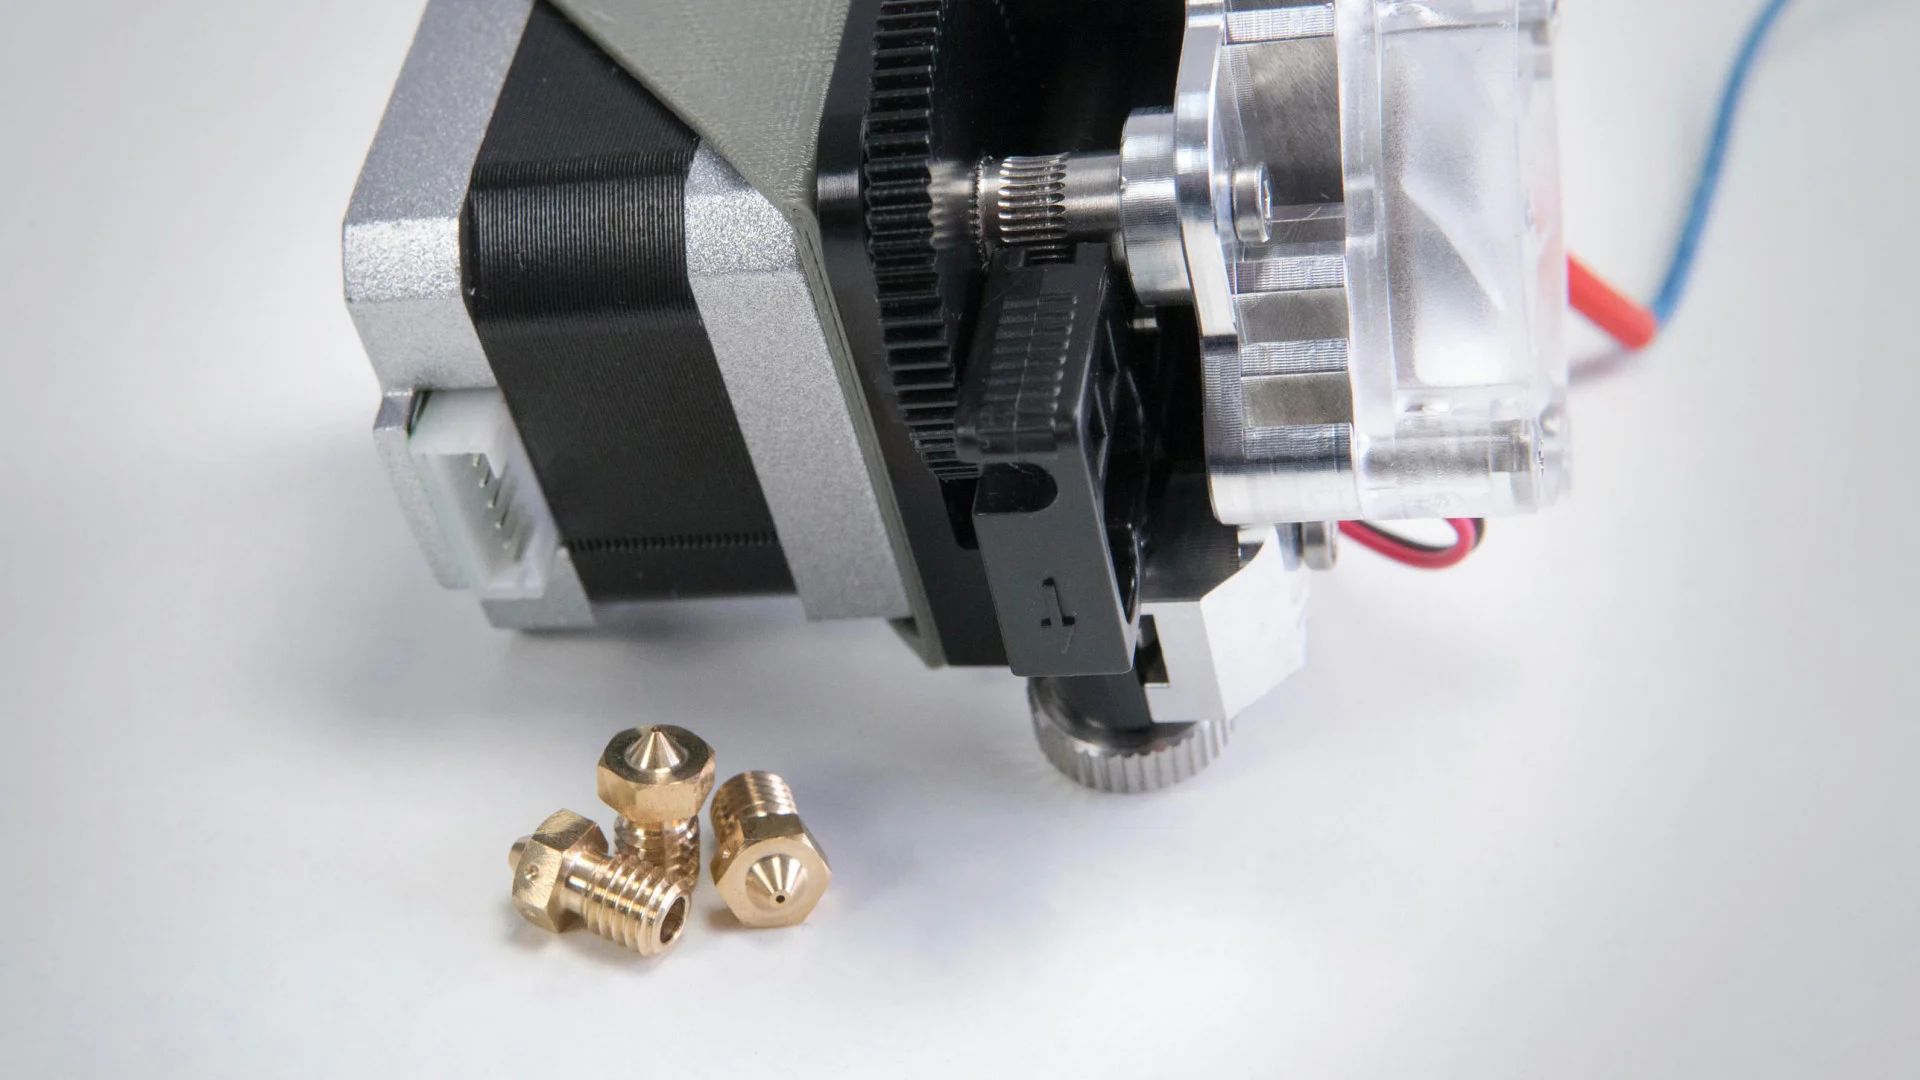
- Gather the necessary tools: Make sure you have all the tools you’ll need for the filament change. This typically includes a pair of needle-nose pliers or filament cutters to trim the filament, and a heat-resistant surface or plate to place the hot nozzle on during the process. Additionally, it’s a good idea to have a spool holder or a stored replacement filament within reach.
- Clean the print bed: Take the time to clean the print bed surface before starting the filament change. This ensures that the new filament adheres properly to the bed and reduces the chances of any previous debris or residue interfering with the print.
- Heat the nozzle: Preheat the nozzle to the recommended temperature for the filament type you are using. This will soften the filament and make it easier to remove. Most printers have an option to preheat the nozzle in their settings menu, so be sure to follow the manufacturer’s guidelines.
- Retract the filament: Once the nozzle is heated, retract the filament from the extruder. This can usually be done through the printer’s control panel or by manually pushing the filament release lever, if your printer has one. Ensuring that the filament is fully retracted will make it easier to remove from the extruder.
- Cut the filament: Use the needle-nose pliers or filament cutters to cut the filament just above the extruder gear. This will remove any potentially damaged or uneven sections of the filament, allowing for a smoother feeding process when the new filament is introduced.
- Prepare the new filament: Before inserting the new filament, ensure that it is free from any knots, tangles, or other deformities. Straighten any bent sections if necessary, as this will help prevent clogs or jams during the printing process. Also, be sure to check the compatibility of the new filament with your printer and adjust the printer settings accordingly.
- Insert the new filament: With the nozzle still heated, gently feed the new filament into the extruder until you feel resistance. This indicates that the filament has reached the hot end and is ready to be extruded. Follow your printer’s instructions for filament insertion to ensure a proper and secure connection.
- Purge the old filament: Once the new filament is securely in place, extrude a small amount of it to clear out any remnants of the previous filament from the nozzle. This helps to ensure that the new filament flows smoothly and that there are no color or material mixing artifacts in your print.
By following these preparations, you’ll be well-equipped to change filament during a 3D print without any hiccups. Now that you’re prepared, let’s move on to the step-by-step guide on how to change filament.
Step-by-Step Guide on How to Change Filament
Changing filament during a 3D print may seem intimidating, but with the right approach, it can be a straightforward process. Here is a step-by-step guide to help you change filament smoothly:
- Pause the print: If your printer has a pause or stop button, pause the print job. This will prevent the print head from moving while you change the filament.
- Heat the nozzle: Preheat the nozzle to the appropriate temperature for the filament you are using. Ensure that the nozzle reaches the desired temperature before proceeding.
- Retract the filament: Once the nozzle is heated, retract the current filament from the extruder. This can usually be done by navigating to the filament settings menu on your printer’s interface and selecting the “retract” or “unload” option. Make sure to fully retract the filament until it can be easily removed from the extruder.
- Cut the filament: Using the needle-nose pliers or filament cutters, cut the filament just above the extruder gear. This will ensure that the old filament is completely removed and reduce the risk of any remnants interfering with the new filament.
- Insert the new filament: Take the prepared new filament and insert it into the extruder. Gently feed the new filament into the extruder until you feel resistance. Be careful not to force it or cause any bending or kinks in the filament.
- Purge the nozzle: Once the new filament is inserted, extrude a small amount of it to purge any remaining traces of the old filament and ensure a clean transition. This can be done through the filament settings menu on your printer or by manually extruding a few millimeters of filament.
- Resume the print: Once you have purged the nozzle, resume the print job. This can be done by selecting the “resume” or “start” option on your printer’s interface. The printer will continue with the new filament, seamlessly continuing the print where it left off.
Following these step-by-step instructions will help you change filament efficiently and resume your 3D print without any disruptions. Remember to take your time and be cautious during each step to ensure a successful filament change.
Now that you have a clear understanding of the filament changing process, let’s move on to the next section, where we will share some helpful tips and tricks for a successful filament change.
Tips and Tricks for a Successful Filament Change
Changing filament during a 3D print can be a delicate process, but with these helpful tips and tricks, you can ensure a successful filament change:
- Be patient and take your time: Rushing through the filament change can lead to mistakes or complications. Take your time to carefully follow each step and ensure that the filament is inserted properly.
- Keep spare filament ready: Always have spare filament readily available when starting a 3D print. This way, if you run out of filament or encounter any issues, you can quickly switch to the spare filament and continue the print without interruption.
- Use filament runout sensors: Consider using printers or add-ons with filament runout sensors. These sensors can detect when the filament is running low and automatically pause the print, giving you the opportunity to change the filament before it completely runs out.
- Label your filaments: If you frequently switch between different filaments, labeling them can help you easily identify which filament is currently in use. This is especially useful if you’re working with multiple filaments of the same color or similar appearance.
- Store filament properly: Proper filament storage is essential to prevent moisture absorption and maintain print quality. Make sure to store your filament in airtight containers or sealed bags with desiccant packs to ensure optimal printing conditions.
- Check for nozzle clogs: Before changing filament, ensure that your nozzle is free from any clogs. Use a cleaning needle or filament cleaning tool to clear out any debris or obstructions, as clogs can hinder the smooth flow of filament during the filament change process.
- Experiment with purge amounts: When purging the nozzle after a filament change, experiment with different purge amounts to ensure a clean transition from the old filament to the new one. This can help prevent any remnants or color mixing from affecting your prints.
- Monitor the first few layers: After changing filament, keep a close eye on the first few layers of the print. This will help you identify and address any issues that may arise due to changing filament, such as adhesion problems or inconsistent extrusion.
- Keep a record of successful filament changes: If you’ve found a specific filament change process that works well for you, keep a record of it. This can be a simple checklist or note to refer to whenever you need to change filament in the future.
By following these tips and tricks, you can make the filament changing process smoother and more efficient. Remember, practice makes perfect, so don’t be discouraged if you encounter challenges along the way. With time and experience, you’ll become more proficient at changing filament and achieving seamless prints.
Next, let’s discuss some common issues that you may encounter during a filament change and how to troubleshoot them.
Common Issues and Troubleshooting
Changing filament during a 3D print can sometimes pose challenges that require troubleshooting. Here are some common issues you may encounter during a filament change and how to address them:
- Filament jamming or clogging: If you experience filament jamming or clogging during a filament change, it may be due to heat fluctuations, improper retraction, or debris in the extruder. To troubleshoot this issue, check for any obstructions in the extruder, ensure the nozzle is properly heated, and clean the nozzle using a cleaning needle or filament cleaning tool.
- Filament not feeding smoothly: If the new filament is not feeding smoothly into the extruder, it may be due to improper filament insertion or a partially clogged extruder. Double-check that the filament is securely inserted and try manually pushing it through the extruder to help establish a proper flow.
- Extruder skipping or grinding: If you notice the extruder motor skipping or grinding during a filament change, it may be a sign of improper tension or alignment issues. Ensure that the filament is properly aligned and not tangled, and adjust the extruder tension if necessary.
- Excessive oozing or stringing: Excessive oozing or stringing of filament during a filament change can negatively impact print quality. To mitigate this issue, modify the retraction settings in your slicer software to minimize filament oozing or enable the combing feature to reduce stringing.
- Poor adhesion or warping: Sometimes, changing filament can affect print bed adhesion or cause warping issues. Ensure that the print bed is properly leveled and clean, and apply appropriate adhesion aids such as glue sticks or a heated bed if necessary.
- Mismatched filament settings: Using filament with different properties or settings than what your printer is configured for can result in print defects. Make sure to adjust temperature, extrusion multiplier, and other settings to match the new filament material.
- Unintended color or material mixing: If you notice unintended mixing of colors or materials during a filament change, it may be due to residual filament in the nozzle. Increase the purge amount and ensure that the old filament is fully extruded before continuing with the print.
- Printer not resuming after filament change: In some cases, your printer may not resume the print after a filament change. This could be due to issues with the pause and resume functionality or improper bed leveling. Try manually restarting the print or releveling the bed if the issue persists.
These troubleshooting tips should help you address common issues that may arise during a filament change. Remember to analyze the specific problem you’re facing and apply the appropriate solution to ensure a successful filament change and smooth continuation of your 3D print.
Now that we’ve covered common issues and their troubleshooting methods, let’s conclude our guide.
Conclusion
Changing filament during a 3D print may seem like a daunting task, but with the right knowledge and preparation, you can successfully switch between different colors, materials, or address various printing challenges. By following the step-by-step guide, you can confidently navigate the filament change process and achieve seamless transitions in your prints.
We discussed the importance of knowing when to change filament and the various scenarios that may require a filament change. From running out of filament to wanting to switch colors or materials, understanding the reasons behind filament changes empowers you to create versatile and visually appealing prints.
Preparation is key before changing filament, as it helps in avoiding potential issues and streamlines the process. By gathering the necessary tools, cleaning the print bed, and ensuring the nozzle is properly heated, you set yourself up for a successful filament change.
Following the step-by-step guide, you can confidently navigate the filament change process and resume your print without interruptions. Remember to pause the print, retract the filament, insert the new filament, and purge the nozzle before resuming the print.
To ensure a smooth filament change, we provided some helpful tips and tricks, such as being patient, labeling filaments, and monitoring the first few layers of the print. These insights can help you troubleshoot common issues such as clogs, feeding problems, or color mixing, ensuring successful filament changes and high-quality prints.
With practice and experience, you’ll become more proficient at changing filament during 3D printing. So, embrace the versatility and customization that filament changes offer, and let your creativity soar in the world of 3D printing!