Introduction
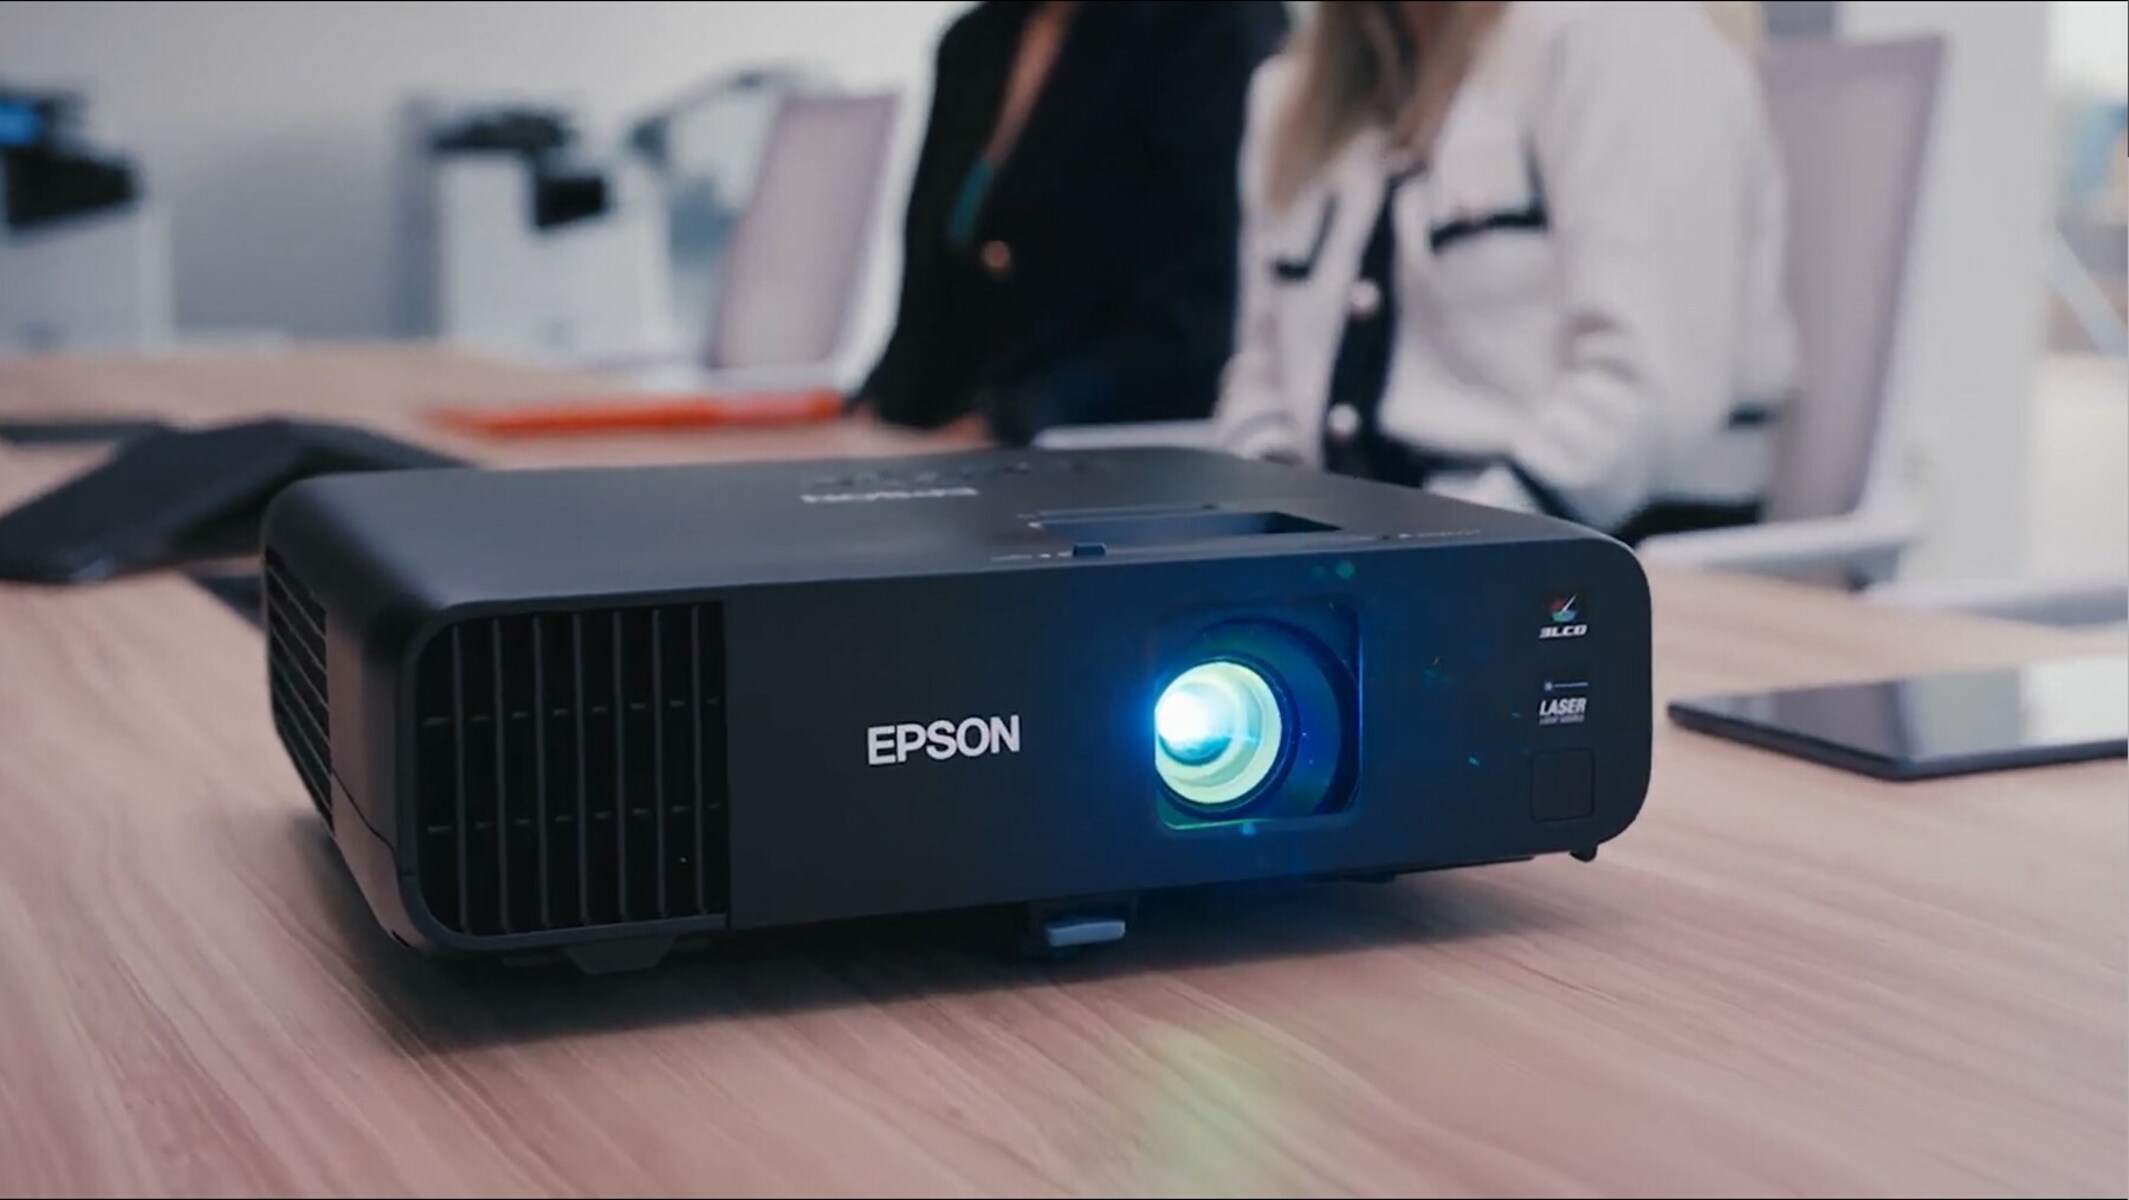
Welcome to the world of Epson projectors! Whether you’re a business professional looking to make impactful presentations or a home theater enthusiast seeking an immersive movie-watching experience, Epson projectors are here to fulfill your needs. With their cutting-edge technology and exceptional image quality, Epson projectors have established themselves as leading players in the market.
In this comprehensive guide, we will walk you through the process of using an Epson projector effectively. From selecting the right model to setting it up correctly and optimizing image quality, we’ve got you covered.
Before diving into the nitty-gritty details, let’s first understand what exactly an Epson projector is and why it’s a popular choice among consumers.
What is an Epson Projector?
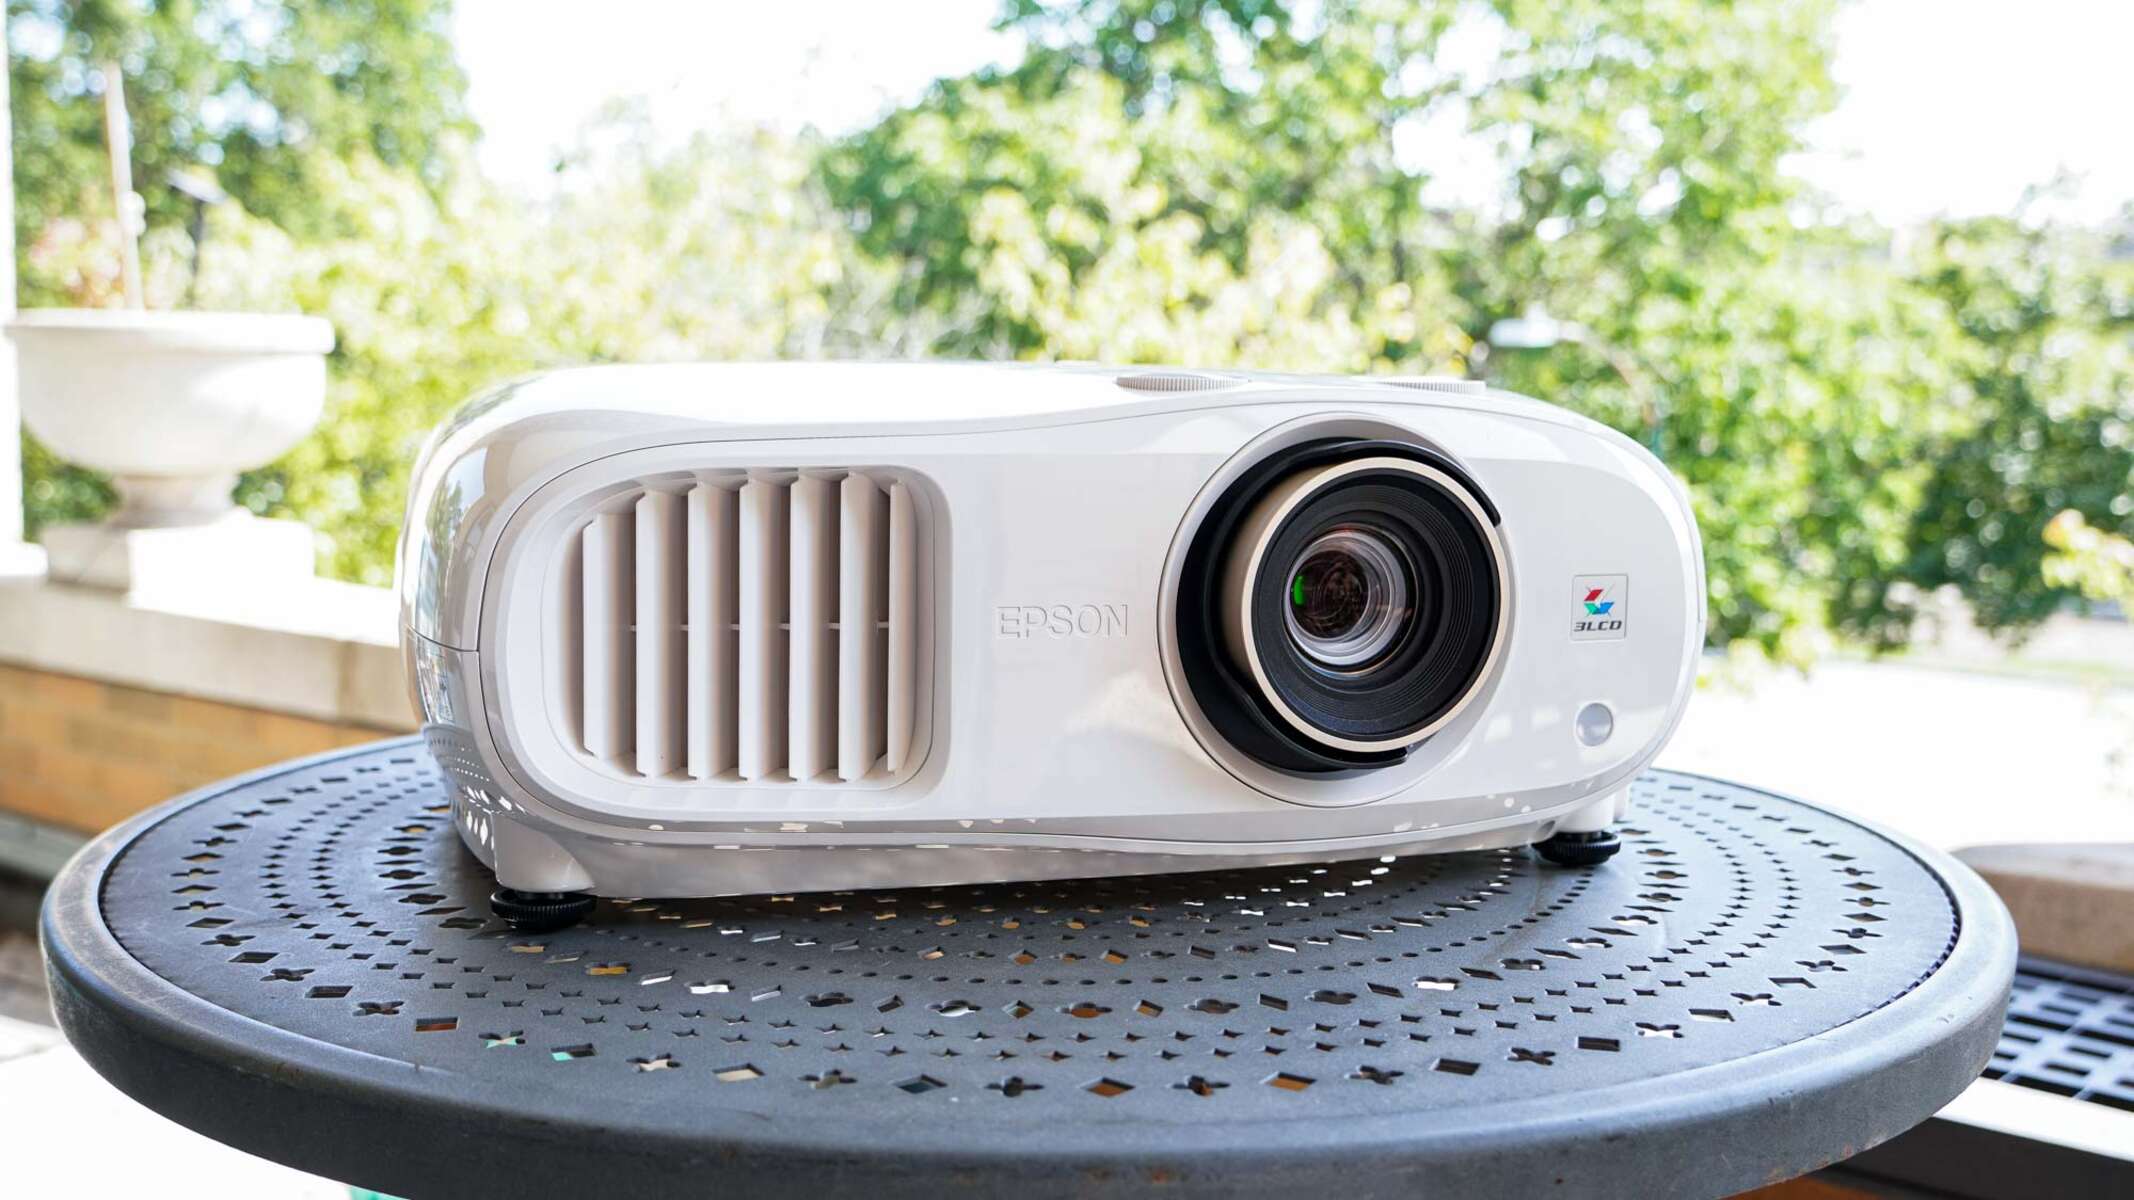
An Epson projector is a device that uses light and a lens system to project images and videos onto a screen or flat surface. These projectors are renowned for their advanced features, exceptional image clarity, and versatility.
Whether you’re giving a presentation in a boardroom, hosting a movie night with friends and family, or setting up a classroom for interactive learning, an Epson projector offers a superior viewing experience. Its flexibility allows you to adjust the size and position of the projected image, ensuring optimal visibility for your audience.
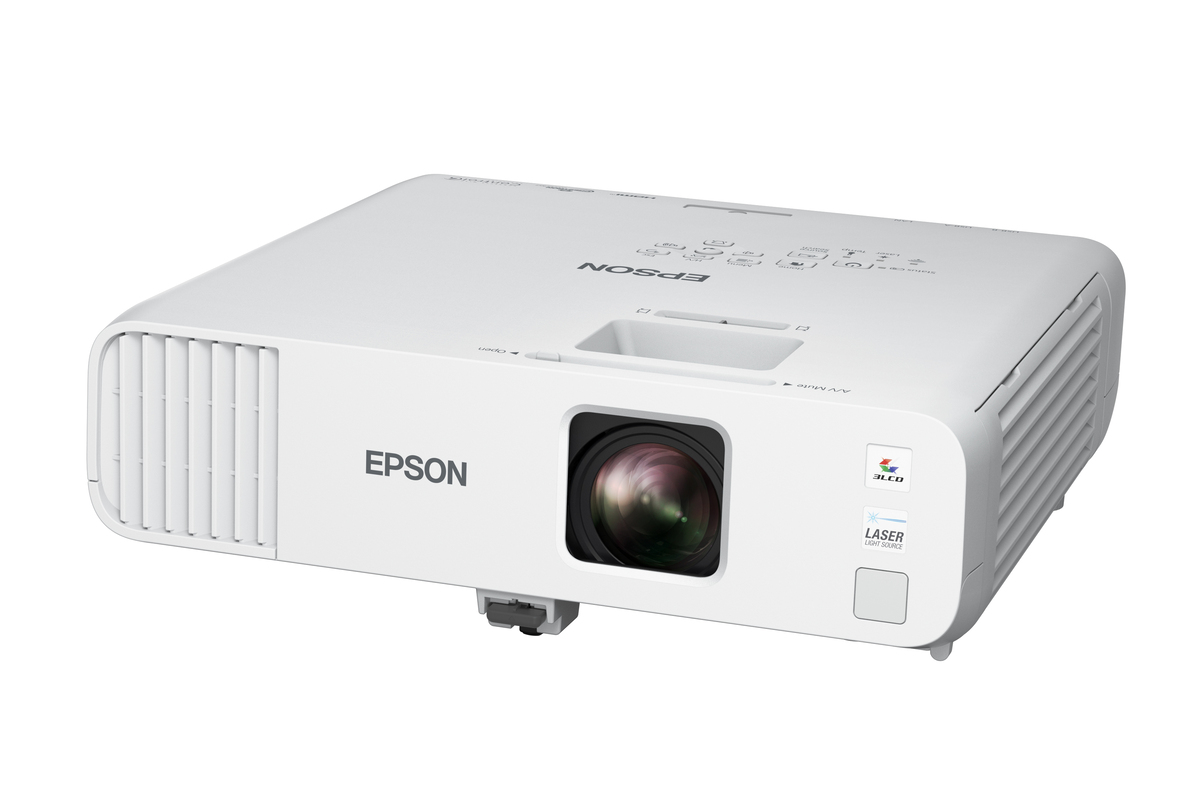
Choosing the Right Epson Projector
With a wide range of Epson projectors available in the market, it’s essential to choose one that aligns with your specific requirements. Consider factors such as the intended use, room size, lighting conditions, and connectivity options before making a decision.
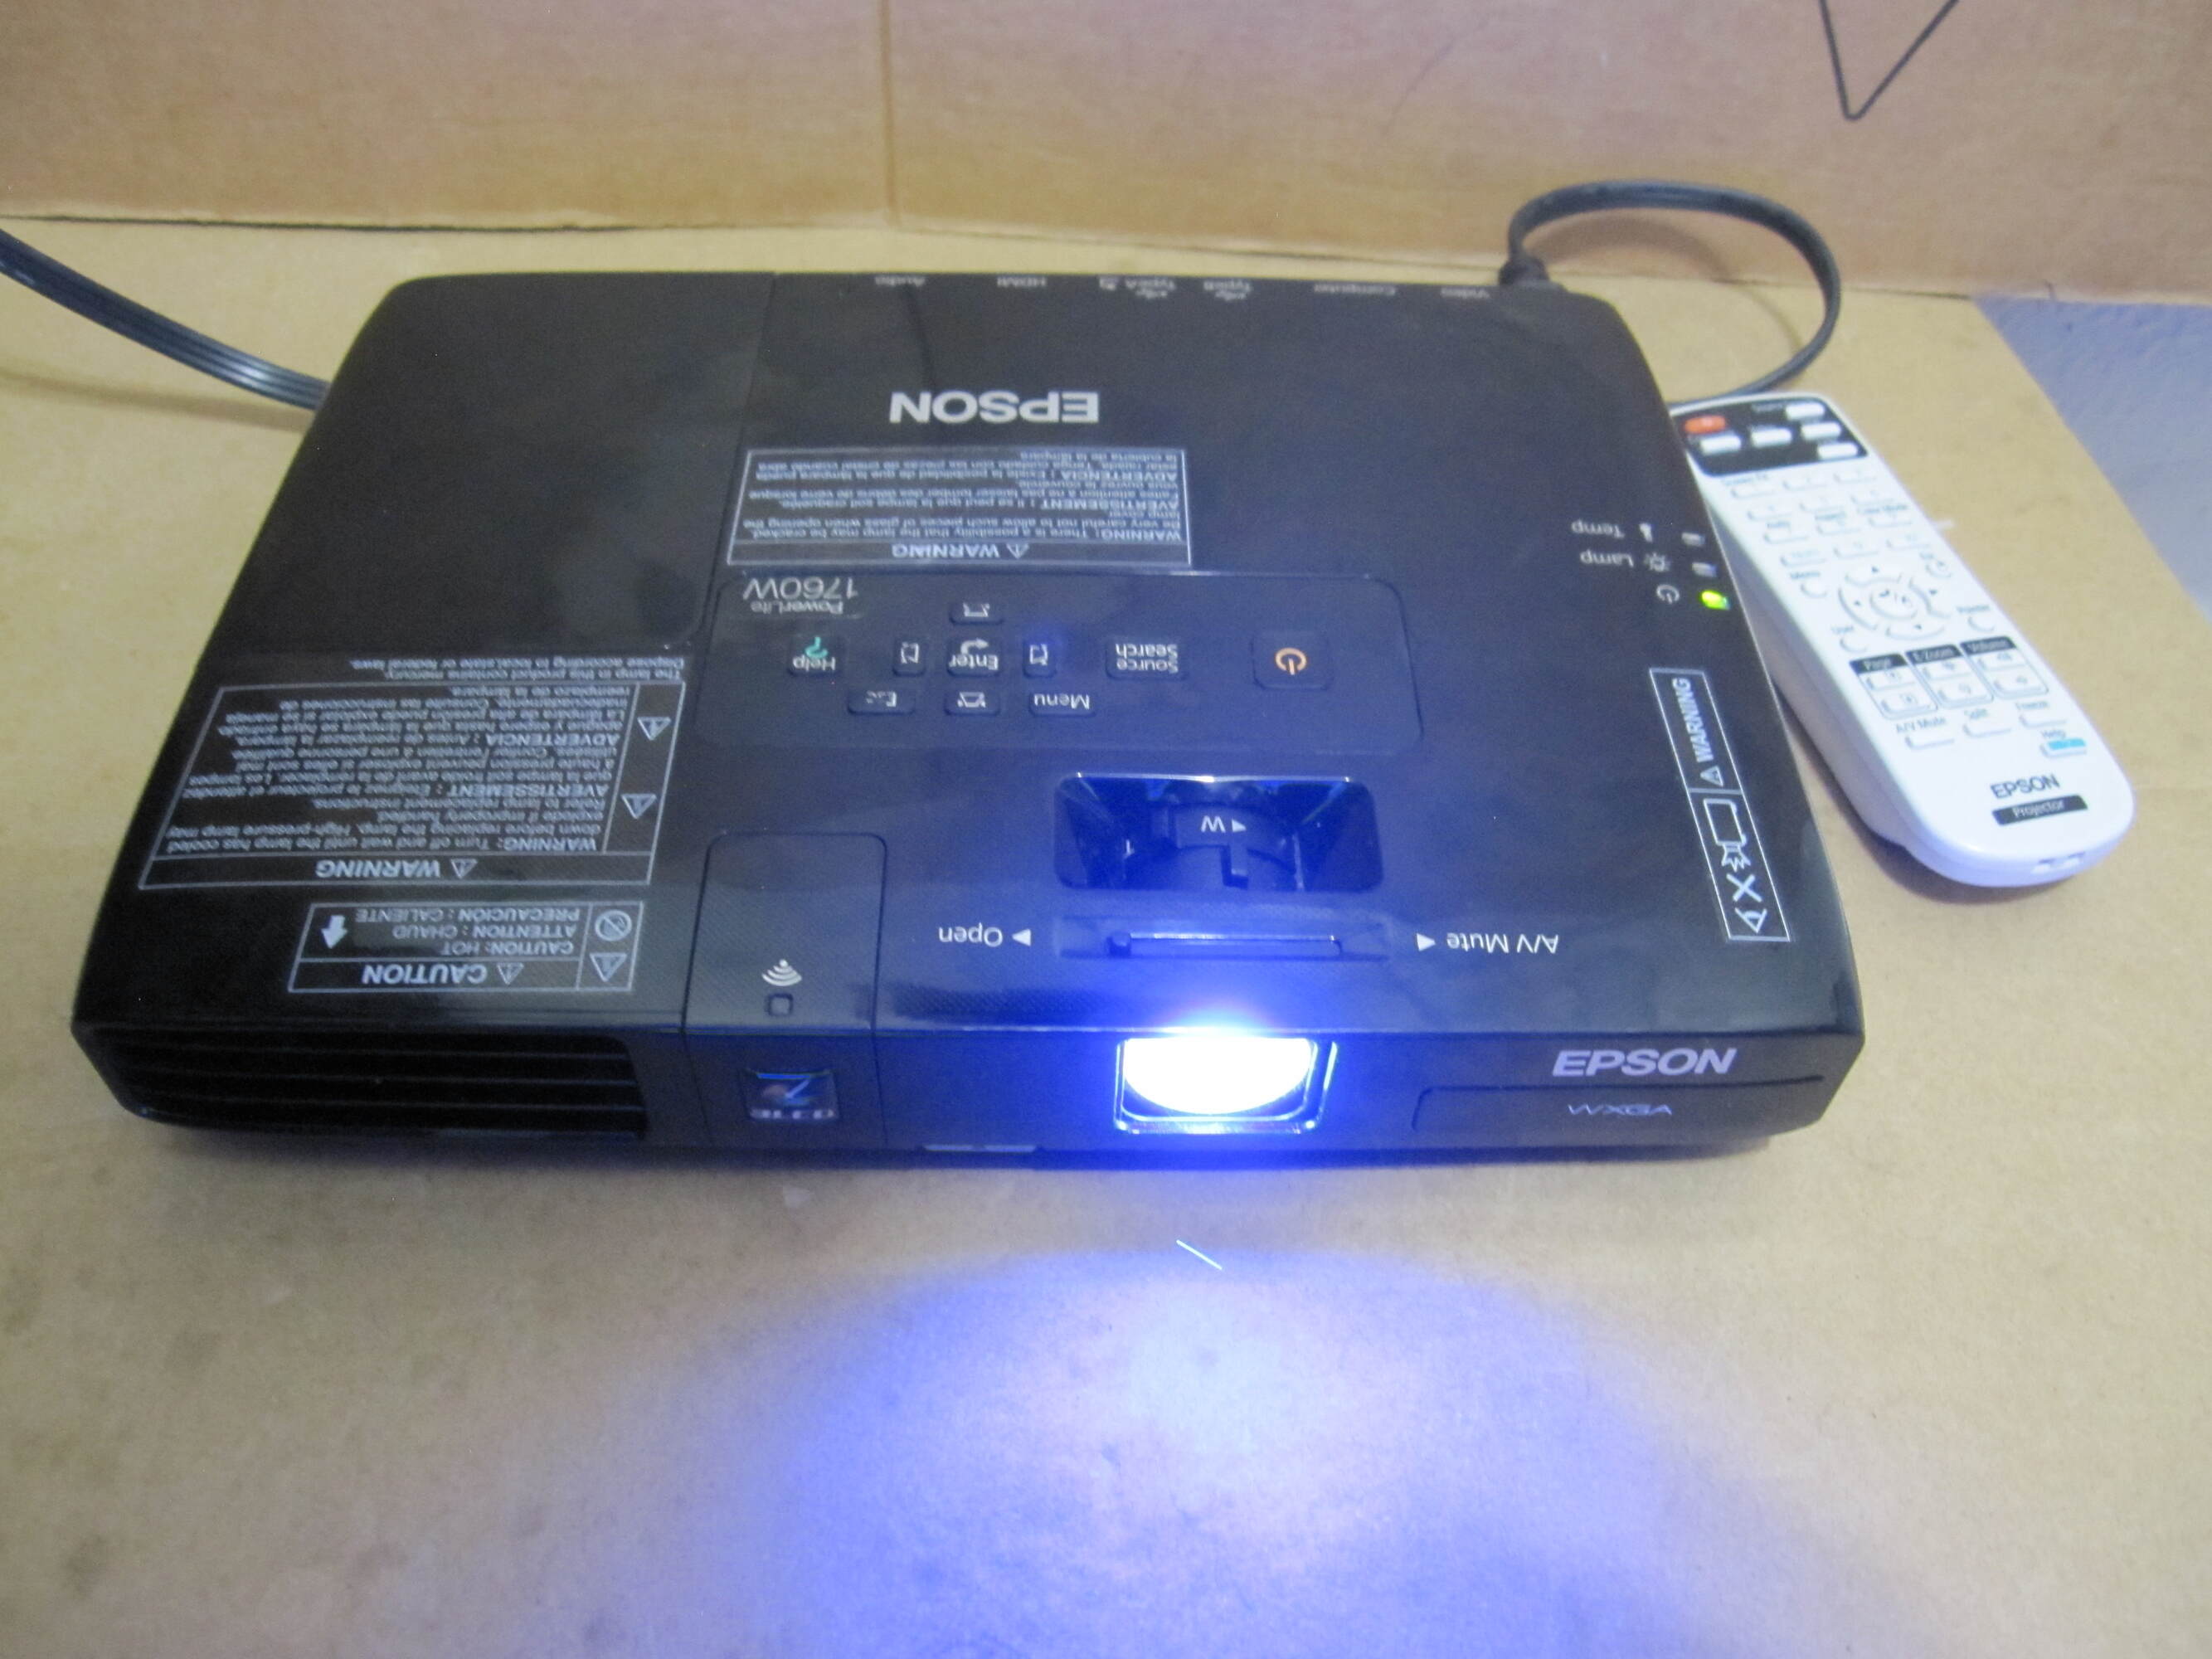
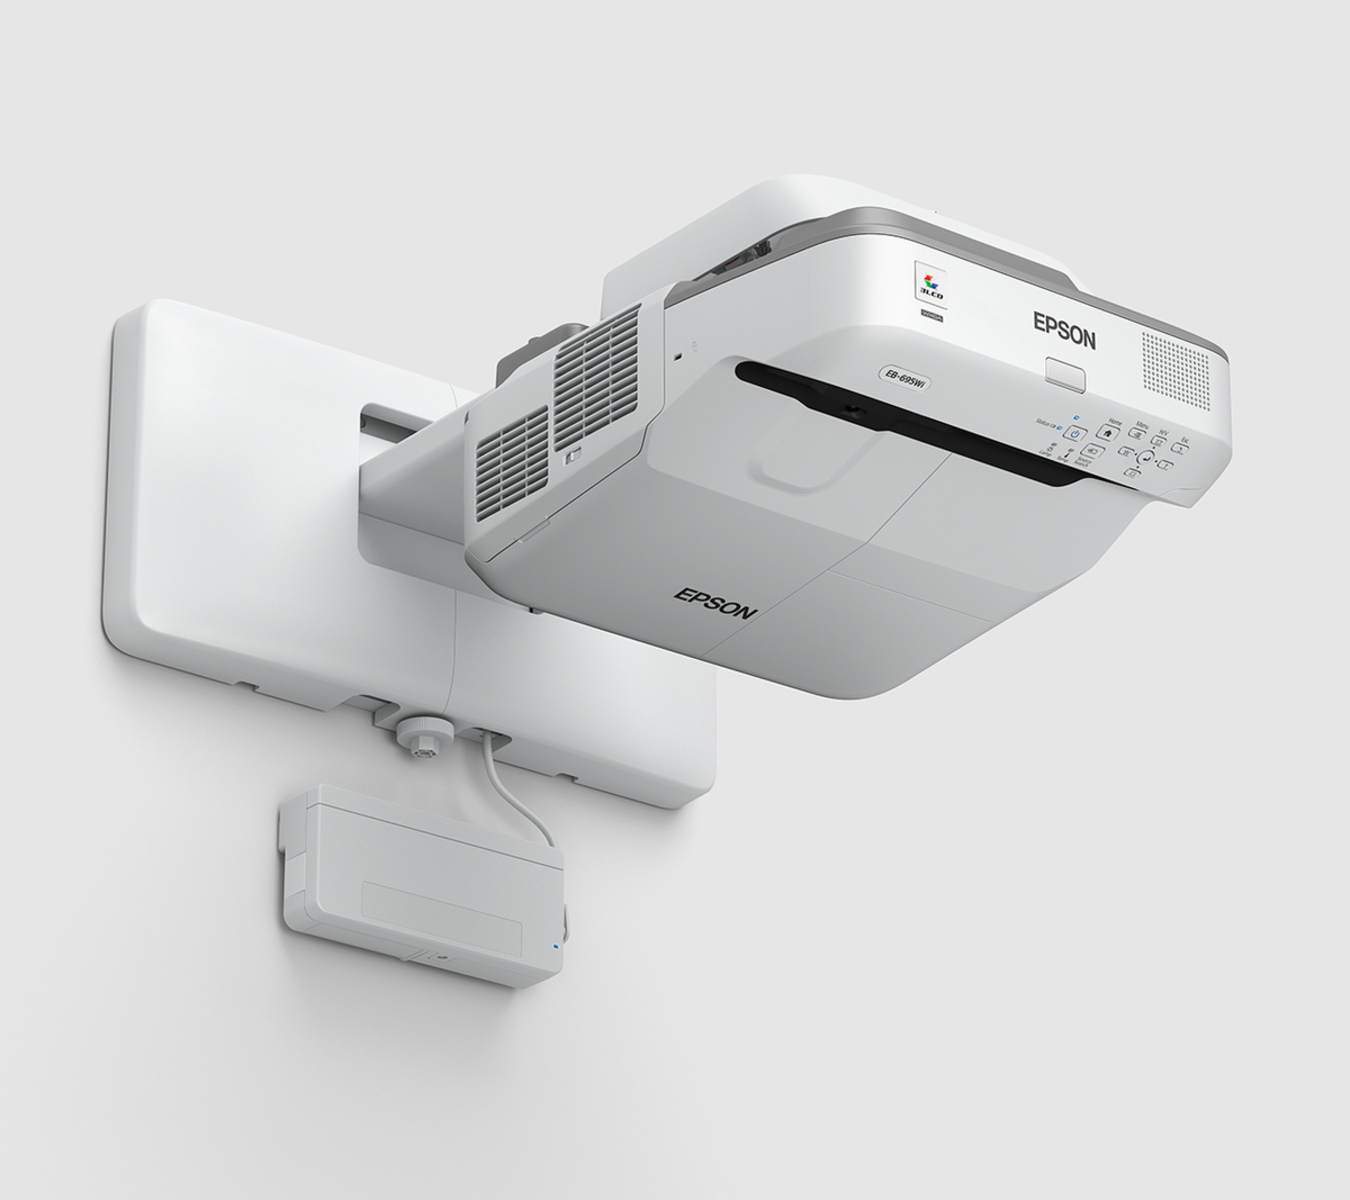
If you’re primarily using the projector for presentations or small group settings, a portable and lightweight model like the Epson PowerLite series would be ideal. For larger venues or home theaters, Epson Home Cinema or professional installation projectors are better suited to deliver larger and brighter images.
To make an informed choice, read online reviews, compare specifications, and consult with experts or Epson representatives who can guide you in finding the perfect projector for your needs.
What is an Epson Projector?
An Epson projector is a device that uses advanced technology to project images and videos onto a screen or flat surface. It’s a popular choice among professionals, educators, and home theater enthusiasts due to its exceptional image quality and versatility.
At its core, an Epson projector uses a combination of light and a lens system to create a magnified image that can be displayed on a large scale. Unlike traditional televisions, projectors allow for adjustable screen sizes, making them suitable for various settings, from small meeting rooms to expansive auditoriums and home theaters.
Epson projectors are known for their cutting-edge features that enhance the viewing experience. Many models offer high-resolutions, such as Full HD or 4K, providing crisp and detailed images. They also come equipped with color enhancement technology, ensuring vibrant and accurate color reproduction.
One of the key advantages of using an Epson projector is the flexibility it provides in terms of placement and positioning. The projector can be ceiling mounted, placed on a stand, or even portable enough to be moved between different locations. This adaptability allows users to optimize the projected image for maximum visibility, regardless of the room’s layout or size.
Epson projectors also offer a range of connectivity options, including HDMI, USB, VGA, and wireless connectivity. This enables seamless connection to various devices such as laptops, smartphones, gaming consoles, and media players, enhancing their usability and versatility.
In addition to stunning image quality and versatile connectivity, Epson projectors often incorporate special features that cater to specific needs. Some projectors include built-in speakers for audio playback, while others offer keystone correction to adjust the image shape and reduce distortion. Many Epson projectors also come with easy-to-use control interfaces and remote controls, providing a convenient user experience.
Whether you’re delivering an impactful presentation, hosting a movie night, or creating an immersive gaming experience, an Epson projector can transform any space into a captivating visual environment. Its combination of advanced technology, superior image quality, and versatile features make it a top choice for those seeking to elevate their viewing experience.
Choosing the Right Epson Projector
When it comes to selecting the right Epson projector, there are several factors to consider that will ensure you get the most out of your investment. By evaluating your specific needs and understanding the available options, you can choose a projector that aligns perfectly with your requirements.
Intended Use: The first step in choosing the right Epson projector is determining its primary purpose. Are you planning to use it for business presentations, educational purposes, or home entertainment? Different projectors are designed to excel in specific applications, so identifying your needs will help narrow down the options.
Room Size and Lighting Conditions: Consider the size of the room where you will be using the projector. For smaller spaces, a compact and portable projector with lower brightness levels may suffice. However, larger venues or rooms with high levels of ambient light may require a more powerful projector with higher lumens. Matching the brightness and throw distance specifications to your room size and lighting conditions is crucial for optimal image visibility.
Resolution: The resolution of the projector determines the level of detail it can reproduce. For crisp and detailed images, consider models with higher resolutions, such as Full HD (1920 x 1080 pixels) or even 4K Ultra HD (3840 x 2160 pixels). Higher resolution projectors are especially beneficial if you plan to display intricate graphs, detailed images, or watch high-definition movies.
Connectivity Options: Consider the devices you will be connecting to the projector. Look for models with multiple connectivity options, such as HDMI, USB, and VGA ports. This ensures compatibility with a wide range of devices, including laptops, gaming consoles, Blu-ray players, and streaming devices. Some projectors also offer wireless connectivity, allowing you to seamlessly stream content from your smartphone or tablet.
Special Features: Epson projectors often come with additional features that enhance the viewing experience. Some projectors have built-in speakers, eliminating the need for external audio systems. Others may offer keystone correction to adjust the image shape and reduce distortion. Consider the unique features that can complement your specific needs and preferences.
Reviews and Expert Opinions: Before making a final decision, read online reviews and seek expert opinions. This will provide insights into the performance and reliability of different Epson projector models. Epson representatives or knowledgeable salespersons can also offer valuable advice to help you make an informed choice.
By taking the time to evaluate these factors, you can find the perfect Epson projector that suits your needs, whether it’s for professional presentations, classroom lectures, or creating a thrilling home theater experience.
Setting Up Your Epson Projector
Once you have chosen the right Epson projector for your needs, it’s time to set it up properly for optimal performance. Follow these steps to ensure a smooth and hassle-free setup process:
1. Choose the Ideal Location: Select a suitable location to install your Epson projector. Consider factors such as the size of the room, screen placement, and the distance between the projector and the screen. Ensure that there are no obstructions that could interfere with the projected image.
2. Mount or Position the Projector: Depending on your setup and projector model, you can choose to mount the projector on the ceiling or place it on a sturdy surface. Follow the manufacturer’s instructions for mounting or positioning the projector securely.
3. Connect the Power: Plug in the power cord of the Epson projector and connect it to a reliable power outlet. Ensure that the power source is compatible with the projector’s requirements.
4. Connect External Devices: If you plan to connect external devices such as laptops, Blu-ray players, or gaming consoles, use the appropriate cables (e.g., HDMI, VGA) to connect them to the projector. Ensure that the connections are secure and that the cables are in good condition.
5. Adjust the Image Size and Focus: Use the projector’s zoom or lens adjustment options to achieve the desired image size on the screen. Use the focus adjustment to make sure the image is sharp and clear. Adjust the projector’s position or zoom settings, if necessary, to achieve the optimal image size and focus.
6. Keystone Correction: If the projected image appears distorted due to the projector not being perfectly aligned with the screen, use the keystone correction feature to adjust the image and make it rectangular. Most Epson projectors include automatic keystone correction, but manual adjustments are also available if needed.
7. Test and Fine-Tune: Once the initial setup is complete, test the projector by displaying different content, such as images, videos, and presentations, to ensure that the image quality and alignment are satisfactory. Make any necessary adjustments to achieve the desired results.
8. Sound Setup: If your Epson projector has built-in speakers or you have connected external audio devices, ensure that the sound is properly configured. Adjust the volume levels and perform any necessary audio settings to achieve the desired sound quality.
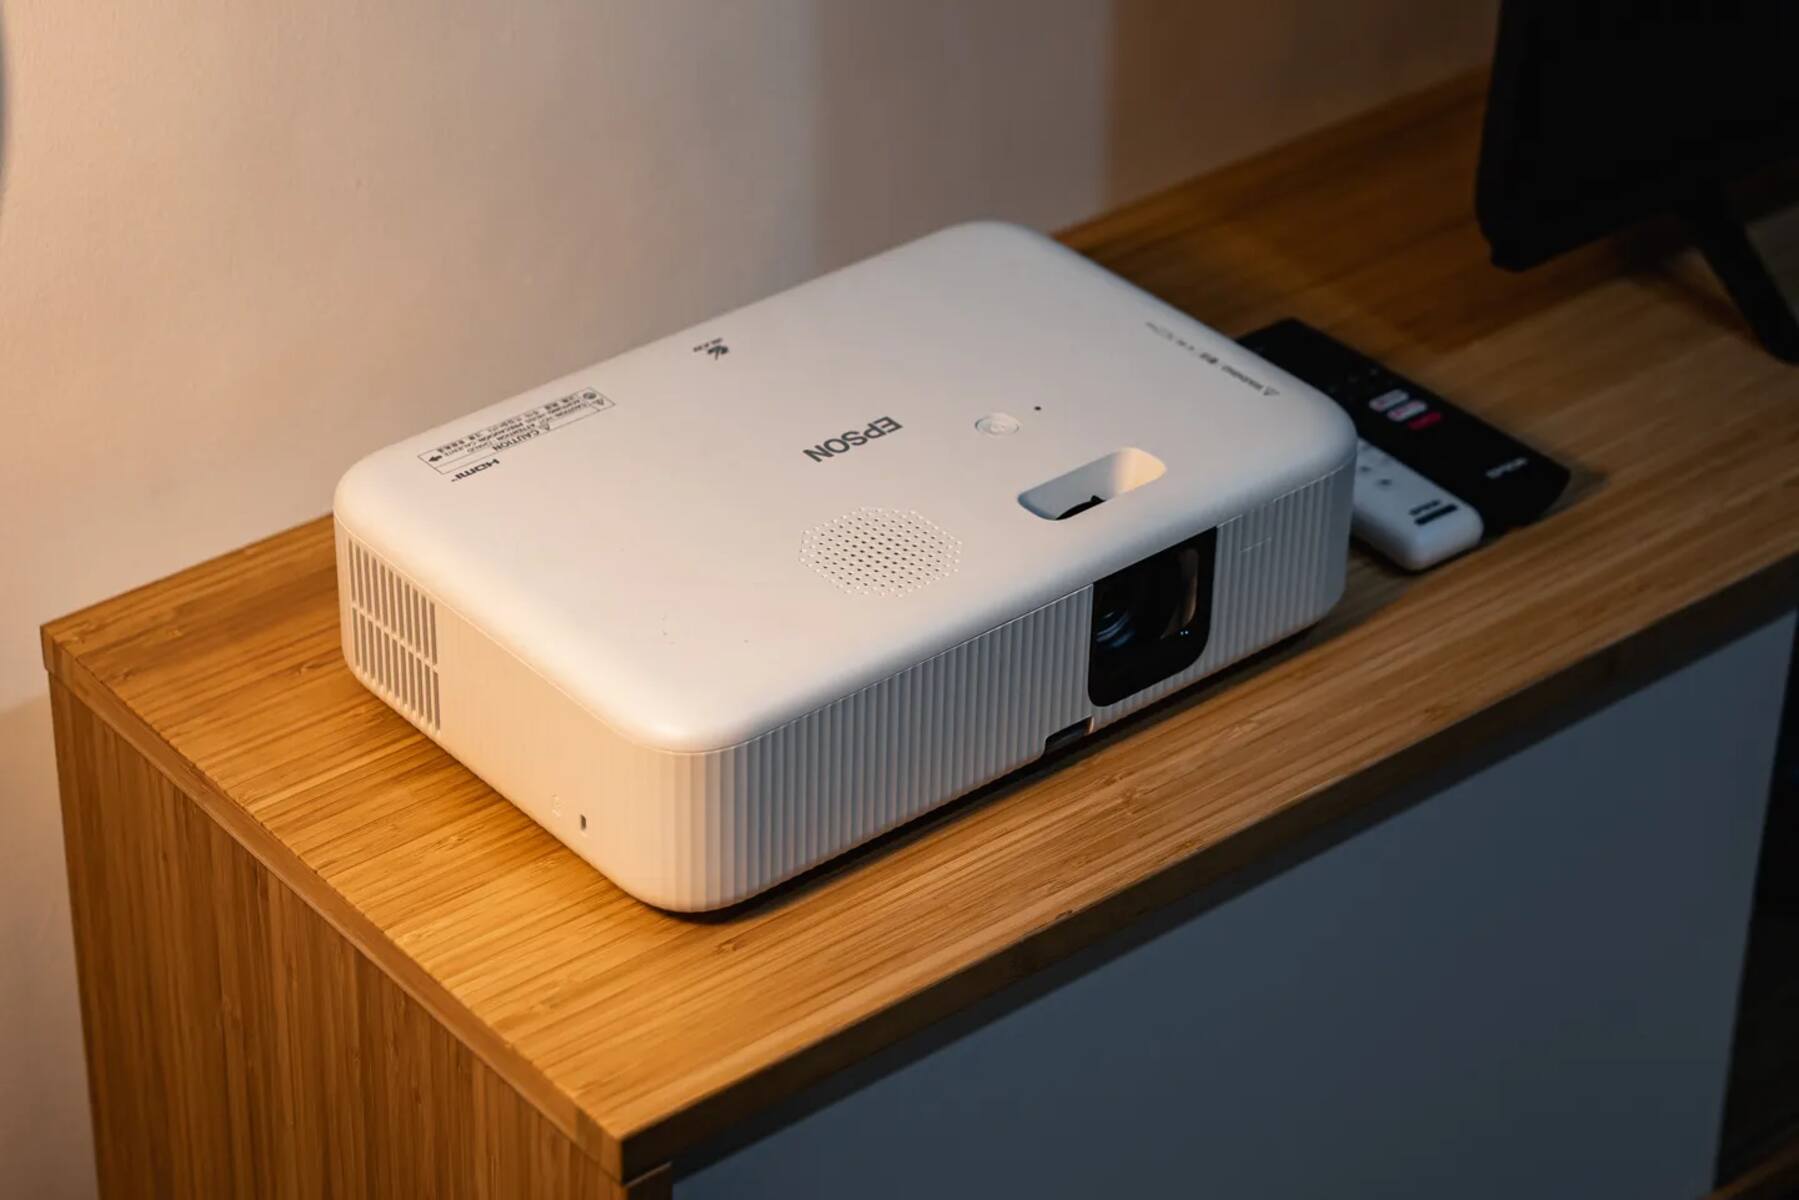
9. Remote Control and Menu Navigation: Familiarize yourself with the projector’s remote control and on-screen menu navigation. This will allow you to easily access and adjust various settings, such as brightness, contrast, input sources, and image modes, to optimize your viewing experience.
By following these steps, you can set up your Epson projector with confidence. Keep the user manual handy for reference, and feel free to consult the manufacturer’s website or support team for any specific setup instructions or troubleshooting assistance.
Connecting Your Epson Projector to a Device
Now that you have set up your Epson projector, it’s time to connect it to your desired device. Whether it’s a laptop, gaming console, Blu-ray player, or streaming device, the process is straightforward. Follow these steps to establish a seamless connection:
1. Determine the Connection Type: Identify the appropriate connection type required for your device. Epson projectors typically offer multiple connectivity options, including HDMI, VGA, USB, and wireless connections. Choose the method that best suits your device’s output options.
2. Prepare the Cables: Ensure you have the necessary cables for the chosen connection type. For HDMI connections, use an HDMI cable, while VGA connections require a VGA cable. USB connections may require a USB cable, depending on the device.
3. Connect the Cables: Connect one end of the cable to the output port of your device and the other end to the corresponding input port on the Epson projector. For HDMI connections, ensure that both the device and the projector are powered off before making the connection.
4. Select the Input Source: On the Epson projector’s remote control or control panel, locate the “Input” or “Source” button. Press this button to display a menu of available input sources. Use the navigation buttons to select the appropriate input source that matches the connected device.
5. Configure Display Output: On your device, access the display settings to ensure that the output is correctly configured. This may involve adjusting the screen resolution, refresh rate, or display mode to match the capabilities of the Epson projector. Refer to your device’s user manual for guidance on adjusting display settings.
6. Test the Connection: Power on both the Epson projector and the connected device. You should see the device’s output displayed on the projector screen. If the image doesn’t appear, double-check the cable connections, the input source selection, and the display settings on the device. Troubleshoot any issues accordingly, such as trying a different cable or rebooting the device.
7. Adjust Picture Settings: Once the connection is established, you may need to fine-tune the picture settings on both the Epson projector and the connected device. Adjust parameters like brightness, contrast, color balance, and aspect ratio to achieve the desired visual quality and clarity.
8. Remote Control Navigation: Familiarize yourself with the Epson projector’s remote control and navigation buttons. This will allow you to easily switch between input sources, adjust volume levels, and access other projector settings without having to reach the control panel directly.
By following these steps, you can seamlessly connect your Epson projector to your desired device. Enjoy the captivating visuals and immersive experiences that Epson projectors bring to your presentations, movies, gaming sessions, and more!
Adjusting the Image Quality
Once your Epson projector is set up and connected, you may need to make some adjustments to optimize the image quality. With a few simple tweaks, you can enhance the clarity, brightness, and color accuracy of the projected image. Here’s how:
1. Brightness and Contrast: Start by adjusting the brightness and contrast settings on your Epson projector. These settings control the overall luminosity and the difference between light and dark areas of the image. Experiment with different levels to find the balance that suits your viewing environment and preferences.
2. Color and Color Temperature: Epson projectors offer various color settings to customize the image to your liking. You can adjust saturation, color temperature, and individual color levels (red, green, and blue) to achieve accurate and vibrant colors. Consider the content you’ll be viewing and adjust color settings accordingly, such as increasing color saturation for movies or minimizing it for presentations with precise color representation.
3. Sharpness and Focus: Use the sharpness and focus adjustments to ensure the projected image is sharp and clear. If the image appears slightly blurry or lacks fine details, increase the sharpness. Experiment with the focus adjustment to obtain a crisp and well-defined image. Pay attention to text and small details to achieve the desired level of clarity.
4. Image Size and Keystone Correction: If the projected image is not aligned with the screen or appears distorted, adjust the image size and use the keystone correction feature on your Epson projector. Keystone correction allows you to digitally correct image distortion caused by the projector’s angle, ensuring a rectangular and properly proportioned image.
5. Image Presets and Modes: Explore the pre-set image modes and presets available on your Epson projector. These modes are designed specifically for different types of content, such as movies, presentations, or gaming. Selecting the appropriate mode can automatically optimize the image settings for the specific content, saving you time and effort in manual adjustments.
6. Noise Reduction: Epson projectors often offer noise reduction features that reduce image artifacts and digital noise. If you notice any unwanted noise or graininess in the image, enable the noise reduction function to enhance image clarity and smoothness.
7. Test your Adjustments: After making changes to the image settings, take some time to test your adjustments with various types of content. Display images, videos, and presentations to evaluate the image quality and make any necessary refinements until you are satisfied with the projected result.
Remember, personal preferences and viewing environments may vary, so take the time to experiment and find the image settings that suit your particular needs. Refer to the user manual for your Epson projector model to explore all available image adjustment options.
Using Special Features of Your Epson Projector
Your Epson projector comes equipped with a range of special features that enhance your viewing experience and offer added convenience. These features can take your presentations, movies, gaming sessions, and more to the next level. Let’s explore some of the unique capabilities of your Epson projector:
1. Wireless Connectivity: Many Epson projectors offer wireless connectivity options, allowing you to project content without the need for cables. This feature enables seamless streaming from compatible devices such as smartphones, tablets, or laptops. With wireless connectivity, you can effortlessly share photos, videos, and presentations directly from your mobile devices.
2. Split-Screen Projection: Some Epson projectors feature a split-screen projection capability. This allows you to display multiple content sources side by side on the screen simultaneously. It’s particularly useful during presentations or multitasking scenarios, where you can show multiple sets of data or compare different sources without having to switch back and forth between them.
3. 3D Projection: Certain models of Epson projectors support 3D projection, bringing your movies, games, and immersive experiences to life. Using compatible 3D glasses, you can enjoy depth and realism in the content you are projecting. This feature is especially popular among home theater enthusiasts and gamers seeking a more immersive viewing experience.
4. Document Camera Integration: Some Epson projectors provide integration with a document camera. This feature enables you to display and project documents, textbooks, or other physical objects directly onto the screen. It’s ideal for live demonstrations, educational presentations, or showcasing detailed visual materials to a larger audience.
5. Interactive Projection: If you have an Epson interactive projector, you can take advantage of interactive projection features. These projectors allow you to interact directly with the projected image using a special pen or your finger. You can write, draw, annotate, and control the content directly on the projected surface, making it ideal for classrooms, collaborative presentations, or interactive gaming.
6. Lens Shift and Zoom: Epson projectors with lens shift and zoom capabilities offer enhanced flexibility for installation. Lens shift allows you to adjust the projected image vertically or horizontally without moving the entire projector. Zoom functionality allows you to adjust the image size and distance from the screen while maintaining optimal image quality.
7. App Control and Remote Management: Some Epson projectors come with mobile apps that allow you to control and manage your projector wirelessly using your smartphone or tablet. These apps provide convenient access to projector settings, input sources, image adjustments, and more, simplifying the control process and offering added convenience.
8. Quick Corner and Screen Fit: Epson projectors often feature Quick Corner and Screen Fit features. Quick Corner enables you to independently adjust each corner of the projected image to attain a perfect rectangular shape, even when the projector position is not perfectly aligned. Screen Fit automatically adjusts the image size to fit your screen dimensions without the need for manual adjustments.
Make sure to consult your projector’s user manual or the manufacturer’s website for detailed instructions on how to utilize these special features. They can significantly enhance your overall viewing experience and provide you with more flexibility and control over your projector.
Troubleshooting Common Issues
While Epson projectors are renowned for their reliability and performance, you may encounter some common issues from time to time. Understanding how to troubleshoot these issues can help you resolve them quickly and ensure uninterrupted enjoyment of your projector. Here are some common problems and their possible solutions:
1. No Power or No Image: If your Epson projector is not powering on or there is no image displayed, start by checking the power cord and connections. Ensure that the power cable is securely plugged into a working power outlet. Also, verify all cable connections between the projector and the device you are trying to display from.
2. Poor Image Quality: If the image quality appears blurry, distorted, or lacks sharpness, check the projector’s focus adjustment and ensure the lens is clean. Adjust the focus and sharpness settings until the image appears clear. If the image is still not satisfactory, consider adjusting brightness, contrast, or color settings to improve the overall picture quality.
3. Overheating: If your Epson projector shuts down unexpectedly or displays a warning of overheating, it may be due to inadequate ventilation. Ensure that the projector has adequate space around it for proper airflow. Clean any dust or debris that may be blocking the vents. Consider using a fan or cooling pad in the vicinity to help dissipate heat more effectively.
4. Connectivity Issues: If you are experiencing issues connecting the Epson projector to your device, check the cables for any damage or loose connections. Try using different cables or ports to eliminate potential issues. Make sure to select the correct input source on the projector and the device. If using wireless connectivity, ensure both devices are on the same network and follow the setup instructions carefully.
5. Remote Control Problems: If the remote control is unresponsive or not functioning properly, check the batteries to ensure they are not depleted. Make sure there are no obstructions between the remote control and the projector’s sensor. If necessary, reset the remote control or try replacing the batteries to restore its functionality.
6. Color Inconsistencies: If colors appear inaccurate or inconsistent, check the color settings on both the projector and the connected device. Ensure that color settings are properly calibrated and match your preferences or the requirements of the content being displayed. Adjust color temperature, saturation, or individual color levels (red, green, and blue) until the desired color accuracy is achieved.
7. Fan Noise: Epson projectors have built-in fans to cool the internal components. If the fan noise is excessive or bothersome, ensure that the projector is placed on a stable, flat surface. Check for obstructions that may hinder airflow around the projector. If the noise persists, contact Epson customer support for further assistance.
8. Firmware Updates: Occasionally, Epson releases firmware updates to address bugs, improve performance, or introduce new features. Check the Epson website or the projector’s user manual for instructions on how to update the firmware. Keeping your projector’s firmware up to date can help resolve potential issues and enhance overall performance.
If you encounter persistent issues that you are unable to resolve, it’s recommended to consult the projector’s user manual or contact Epson customer support for further assistance. They will provide you with specific guidance and solutions tailored to your projector model.
Care and Maintenance Tips for Your Epson Projector
Taking proper care of your Epson projector is essential to ensure its longevity and optimal performance. By following some simple care and maintenance practices, you can keep your projector in excellent condition and enjoy its exceptional capabilities for years to come. Here are some important care and maintenance tips:
1. Cleaning: Regularly clean the projector’s external surfaces to remove dust, fingerprints, and smudges. Use a soft, lint-free cloth lightly dampened with water or a mild glass cleaner. Avoid using abrasive materials or harsh chemicals that may damage the projector’s finish or lens.
2. Filter Cleaning and Replacement: Epson projectors often have air filters that prevent dust particles from entering the internal components. Check the user manual for instructions on how to clean or replace the air filter. Regularly cleaning or replacing the filter will help maintain proper airflow and prevent overheating.
3. Lamp Replacement: Epson projectors use lamps as the light source, which may require replacement over time. Monitor the lamp usage hours and follow the manufacturer’s recommendations for lamp replacement intervals. Use genuine Epson replacement lamps to ensure optimal performance and prevent damage to the projector.
4. Proper Shutdown: Always follow the recommended shutdown procedure when turning off your Epson projector. Allow the projector to go through the cooling-down process to ensure that the internal components are not subjected to sudden temperature changes. This helps prolong the life of the lamp and other critical components.
5. Proper Storage: If you need to store the projector for an extended period, ensure that it is stored in a cool, dry place with adequate ventilation. Keep it protected from dust, moisture, and extreme temperature fluctuations. If possible, store the projector in its original packaging to provide additional protection.
6. Avoid Moving When Hot: It’s best to allow the projector to cool down completely before moving it. Transporting the projector while it is still hot may cause damage to the internal components, lamp, or lens. Take precautions to prevent accidental bumps or impacts when moving the projector.
7. Power Surge Protection: Consider using a surge protector or a power conditioner to protect your Epson projector from power surges or voltage fluctuations. This helps safeguard the projector’s sensitive electronics and prevent damage caused by power irregularities.
8. Regular Maintenance Checks: Periodically check the projector for any signs of wear or damage, such as loose cables, damaged connectors, or abnormal sounds. Address any issues promptly by following the troubleshooting steps outlined in the user manual or contacting Epson customer support.
By following these care and maintenance tips, you can keep your Epson projector in optimal condition and ensure years of reliable performance. Remember to consult your projector’s user manual for model-specific care instructions and recommendations from Epson.
Conclusion
Congratulations! You have now learned how to effectively use your Epson projector to deliver impactful presentations, enjoy immersive home theater experiences, and enhance your gaming sessions. By understanding the features, setting up correctly, and adjusting the image quality, you can unlock the full potential of your Epson projector.
Choosing the right Epson projector based on your specific needs and environment is crucial for achieving the best results. Take into consideration factors such as intended use, room size, lighting conditions, and connectivity options when making your selection.
Setting up your Epson projector correctly ensures optimum performance. Ensure proper placement, secure connections, and adjust image size and focus for a clear and sharp projection. Take advantage of special features such as wireless connectivity, split-screen projection, or 3D capabilities to elevate your viewing experience.
If you encounter any issues along the way, refer to the troubleshooting section to resolve common problems. Regular care and maintenance, such as cleaning, air filter checks, and lamp replacement, will help keep your projector in top shape.
Remember to consult the user manual for your specific Epson projector model and utilize the resources provided by Epson’s customer support whenever needed.
Now, it’s time to enjoy the stunning visuals, incredible detail, and immersive experiences that your Epson projector brings to your presentations, movies, games, and more. Embrace the world of Epson projectors and let your imagination come to life on the big screen!