Introduction
Welcome to the world of digital art! If you’re an aspiring artist or a seasoned professional, you may be looking for new ways to unleash your creativity. Using an iPad as a drawing tablet for your PC can revolutionize your artistic process and take your digital art to the next level. In this guide, we will walk you through the steps to set up your iPad as a drawing tablet and explore the possibilities it offers.
Gone are the days when you needed to invest in expensive drawing tablets to create stunning digital art. With advancements in technology, you can now utilize the powerful capabilities of an iPad to achieve professional-level artwork. By connecting your iPad to your PC and using the right apps and software, you can enjoy a seamless drawing experience with precise control and pressure sensitivity.
Not only does using an iPad as a drawing tablet save you money, but it also offers the convenience of portability. You can take your iPad anywhere and transform it into a creative tool. Whether you’re sitting in your studio or sketching outdoors, the versatility of an iPad allows you to create art whenever inspiration strikes.
This guide is designed to help you navigate the process of setting up and using your iPad as a drawing tablet for your PC. We will cover everything from downloading the necessary apps to configuring your drawing software. Additionally, we will provide troubleshooting tips to ensure a smooth experience. By the end of this guide, you’ll be ready to unleash your artistic talent and create stunning digital artwork with the help of your iPad.
So let’s dive in and explore how to transform your iPad into a powerful drawing tablet!
System Requirements
Before you begin using your iPad as a drawing tablet for your PC, it’s important to ensure that your system meets the necessary requirements. This will ensure optimal performance and compatibility between your devices. Here are the system requirements you need to keep in mind:
- PC or Laptop: You will need a computer or laptop running Windows or macOS.
- iPad: Ensure that you have a compatible iPad with Apple Pencil support. The newer iPad models such as the iPad Pro, iPad Air, or iPad Mini are recommended for the best drawing experience.
- Operating System: Make sure that your PC is running the latest version of Windows or macOS. This will ensure compatibility with the required apps and software.
- Internet Connection: A stable internet connection is recommended for downloading the necessary apps and drivers.
- USB Cable or Wi-Fi: Depending on the method of connection you choose, you will need either a USB cable or a stable Wi-Fi network connection between your iPad and PC.
- Drawing Software: Choose a drawing software that supports tablet input. Popular options include Adobe Photoshop, Corel Painter, and Procreate.
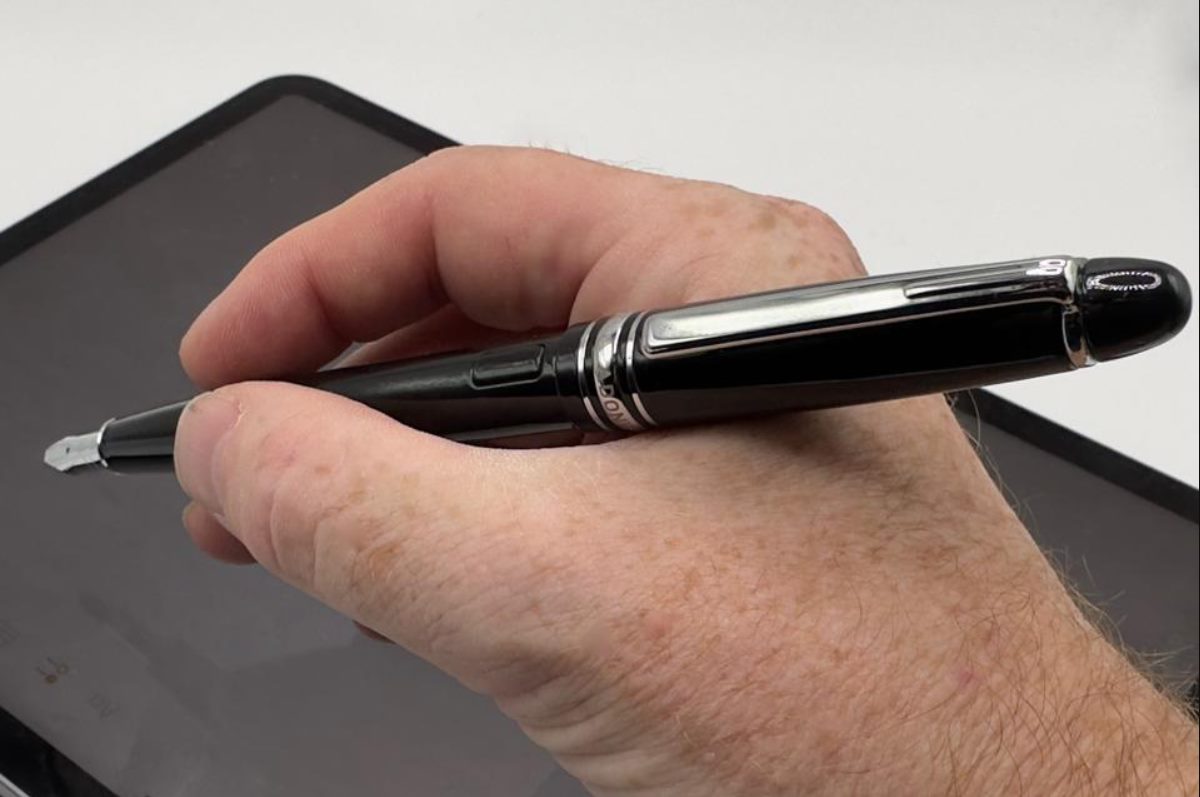
- Apple Pencil: To fully utilize the iPad’s drawing capabilities, it’s recommended to have an Apple Pencil. This stylus offers pressure sensitivity and precise control while drawing.
By ensuring that your system meets these requirements, you’ll be ready to seamlessly integrate your iPad into your digital art workflow. Now that you know the system requirements, let’s move on to the next steps of setting up your iPad as a drawing tablet for your PC.
Step 1: Downloading the Required Apps
The first step in using your iPad as a drawing tablet for your PC is to download the necessary apps. These apps will enable the connection and communication between your iPad and computer. Follow these steps to get started:
- iPad App: On your iPad, open the App Store and search for a drawing app of your choice. Popular options include Procreate, Adobe Fresco, or Autodesk SketchBook. Once you’ve chosen an app, tap the “Get” or “Download” button to install it on your iPad. Wait for the installation to complete before proceeding.
- PC App: On your computer, open a web browser and visit the official website of the drawing app you installed on your iPad. Look for a version of the app that is compatible with your PC’s operating system (Windows or macOS). Download the app and follow the on-screen instructions to install it on your computer. Ensure that you download the correct version for your operating system.
- Driver Software: Some drawing apps may require additional driver software to establish a connection between your iPad and PC. Visit the website of the drawing app or the manufacturer of your iPad to check if there are any specific drivers you need to install. Follow the instructions provided to download and install the required drivers.
Downloading the necessary apps will provide you with the tools you need to transform your iPad into a drawing tablet for your PC. Make sure to choose reputable apps from trusted sources to ensure a safe and reliable experience. Once you have downloaded the apps, you’re ready to move on to the next step: connecting your iPad to your PC.
Step 2: Connecting Your iPad to Your PC
Once you have downloaded the necessary apps, the next step is to establish a connection between your iPad and your PC. This connection will allow your iPad to function as a drawing tablet for your computer. Follow these steps to connect your devices:
- Using a USB Cable: Connect one end of the USB cable to your iPad and the other end to a USB port on your computer. Make sure both ends are securely plugged in. Your iPad may prompt you to trust the computer, so follow the on-screen instructions to establish the connection.
- Using Wi-Fi: If you prefer a wireless connection, ensure that both your iPad and PC are connected to the same Wi-Fi network. On your iPad, open the settings and tap on “Wi-Fi.” Select your Wi-Fi network from the list and enter the password if prompted. On your computer, navigate to the network settings and ensure that Wi-Fi is enabled. Connect to the same Wi-Fi network as your iPad.
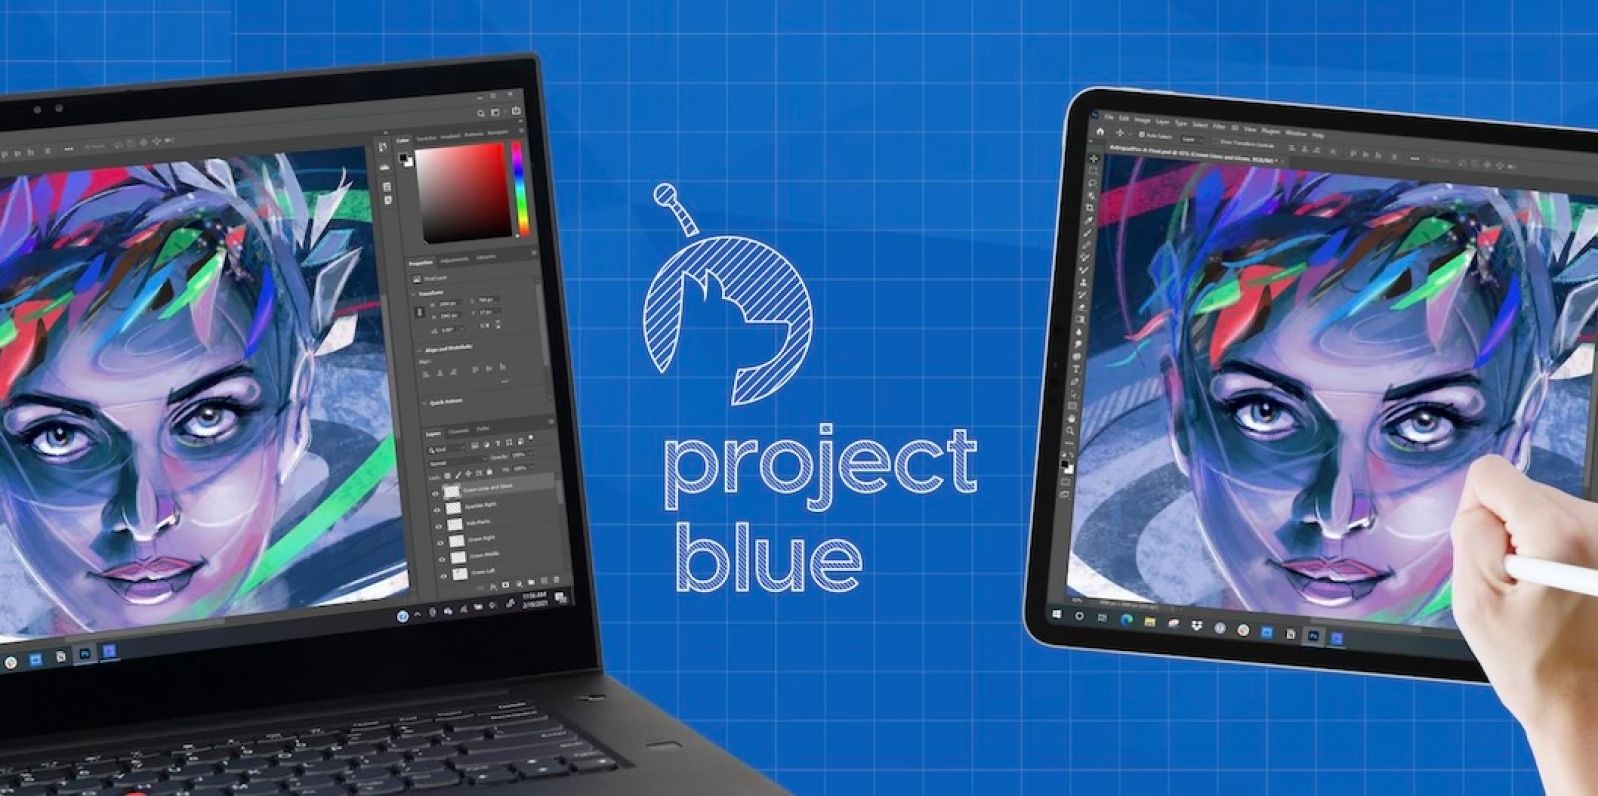
Once the connection is established, your iPad will be recognized by your PC as a new input device. This means that any drawings or strokes you make on your iPad will be mirrored and displayed on your computer screen. You’re now ready to move on to the next step: adjusting your iPad’s settings.
Step 3: Adjusting Your iPad’s Settings
After connecting your iPad to your PC, it’s important to configure some settings on your iPad to ensure optimal functionality as a drawing tablet. Follow these steps to adjust your iPad’s settings:
- Open Settings: On your iPad, locate the “Settings” app and tap on it to open the settings menu.
- Apple Pencil Settings: If you’re using an Apple Pencil, go to the “Apple Pencil” settings. Here, you can adjust the sensitivity and other preferences of the Apple Pencil according to your drawing style and preference.
- Accessibility Settings: In the settings menu, find the “Accessibility” section. This is where you can enable features such as “AssistiveTouch” or “Zoom” to enhance your drawing experience and make it more accessible for your needs.
- Display Settings: Adjust the display settings to your liking. You can change the brightness, color temperature, or enable night mode if desired. These settings can help improve the visual clarity of your drawings on the iPad.
- Touch Sensitivity: If your drawing app supports touch gestures, it’s a good idea to adjust the touch sensitivity settings. This can eliminate any accidental touches while drawing and provide a smoother experience.
- Auto-Lock: To prevent your iPad from automatically locking while you’re drawing, it’s recommended to extend the auto-lock duration or disable it completely. This ensures that your iPad stays awake and active during your drawing sessions.
By adjusting these settings, you can personalize your iPad’s functionality and tailor it to your specific drawing preferences. Take some time to explore the different settings and customize them according to your artistic needs. With your iPad settings in place, you’re now ready to move on to the next step: installing the required drivers.
Step 4: Installing the Required Drivers
Depending on the drawing app you’re using and the compatibility with your iPad model, you may need to install specific drivers to ensure smooth communication between your iPad and PC. Follow these steps to install the required drivers:
- App-Provided Driver: Some drawing apps come with their own drivers that need to be installed. Check the documentation or support resources provided by the app on your PC. Download the appropriate driver for your operating system and follow the installation instructions provided by the app. This will establish the necessary connection between your iPad and PC.
- Manufacturer’s Driver: If your drawing app doesn’t provide its own driver, you may need to check the manufacturer’s website for your iPad. Look for a support section or drivers/downloads page and search for the specific driver that matches the version of your iPad and your PC’s operating system. Download the driver and follow the installation instructions to install it on your computer. This will ensure compatibility and optimal performance.
It’s important to note that not all drawing apps or iPad models require additional drivers. The need for drivers is dependent on the specific software or hardware configuration. If your app and iPad work without any issues, you may not need to install any additional drivers. However, it’s always wise to check the app’s documentation or the manufacturer’s website to confirm if any drivers are required.
Once the required drivers are installed, your iPad and PC will be ready to work seamlessly together as a drawing tablet. With the drivers in place, you can move on to the next step: configuring your drawing software.
Step 5: Configuring Your Drawing Software
Now that you have your iPad connected, settings adjusted, and drivers installed, it’s time to configure your drawing software to work with your newly transformed drawing tablet. Follow these steps to customize your drawing software:
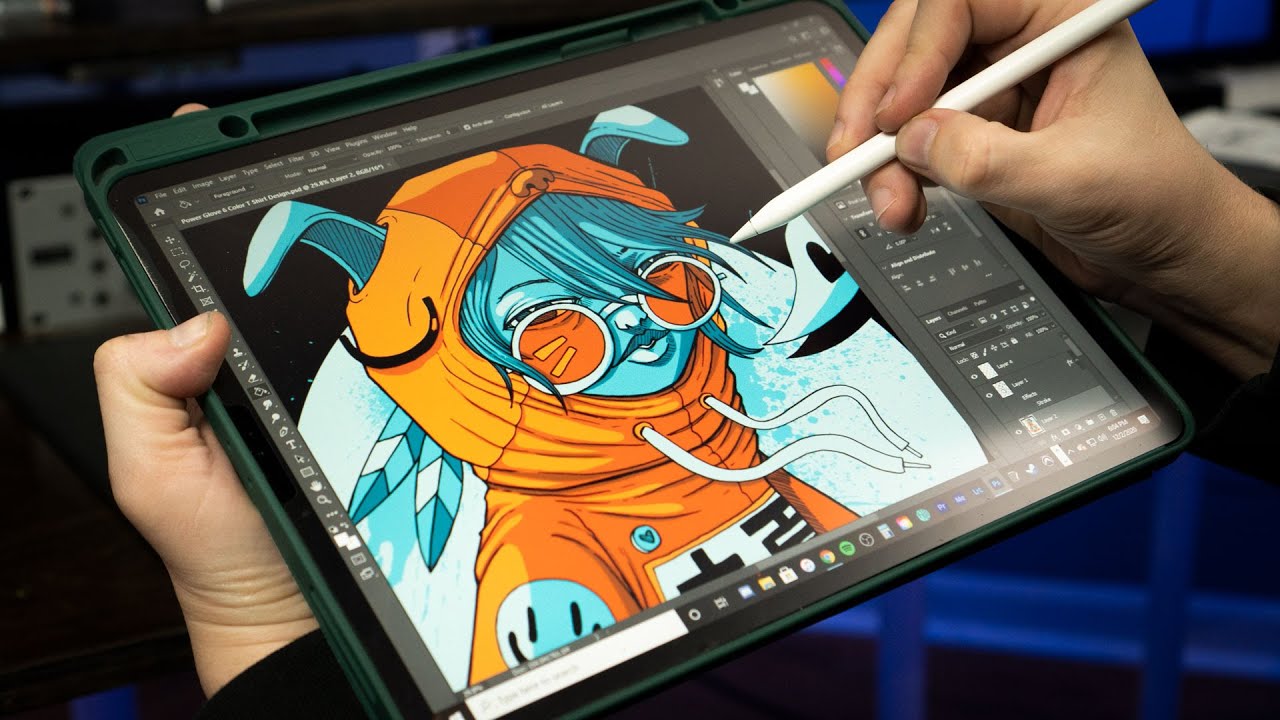
- Open Your Drawing Software: Launch the drawing software on your computer. This could be Adobe Photoshop, Corel Painter, Procreate, or any other software that supports tablet input.
- Tablet Settings: Navigate to the settings or preferences section of your drawing software. Look for options related to tablet input or stylus settings.
- Enable Tablet Input: Ensure that tablet or stylus input is enabled within the software. This will allow your iPad to be recognized as a drawing tablet and utilize features such as pressure sensitivity.
- Customize Shortcut Buttons: Many drawing software allows you to customize shortcut buttons on your iPad or Apple Pencil. Take some time to configure these buttons according to your workflow and preferences. This can save you time and make your drawing process more efficient.
- Calibrate Pressure Sensitivity: Some drawing software provides a pressure sensitivity calibration option. If available, use this feature to fine-tune the responsiveness of your iPad and Apple Pencil. Adjust the settings until you find the pressure sensitivity that suits your drawing style.
Take the time to explore all the settings and customization options available in your drawing software. Every software has unique features and settings to enhance your drawing experience. By configuring your drawing software to work seamlessly with your iPad, you can unlock its full potential as a drawing tablet and create beautiful digital artwork.
With your drawing software configured, you’re now ready to move on to the next step: using your iPad as a drawing tablet!
Step 6: Using Your iPad as a Drawing Tablet
Now that everything is set up, it’s time to put your iPad to work as a drawing tablet. Follow these steps to use your iPad for digital art:
- Open Your Drawing Software: Launch the drawing software on your computer. Make sure both your iPad and computer are powered on and connected.
- Choose the Brush: Select your desired brush or tool from the drawing software’s toolbar. Experiment with different brushes to find the one that fits your artistic style and project.
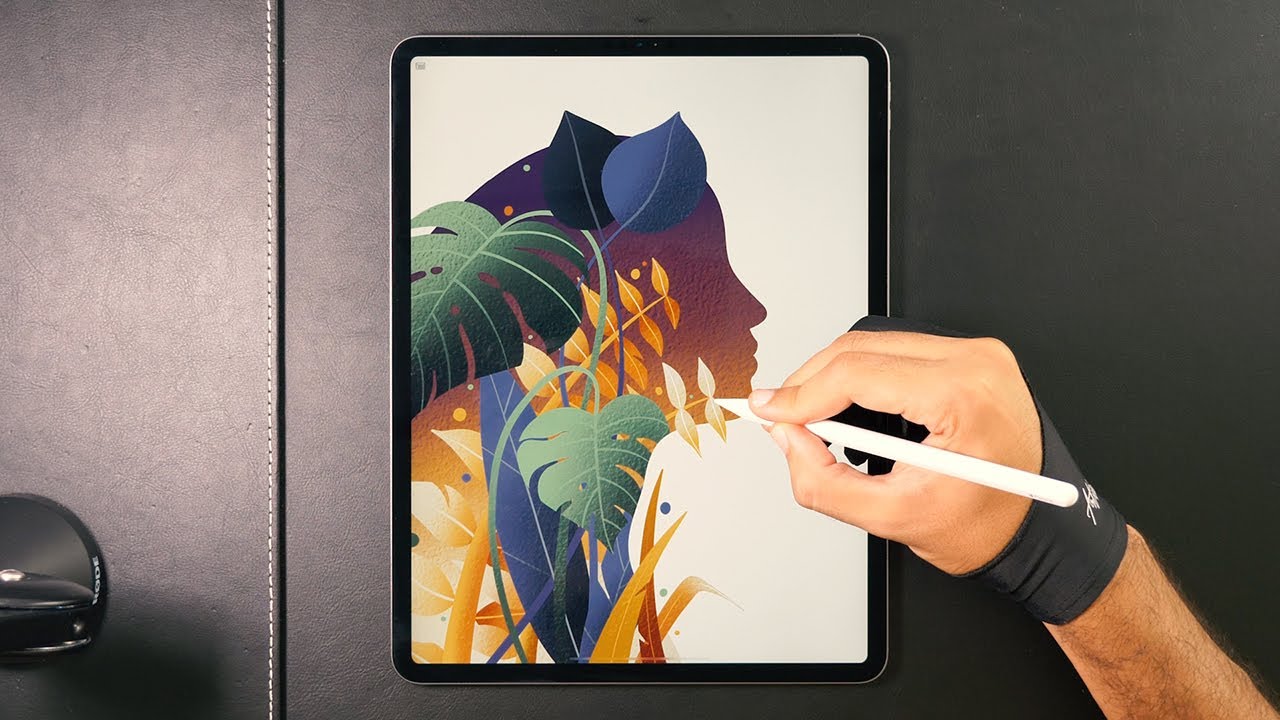
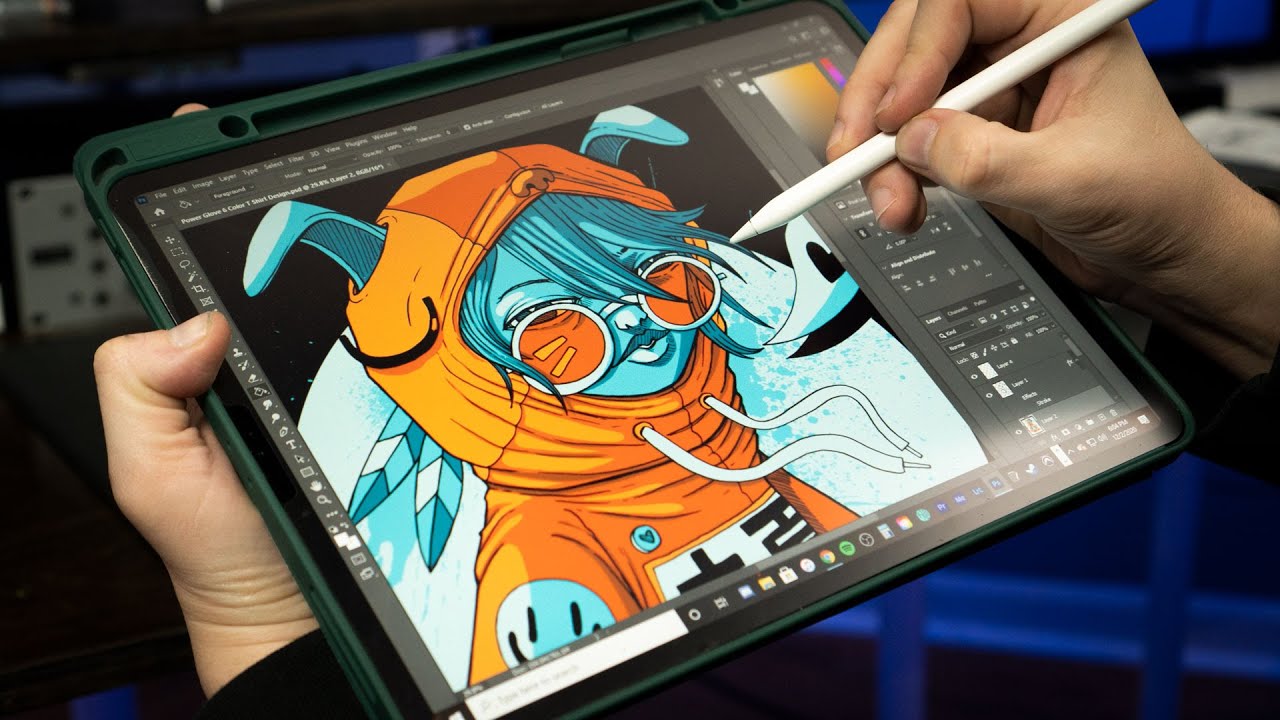
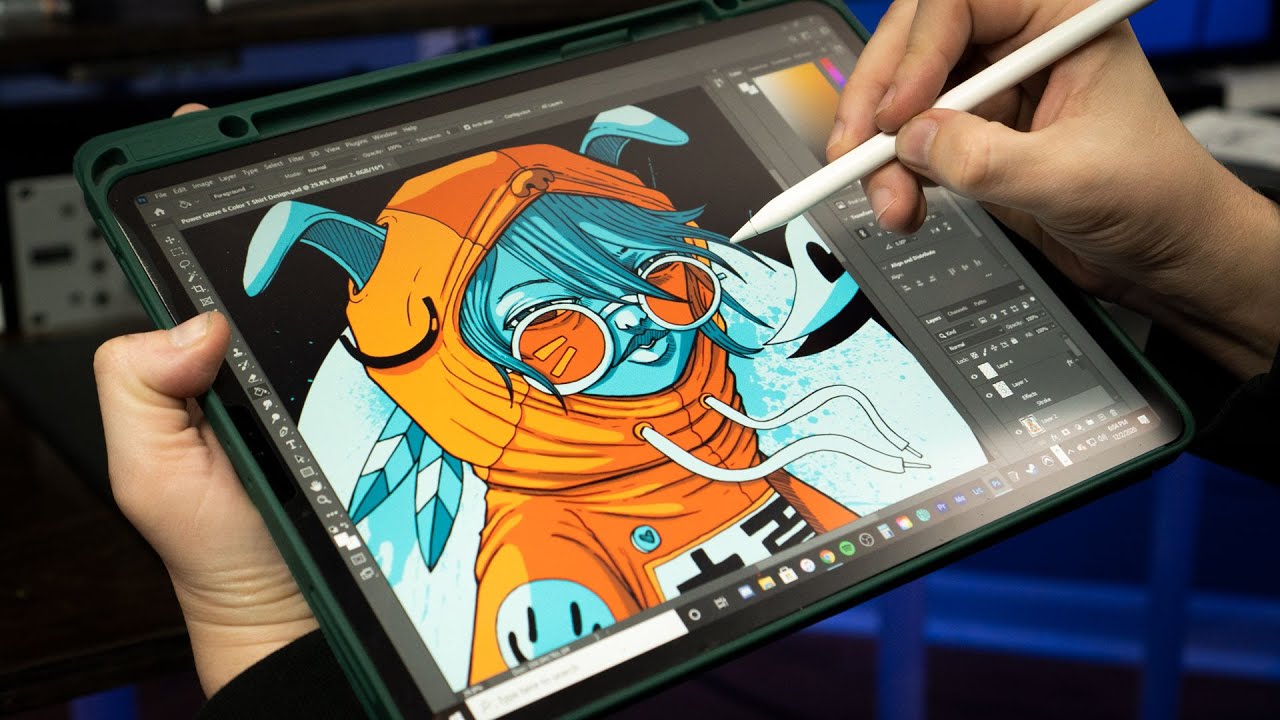
- Start Drawing: Begin drawing directly on your iPad’s screen using your Apple Pencil or your finger. Your strokes will be mirrored on your computer’s screen in real-time.
- Utilize Pressure Sensitivity: Take advantage of the pressure sensitivity of your Apple Pencil or compatible stylus to add depth and variation to your artwork. Apply lighter or heavier pressure to adjust the thickness and opacity of your strokes.
- Use Gestures: Some drawing apps support gestures on the iPad’s screen. Explore the ability to pinch, zoom, swipe, or rotate your canvas using touch gestures for a more intuitive drawing experience.
- Save and Export: Once you’re satisfied with your artwork, save it within the drawing software or export it to your preferred file format. You can then share it digitally, print it, or further edit it as needed.
Remember to take breaks, experiment with different techniques, and have fun exploring the possibilities of using your iPad as a drawing tablet. Practice and experimentation will help you develop your skills and create stunning digital artwork.
If you encounter any issues while using your iPad as a drawing tablet, refer to the troubleshooting tips below. These tips will help you resolve common problems and ensure a smooth drawing experience.
Now it’s time to let your creativity soar with your new iPad drawing tablet setup!
Troubleshooting Tips
While using your iPad as a drawing tablet for your PC, you may encounter some common issues. Here are a few troubleshooting tips to help you overcome these challenges:
- Connection Issues: If you experience connectivity problems between your iPad and PC, ensure that your USB cable or Wi-Fi connection is secure. Try unplugging and re-plugging the USB cable or restarting your Wi-Fi router. If the issue persists, check if you have the latest version of the drawing app and drivers installed on both devices.
- Driver Compatibility: If you’re having trouble with specific drawing software or app, ensure that you have installed the correct driver for your iPad model and your PC’s operating system. Visit the app’s official website or the manufacturer’s website for driver updates or compatibility information.
- Pen Sensitivity: If you notice issues with pen sensitivity or pressure sensitivity, check the settings in your drawing app. There may be options to adjust the sensitivity levels of your Apple Pencil or stylus. Experiment with different settings to find the optimal sensitivity for your drawing style.
- App Updates: Regularly check for updates for both your drawing software and iPad’s operating system. Keeping your software up to date can help resolve any bugs or compatibility issues that arise. Install updates as they become available to ensure the smooth functioning of your drawing tablet setup.
- Compatibility Issues: Some drawing apps may not be fully compatible with all iPad models or PC configurations. If you encounter compatibility issues, reach out to the app’s customer support for assistance. They may be able to provide guidance or recommend alternative software that works seamlessly with your specific setup.
If you’re still facing difficulties, consult online forums or communities dedicated to digital art and iPad drawing tablets. Fellow artists and enthusiasts may have encountered similar issues and can offer valuable advice or solutions.
Remember, troubleshooting is a natural part of any technical setup. Remain patient and persistent, and don’t hesitate to seek help or explore alternative solutions. With the right troubleshooting approach, you’ll be back to creating amazing digital artwork in no time.
Conclusion
Congratulations! You have successfully transformed your iPad into a powerful drawing tablet for your PC. By following the steps outlined in this guide, you now have the tools and knowledge to unleash your creativity and create stunning digital artwork.
Using an iPad as a drawing tablet offers numerous advantages, including cost-effectiveness, portability, and a seamless drawing experience. With the right apps, settings, and drivers, you can achieve professional-level results and take your artistic journey to new heights.
Remember to regularly update your drawing software and iPad’s operating system to ensure compatibility and access to the latest features and improvements. Additionally, experimenting with different brushes, tools, and techniques will allow you to explore your artistic style and push your creativity to its limits.
If you encounter any difficulties along the way, refer to the troubleshooting tips provided in this guide. Don’t hesitate to reach out to customer support or online communities for assistance. With time and practice, you’ll overcome any challenges and become more proficient in using your iPad as a drawing tablet.
Now, armed with your iPad and drawing tools, it’s time to let your imagination run wild. Create breathtaking digital artwork, explore new artistic horizons, and enjoy the freedom and flexibility that your iPad as a drawing tablet provides.
Happy drawing!


