Introduction
Welcome to the world of digital art! If you’re looking to take your artistic skills to the next level, using a tablet as a drawing tablet can be a game-changer. In this article, we’ll guide you through the process of setting up your tablet to function as a drawing tablet, allowing you to unleash your creativity without breaking the bank.
Gone are the days of messy palettes and limited canvas space. With a tablet as a drawing tablet, you can have a digital studio at your fingertips, complete with a variety of customizable tools and features.
Using a tablet as a drawing tablet offers an array of benefits. Firstly, it provides a more natural and intuitive drawing experience, as you can directly interact with the virtual canvas using a stylus or pen. This eliminates the disconnect that can occur when using a traditional mouse or trackpad, giving you better control over your artwork.
Secondly, a drawing tablet allows for greater precision and accuracy, enabling you to create detailed and intricate artwork. The pressure sensitivity of the stylus allows you to vary the thickness and opacity of your strokes, mimicking traditional drawing techniques.
Moreover, a tablet as a drawing tablet provides a more efficient workflow. It offers tools and features that can enhance your artwork, such as different brush modes, layers, and blending options. Additionally, you can easily undo and redo actions, experiment with different effects, and seamlessly switch between drawing and editing.
Whether you’re a professional artist, a hobbyist, or just starting out on your artistic journey, using a tablet as a drawing tablet opens up a whole new realm of possibilities. You can create digital illustrations, animations, concept art, and even explore 3D modeling and sculpting.
In the next sections, we will walk you through the process of setting up your tablet as a drawing tablet, downloading the necessary software, connecting it to your computer, adjusting the settings, customizing the buttons and shortcuts, and provide some tips for using your tablet effectively. So let’s dive in and unleash your artistic potential!
Why Use a Tablet as a Drawing Tablet?
Traditional methods of creating art have their charm, but using a tablet as a drawing tablet opens up a world of possibilities that can enhance your artistic journey. Here are some compelling reasons to consider using a tablet as your artistic tool:
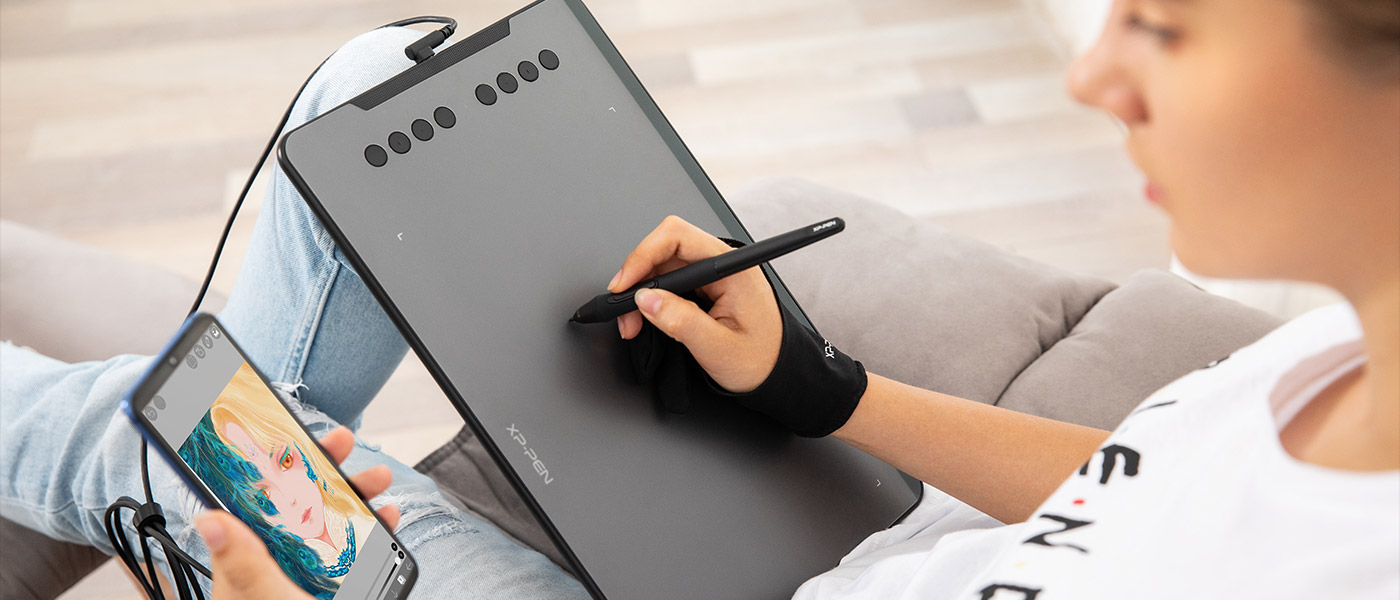
- Natural Drawing Experience: When you use a tablet as a drawing tablet, you can draw directly onto the screen using a stylus or pen. This provides a more natural and intuitive drawing experience, similar to traditional paper and pencil. You can enjoy the tactile feedback of the stylus on the screen and have better control over your strokes.
- Precision and Accuracy: Tablets offer a high level of precision and accuracy, allowing you to create detailed and intricate artwork. The pressure sensitivity of the stylus enables you to vary the thickness and opacity of your strokes, mimicking traditional drawing techniques and giving your artwork depth and dimension.
- Improved Workflow: Drawing tablets come with a range of features and tools that can streamline your artistic workflow. They offer different brush modes, layers, blending options, and other editing capabilities that enhance your artwork. With the ability to easily undo and redo actions, experiment with different effects, and switch seamlessly between drawing and editing, you can work more efficiently and creatively.
- Greater Versatility: Using a tablet as a drawing tablet allows you to explore various art forms beyond traditional drawing. You can dive into digital painting, illustration, graphic design, 3D sculpting, and even animation. The range of creative possibilities is vast, limited only by your imagination.
- Portability and Convenience: Tablets are lightweight and portable, making them convenient for artists on the go. You can carry your digital studio with you wherever you travel, eliminating the need for bulky art supplies and equipment. This flexibility allows you to continue your artistic endeavors anytime, anywhere.
Whether you’re a professional artist, an aspiring illustrator, or someone who enjoys doodling in their spare time, using a tablet as a drawing tablet offers numerous advantages. It opens up a world of digital artistry, providing tools and features that can enhance your creative process and unleash your artistic potential.
Now that you understand the benefits of using a tablet as a drawing tablet, let’s move on to the next sections where we will guide you through the setup process and provide tips for using your tablet effectively.
Setting Up Your Tablet as a Drawing Tablet
Setting up your tablet to function as a drawing tablet is a straightforward process. Follow these steps to get started:
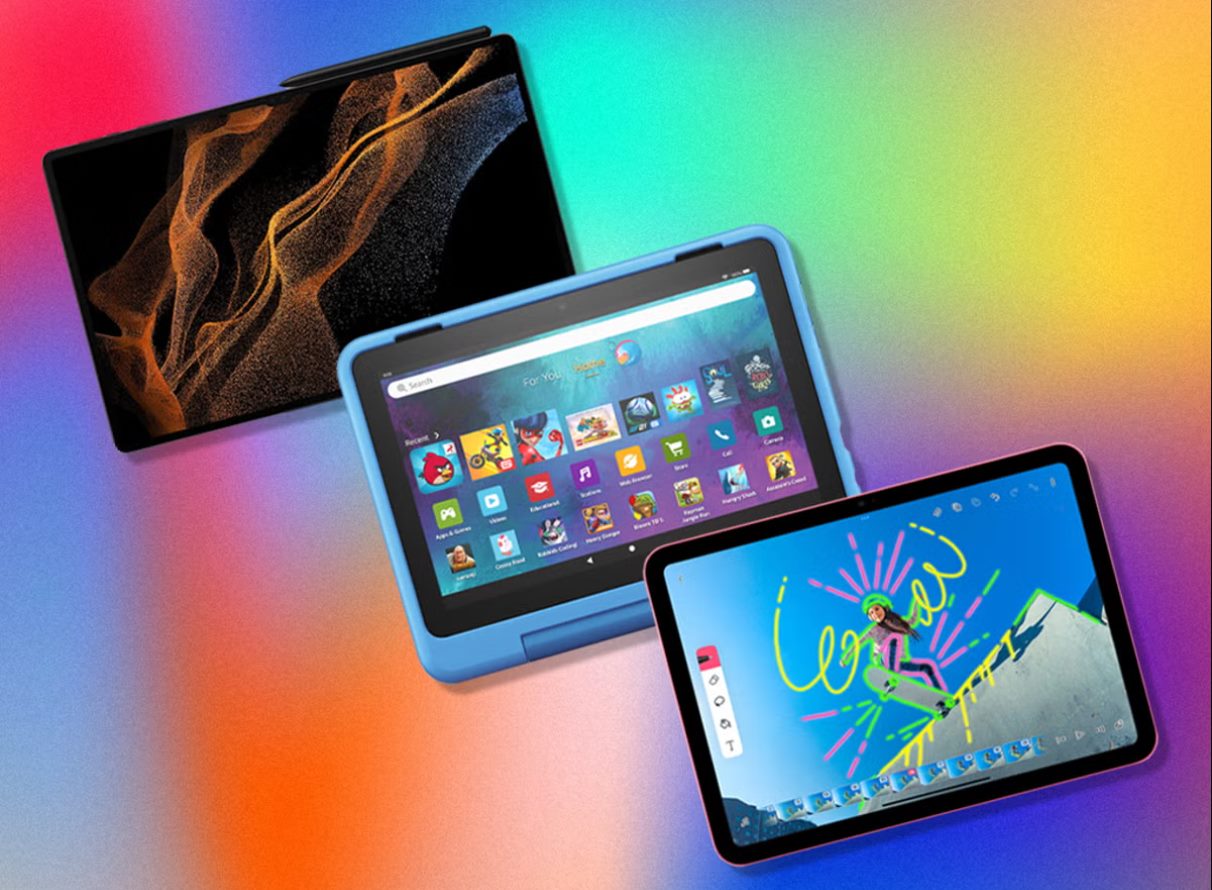
- Check Compatibility: Ensure that your tablet is compatible with drawing tablet functionality. Most modern tablets, including those running on iOS, Android, or Windows operating systems, have built-in support for drawing tablet features.
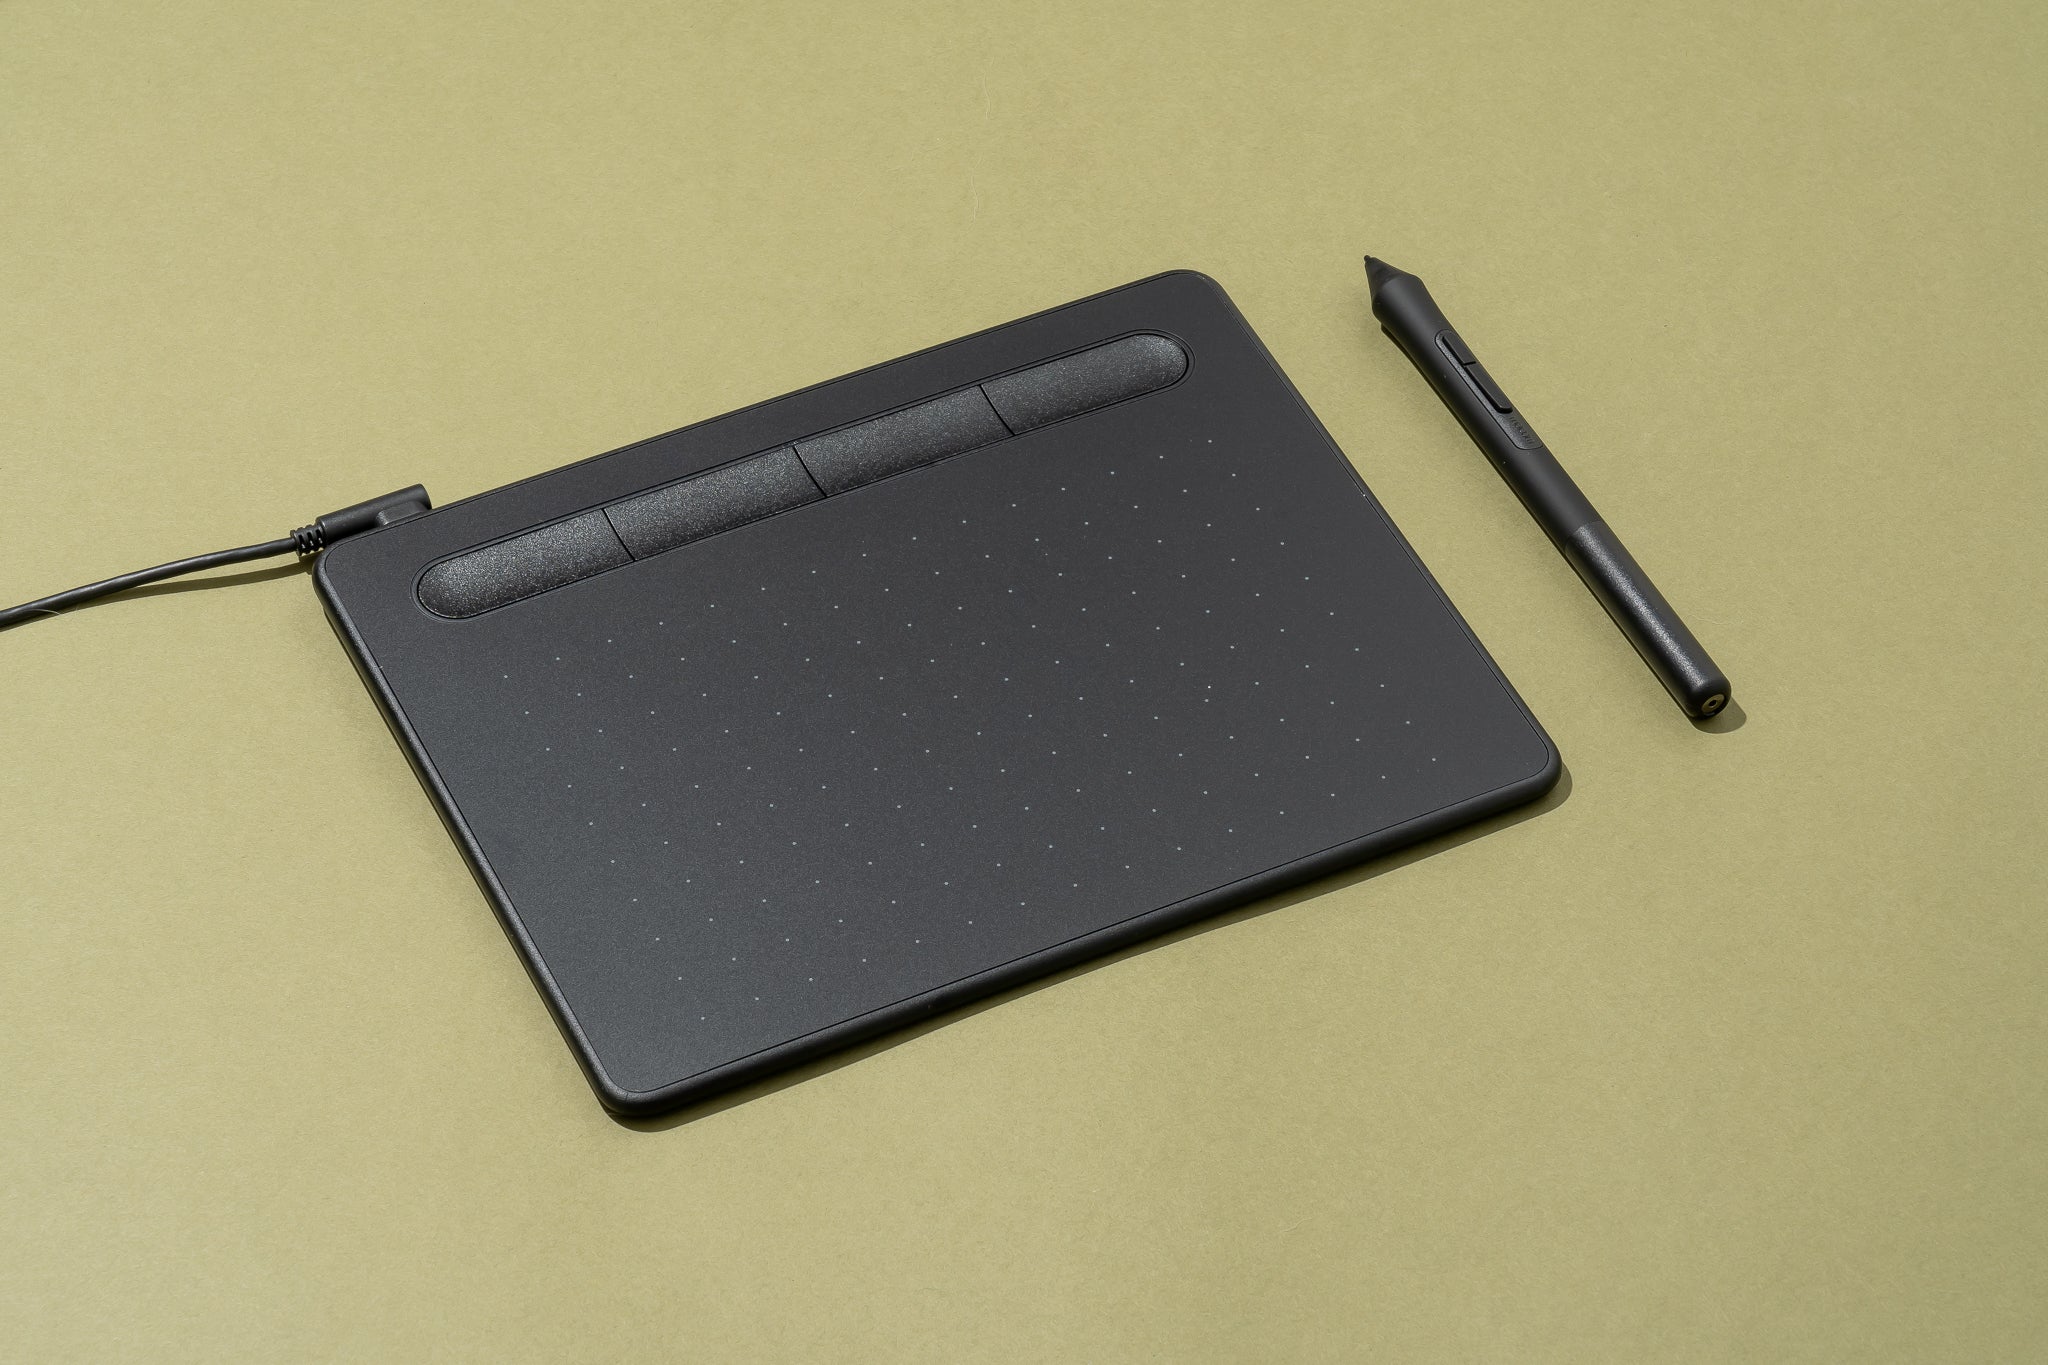
- Choose the Right Stylus: Invest in a stylus or pen that is compatible with your tablet. Look for a stylus that offers pressure sensitivity, palm rejection, and precise tracking. These features will enhance your drawing experience and provide better control over your strokes.
- Install Necessary Software: Depending on your tablet and operating system, you may need to install specific software to enable drawing tablet functionality. Research and download the appropriate software or drawing app. Some popular options for tablets include Adobe Photoshop, Procreate, Autodesk SketchBook, and Clip Studio Paint.
- Connect your Tablet: Connect your tablet to your computer using a USB cable or via a wireless connection, depending on the capabilities of your tablet. Ensure that both devices are powered on and paired correctly.
- Set up Pen Pressure Sensitivity: Once your tablet is connected, you may need to adjust the pen pressure sensitivity settings. This feature allows you to control the thickness and opacity of your strokes based on the pressure applied to the stylus. Check the settings of your drawing software or tablet driver and calibrate the pen pressure sensitivity according to your preference.
- Enable Palm Rejection: If your tablet supports palm rejection, enable this feature to prevent accidental touches from your hand or palm while drawing. Palm rejection will ensure that only the stylus input is detected, giving you complete control over your artwork.
- Customize Shortcut Buttons: Many tablets come with shortcut buttons that can be customized to perform specific functions. Explore the tablet settings or software preferences to assign shortcuts for actions like undo, zoom, brush size, and brush opacity. Customizing these buttons will help improve your workflow and save time.
- Practice and Experiment: Once your tablet is set up, take the time to practice using it as a drawing tablet. Experiment with different brush settings, explore the features of your drawing software, and try out various techniques. The more you practice, the more comfortable and proficient you will become with your tablet as a drawing tool.
Setting up your tablet as a drawing tablet opens up a world of creative possibilities. Whether you’re a beginner or an experienced artist, these steps will help you transform your tablet into a powerful artistic tool. Now that your tablet is ready, let’s move on to the next section where we will guide you through the process of downloading the necessary software for your drawing endeavors.
Downloading the Necessary Software
Before you can fully utilize your tablet as a drawing tablet, you’ll need to download the necessary software. The specific software you need will depend on your tablet’s operating system and your artistic goals. Here’s a general guide to help you get started:
- Research Drawing Apps: Start by researching drawing apps that are compatible with your tablet’s operating system. There is a wide range of options available, both free and paid, each with its own unique features and capabilities. Some popular drawing apps include Procreate, Adobe Photoshop Sketch, Autodesk SketchBook, and Clip Studio Paint. Take the time to read reviews and compare features to choose the one that best suits your needs.
- Visit App Stores: Once you’ve decided on a drawing app, head over to the app store specific to your tablet’s operating system. For iOS devices, you can visit the Apple App Store, while Android users can check out the Google Play Store. Search for the drawing app you chose and ensure that it is compatible with your tablet’s model and operating system version.
- Download and Install: Once you’ve found the app, simply click the download or install button to initiate the download process. Depending on your internet connection speed, the app may take a few seconds or minutes to download. Ensure that your tablet is connected to a stable Wi-Fi network to avoid interruptions during the download.
- Launch and Set Up: After the download is complete, locate the drawing app on your tablet’s home screen or app drawer and tap on it to launch. Follow the on-screen instructions to complete the initial setup process, which may include creating an account, adjusting preferences, and familiarizing yourself with the app’s interface.
- Explore Features and Tools: Once you’ve set up the drawing app, take the time to explore its features and tools. Familiarize yourself with the brushes, layers, blending modes, and other creative options available. Many drawing apps also offer tutorials, guides, and online communities where you can learn and share your artwork with fellow artists.
- Upgrade to Pro Versions (Optional): Some drawing apps offer both free and paid versions, with the paid versions usually unlocking additional features and options. If you find yourself enjoying the free version and want access to advanced tools and functionalities, consider upgrading to the pro version for a more enhanced drawing experience.
Downloading the necessary software is an essential step in transforming your tablet into a fully functional drawing tablet. By choosing the right drawing app for your tablet and exploring its features, you’ll be well on your way to creating stunning digital artwork. In the next section, we’ll guide you through the process of connecting your tablet to your computer, allowing you to start using it as a powerful drawing tool.
Connecting Your Tablet to Your Computer
In order to use your tablet as a drawing tablet, you’ll need to connect it to your computer. The process may vary slightly depending on the type of tablet and computer you have, but the general steps are as follows:
- Check Cable Compatibility: Determine the type of connection your tablet supports. Common options include USB, USB-C, or HDMI. Make sure you have the necessary cables or adapters to connect your tablet to your computer. If your tablet supports wireless connectivity, ensure that both your tablet and computer are on the same Wi-Fi network.
- Prepare Your Tablet: If your tablet has a lock screen or password, unlock it to access the settings and configuration options. Some tablets may require you to enable a specific mode, such as “Drawing Tablet Mode” or “Screen Mirroring Mode,” to connect it to your computer.
- Connect the Cable: Plug one end of the cable into the appropriate port on your tablet and the other end into an available USB or HDMI port on your computer. If you’re using an adapter, connect the cable to the adapter first, and then connect the adapter to your computer.
- Enable USB Debugging (Android Only): If you’re using an Android tablet, you may need to enable USB debugging for a successful connection. To do this, go to the Settings menu on your tablet, navigate to the Developer Options (available in the About Tablet section), and toggle on the USB Debugging option.
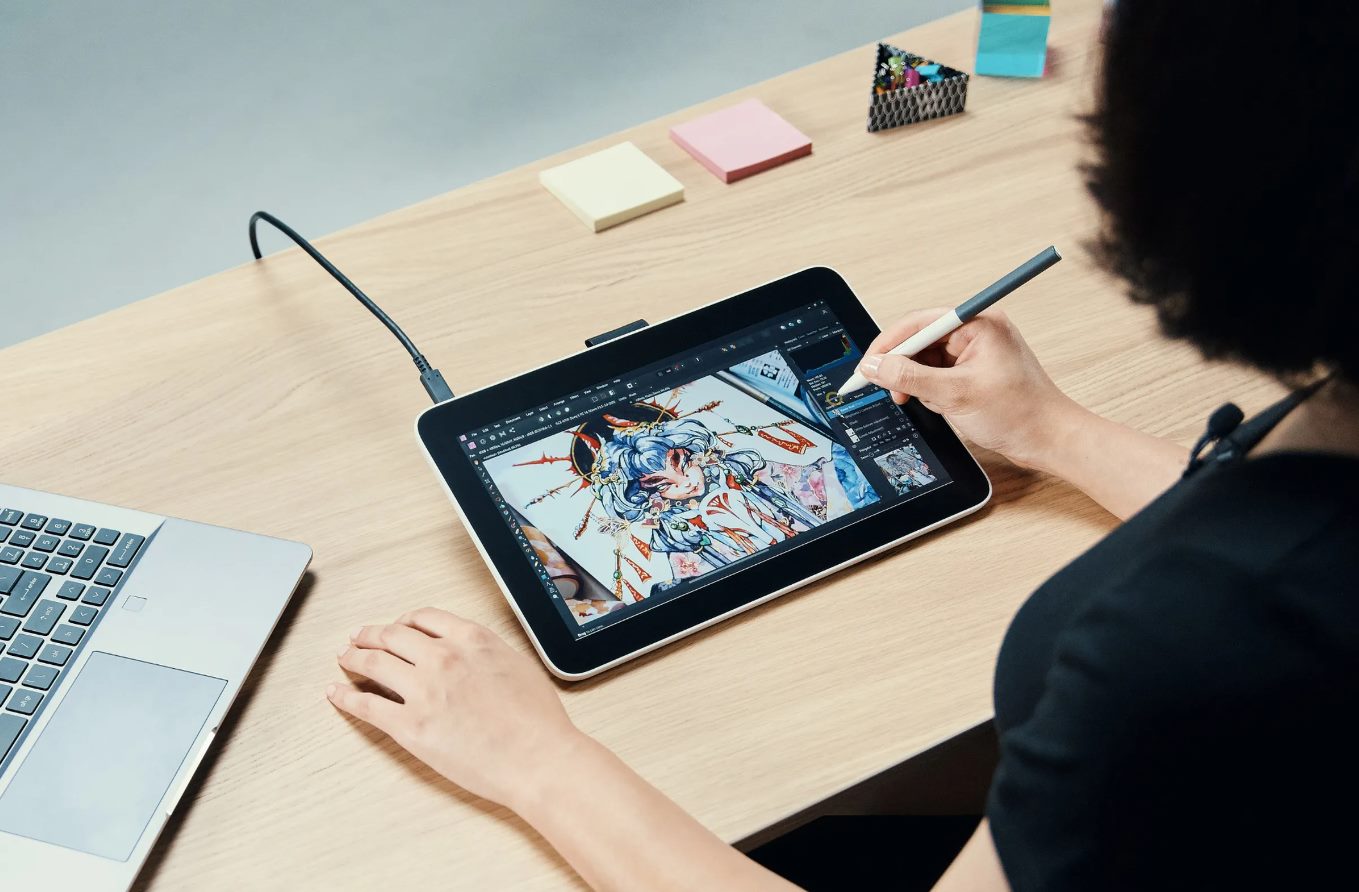
- Configure Display Settings: Once the tablet is connected, you may need to configure the display settings on your computer. Some tablets offer extended display options, allowing you to use the tablet as a secondary screen while drawing on it. Go to your computer’s display settings and adjust them accordingly if desired.
- Install and Update Drivers: Depending on your tablet and operating system, you may need to install specific drivers to ensure proper communication between your tablet and computer. Visit the manufacturer’s website or refer to the tablet’s user manual for instructions on downloading and installing the appropriate drivers. It’s also a good idea to check for any driver updates to ensure optimal performance.
- Test the Connection: Once the tablet is connected and all necessary settings and drivers are in place, test the connection by opening a drawing software or app on your computer. If the tablet is detected, you should be able to draw directly on the tablet’s screen, and your strokes will be reflected on the computer screen.
By following these steps, you can successfully connect your tablet to your computer and unleash its full potential as a drawing tablet. In the next section, we’ll dive into adjusting the tablet settings to optimize your drawing experience.
Adjusting Tablet Settings
Once your tablet is connected to your computer, it’s important to adjust the settings to optimize your drawing experience. The settings may vary depending on your tablet model and the software you’re using, but here are some general adjustments to consider:
- Pen Pressure Sensitivity: Most drawing tablets offer the ability to adjust pen pressure sensitivity. This setting determines how much variation in line thickness and opacity occurs based on the pressure applied to the stylus. Experiment with different sensitivity levels to find the one that feels most comfortable and natural for your drawing style.
- Screen Calibration: Some tablets allow you to calibrate the screen for better accuracy. This corrects any slight differences between where you place the stylus and where the cursor appears on the screen. Follow the instructions from your tablet’s settings or driver software to perform the screen calibration process.
- Palm Rejection: Enable palm rejection if your tablet supports this feature. This allows you to rest your hand on the tablet’s screen while drawing without accidentally registering it as input. Palm rejection ensures that only the stylus movements are detected, resulting in smoother and more precise strokes.
- Button and Pen Customization: Customize the buttons on your tablet or pen according to your preferences. Most tablets offer programmable buttons that can be assigned different functions, such as zooming, undo/redo, switching between brushes, or accessing specific menu options. Adjust these functions based on your workflow to speed up your drawing process.
- Brush and Tool Options: Take advantage of the drawing software’s brush and tool options. Experiment with different brush shapes, sizes, and textures to achieve your desired artistic effects. Familiarize yourself with the available tools for rotating, scaling, and transforming your artwork. Customizing these options will allow you to create unique and diverse illustrations.
- Shortcuts and Hotkeys: In addition to customizing the tablet buttons, explore the software’s shortcuts and hotkeys. For example, some applications allow you to use specific keyboard combinations to quickly switch between tools or change brush attributes. Utilizing these shortcuts can significantly speed up your workflow and improve efficiency.
- Pressure Curve: Some tablets offer a pressure curve adjustment feature. This allows you to customize how the tablet responds to different levels of pressure. You can create a pressure curve that suits your drawing style, ensuring that the tablet responds exactly as you intend.
Adjusting the tablet settings to fit your preferences and workflow is crucial for a comfortable and efficient drawing experience. Take the time to explore and experiment with these settings until you find the optimal configuration that enhances your creativity. In the next section, we’ll provide some tips for using your tablet effectively as a drawing tablet.
Customizing Your Tablet Buttons and Shortcuts
One of the advantages of using a tablet as a drawing tablet is the ability to customize the buttons and shortcuts to suit your preferences. By customizing these settings, you can streamline your workflow and access commonly used functions with ease. Here’s how you can customize your tablet buttons and shortcuts:
- Access Tablet Settings: Begin by accessing the settings for your tablet. This can usually be done through your computer’s control panel or system preferences. Look for the specific software or driver that corresponds to your tablet.
- Button Customization: Depending on your tablet model, you should have physical buttons located on the front, side, or back of the device. These buttons can be customized to perform different functions. Common uses include undo/redo, zoom in/out, brush size adjustment, switching between tools or brushes, and accessing specific features or menus within your drawing software.
- Pen Customization: If your tablet pen has buttons or an eraser, these can also be customized. Assign functions that you frequently use to these buttons, such as activating the eraser tool, changing brush properties, or accessing a specific shortcut.
- Software Settings: Explore the settings within your drawing software to customize additional shortcuts and hotkeys. Most software applications allow you to set keyboard shortcuts to perform various actions. For example, you might assign a specific keyboard combination to switch between brush modes, adjust brush opacity, or toggle the grid view.
- Experiment and Refine: Take the time to experiment with different button and shortcut configurations. Test out different functions and combinations to see which ones work best for your workflow. Be open to making adjustments and refinements as you gain more experience and discover what functions are most essential to your drawing process.
- Create Multiple Profiles: Some tablets allow you to create multiple profile settings. This can be useful if you work on different types of projects or switch between different drawing software. You can save unique button and shortcut configurations for each profile, ensuring that your tablet adapts to your specific needs for each project.
- Combine Tablet and Software Shortcuts: To maximize efficiency, consider combining tablet buttons and software shortcuts. For example, you might assign a tablet button to activate the brush tool and use a software shortcut to switch between different brush sizes or styles. By combining both tablet and software shortcuts, you can create a powerful and customized workflow.
Customizing your tablet buttons and shortcuts is a personal process that should reflect your own artistic preferences and workflow. By taking the time to customize these settings, you can significantly enhance your efficiency and overall drawing experience. In the next section, we’ll provide some valuable tips to help you make the most of your tablet as a drawing tablet.
Tips for Using Your Tablet as a Drawing Tablet
Now that you have your tablet set up as a drawing tablet and have customized the settings to your liking, it’s time to dive into some tips to help you make the most out of your digital drawing experience. Here are some valuable tips to keep in mind:
- Experiment with Different Brushes: Take advantage of the wide variety of brushes available in your drawing software. Test out different brush shapes, sizes, textures, and opacity levels to create a range of effects and styles in your artwork. Don’t be afraid to step out of your comfort zone and explore new brush options.
- Master Layering Techniques: Utilize layers effectively to organize your artwork and make non-destructive edits. Work on different elements of your drawing on separate layers, allowing you to easily adjust individual elements without affecting the rest of your artwork. Experiment with blending modes and layer opacity to create depth and visual interest.
- Backup Your Work Regularly: Save and backup your digital artwork regularly. Invest in cloud storage or external hard drives to ensure that your artwork is safe and secure. Losing hours of work due to technical issues can be disheartening, so make it a habit to back up your files frequently.
- Utilize Keyboard Shortcuts: Take the time to learn and utilize keyboard shortcuts within your drawing software. These shortcuts can significantly speed up your workflow and help you access frequently used functions without having to search through menus. Remember, every second counts when you’re in the creative flow.
- Seek Inspiration and Learn from Others: Surround yourself with creative inspiration by exploring the works of other artists. Follow art communities, visit online galleries, or attend art events to draw inspiration from different styles and techniques. Learning from others can help you develop your own unique artistic voice.
- Take Breaks and Rest: Drawing on a tablet for extended periods of time can strain your hand, wrist, and eyes. Remember to take regular breaks to rest and stretch your muscles. Set reminders to look away from the screen and focus on distant objects to reduce eye strain. Taking care of your physical well-being is vital for prolonged artistic productivity.
- Practice and Experiment: Like any skill, digital drawing on a tablet requires practice. Dedicate time to experiment with different techniques, styles, and subjects. Challenge yourself to try new things and push your artistic boundaries. The more you practice and experiment, the more you’ll grow as an artist.
Using a tablet as a drawing tablet offers endless possibilities and the opportunity to unleash your creativity. By incorporating these tips into your digital drawing practice, you’ll be well on your way to creating stunning artwork and honing your skills. Now, grab your stylus and let your imagination run wild!
Troubleshooting Common Issues
While using a tablet as a drawing tablet can greatly enhance your digital art experience, it’s not uncommon to encounter a few technical glitches along the way. Here are some common issues you may come across and how to troubleshoot them:
- Driver Compatibility: If your tablet is not being recognized by your computer, make sure that you have installed the correct drivers. Visit the manufacturer’s website and download the latest drivers specifically designed for your tablet model and operating system.
- Connection Problems: If your tablet is connected but not working properly, check the cable or wireless connection. Ensure that the cable is securely plugged in or that your tablet is connected to a stable Wi-Fi network. If the issue persists, try connecting the tablet to a different USB port or restarting both your tablet and computer.
- Pen Sensitivity Issues: If you’re experiencing problems with the pen sensitivity, such as the pressure not registering or inconsistent strokes, try adjusting the pen settings in the tablet driver or drawing software. Calibrate the pen pressure sensitivity and check if there are any firmware or driver updates available for your tablet.
- Input Lag or Delay: If you notice a delay between your pen strokes and their appearance on the screen, check for driver updates and ensure that your tablet and computer are not overloaded with other applications or processes running in the background. Adjusting the brush size or canvas resolution within your drawing software may also help reduce input lag.
- Screen Calibration Issues: If you find that your stylus cursor does not align accurately with where you touch on the tablet’s screen, perform a screen calibration. Most tablets have a calibration option in the tablet settings or driver software. Follow the calibration process to align the stylus cursor with your exact pen strokes.
- Software Compatibility: Some drawing software may have compatibility issues with certain tablet models or operating systems. If you’re experiencing software-related issues, check for updates to both your tablet’s driver software and the drawing software itself. You can also try using a different drawing software to see if the issue persists.
- Hardware Malfunction: In rare cases, you may encounter hardware malfunctions with your tablet. If your tablet is not working at all or experiencing severe issues, such as unresponsive buttons or a non-functional screen, contact the manufacturer’s support for assistance. They may be able to diagnose and repair any hardware-related problems.
Remember, troubleshooting can vary depending on your specific tablet model, operating system, and drawing software. If you encounter persistent issues, consult the user manual of your tablet or seek support from the manufacturer’s website or customer service. By addressing common issues and finding solutions, you can ensure a smoother and more enjoyable digital drawing experience.
Conclusion
Using a tablet as a drawing tablet opens up a world of creative possibilities for artists, whether they’re professionals or hobbyists. With a tablet, you can enjoy a more natural and intuitive drawing experience, enhanced precision and accuracy, and a streamlined workflow. By following the steps outlined in this article, you can set up your tablet as a drawing tablet, download the necessary software, and customize the settings to suit your artistic preferences.
Remember to experiment with different brushes and tools, master layering techniques, and utilize keyboard shortcuts to optimize your digital drawing process. Take breaks, backup your work, and seek inspiration from the works of other artists. Troubleshoot common issues to ensure a smoother experience, and never forget the importance of continuous practice and experimentation to refine your skills.
Whether you’re creating digital illustrations, exploring 3D sculpting, or venturing into animation, your tablet can unleash your artistic potential. Embrace the versatility, convenience, and creative power of using a tablet as a drawing tablet, and let your imagination soar.
Now, armed with your tablet and stylus, it’s time to embark on your artistic journey and bring your digital creations to life. Happy drawing!